This post may contain affiliate links.
When we finally brought home Skelly, that 12-foot Halloween figure that dominates the yard, I realized something was missing. He looked amazing with his spooky presence and light-up eyes, but he needed something more. He needed a space that felt right for him. He needed a Skelly-sized pumpkin.
That’s when the idea hit: build a giant pumpkin patch for him to hang out in.

So I made a massive pumpkin patch big enough for Skelly to stand in the middle of it. It’s glowing, dramatic, and a total hit with the neighborhood kids.
Here’s how to make your own giant pumpkin patch with ease and flair.

Why Make a DIY Giant Pumpkin Patch
Scale and impact: Since you already have a large focal point like Skelly, you need something that matches his size. A standard pumpkin display just doesn’t cut it. And because his oversized friend Leggy is already out, it only makes sense to add more big pieces to the scene.
Material choice matters: I used Oly-fun by Fairfield World because it’s ideal for large outdoor craft projects. It’s durable, lightweight, available in many colors, and comes in 10-yard bolts. Oly-fun lets light pass through while holding its shape, which makes it perfect for glowing Halloween décor.
Structural materials: Chicken wire fencing makes it easy to sculpt and shape without adding much weight. It’s simple to cut, bend, and fold, and the edges can be tucked in to hold the shape of your pumpkin. Since it’s lightweight, storing your pumpkins after the season is easy too.
DIY fun meets Halloween theatrics: This project isn’t just a craft; it’s a full yard display. It’s Halloween at a larger scale, and the best part is that the neighborhood kids love it.

Materials and Tools You’ll Need
Gather these items to make your own giant pumpkin patch. You can adjust colors and sizes to fit your yard.
- Oly-fun by Fairfield World in Orange Crush and Clover (Get it here on Amazon, or by the yard at Michaels or Hobby Lobby)
- Chicken wire fencing (poultry netting) – Find it at your local home improvement store or here on Amazon
- Hot glue – my favorite is Gorilla Hot Glue by The Gorilla Glue Company. Their hot glue guns are reliable and strong too!
- String lights – use LED lights. They can be reused for holiday decorations later.
- Gloves – wear sturdy work gloves to protect your hands from sharp wire edges.
- Wire cutters – a solid pair makes cutting wire fencing much easier.
- Outdoor lighting timers – set your lights to turn on and off automatically. (Find some here)
Optional materials: embroidery thread, zip ties, twist ties, pipe cleaners, stakes, anchors, large rocks, or landscape bricks to help secure your pumpkins on windy days.

How to Make the Giant Pumpkin Patch
Scroll down to watch the full video ↓
Step 1: Build the Pumpkin Form
Cut a large piece (about 6 to 10 feet) of chicken wire fencing. Roll it into a tube and connect the ends by folding them together or securing them with zip ties, twist ties, or short wire pieces.
Next, bend and shape the open ends inward to create a rounded pumpkin form. Leave an opening at both the top and bottom. These holes will make it easy to feed in the lights and anchor your pumpkin later.
For the stem, cut another section of wire fencing and bend it into your desired shape. Tall and curved stems work best for large pumpkins. Insert the stem into the top opening and secure it by twisting or folding the wire together.
Cover with Fabric
Roll out the orange Oly-fun fabric and place your pumpkin on its side to measure how much material you’ll need. Wrap the pumpkin and secure the ends with hot glue or embroidery thread. Hot glue works faster, but thread offers a stronger hold that lasts for years.
Repeat the process with green Oly-fun for the stem. Cut a large rough-edged circle or oval to place at the base of the stem for added texture and realism.
Add Lights
Check your lights before using them. If you’re reusing an older set, plug them in first to make sure they work.
Thread the string lights through the wire frame, weaving them into the fencing holes. These lights are temporary, so you can reuse them for winter holiday decorations. Leave the plug end hanging out at the bottom for easy access to your power source.
Why Oly-fun Is a Smart Choice
- Durable: holds up well outdoors when anchored properly
- Lightweight: easy to carry, shape, and store
- Translucent: creates a warm glow when lights shine through
- Reusable: can be repurposed for other seasonal crafts
If you’ve followed other Scratch and Stitch projects, you know how much I love materials that make bold, statement-worthy crafts.
Set-Up Tips
- Anchor your chicken wire forms securely with rocks, stakes, or ties.
- Use outdoor-rated LED string lights that can handle weather changes.
- Connect your lights to a timer for automatic on/off control each night.
More DIY Projects that Pair Perfectly with the Giant Pumpkin Patch
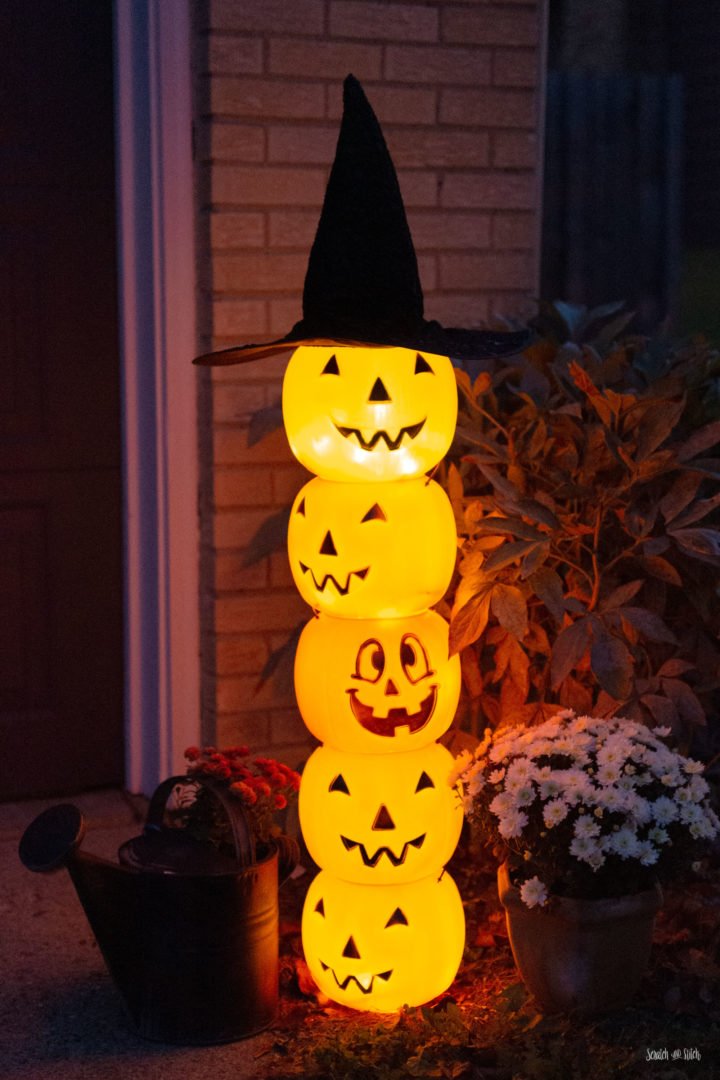
Pumpkin Totem
One of the most popular Scratch and Stitch projects, the stacked pumpkin pail totem adds the perfect glow to Halloween displays.
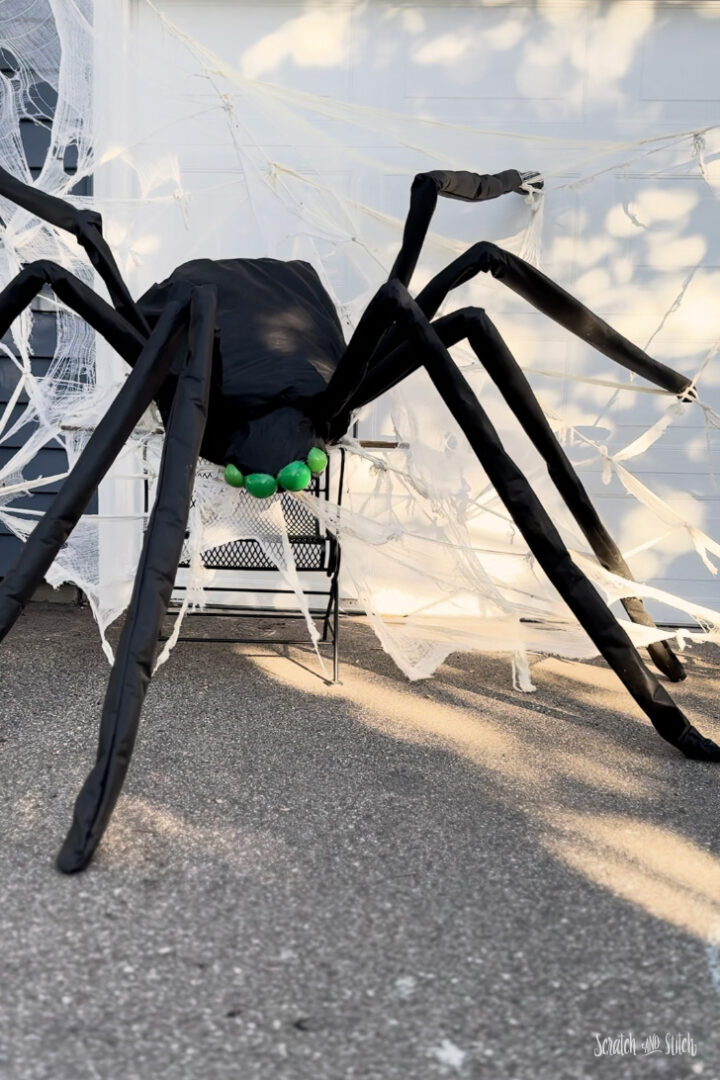
DIY Giant Spider
A favorite with the neighborhood kids, this giant creepy-crawler is fairly simple to make with only a few materials.

DIY Mummy Tree
One of the easiest DIY Halloween Decorations ever! Grab some white sheets, XL googly eyes, and a kid that will love wrapping up a tree.
The best part is seeing the neighborhood kids’ reactions. Our Jack-O’-Lantern Totem, Leggy, Tree Mummies, and glowing pumpkins are already a hit, but these giant pumpkins tie the entire setup together.

If you’ve been wanting to take your Halloween outdoor display up a notch, the DIY giant pumpkin patch and Skelly combo is the way to go. Big scale, big impact, big fun. With the right materials and a bit of time, you’ll create something friends, neighbors, and trick-or-treaters will never forget.
Go bold. Glow bright. And enjoy watching it all come to life under the night sky.
Happy crafting and happy haunt season!
– Cathi @ScratchandStitch
Leave a Reply