This post may contain affiliate links.
This project began as a free pattern years ago — and it quickly became one of the most-loved holiday sewing projects on Scratch and Stitch. After countless variations shared by readers (and many new trees in our home), I’ve updated the design into a fully featured pattern! The new Plush Christmas Tree Sewing Pattern includes multiple sizes, clearer assembly steps, and bonus variations so you can create your own custom trees for gifts, décor, or kid-friendly projects.

Plush Christmas Tree Sewing Pattern
Get the full Plush Christmas Tree Sewing Pattern
Includes 3 sizes, photo tutorial, and printable pieces.
UPDATE: A free version is still available below. For more sizes and options, get the new Plush Christmas Tree Sewing Pattern here.
If you’ve been following along for a while you may know that my BFF collects Christmas tree decor. Every year I try to add to that collection. In the past years I’ve made her a different Stuffed Christmas Tree complete with metal studs, a twisted Wire Christmas Trees with jingle bells, and Magazines Folded Christmas trees. This year I created a Stuffed Christmas Tree pattern for a plush tree decorated with ric-rac, tinsel pom-poms, and a felt star.

The result is so fun and festive.
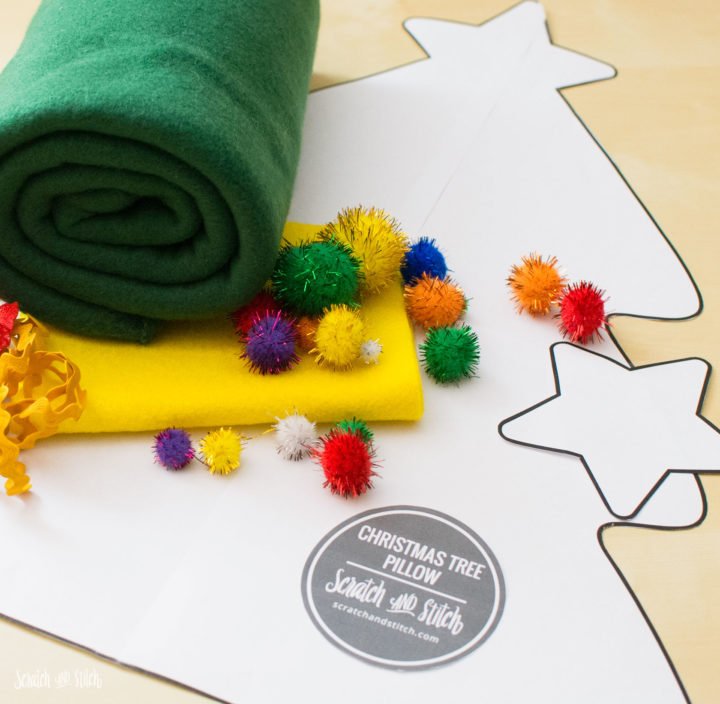
Materials
- Stuffed Christmas Tree Pattern
- 1/2 yard fleece fabric
- Poly-fil filling
- thread
- felt scrap for the star
- decoration notions: ric-rac, embroidery thread, pom-poms, buttons, felt scraps
Directions
Download the free template below — or grab the upgraded version with 3 sizes and step-by-step video.
Stuffed Christmas Tree Sewing Pattern
Download the pattern and print at 100%.
Enter your email to get the free pattern in your inbox.
By submitting your email address you will be added to the Scratch and Stitch email newsletter. You can opt-out at any time :)
Print the pattern pages and tape together. Cut out the tree and star pattern pieces.
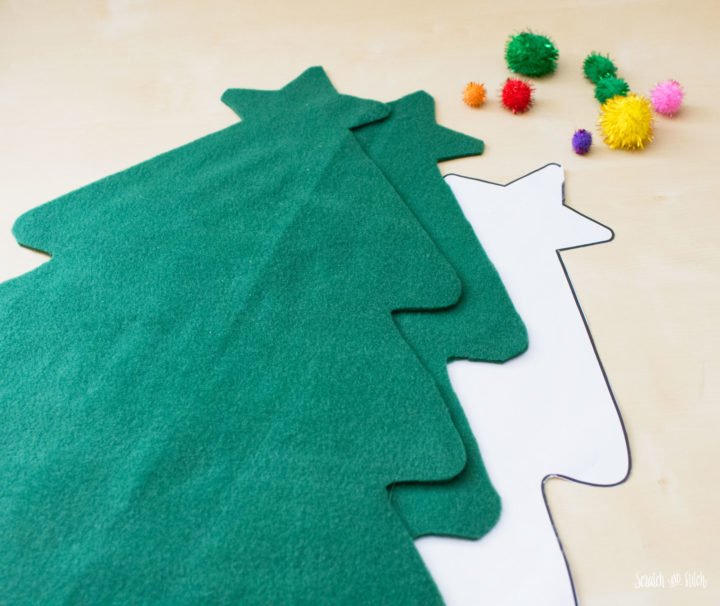
Cut out 2 tree pieces from the fleece fabric.
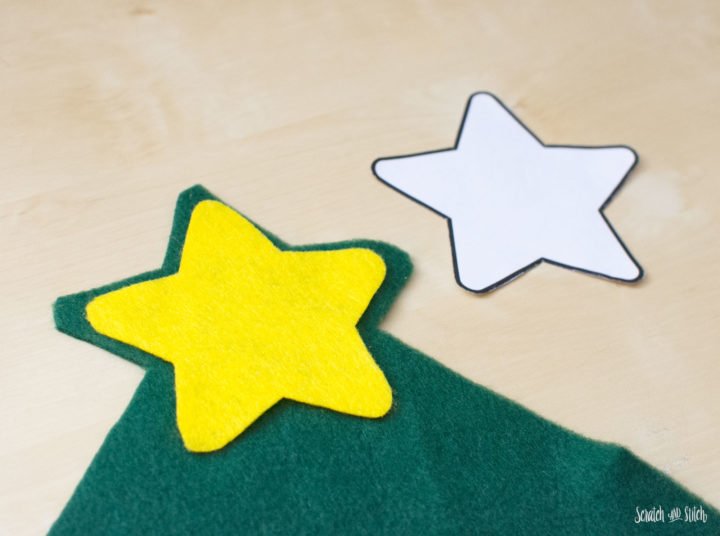
Cut 1 star piece from the felt fabric.
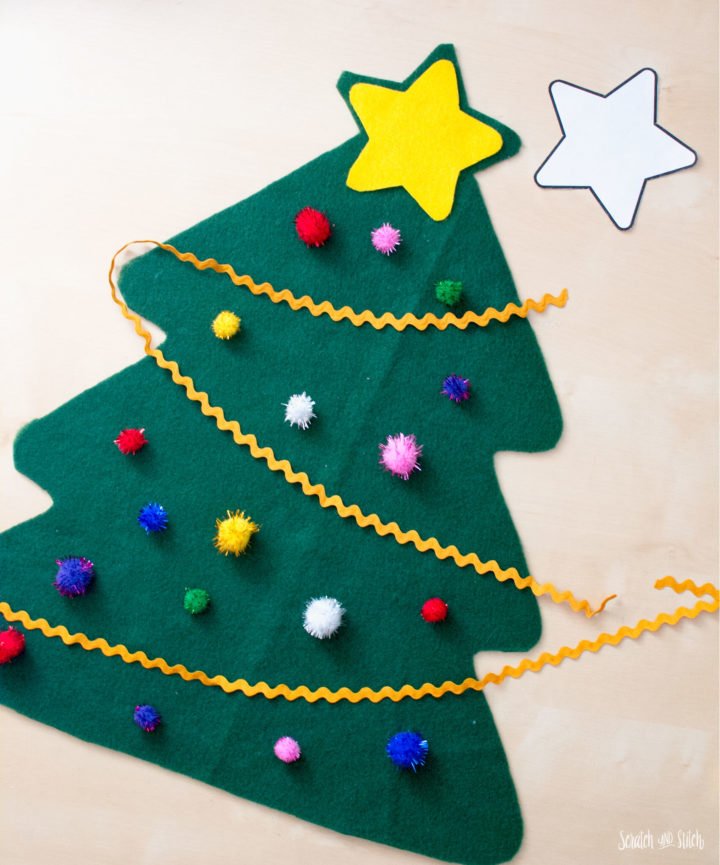
Make a plan for the tree decorations.
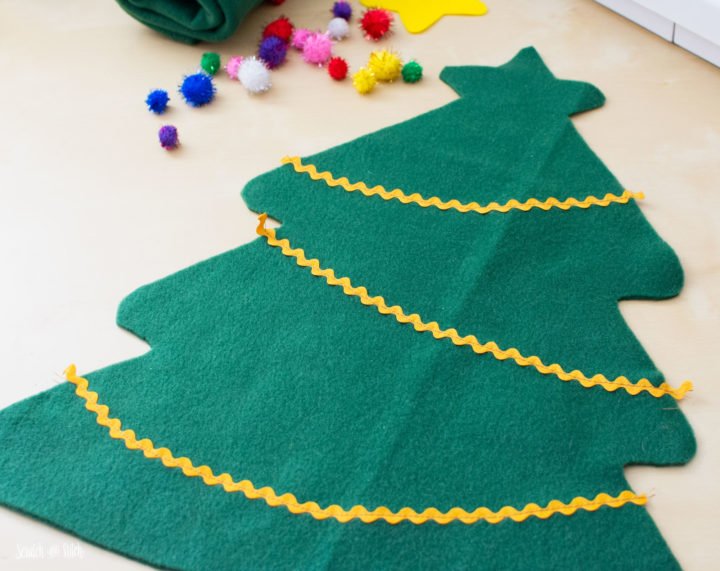
Optionally you can sew on the Christmas decorations before or after stuffing, or a little of both. I used my machine to sew on the ric-rac garland before stuffing and hand sewed on the felt star and pom-poms after stuffing.
Fabric Christmas Ornaments Scrap Buster Project
Use up some lingering fabric scraps to make Christmas tree shaped ornaments. They also make great gift toppers.
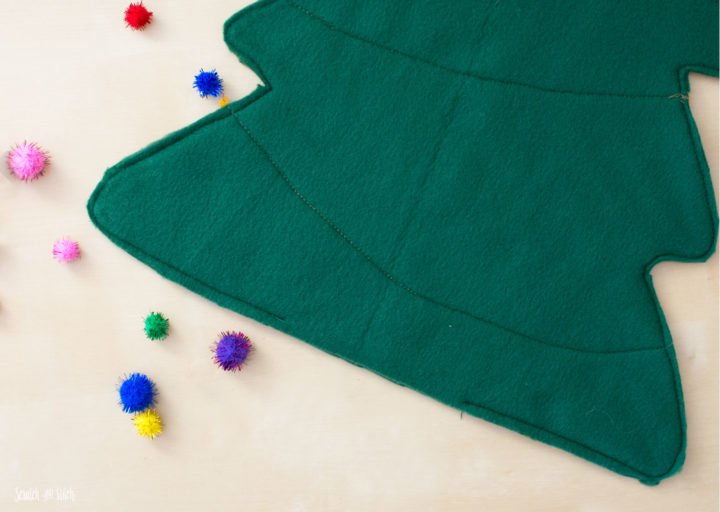
With the 2 tree pieces facing right-sides together, sew around the perimeter with a 1/4″ seam allowance leaving a 3″ gap at the bottom of the tree for turning and stuffing.
Trim the seam allowance at the outer corners and snip the inner corners.
Turn the tree right-sides out. Push out the points to create sharp corners using a chopstick or similar.
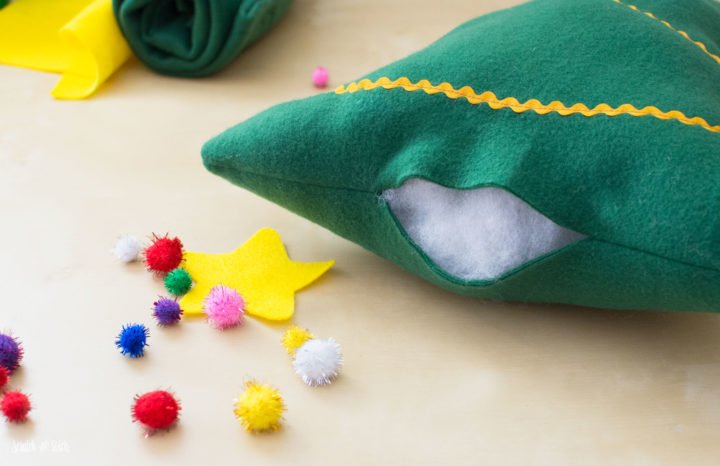
Stuff the tree with Poly-fil filling and close up the hole with a slip stitch.
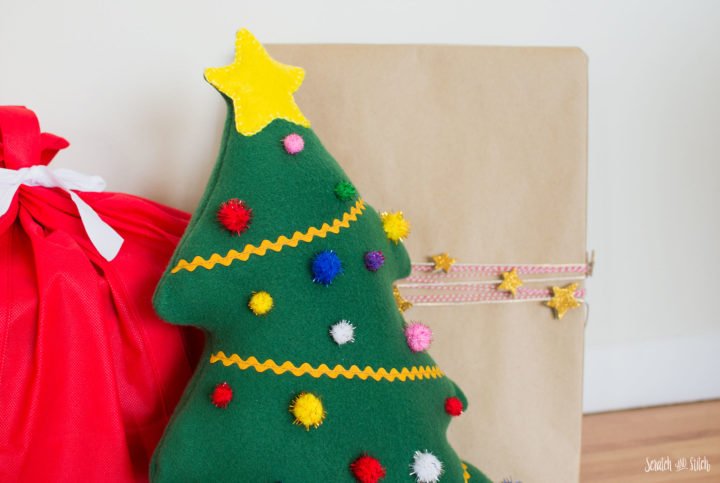
Hand sew the remaining decorations onto the front of the stuffed Christmas tree. I used yellow embroidery thread for the star and green thread for the pom-poms.
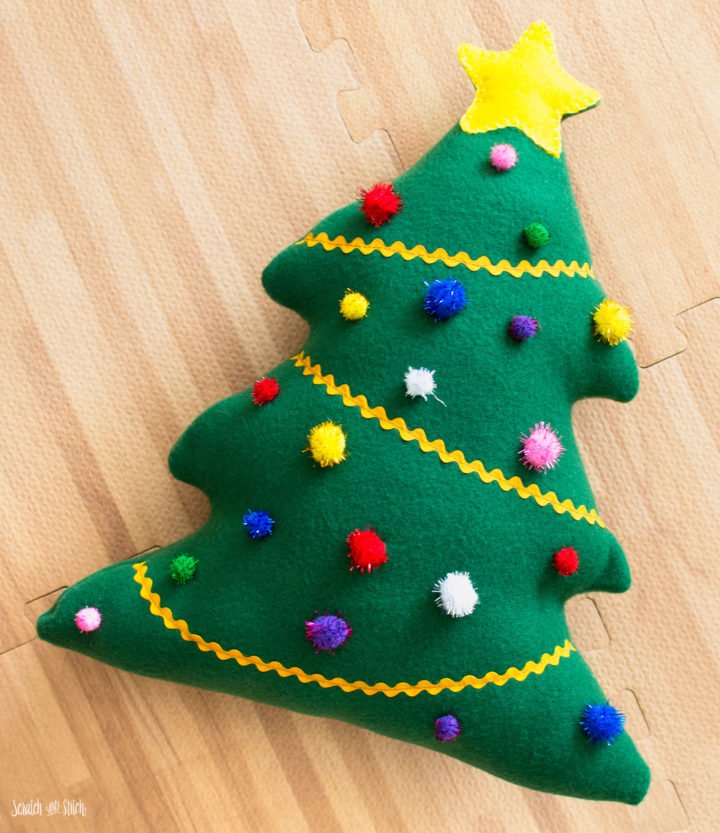
This is the perfect addition to your Christmas decor that’s not only cute and easy to make but also more child-friendly than a lot of your other holiday decorations. Set it on the sofa to cuddle and let the kids toss it around. Merry Christmas!
Save this Holiday Project for Later!
Add the Stuffed Plush Christmas Tree Sewing Pattern to your holiday sewing inspiration boards!


Ready to make your own holiday décor or a plush gift for someone special?
Download the Plush Christmas Tree Sewing Pattern for all sizes, templates, and step-by-step photos.
Did you make the Plush Christmas Tree? Share your creations to inspire others! Email me your photos or tag @scratchandstitch or #scratchandstitch
I requested this pattern because I liked the size and shape of the tree. I made it in a green plaid flannel to go with other Christmas pillows on my daughter’s bed. I was really happy with how it turned out!
Hi Sari – This sounds wonderful! :) I would love to see pictures. Send them my way.