This post may contain affiliate links.
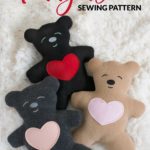
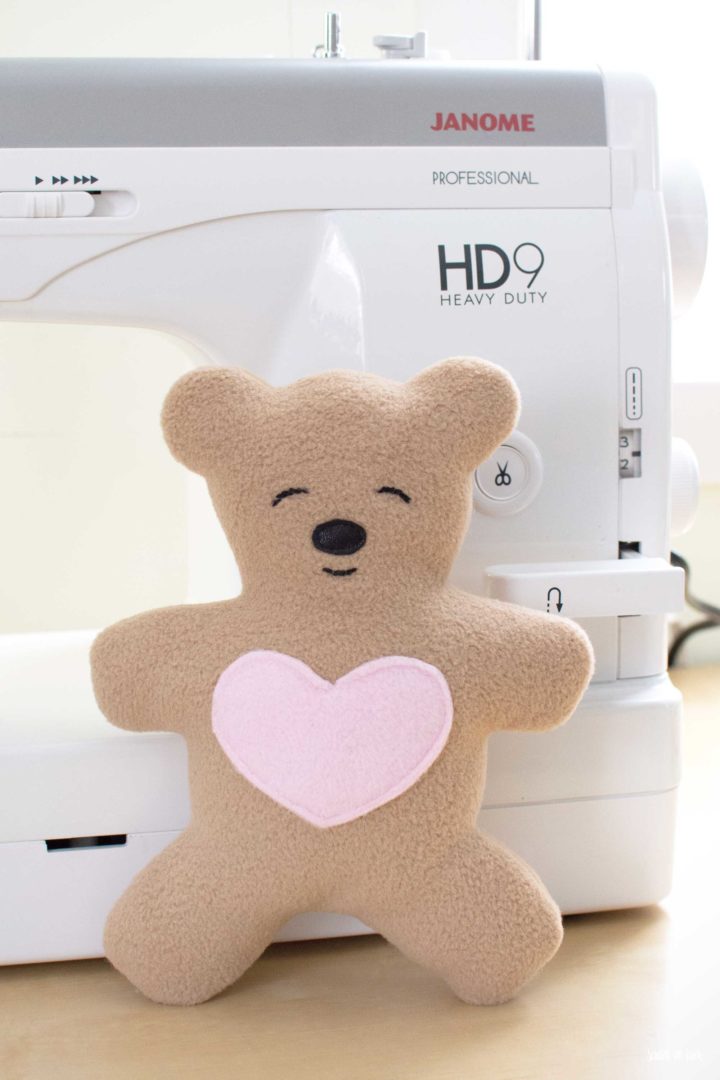
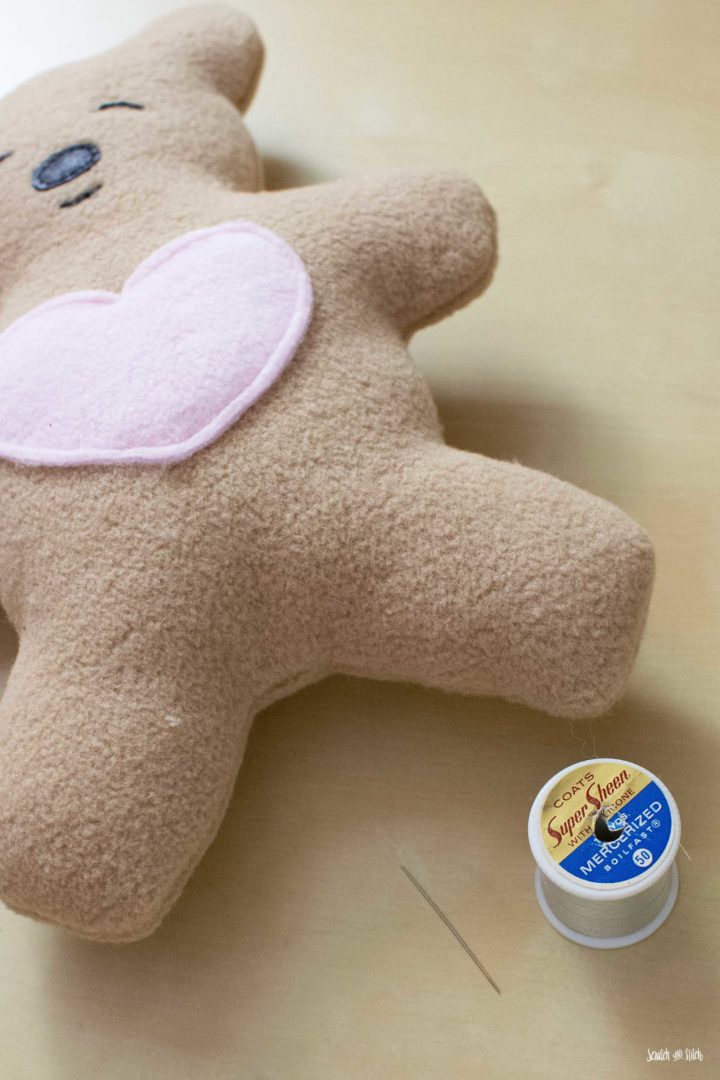
The Love Bear teddy bear sewing pattern got its name when my son walked into the studio, grabbed the unstuffed bear off my desk, squeezed it tight, and said, “The Love Bear.” He patiently waited until they were finished to pick his favorite to have as his own.
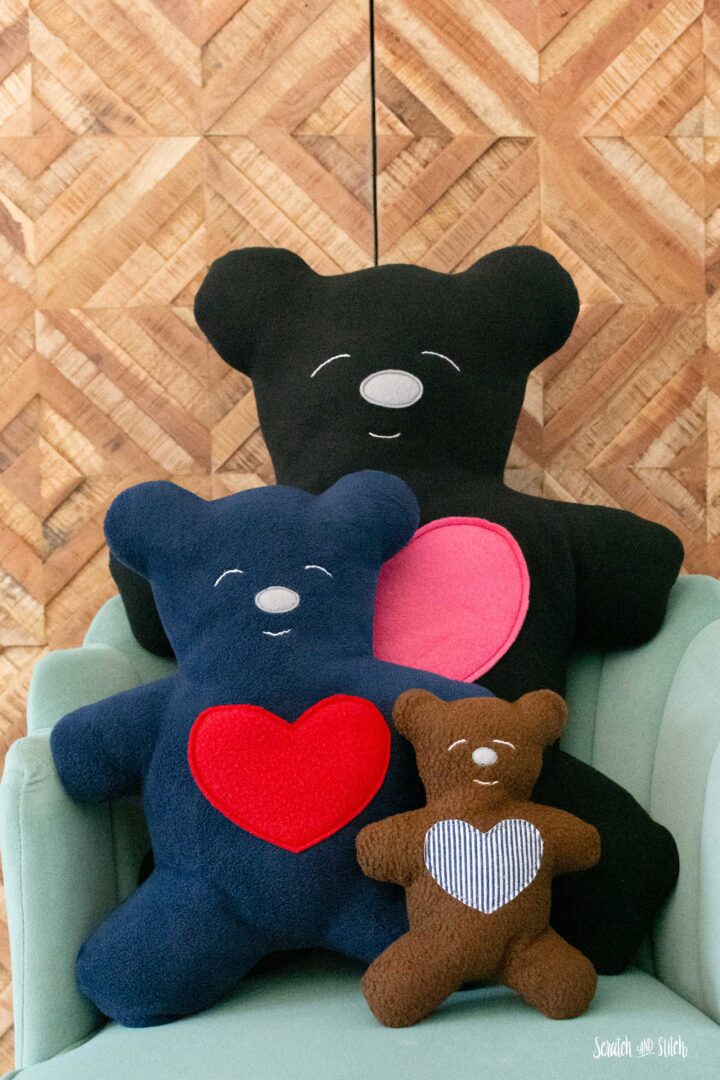
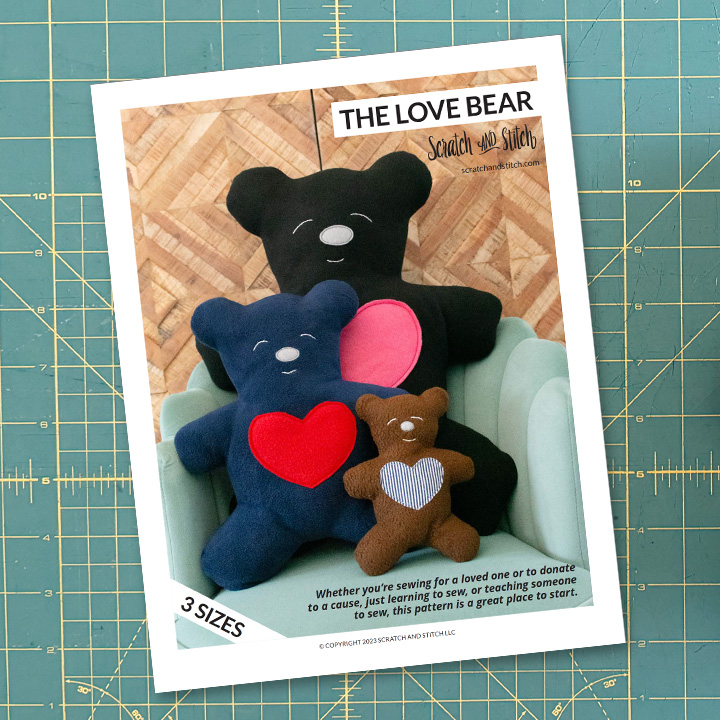
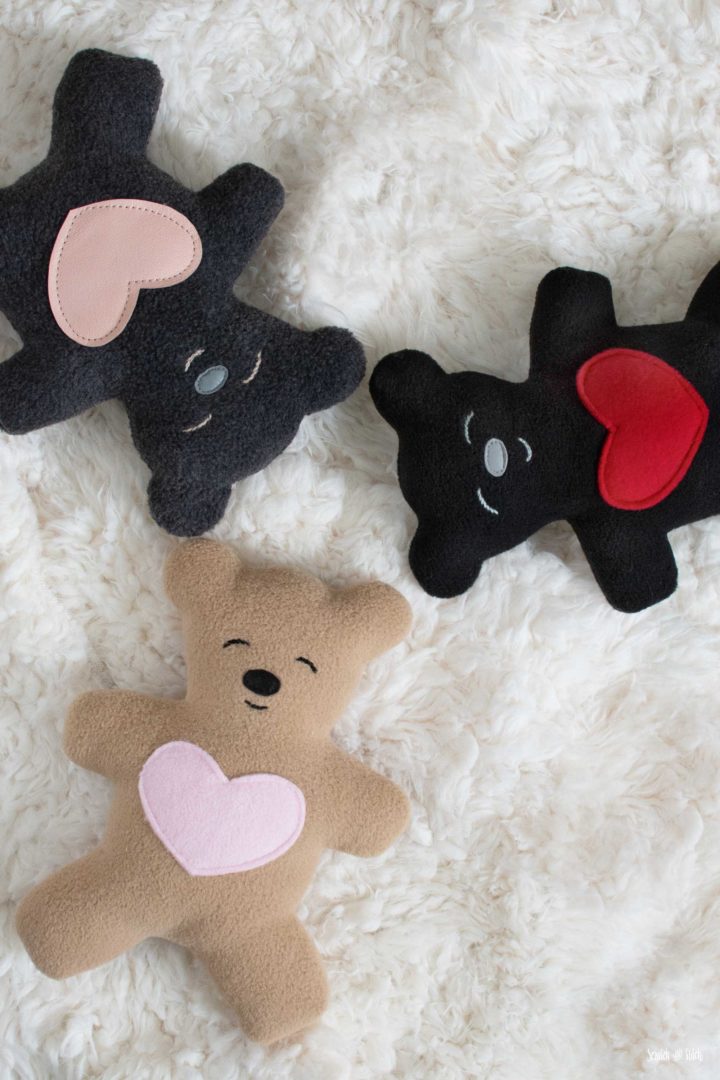
The Love Bear Sewing Pattern
Whether you’re sewing for a loved one or to donate to a cause, just learning to sew, or teaching someone to sew, this pattern is a great place to start.
How to Make The Small Love Bear Using the Free Teddy Bear Pattern
With just two main pieces to assemble, this easy (and free) sewing pattern is a great place to start making plush toys. I’ll walk you through each step from cutting to assembling this small teddy bear pattern. In the end, you’ll have a cute little plush bear for yourself or someone else.
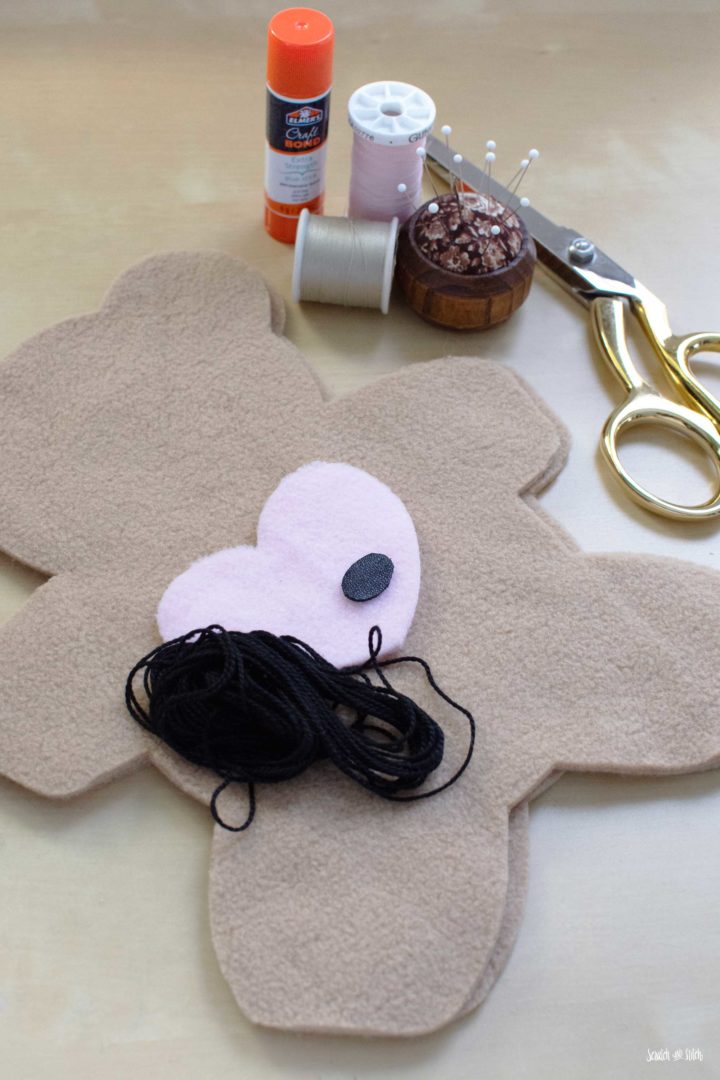
Materials and Tools Needed for the Teddy Bear Pattern
These are the materials needed for the small Love Bear.
- free teddy bear pattern (download above)
- approximately 11″ X 17″ fleece fabric (body)
- 3″ X 3″ fleece, felt, leather, or other fabric (heart)
- fleece, felt, or leather fabric (nose)
- embroidery thread (eyes, mouth)
- coordinating thread
- Poly-fil
- basic sewing tools and supplies
Project Notes
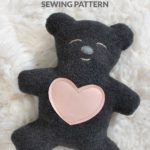
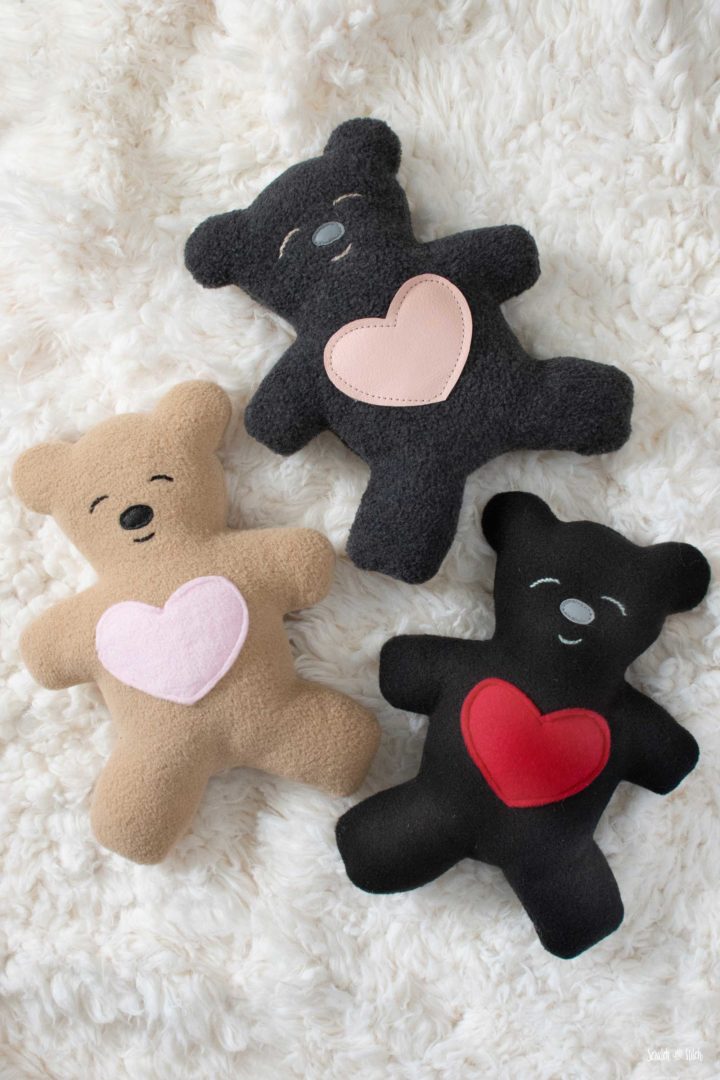
- The final size of the small Love Bear is just over 8″ tall by 7″ wide.
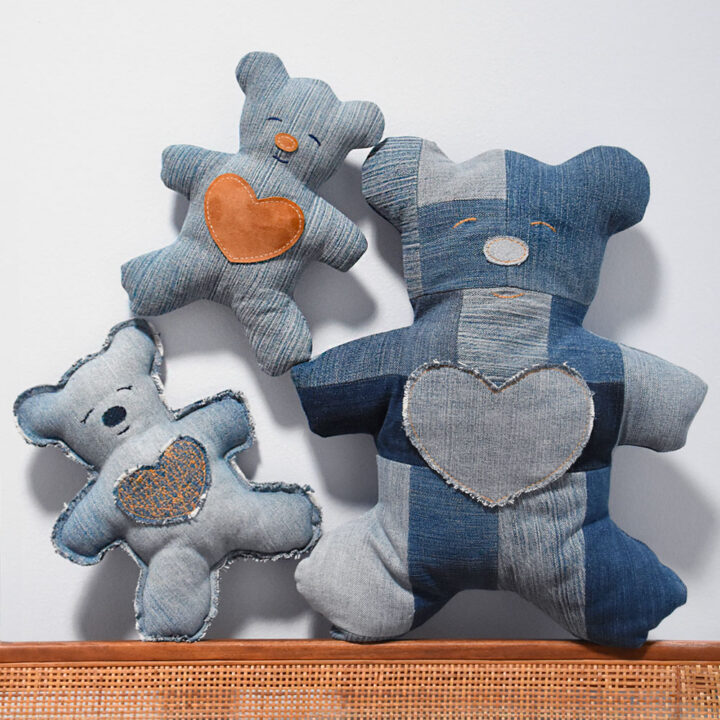
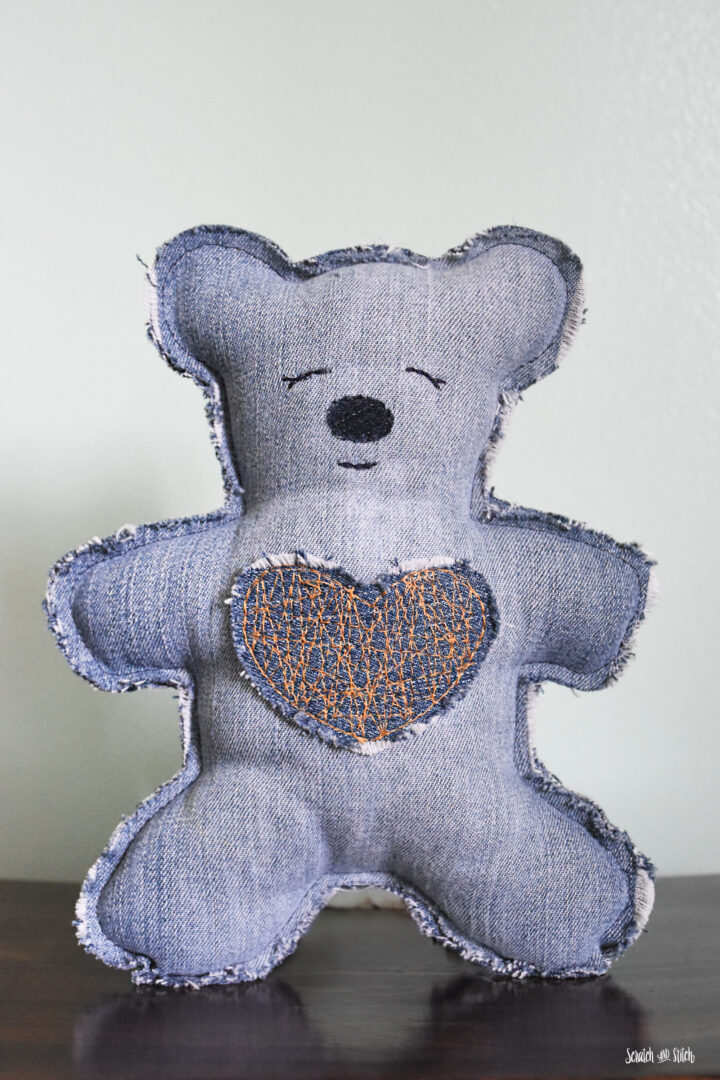
- I’ve written this pattern for fleece fabric, however any fabric will work great for this teddy bear.
- The bear can be sewn by-hand or machine.
- This bear can be sewn with the raw edges turned to the inside or outside. Both ways looks great.
Free Teddy Bear Pattern
The free pattern is for the small size Love Bear only. The download includes printable PDF pattern pieces and SVG cut files for use with Cricut Maker (or other cutting machine software).
Enter your email to get the free pattern in your inbox.
By submitting your email address you will be added to the Scratch and Stitch email newsletter. You can opt-out at any time :)
How to Cut the Teddy Bear Pattern
You can print the teddy bear pattern by hand or use a Cricut Maker machine (or similar).
Cutting by hand:
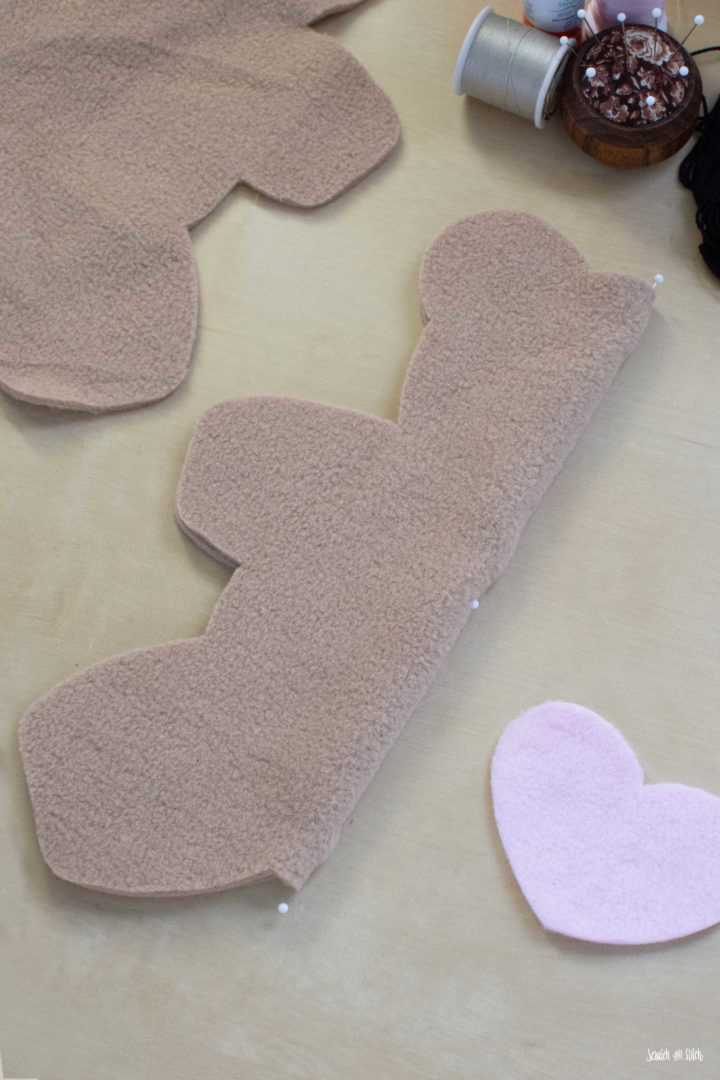
Print the PDF pattern at 100% and cut out the body, heart, and nose pattern pieces.
You have two options for cutting the fabric pattern pieces by hand. Both methods work great for use with this free teddy bear pattern. You can place (or pin) the paper pattern pieces onto the wrong side of the fabric and trace around the pieces with a fabric marking pen or regular pen. Or pin the paper pattern pieces onto the fabric and cut around the paper.
Cutting on a Cricut Maker:
Upload the teddy bear pattern SVG file into Cricut Design Space and place it onto the canvas. Click the “Make It” button to get it ready for cutting.
Prepare your Cricut FabricGrip Mat with your fabric pieces. For the teddy bear body pieces, you’ll need two pieces of fleece fabric approximately 8.5″ X 11″ for each body piece. Once your mats are prepped, select your materials, load the correct blade, and send it to the Cricut Maker to cut.
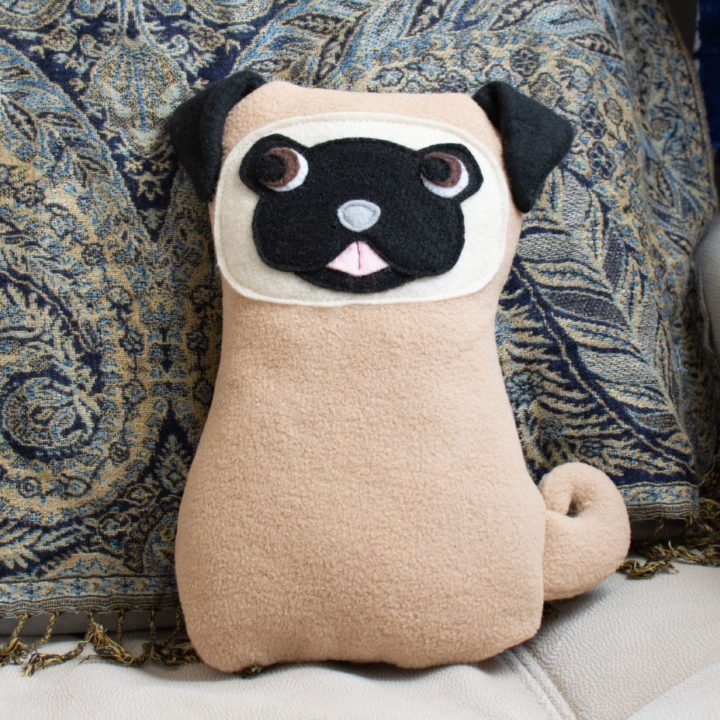
Puggy: Free Plush Pug Toy Pattern
Both kids and sewists will enjoy the simplicity of this free plush pug toy. It’s a quick make for any level of sewer.
How to Sew a Teddy Bear
We’ll start by adding on the heart and face onto the front body piece.
First, to place the heart centered onto the teddy bear belly, fold the front body piece in half lengthwise with the wrong sides together. Place a few pins along that fold.
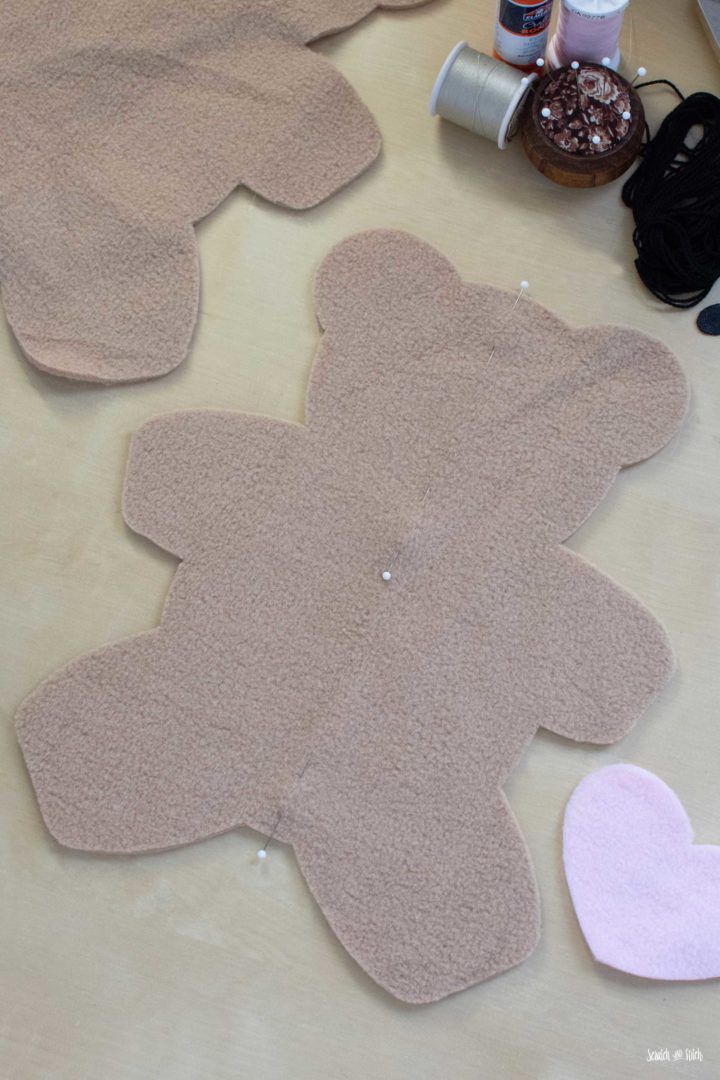
Unfold the body piece, and you will have a line of pins down the very center of the body piece. Measure up from the crotch of the bear 2″ and place the bottom of the heart there.
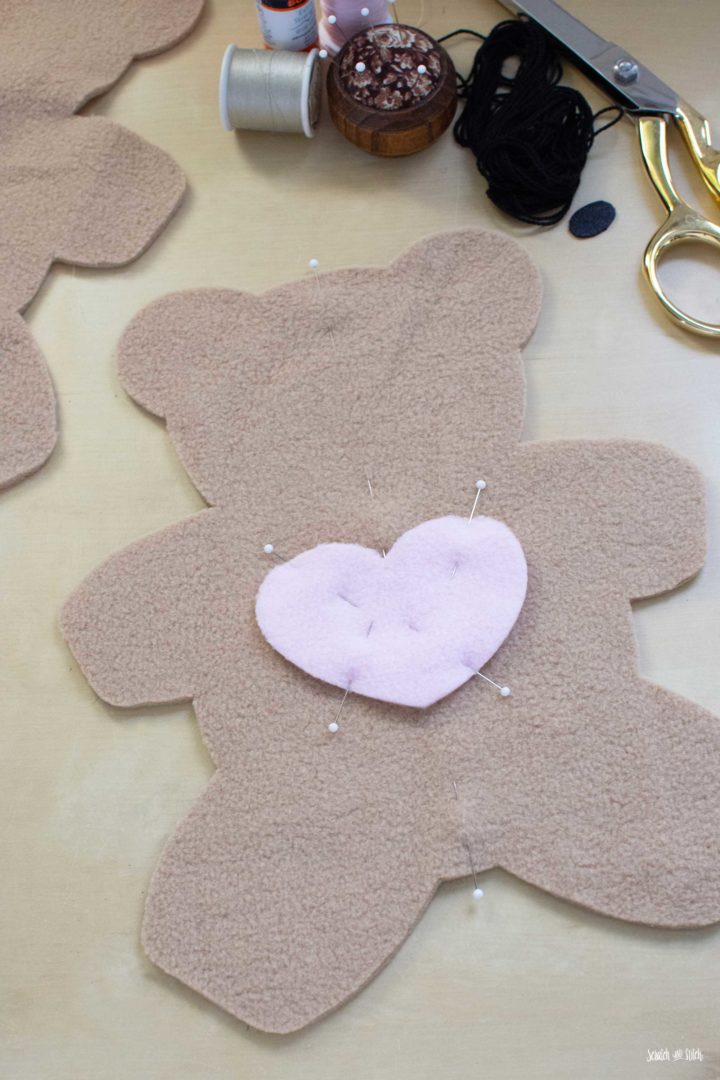
Pin the heart in place. Sew around the perimeter of the heart with a 1/8″ to 1/4″ seam allowance and backstitch to secure the threads. **If you’re using leather for the heart, I recommend adding some glue to the back of the heart to temporarily hold while sewing. Do not backstitch. Pull the top threads to the back and knot.
Next, add the nose. I like to add a little glue to the back of the nose piece to help hold in place while sewing. With such a small piece, gluing is a better temporary hold than pins.
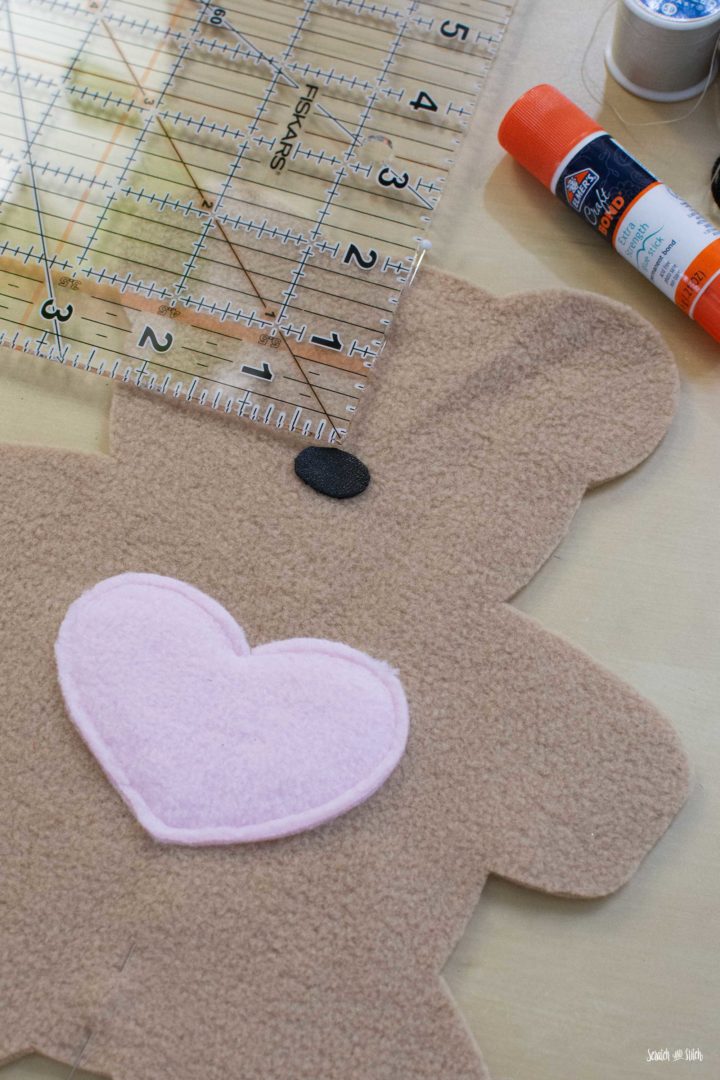
Place the nose piece 2 1/8″ down from the top of the head and center horizontally. Sew the nose piece in place. If using a leather nose, pull the top threads to the back and knot. Otherwise, backstitch to secure the threads.
Now we’ll add the eyes and mouth. I’ve included a placement guide on the pattern piece to help with the location of the face elements. Place the paper pattern on top of the front body piece and clip or pin to hold. On the eyes and mouth lines, use a pin to poke several holes along the lines to create a dotted line.

You can then connect those dots to create openings in the paper pattern. Now you can use a fabric marking pen (or standard pen) and trace through the paper slits onto the fabric. Remove the paper pattern and check that you can see the eyes and mouth lines on the fabric.

Add the eyes and mouth using some basic embroidery stitches. I like to use a stem stitch for the eyes (See How to Stem Stitch), and a split stitch for the mouth (See How to Split Stitch).
Valentine Heart Plush
Make a small plush heart with arms and legs using my free plush sewing pattern and tutorial. It makes a great gift for the little Valentines.

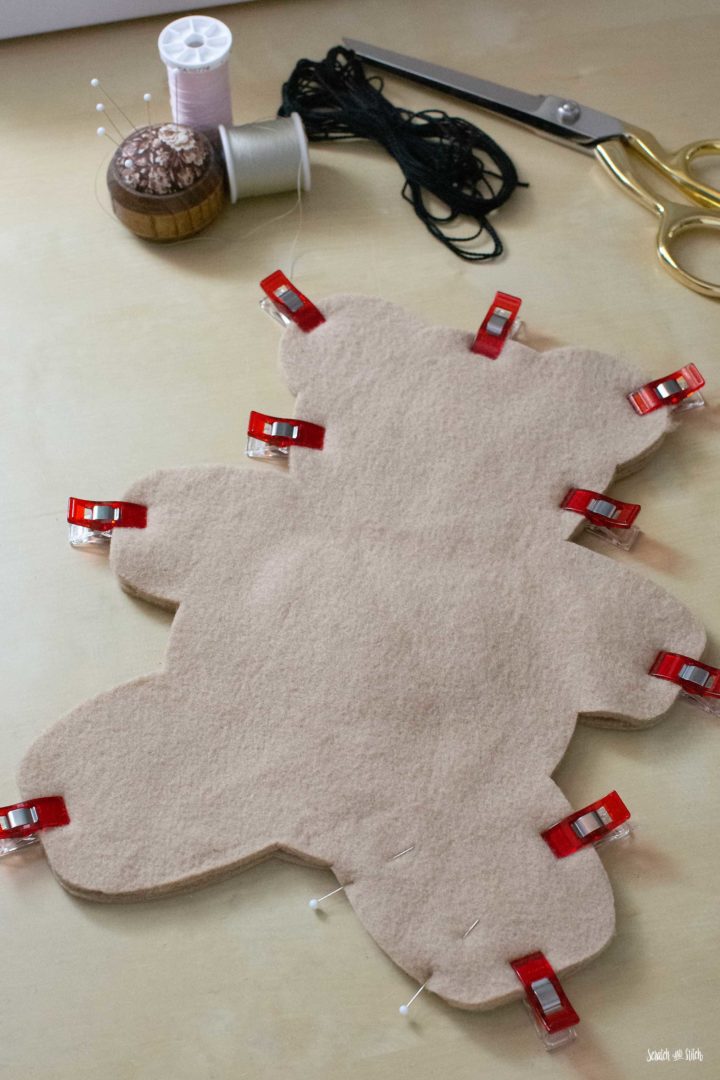
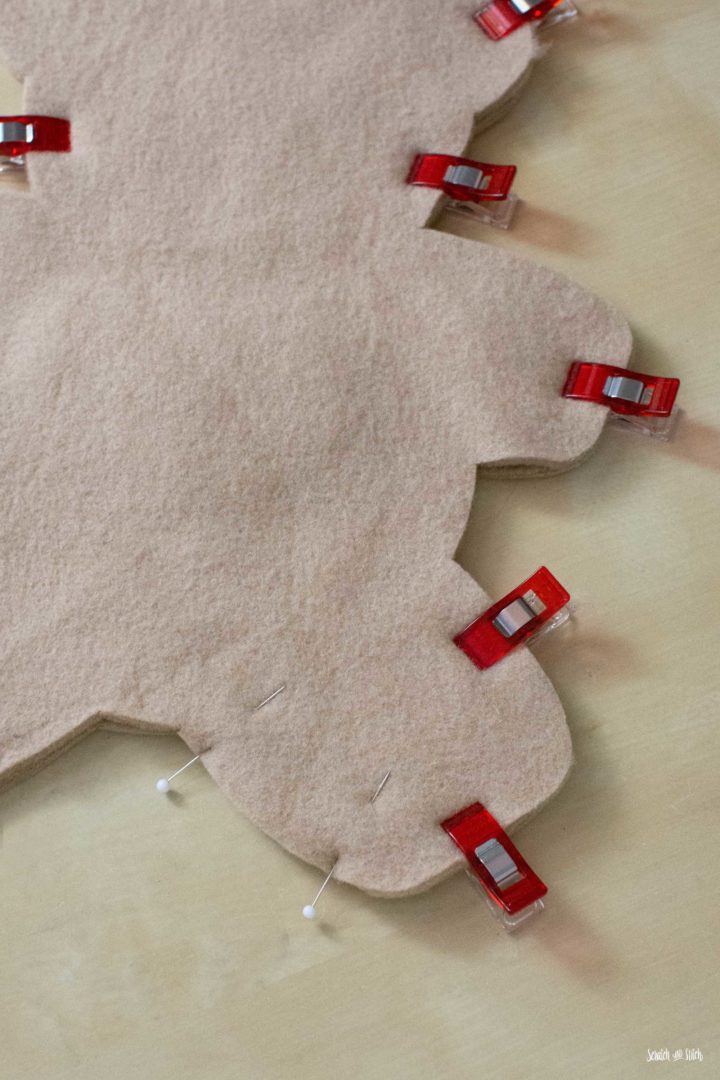
Now it’s time to assemble the body. Place the front body and back body pieces with right sides facing. Pin or clip the pieces together to hold. Along the inside edge of one leg, place pins to indicate where to leave an opening for stuffing.
Sew around the perimeter of the bear with a 1/4″ seam allowance. Make sure to backstitch at the beginning and end of the opening. This will ensure that the stitches do not come undone when turning the teddy bear right sides out.
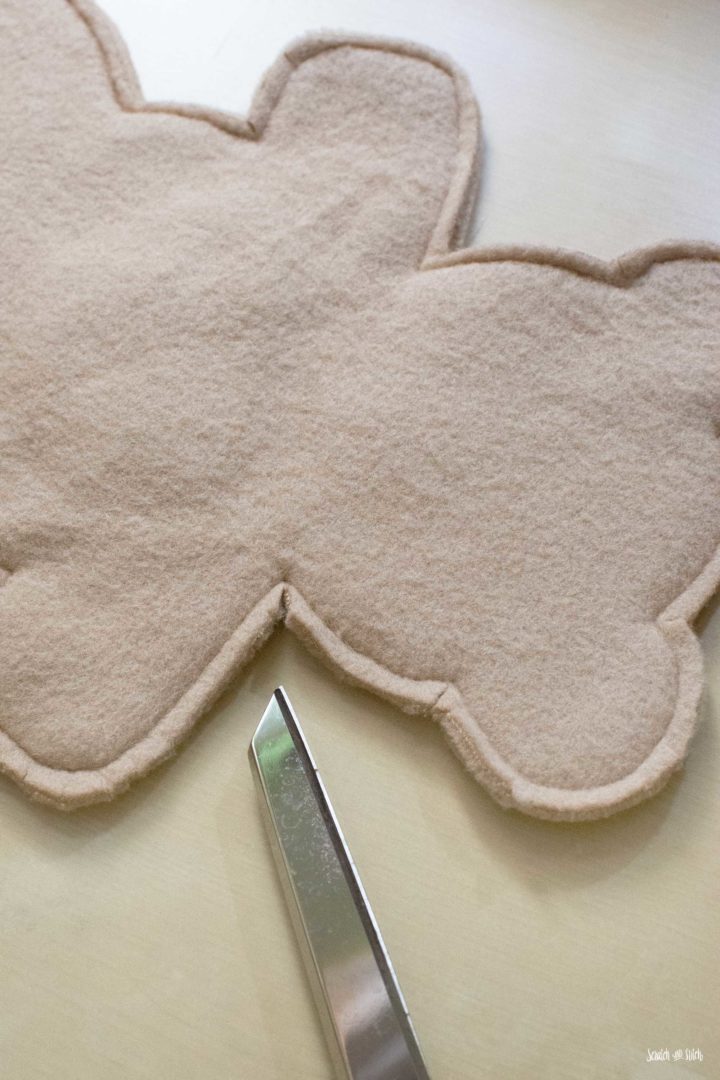
Before turning the teddy bear right sides out, carefully clip the seam allowance at the corners, making sure not to cut the stitches. Cutting these corners allows the corners to sit flat after turning. Optionally, you can snip the seam allowance at the curves to ensure the curves sit flat. I do not do this for fleece fabric.
Carefully turn the teddy bear right side out by pulling it through the opening. Use a chopstick or similar to push out the ears, arms, and legs.
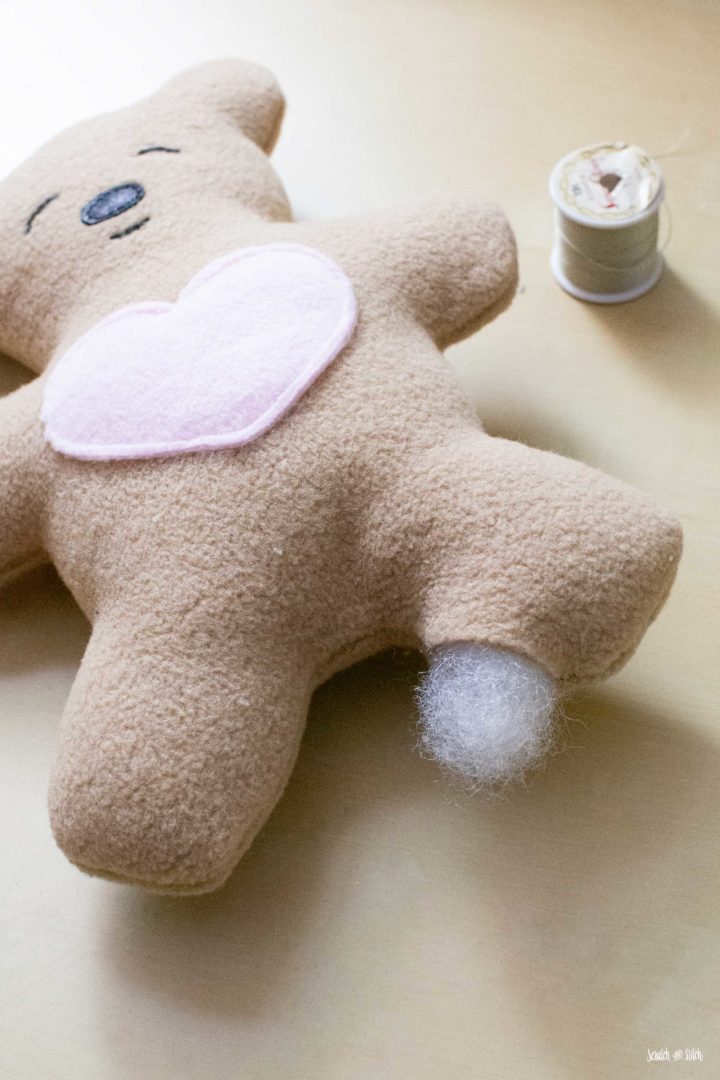
Stuff the teddy bear with poly-fil so it’s plush but not overstuffed.
The last step is to close up the hole. Fold the seam allowance inside the bear and pin to hold. Sew the hole closed using a ladder stitch (See How to Ladder Stitch).
Video: How to Make the Love Bear
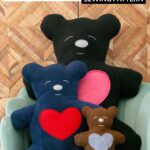
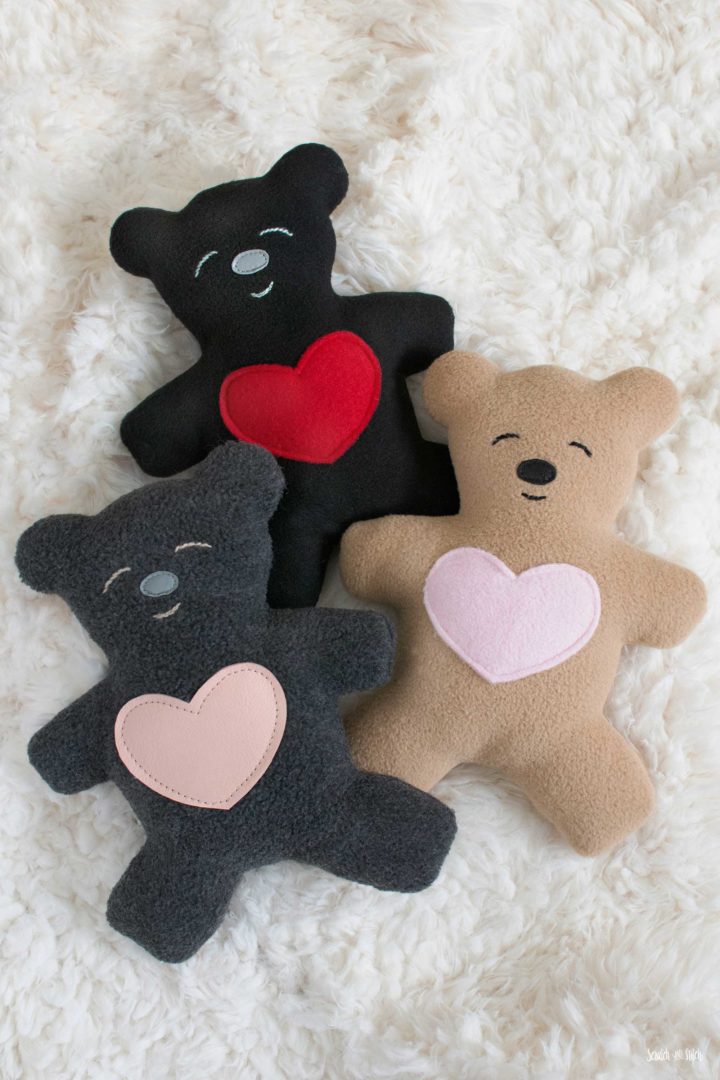
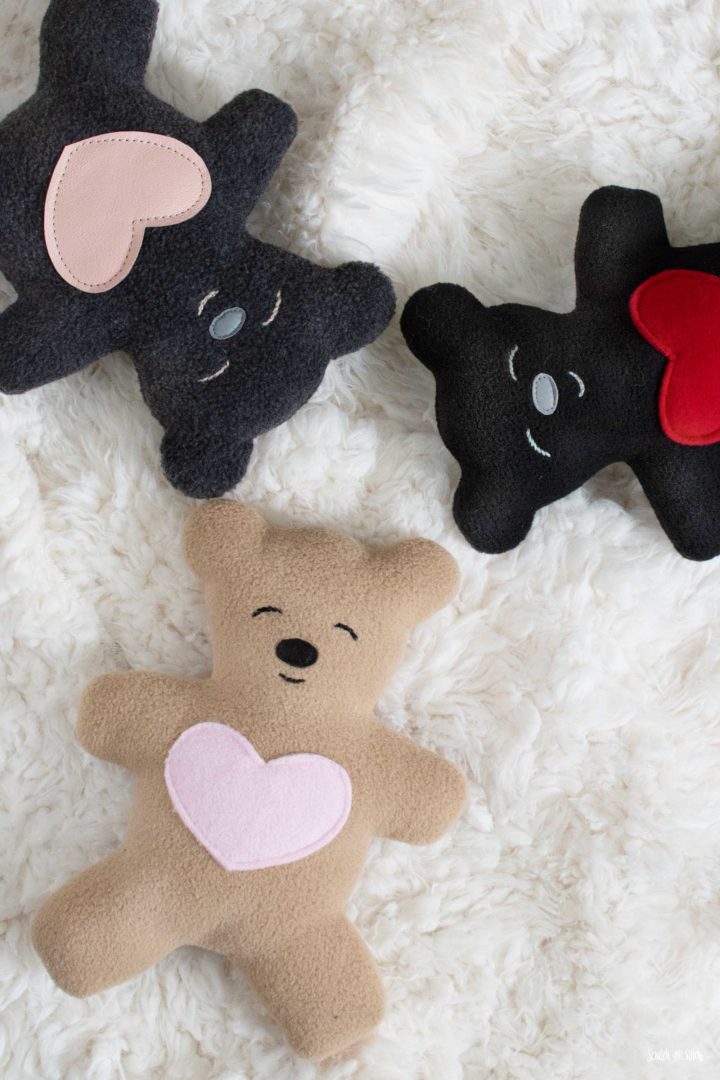
The method for making all three sizes of the Love Bear is the same. The measurements for the heart and nose placement vary slightly. In this video tutorial for the Love Bear Teddy Bear Plush I am making the small size (the original Love Bear size).
You now have a cute little bear made with this easy teddy bear pattern. I hope you learned something new about sewing plush toys and know someone that will enjoy a new cuddly friend.
The Love Bear Sewing Pattern
Whether you’re sewing for a loved one or to donate to a cause, just learning to sew, or teaching someone to sew, this pattern is a great place to start.
Did you use this teddy bear pattern? I’d love to see your Love Bears! Send me pics of your makes and don’t forget to tag @scratchandstitch on Instagram and Facebook.
Hi Cathi, thank-you for the sweet teddy. I was looking for a quick “hug” for a friend who is feeling blue, and this is perfect.
Thank you so much! This little bear will be perfect for my charity sewing group for children in need of some teddy cuddles 😍
I made 26 of your teddies out of my auntie’s clothes for the family when she passed away
Hi! I am looking for a project that will make a nice stuffed Christmas ornament for my unborn granddaughter’s first Christmas later this year. Is this pattern easy to scale down in size so it will make an ornament-sized bear? Thanks!
HI Patti – Yes! I think this would work great smaller and as an ornament. My biggest tip is to pivot at the corners to get a nice squared corner (does that make sense?) Try printing out the pattern at a smaller percentage and cut it out. (Keep in mind the seam allowance is included). That should give you a good idea of the sizing. Send pics! :)
Hi Cathi! Thanks, and yes, I think I understand what you mean by pivoting to make a squared corner. I will probably work on this in the next few days, since the other project I am working on has gotten me totally frustrated and I need to step back and ponder what is going wrong. LOL… I will definitely send pics, but cannot totally complete it since I do not yet know the baby’s name.
These are adorable. What kind of stitch do I use to go around the perimeter if sewing it all by hand?
Thanks Annie! A basic running stitch works great for the teddy bear. If you wanted it to be an even stronger hold, use a backstitch. :)
Thankyou! I’m such a novice and these instructions are very helpful
Thank you so much… I have three super sized bolts of fleece… I plan on making a zoo full of bears to send overseas as fillers in Operation Christmas Child shoeboxes!!! The children receiving these have never received a Christmas gift before! I’m so excited to find this simple pattern! I am legally blind but know I can do this! Thank you again! ♥️
This is so wonderful Brenda! :) I have had numerous people tell me that they have used my patterns for OCC or similar, and I am honored to know that my work is being used for such a good cause. Please send pics of your bears, I would love to see how they turn out.
Thank you for the sweet bear pattern. I’ll be making it with my dughter.
Thank you for the sharing the teddy bear pattern. I’ll be making it for my little cousins.
I made two using material from shirts from their deceased grandfather, making them into a little memory bear for two infants
I was asked to make Love bears for the Hospital to give to the new borns as they leave the Hospital. I have made close to 400, last count.
I made your pattern out of cardboard. I weight it down and draw around onto the fabric with a magic marker.
To make it go a little faster I put the bear in a hoop and use a tight zigzag for the eyes and nose with black thread. Change to red thread. Then move the hoop around the mouth and heart.
And I close the leg with a small zigzag with thread to match fabric!
Thank you for your great little pattern!
I enjoyed making 3 teddy bears. First try on my recently inherited Pfaff Embroidery machine that belonged to my mom. I am giving 2 bears to a newborn set of twins and their big sister. It was fun. I’ll make more. Thank you for the pattern. I do have a pic but don’t see where I can post it. ❤️❤️❤️
This is almost the exact type of tiny teddy I am trying to make for local hospital to include for parents of stillborn babies. I am failing at trying to turn my picture (which I did change to svg) into an embroidery file so I can embroider the face and stitch the front to the back like an applique. Can anyone help me?
From a grandma of an angel baby, thank you so much for your kindness to families facing crushing loss. I know it means so much to them.
I love this bear. It is just too cute. Now if I just had a way to print the pattern. I would be willing to pay someone to print this and send it to me.
The instructions were extremely helpful and the teddy bear was super easy to make! Thanks for helping me to create a beautiful gift for a soon-to-be new member of our family.
Hi Andrea – Thank you for your comments :) These teddies make great gifts for kiddos. I would love to see pictures if you’d like to share.
Cathy
You are a Rockstar, in my book. Thank you so much for helping me out. I adore the patterns and really appreciate your kindness.
You are very welcome! :)
I am getting ready to mass produce these for the Operation Christmas Child Shoeboxes that are collected and sent around the world. These will be perfect for the children ages 2-4. Thank you for this pattern.
This is a really cute pattern! I’m going to make one for my nephew.
That’s wonderful to hear :) Take pics!
Hi! Does prewashing fabric matter for this little bear? Planning on making some for Christmas gifts. Thank you!
Since these get be cuddled by littles with sensitive skin, I do prewash it for that reason. Fleece fabric will not shrink with washing, so it does not need to be washed. Cotton will shrink, so I would prewash that in hot temps.
I am going to make the teddy bear. I just love it.
Thx
Not sure if the link works, but my 3 1/2 year old wanted to learn to sew. We stitched a burlap sack, and suddenly he wants to make an animal!
Your pattern was perfect for our patience :) We used an old double-layered blanket. The cutouts were lamb’s wool tights that I ruined in the washing machine, so a nice repurpose. The boy wanted open eyes and my husband insisted on a mouth. Stitching through 4 layers took some patience, and my son stuffed the bear so much, it will be a nice travel pillow!
Thank you for an entry into bigger crafting projects for us!
Hi Maria – The link you sent here did not work, but I love hearing stories like this! It makes my day to hear that my patterns are being sewn up by little hands. You can email me a pic if you have one. :)
Thank you for the pattern. These ones were made from a discarded cardigan and will go in parcels wherever they are needed.
https://www.facebook.com/photo?fbid=701872498242655&set=a.522126976217209
Looks like a fun bear to make.
Looks like a fun bear to make. It is a great bear to make for needy children.
It is a fun and easy make. I get several emails per week with photos and stories from people all over the world who make bears for charity, donations, hospice, hospitals, shelters, and more. :)
Wonderful pattern and tutorial! Made it smaller but turned out great! Thank you!
Thanks for the kind comments! You’re right, this can work in multiple sizes. :)
Thanks for sharing this pattern. I made one from old blue jeans to match the quilt that I had recently finished for my expected granddaughter (sorry for not having a picture to share, its a surprise for when the baby arrives in November) So simple to cut and sew, finished the bear under an hour and used my new machine to embroider the facial features. i also cut the heart a bit smaller and used a blanket stitch to attach, thanks again for sharing.
That is wonderful! Now I want to see both the quilt and bear. You probably know that I love some good upcycling projects! Especially denim. :)
Thank you for the pattern. We are donating the bears to the local Fire Department to carry in the ambulance and a few to the Police to carry in their cars. We are members of the General Federation of Woman’s Club, a non-profit organization. We are always looking for projects to donate to the community and it helps that you gave us your pattern, thank you. They will help children calm down when under a really stressful situation.
This is so heartwarming and just makes my day to know that these sewing patterns are being used for such good causes. :)
The pattern is perfect and your instructions are really clear. I have made 10 with fabric bags for them to live in for the children in my daughter in law’s nursery class who are struggling with being in school. I thought that was mass production until I read some of the comments above. 400! They are also an excellent gift for babies and small children in the family. Thank you and thank you to all those generous people, sewing for their communities.
Those ten bears will surely be loved. :) Yes, the Love Bear is a popular choice for those that want to make one or multiple. It has now been made thousands of times all over the world.
I’m absolutely in love with this pattern! The details on the bear’s face are so adorable and I love the idea of the hand-stitched name tag. Can’t wait to start making my own little love bear!
Awesome!