This post may contain affiliate links.
UPDATE:
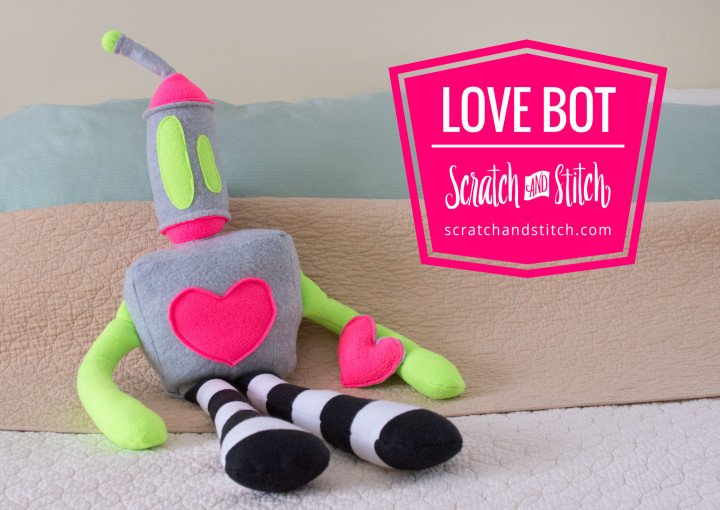
Thank you for stopping by to see the Love Bot, plush robot sewing pattern. :)
As of February 2025, the Love Bot sewing pattern is now being offered as a downloadable, printable PDF sewing pattern with step-by-step video tutorial.
Please enjoy this updated and revised, still beginner-friendly plush toy sewing pattern.

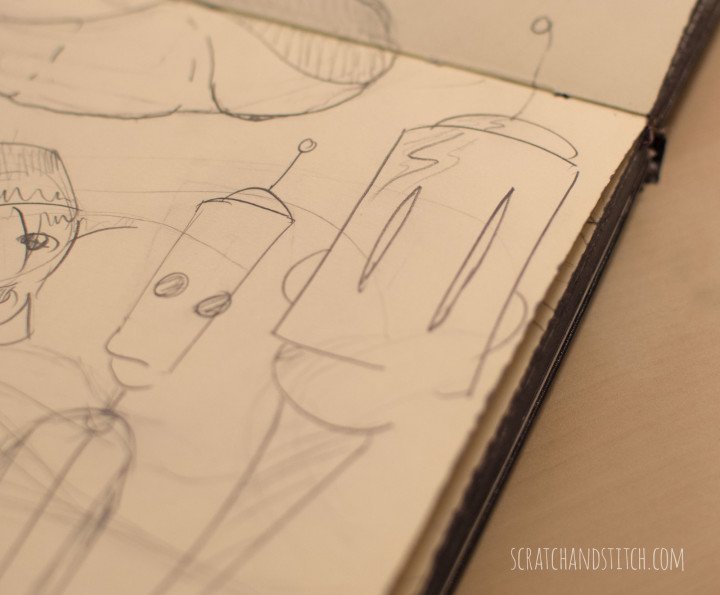
It had been on my to-do list to turn one of my husband’s drawings into a stuffed animal, and this stuffed robot pattern is based on his sketches. I combined a few drawings to create an easy plush toy sewing pattern and brought the Love Bot Plush Robot sewing pattern to life.
Best Materials for the Love Bot Plush Sewing Pattern
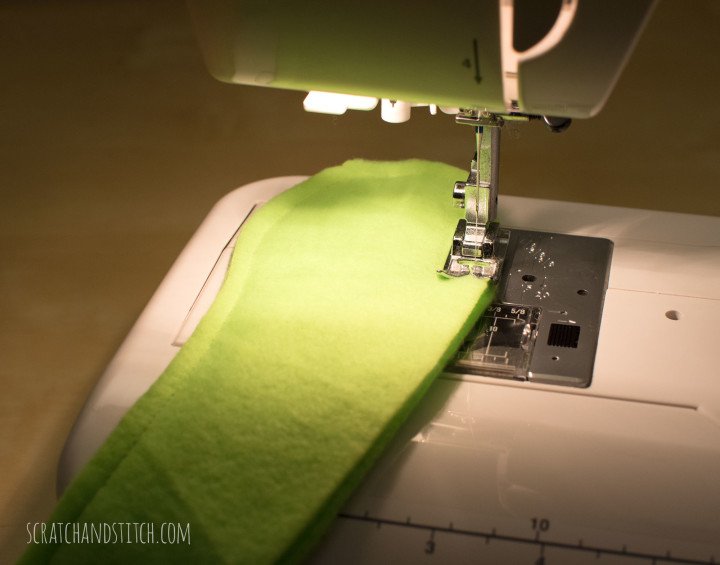
This stuffed robot pattern was written to be made with fleece fabric because it’s very easy to work with, is slightly stretchable, and so soft. This easy plush toy sewing pattern can be made with any fabric. Scratch and Stitch readers have made the Love Bot in many fabrics or combonations of fabrics. The pattern can be sewn by hand or with a machine. The Love Bot is stuffed with poly-fil.

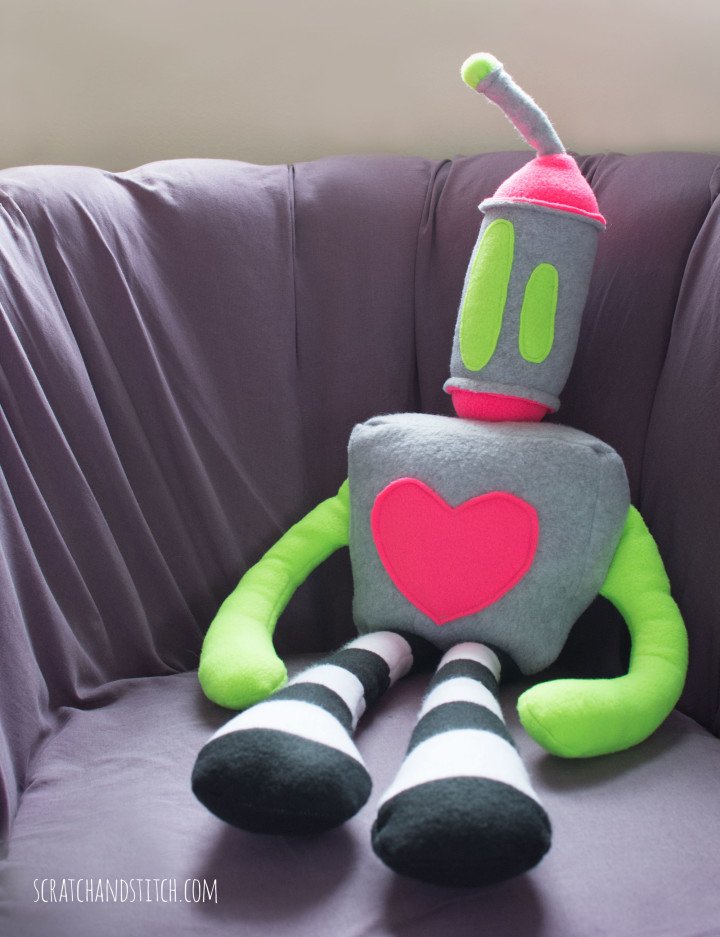
Love Bot Sewing Pattern
Try making the friendly Love Bot plush robot sewing pattern. It will bleep-bloop it’s way all the way into your heart. Customize it with different color, textures, and pattern for a one-of-a-kind stuffed toy.
How to Make the Love Bot Plush Robot
- Get the Love Bot Sewing Pattern here.
- Print all pages at 100%.
- Cut out and assemble the paper pattern pieces as noted in the PDF pattern instructions.
- Follow along with the supplemental step-by-step video.
- Share your Love Bot by email or tag @ScratchAndStitch or #scratchandstitch on social media.
You’ll need:
- Love Bot sewing pattern
- fleece fabric in a variety of colors
- coordinating thread
- poly-fil
- basic sewing supplies and tools

Making Love Bot Legs and Arms
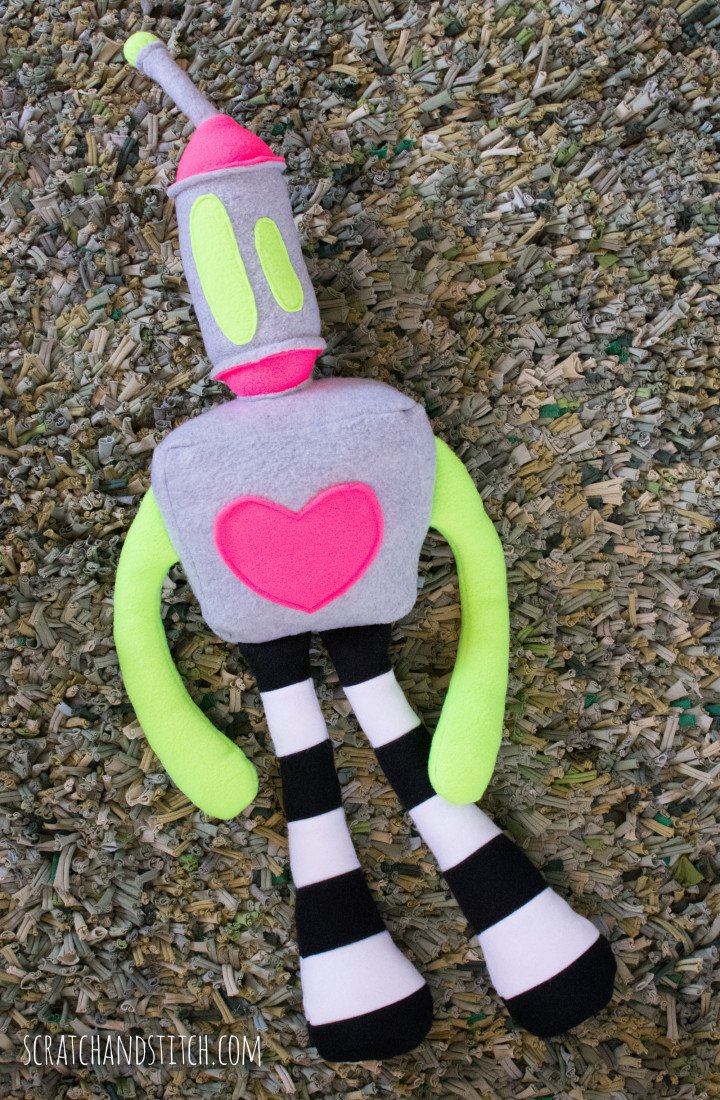
The Love Bot’s striped legs are optional and are written into the pattern instructions. You can make the legs striped or customize to your liking.
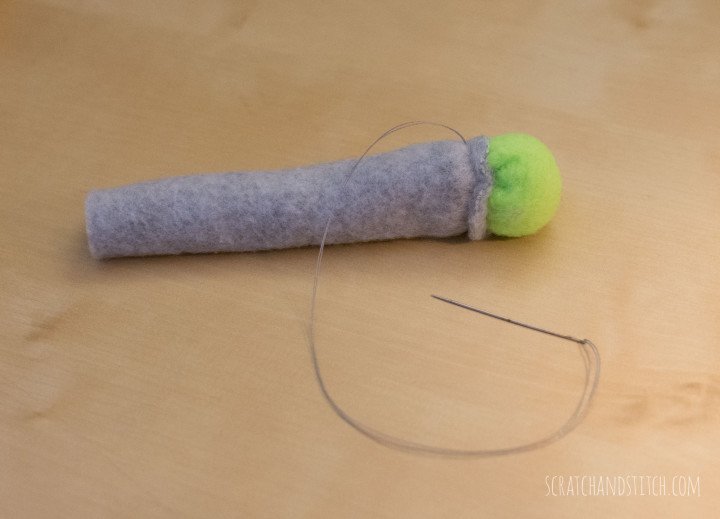
Love Bot Robot Antenna
What robot would be complete without an antenna. The Love Bot has it’s own antenna for signaling other robots or it’s owner.
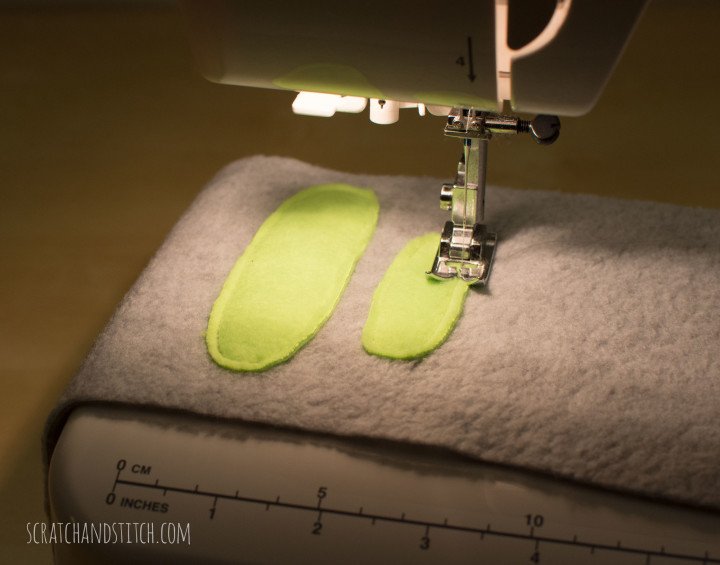
Love Bot Face
Two big eyes are the only facial features on the Love Bot plush. Feel like it needs more? Get creative with more shapes, buttons, or rivets.
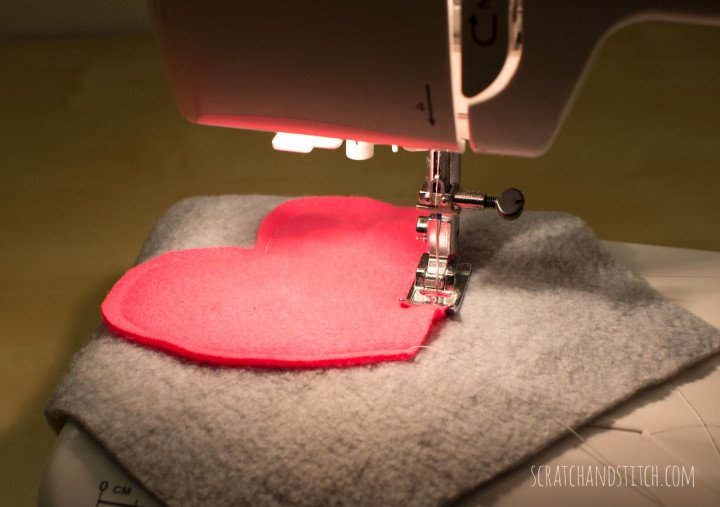
Love Bot Heart
The Love Bot stuffed robot sewing pattern gets it’s name because of the heart on it’s chest.
Love Bot Sewing Pattern
Try making the friendly Love Bot plush robot sewing pattern. It will bleep-bloop it’s way all the way into your heart. Customize it with different color, textures, and pattern for a one-of-a-kind stuffed toy.
Give this Love Bot to a kid near you. :) I hope you like the Love Bot as much as we do.
Did you make the Love Bot? I would love to see pictures and feature your plush robot. You can send pics to me or tag @scratchandstitch Instagram.
Cutest robot pattern ever, Thank you!!!!!
Oh wow just like the characters in The Neverhood!
My granddaughter loves her robot! Thank you. Super cute pattern.
That’s awesome. :) I would love to see her robot! You can send a picture to cathi@scratchandstitch.com
I was gonna say, it looks like the Neverhood character so cute. I loved that game.
I have to check out this Neverhood game with all the responses about it :)
The link to get the patterns isn’t working :(
Hi Rayne – The pattern is a .PDF file attached to the email sent to you. I’ll send it out to you again so it’s at the top of your inbox :) Let me know that you got it.
Can you review the part where you attach the shoulder piece and sew on three sides? How to point the arms upwards when you just sewed it shut. Trying to figure out how get this body part done. Any help would be greatly appreciated, this is a really cute pattern and I’m committed to getting it made.
Hi Debbie –
I’m glad you asked! :) First, the shoulder panel gets attached on three sides (back, left side, and right side). Then you flip the arms upward so they come out of the open front side between the shoulder panel and the front panel. Push the legs into that same opening and pin them at the bottom.
Does that help clarify? I had someone else ask about this portion too, so I want to make sure it makes sense. Let me know if you got it figured out :)
What a fun little guy to make! Thank you for the pattern and inspiration. I used the fleece fabrics I had on hand and I fell in love with him before he was even finished. Thank you again!
PS. The only part I wasn’t sure of was the attachment of the head to the shoulder panel. I tried a couple of different ways before settling on cutting out the circle and basically hand-stitching the head into the cutout. The instructions didn’t say to cut out the circle but that’s what worked for me.
Thanks Lois! He is a cutie. I will double-check those instructions, so thank you for mentioning that. This pattern is due for an update, as it was the very first sewing pattern I created quite a few years ago. Thank you for sharing. :)
Hi all. Wow! This one was a challenge for me. I am 60 years old and haven’t hand sewn in over 45 years. I had to email Cathi for help. Today I finished Love Bot. Thanks Cathi.
Love to make thing
Cathi, which steps are safe enough for kids, so they can help?
Hi Michael – There are many steps of the Love Bot that kids can participate in! From choosing fabrics, to cutting pattern pieces, to reading instructions, to stuffing, and of course sewing. :) My son has helped with all of these with several projects. I would pick the age appropriate steps to get kids involved in making the Love Bot.