
This post may contain affiliate links.
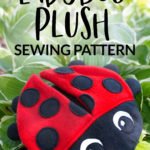
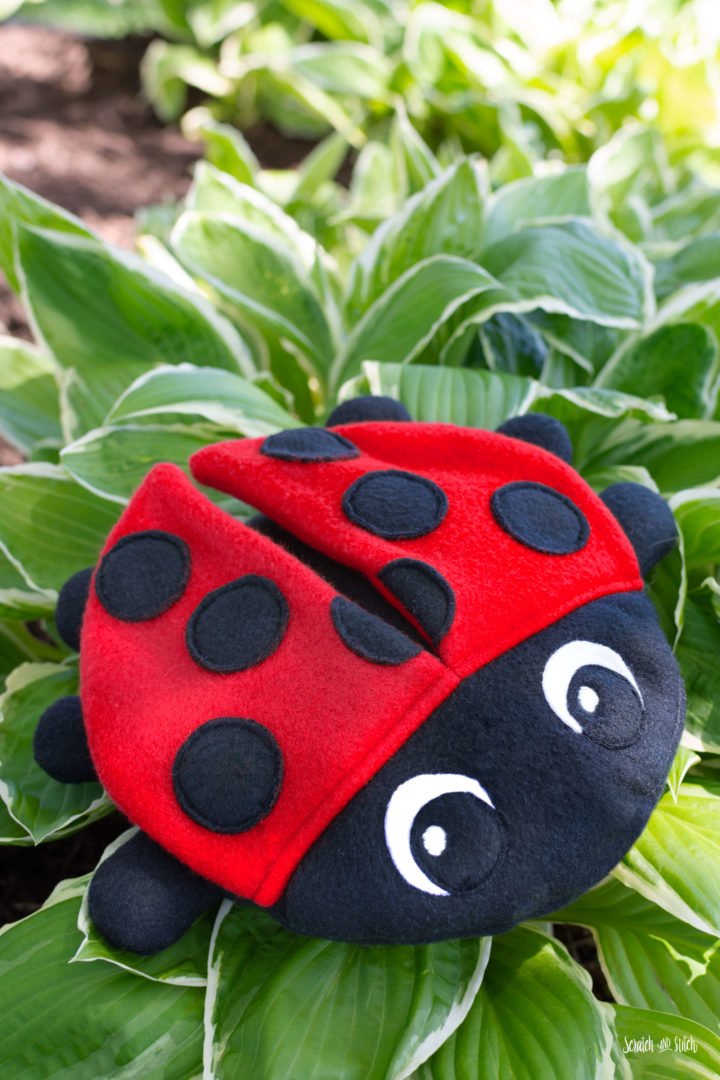
Did you know that the most common ladybug is the seven-spotted ladybug? I hadn’t until I was researching ladybugs to model this Ladybug Stuffed Animal Sewing Pattern. This pattern is designed to be beginner-friendly, using mostly circles and just six pattern pieces. Keep scrolling to watch the video.
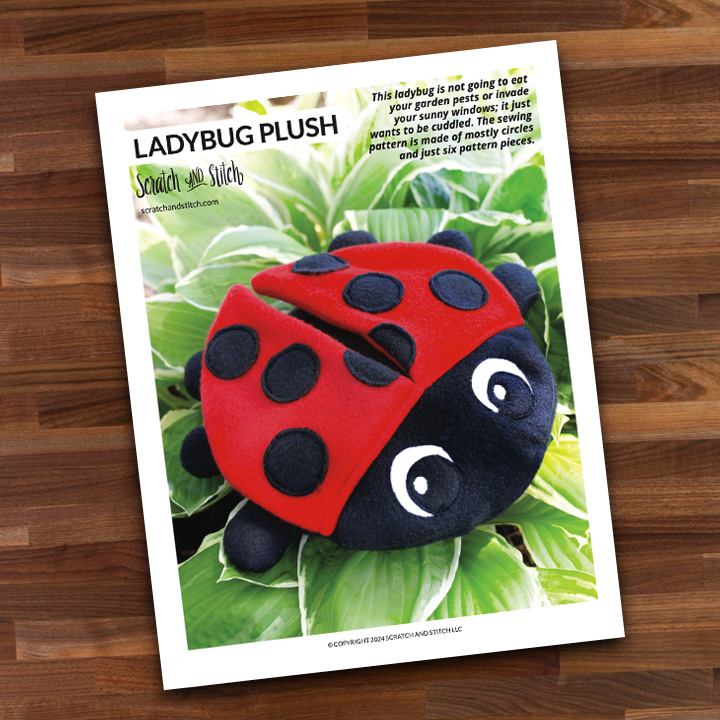
Purchase the Printable Ladybug Sewing Pattern
Make your own plush Ladybug stuffed animal with our easy-to-follow sewing pattern. The pattern includes a printable PDF, SVG file, and a video tutorial to guide you through each step.
Having a three-year-old in the house has me learning about all sorts of things I hadn’t even considered. I know more about the bugs that are under every rock in our yard, which bugs don’t have eyes, which bugs are carnivores or herbivores, and that I don’t particularly appreciate having millipedes put in my hair.
What Makes This Ladybug Plush Sewing Pattern Special?
This Plush Ladybug Sewing Pattern is a unique sewing pattern because:
- it’s made of mostly circles
- the wings are movable
- the pattern can easily be made in both fleece or felt (or a combination of both)
- it’s modeled after real ladybugs
- kids will love cuddling this ladybug
- this is a great plush sewing pattern for kids to make (or help make)
- it makes a great pillow
- its super cute
What to Know About the Stuffed Ladybug Sewing Pattern
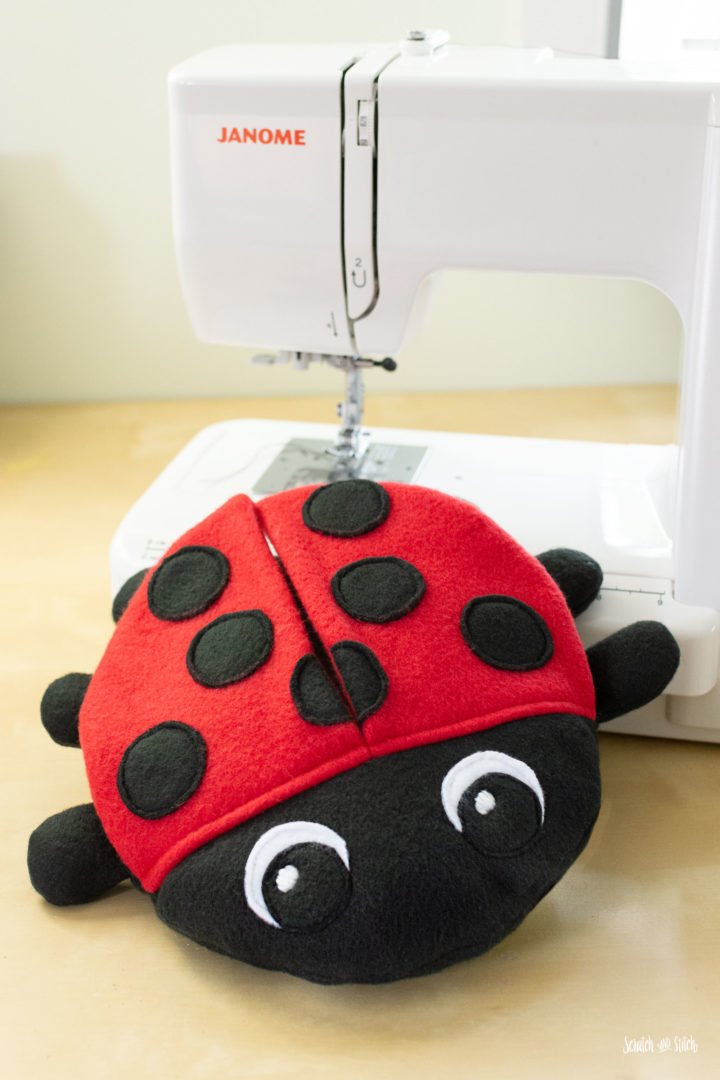
- The final size is approximately 9 inches wide
- Seam allowances vary and are noted throughout the instructions
- Set stitch length to 3 for fleece fabric
- Felt can be substituted for the eyes
- Fleece or felt circles can be used for eye reflection instead of embroidery thread
- Pattern includes placement of spots and legs
- Spots and Eye A pieces are identical circles
How to Make the Ladybug Stuffed Animal
This ladybug is not going to eat your garden pests or invade your sunny windows; it just wants to be cuddled. The sewing pattern is made of mostly circles and just six pattern pieces. Any sewing level sewist can make this project. It’s a great project for young sewists.
Materials Needed to Make the Ladybug Plush
- red fleece fabric (wings)
- black fleece fabric (body, legs, spots, eyes)
- white fleece or felt fabric (eyes)
- white embroidery thread (optional)
- coordinating thread
- filling (Poly-fil, pillow stuffing, or similar)
Ladybug Plush Pattern
This free version of the ladybug does not include printable instructions.
Enter your email to get the free pattern in your inbox.
By submitting your email address you will be added to the Scratch and Stitch email newsletter. You can opt-out at any time :)
Print the ladybug pattern and assemble paper pattern pieces with tape. Cut out the paper pattern pieces.
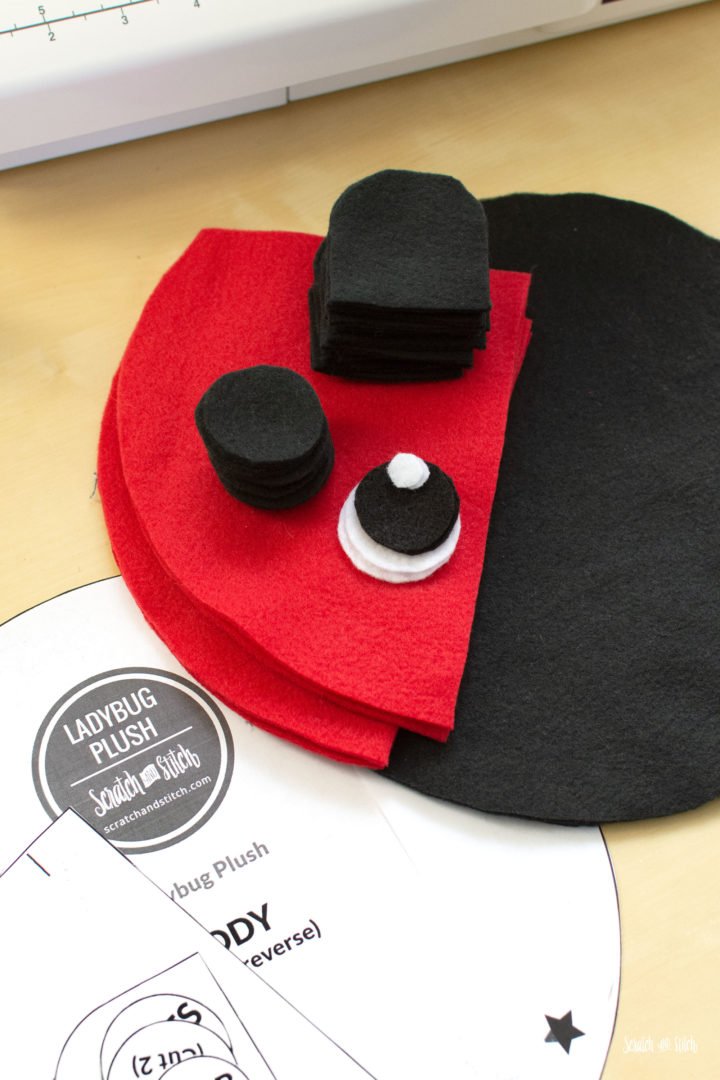
Cut out the pattern pieces from your fleece fabrics. You will have:
- 4 wings
- 2 body
- 12 legs
- 8 spots
- 2 eye A
- 2 eye B
- 2 eye C
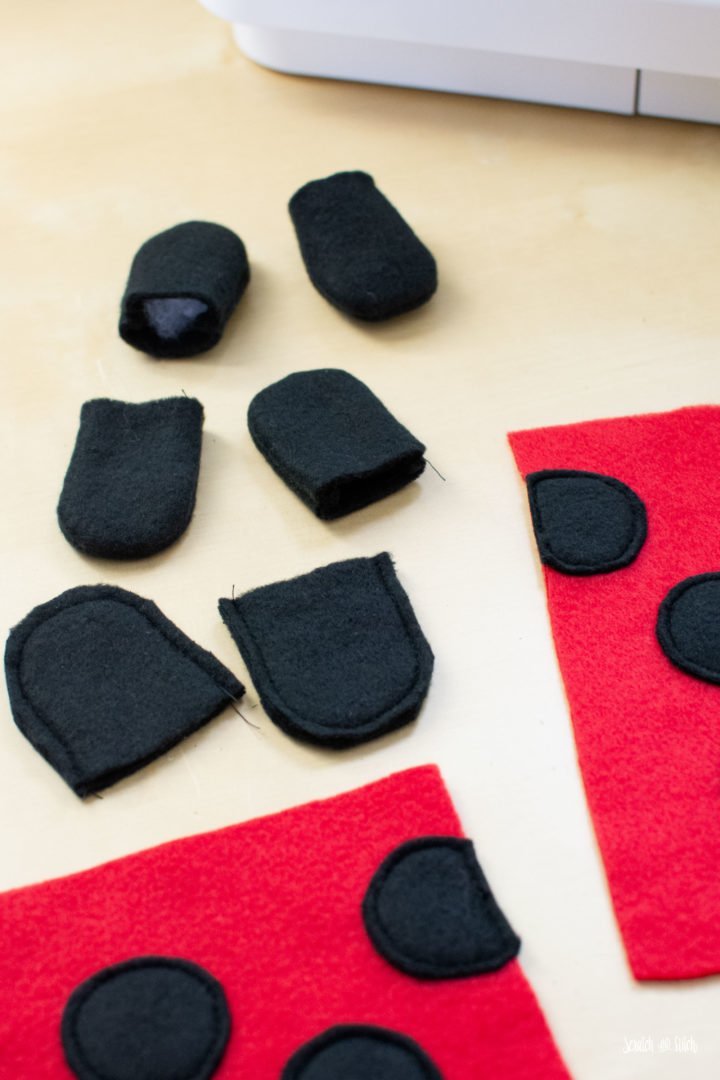
Make the Ladybug Legs
Place two leg pieces right sides together and sew around the curved edge with a 1/4″ seam allowance. Leave the flat edge open. Turn the leg right sides out and lightly fill with Poly-fil. Repeat with all six legs. Set aside.
RELATED: Do you like creepy-crawlies? Try the Giant Centipede Stuffed Animal and the Felt Chain Snake sewing patterns.
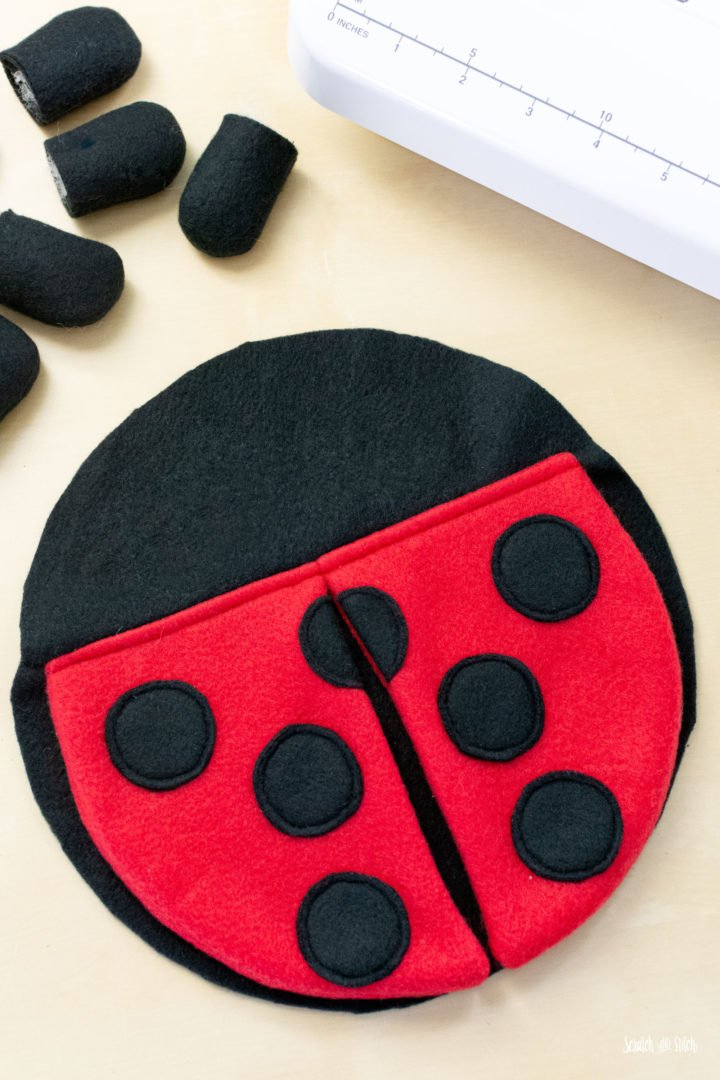
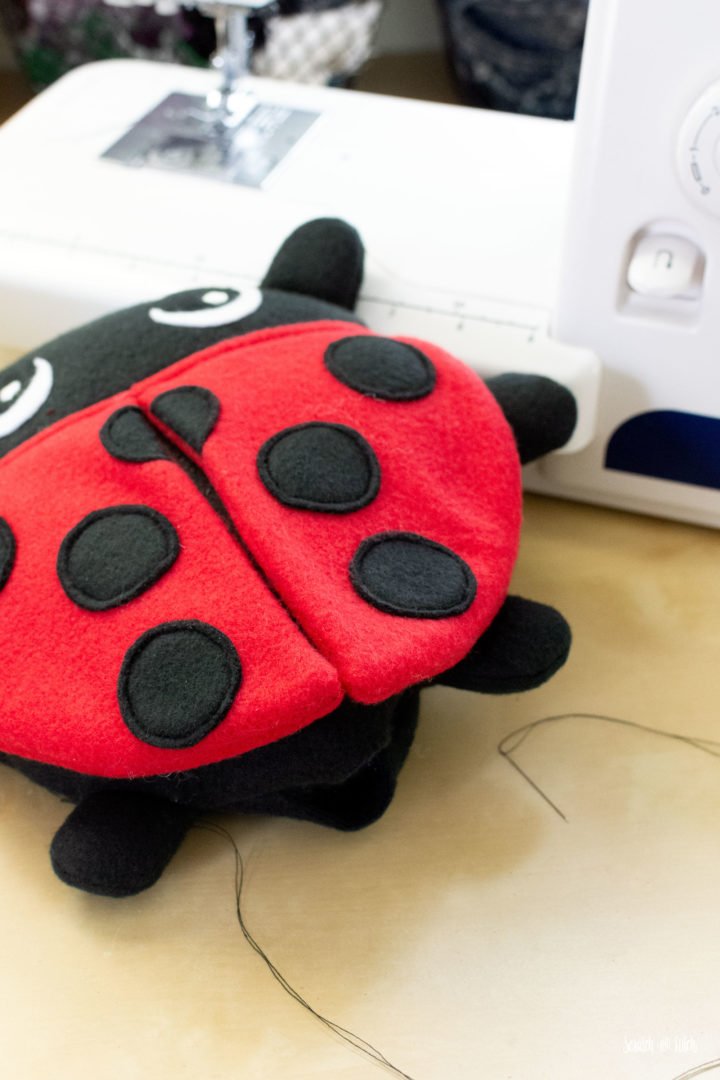
Make the Ladybug Wings
Onto one wing piece, pin the spots in place using the spot guide included on the body pattern piece. One spot will hang over the edge of the wing.
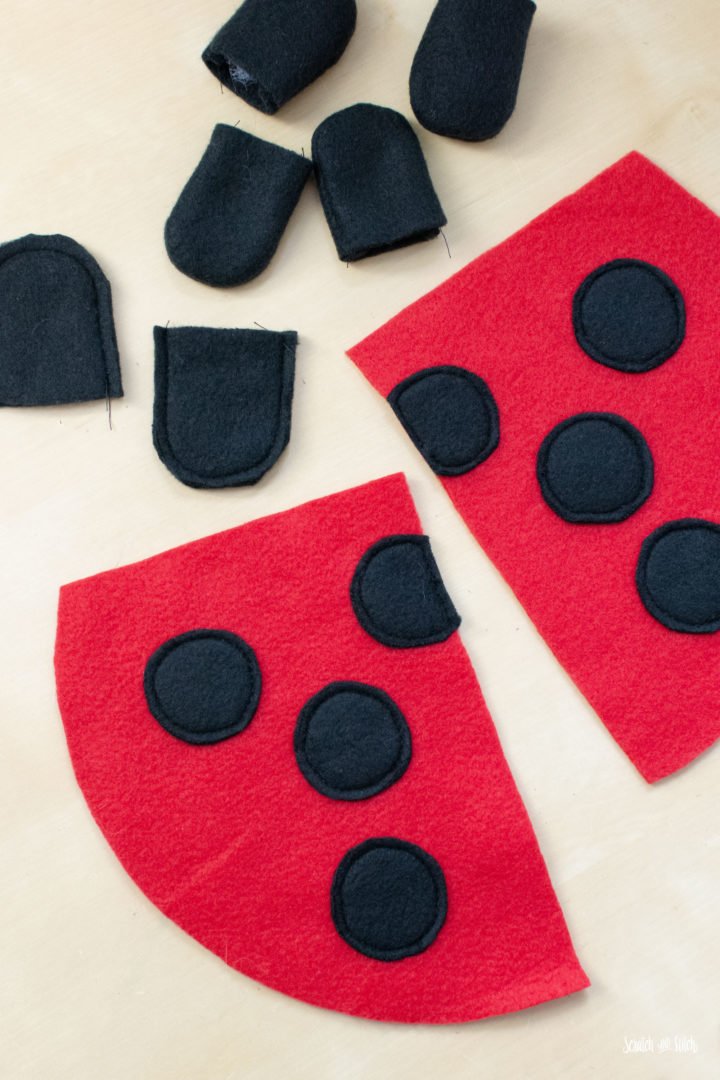
Sew around the perimeter of each spot. Trim off the extra fabric for the spot that hangs over the edge. Repeat with the other wing.
Place a spotted wing piece right sides together with a plain wing piece. Sew the curved edge and the long straight edge with a 1/2″ seam allowance. Make sure to backstitch at the beginning and end. Leave the top edge open. Trim the corner to reduce bulk. Turn the wing right side out. Repeat with the second wing as a mirror image.
Using the wing placement guide included on the pattern, mark where the wings are to be placed onto a body piece using pins.
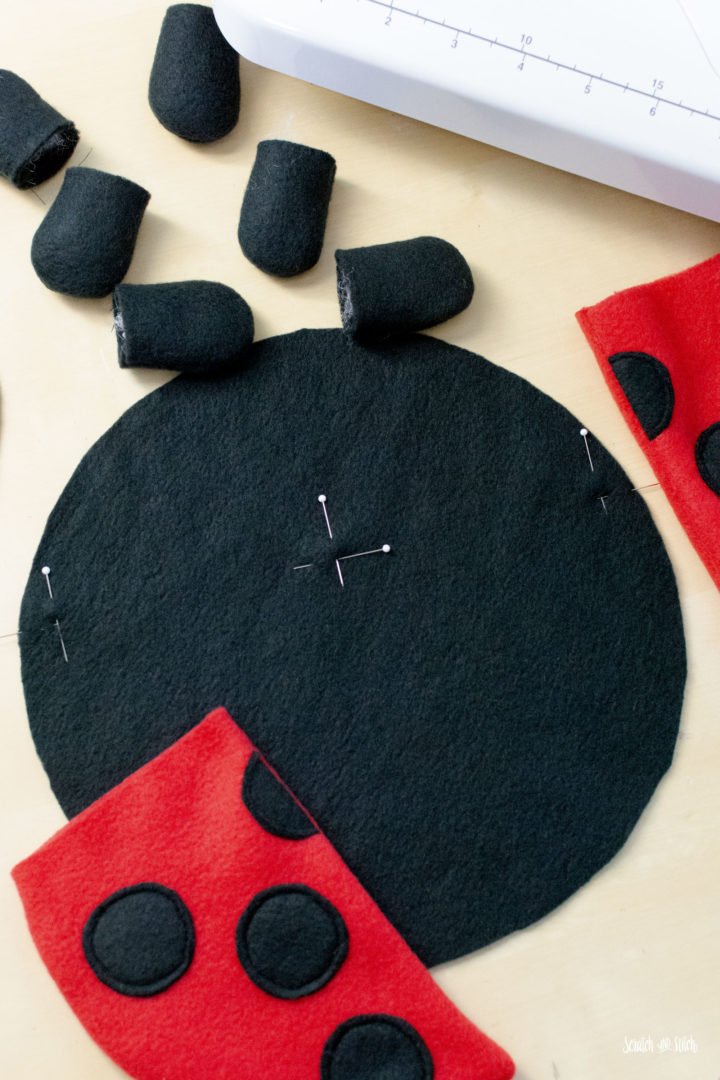
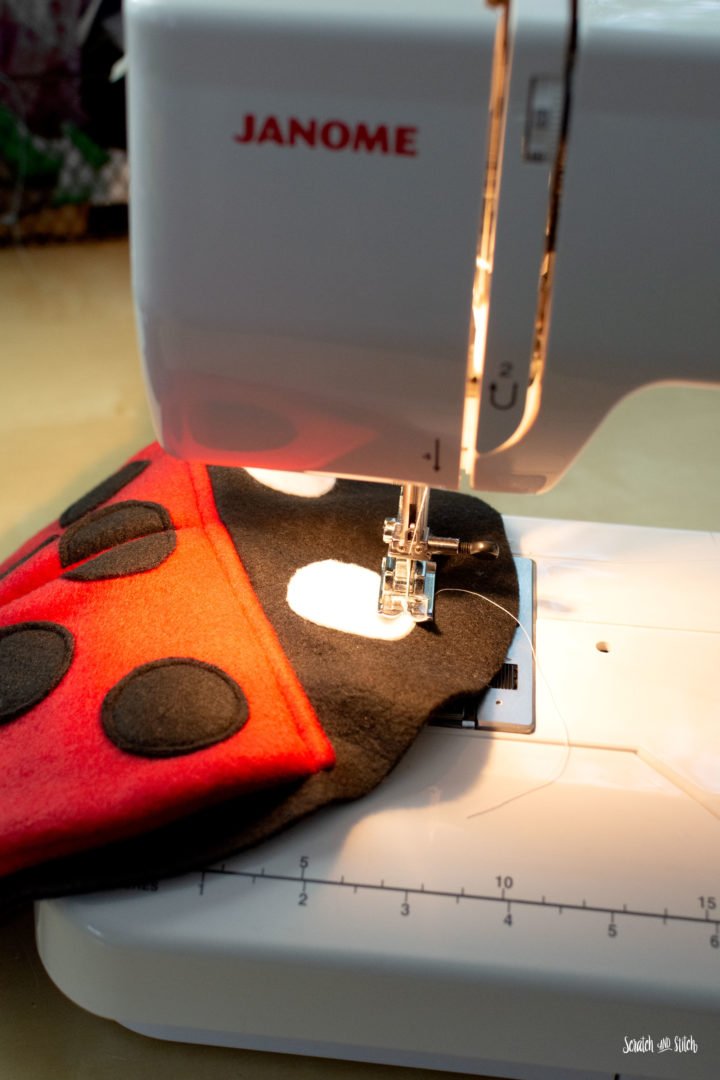
Place the wings on top of a body piece with right sides facing, so the wings are turned up towards the top of the body (see photo). Make sure the center of the wings are centered and touching. Pin wings in place and sew across the wings with a 1/4″ seam allowance.
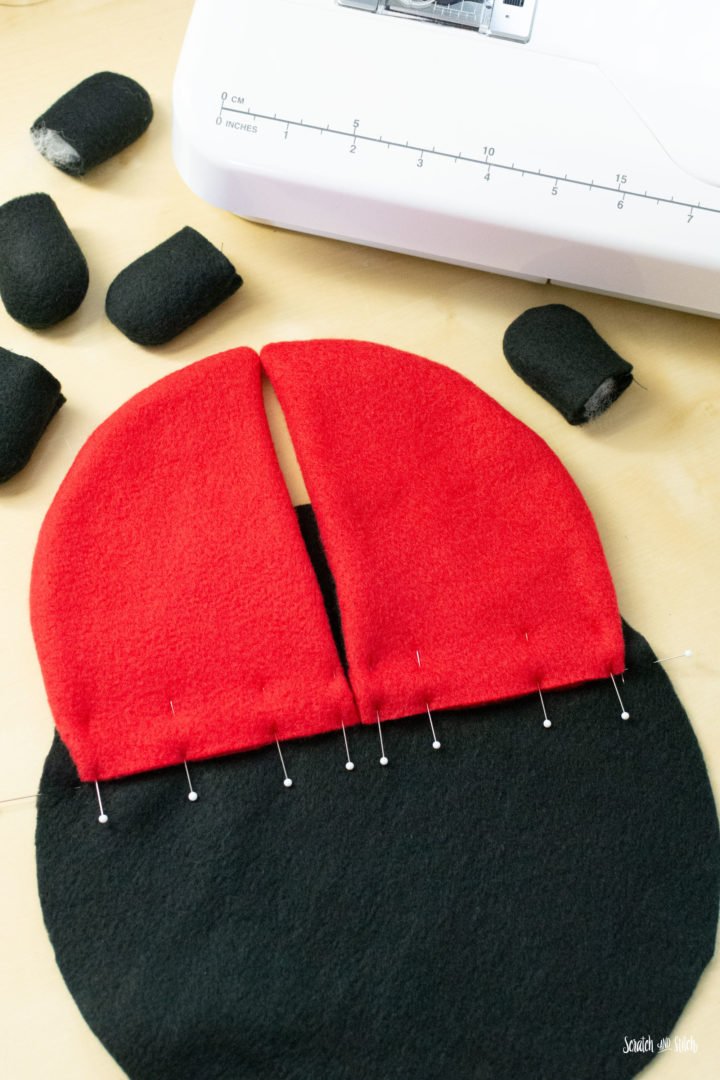
Fold the wings down and pin in place. Topstitch across the top of the wings to seal in the raw edges underneath, and to keep the wings down.

Plush Heart Sewing Pattern
What’s more to love than a heart. This plush heart sewing pattern is so easy to make, and love. :)
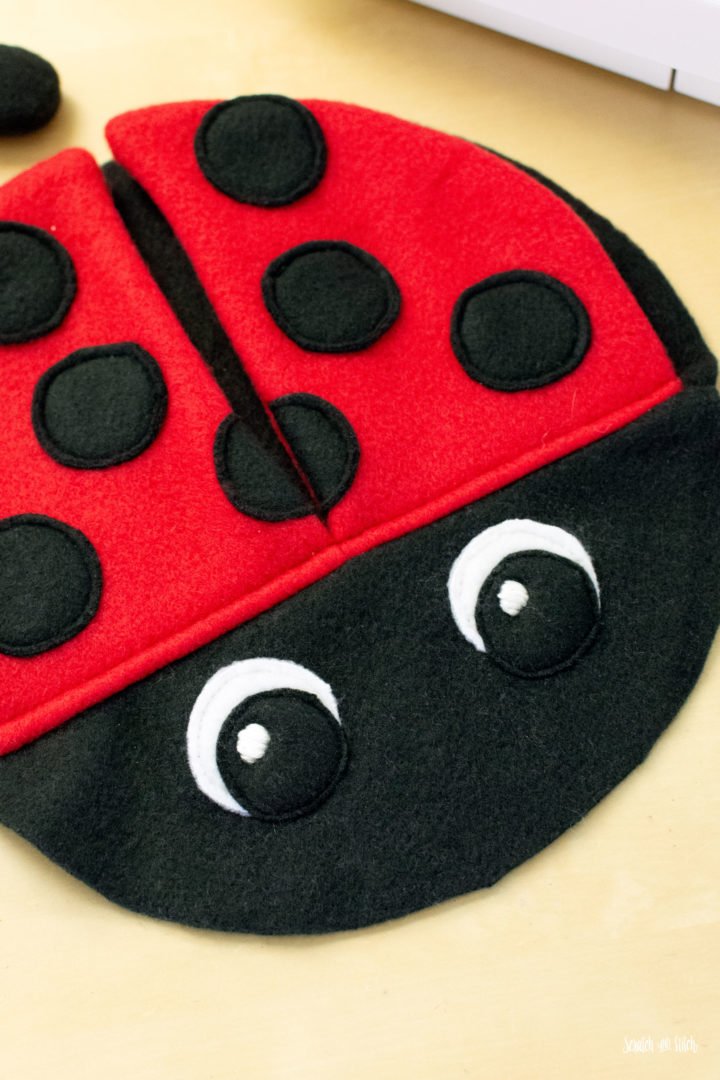
Make the Ladybug Eyes
Using the eye placement guide, begin by sewing Eye A in place, followed by Eye B, then Eye C.
I chose to cover eye reflection (Eye C) with white embroidery thread using a satin stitch.
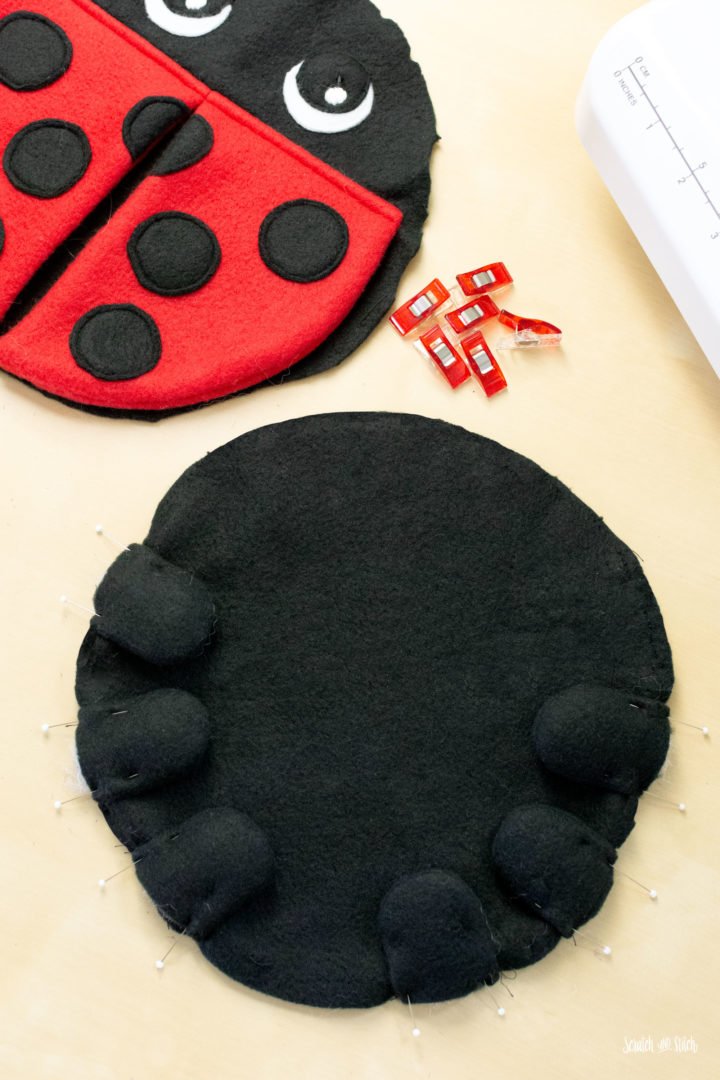
Assemble the Legs
On the remaining body piece, pin the legs into place using the leg placement guide on the pattern. Check the placement with your assembled body piece. The top legs should land slightly under the top of the wings. The bottom legs should have a larger space between them than the other legs. Sew the legs in place with a 1/4″ seam allowance.
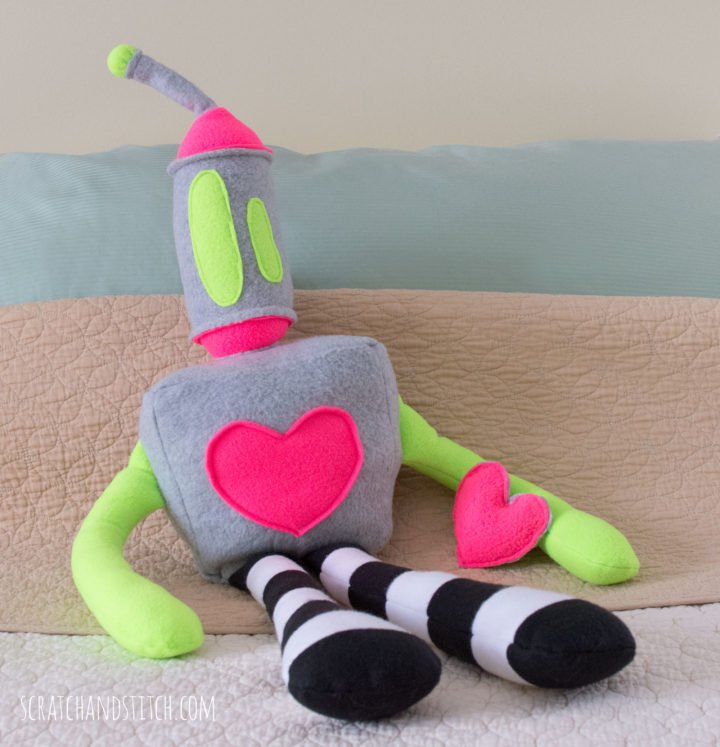
Plush Robot Sewing Pattern
Make this popular stuffed robot plush with my free pattern.
Finish the Ladybug Plush
Fold the wings into the middle and place a pin to hold them away from the edge. This will help so they don’t get caught in the seam allowance in the next step. Don’t forget this pin when you’re turning it later!

Place the two body pieces with the right sides together. Pin or clip around the circle to hold in place. Beginning about 1/4″ to the inside of the bottom legs, sew around the circle with a 1/2″ seam allowance. Pay close attention when you pass by the wings. You should sew just to the side of the wings and not catch them in the seam allowance. Make sure to backstitch at the beginning and end!
Turn the ladybug right side out and check to make sure all the legs are in the right place. Make any adjustments if needed. Flip it back inside out, trim the seam allowance, and cut notches to allow the circle to keep its shape. Stuff the body with Poly-fil. Do not over stuff. The ladybug is intended to be slightly flat, kind of like a pillow.
RELATED: My most popular plush sewing pattern is the Love Bear.
Complete the ladybug stuffed animal by hand stitching the hole closed with a ladder stitch.
VIDEO: How to Make the Ladybug Plush Video Tutorial
Watch the step-by-step video tutorial to learn how to make the Ladybug Plush.
Pattern pieces, materials list, cutting chart, measurements, and more and step-by-step instructions with full color photos are all included in the downloadable PDF pattern.
Ladybug Plush Sewing Pattern
Make your own plush Ladybug stuffed animal with this beginner-friendly sewing pattern. Purchase includes printable PDF, SVG file, and VIDEO tutorial.
I can now tell the difference between an Asian beetle and a real ladybug. Now our son has pointed out that most “ladybugs” we see are in fact, Asian beetles. Fun fact: those Asian beetles are often called Halloween lady beetles because October is the time when they start to invade houses. DIY Halloween costume idea?
Watch a kid’s face light up as they enjoy their new ladybug stuffed animal.
Did you make this pattern? I’d love to see pictures. Tag @scratchandstitch on Instagram with your creations, or send me a message.
Hey Cathi , The ladybug is so adorable & I have all the fleece colors to make it . Thank you for the free pattern & tut . I am still a 58 year old big kid at heart .
Creativity keeps the mind young :) Send pics of your ladybug!
Easy and fun. Made to go with a fleece blanket that had ladybugs on it.:)
This was exactly what I was looking for! Thank you so much, Cathi!
Yay! That’s great to hear. :) I would love to see what you make. Send pics.
I had great fun sewing the ladybug…the kids love it.
Today is my first time here. I have downloaded the lady bug template and intend to make it. Just wanted to say Thankyou for that! Look forward to making lots more new things !!!
Hi and welcome! Be sure to send pics! :)
Great pattern. My grandson loves his new ladybug. Next time I make it I will leave the opening to turn it a little bigger. Thank you.