This post may contain affiliate links.
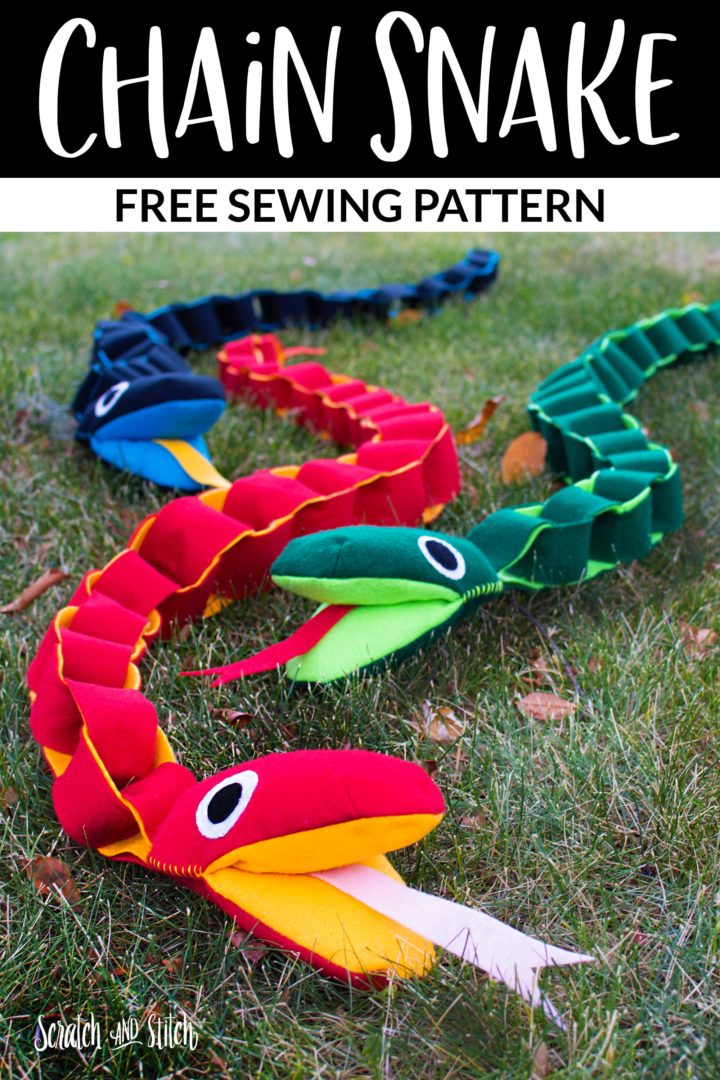
Are there any snake fans here? A lot of people find snakes to be kind of creepy, and I used to be one of them. Then we got one as a pet. After reading a lot about snakes and caring for one, I’ve learned that they are really fascinating animals and can make great pets That’s the inspiration behind this handmade plush snake toy and sewing pattern. The Felt Chain Snake Plush with a sewing pattern and tutorial with video.
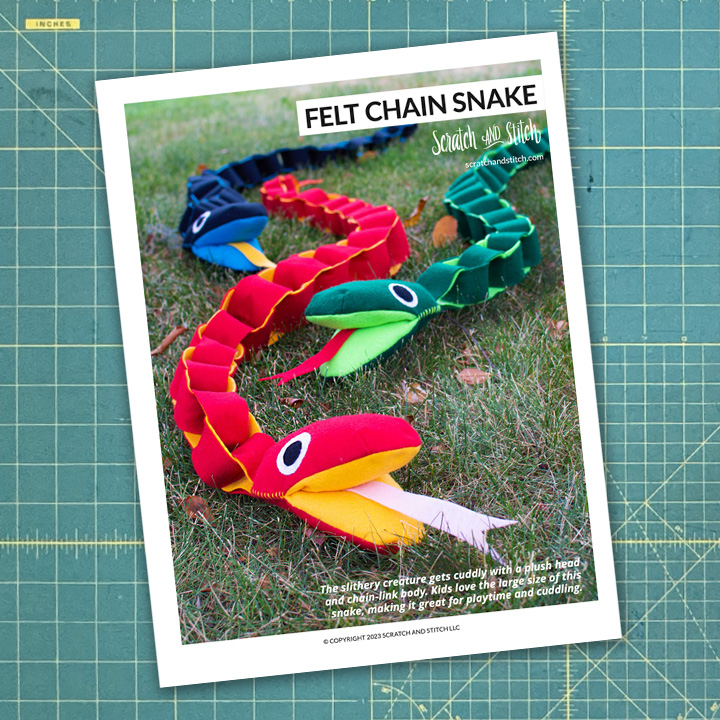
Felt Chain Snake Sewing Pattern
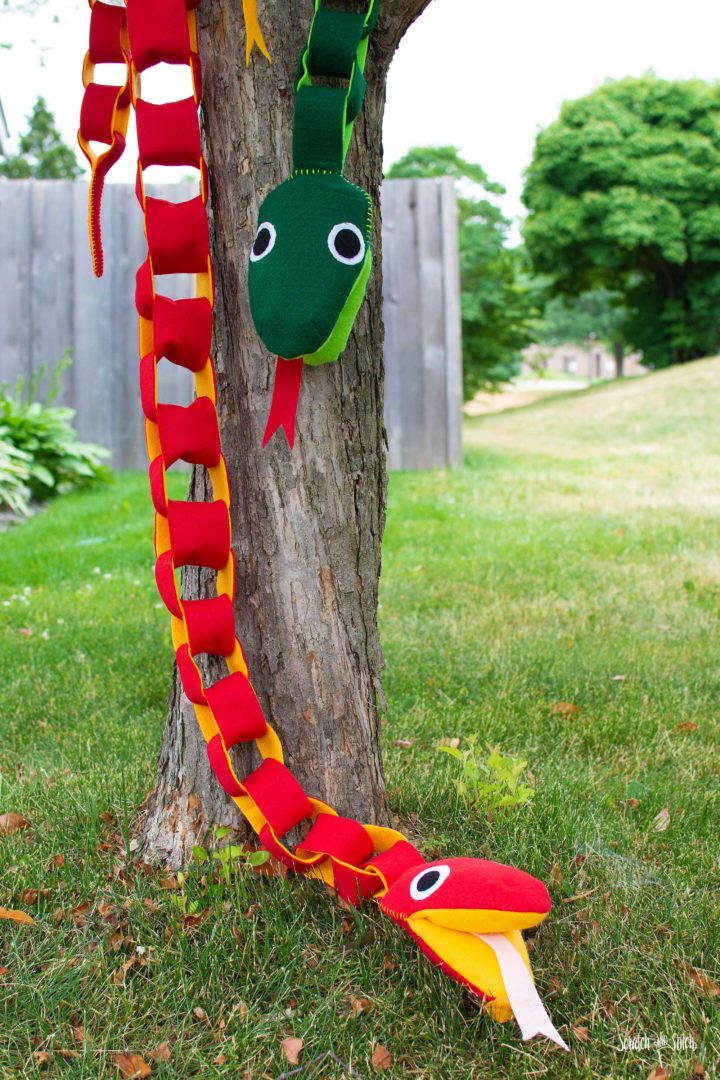
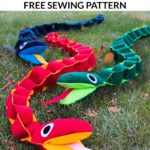
Measuring in at six feet, this plush snake sewing pattern is both cuddly and fun to play with.
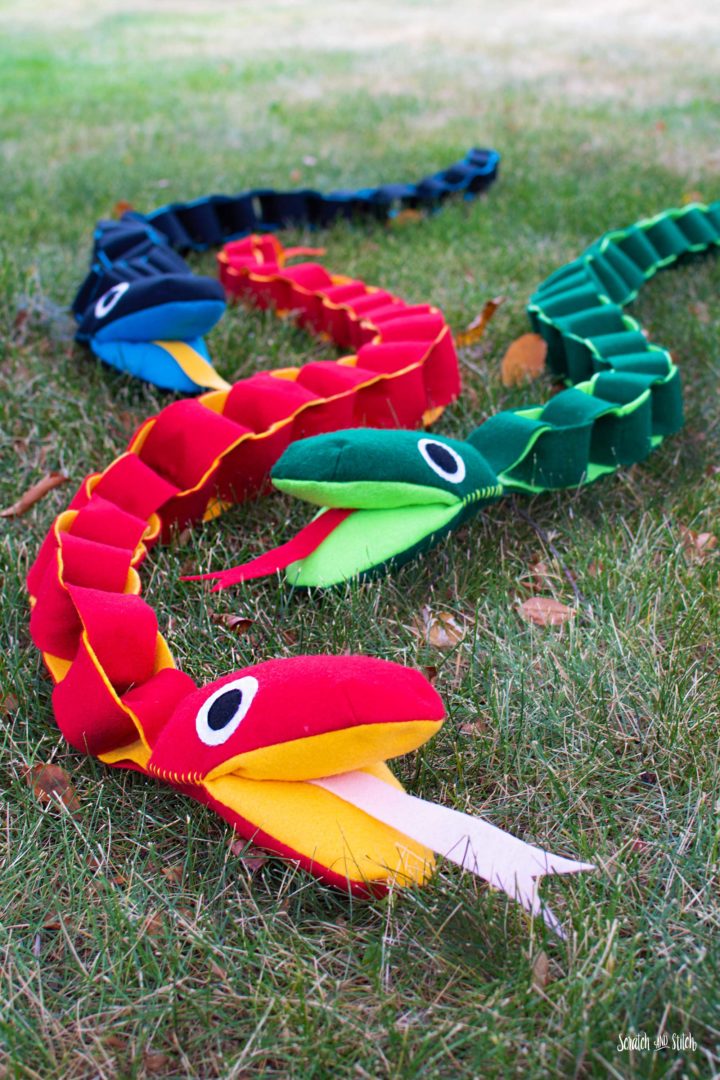
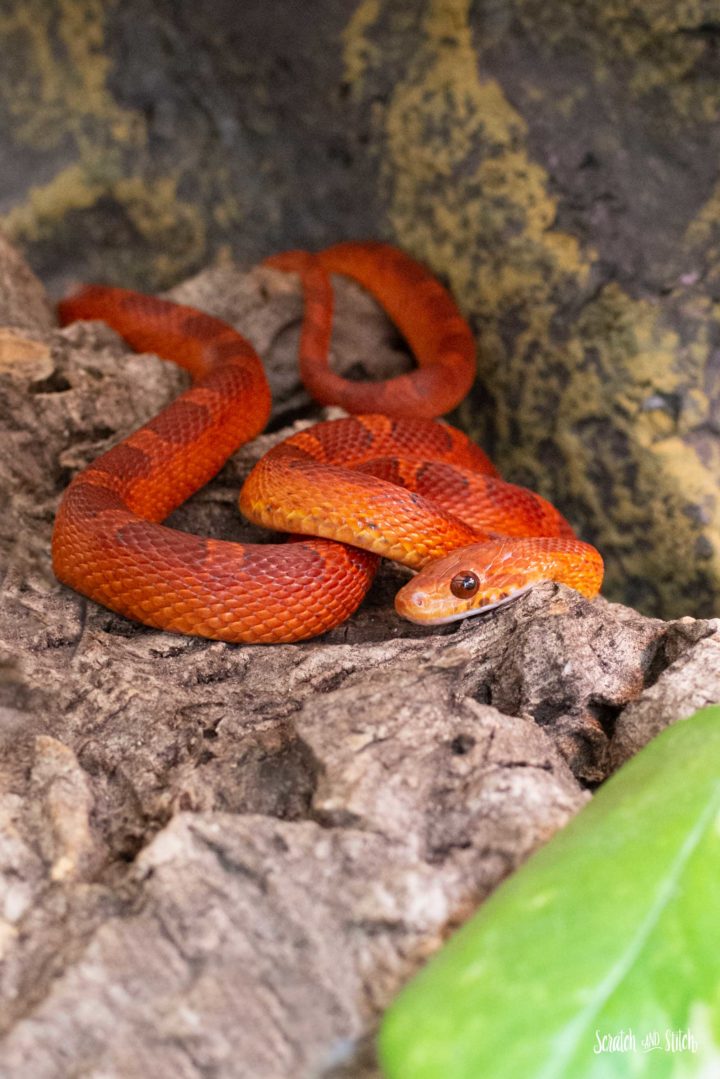
A few months ago, my son, husband, and I had a discussion over dinner about getting an aquarium pet. Since this would be our first non-mammal pet, we started googling “easiest aquarium pets” and went through a list of animals. It didn’t take long for us to decide on getting a corn snake. After a ton of research about the care and needs of a corn snake, our baby snake arrived in the mail. He now lives in a fully bioactive vivarium in our living room. So naturally, my next free plush sewing pattern needed to be a snake.
Meet Ember (or Ember Heart)…our Bloodred Corn Snake
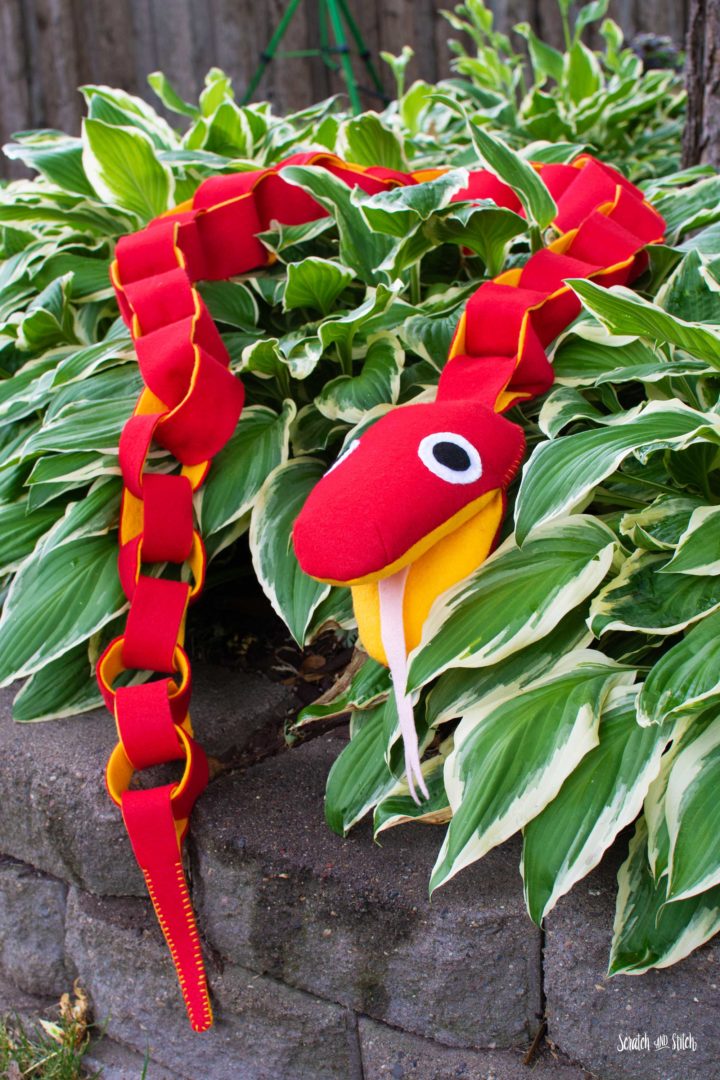
This plush snake sewing pattern is very easy to make for any level of sewist. The pattern pieces can be cut by hand or on a cutting machine (like the Cricut Maker or similar). The body of the snake is made up of fabric chain links, reminiscent of a paper chain. The tip of the tail is another chain link with some contrast stitching. The head with tongue and eyes is made up of two stuffed plush areas and attached to the body with another chain link. The head, tail, and eyes are finished up with some basic embroidery stitches to bring it all together. He’s a very easy plush stuffed animal to make that can be customized to your liking.
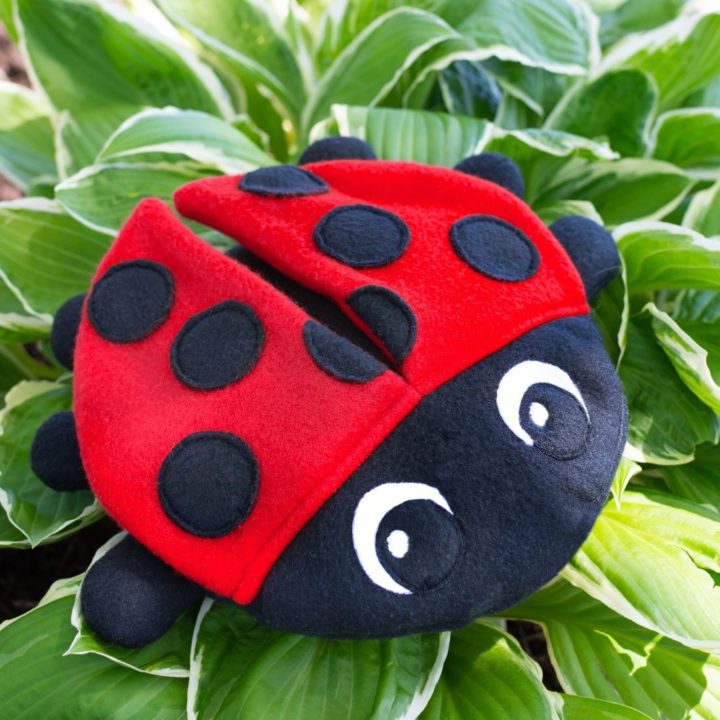
Free Plush Ladybug Pattern
If a snake isn’t quite your style, you may like my free ladybug pattern.
How to Make a Felt Chain Snake
The plush snake sewing pattern can be sewn completely by hand or both with a sewing machine with a little hand-stitching. The tutorial is written using a sewing machine, any of which can be traded for hand sewing. There are three areas of required hand stitching that I recommend using a contrasting color embroidery thread. Get the free snake plush sewing pattern below and follow along with the tutorial to make your own felt chain snake or get the printable sewing pattern here.
Click here to watch the Felt Chain Snake Video Tutorial
Project Notes:
- This pattern is written for use with felt fabric.
- The final snake is about 6 1/2 feet long.
- The widest part of the snake (the head) is about 5″ wide.
Materials & Tools
- free snake plush sewing pattern (get it below)
- 1/2 yard felt x 72″ (outer color)
- 1/2 yard felt x 72″(inner color)
- felt scrap (tongue)
- felt scrap (eyes)
- poly-fil
- embroidery thread
- coordinating thread
- basic sewing tools and supplies
Felt Chain Snake Plush Sewing Pattern
What’s included:
– Free printable .PDF sewing pattern and cut list
– Free .SVG sewing pattern pieces
Enter your email to get the free pattern in your inbox.
By submitting your email address you will be added to the Scratch and Stitch email newsletter. You can opt-out at any time :)
How to Use the Free .PDF Sewing Pattern
The .PDF sewing pattern can be used to cut all fabric pattern pieces by hand. There is also a materials list and cut list included in the .PDF file.
- Download the .PDF sewing pattern file, and open it in Adobe Acrobat. Print at 100%.
- Cut out all paper pattern pieces.
- Assemble the two pieces for both pattern piece A and B by taping them together where indicated.
- Pin the paper pattern pieces onto the felt fabric and trace around the shapes.
- Following the cut list, cut out all pieces.
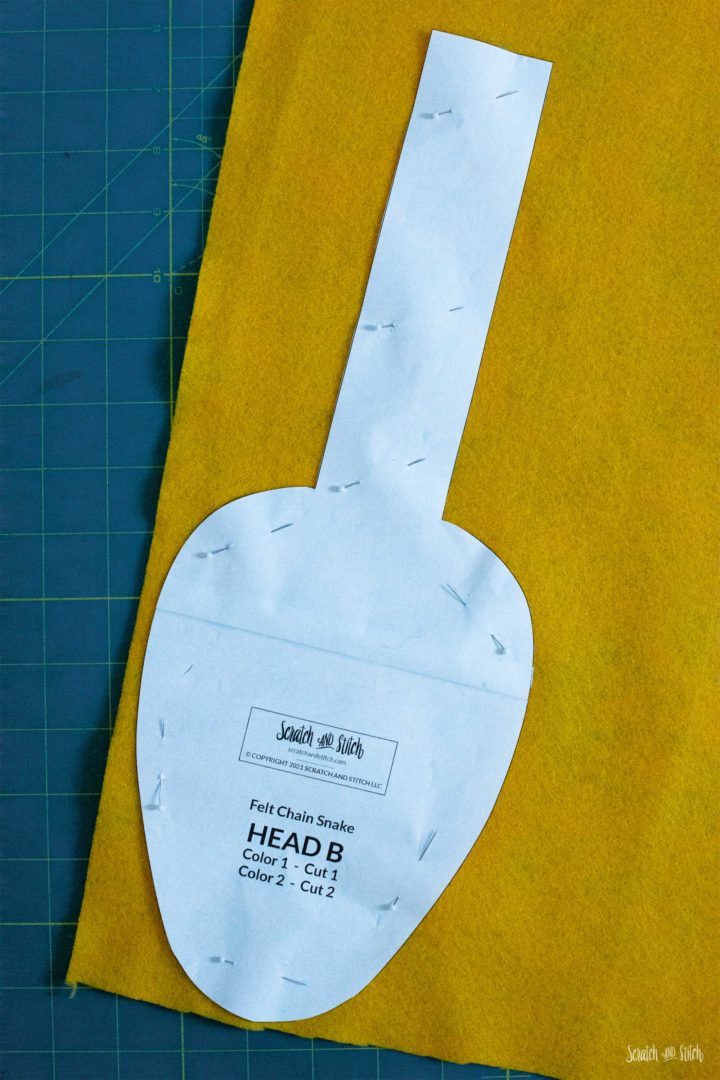
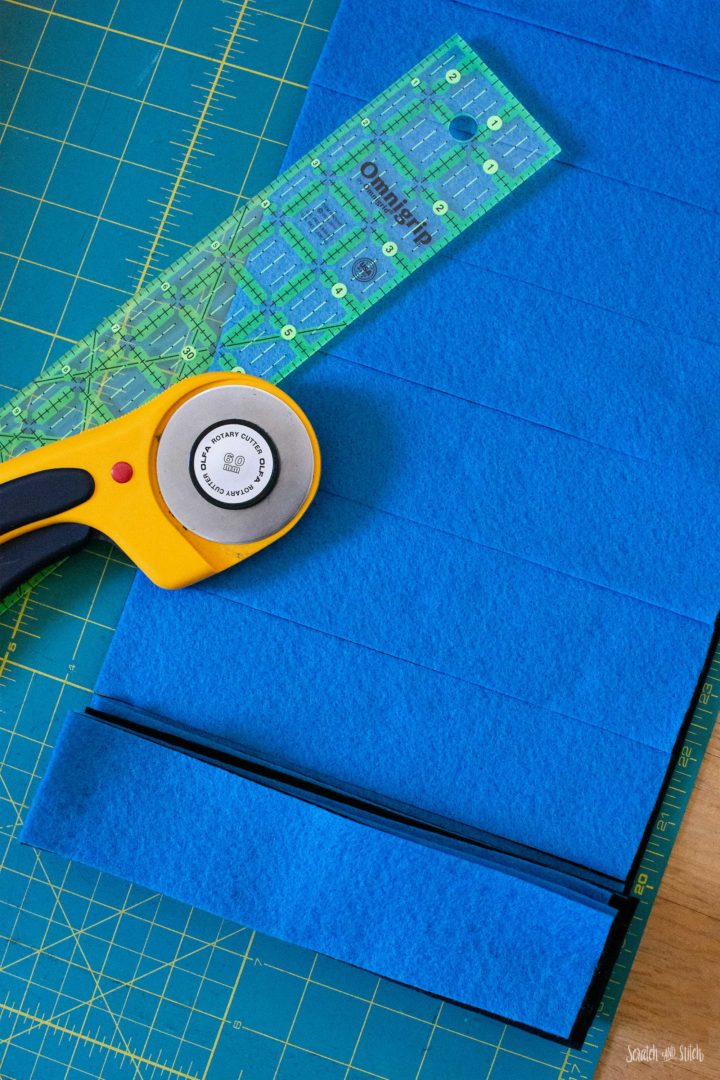
TIP: The rectangle chain link pieces can be cut using the pattern pieces or by using the measurements, a ruler, and a rotary cutter. I recommend cutting two layers (outer color and inner color) at the same time and stacking the pieces together.
How to Use the Free .SVG Sewing Pattern Files
The .SVG pattern file can be used in Cricut Design Space or another cutting machine software.
- Download, then import the .SVG file into your cutting machine software.
- Follow the setup instructions for cutting the type of fabric you have chosen for the Chain Snake Plush provided in your software.
Cut List
This is also included in the .PDF pattern file.
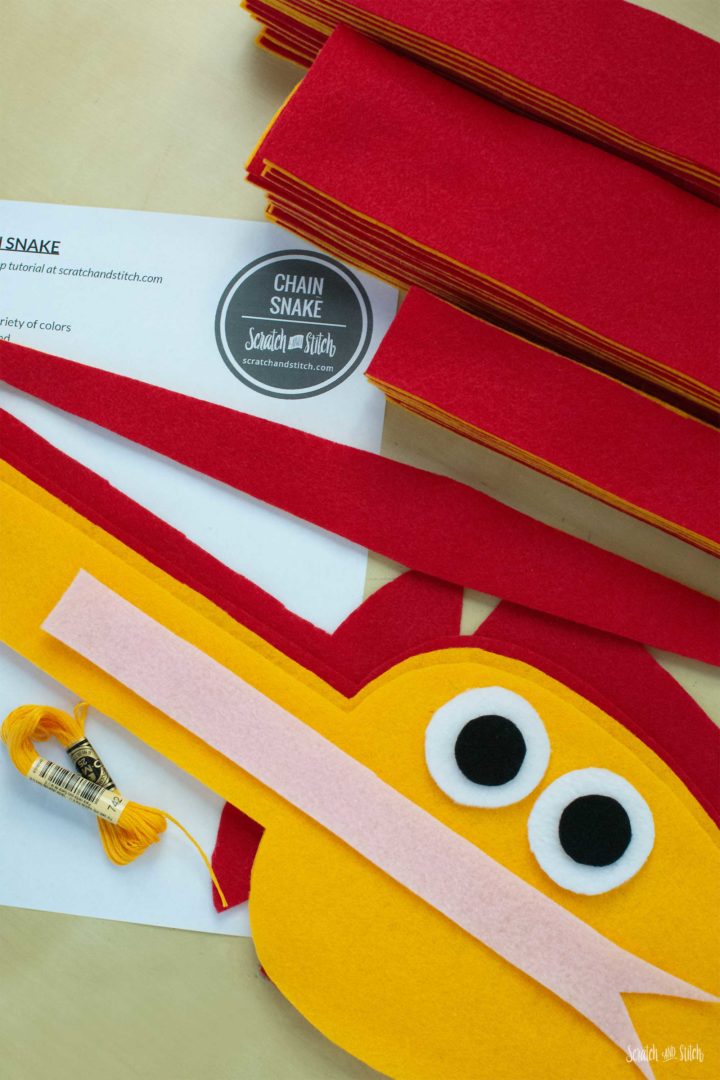
You will need the following pieces cut from felt fabric (fleece also works great, though will have a bit more stretch).
- 1 – head A (outer color)
- 1 – head B (outer color)
- 2 – head B (inner color)
- 7 – small links 8″ X 1½” (outer color)
- 7 – small links 8″ X 1½” (inner color)
- 16 – medium links 8½” X 2″ (outer color)
- 16 – medium links 8½” X 2″ (inner color)
- 12 – large links 8½” X 2″ (outer color)
- 12 – large links 9½” X 1½” (inner color)
- 1 – tail (outer color)
- 1 – tail (inner color)
- 2 – eyes A
- 2 – eyes B
- 1 – tongue
Make the Snake Eyes
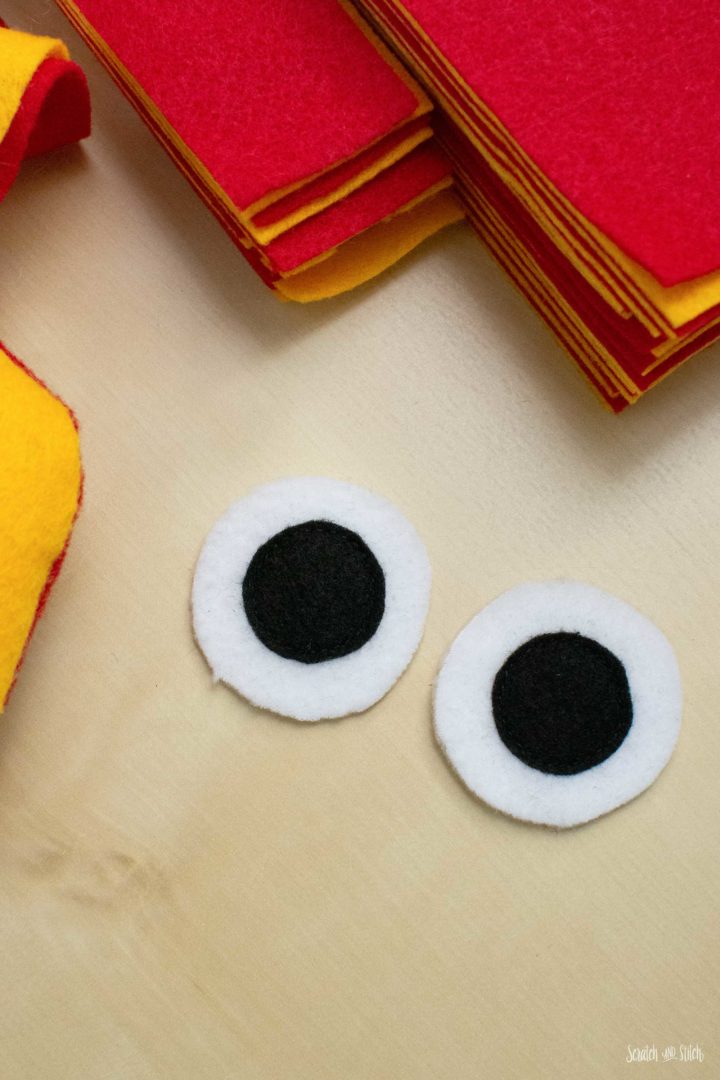
Place the Eye B pieces centered into the middle of the Eye A pieces. Pin to hold and sew around the perimeter of Eye B. Set aside.
Make the Plush Snake Head
Starting with Head A, fold the open darts with right sides together so the straight edges align. Pin or clip to hold. Sew with a 1/4″ seam allowance, backstitching at the beginning and end. Repeat with all four darts.
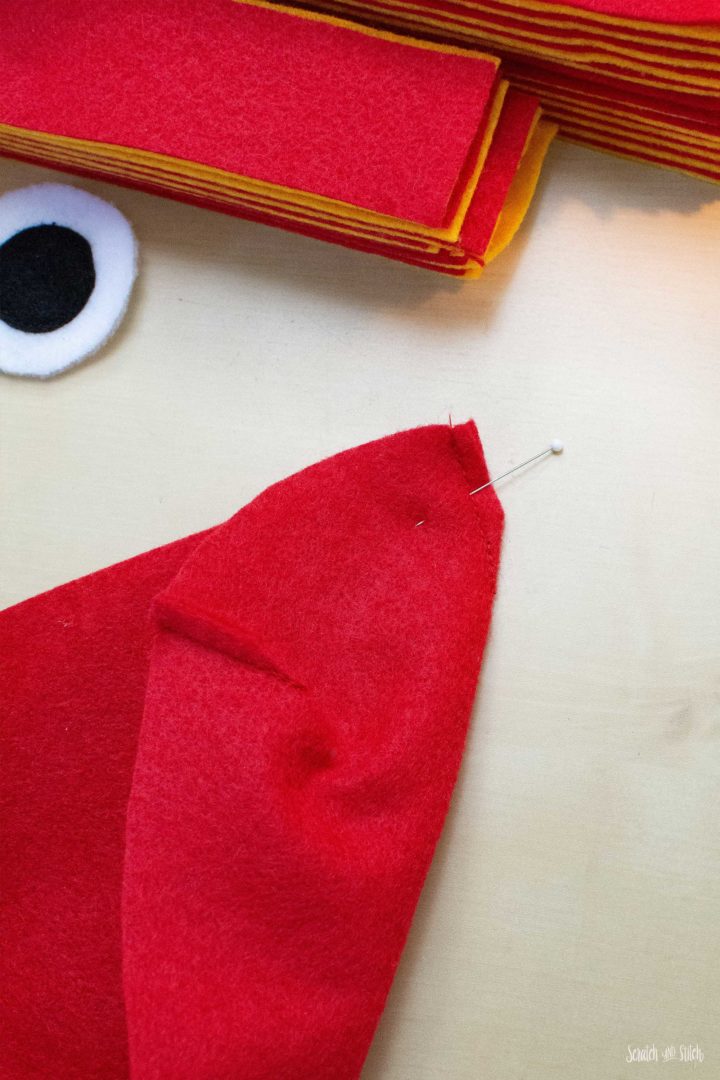
Flip Head A so it creates a domed shape.
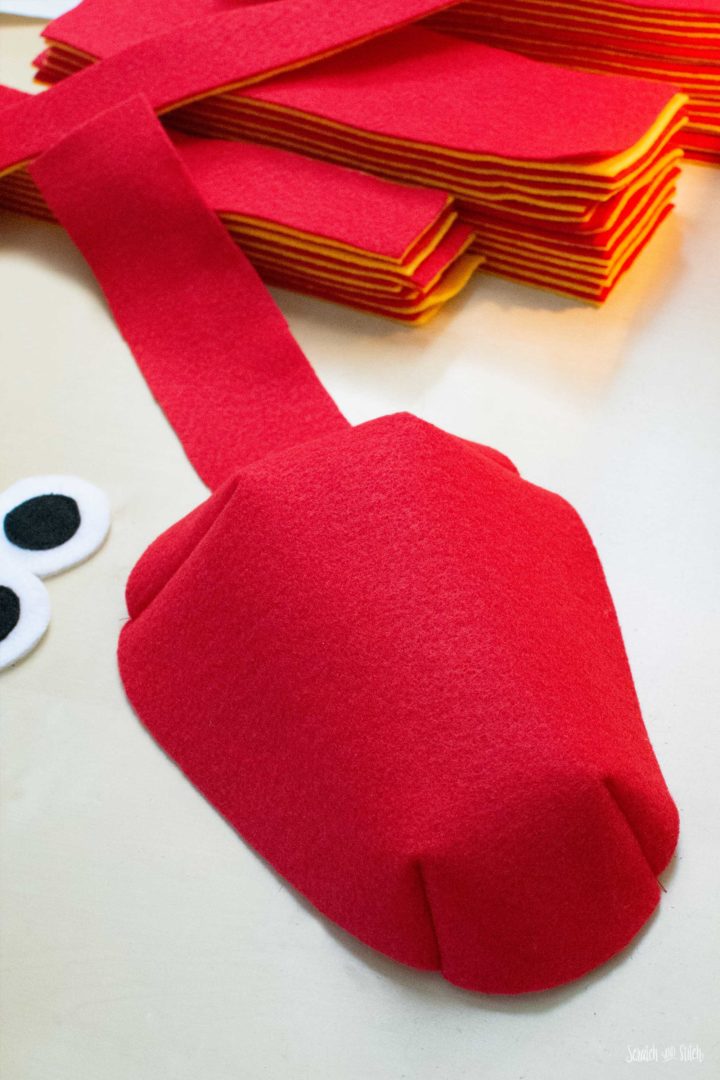
Align the edges of Head B (inner color) onto the right side of Head A so the right sides are together. Pin or clip all around the edges to hold.
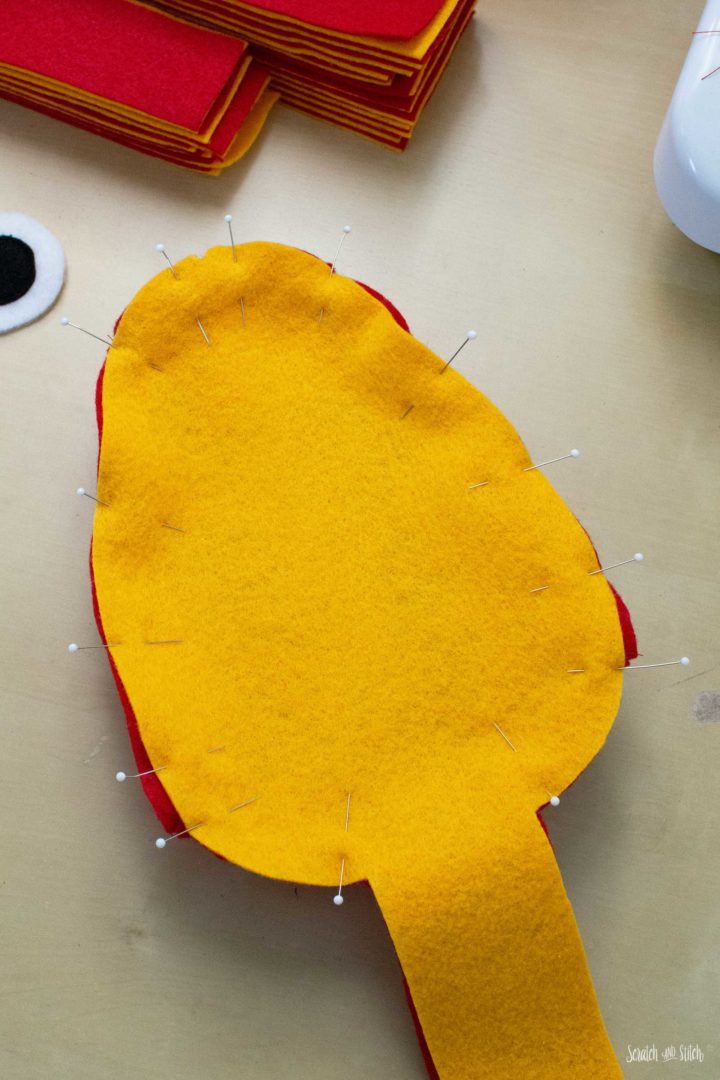
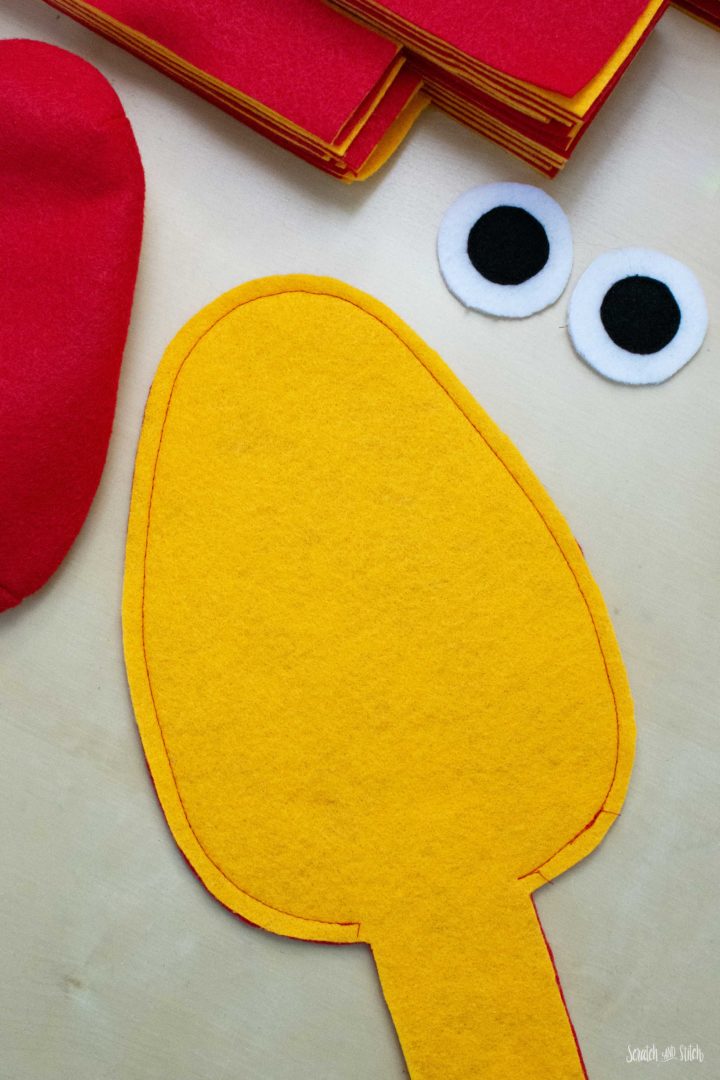
Starting with a backstitch at one corner of the neck, sew all the way around the curved side with a 1/4″ seam allowance. Stop at the other corner and backstitch. The area at the base of the head will be open for turning and stuffing. Clip the seam allowance at the curves. Turn right side out. This is now the Head Top.
Pin or clip the remaining two Head B pieces (in both colors) right sides together. Starting with a backstitch at one corner at the neck, sew all the way around the curved side with a 1/4″ seam allowance. Stop at the other corner and backstitch. Clip the curves in the seam allowance. Turn right side out. This is now the Head Bottom.
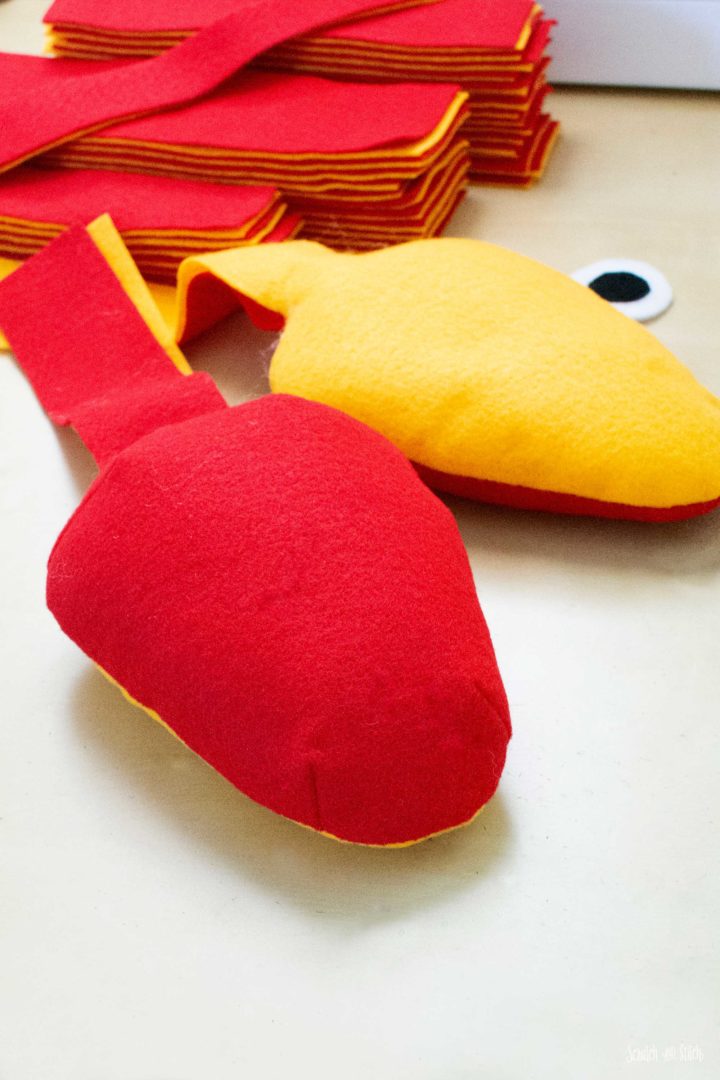
Lightly stuff both the Head Top and Head Bottom. Do not overstuff. The Head Bottom should be nearly flat.
Place the tongue onto the top of the Head Bottom so the short straight edge is aligned with the base of the head/neck. Hand sew in place through just one layer of felt. Set aside the head pieces.
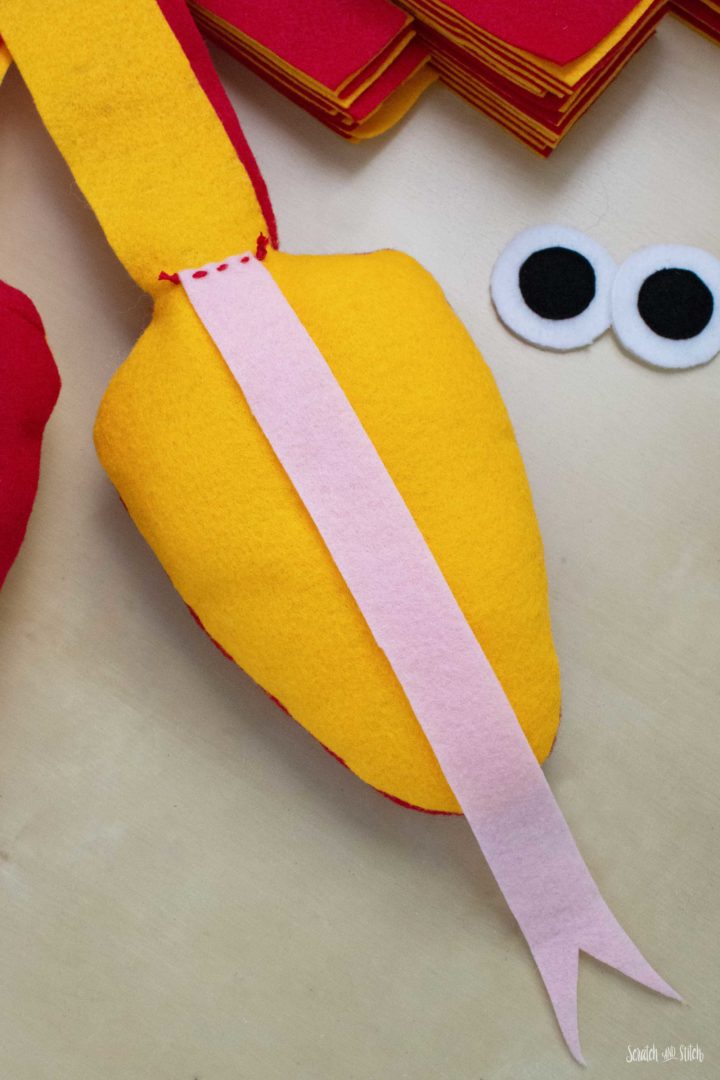
Set aside the head pieces.
How to Make the Felt Chain Links
Make the First Chain Link
You’ll need eight Medium Links in two colors.
Starting with a Medium link in the inner color, fold in half with right sides together. Pin or clip to hold. Sew the short ends together with a 1/4″ seam allowance.
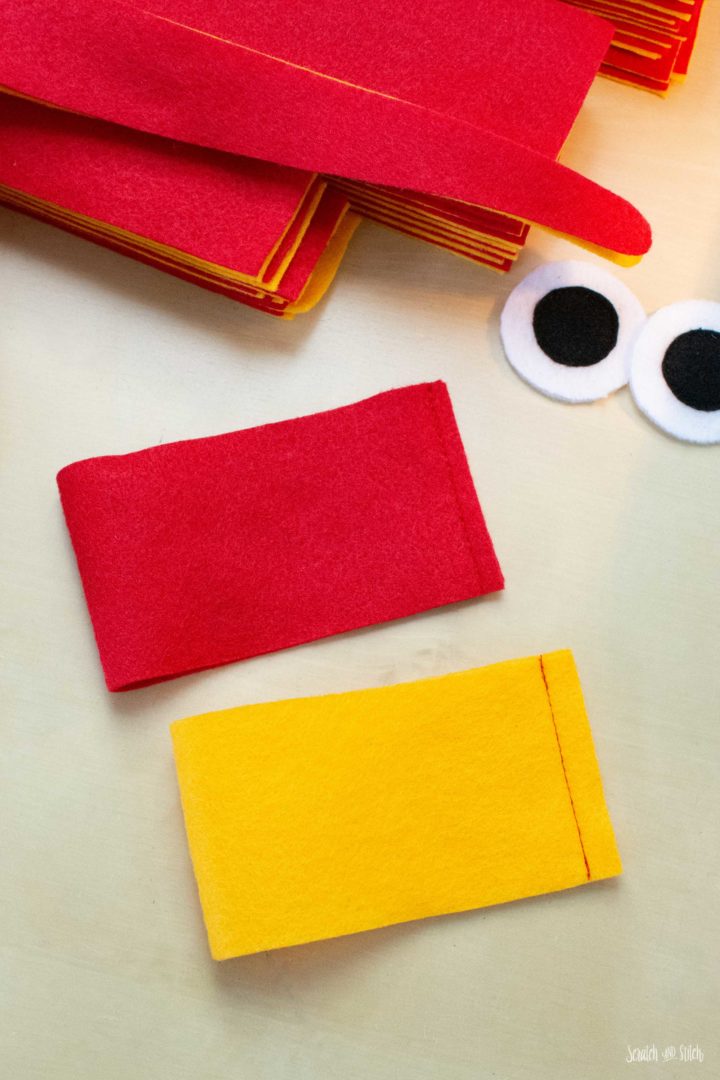
With a Medium link in the outer color, fold in half with right sides together. Pin or clip to hold. Sew the short ends together with a 1/4″ seam allowance. Flip the link so it’s right sides out. Put the first inner color link inside the second outer color link. Turn the layers so the seams are right next to each other. Give the link a slight pull to get the two layers to fit well together. This is the first link.
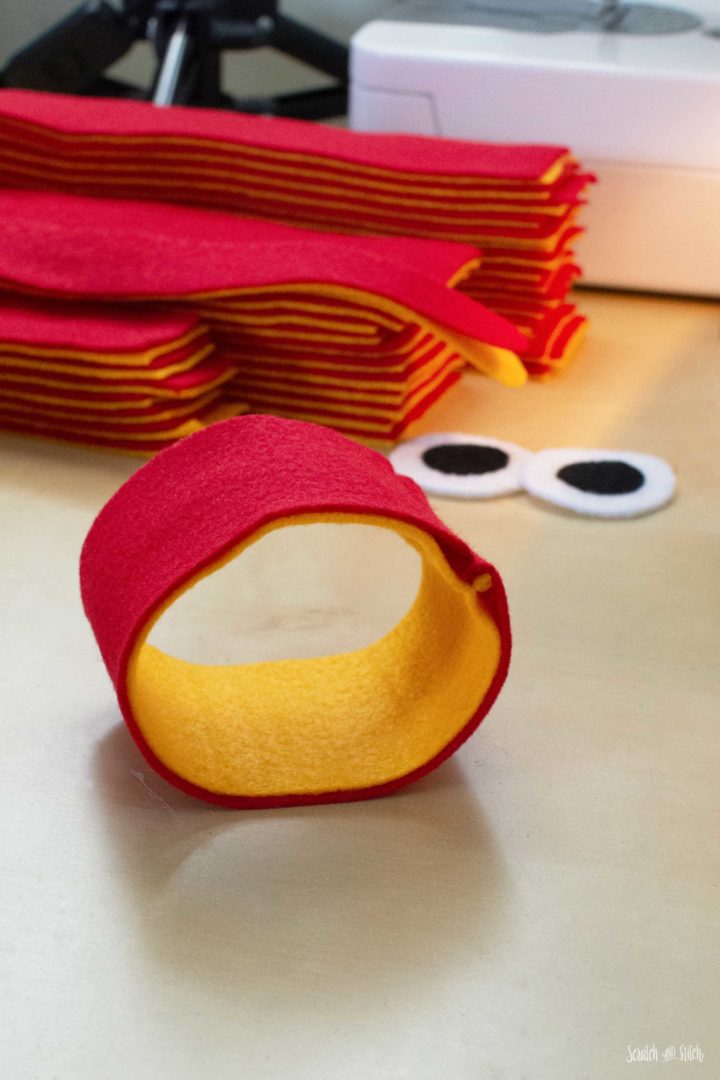
Add a Second Link
Loop a Medium link in the inner color through the assembled first link. Align the short edges, and pin or clip to hold. Sew with a 1/4″ seam allowance.
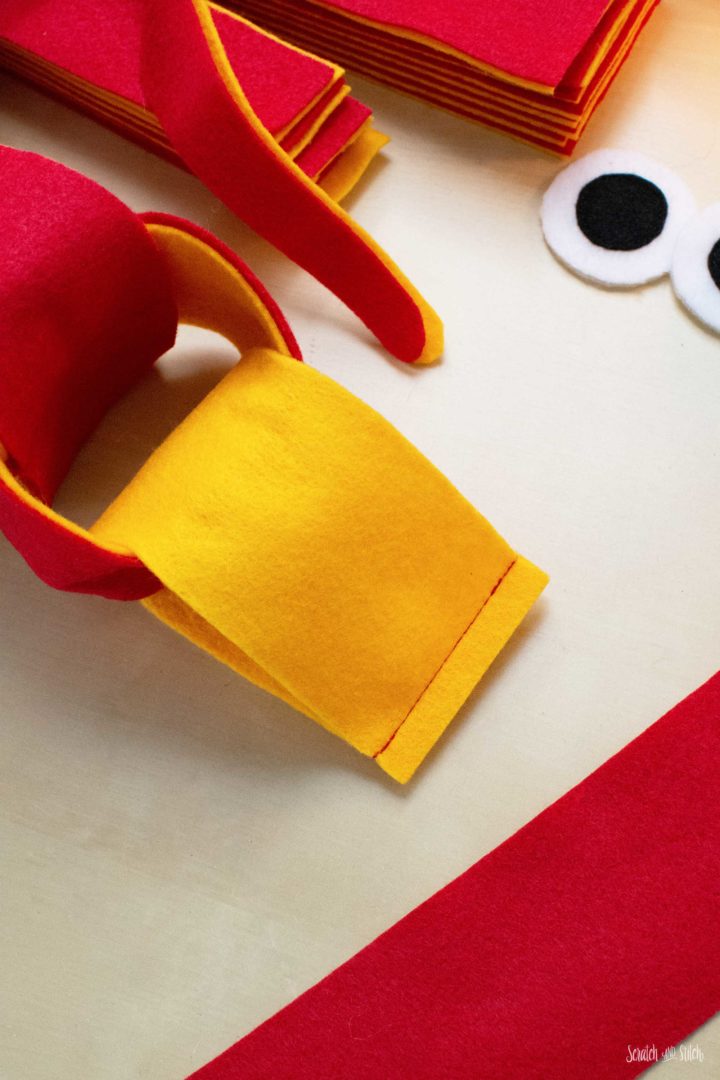
Loop a Medium link in the outer color through the assembled first link and over the newly added inner color link. Fold the inner link out of the way and align the short edges of the outer link. Pin or clip to hold. Sew the short edges together with a 1/4″ seam allowance.
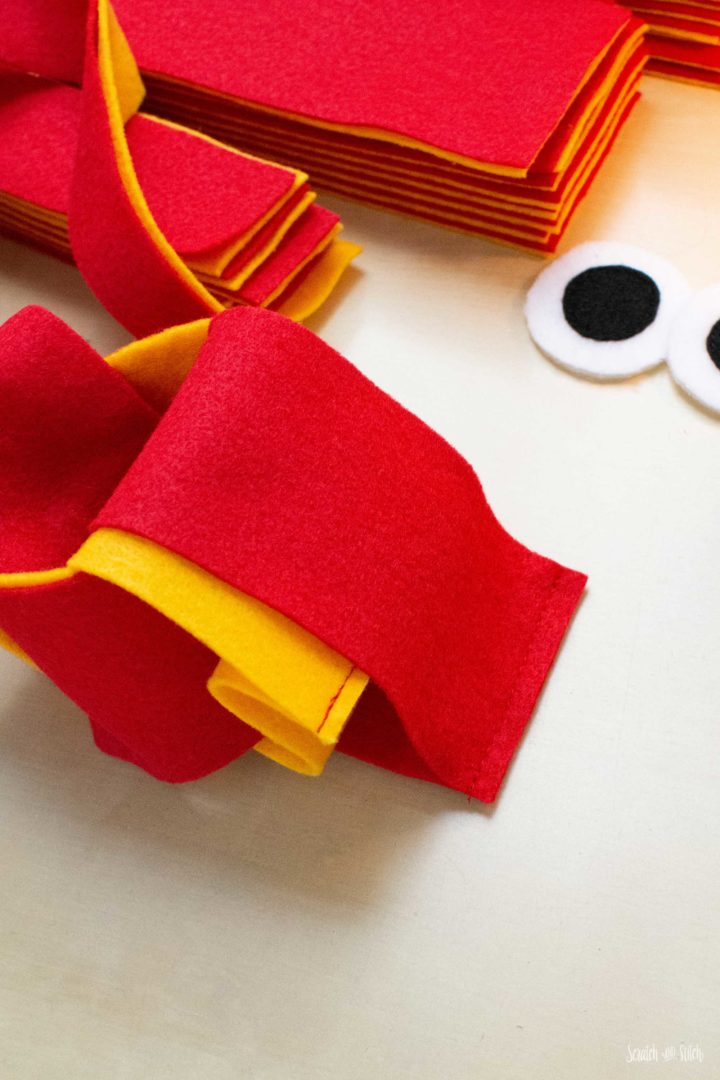
Turn the outer link so the seams from both layers are in between the felt layers. You now have two links.
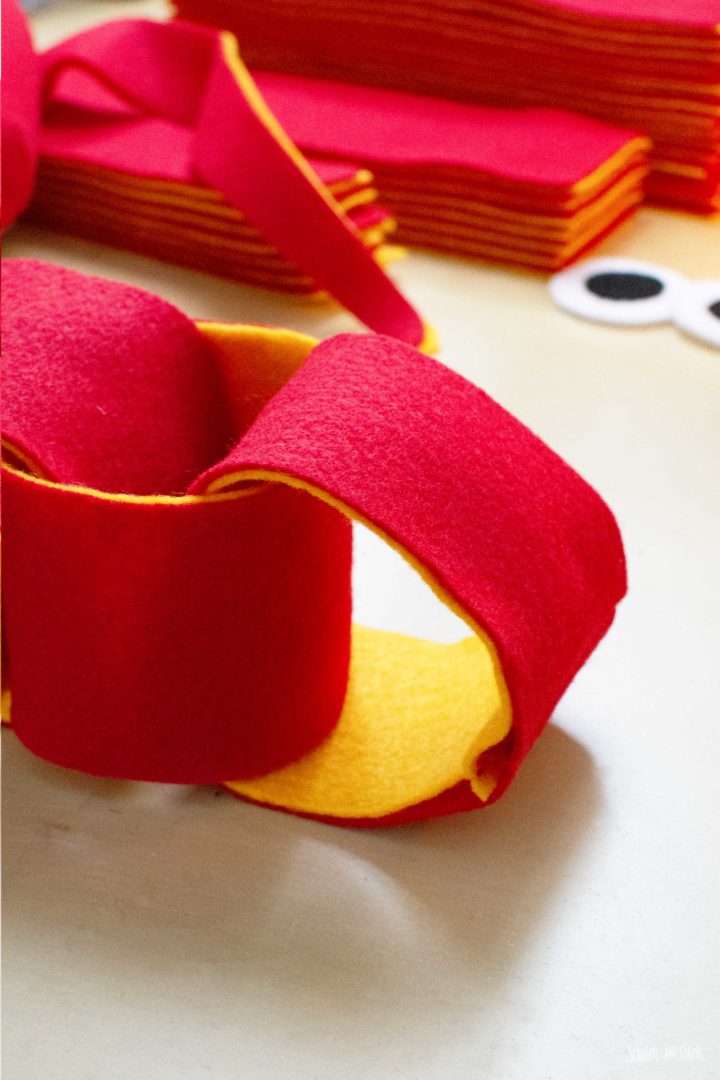
Add More Links
The links will be in this order:
8 medium links, 12 large links, 8 medium links, 7 small links (see graphic below)

Repeat the same steps to add the remaining six medium links.
Then add all 12 large links.
Next, add eight more medium links.
And finally, add all seven small links.
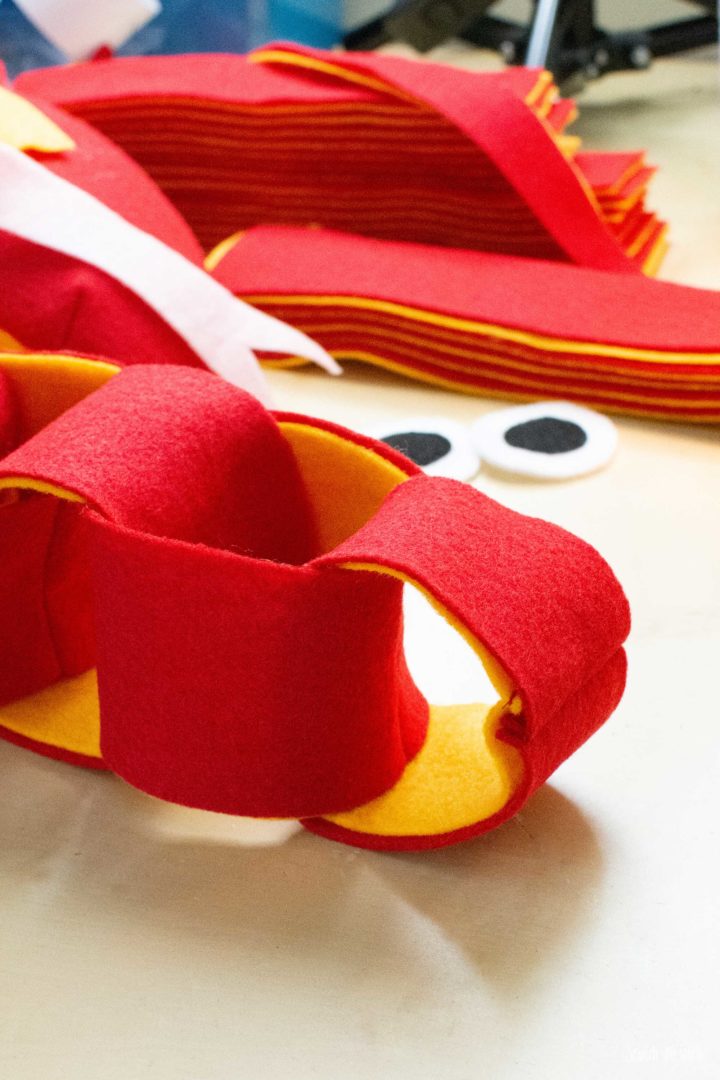
Finish the Plush Snake Head
Attach the Head to the Chain Link
Grab the assembled Head Top and Head Bottom.
Lay the head pieces together so the inner color (the inside of the mouth) is touching. With the right sides together, align the short edges of the inner color of the neck. Pin or clip to hold and sew with a 1/4″ seam allowance.
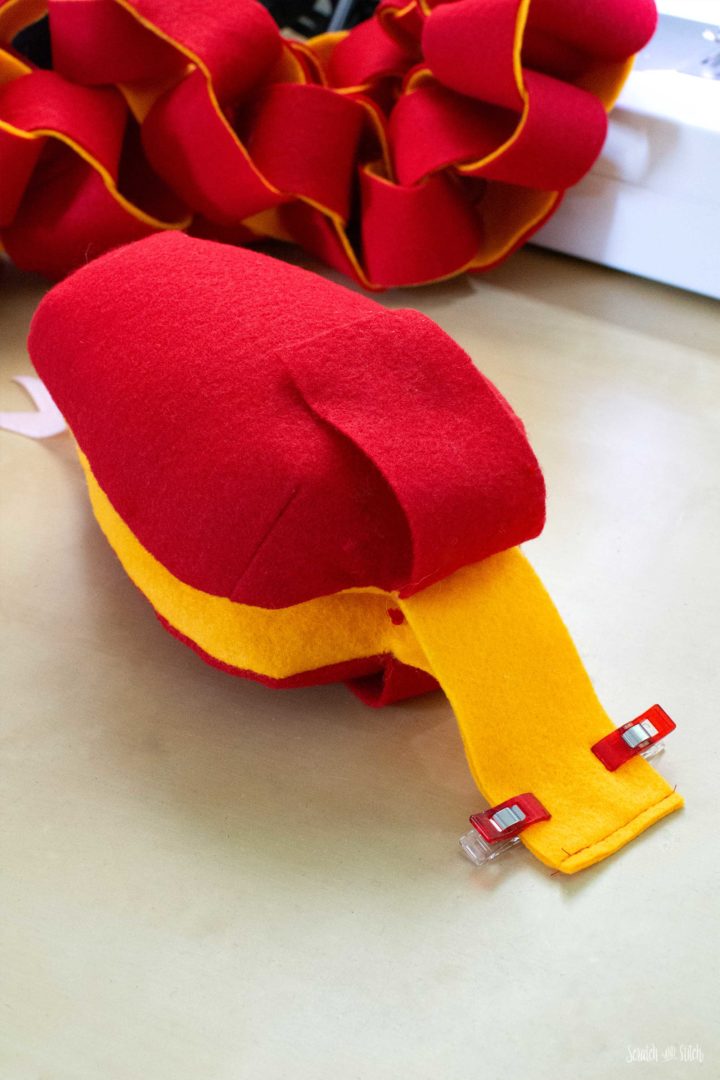
Flip the head so the outer color (the top and bottom of the head) is touching.
Align the short edges of the outer color of the next with right sides together. Pin or clip to hold and sew with a 1/4″ seam allowance.
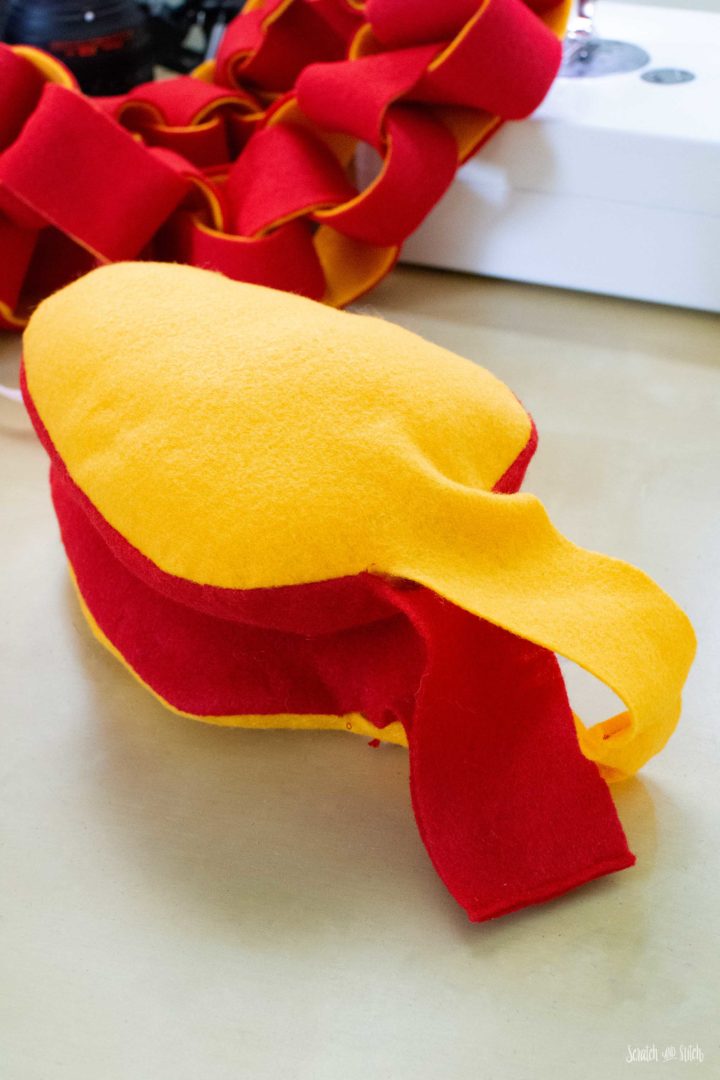
Turn the neck links so the seam allowances are sandwiched between the layers and the neck link lays flat.
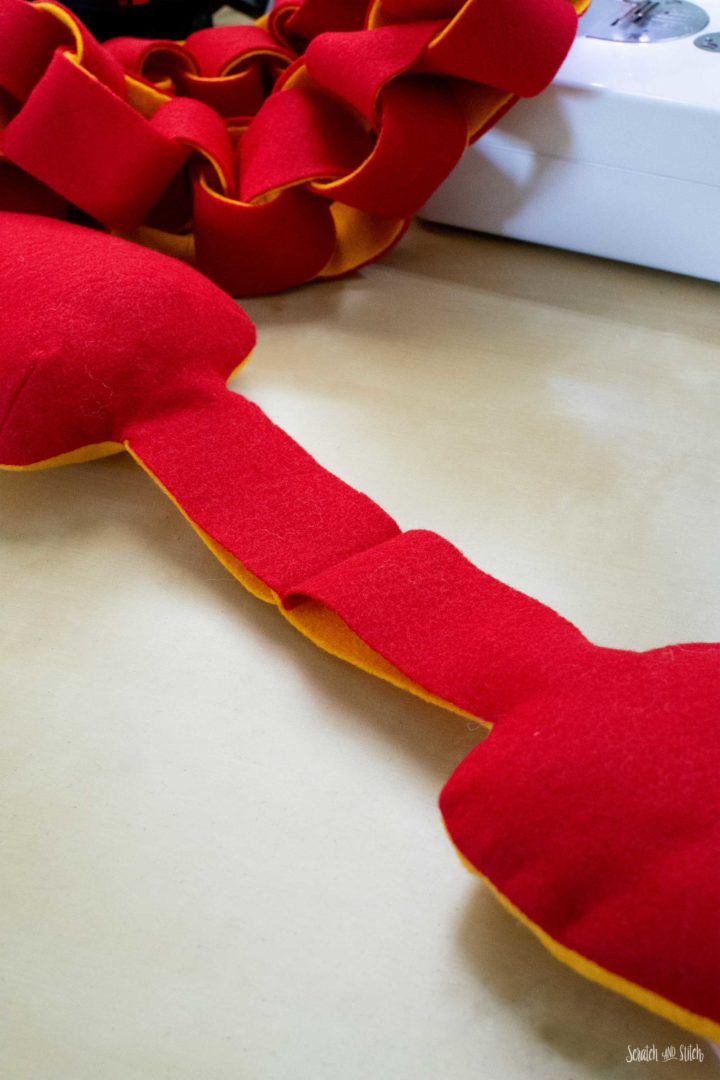
Push one half the head through the last medium link.
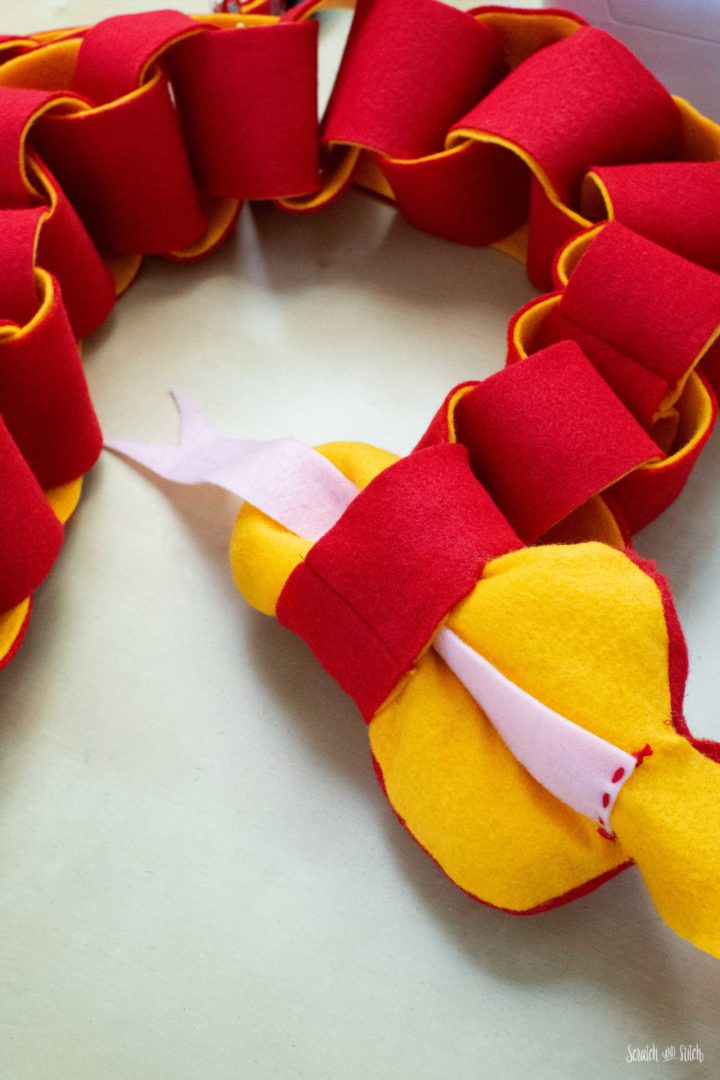
Sew the Head Layers Together
Fold the head pieces so the Head Top and Head Bottom area are aligned. Clip the two halves together around the back half of the head to hold.
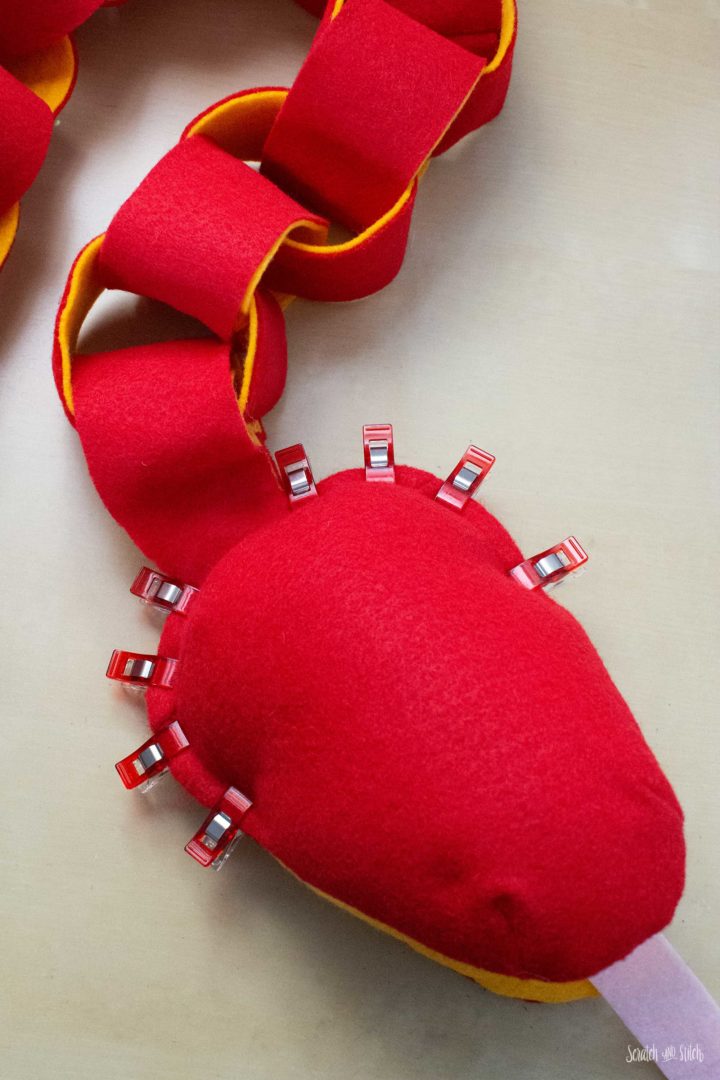
Next, prep a sewing needle with about 30″ of embroidery thread and knot the ends together.
Starting at about 1 1/2″ – 1 3/4″ in front of the dart near the back of the head, push your needle up in between the two head pieces to the top of the head about 1/4″ from the side. Pull the thread all the way through so the knot is hidden between the layers.
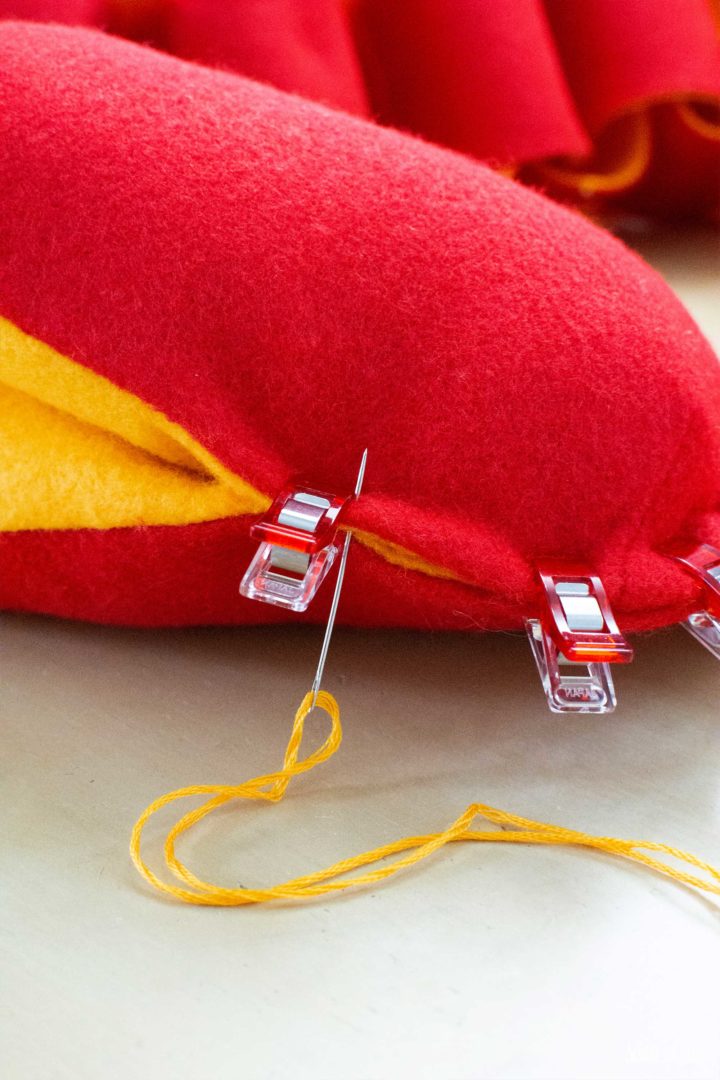
Bring the needle to underside of the head directly below the first hole. Push it in at an angle to the top of the head and putt the thread through. This will create one straight stitch through both layers of the head.
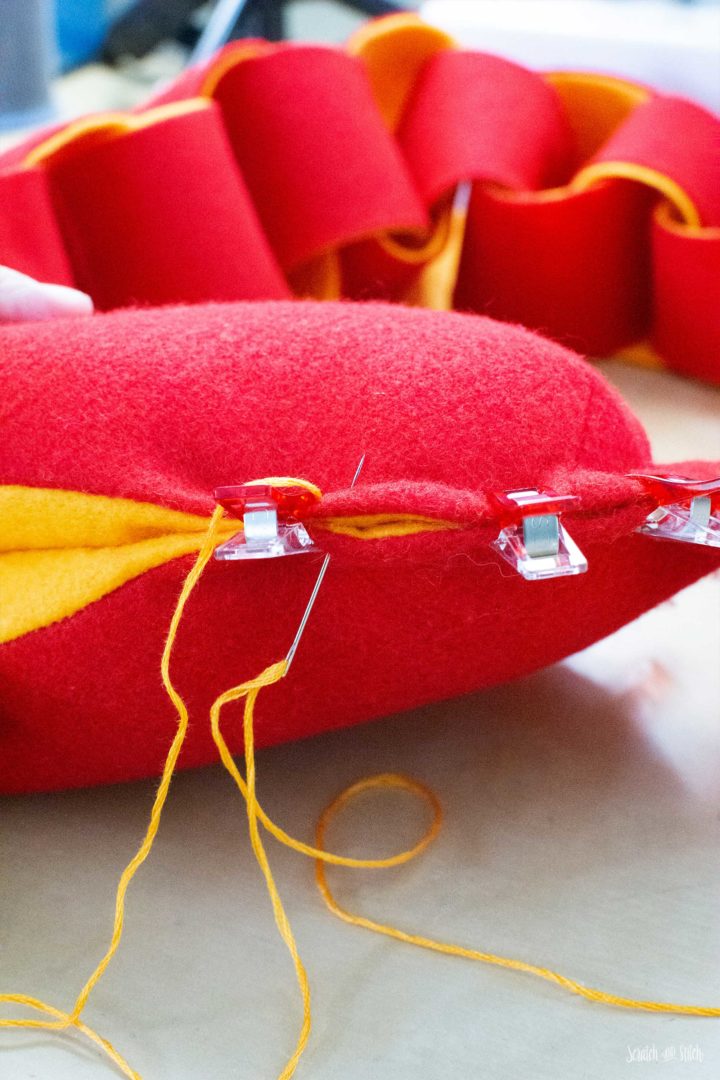
Repeat the same stitches all the way to the neck, across the neck links, and around the head. Stop directly across the head from where you starting sewing. End the final stitch by bringing the thread in between the head layers and knot the thread.
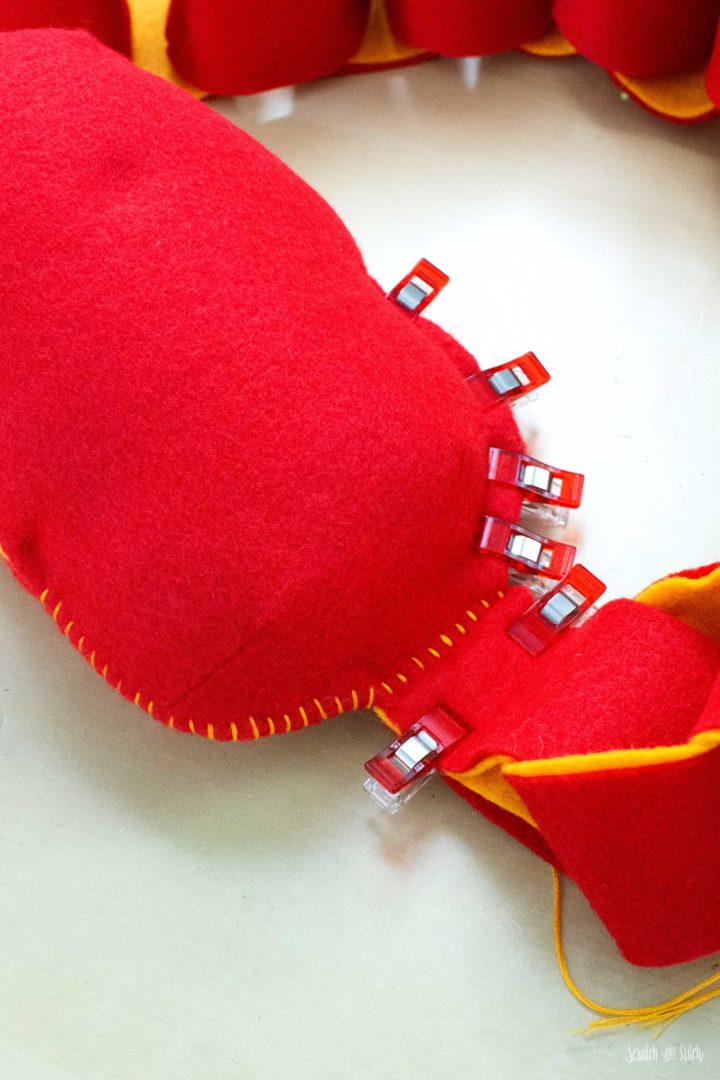
Add the Eyes
Place one assembled eye on each side of the top of the head. Pin to hold in place.
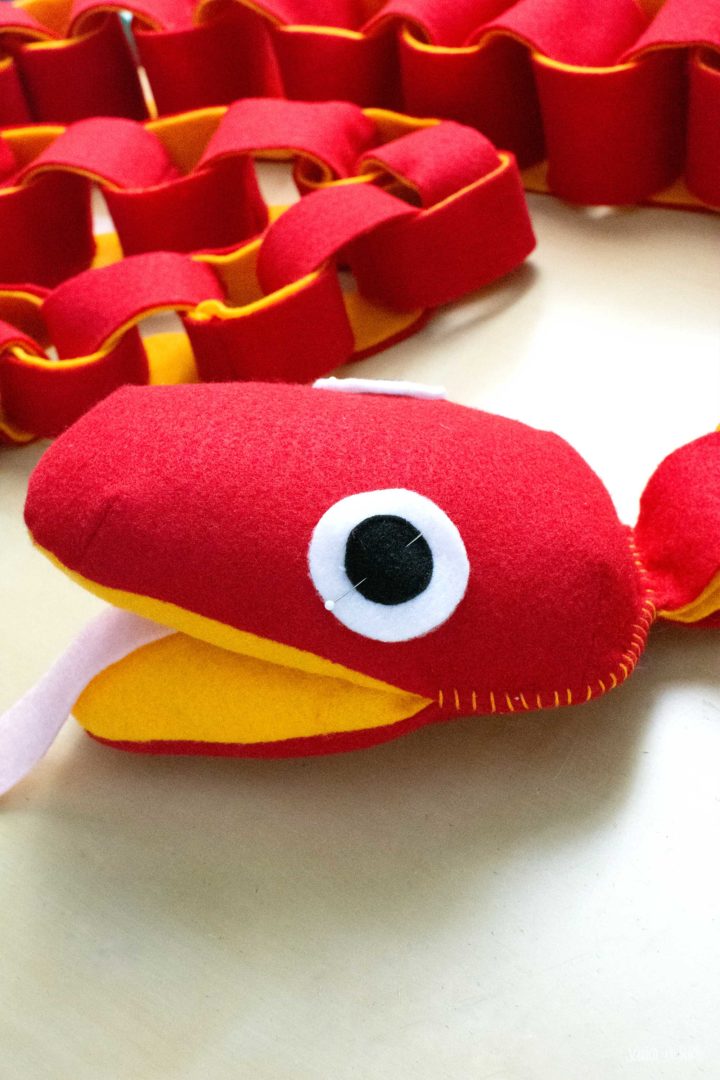
Sew each eye into the head using a blanket stitch.
Add the Chain Snake Tail
Layer the two tail pieces and loop through the last small link. Fold in half so the ends of the tail align, clip or pin to hold. (The inner color may stick out further. Leave as-is for now.)
Prepare a needle with about 30″ of embroidery thread, fold in half, and knot the ends. Starting about 5″ from the tip of the tail, begin sewing the layers together using the same method as the head.
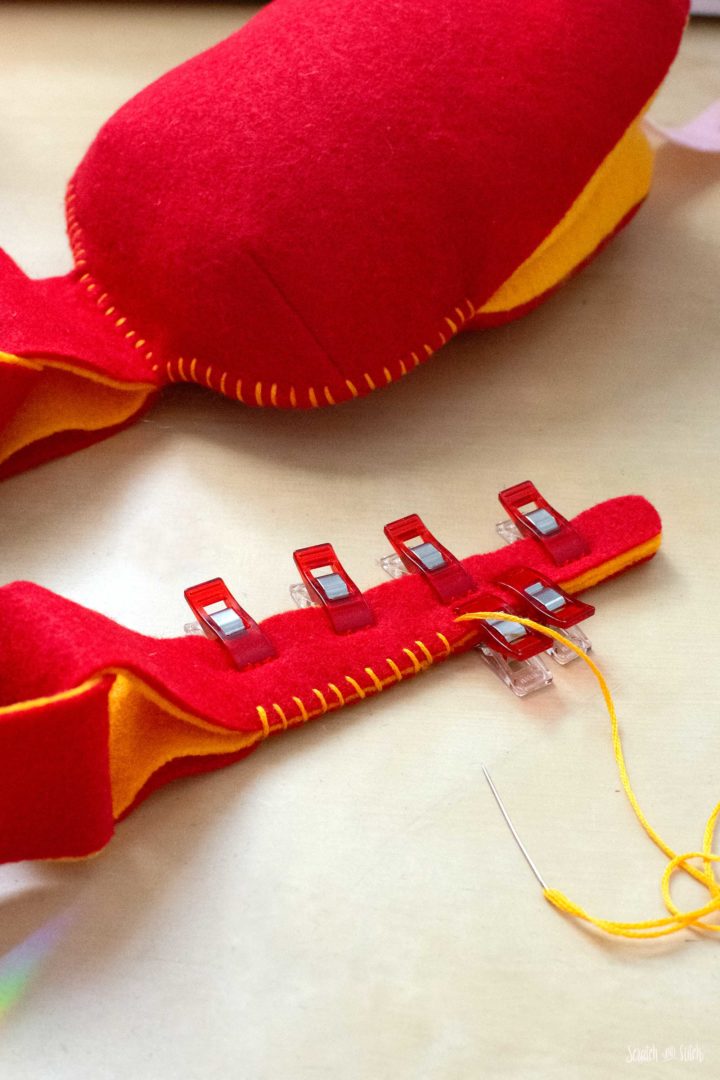
When you get close to the tip of the tail, if the inner color sticks out a bit, trim it even.
Continue sewing all the way to the other side of the tail and stop directly across from where you started sewing.
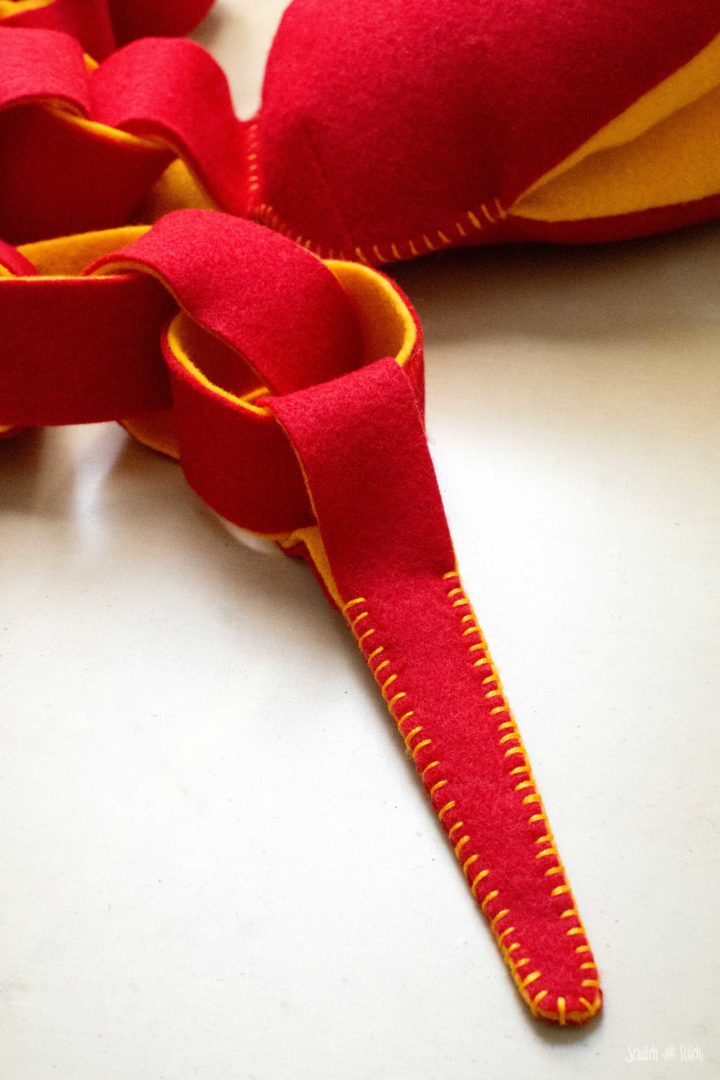
Congrats! You now have a felt snake that’s sure to please the reptile lover in your life.
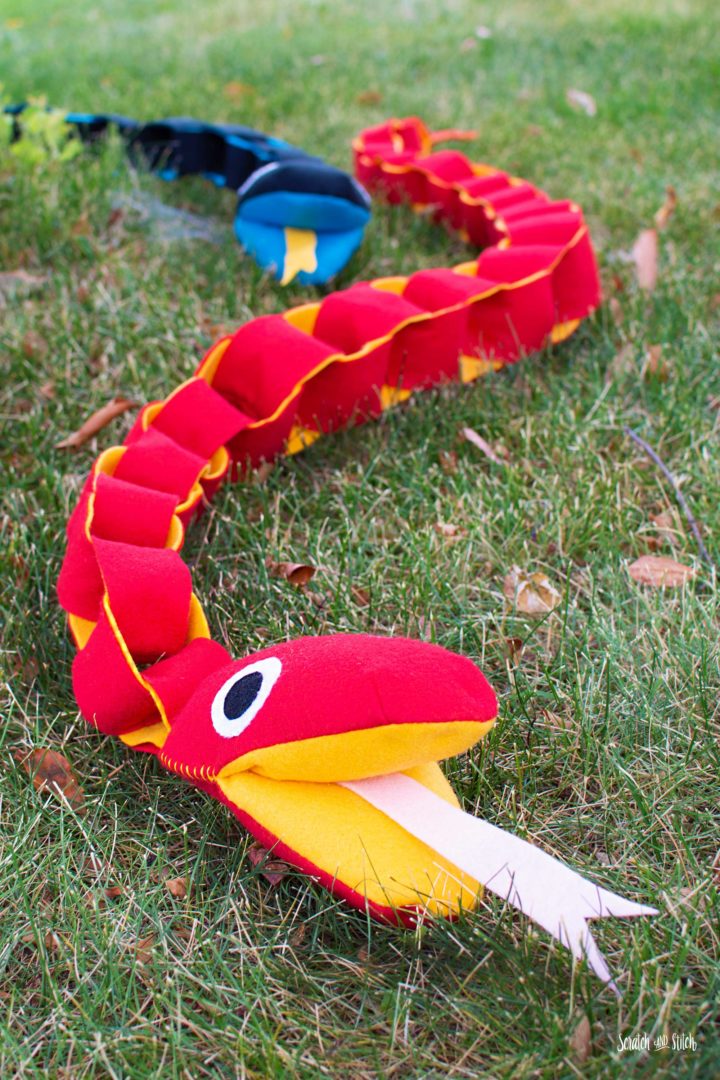
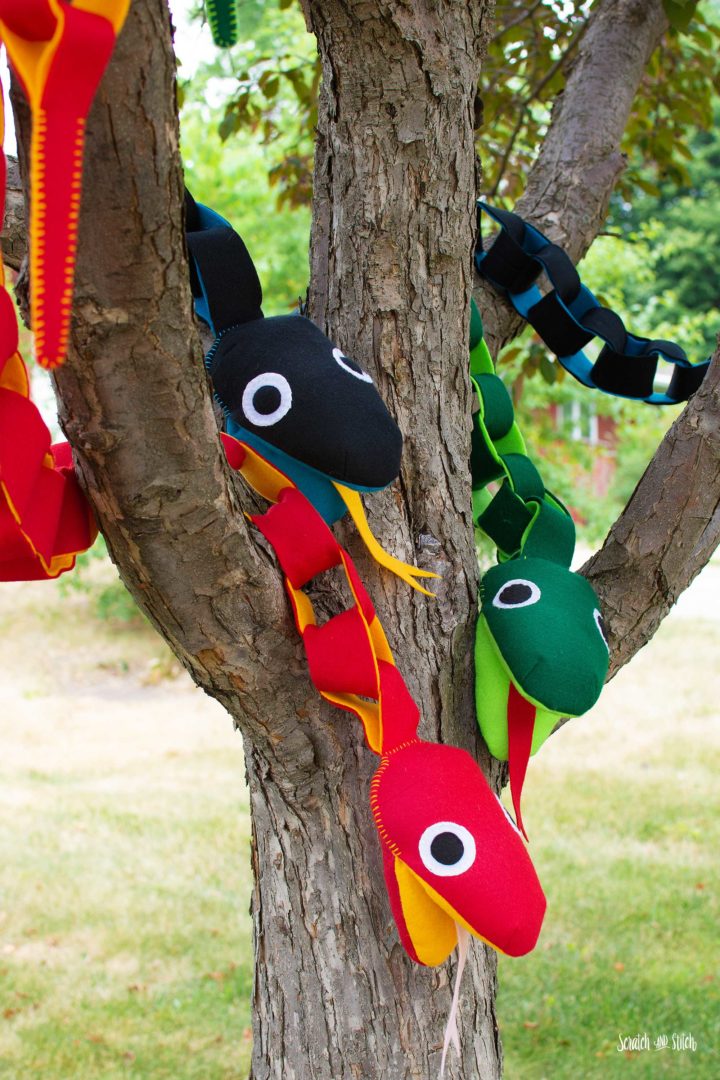
These slithery friends make are great for playtime or cuddling.
Video: How to Make the Felt Chain Snake
Watch the walk-through video on how to make the Felt Chain Snake and get the printable sewing pattern here.
More Free Stuffed Animal Sewing Patterns with Tutorials
If you like this snake plush sewing pattern and tutorial, you’ll like these other free plush sewing patterns
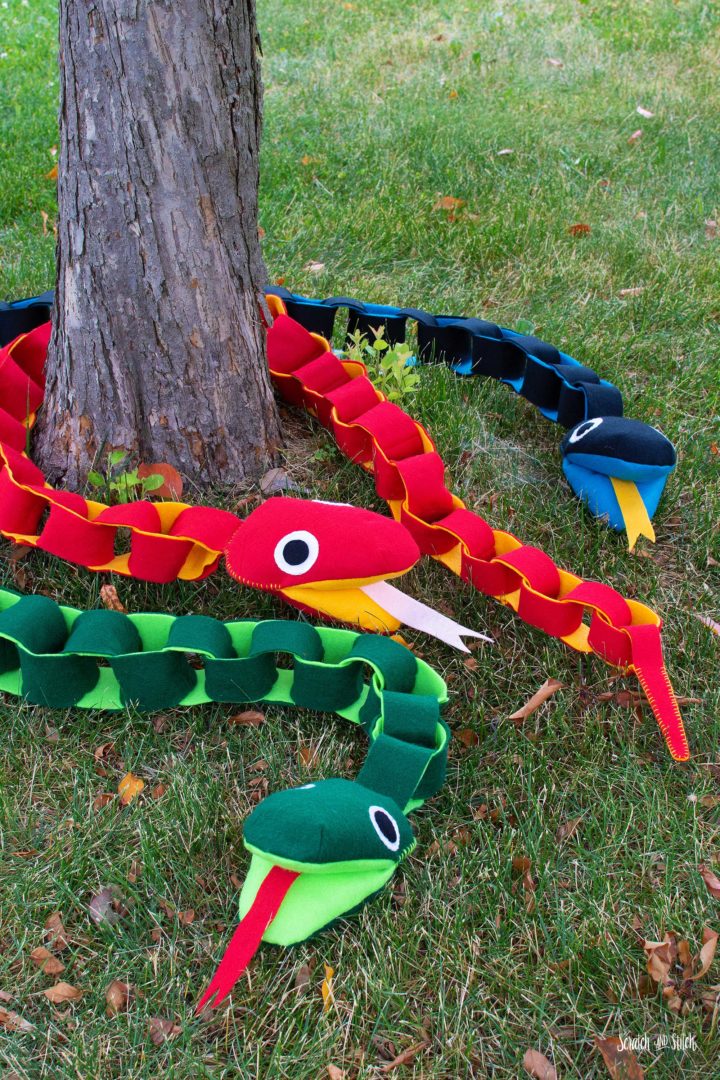
Go even further with your Felt Chain Snake! Sit down to your favorite Netflix series or a movie, and embroider the edges of each of the links with a fun stitch. Use a blanket stitch or closed blanket stitch, or great creative with other stitches.
Sew a Softie
This free plush sewing pattern is part of the Sew A Softie Summer 2021 edition. Sew a Softie is a global initiative to inspire adults to get sewing with the kids in their lives.
Did you make the Felt Chain Snake? I love seeing your creations! Tag @scratchandstitch on Instagram and Facebook, or send me an email. :)
I love this pattern! It’s so easy to make up and my grandchildren are entranced by them. I have already made 3 as Xmas gifts and have another 3 ready to go. The only changes I would make are to sew the eyes onto the head before stuffing it and to fold the felt straights together and sew the chain closed as one seam. You can then trim 3 of the seam layers and stich the untrimmed seam over the others and onto the chain to make a french seam. This keeps the inner and outer layers together. Thanks for the pattern I will store this one away!
Cathi, I am in the middle of making 8 snakes. Your tutorial and instructions are Right-ON! My problem is in making multiples! Figuring out how much fabric to buy, how to cut 560 links, sewing the links due to thickness and my machines. I tried my surger – now have to re-thread. Breaking needles and thread on my Singer.
I do believe my great grandsons will love them.
I’m making this funky little snake for my grandson, for Valentines Day. I’m making his sister, the ladybug, with heart spots. These plush toy patterns are totes ADORBS! I am embellishing each of the links by blanket stitching them. The decorative stitching is every cute, but more importantly it adds an incredible sturdiness to the entire structure of the toy. I would hazard to say that the snake is now little-boy TOUGH!
Oh that is so wonderful to hear! Both of those will make great Valentines for your little sweethearts :)
I look forward to seeing both! The blanket stitch on all those links is really going to make that sturdy, and look really great. Send pics :)
i cut up an old pair of snowboarding pants to make a stuffed snake for the Brighton ski areas ‘snake creek’ chair lift area. you had the best snake head of all of the patterns i checked out. i didn’t make the chain body but instead made a long snake body out of pieced scraps. the fabric is gortex. i plan to make more as i have an idea how to do the chain body out of old jeans. sending the picture to FB.
I just love this idea! The upcycling and the story are such a good idea. That fabric will provide some great durability. Thanks for sharing! :) I got your pic through FB.