This post may contain affiliate links.
Kids love stuffed animals and kids love puppets. That’s why I combined the two to create this plush puppet pattern. Since Halloween is right around the corner, a ghost seems like the right spooky character to turn into a puppet pattern.
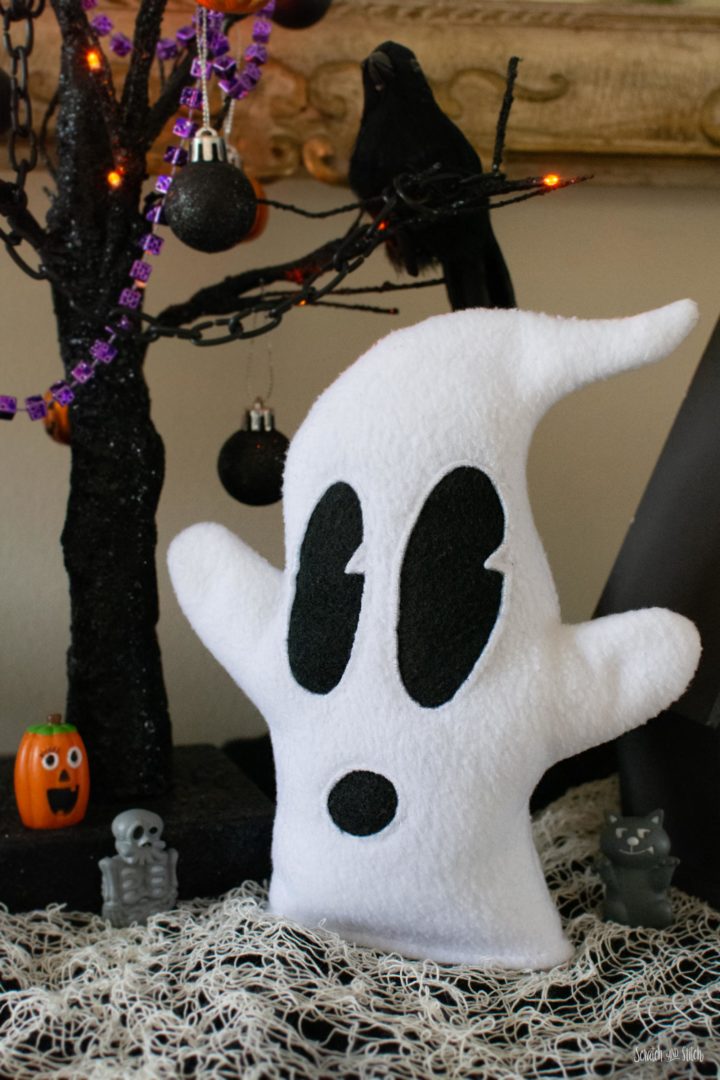
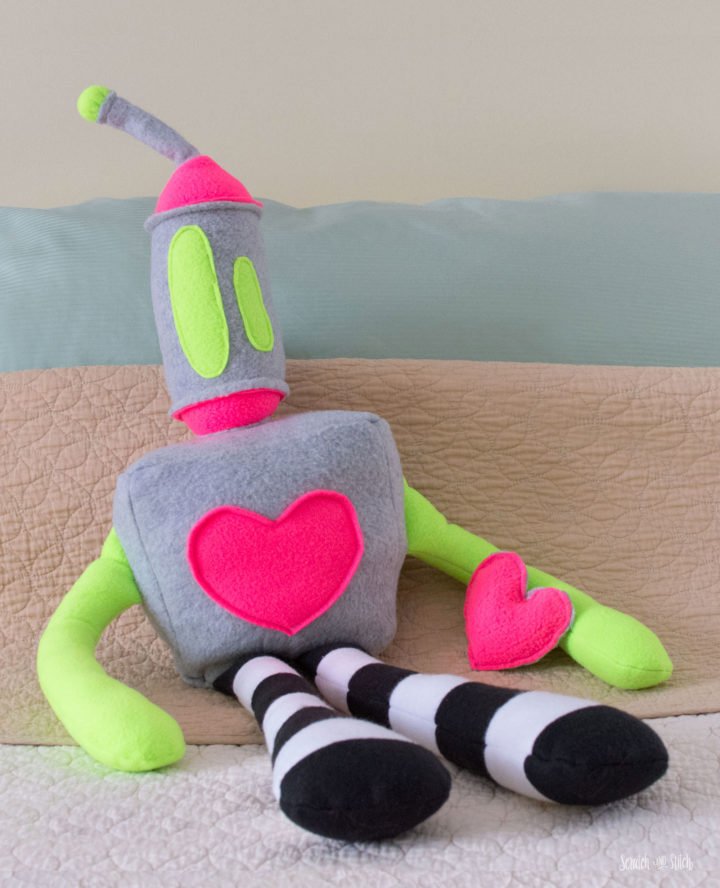
After I sketched out quite a few ghosts, I asked my husband to draw a ghost and he nailed it right away. He came up with the perfect ghost shape that has a unique character and is just a bit spooky. I have to give him credit where credit is due, he’s drawn some of my other plush patterns too, like the Love Bot.
Love Bot Sewing Pattern
The love bot is loved by many all over the world. Make your own version with my Love Bot sewing pattern.
In addition to this free plush puppet pattern, I have included a free .SVG file to use with your favorite cutting machine. Get the free sewing pattern files to download below.
How to Make the Plush Ghost Puppet Pattern
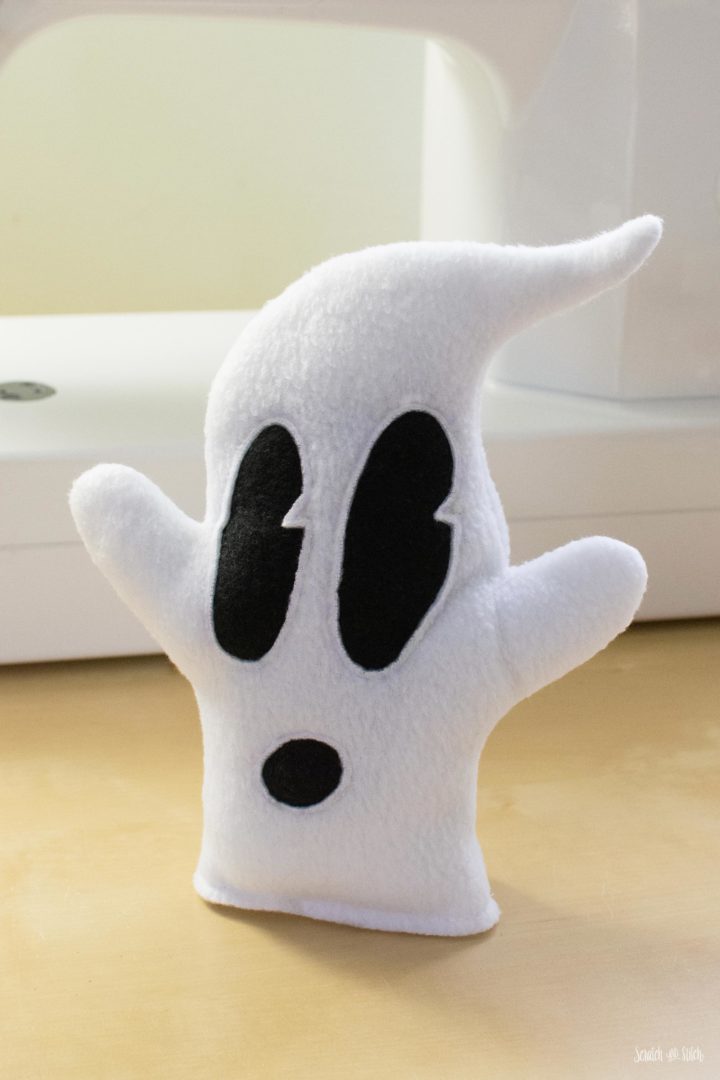
This ghost puppet is a quick project that can be complete in under an hour. The entire ghost can be sewn by machine (or by hand). It has just a little filling inside to give it a plush, pillow-like body, perfect for cuddling and playing. The ghost puppet is sized for tiny hands. Before you know it, he’ll be pupping out at you saying “BOO!”
Materials & Tools
- ghost puppet pattern (download below)
- 1/4 yard white fleece
- 3.5″ X 5.5″ black fleece (any black fabric will work)
- disappearing fabric pen
- Poly-fil (or similar)
- double-sided tape (optional)
- coordinating thread
- basic sewing supplies
Halloween Ghost Sewing Pattern
Free download includes .PDF pattern and .SVG cut file.
Enter your email to get the free pattern in your inbox.
By submitting your email address you will be added to the Scratch and Stitch email newsletter. You can opt-out at any time :)
Using the .PDF Paper Sewing Pattern
- Download the .PDF pattern and print at 100%.
- Cut out the paper pattern pieces. (Only cut the eyes and mouth from paper, this will be used as a template later.)
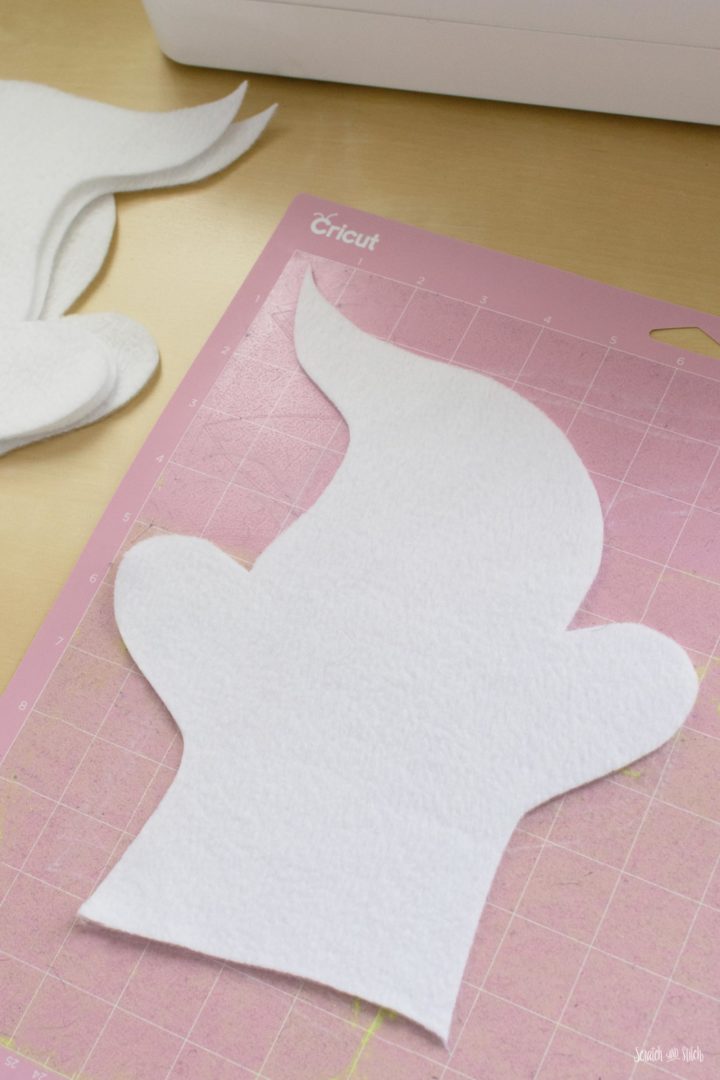
- From white fleece, cut out 4 body pieces with 2 as mirror images.
- Cut a 3.5″ X 5.5″ of black fabric.
Using the .SVG File for Cricut
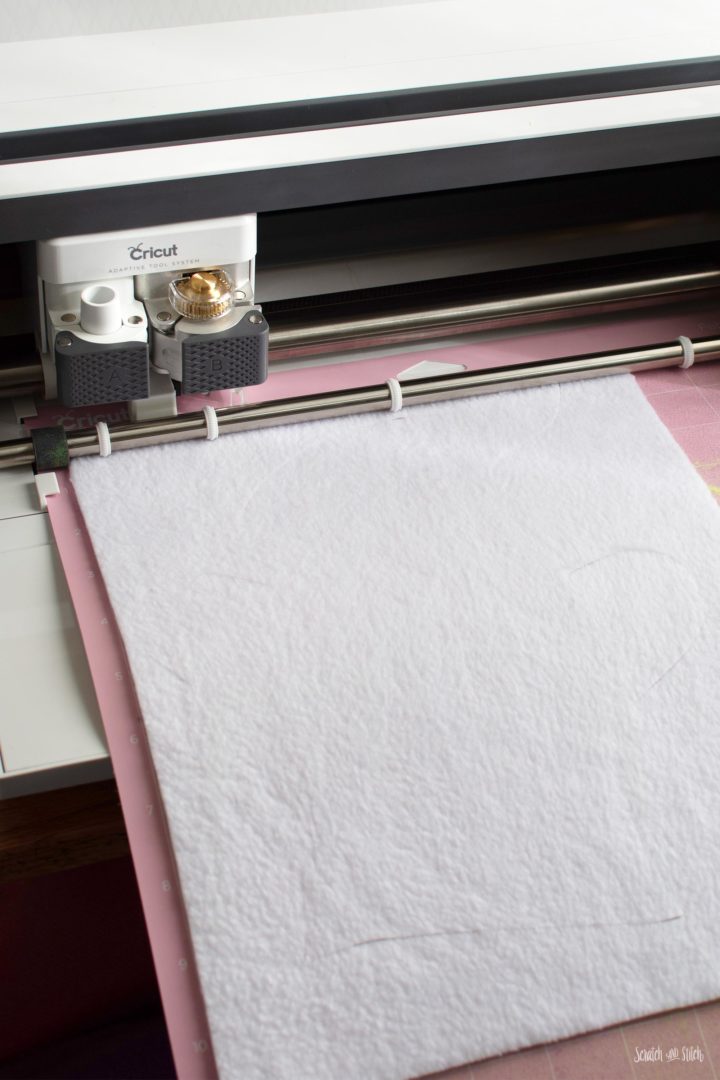
You can cut all pieces on the Cricut Maker as well as draw on the face template. Optionally, if you don’t want to use a fabric pen in the Cricut, cut out the face from paper and use as a template following the directions below.
You’ll need:
- Download the .SVG file.
- Create a new project in Cricut Design Space and upload the Ghost Puppet Pattern .SVG file. Insert the image into your Canvas. (Note: I’ve included the 3.5″ X 5.5″ black fabric in the .SVG file. If you prefer to cut that by hand, hide or remove it from the Canvas.
- Select the graphic and click “ungroup.”
- Select the eyes and mouth shapes and change the “Linetype” to “Draw.” Change the line color to “Marker” and select “Blue (washable fabric).”
- Select the ghost body and face and click “Attach.”
- Click “Make It” to send it to your Cricut.
- Prepare your mats, blade, and pen. Then follow the prompts to make your cuts and drawing.
How to Make the Plush Ghost Puppet Pattern
Whether you cut the pattern pieces by hand or with a Cricut Maker, the assembly steps are nearly the same.
You should have:
- 4 ghost body pieces (with 2 as mirrored images)
- 1 – 3.5″ X 5.5″ black rectangle
- 2 eyes, 1 mouth paper templates (if not using the Cricut to draw on the face)
Make the Ghost Face
If you used the Cricut Maker to draw the face, skip to the next step.
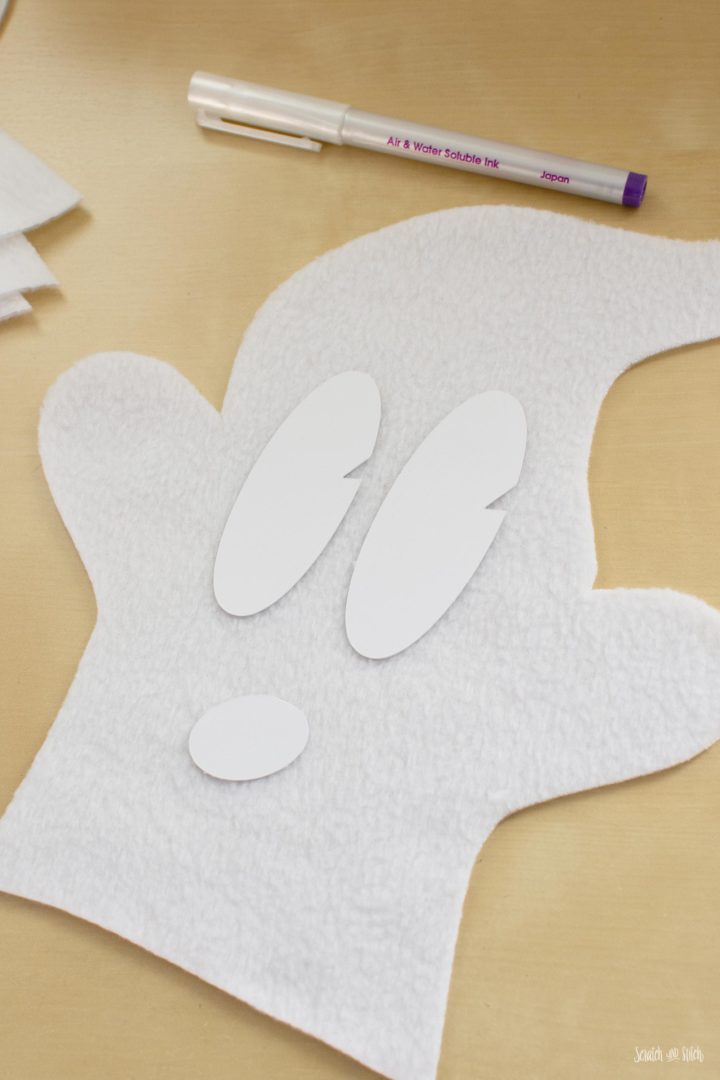
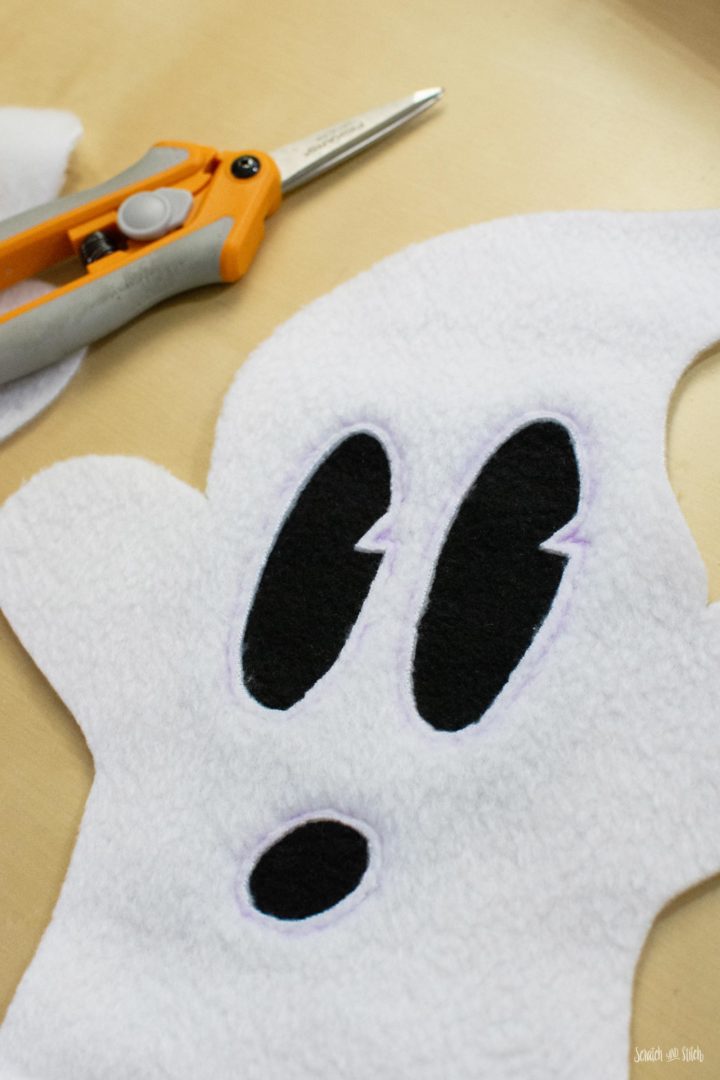
Using the face placement guide on the paper pattern, place the eyes and mouth in place onto the right side of one ghost body piece. Pro tip: use some double-sided tape to temporarily hold the face templates in place. With a disappearing or washable fabric pen, trace around the face templates. Remove the paper templates.
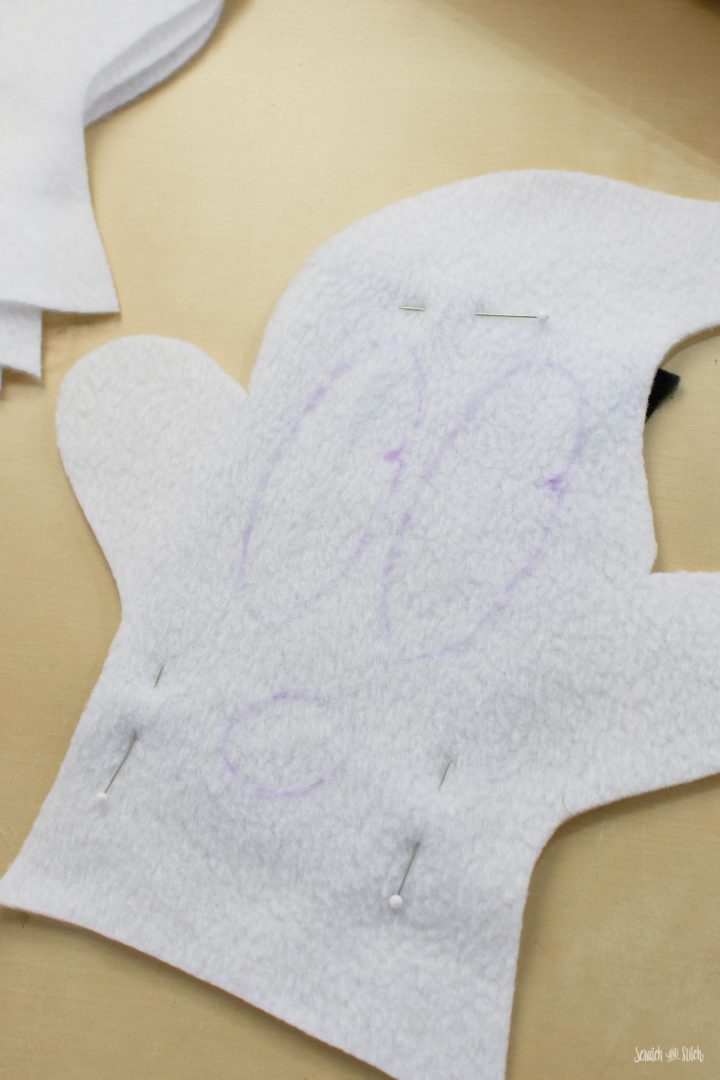
Pin the black fabric to the wrong side of the body piece, making sure it covers the eyes and mouth. Sew right on the line you drew.
Trim away the excess black fabric from the wrong side.
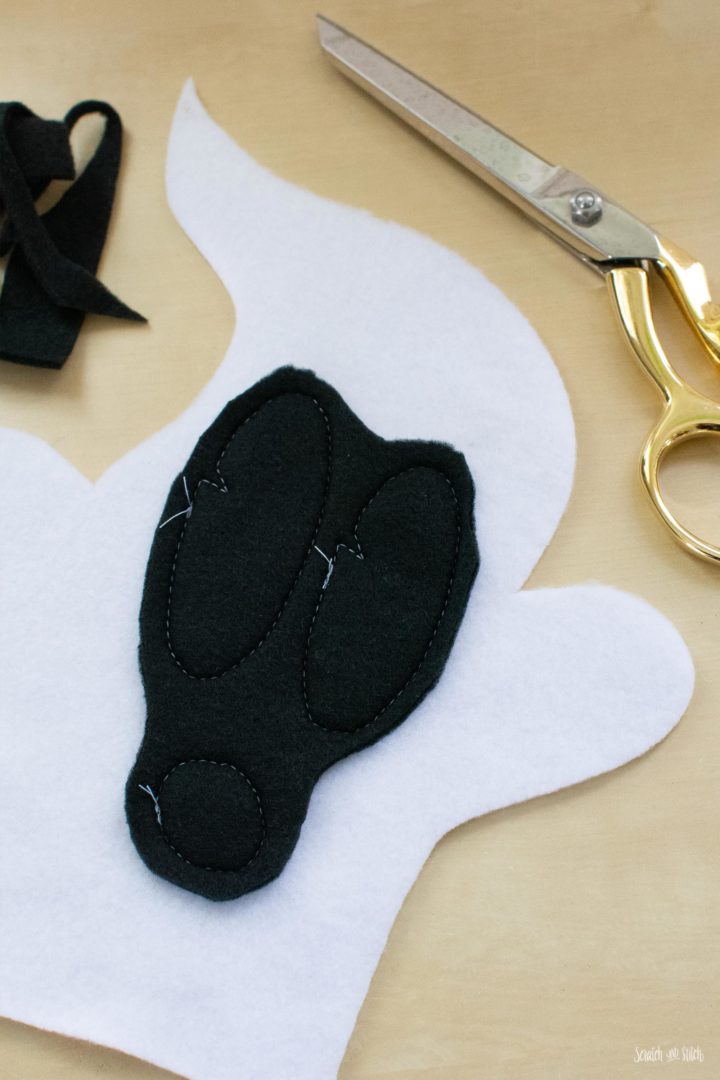
With a pair of sharp scissors, trim away the inside of the eyes and mouth leaving approximately 1/8″ space between the cut and the stitch line.
Easy Cat Plush Sewing Pattern
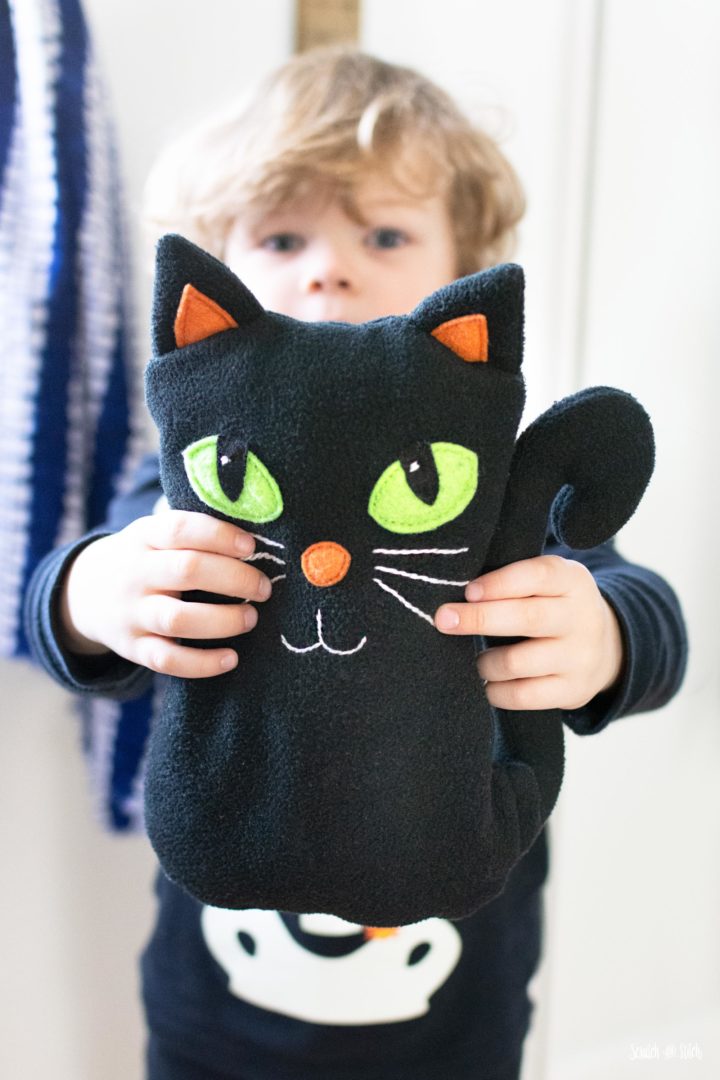
Make this cute little kitty stuffed animal with my free sewing pattern.
Make the Exterior and Lining
With right sides together, pin or clip two body pieces together. Sew around the perimeter of the ghost, leaving the bottom open, and backstitching at the beginning and end.
Repeat with the other two ghost body pieces.
On both of the assembled ghost body pieces, clip the top point to reduce bulk.
From the lining piece (without the face), trim the entire seam allowance down to reduce bulk.
Flip the exterior body piece with the face right side out. Make sure to get the top point pushed out.
Place the interior lining piece into the exterior piece. Use a chopstick or similar to get the top point pushed out. Make sure the ghost hands are aligned inside.
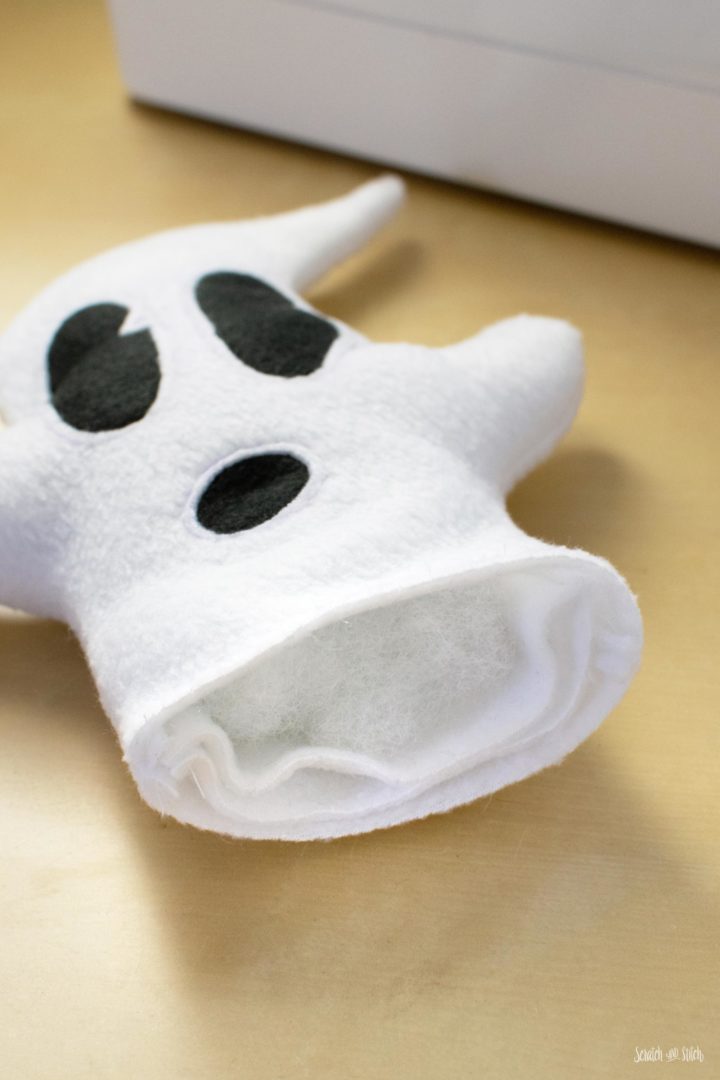
Lightly stuff just the front portion (in between the face and the front side of the lining). Do not overstuff.
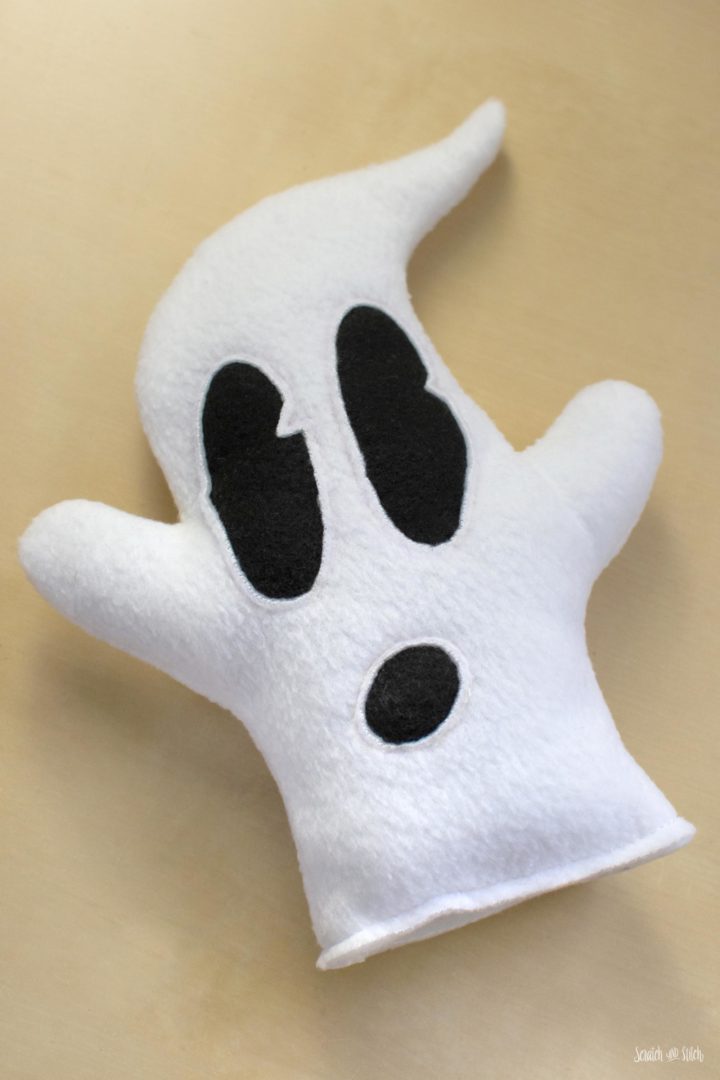
Clip or pin the exterior and interior layers together making sure the side seams align. Sew around the perimeter with a 1/4″ seam allowance.
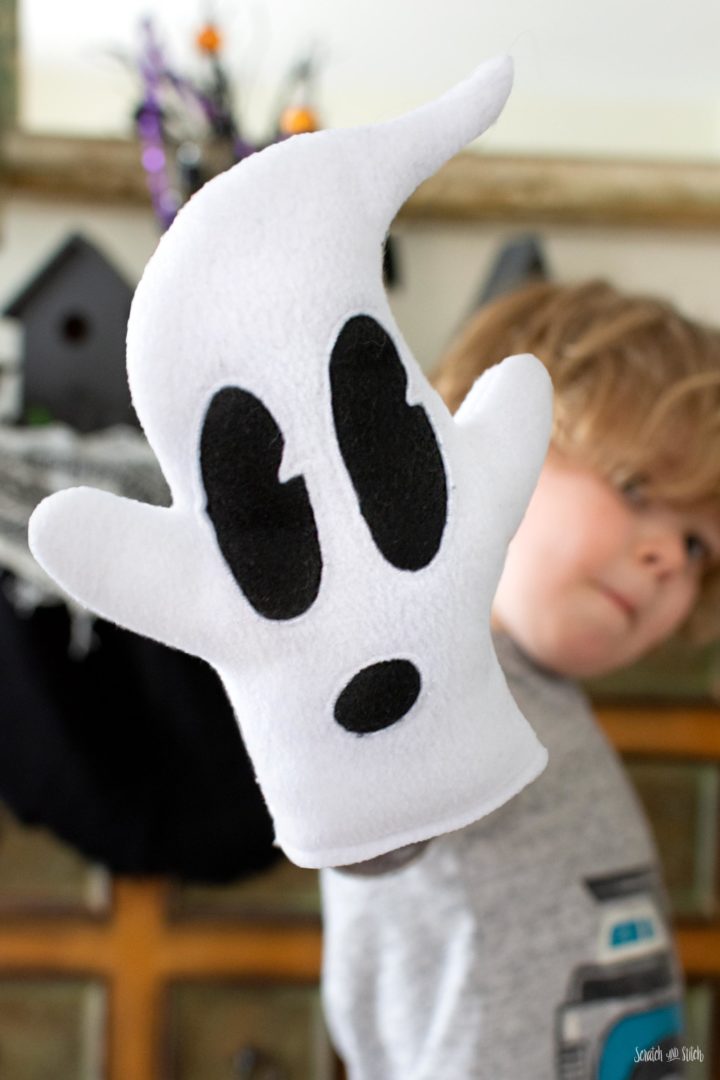
That’s it! You now have a little ghost puppet, ready to “BOO!”
Did you make the ghost using my free puppet pattern? Tell us about it in the comments below and make sure to tag @scratchandstitch on IG and FB.
Do you have this pattern to use without a cutting machine?
Yes! The pattern download includes a printable PDF pattern. :)