This post may contain affiliate links.
Are you looking for some classy DIY Christmas ornaments to trim your tree? Try these leather Christmas trees with tassels. They’re easy to create and look like they came from a high-end boutique. Use my free template and tutorial to make your own leather Christmas decorations.
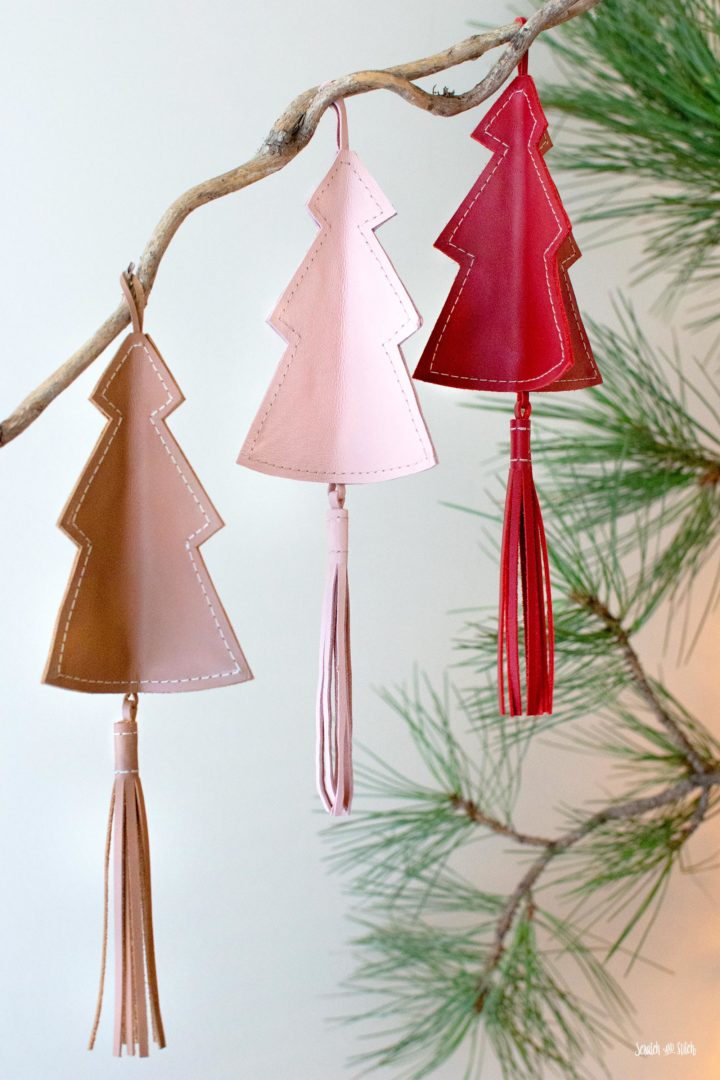
These stunning three-dimensional Christmas tree ornaments are made from leather and a bit of faux stitching around the edges. One large ornament can be made from a piece of 6″ X 12″ leather making this a great project for leather scraps. This free .SVG file and template can be cut by hand or on your Cricut Maker.
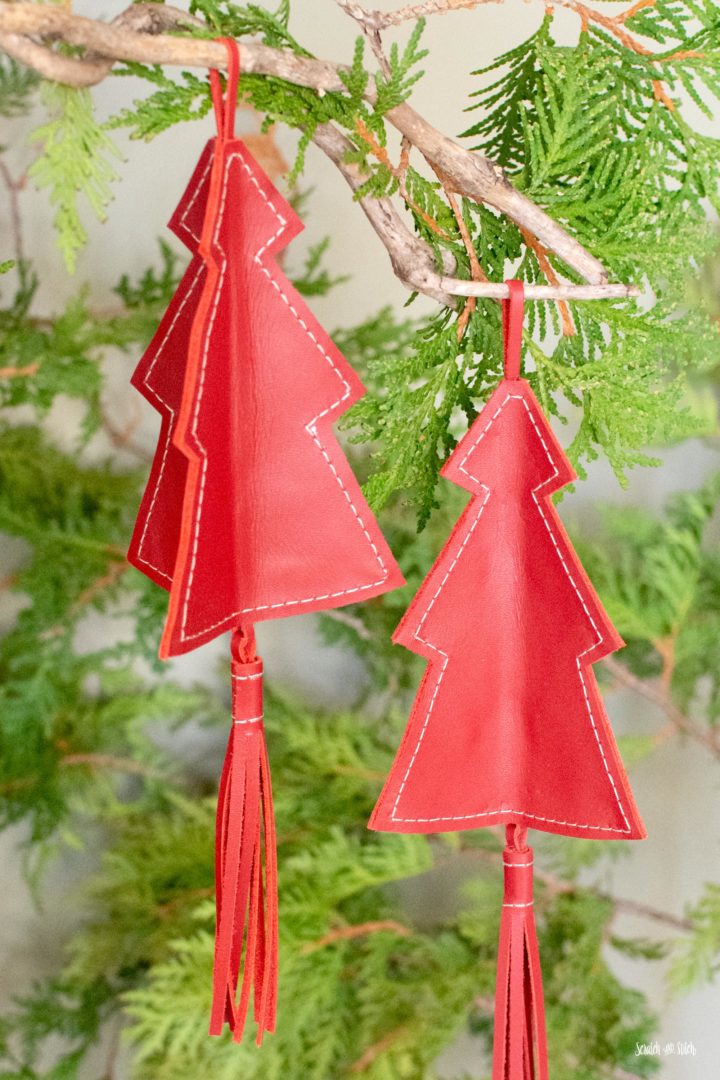
How to Make Leather Christmas Tree Ornaments
One leather ornament can be made in 30 minutes or less. Using a Cricut to cut the leather will reduce the time even further, making these ornaments an easy DIY Christmas project. Grab your supplies plus my free .PDF template and .SVG file for use on your Cricut machine, and follow along below.
Materials
- .PDF or .SVG Christmas Tree Ornament Template (download for free below)
- Cricut Maker (optional)
- Cricut StrongGrip Mat (for use with Cricut)
- painters tape (for use with Cricut)
- Cricut Knife Blade (for use with Cricut)
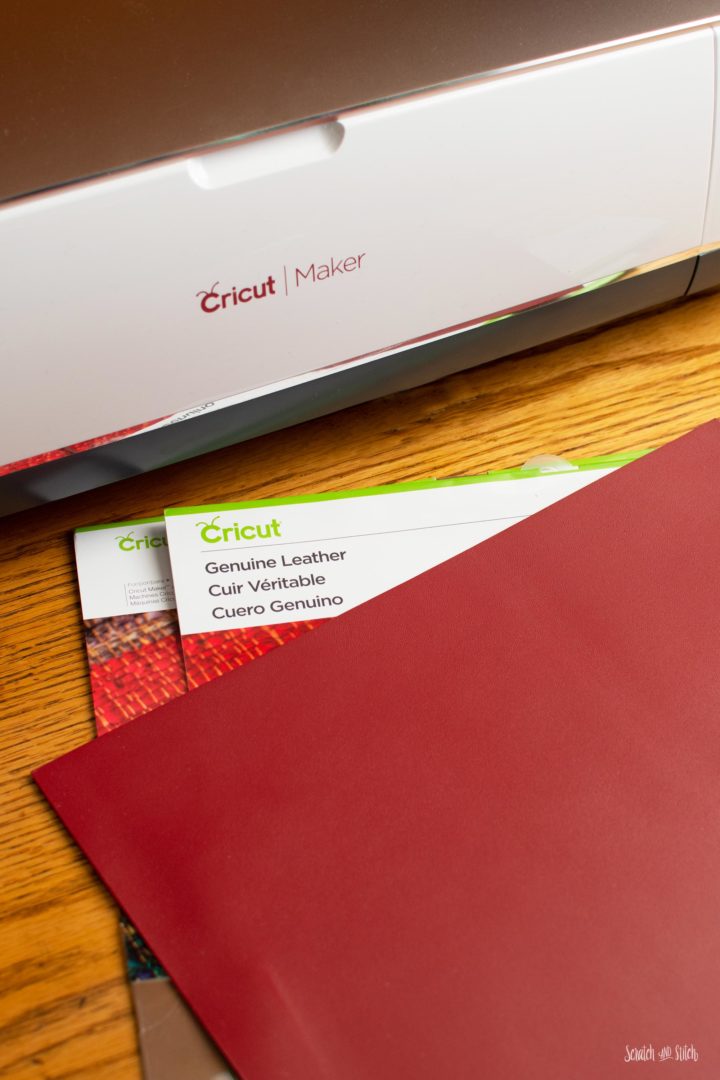
- leather (Cricut leather or other leather works great)
- scissors, rotary cutter, or Exacto knife
- ruler
- leather glue
- paintbrush (for spreading glue)
- leather marking pen (optional, like this one)
- heavyweight thread
- leather needle
- sewing machine
- sewing clips (optional)
Project Notes
- LARGE size : 10″ X 3.5″
- MEDIUM size: 8.5″ X 3″
- SMALL size: 7″ X 2″
- This tutorial is intended for use with genuine leather but can also be used for faux leather, felt, or other materials.
- The stitching is only for looks, and can be skipped.
Leather Christmas Tree Ornaments
Download includes template files in 3 sizes.
.PDF pattern, .SVG template, materials list, and cut list.
Enter your email to get the free pattern in your inbox.
By submitting your email address you will be added to the Scratch and Stitch email newsletter. You can opt-out at any time :)
Cutting the Leather Christmas Tree Ornaments
These leather ornaments can be cut by hand using my free template or cut on a Cricut Maker machine.
Cutting Leather with Cricut Maker:
In Cricut Design Space, create a new project and upload the .SVG file. Add the Leather Christmas Ornaments to your canvas by selecting the template and clicking “Insert Image.” Select which size ornament you’d like to make by hiding the others from the Layers panel. Click the “Make It” button.
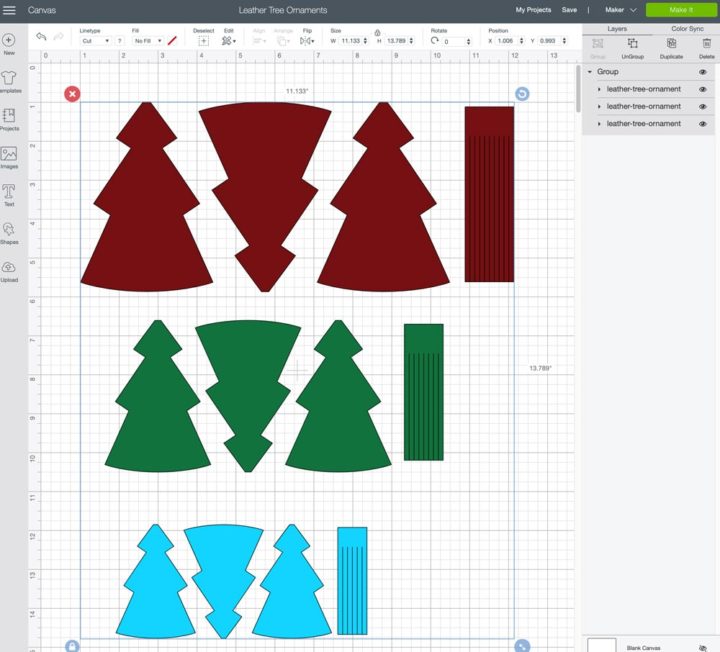
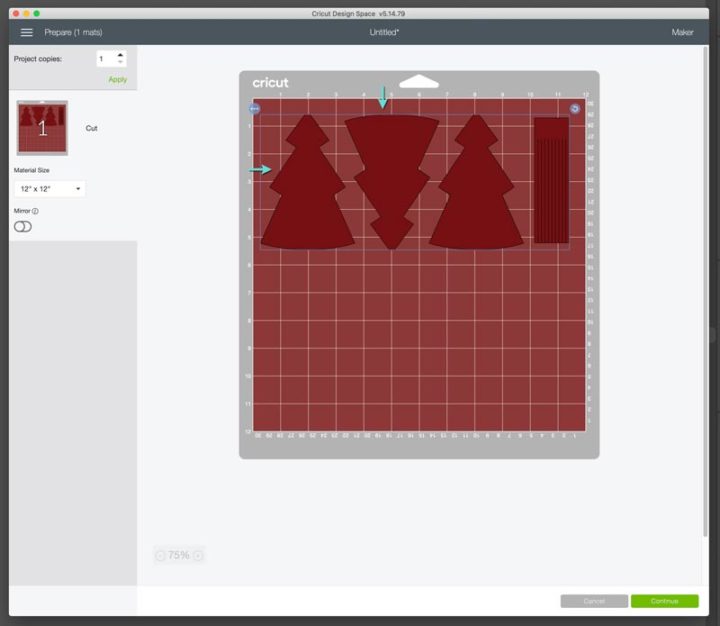
Prepare your StrongGrip mat(s) by placing your leather smooth side down and taping it in place on all four sides with painter’s tape. Before sending the cut file to your Cricut, move the objects down and over so they are away from the edge of the cutting area a bit and match the location of the leather on your mat.
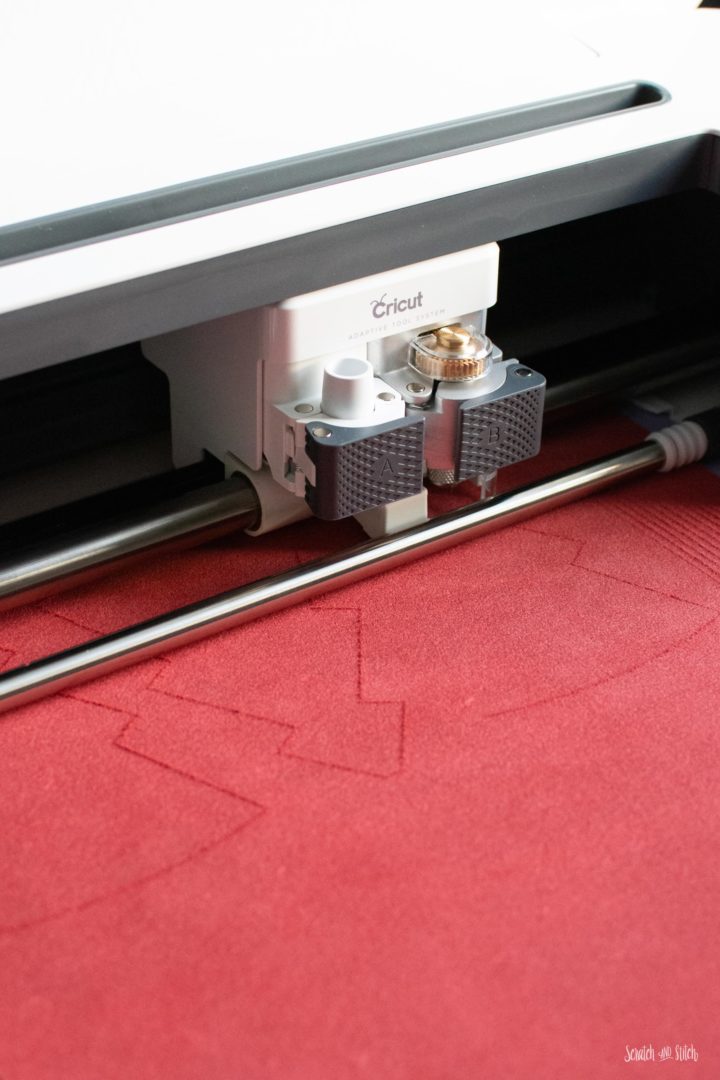
Insert the knife blade in to the Cricut Maker.

Once you have your mat prepared and objects in place, click “Continue.” Select your material from the list of materials. Pro tip: If you select Cricut brand “Genuine Leather,” you will need to use the Deep Point Blade. To use the knife blade, select “Garment Leather – 2-3 oz.” Make sure to push the white wheels all the way to the right if prompted to do so.
Insert your mat and start cutting out the leather Christmas tree ornaments.
Once your leather pieces are cut, remove them from your mat.
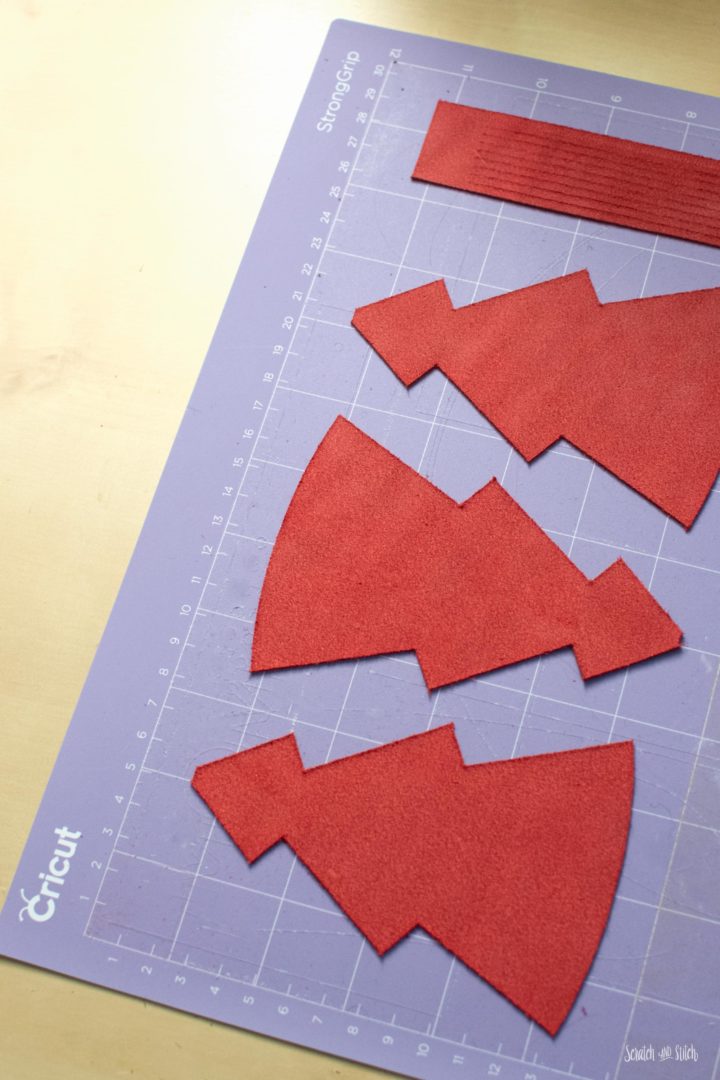
For hanging, you will also need to cut one 1/8″ strip of leather by hand. Cut 12″ for the LARGE ornament, 10″ for the MEDIUM ornament, and 8″ for the SMALL ornament. You can cut this on your Cricut, however, I feel that there is too much waste and prefer to cut this by hand.
Cutting Leather by Hand:
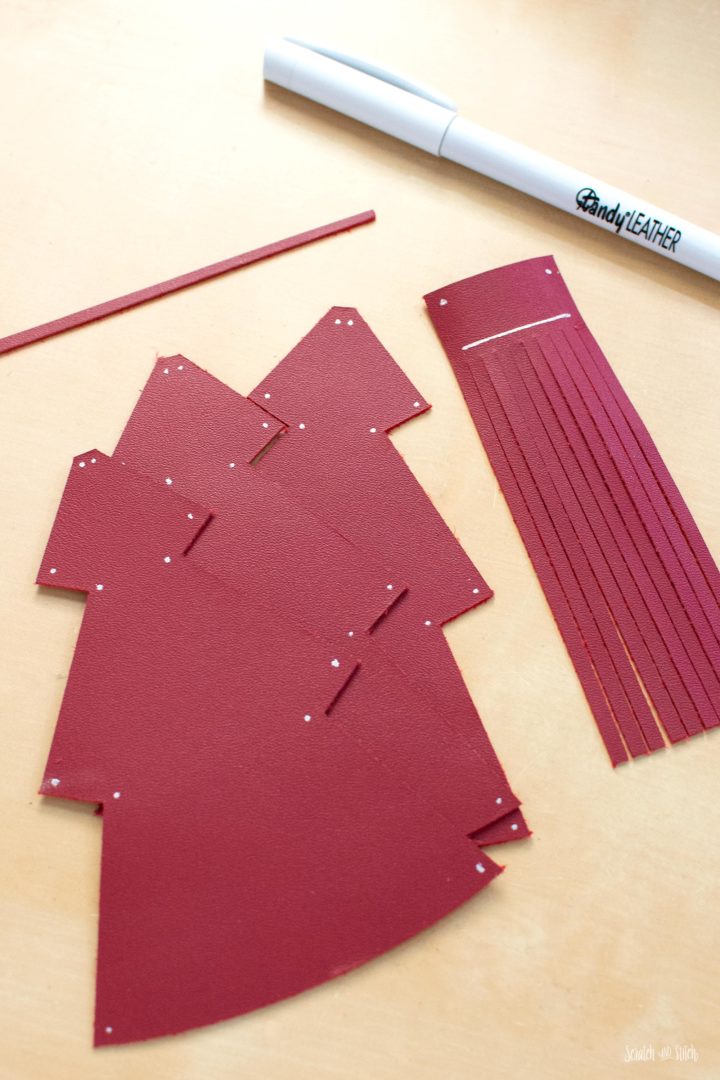
Print and cut the paper template for the Leather Christmas Tree ornament. Trace 3 trees and 1 tassel template onto the backside of your leather. Cut out the pieces.
For the hanging loop, you will also need to cut one 1/8″ strip of leather. Cut 12″ for the LARGE ornament, 10″ for the MEDIUM ornament, and 8″ for the SMALL ornament.
Make a Leather Tassel
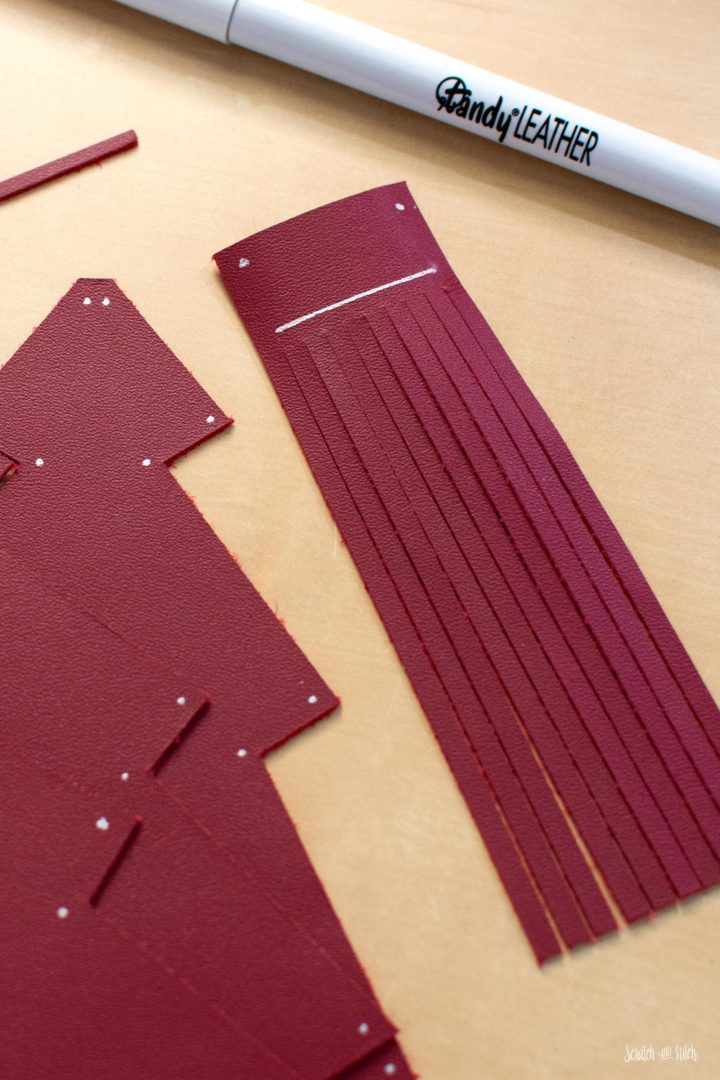
On the top end of the leather tassel, draw a line 1/8″ down from the top and another 1/8″ above the top of the fringe cuts (see picture). Stitch along the lines, leaving long thread tails for knotting. Pull the top thread around the edge of the leather piece and knot the threads on the backside. You can add a bit of glue to the knot to keep it from untying.
One side fringe piece of the leather tassel needs to be trimmed to make a hanging loop. Measure down from the top and mark at 2 3/4″ for the LARGE and MEDIUM or 2″ for SMALL. Trim at the mark.
To make the hanging loop, add some glue above the trimmed fringe piece and fold the leather under itself to create a loop (see picture). Clip and allow to dry.
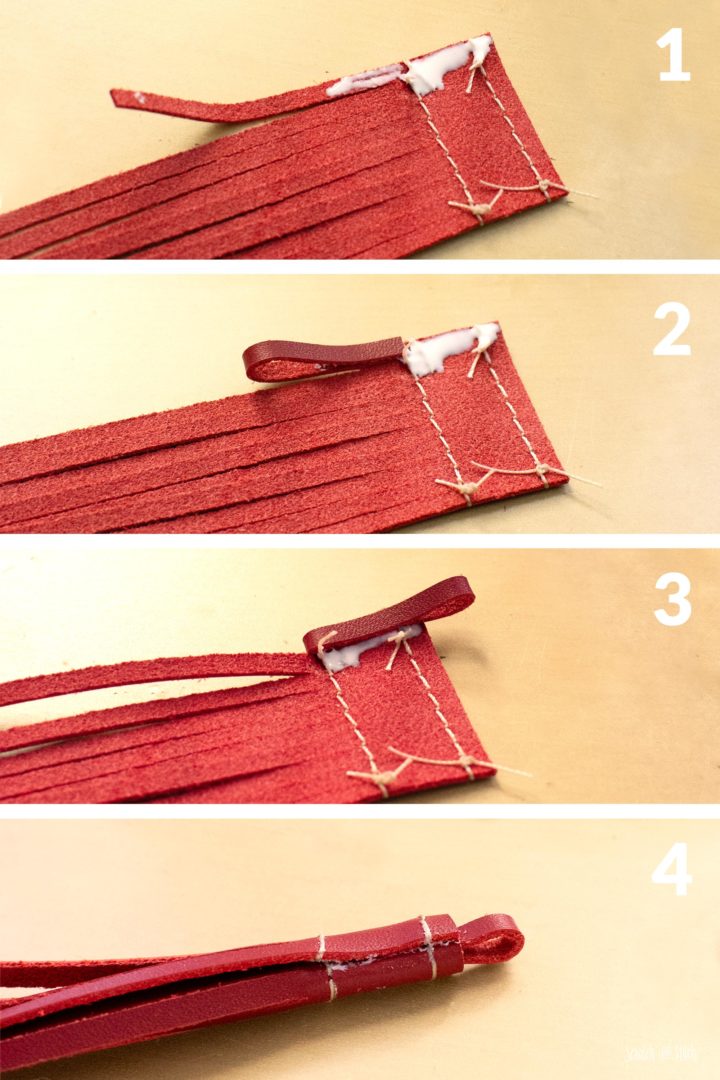
Once the hanging loop is dry, add more glue to the top of the tassel piece and roll up the leather to create the tassel. Clip to hold and let glue dry. Set aside.
Make the Leather Christmas Tree
On the front side of the leather, at each corner, add a mark at 1/8″ from the corners with a leather pen. This is optional, but will help guide you on where to pivot at each corner.
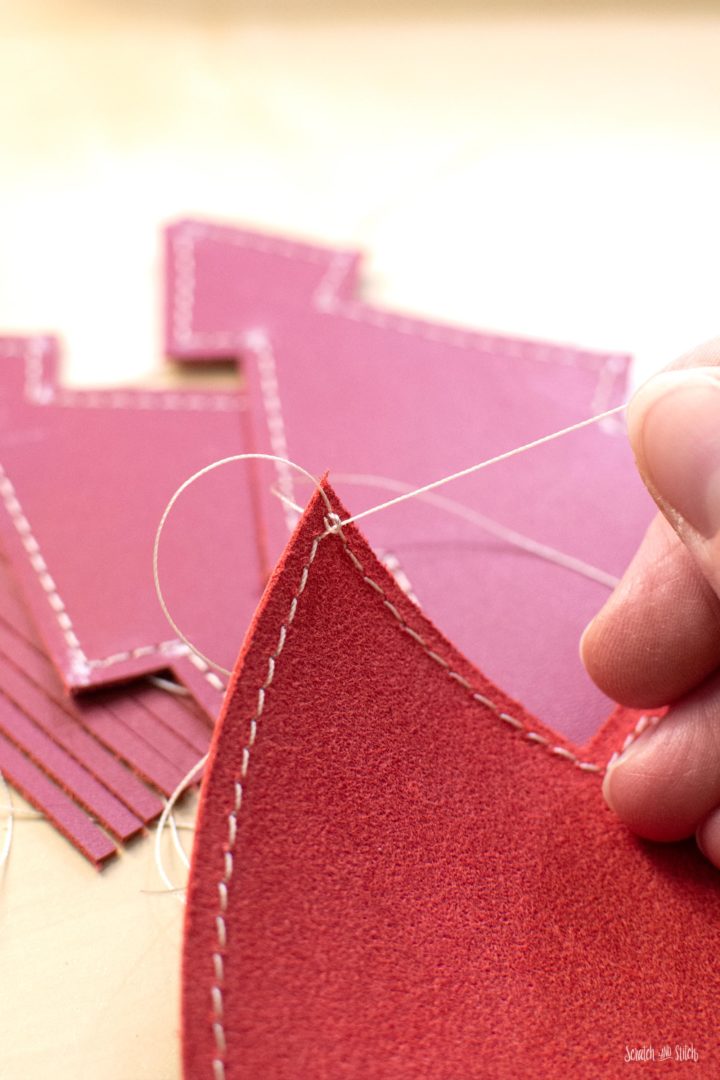
Starting at the bottom right corner of one tree piece, stitch around the perimeter of the tree with a 1/8″ seam allowance, starting and stopping in the same hole. Leave your thread tails long for tying later.
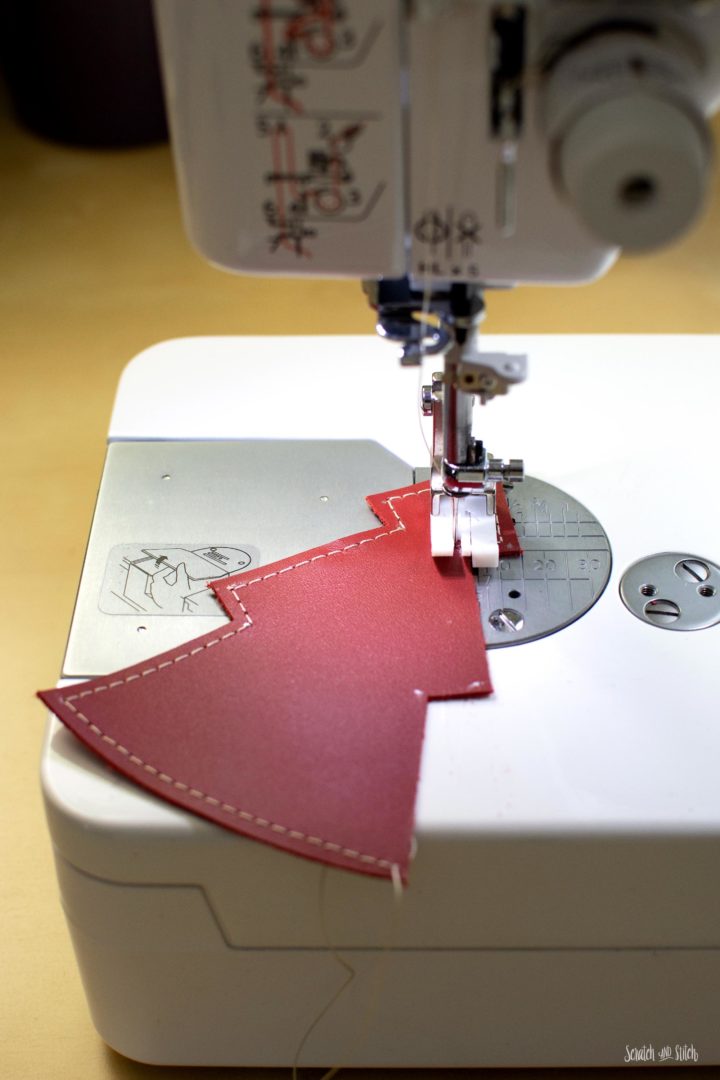
Pull the top thread to the back by gently tugging on the bottom thread to create a loop from the top thread (see picture). Pull that loop so the top thread pulls to the back of the leather piece. Knot the threads, trim and add a bit of glue to keep the knot from untying. Repeat with the other two trees.
Adding the Ornament Hanging Loop
On the backside of one tree, draw a line down the center of the tree. Pro Tip: To find the center, fold the tree in half and make a mark at the fold.
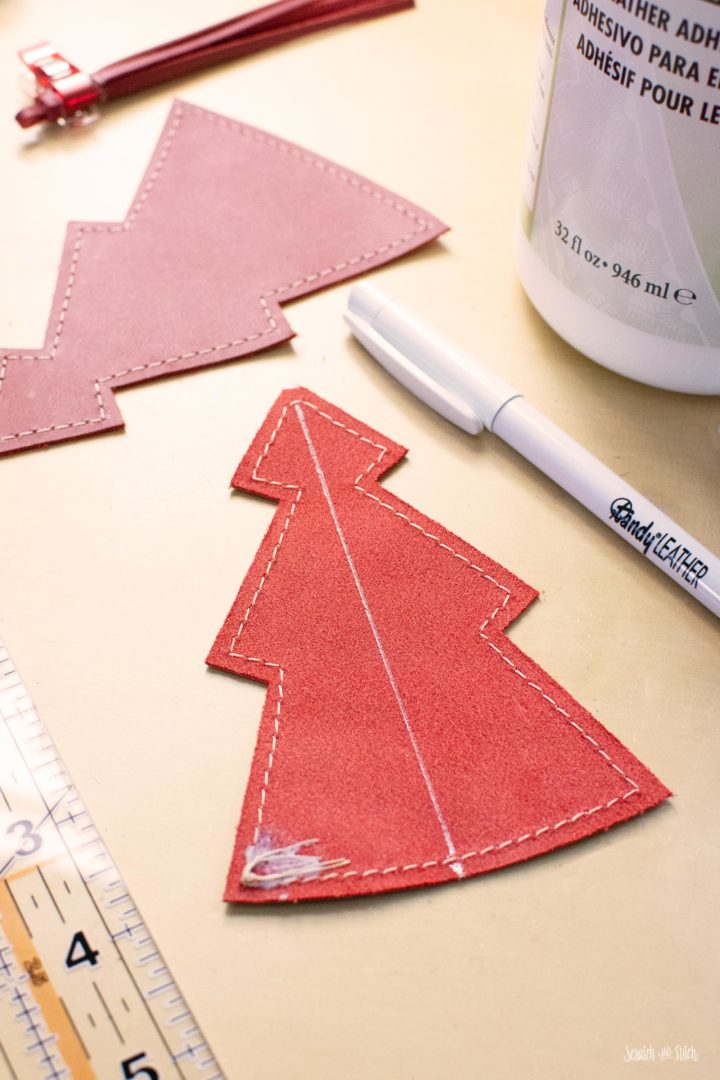
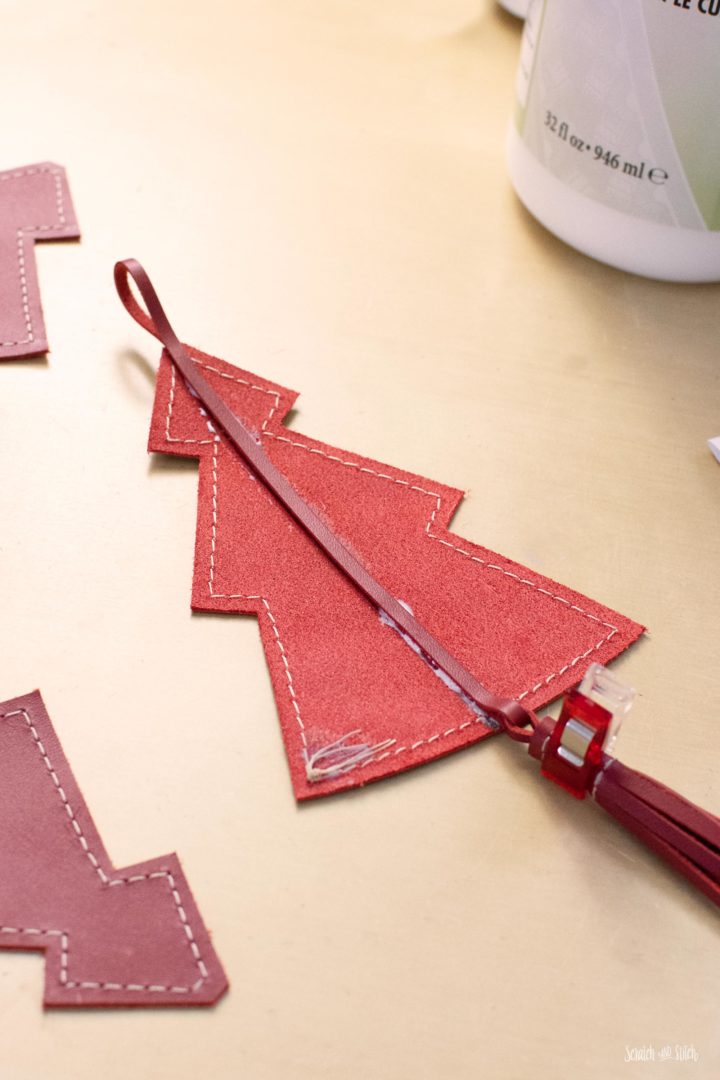
Add some glue down the line and place the leather strip right side down on the line. Loop the leather strip at the top with at least a 1″ loop and fold back down on the tree. Go down past the bottom of the tree and slide the tassel onto the strip. Make sure the tassel hangs loosely on the bottom loop. Fold the strip back up to the tree and glue in place.
Assembling the Leather Christmas Tree Ornaments
Pro Tip: Before putting two pieces together, let the glue set for a few minutes to become tacky, this will help keep the two pieces from slipping during assembly.
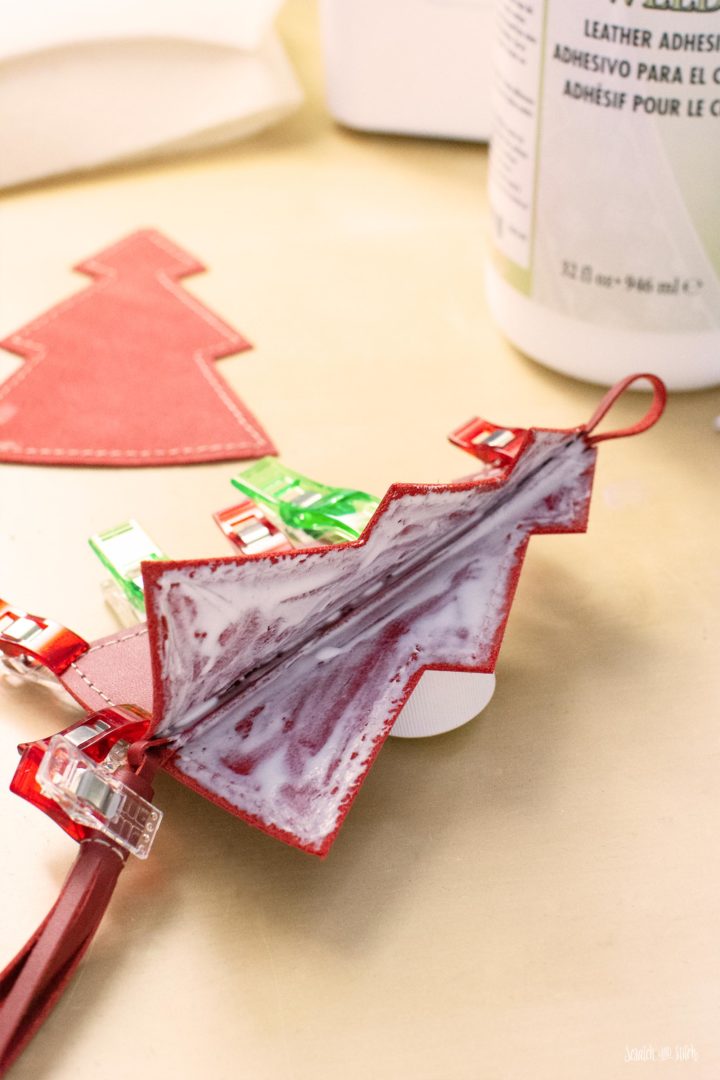
On the backside of the tree with the loop and tassel attached, cover one half of the tree in glue. Place another tree on top of the glued side, making sure the edges and corners are aligned. Clip to hold in place if needed.
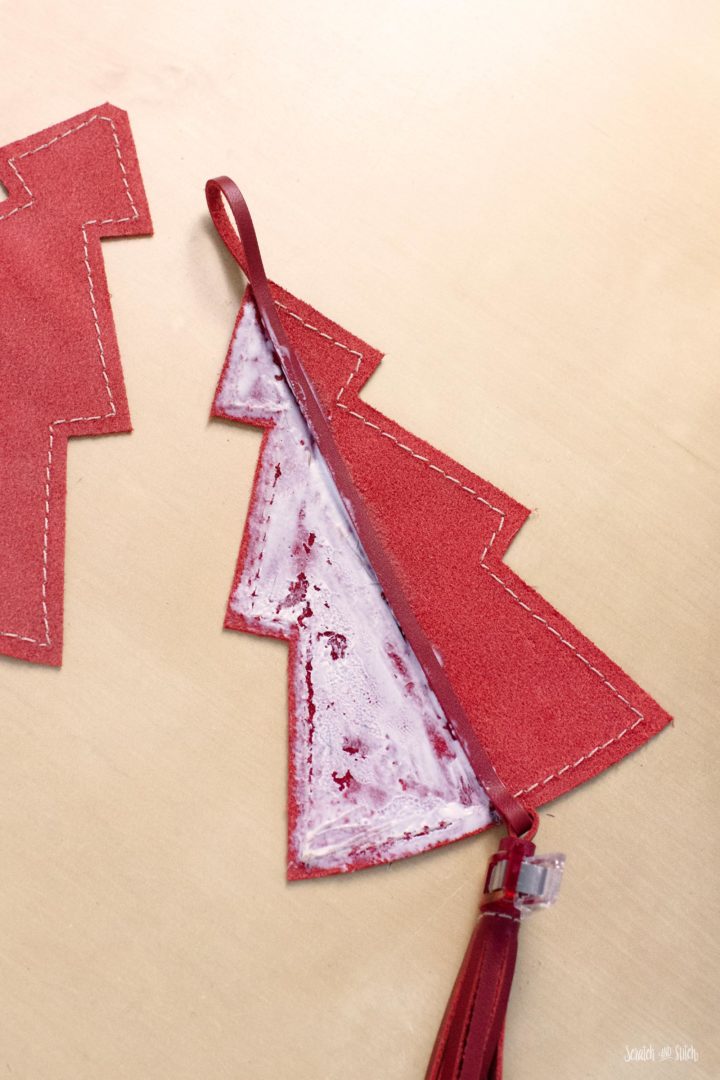
Open the two tree pieces up and cover the backs with glue. Place the third tree on the glued sides and align the edges and corners. Clip to hold in place and let sit for a few minutes. Remove clips once the glue is holding them in place so they do not leave indents in the leather. Let dry overnight.
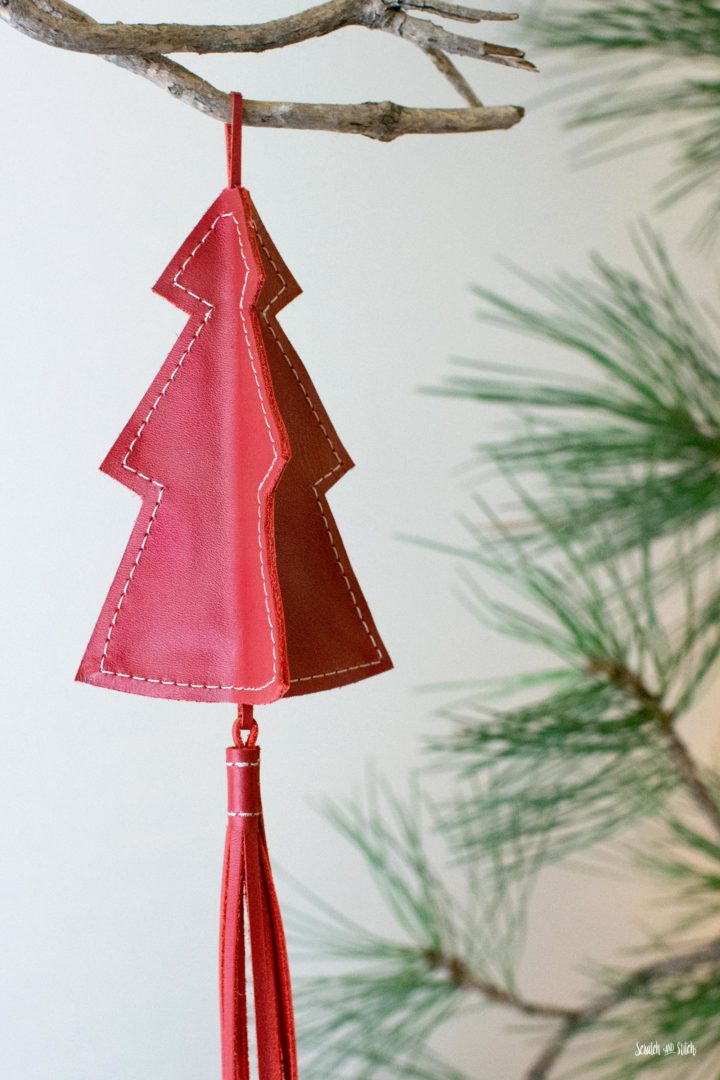
You now have a beautiful leather Christmas tree ornament to add to your DIY Christmas decorations collection.
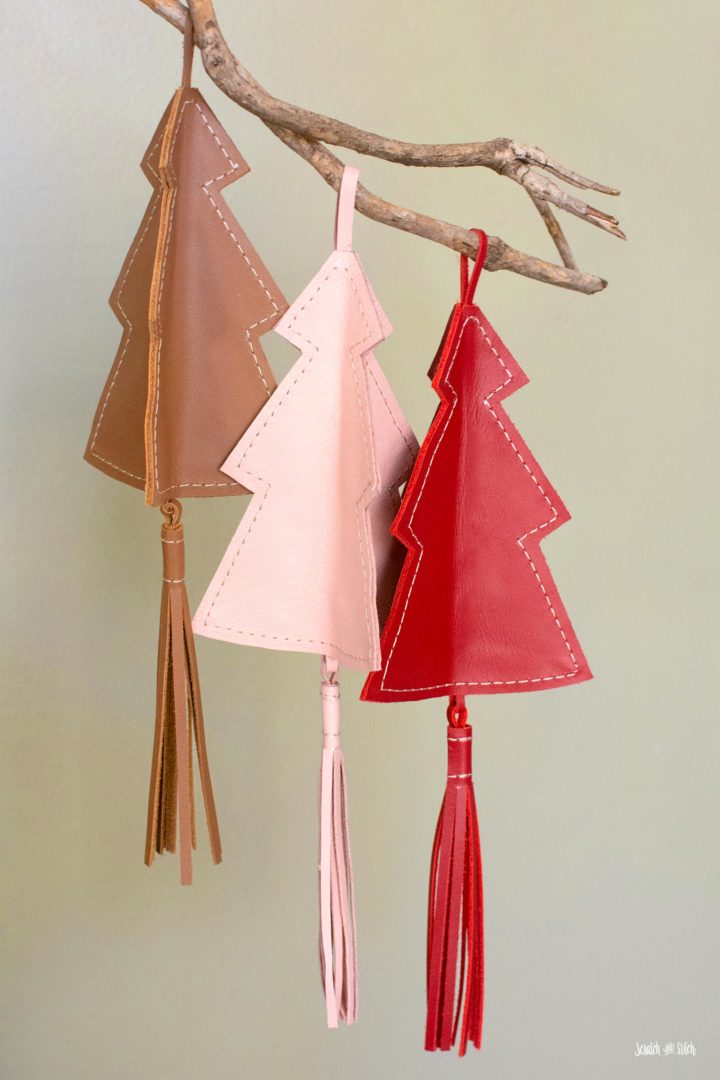
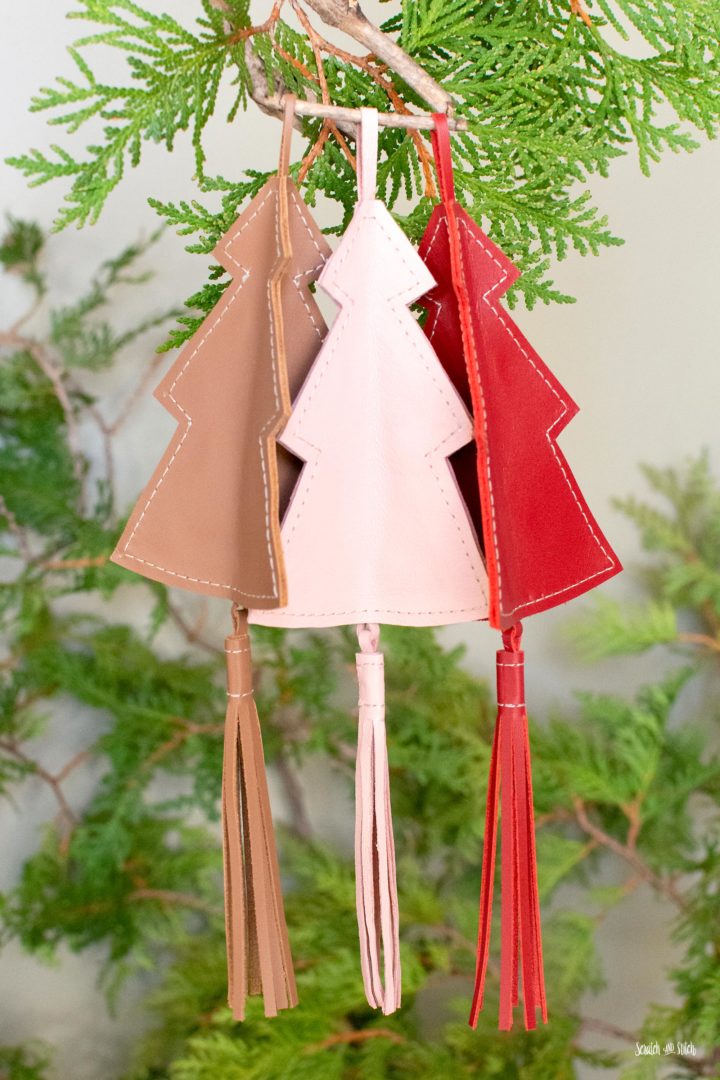
I made several of these ornaments in all three sizes with different types of leather. They will be given as gifts to my friends and family.
Fabric Christmas Tree Ornaments
Use up some scraps to make these DIY Christmas tree ornaments. They make great gift toppers!


Did you make these Leather Christmas Tree Ornaments? I’d love to see them. To share, leave a comment below or tag @scratchandstitch on Instagram and Facebook with your creations.



Leave a Reply