This post may contain affiliate links.
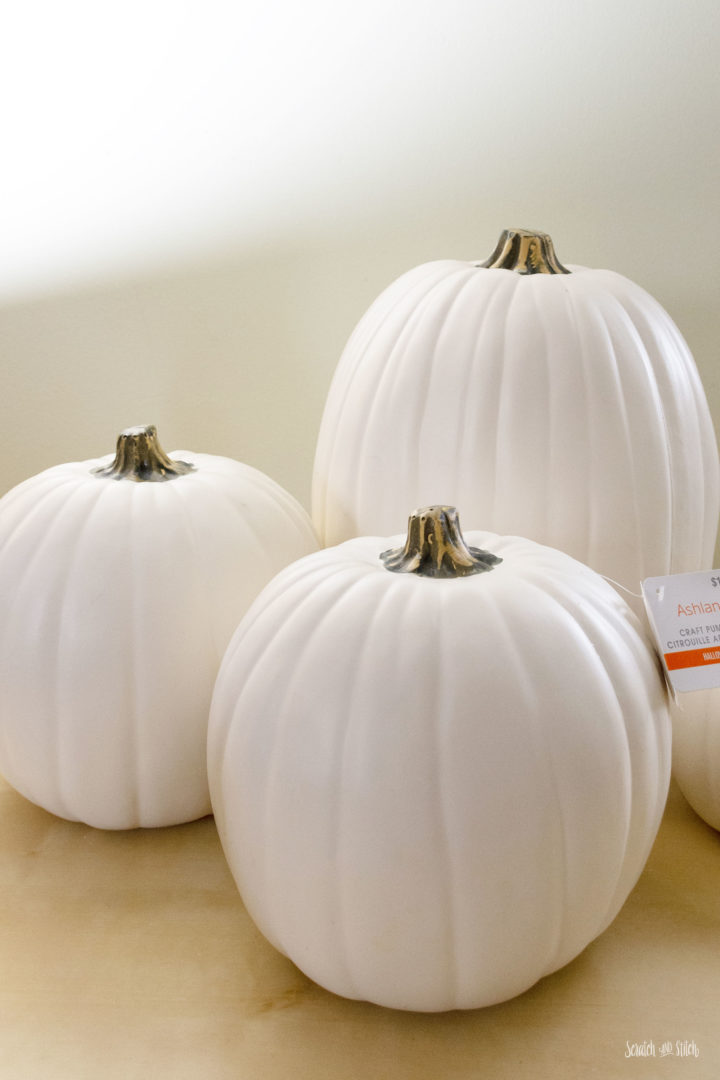
Do you ever buy something off the clearance at the craft store just to figure out later what to make with it? I’m guilty! When I saw the white foam Halloween craft pumpkins on sale at Michaels, I quickly added them to the cart without a plan. They sat on my table for quite a while before the DIY Halloween jack-o-lantern idea struck me.
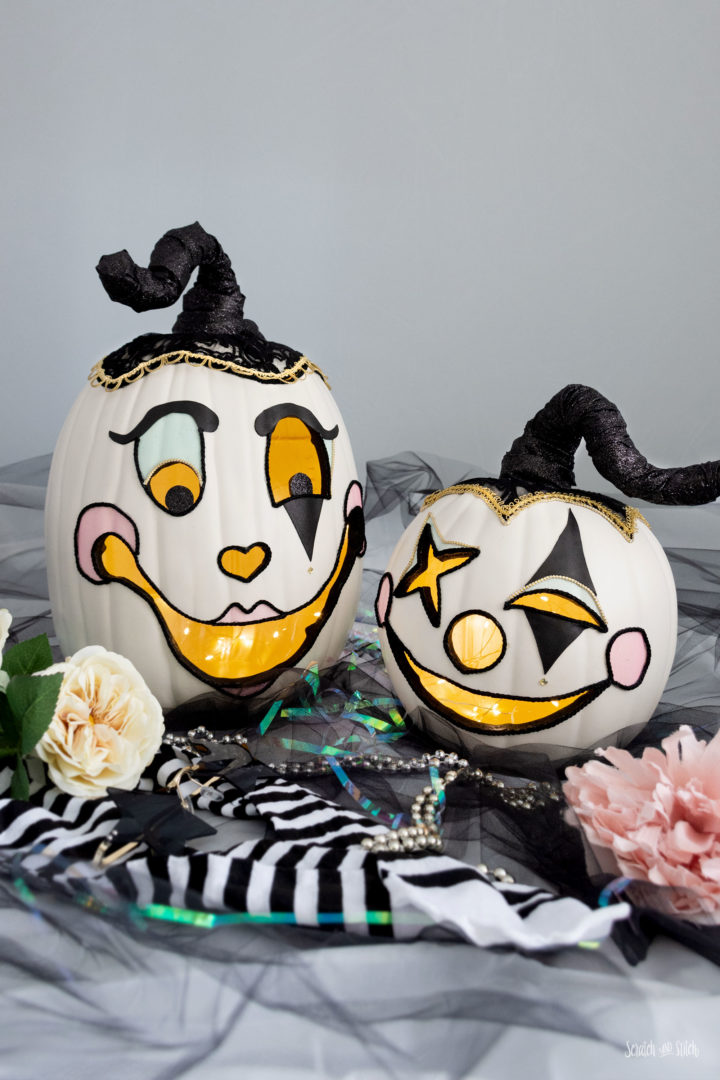
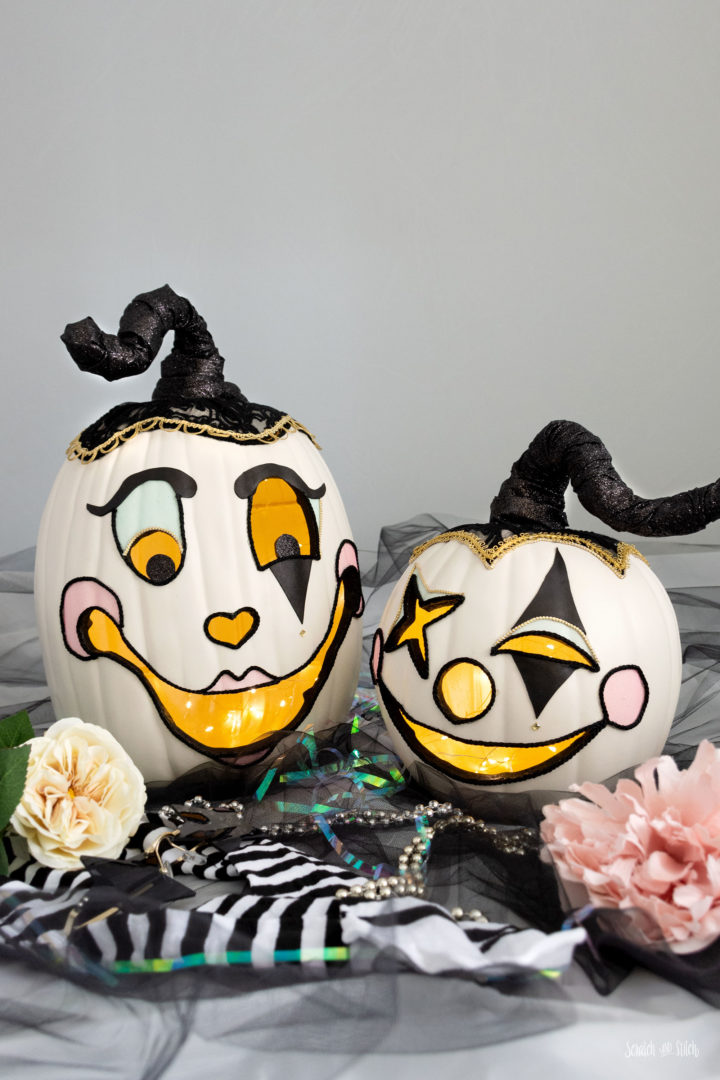
This year my BFF, husband, and I dressed up as clowns for EDC. For Halloween we brought out the clowns again for a night of dancing and debauchery. As I was digging out the parts of the clown costumes, inspiration hit. Those white Halloween craft pumpkins were destined to be clown jack- o’-lanterns.
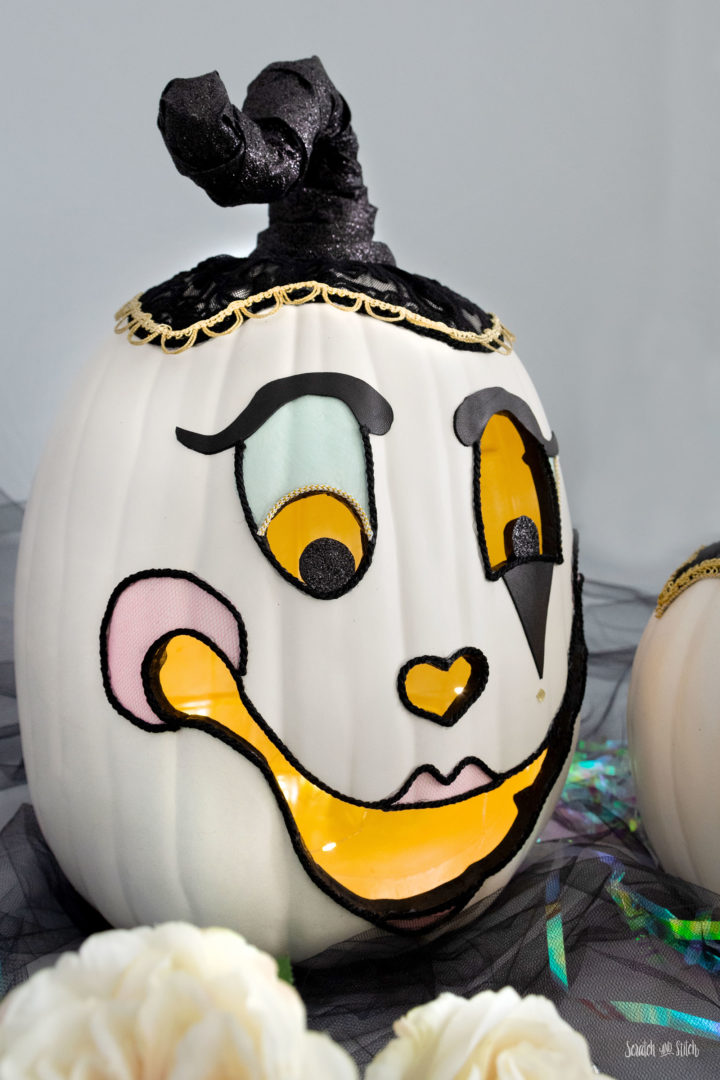
DIY Clown-Inspired Halloween Craft Pumpkins
These clown-inspired jack-o-lanterns use battery operated LED string lights with a timer. The battery pack is hidden up inside the pumpkin lid and the lights give the perfect jack-o-lantern glow.
Watch the process video below.
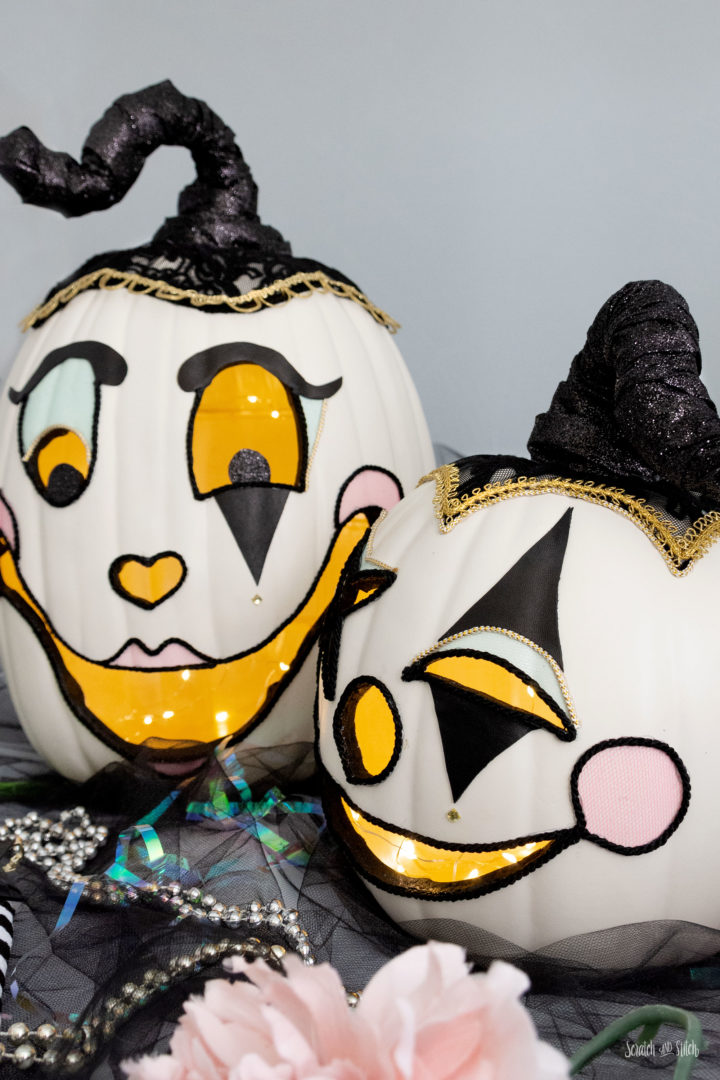
You can get so creative with these craft foam pumpkins using things you may already have in your stash. This is a great time to use up fabric scraps, ribbon, cord, twine, rope, leather pieces, gems, and other random items. Here’s what I used and how I turned plain white Halloween craft pumpkins into unique, glowing jack o’ lanterns.
Materials Used
- white foam craft pumpkins
- floral wire or aluminum sculpting wire
- brown paper bag
- black duct tape
- black wide glittery ribbon
- black lace or black lace ribbon
- pink and blue tulle ribbon
- black cord
- gold cord
- gold border trim
- leather scraps
- gem stickers
- black and metallic acrylic paints
- LED string lights
Tools Used
- pencil
- Exacto knife
- sand paper
- paint brush
- wire cutter
- needle-nose pliers
- hot glue/hot glue gun (I recommend Gorilla Hot Glue Sticks)
- Mod Podge
- small foam paint brush
- sewing pins
- chopstick
- scissors
30 DIY Halloween Decorations
Get inspired with more DIY Halloween decorations from bats to cats to witches.
How to Make Halloween Craft Pumpkins into Jack O’ Lanterns
The first thing I do for any new project is make some sketches. I have a Moleskein sketchbook full of project ideas and sewing patterns. When I complete a project, I add a date to the page.
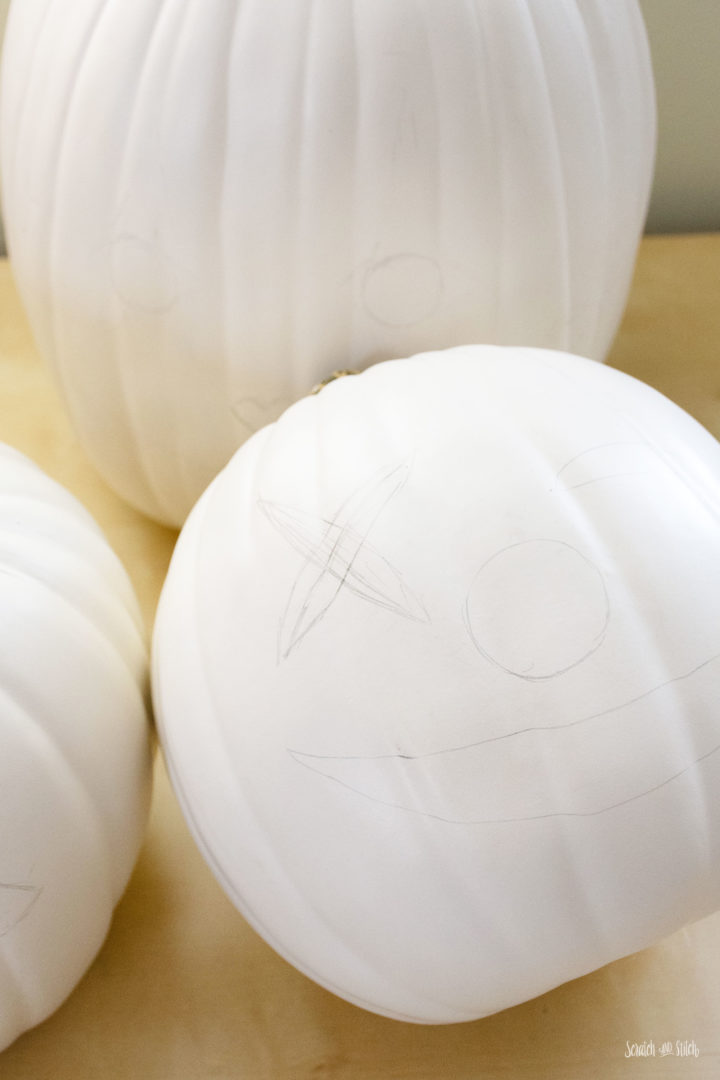
Start by lightly sketching out the face. Do this just like you would if you were carving real pumpkins.
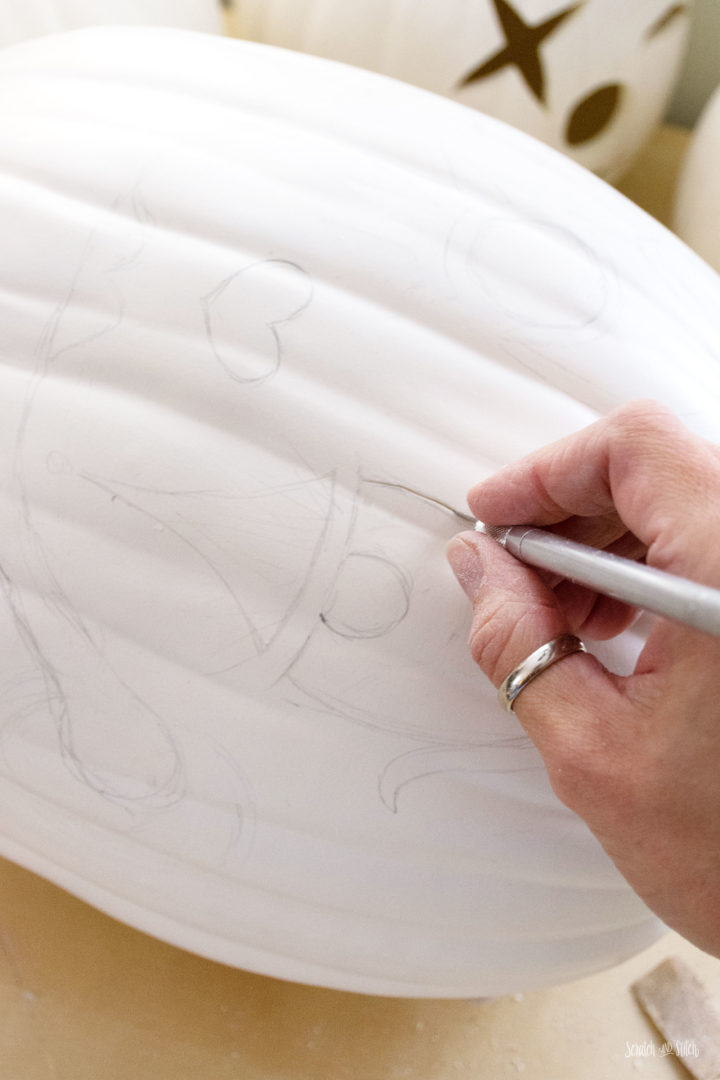
Cut out the jack o’ lantern face shapes. Again, this is just like cutting a real pumpkin. I used an Exacto knife with a fresh blade.
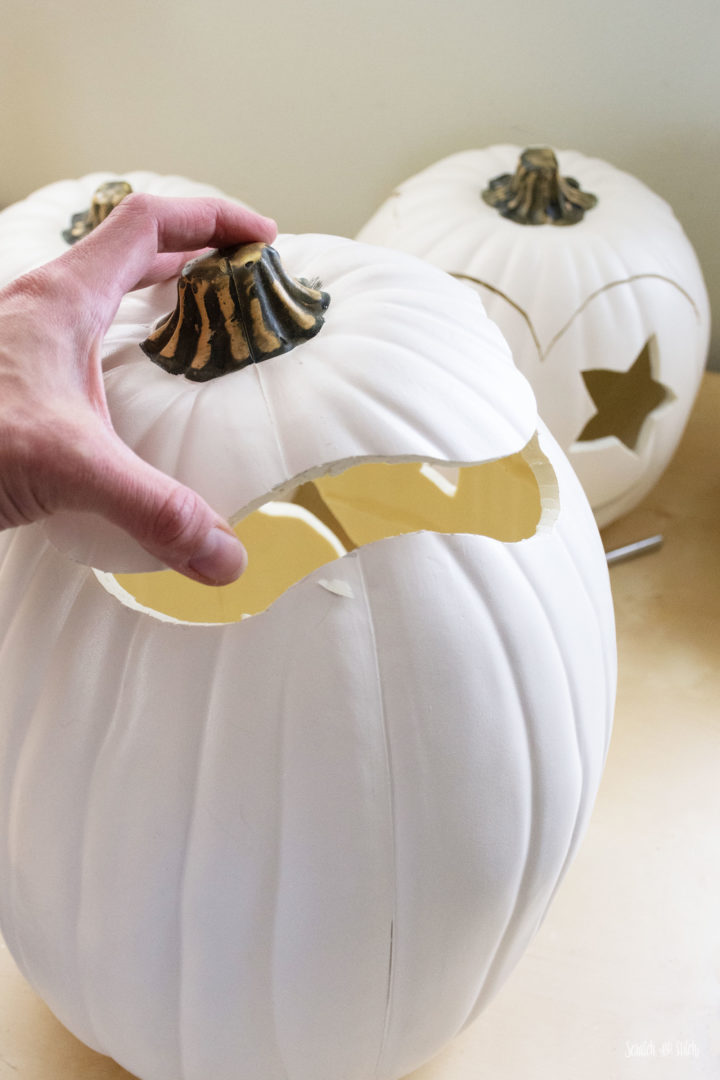
Cut out the top too. Make it large enough to be able to get your hand in, and also big enough to hold the battery pack for the LED string lights.
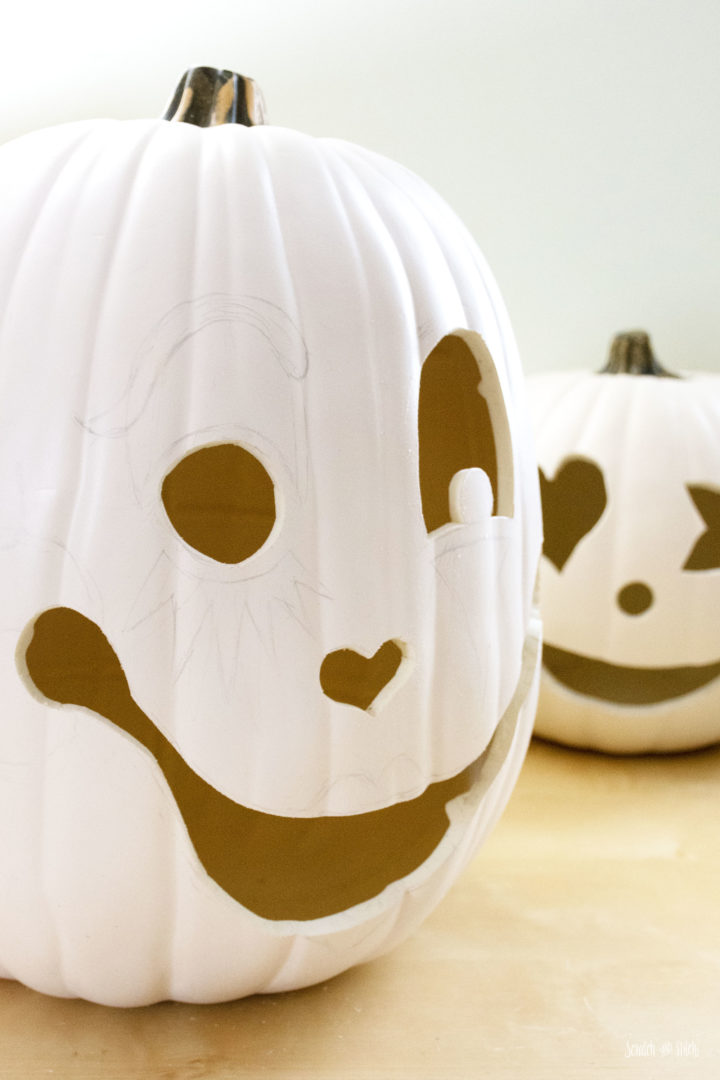
Sand the edges. This will help smooth out any burrs or imperfections at the cuts.
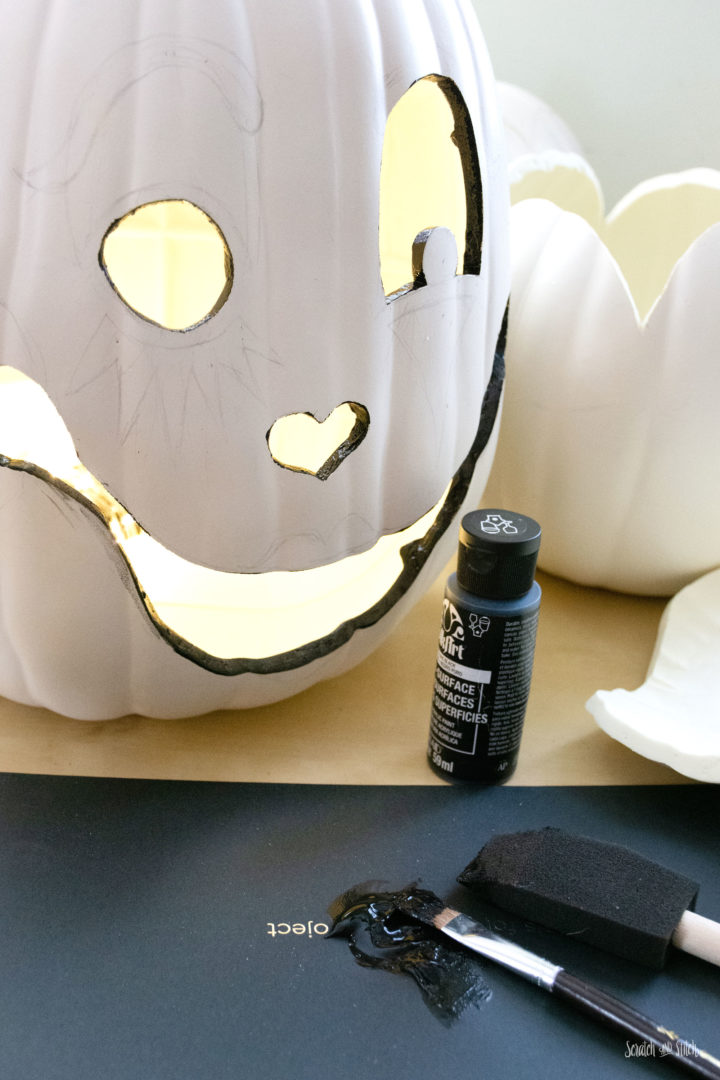
Paint the inside edges. I used a matte black acrylic paint and painted the edges of the face shapes and around the top.
Paint the inside of the foam pumpkin. This is optional as the light-colored inside will reflect the light enough. I chose to paint the inside and under the top with Champagne Metallic acrylic paint.
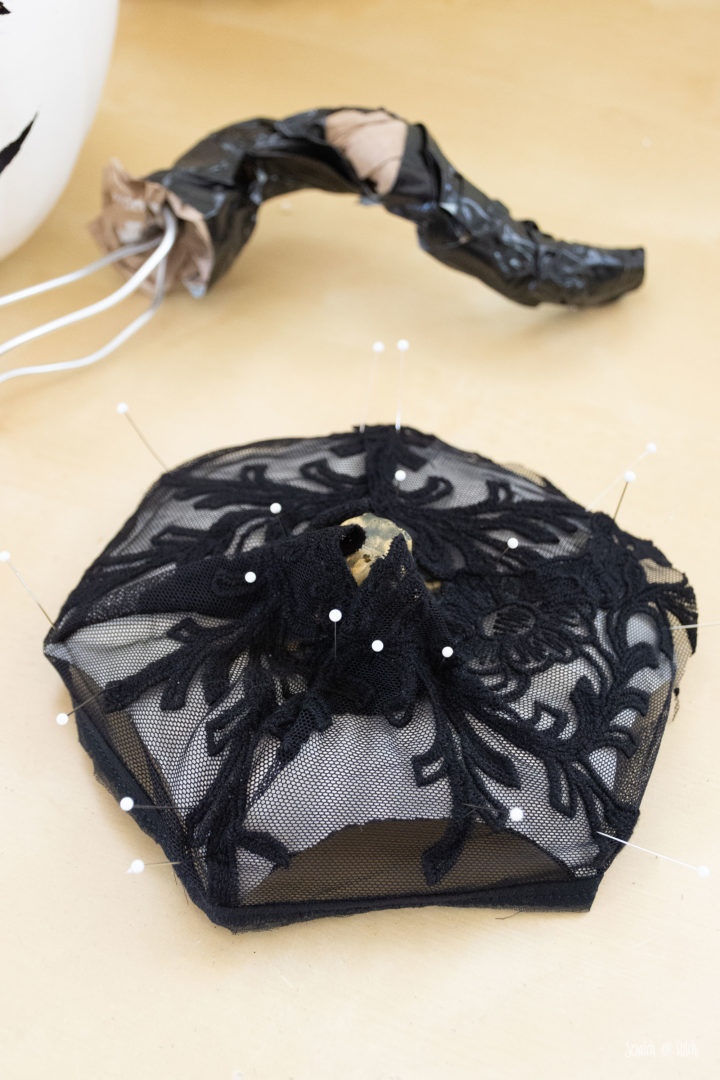
Cover the top with lace. I used a sheer shirt with floral details that was destined for the thrift store. Place the lace on the top and pin into place to get an idea of how you’d like it to be. Use hot glue to glue the lace along the outer edge of the top. Once the edge is held down, add glue around the stem to hold the rest of the fabric in place. Trim as needed around the stem. This will be covered. Neatly trim off the extra lace around the outside.
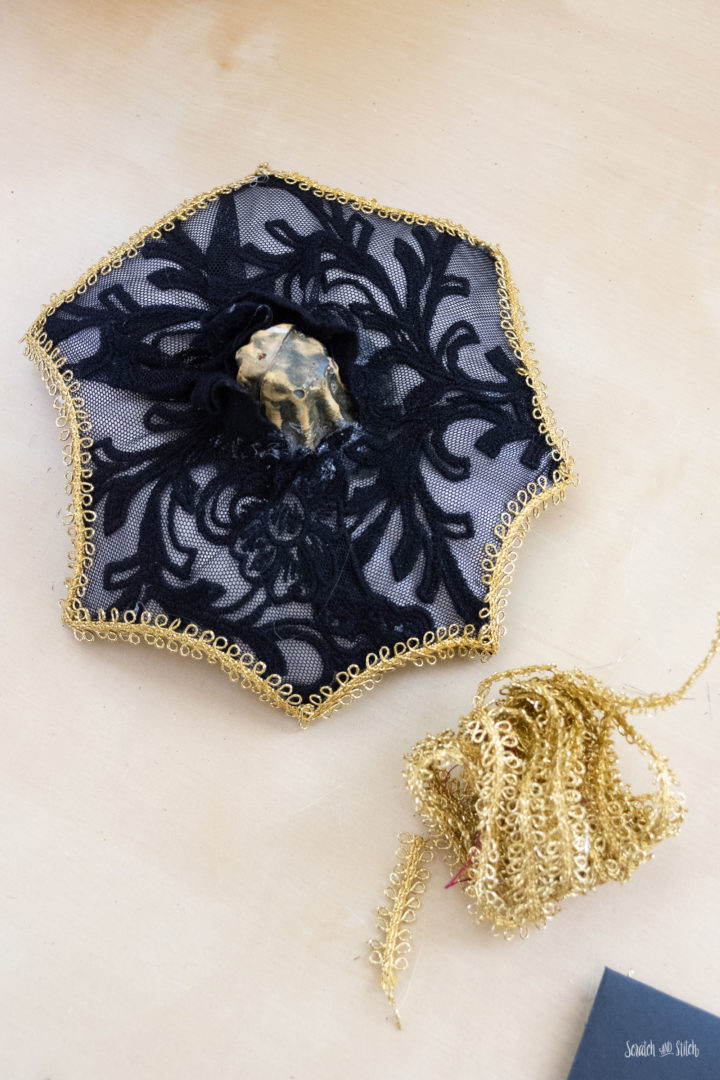
Working in small sections, add glue along the edge of the top and add gold trim. For sharp corners, place a pin at the corner after you’ve glued, then turn the corner and keep glueing.
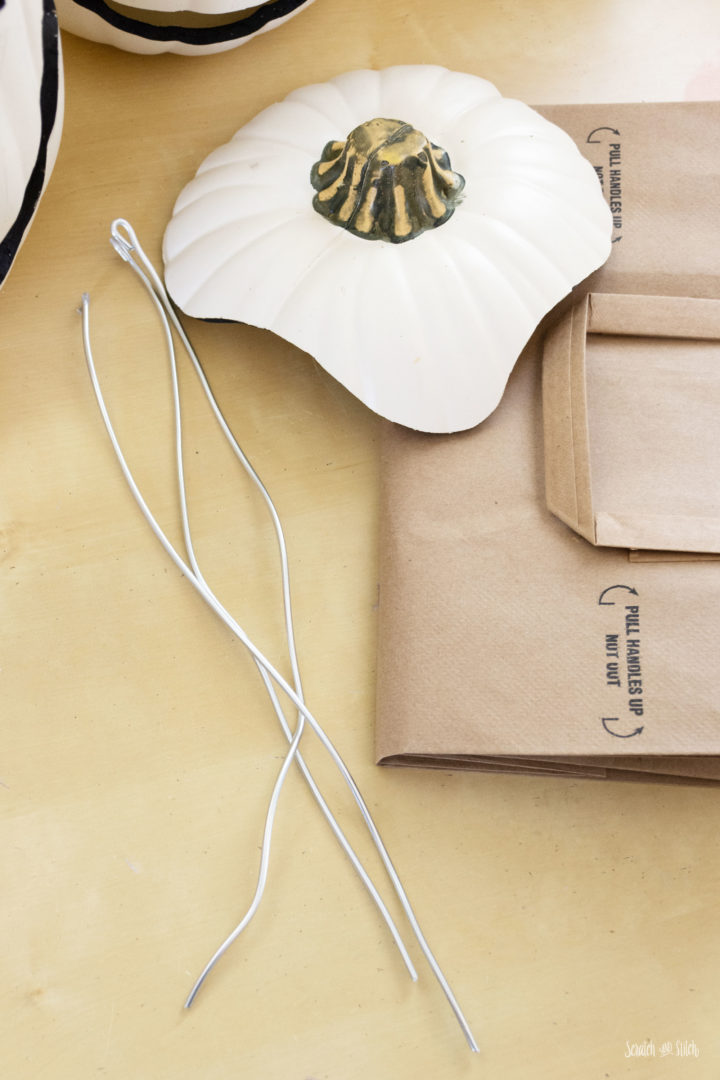
Add a long stem. Cut three long pieces (approximately 1 foot) of floral wire. Poke the wire pieces through the foam pumpkin top right around the existing stem. The three holes should create a triangle pattern around the stem.
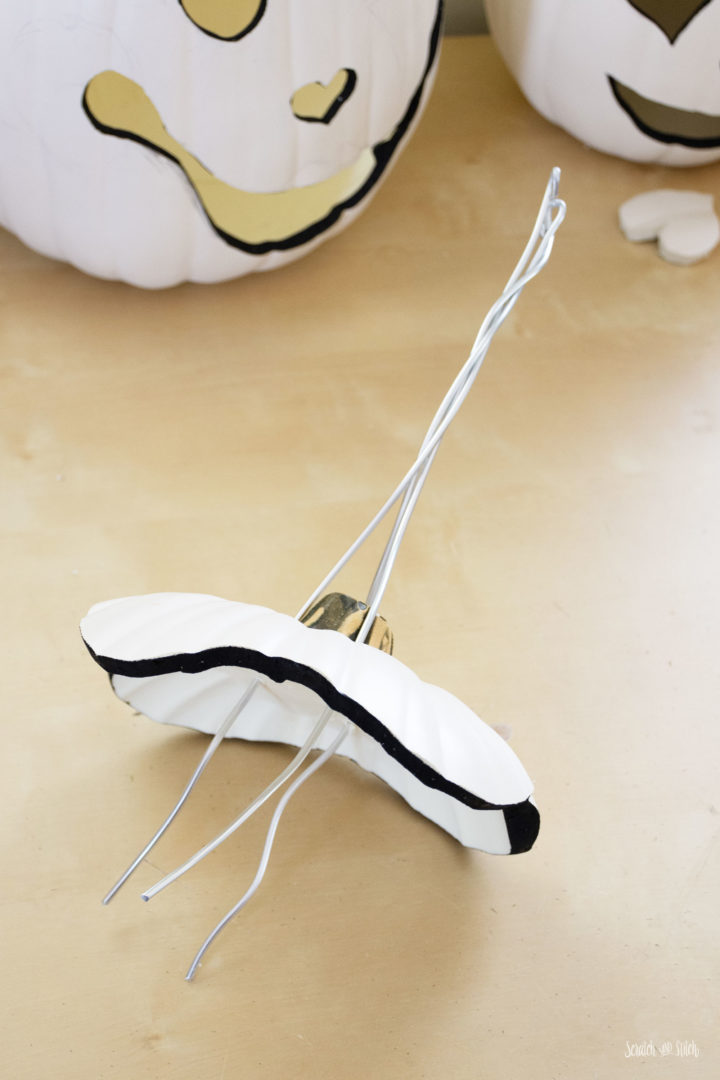
Pull the wire through the top so there is about five inches hanging from the bottom. Place the battery pack under the pumpkin top in the middle of the wires. Bend and wrap the wires together to create a harness to hold the battery pack. The pack should still be removable for battery changes, but hold well enough that it will not fall out.
Take the battery pack out of the harness and set aside for later.
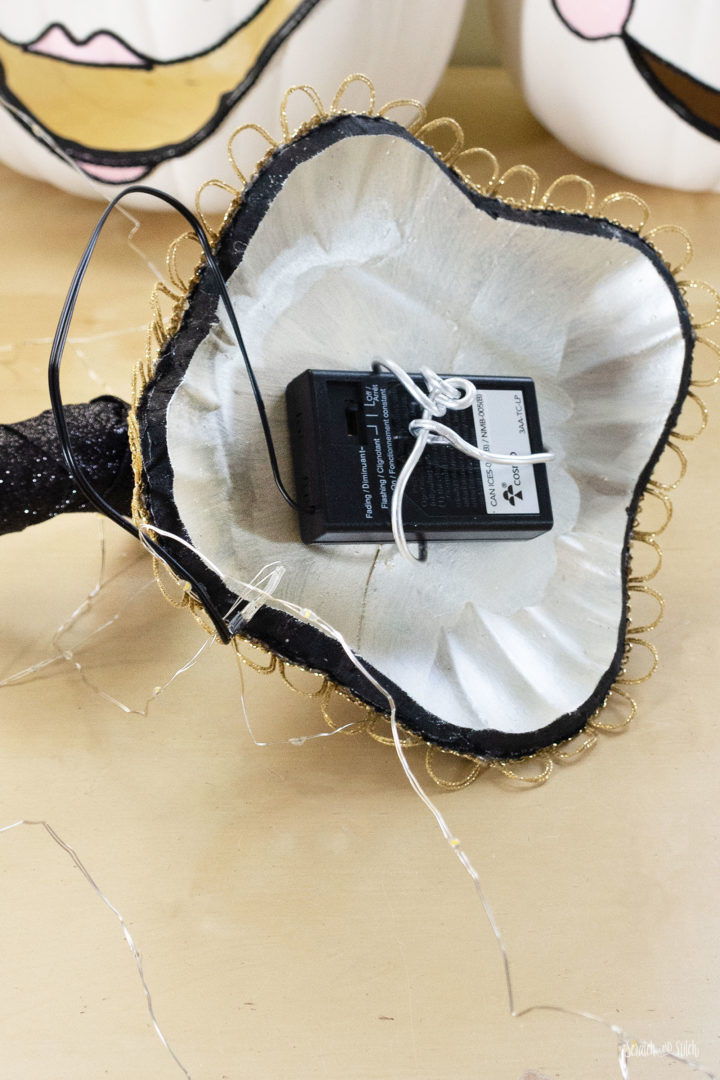
With a needle-nosed pliers, bend the top ends of the stem wire so they don’t poke through the top of the stem. Twist the three wires together and bend into shape to create a stem. Test the size and shape by placing the top onto the pumpkin.
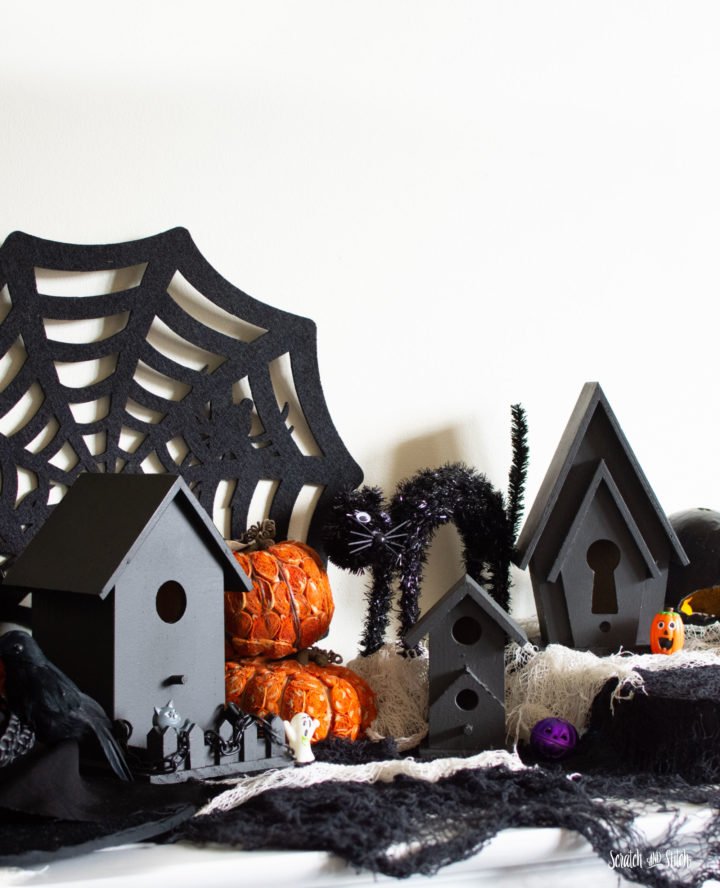
DIY Haunted Birdhouse Village
Turn birdhouses into a mini haunted house village.
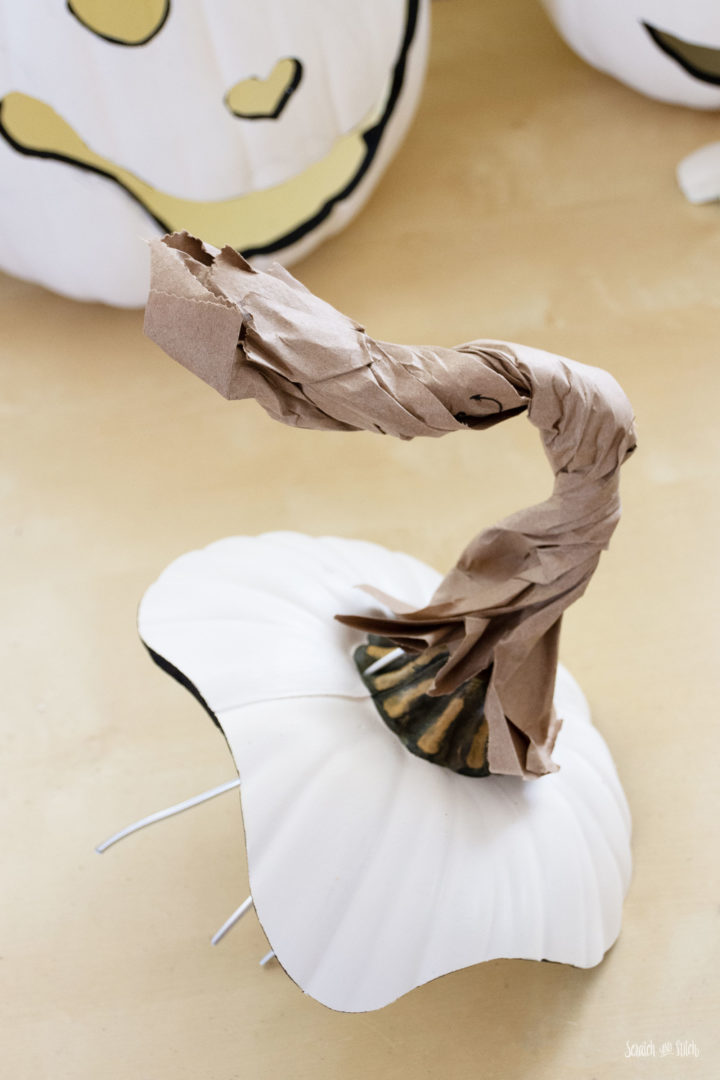
Wrap the wires with a paper bag to add some dimension and width.
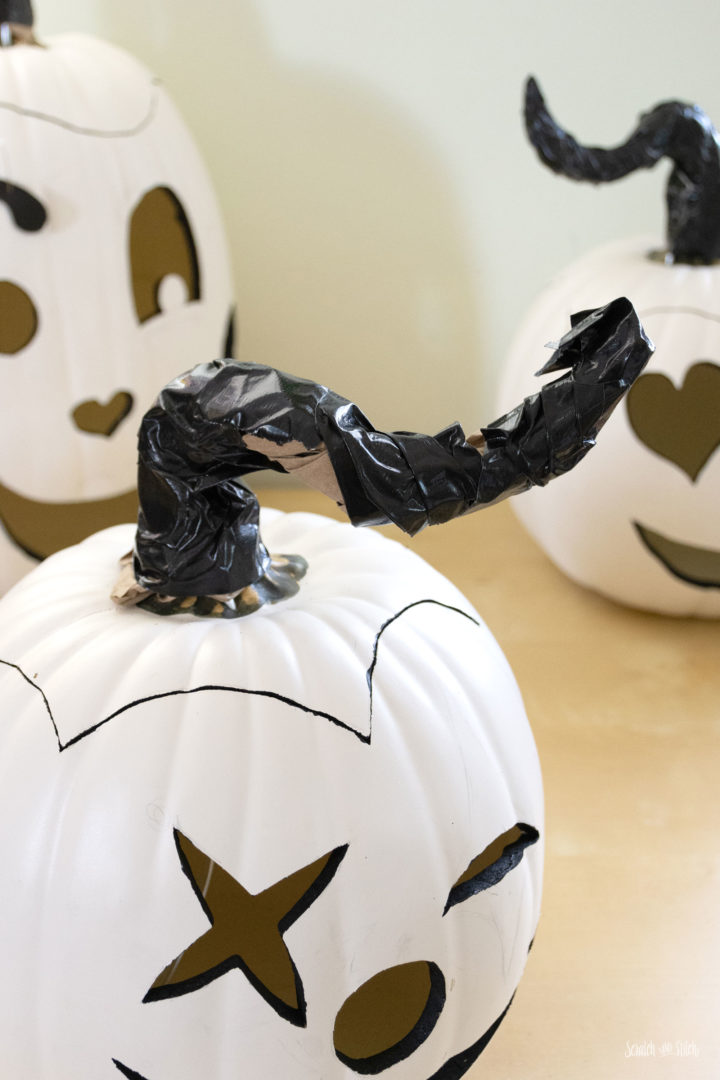
Wrap the paper with duct tape.
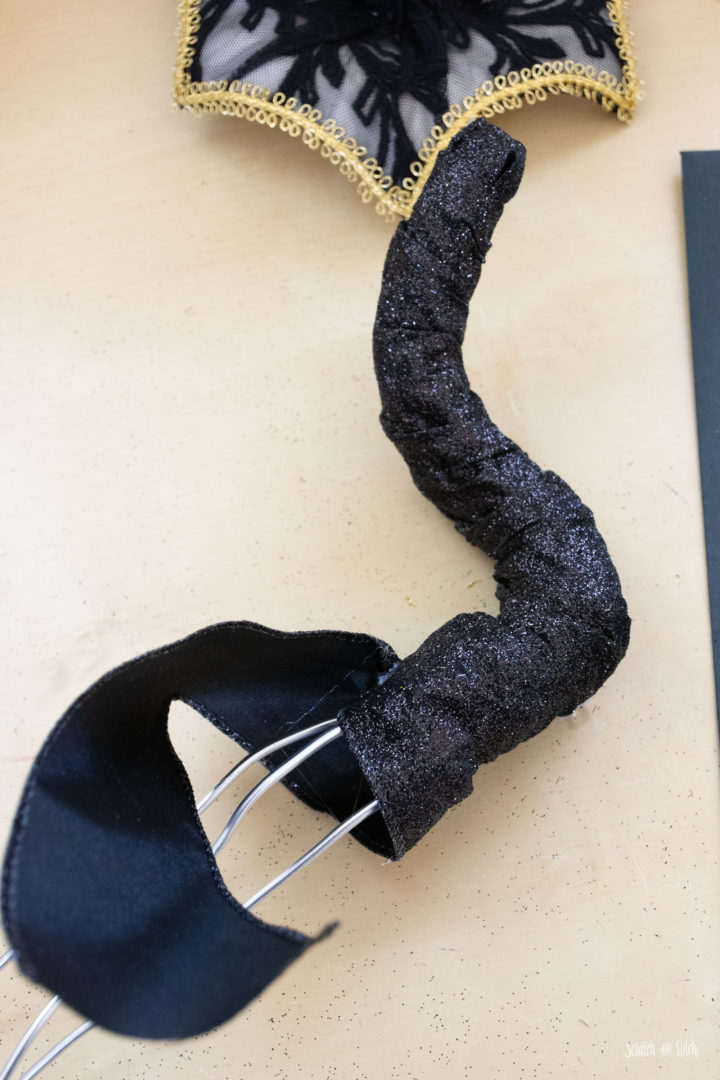
Use hot glue to hold the ribbon at the top of the stem and wrap with ribbon. Wrap the ribbon all the way down the stem to the top and cover the existing stem. Use a chopstick to push the ribbon in place while the glue is too hot to touch.
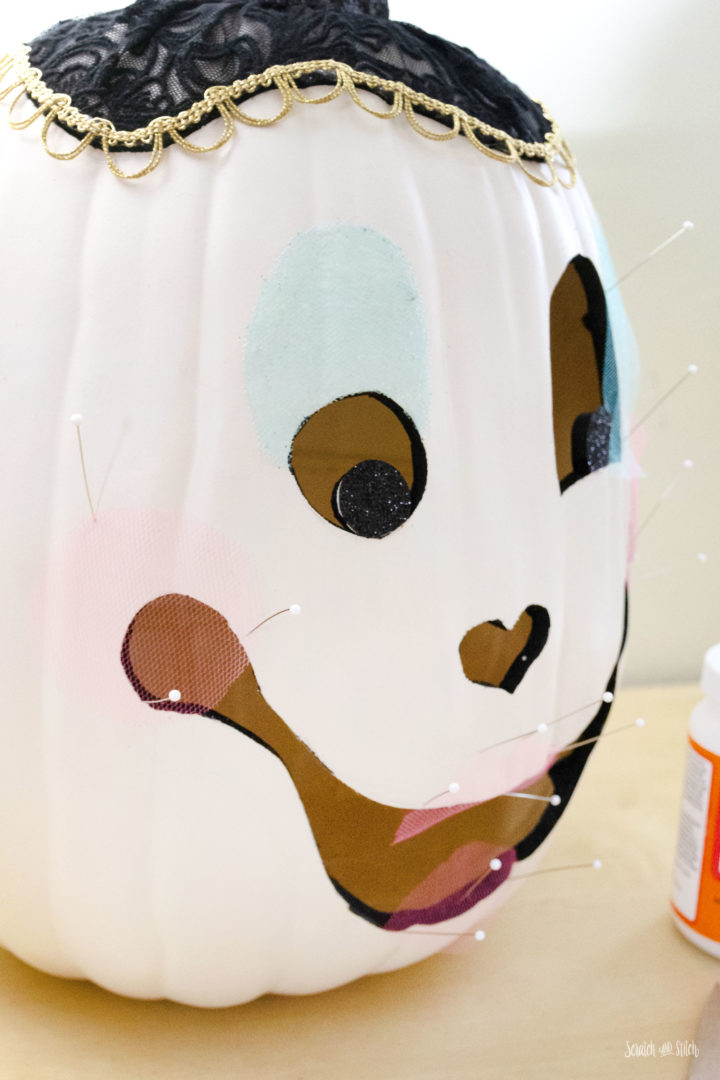
Test the jack o’ lantern face design. Use sewing pins to pin your concept in place. Mine looked like a voodoo doll pumpkin while I was working. This helped to get good balance with the different textures and colors.
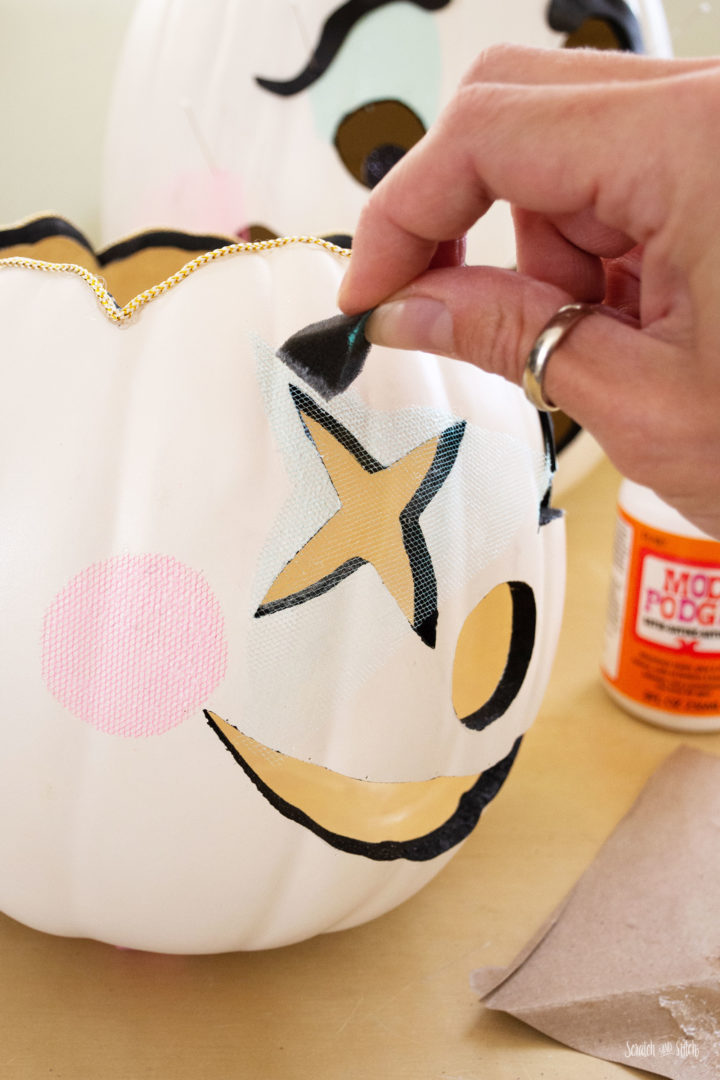
To adhere tulle fabric, pin the tulle in place. Use a small foam paint brush (I cut the end off a foam brush for better control) to lightly dab Mod Podge onto the tulle. This will only need a thin layer to hold tulle.
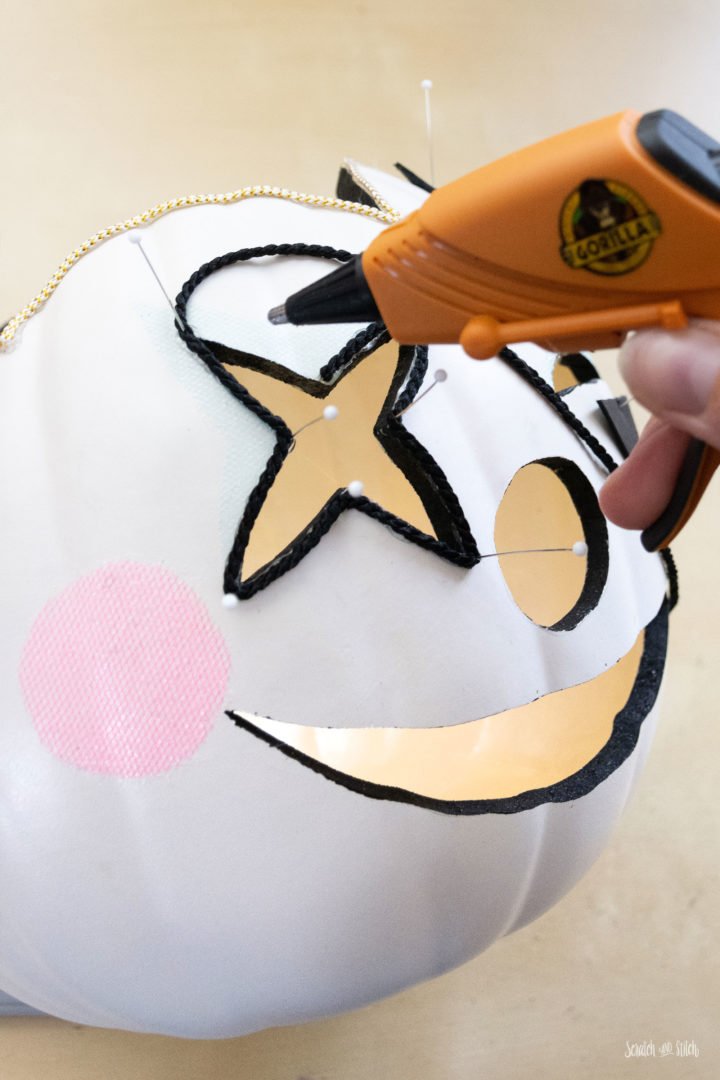
Add the black cord. With hot glue (I recommend Gorilla Glue Hot Gluesticks), place a small amount of glue along the edge where the cord will be, and lay the cord on the glue. Use a chopstick (or similar) to press the cord to the glue and keep from burning your fingers. Continue around all shapes and cut-outs as desired.
Tip: When you get to places where there are sharp corners to add cord, place a pin at the corner and keep glueing. This will keep your cord in place at the corner. Once the glue is dry, remove the pins.
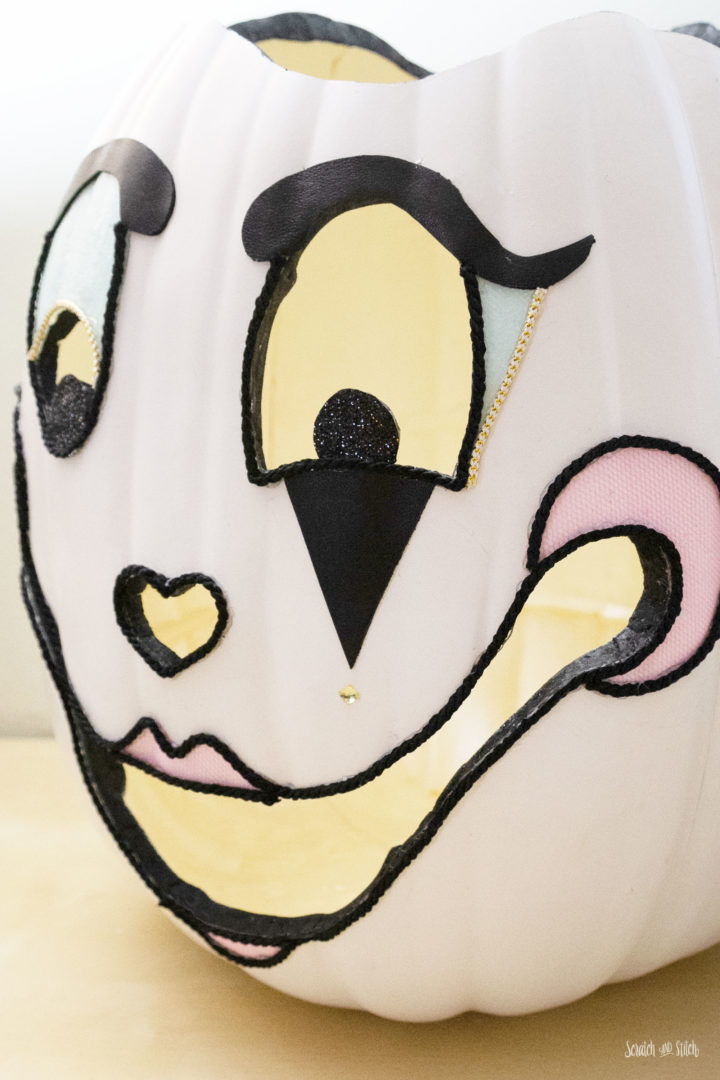
Add more face details. In some places I added a thin gold cord to add some shimmer. I glued on leather scraps to get that clown face look. On each pumpkin I added a gold gem sticker.
Glowing Jack O’Lantern Totem
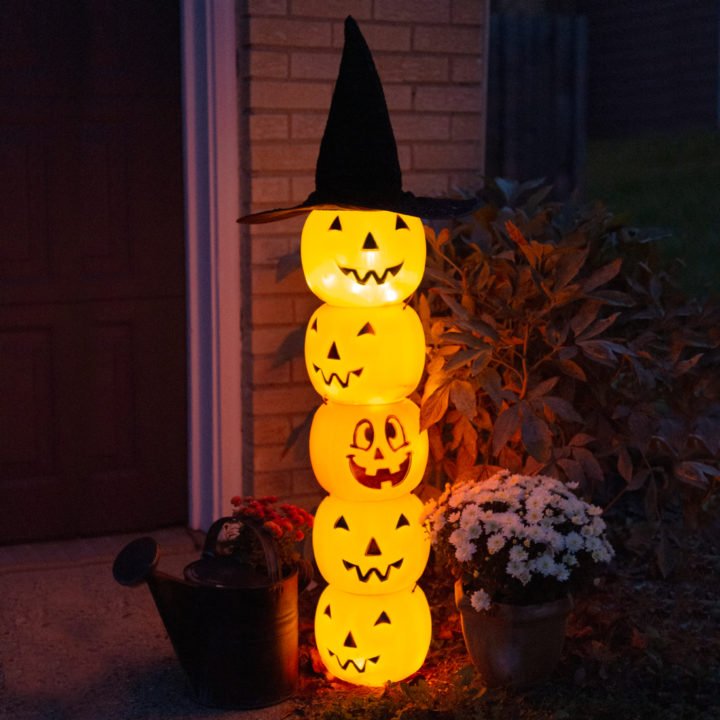
Plastic pumpkin buckets + string lights + a witch hat make an awesome outdoor glowing jack o lantern totem.
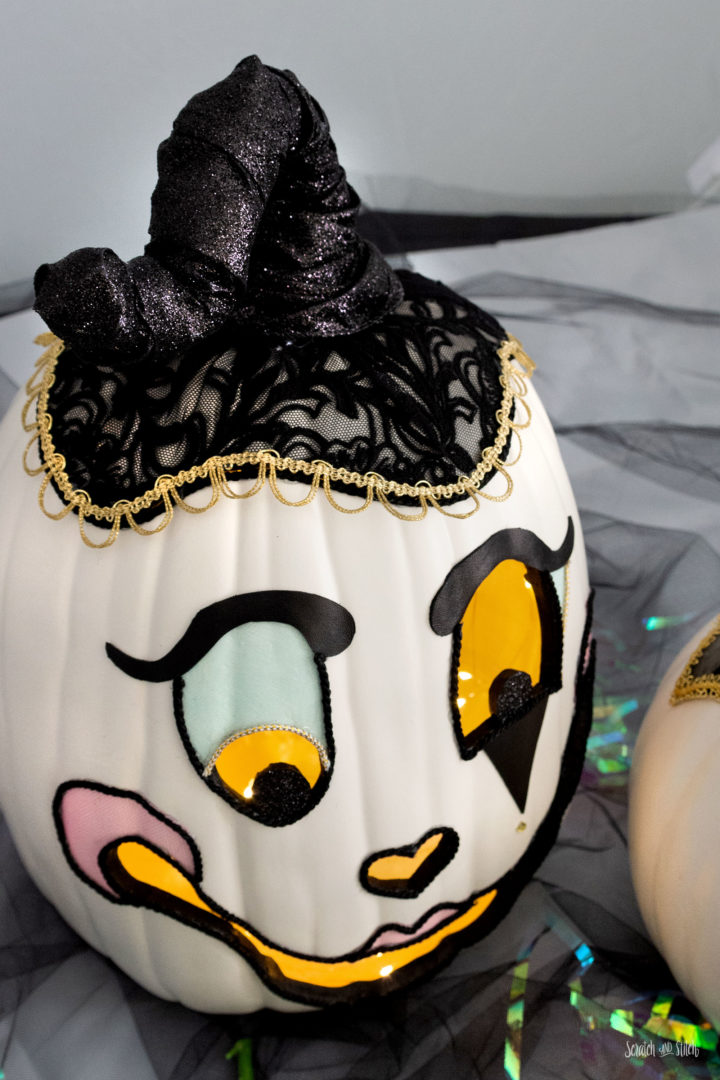
TIP: Do you see white spaces showing between the cord details and painted edge? Use a tiny paint brush to touch up those spaces.
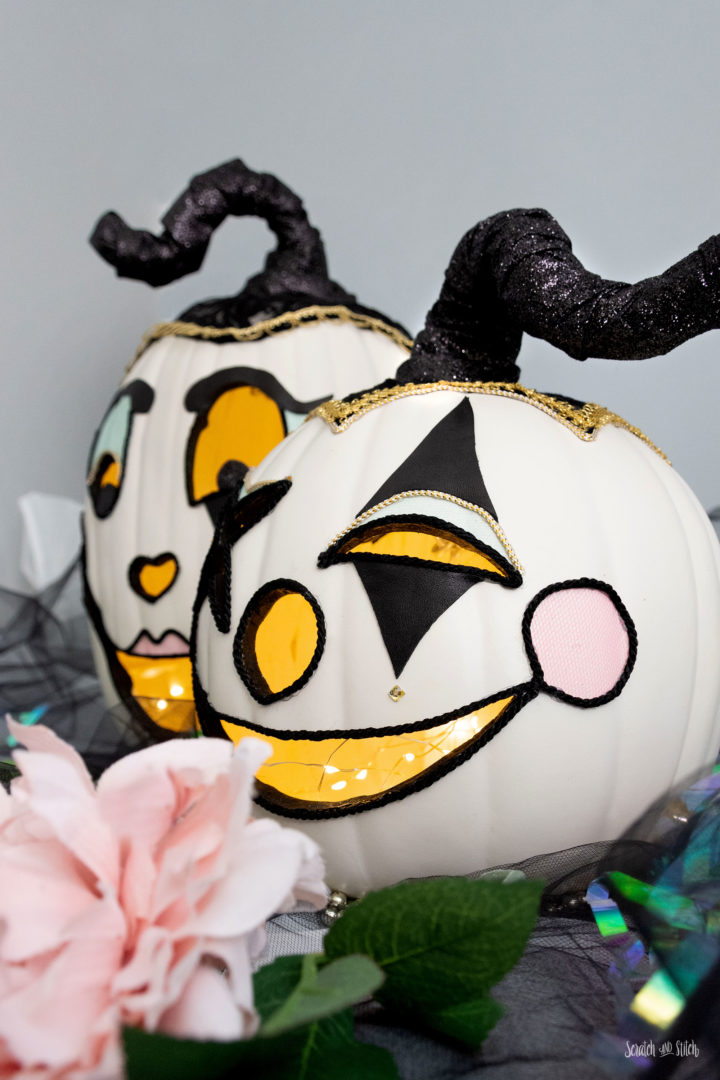
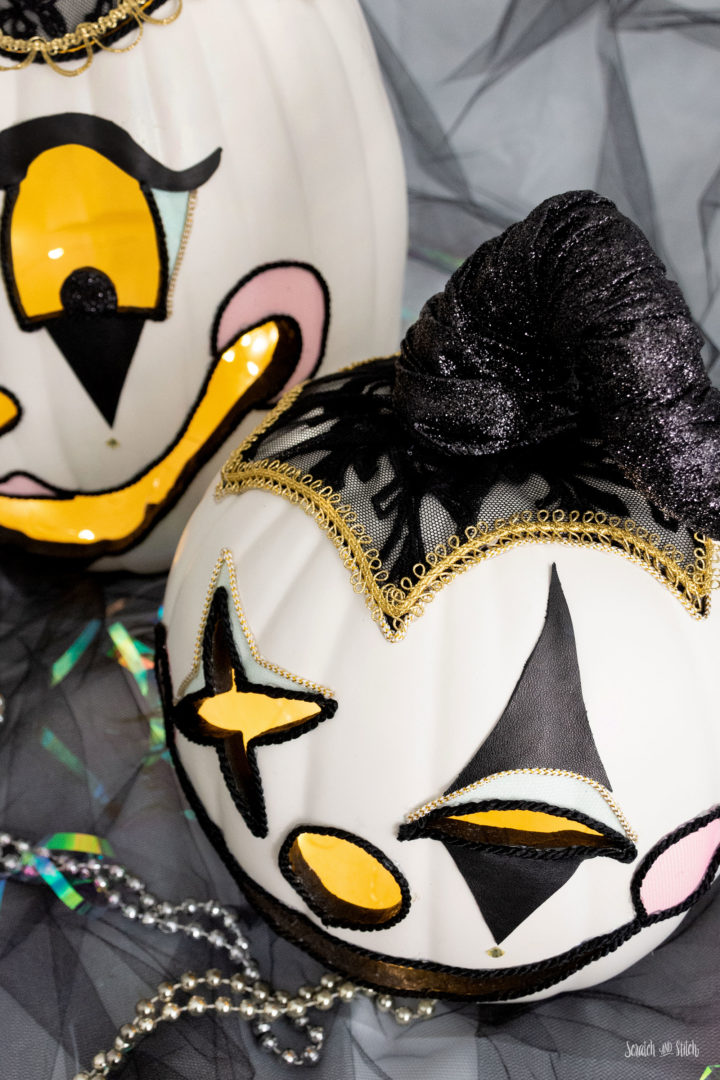
These Halloween Craft Pumpkin Jack O’ Lanterns turned out better than anticipated. I had so much fun thinking of my BFF and our clown costumes while making these.
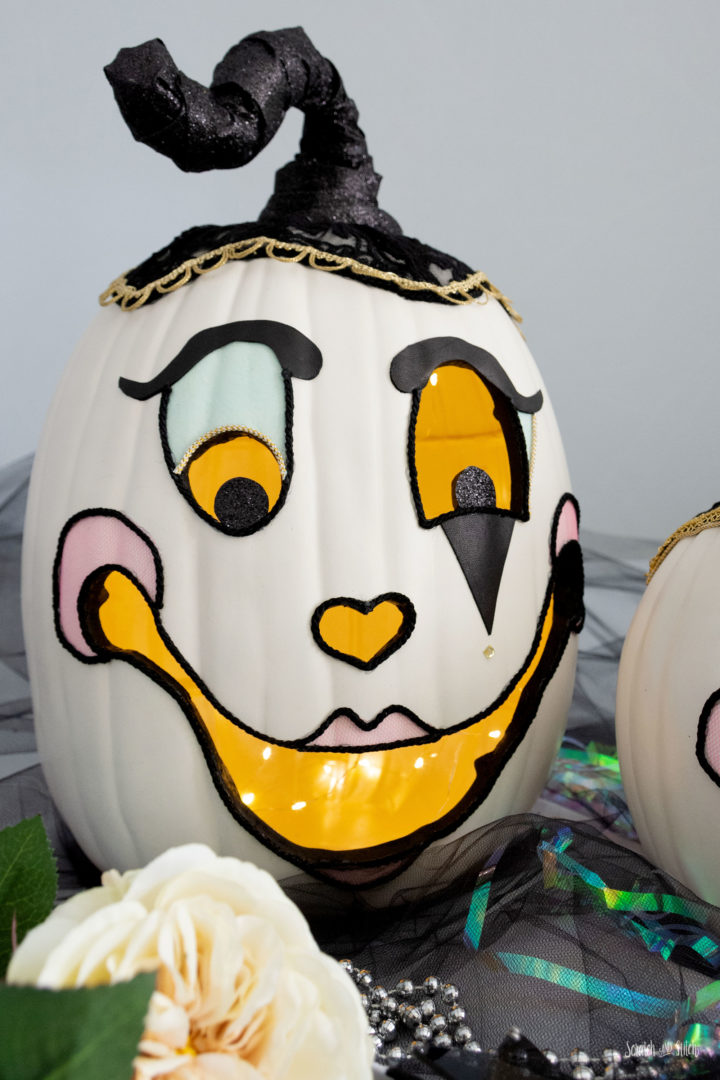
Watch the DIY Craft Pumpkin Jack O’Lanterns Video
Have you made Halloween Craft Pumpkin Jack O’ Lanterns? I’d love to see! Send pics or tag @scratchandstitch on social channels so I can share them.
Leave a Reply