This post may contain affiliate links.
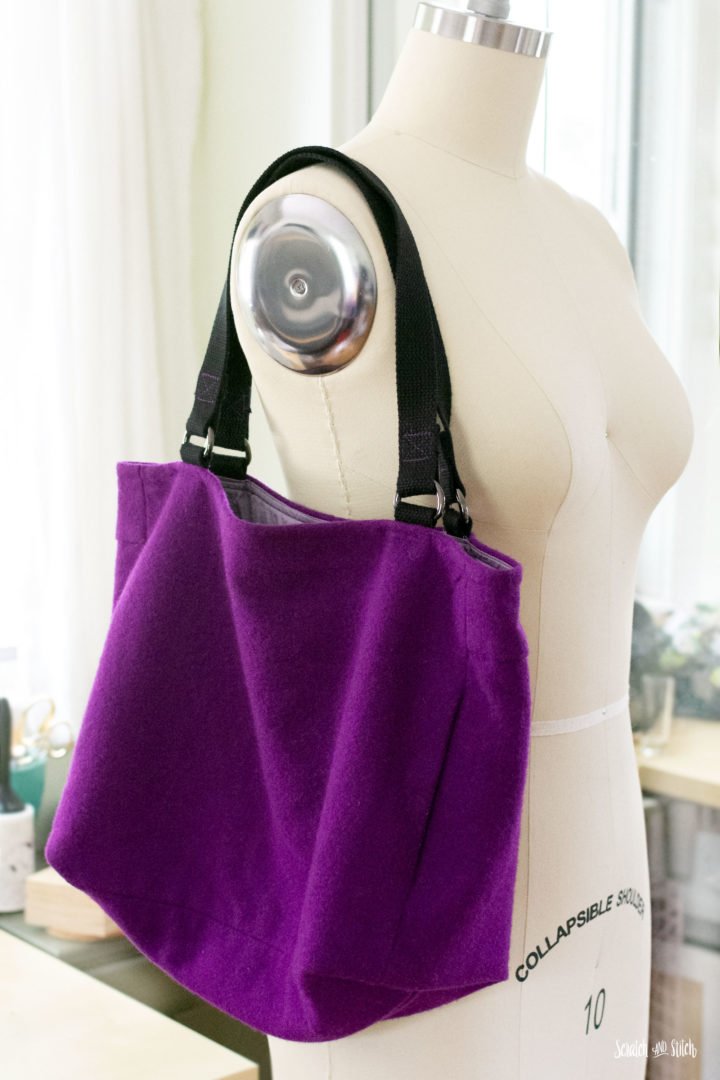
This wool J. Crew mini skirt was a $1 thrifted purchase on a whim. Since the price (and color) was right, I didn’t try it on and just brought it home. I figured I could alter it to fit if needed, or use the fabric for another project. After further inspection, this too small skirt was destined for another life: a DIY tote bag.
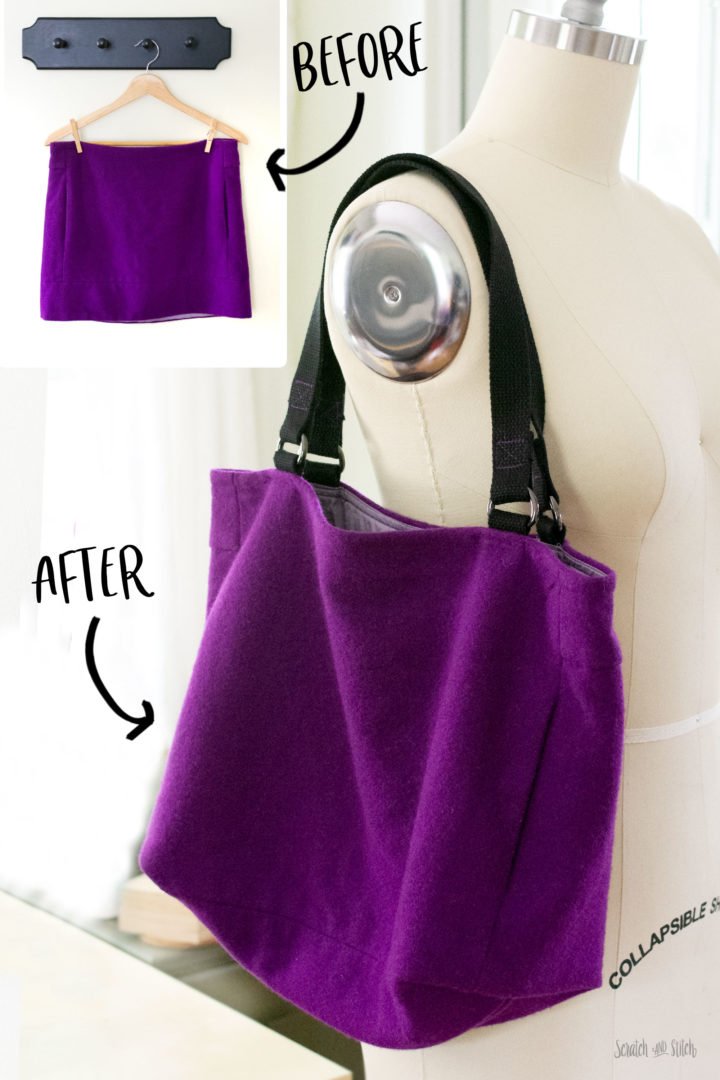
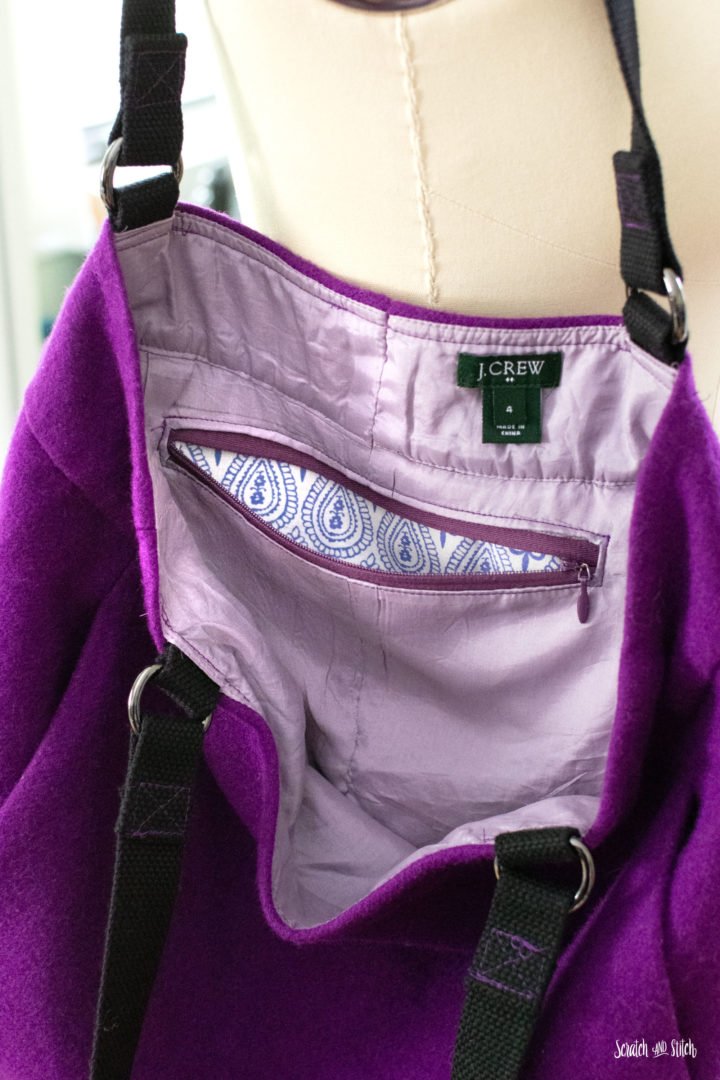
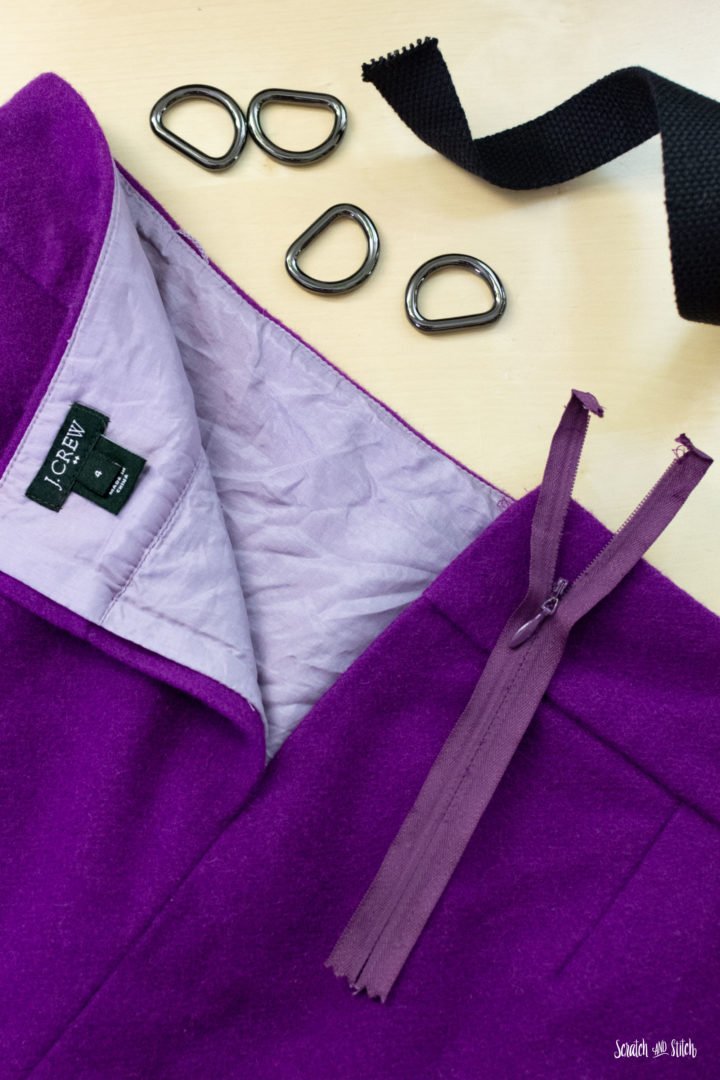
This wool skirt had a few things going for it that made it perfect for a bag. The size was just right for a large purse or tote bag, the purple color is bright and bold, it came with a lining, it had pockets, plus it had a zipper.
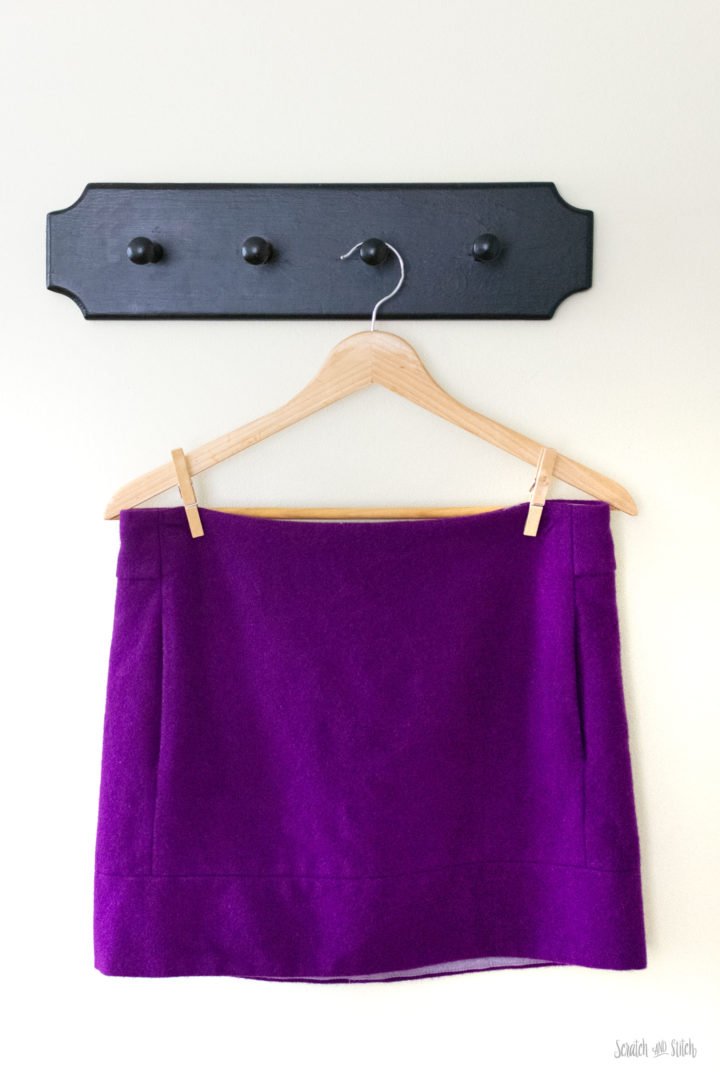
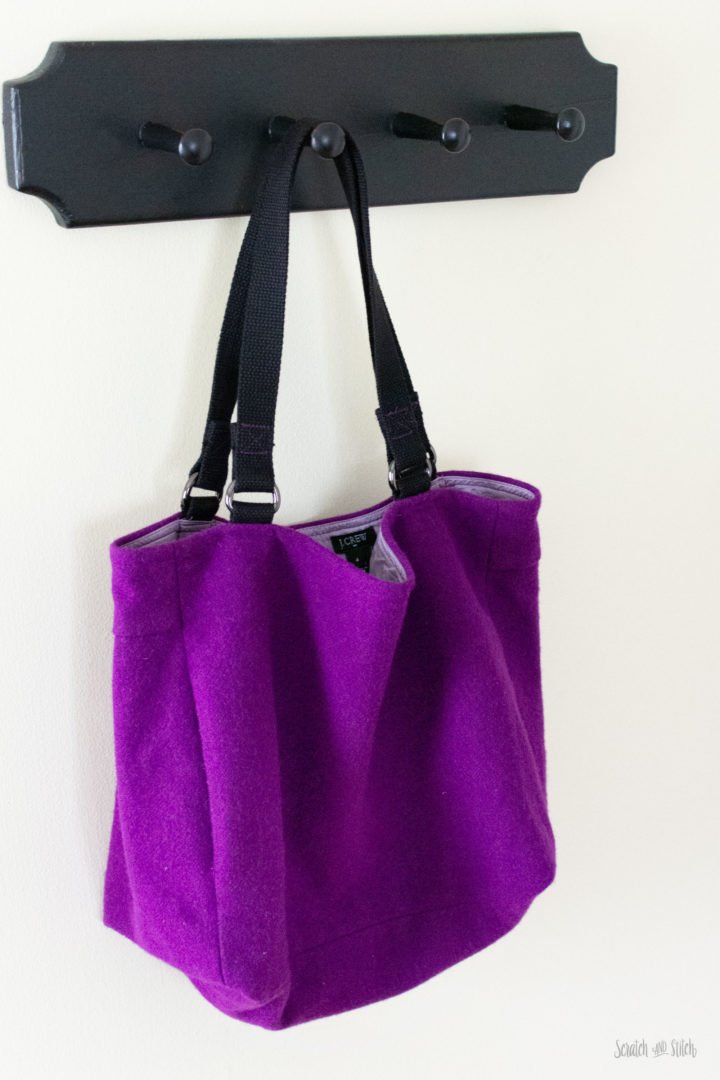
A mini skirt is perfect for upcycling into a DIY tote bag. Minimal sewing is required and customization is open.
How to Make a DIY Tote Bag from a Mini Skirt
- Choose a mini skirt that is close to your preferred bag size. This will require fewer cuts and sewing.
- A lined skirt is a nice added touch, but not required.
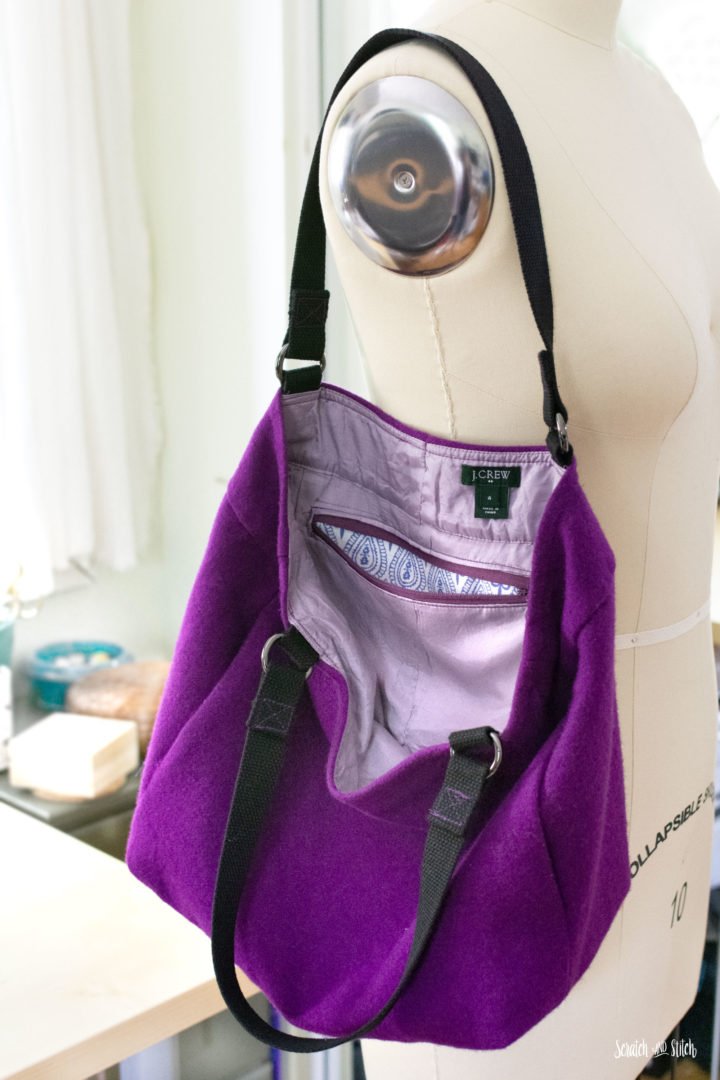
- An interior zip pocket is optional.
- Cotton or poly webbing/strapping is a great option for creating handles. Ribbon or fabric handles would work well too.
- The metal D rings are optional but give this DIY tote bag an extra element and a nice finishing touch.
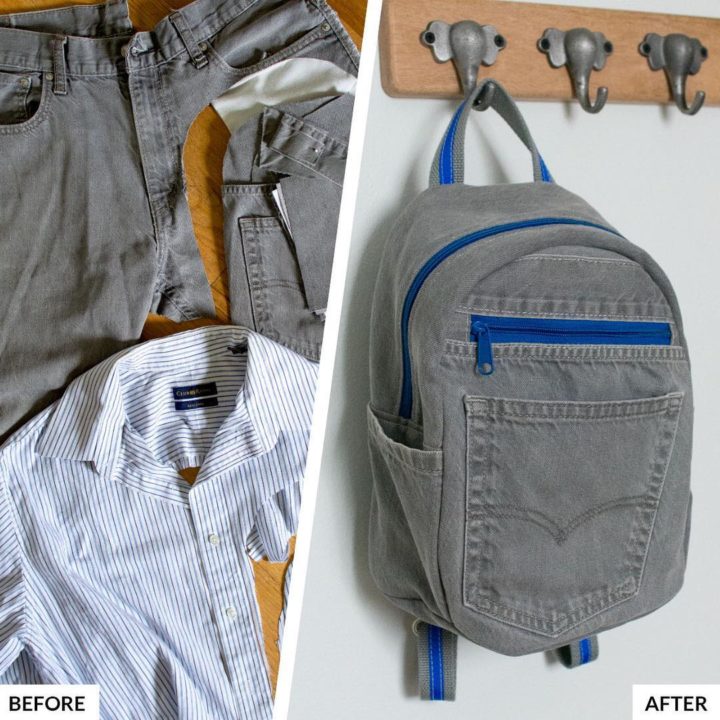
UPCYCLED DENIM JEANS BACKPACK
Turn an old pair of jeans and a dress shirt into a small backpack. It’s the perfect size for kids or day trips.
Materials
- mini skirt (bonus if it’s already lined)
- 40″ of 1″ webbing or strapping
- 4 – 1″ metal D rings
- additional scrap fabric (optional – for interior zip pocket)
- 8″ zipper (optional – for interior zip pocket)
- coordinating thread
- basic sewing supplies
The first step to this DIY tote bag was to remove the invisible zipper from the back of the skirt. I could have just left this zipper in, but I wanted to reuse it for a zippered pocket on the inside of the bag.
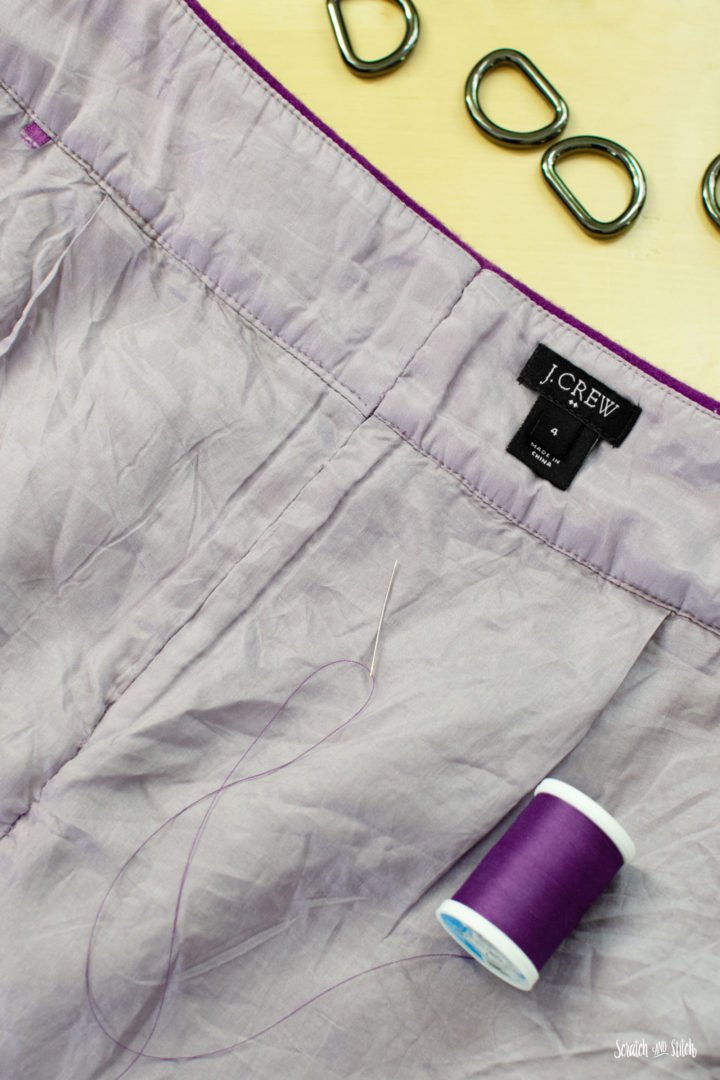
After removing the zipper and eye/hook, I hand stitched the opening closed with a ladder stitch on both the inside and outside of the skirt.
The next step was to create the interior zip pocket. The zipper from the skirt was about 8″ long so I cut a scrap piece of cotton fabric 9″ x 18″.
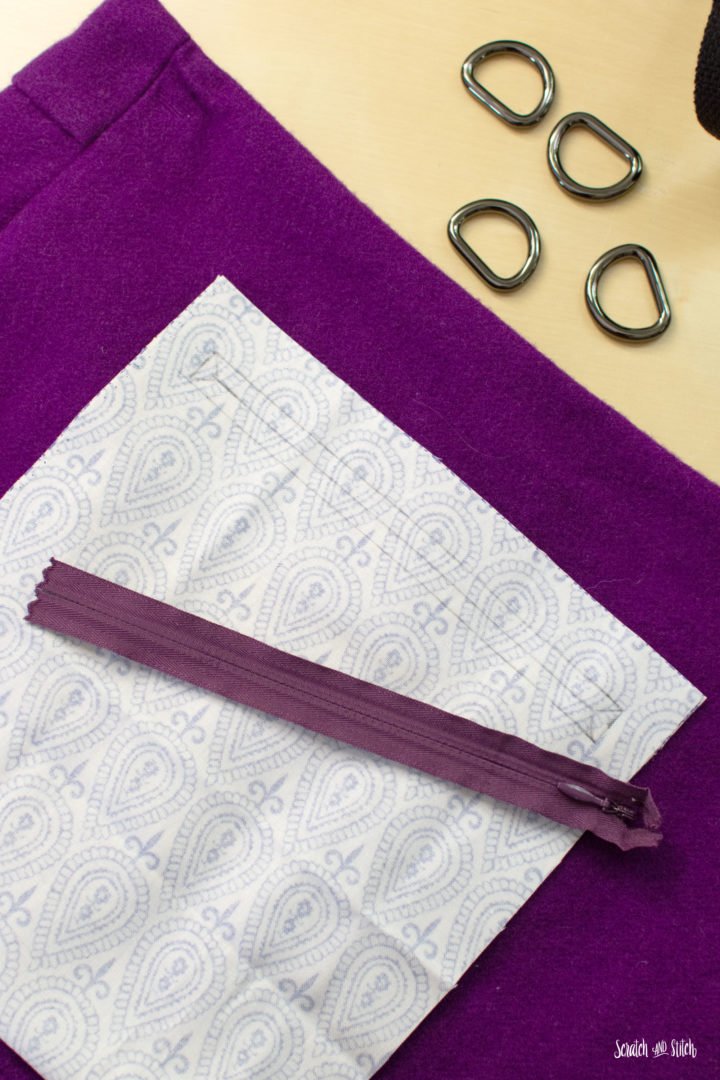
I folded the cotton in half and used this go-to method for adding a zipper pocket to any bag.
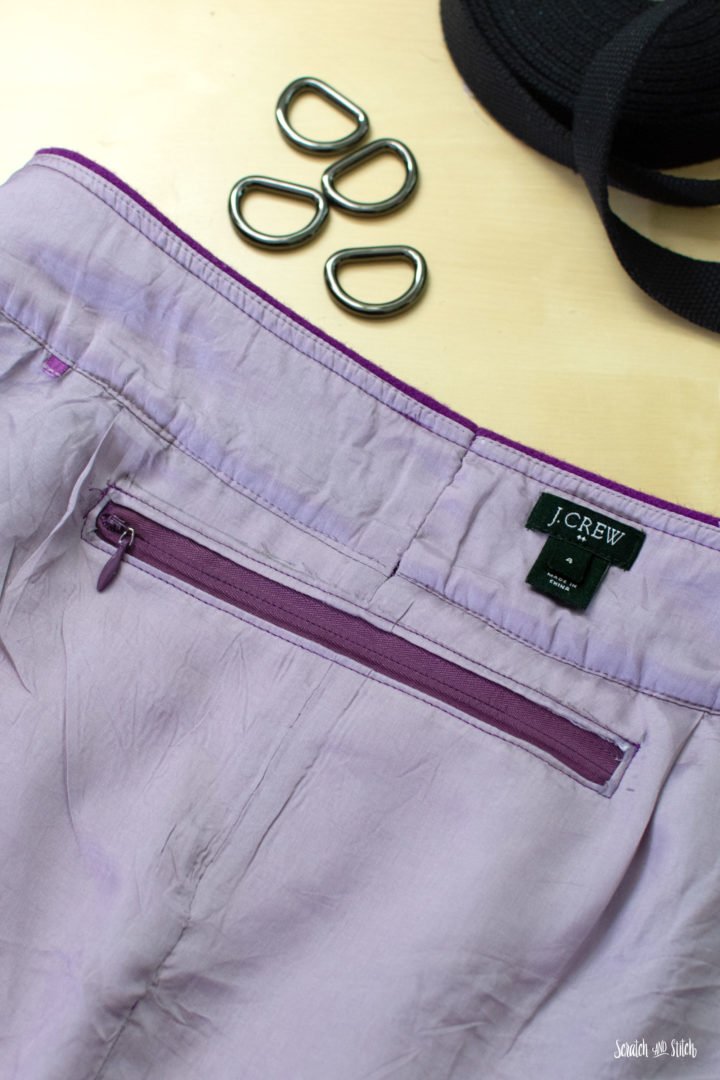
Once the interior pocket was complete, it was time to close up the bottom of the bag. I flipped the skirt inside-out, clipped the lining and exterior fabric in place, then straight stitched across the bottom.
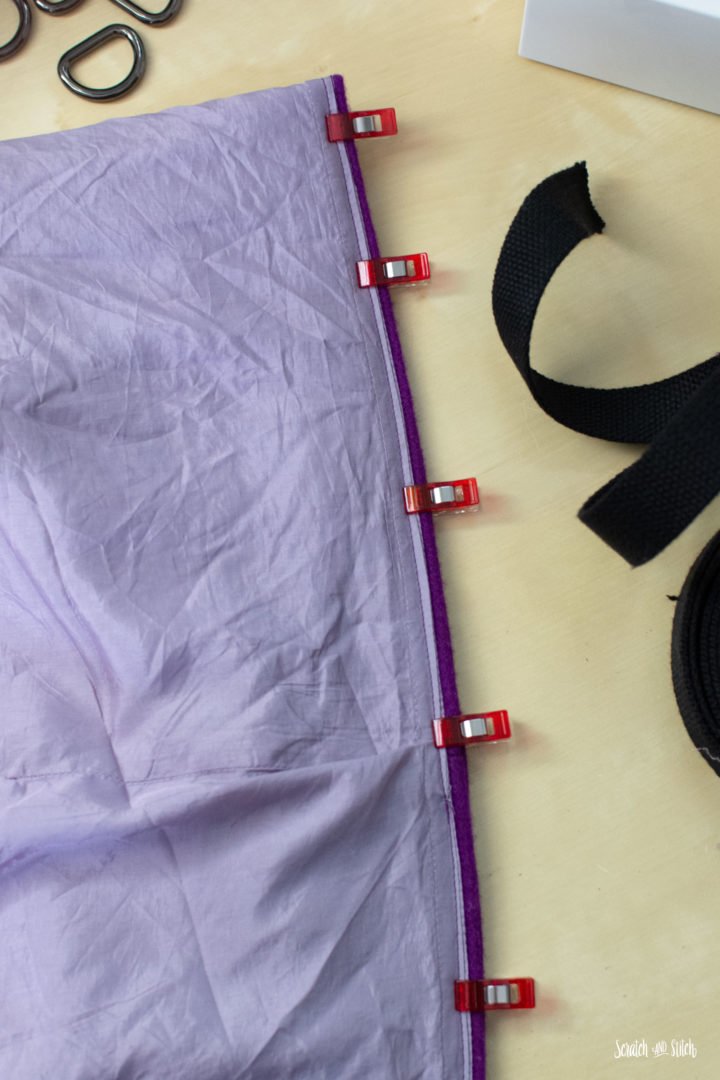
The bottom of the DIY tote bag uses the box corners method. If you’ve never tired box corners on a bag, here’s a great resource for box corners to keep handy.
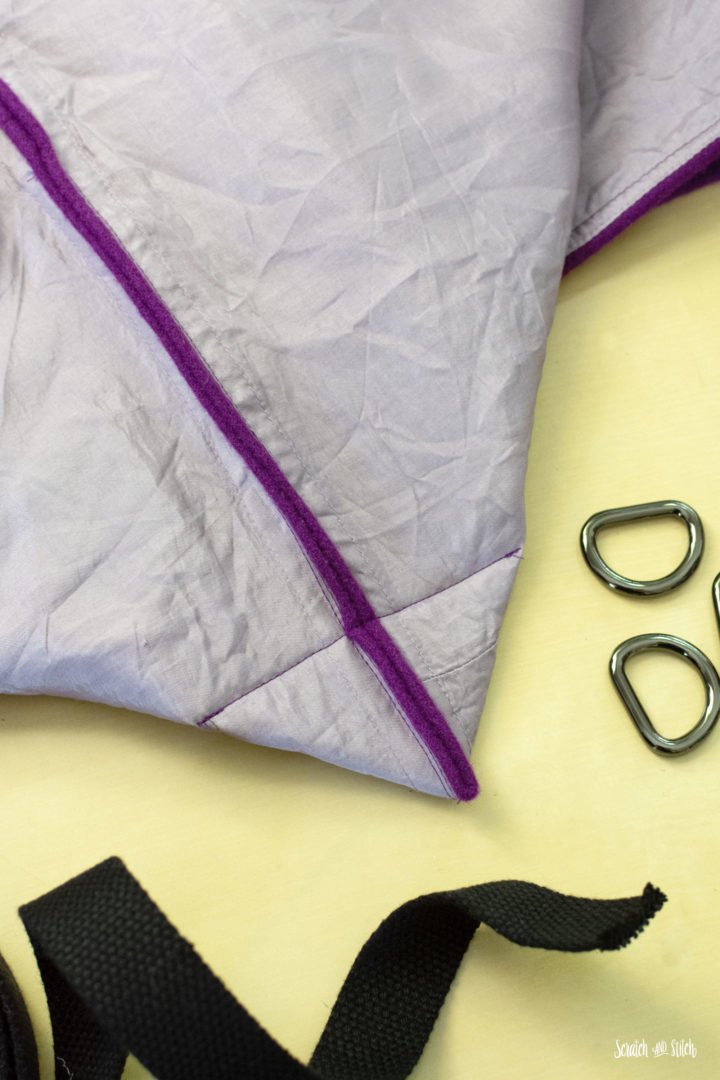
The bottom of the skirt had a 3″ band so I matched the box corners to that seam. I measured up the bottom seam 3″ and marked a straight line across.
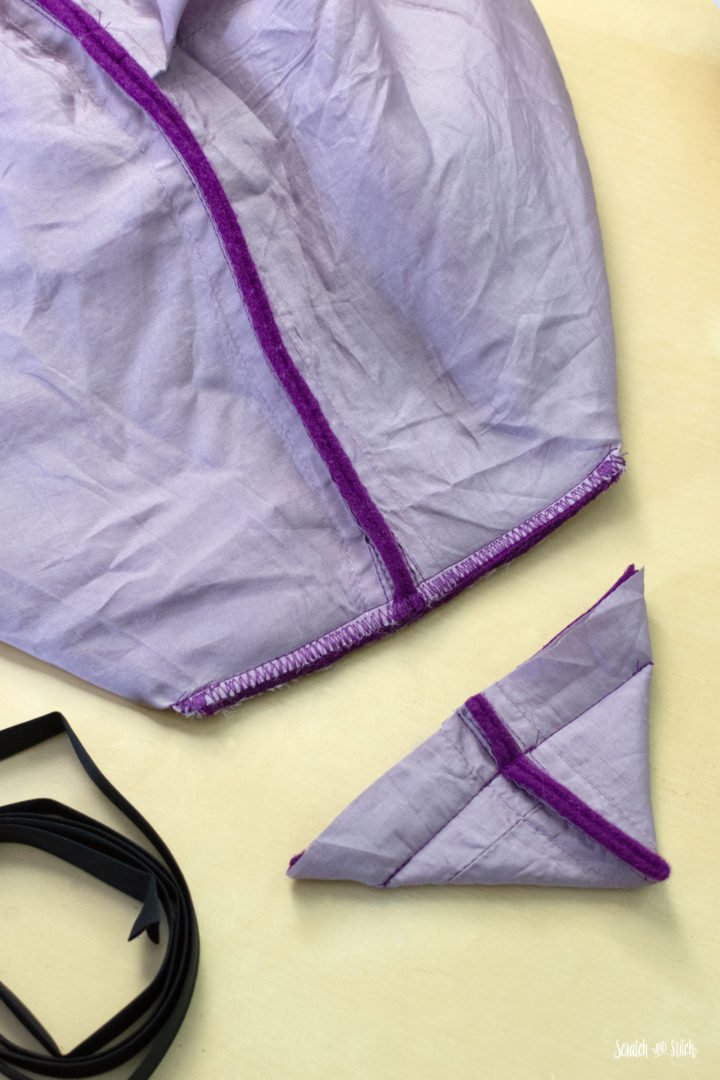
After sewing and trimming off the box corners, I covered the raw edges of the box corners with a piece of black double-fold bias tape.
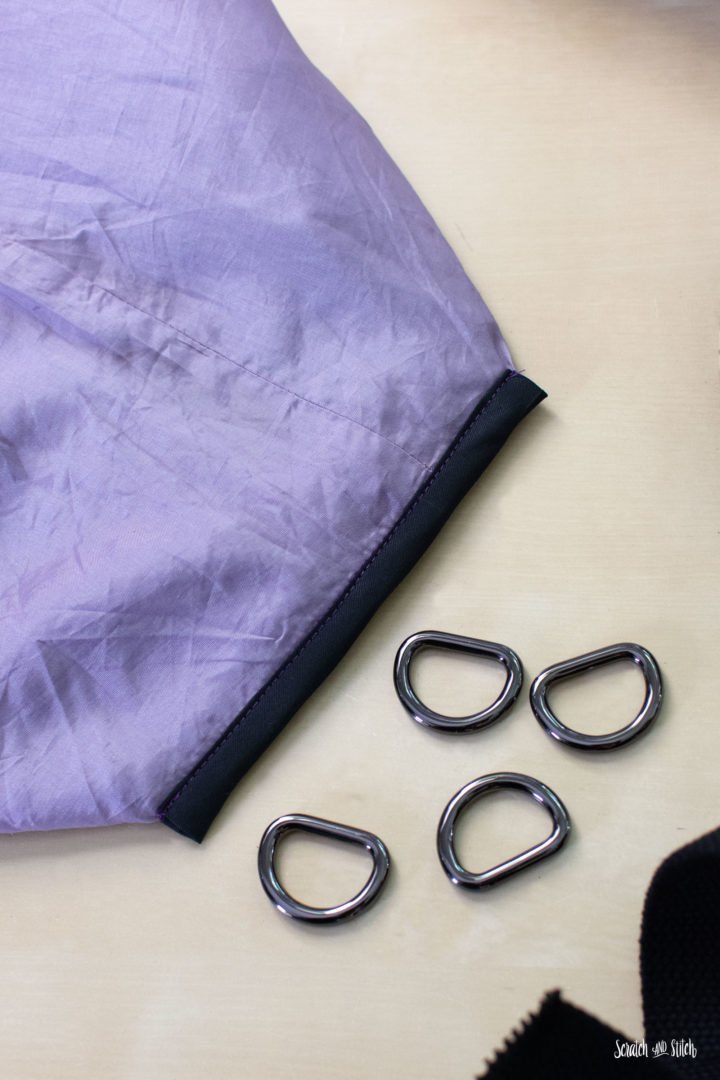
For the handles, I cut four 4″ pieces of webbing to hold the D-rings. Each of the pieces were folded through the D-rings and baste stitched to hold the folds.
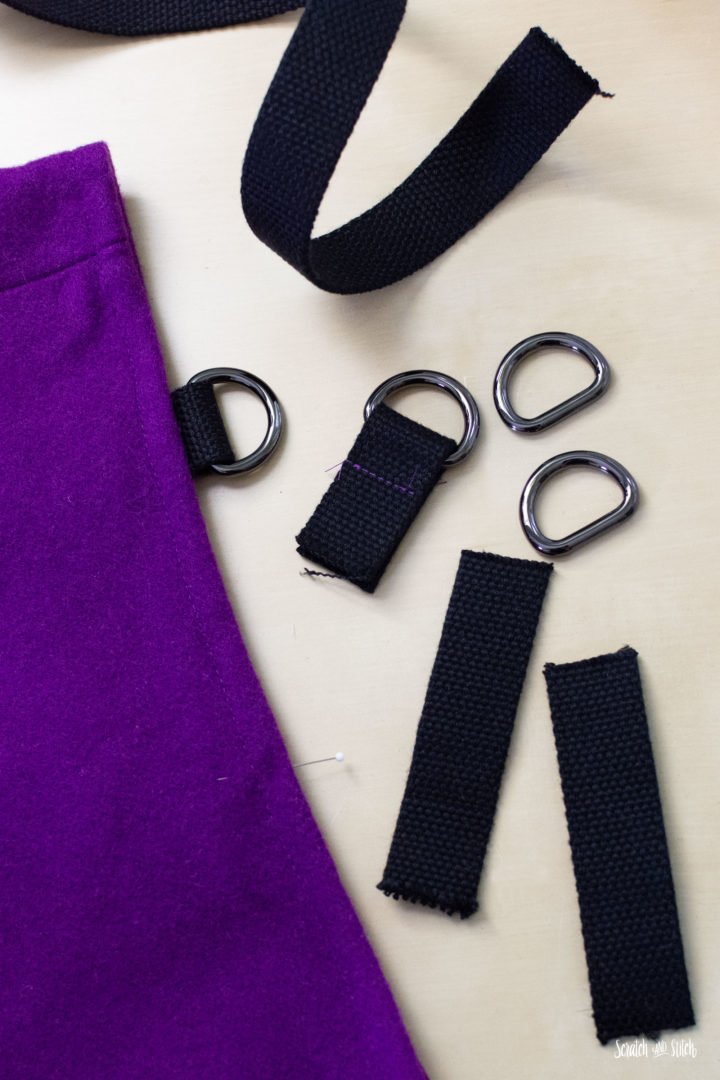
After the placement of the handles was decided, I seam ripped open the top of the lining and slid the webbing in place, then stitched across the existing stitch line.
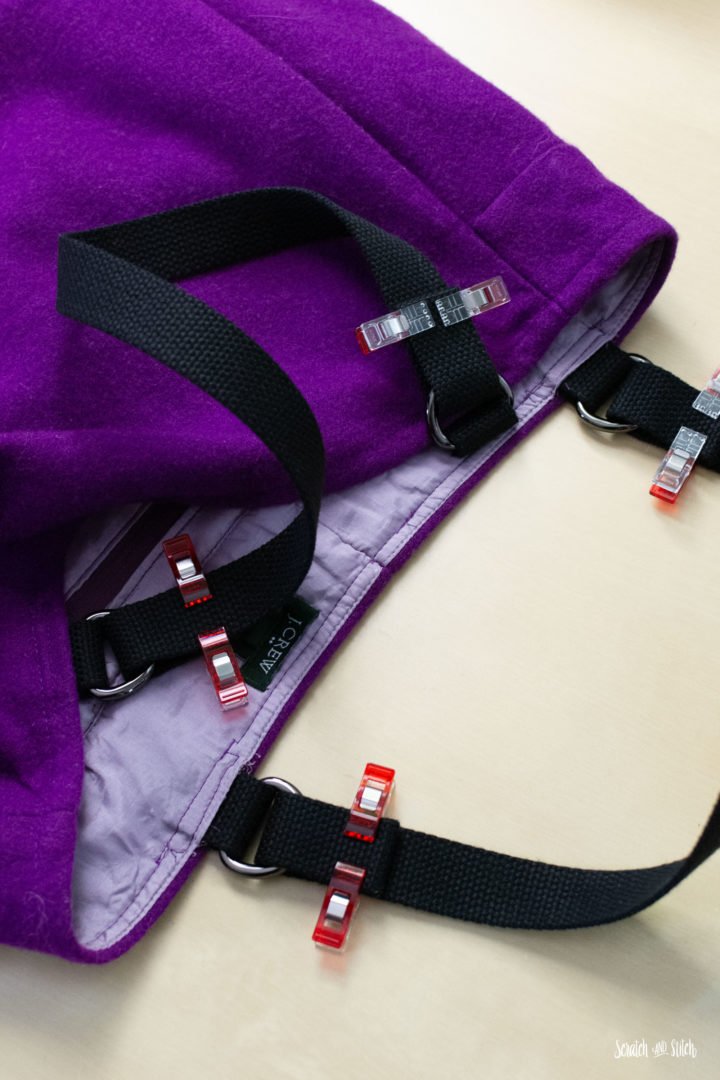
The handles were cut to 18″ long, slipped through the D-rings, and the raw edges folded under. I then stitched a box with an X through it for a secure hold.
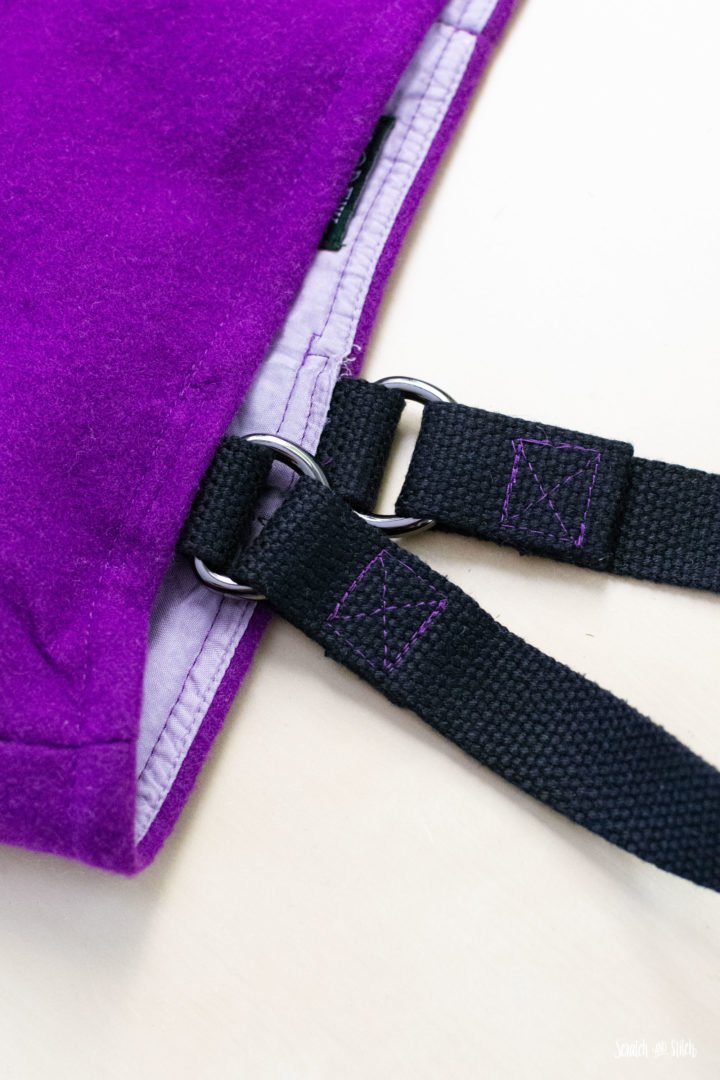
I like this upcycled bag so much better as a tote bag than a skirt. This will be my new go-to bag when I need to carry a few extra things.
Other ideas to for an upcycled skirt tote bag:
- Use a skirt with more pockets
- Add patches, scrap fabric, buttons, or embroidered details
- Use a belt for the handles
- Use ready-made purse handles
- Add a magnetic snap to keep the bag closed
- Use just one strap for a crossbody style bag
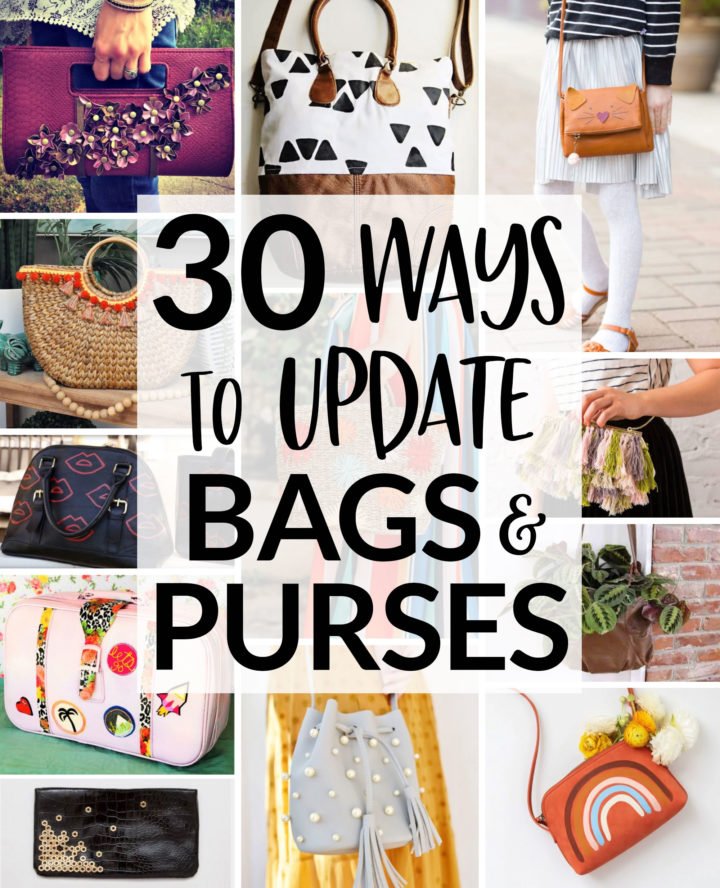
MORE WAYS TO UPDATE BAGS & PURSES
Not interested in making a whole bag? Here are some ideas to revamp bags and purses you already have.
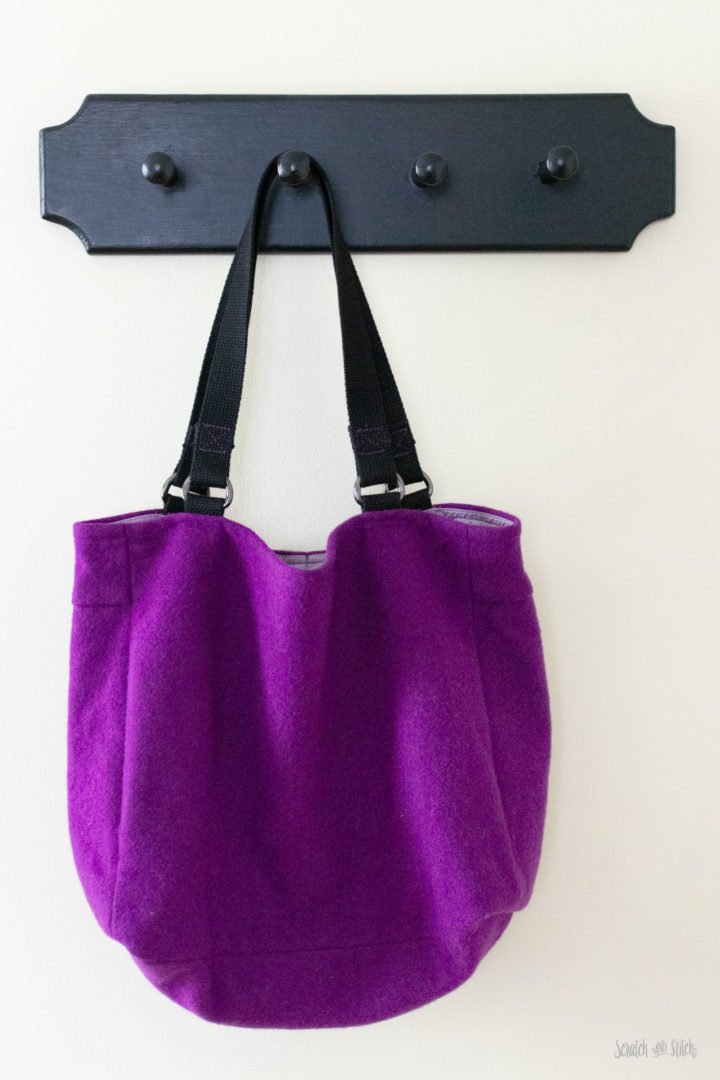
Were you inspired to make a DIY tote bag from a piece of clothing? I’d love to see it. Tag @scratchandstitch on Instagram or send me a message with your project.


I love this. I think the only thing I would do is add stabilizer or a heavier weight interfacing to give it a little more body. But it is just the right shape, color and way to use an old wool shirt! Great Job!
Thanks Angelia :) – That’s a great idea! A foam stabilizer would make it stand up nicely, making it a great grocery tote.
Wow!!!
Been looking for your website for a long time.
I love it! If I understood correctly, there is an additional seam on the bottom of the bag?
Thanks! The bottom is sewn together, then the corners are sewn to create the box corners. That’s it! :)
Thank you!