This post may contain affiliate links.
Vacation mode starts now! Travel in style with a set of upcycled denim DIY luggage tags. They are durable enough to hold up to the wear-and-tear of traveling. Plus, they’ll help you spot your black suitcase among the sea of other black cases.
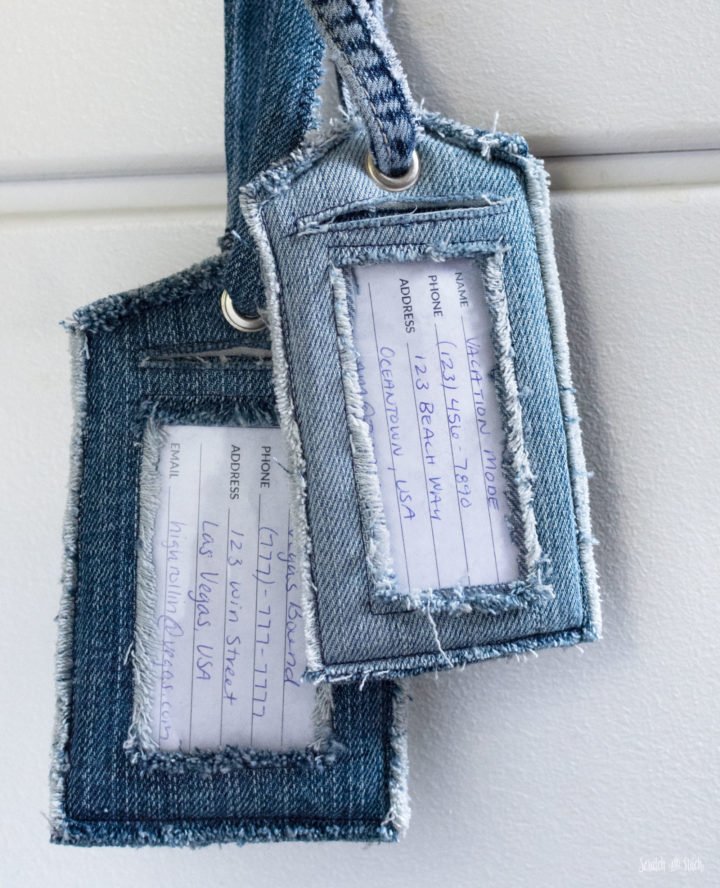
These denim luggage tags are intended to include frayed edges for a casual and trendy look. A small piece of vinyl creates the window for the information card. Use a strip of a felled seam and a metal grommet for hanging.
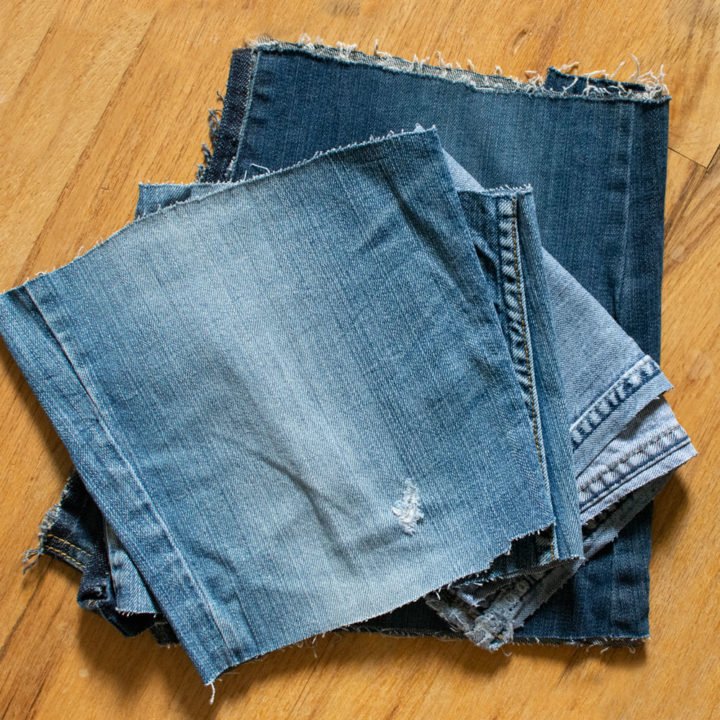
Denim Upcycling Ideas
Upcycle your denim jeans and make them into something new. There’s DIY denim fashion, DIY denim home projects and, DIY denim accessories.

I’m on a quest to use up materials I already have on hand before buying anything new for DIY projects. While my pile of denim jeans and fabric stash is being reduced, the number of denim upcycling ideas continues to increase. These denim DIY luggage tags are a great way to use up some of the smaller scraps as well as the felled seams that run down the legs of a pair of jeans.
Free Denim Luggage Tag Pattern
Download the pattern and print at 100%.
Enter your email to get the free pattern in your inbox.
By submitting your email address you will be added to the Scratch and Stitch email newsletter. You can opt-out at any time :)
Materials
- denim luggage tag pattern (download above)
- denim fabric (enough fabric to cover approximately an 8.5″ x 11″ sheet of paper)
- 12″ strip of denim for hanging – I recommend using the felled seams from a pair of jeans or create your own strip (instructions below)
- stabilizer – approximately 10″ x 3″ I recommend ByAnnie’s Soft & Stable. Stiff felt or quilt batting will also work
- clear vinyl – 4″ x 2.5″ – shower curtains, sheet sets, or other packaging are a great place to find clear vinyl to upcycle
- 1/4″ metal grommet
- basic sewing supplies
- sewing clips (pins will leave permanent holes in the vinyl)
How to make Denim DIY DIY Luggage Tags
Download the denim luggage tag pattern (download above). Print the paper pattern at 100% and cut out the pieces.
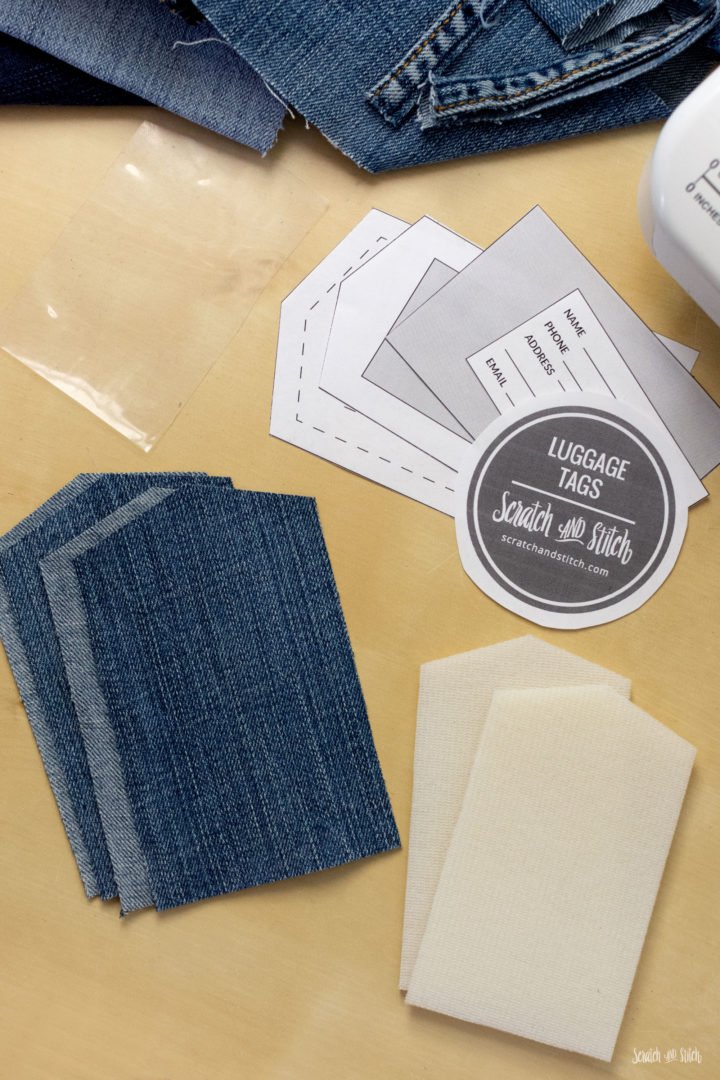
Transfer the pattern to the denim fabric and cut out. You will have four pieces of denim. **Do not cut the window opening from the denim, this will help keep the shape of the luggage tag from stretching or warping while sewing. The window will be cut out in a later step.
Cut out the one piece of clear vinyl.
Cut out two pieces of the stabilizer.
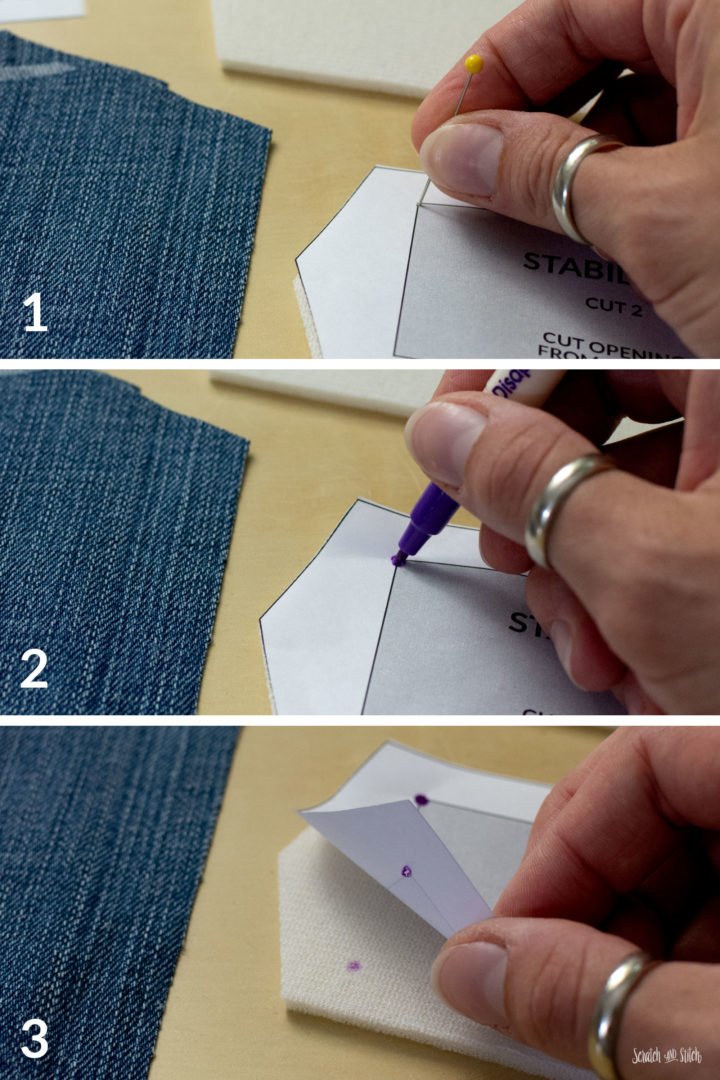
Transfer the window pattern marks from the pattern onto the stabilizer by laying the paper pattern on the cut stabilizer piece, poke the four corners of the window with a pin to create a hole, mark the corners with a marker ensuring that the marks transfer through. (see image above)
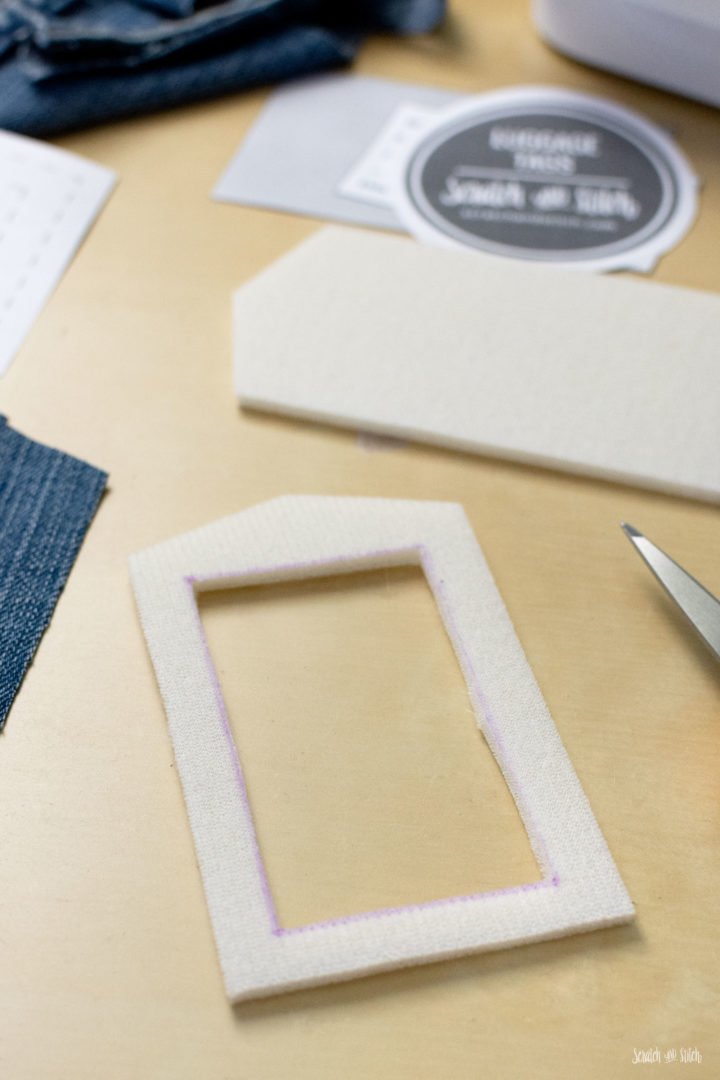
Connect the four corners and cut out the window.
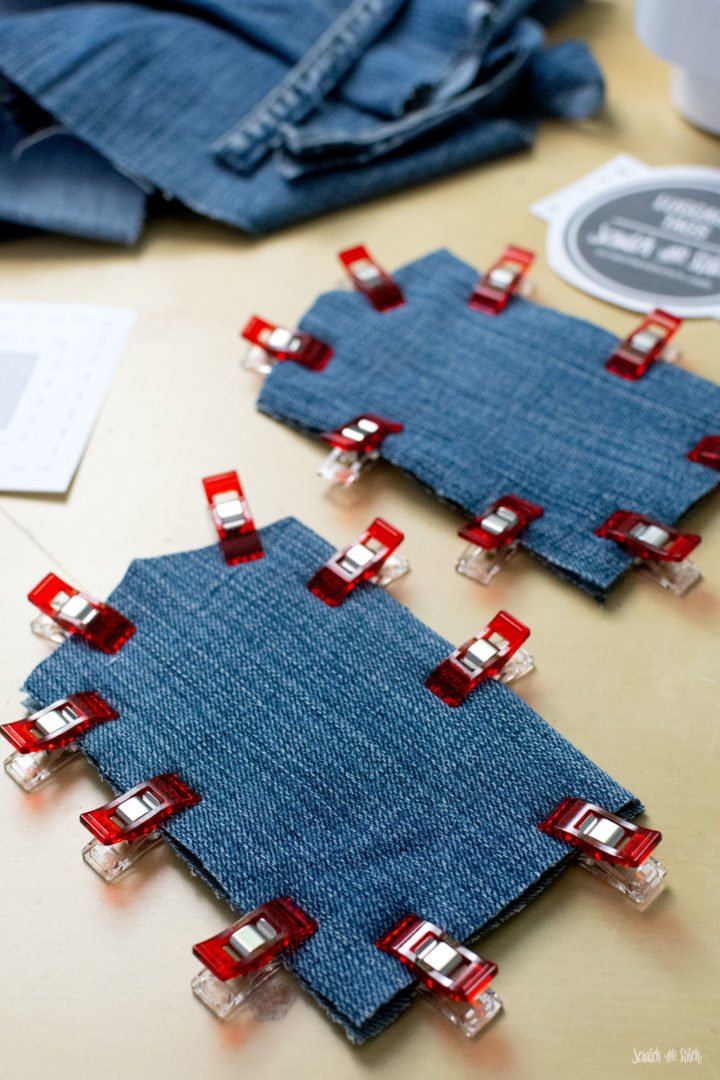
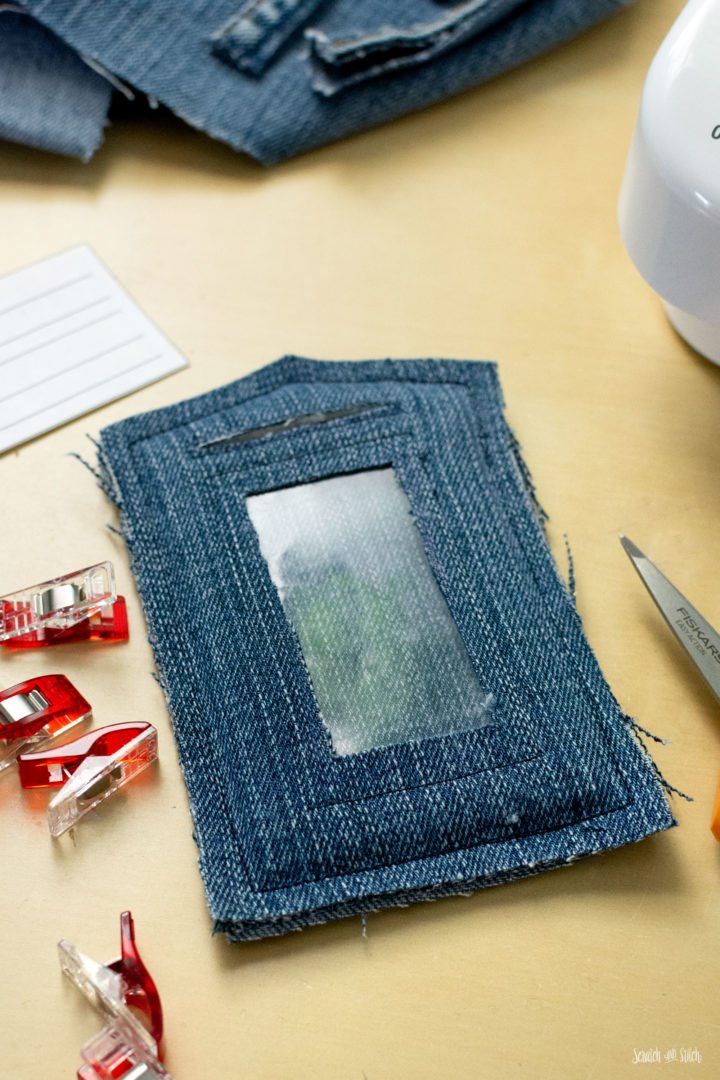
Sandwich the solid piece of stabilizer in between two pieces of denim. Pin or clip around the edges and sew with a 1/4″ seam allowance. Set aside.
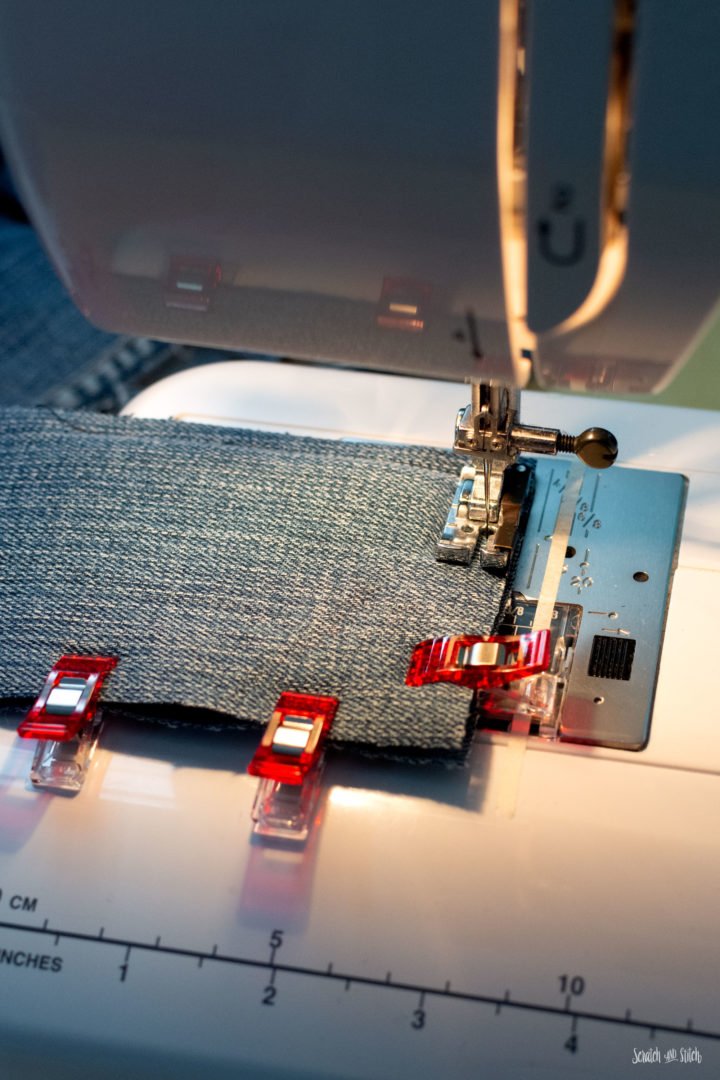
Sandwich the window stabilizer and vinyl piece in between the remaining two pieces of denim. Clip around the edges and sew with a 1/4″ seam allowance.
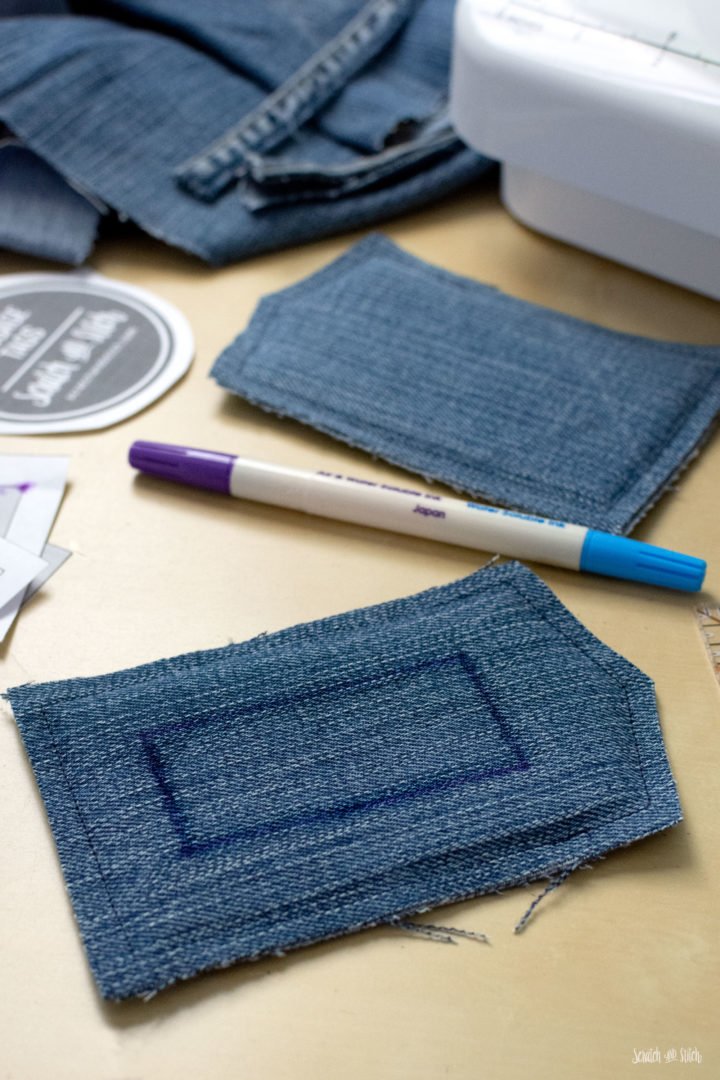
On the window portion of the denim luggage tag, transfer the window markings onto one side of the denim using the same method as described above. Before cutting out the window, sew 1/4″ around the outside of the window.
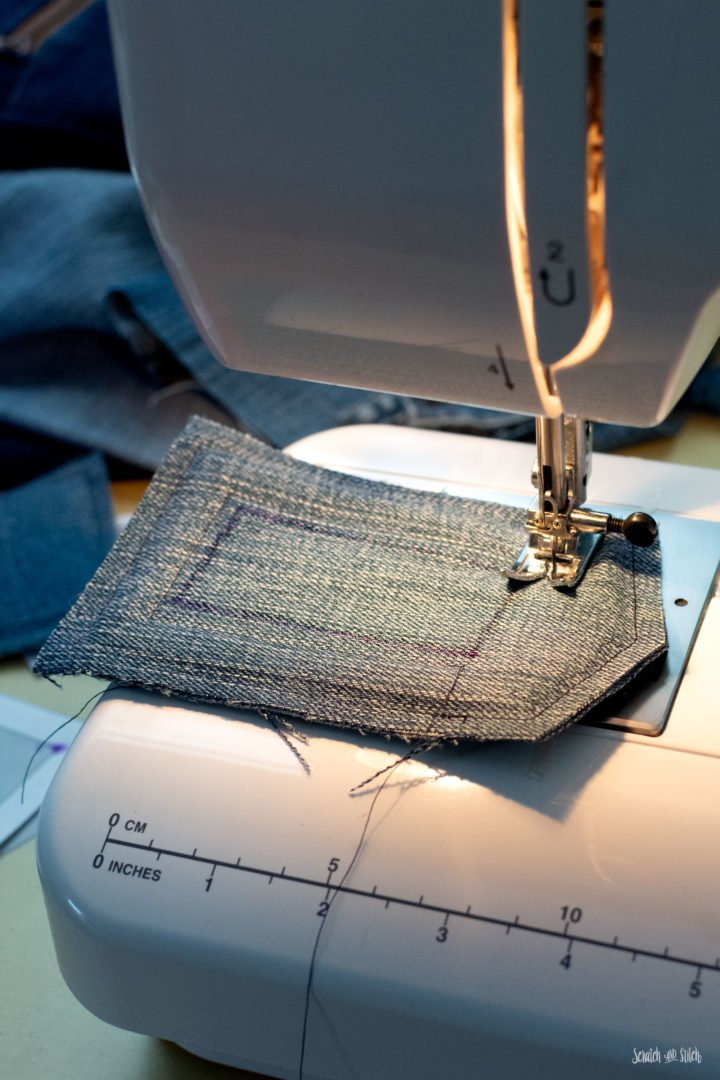
Draw a 2″ line just above the window for inserting the information card. Stitch a rectangle around the marked line. Fold the piece in half and carefully cut in between the stitching, making sure not to cut into the stitching. (see image below)
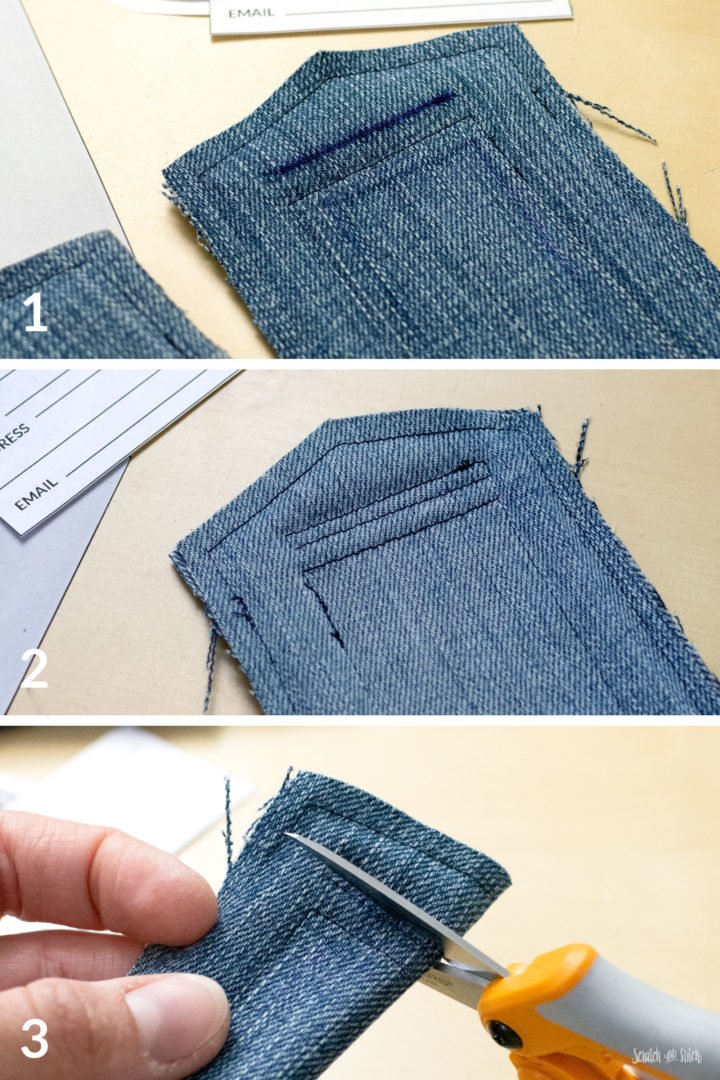
Carefully cut out the inside of the denim window, taking care not to cut into the vinyl window. Leave plenty of space inside the stitching for fraying. This portion of the denim is intended to be a frayed edge and can be trimmed shorter later if desired.
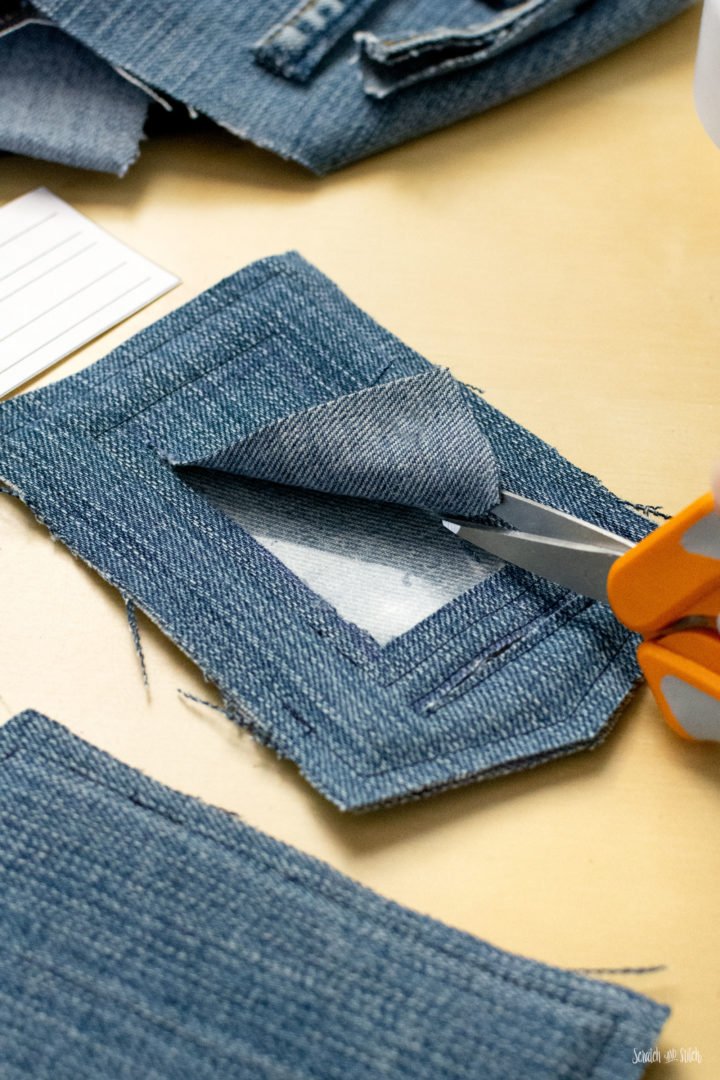
On the backside (the part that will be the inside of the luggage tag) cut out the window and trim the edges a bit closer to the stitching. (see image below)
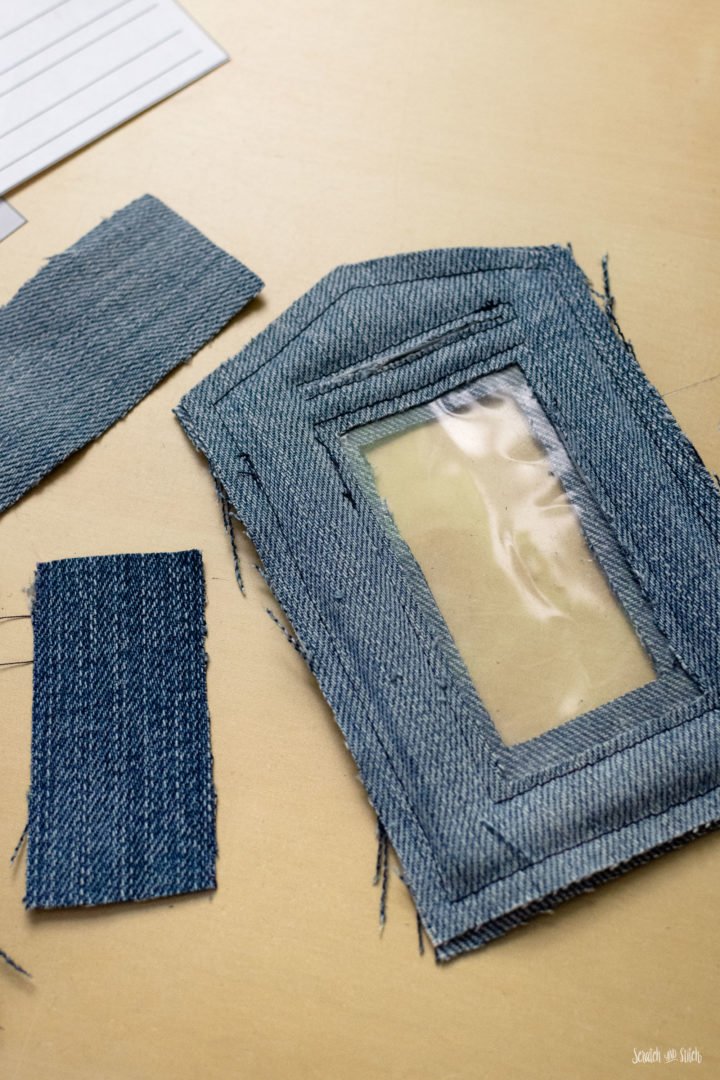
Pin or clip the front and back portions of the luggage tags together. Stitch around the perimeter with a 1/4″ seam allowance. You should be able to follow the existing stitch line.
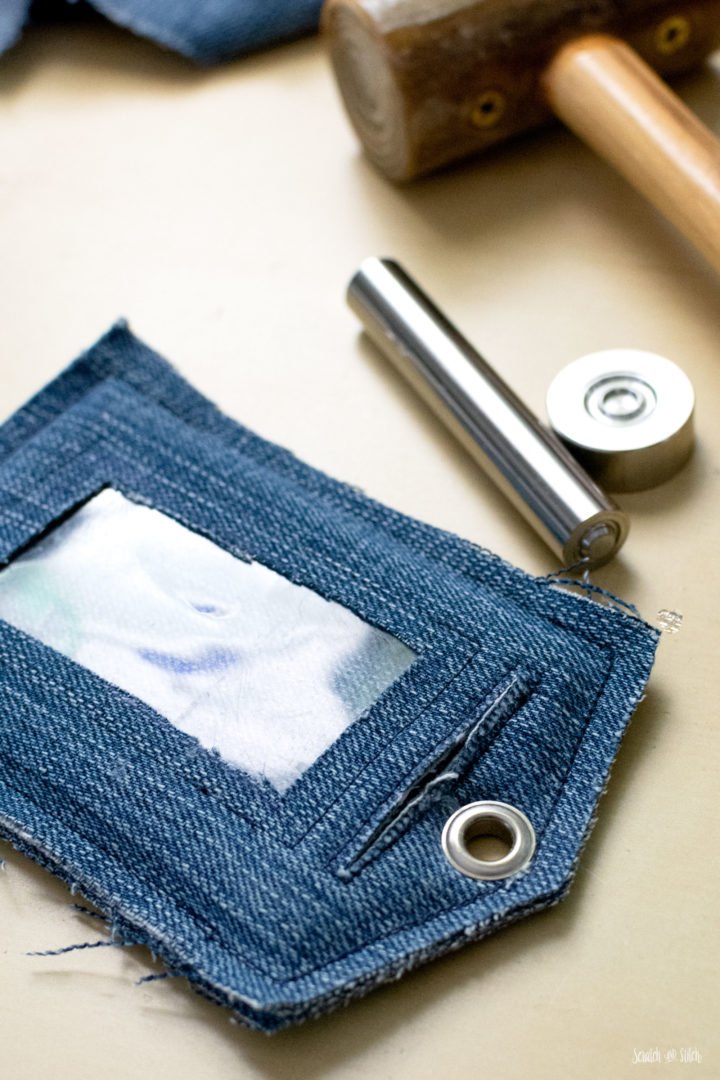
Mark a dot where you want to place the metal grommet. Carefully cut out the hole and install the grommet with a grommet setting tool.
I order my metal grommets and grommet setting tools shown from BuckleGuy.com. I highly recommend them for metal hardware and zippers! They have high-quality products that are worth the cost. I used them in several of my DIY projects, including my Grommeted Sleeve Shirt Refashion.
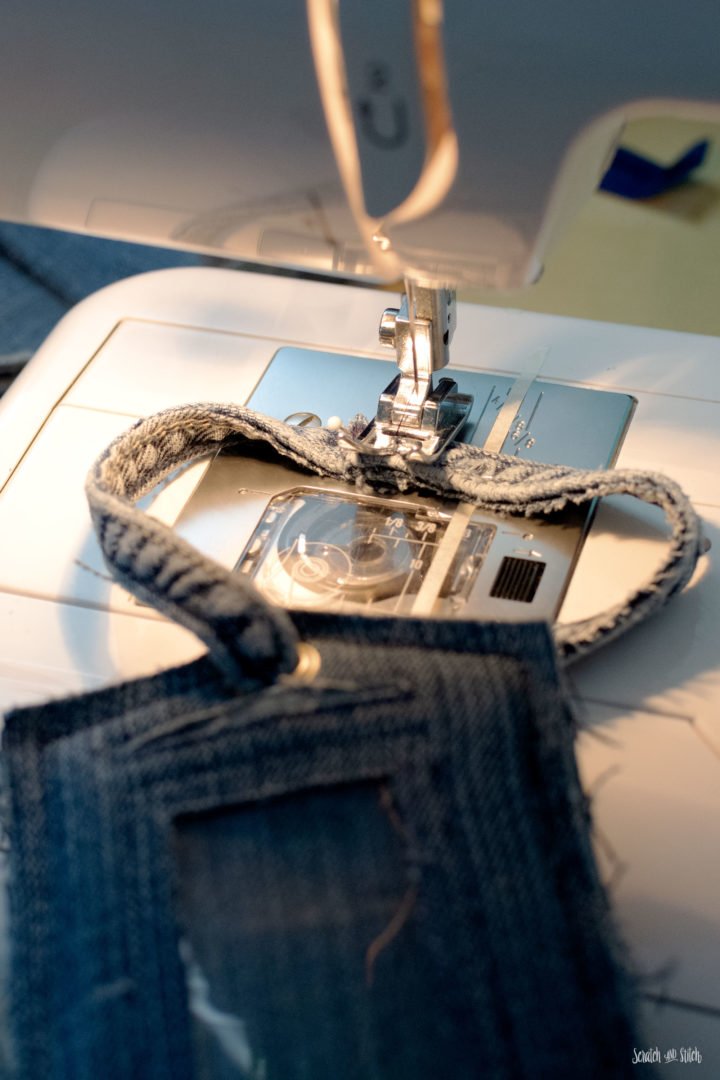
Create a loop for the denim luggage tag to hang from a bag. I like to use the felled seam from the sides of the legs of jeans. These are heavy-duty and look good with the rest of the denim tag. These should be at least 12″ long, and this will give enough room to loop onto a suitcase handle.
If you don’t have any felled seam scraps, cut a piece of denim approximately 2″ by at least 12″. Fold the denim in half and then half again, pin or clip to hold, and sew a couple of lines down the strip.
Thread the felled seam or denim strip through the grommet hole, overlap the ends 1/2″, and sew together. Repeat with several stitches to ensure a strong hold.
The last step to complete these denim luggage tags is to start fraying. I use a pair of tweezers, my seam ripper, and a lint roller for fraying denim.
The same fraying method was used for the DIY Denim Coasters and Round Denim Placemat.
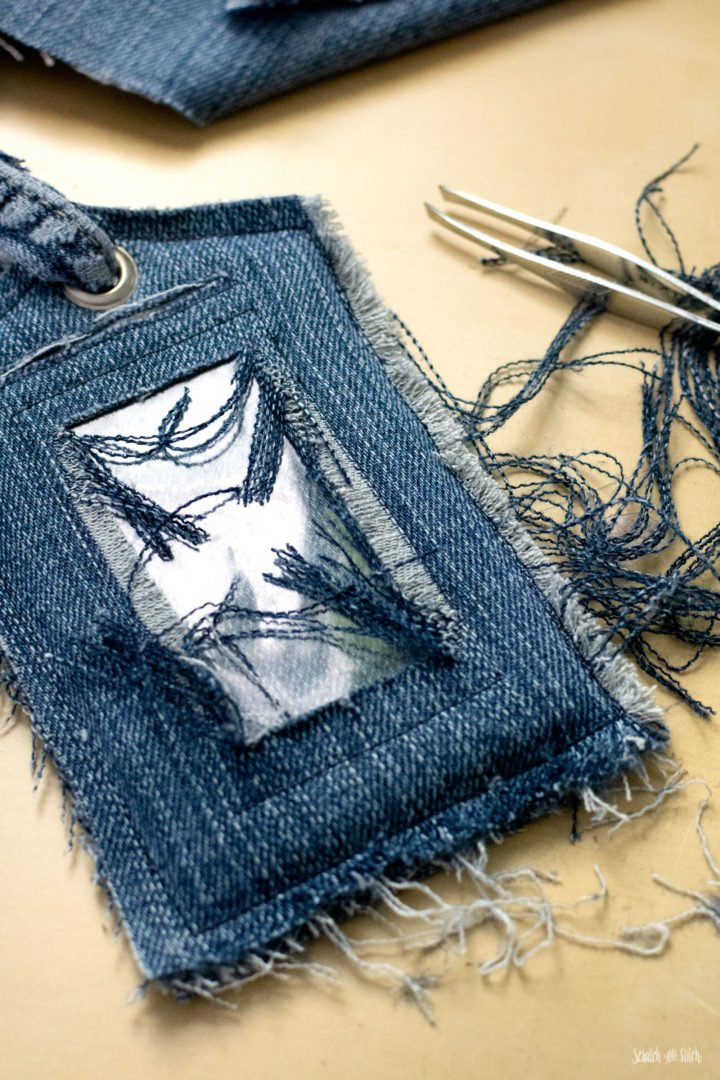
I’ve included an information card in the pattern download that is the correct size for your info, but you can insert your own card with the information you want to include. The size should be 3.25″ x 1.75″ to fit correctly in the luggage tag.
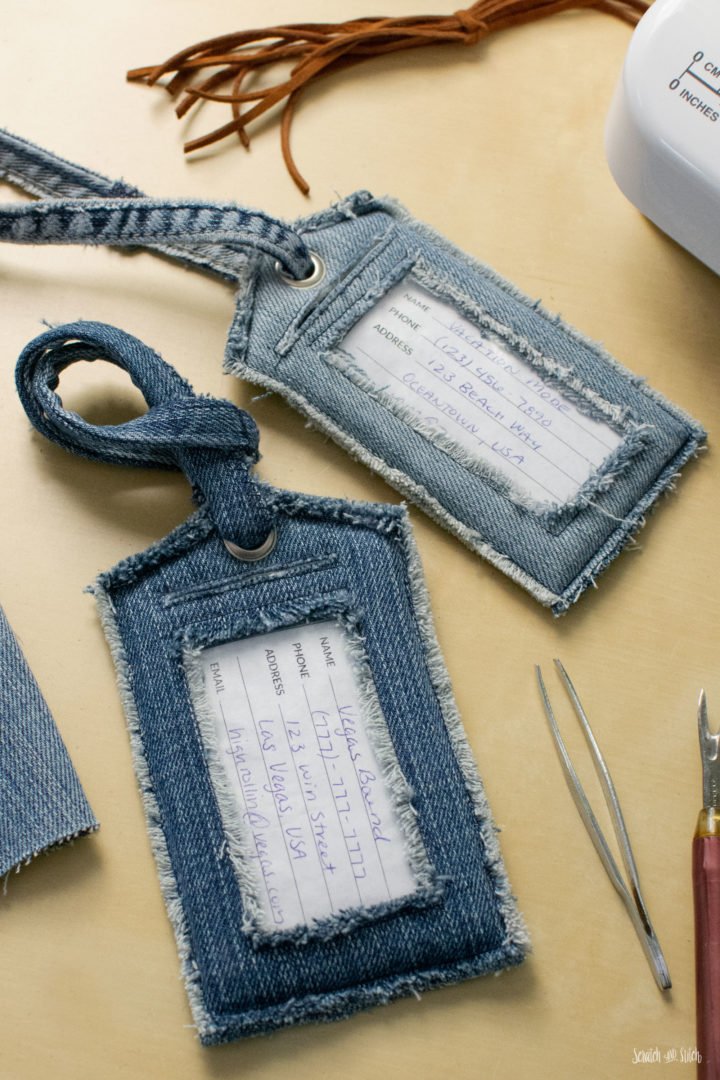
Travel in style with your very own handmade luggage tags. Not only is this a great way to upcycle some denim scraps but they look very designer made.
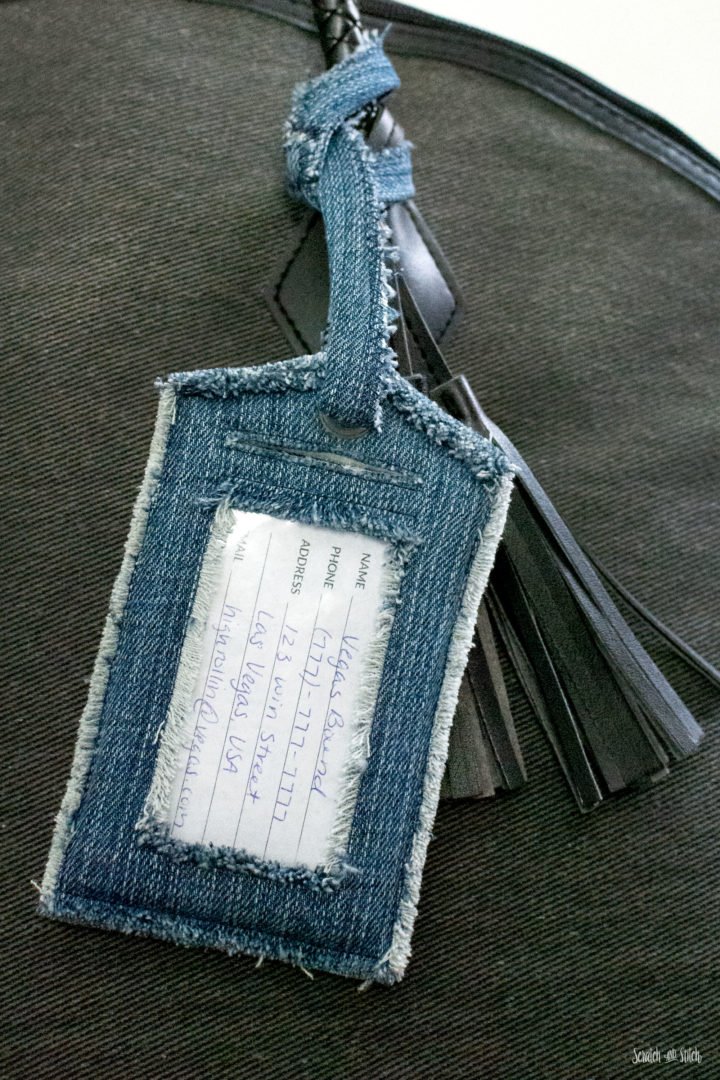
This upcycled denim project won’t be my last. There are still plenty of denim scraps to use up, so I’m adding it to the list of recent DIY denim projects: denim coasters, denim placemats, and an upcycled denim toddler backpack.
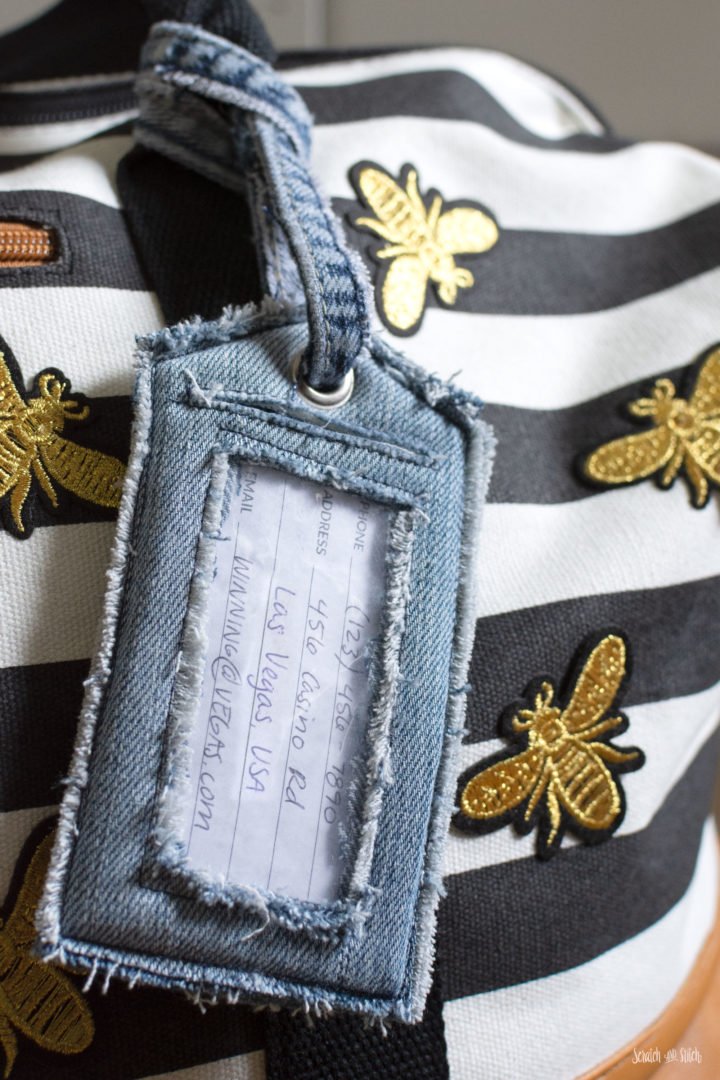
The frayed denim looks great with my refashioned weekender bag too.
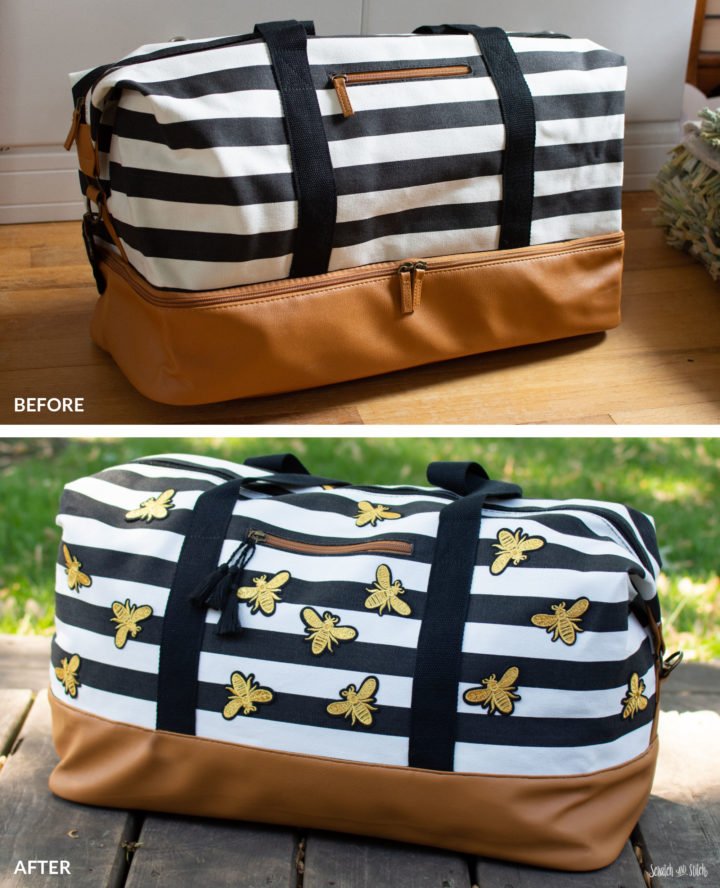
Refashioned Duffle Bag
Update the look and style of a bag with iron-on patches.
With denim being all the rage recently, there are going to be a lot of jeans that get worn out. Why not upcycle parts of those jeans into something new? Check out my 30 Denim Upcycling Ideas for more inspiration.
Where will you be taking your new DIY luggage tags?

What an absolutely adorable idea! Thank you so much for sharing! May I use this pattern to make items for our quilt guild’s boutique? I think they will go over quite well!
Thanks! Glad you can enjoy them. Yes, go for it. Send me pics, I’d love to see how they turn out. :)
Love this! So happy to know I’m not the only one with a stacks of jeans waiting to be repurposed. Thanks for sharing!
The stack may be larger than I should admit :)
Where could you find all the other materials other then the Jeans?
Hi Samantha, I’ve listed everything with links and other tips in the materials list in the post. :)
I made them and used them once and someone liked my work so much, they were stolen off my luggage. I was sooo mad, time down the drain, that I can’t get back and they didn’t pay for them! I had an extra, put it on my suitcase and attached a note, “Steal this tag and you’ll go to hell!” It’s still on there 5 months later.
I’m so happy to hear that you’ve made them. Twice! They really are that cool. :)
Priceless!!!
I loved the pattern and ease of making the luggage tag.
I was unsuccessful in posting a picture of the finished product but it is so cute. I think the next one will have a patch sewn on it. Thanks for sharing.
Hi there, I just found this luggage tag pattern, its so cool! I want to print the instructions, but I’m not seeing anywhere to click to print them only without all the ads etc. Please help! Thanks!
Hi Jayne – Thanks for your kind comments. :) At this time, I do not have a print option for my free sewing patterns. All of the instructions are available on my site.
I did it 12 times for chrismas gift. Super tuto. Love it
What a great idea!
Hi,I love your work it’s amazing I am just mad i don’t have a sewing machine.
Sounds like it might be time to invest in a machine! I recommend checking out local thrift stores or FB marketplace for a sewing machine.
Hi Cathi
I love your pattern. It was easy to follow. I’m taking it to Mexico next week!
I’ll send a photo by email.