This post may contain affiliate links.
Are you looking for a simple sewing project? Or want to learn how to make stuffed animals? This cat plush sewing pattern is a great place to start. It uses minimal materials and can be sewn entirely by hand or by a combination of both. Parts of the face are sewn on using embroidery thread and simple embroidery stitches.
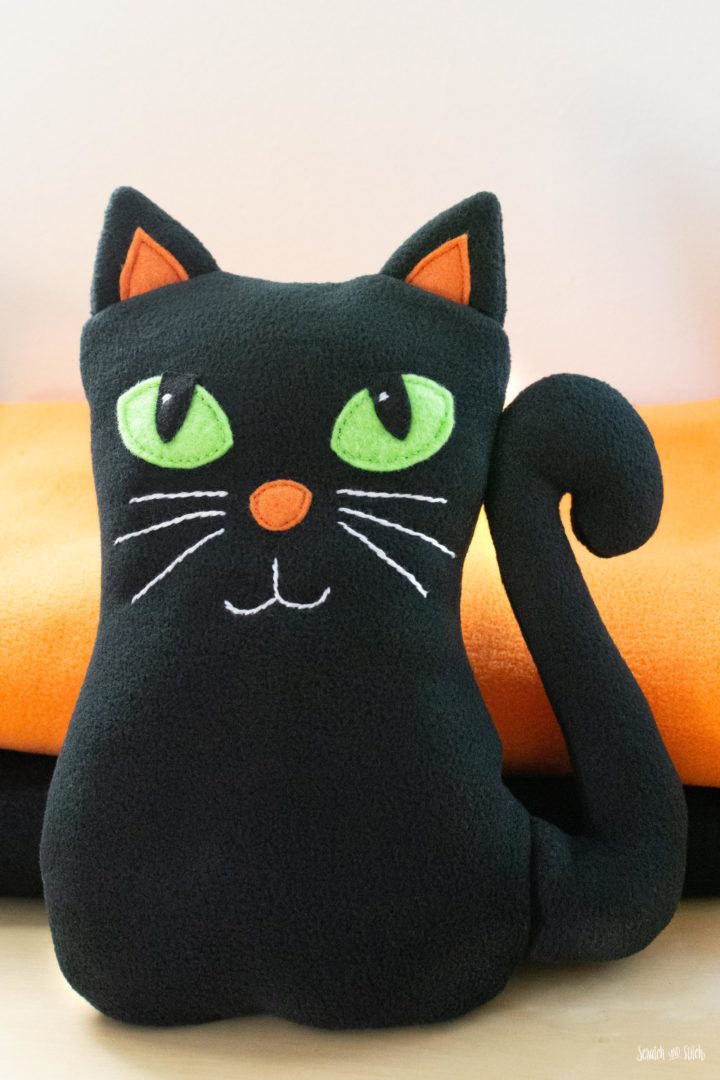
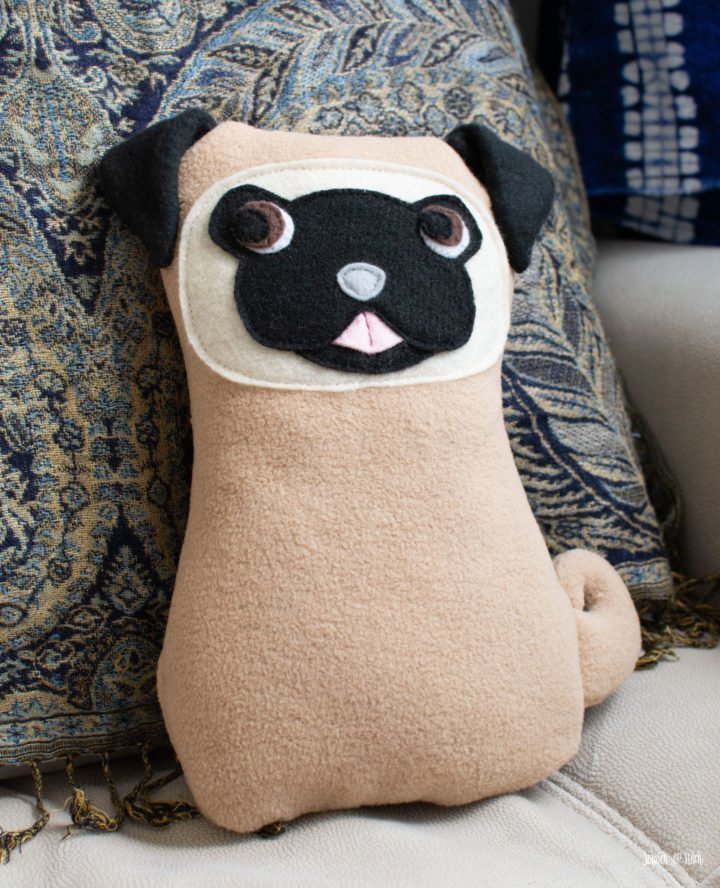
It’s been on my to-do list to create a cat plush sewing pattern for quite a while. I had a different design in mind but after seeing how much my son loves his Pug dog, I decided to create a cat plush with the same style.
Pug Dog Sewing Pattern
Down the free PDF sewing pattern for Puggy, the pug dog plush stuffed animal. He makes a great companion to the cat plush!
Materials & Tools
- cat plush sewing pattern (download below)
- black fleece
- orange fleece or felt
- green fleece or felt
- black felt
- white embroidery floss or heavy thread
- tailor’s chalk or fabric pen
- poly-fil
- coordinating thread
- basic sewing tools and supplies
Cat Plush Sewing Pattern
Download the pattern and print it at 100%.
Enter your email to get the free pattern in your inbox.
By submitting your email address you will be added to the Scratch and Stitch email newsletter. You can opt-out at any time :)
How to Make the Free Cat Plush Sewing Pattern
While the cat I’m showing here is made with a Halloween color scheme, be creative with your color choices. This cat stuffed animal is an easy sew that can be complete in under at hour. Sew by hand or machine, or a combination of both.
Download and print the sewing pattern. Cut out paper pattern pieces and assemble the body piece by overlapping the two stars.
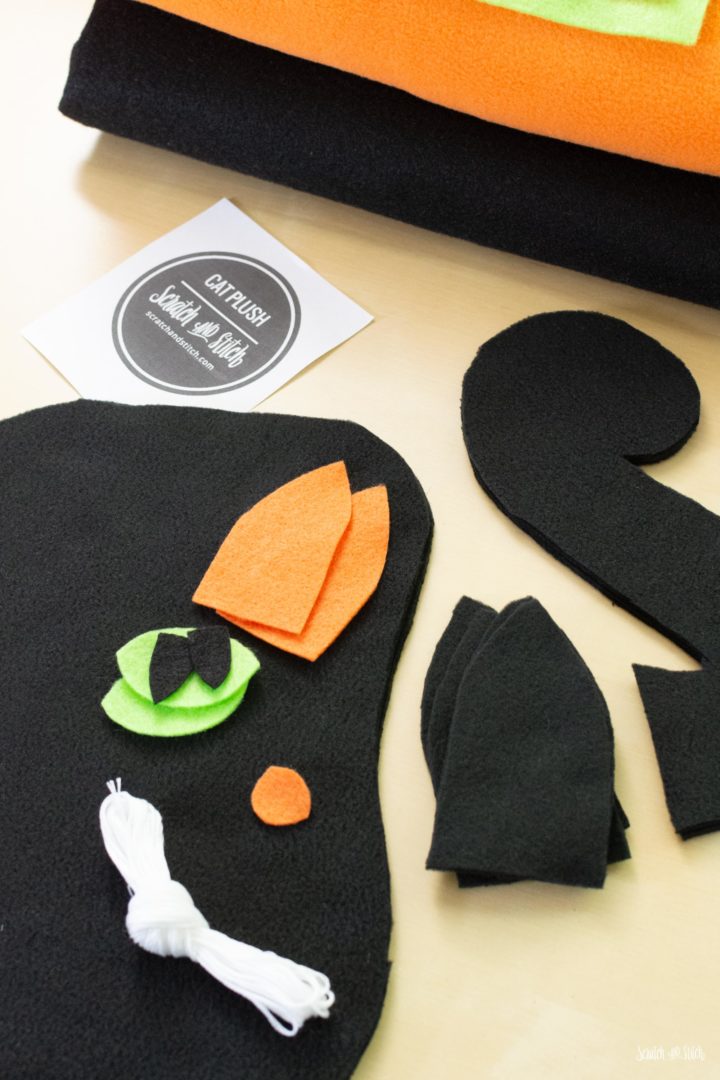
To cut the fabric pieces, you can either trace the pattern pieces onto the fabric and cut out, or pin the paper pattern pieces to the fabric and cut around the edges. Cut the pattern pieces from the fabric. **For the tail, do not cut the hole inside the tail curve until after sewing.
Make the Cat Ears
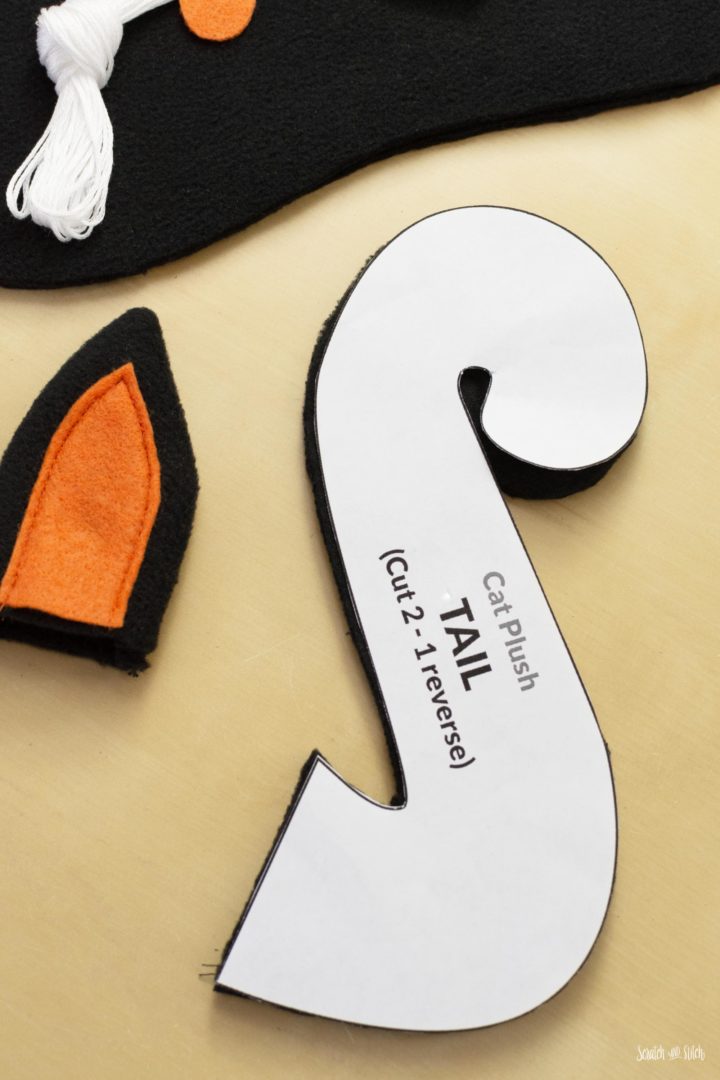
When making the cat ears, keep in mind that you that you will need two ears that are mirrors of each other.
Working with both ears at the same time, place the two inner ears onto the right side of the outer ears and sew in place.
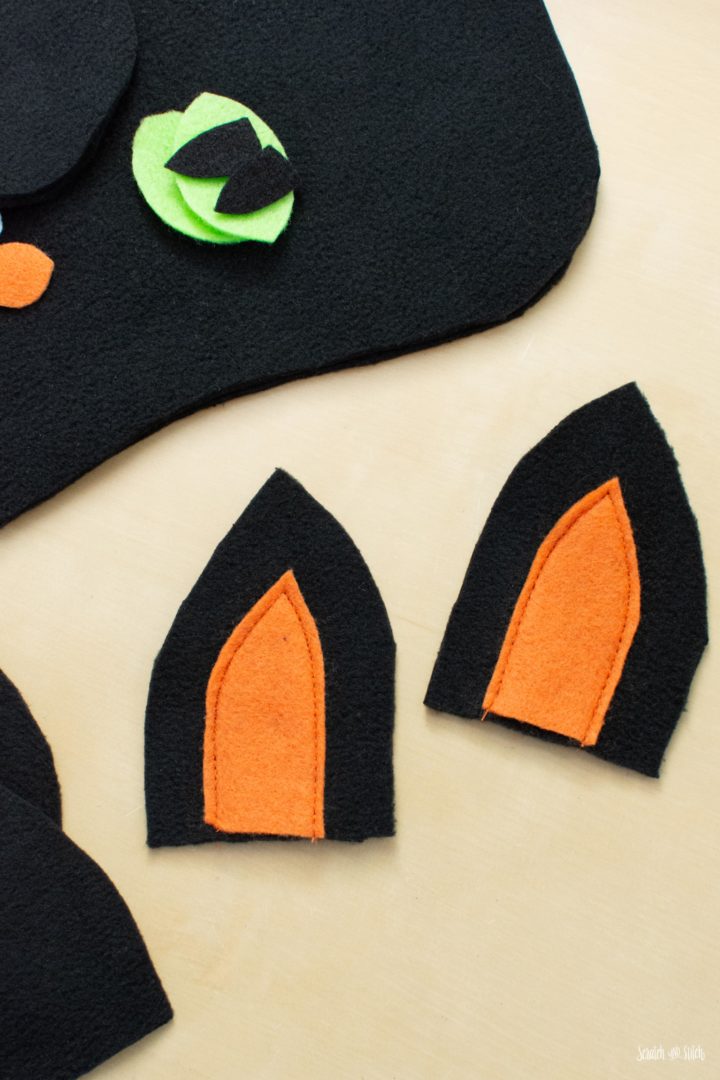
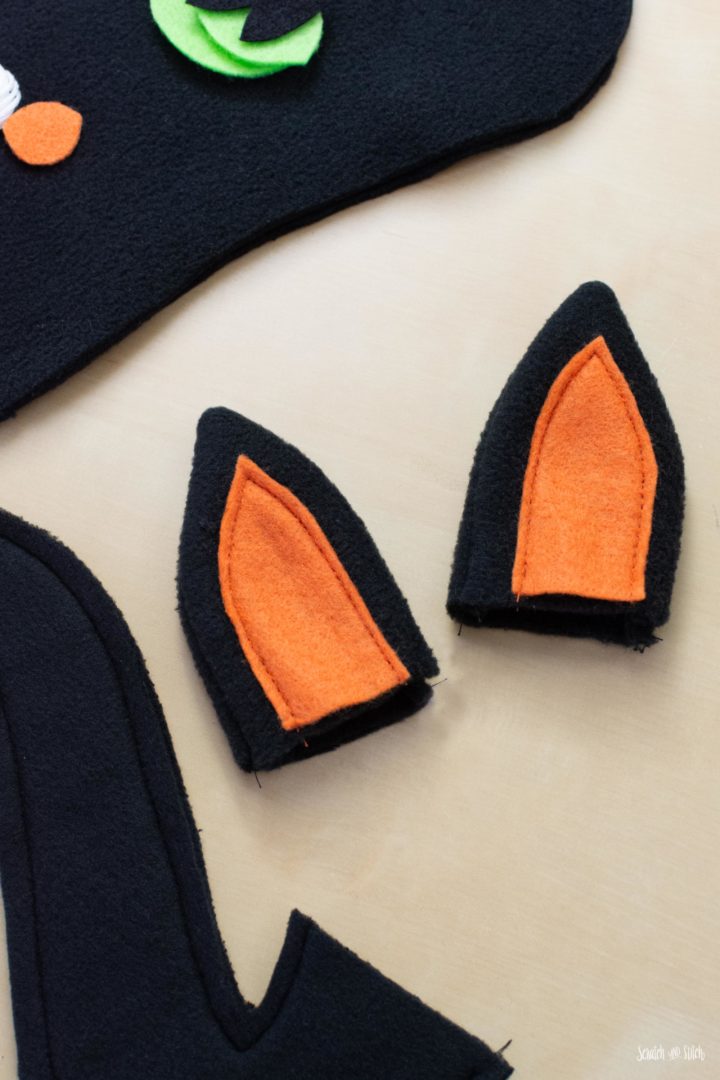
Place the front of the ear to the back of the ear with the right sides together. Sew around the perimeter with a 1/4″ seam allowance, making sure to backstitch at the beginning and end. Leave the flat bottom edge of the ear open for turning. Trim the seam allowance at the point to reduce bulk. Turn the ears right side out. Set aside.
Make the Cat Tail
Onto the wrong side of one tail piece, draw in the tail curve to use as a line to follow when sewing. Place the two tail pieces right sides together and sew around the perimeter with a 1/4″ seam allowance, leaving the flat edge open and making sure to backstitch at the beginning and end.
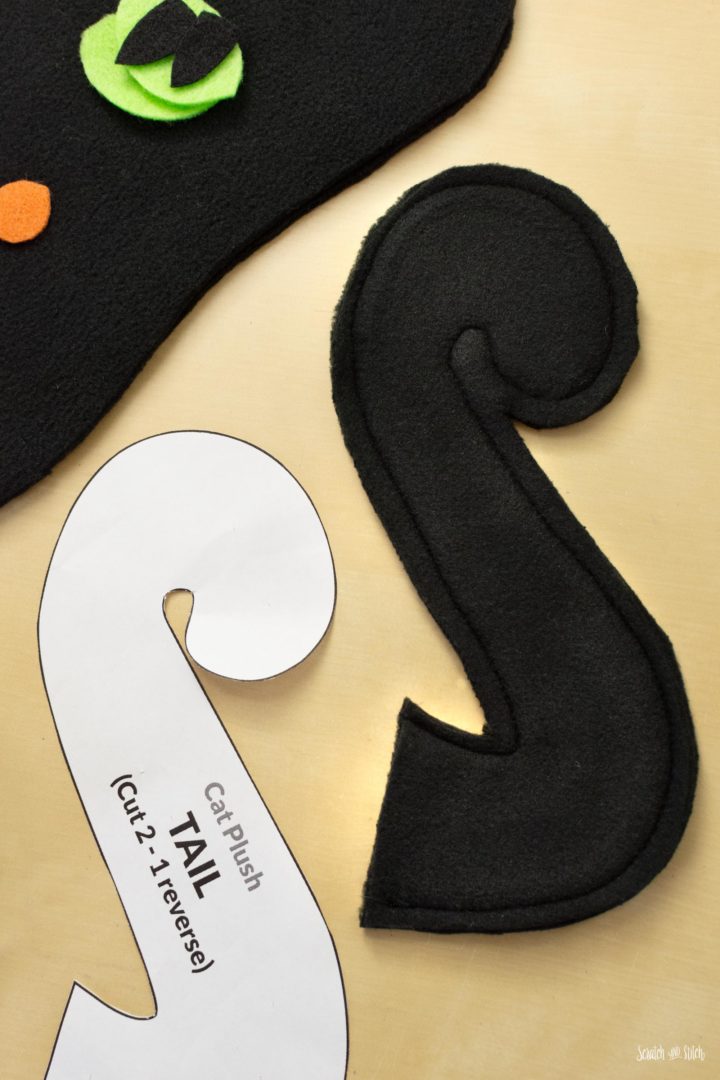
You can now cut the hole in the tail open. Clip the seam allowance on the outer curves. Flip the tail right sides out and lightly stuff with filling. Set aside.
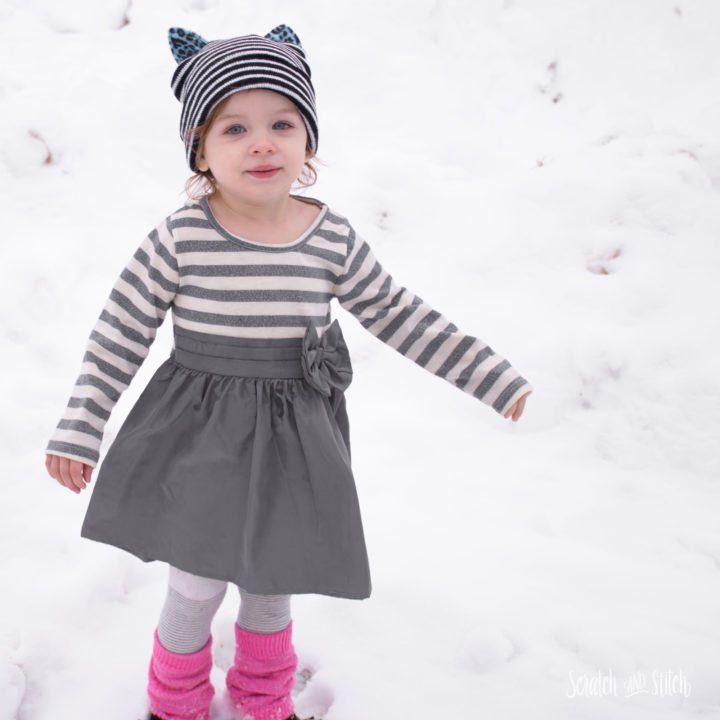
How to Add Cat Ears to a Hat
Learn how easy it is to add cat ears to just about any hat.
Sew on the Cat Face
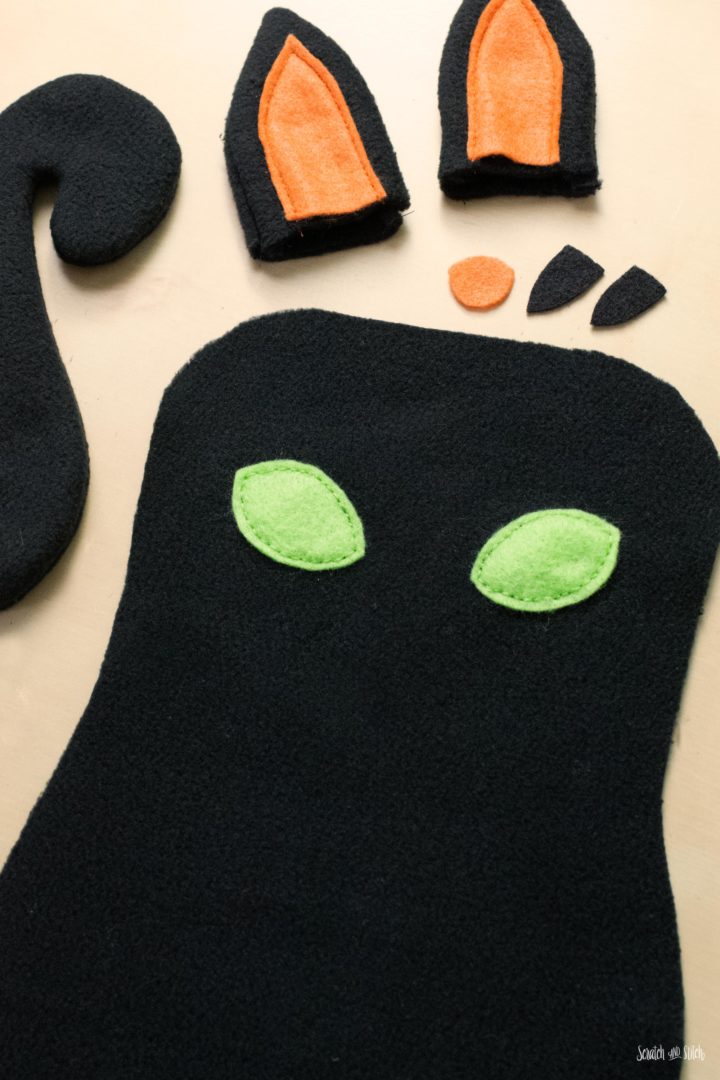
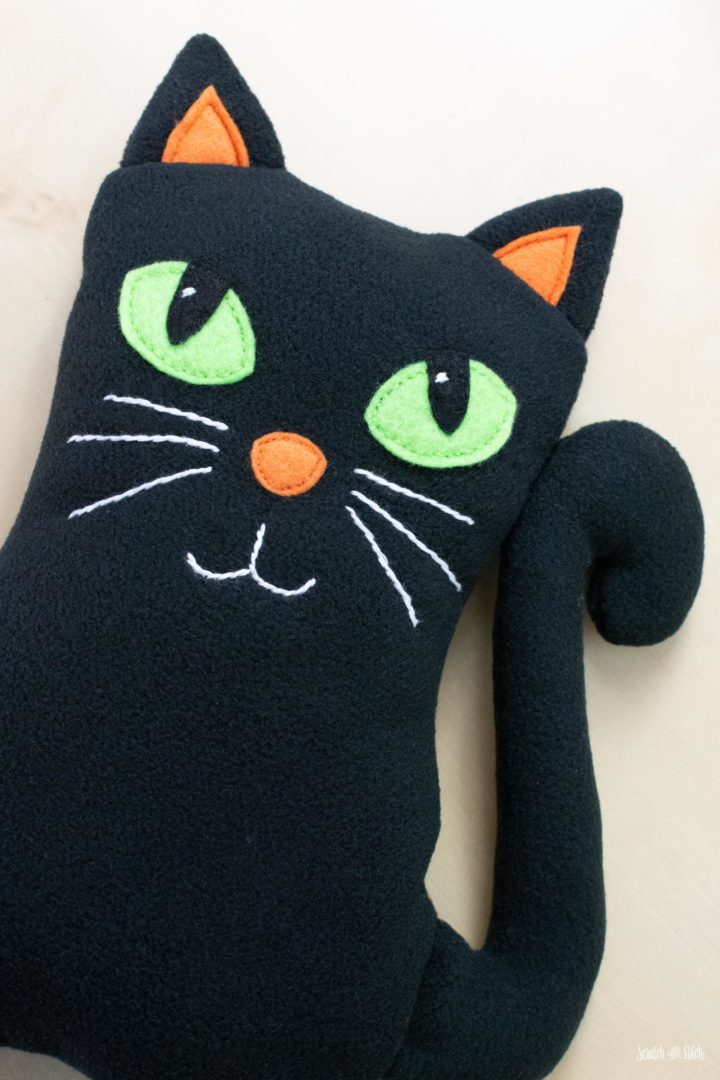
Using the face placement guide included on the body pattern piece, pin and sew the outer eyes in place.
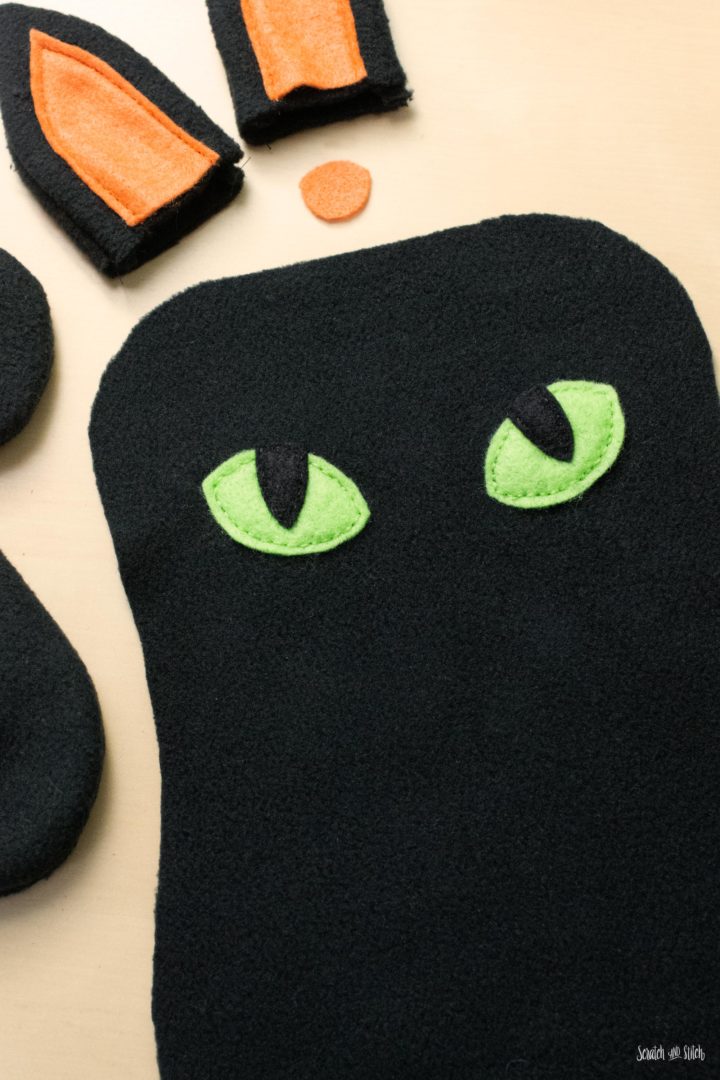
Next pin and sew the inner eyes onto the outer eyes.
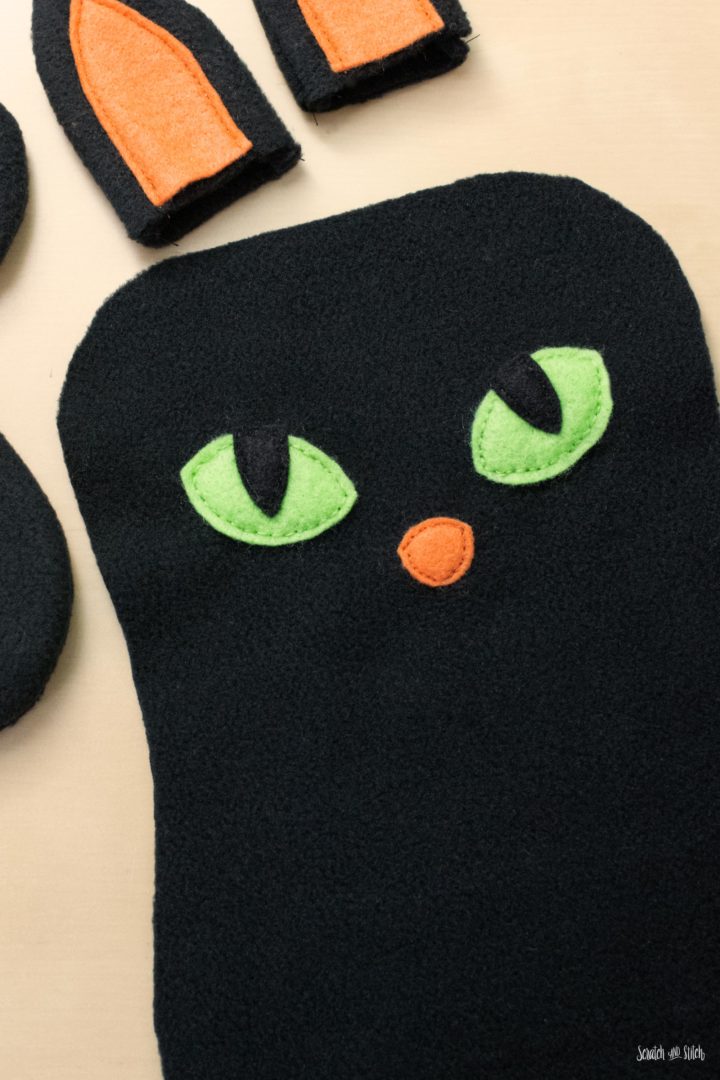
Add the nose next.
Using tailor’s chalk or fabric pen, draw a guideline for the whiskers and mouth. Hand stitch the whiskers and mouth using an outline stitch and embroidery thread.
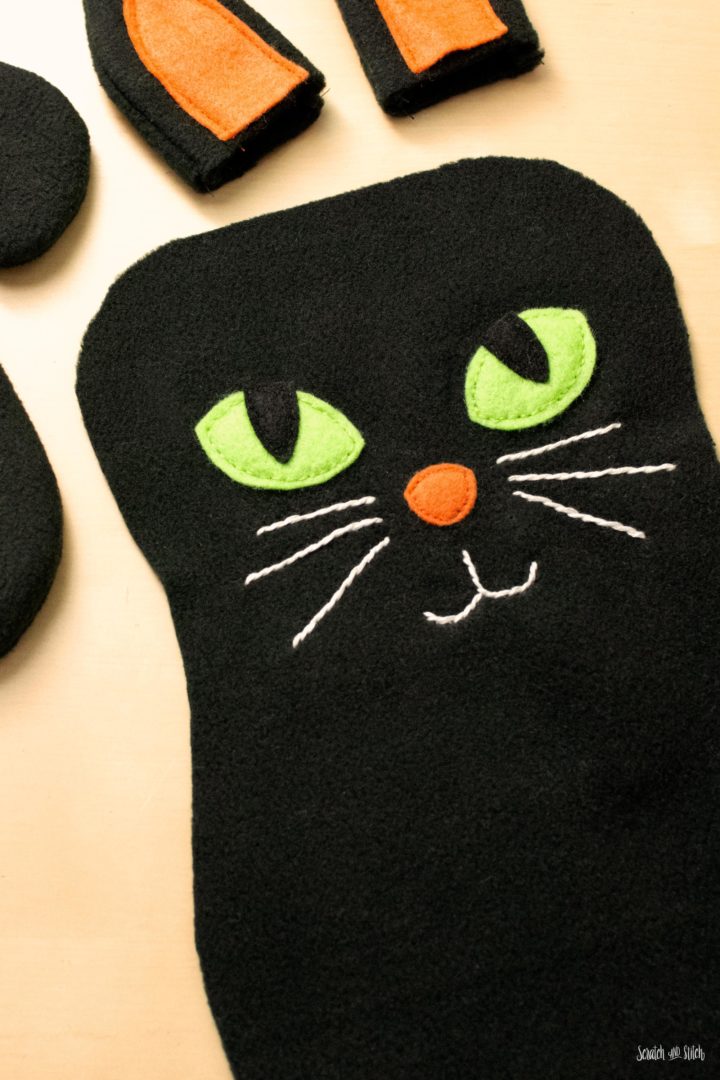
You can also stitch on a white highlight to the eyes within the inner eye piece.
Finish the Cat Plush
Onto the finished front body piece, pin the tail and ears inward using the ear and tail placement guide included on the body pattern piece. Optionally, you can baste stitch the ears and tail in place.
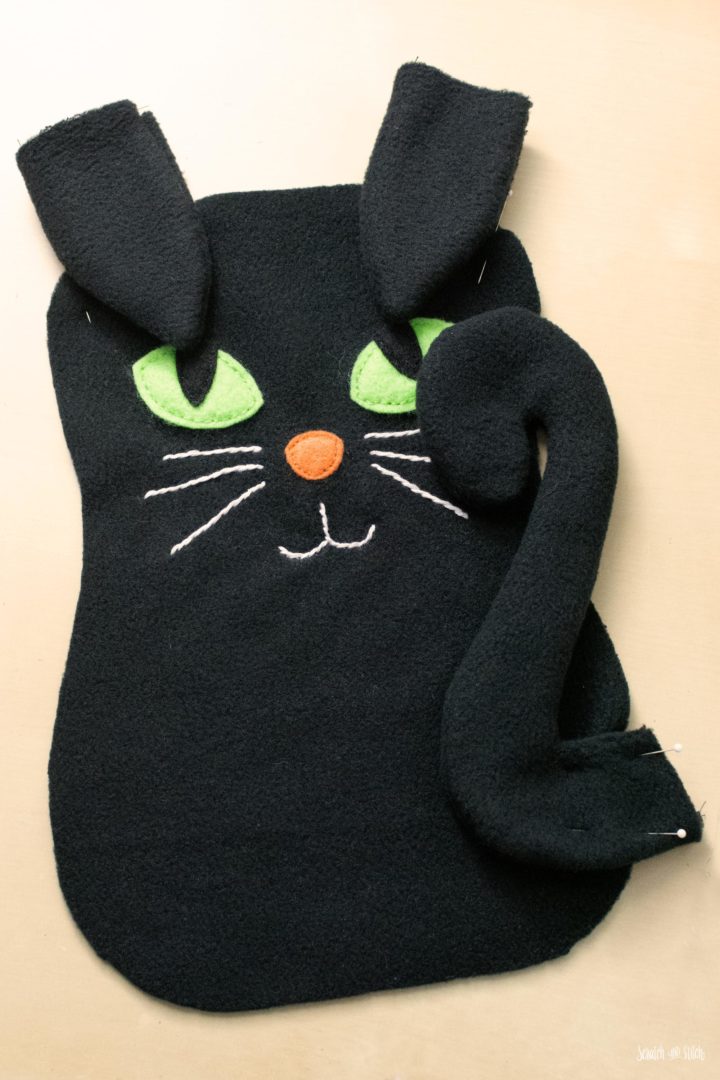
Place the back body piece on top with the right sides together, and pin around the perimeter. Ensure that the tail is out of the seam allowance. Leave an opening at the bottom for stuffing. Sew around the edge with a 1/4″ seam allowance making sure to backstitch at the beginning and end.
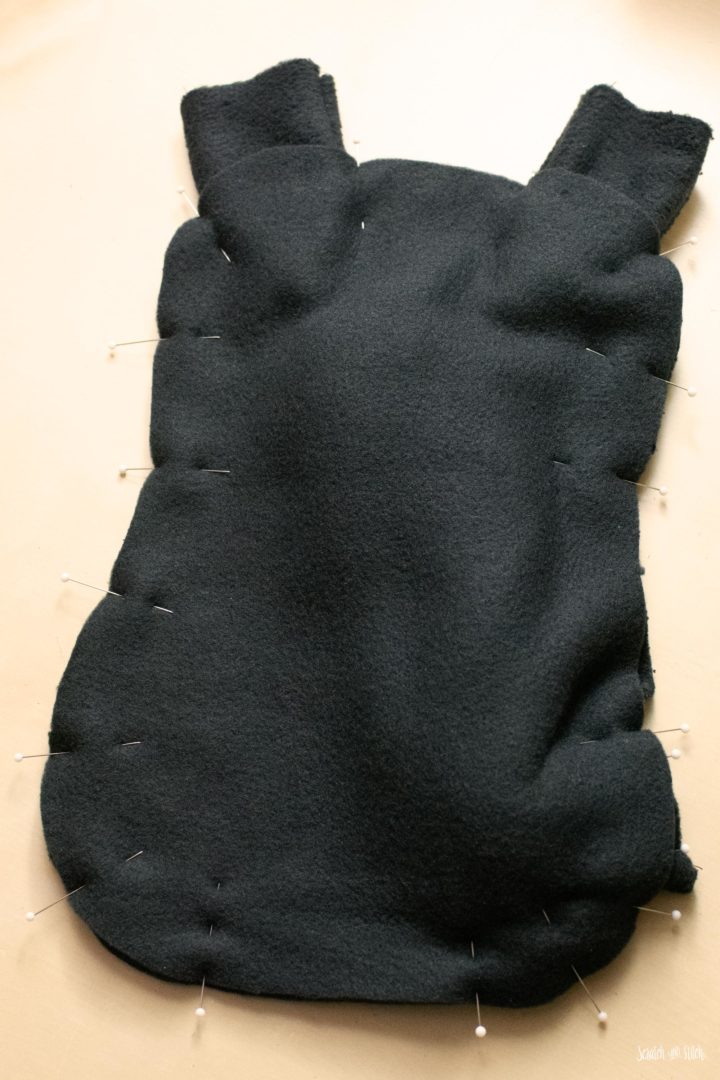
Turn the body right sides out and push the seams out. Check that the ears and tail are sewn in place correctly.
Stuff the body with filling. Do not overstuff, this cat plush is intended to be lightly stuffed so it is more like a flat pillow.
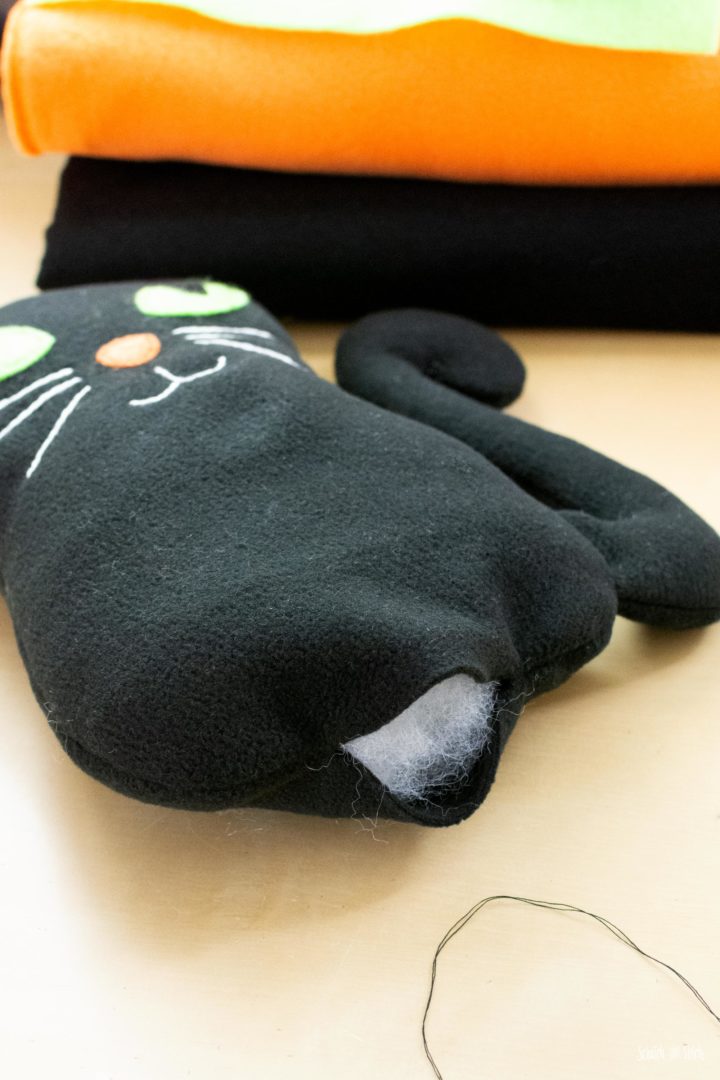
Close the hole with a ladder stitch.
Free Stuffed Animal Patterns
Learn to make over 30 different stuffed animals. Each of these includes free sewing patterns and easy tutorials to follow.
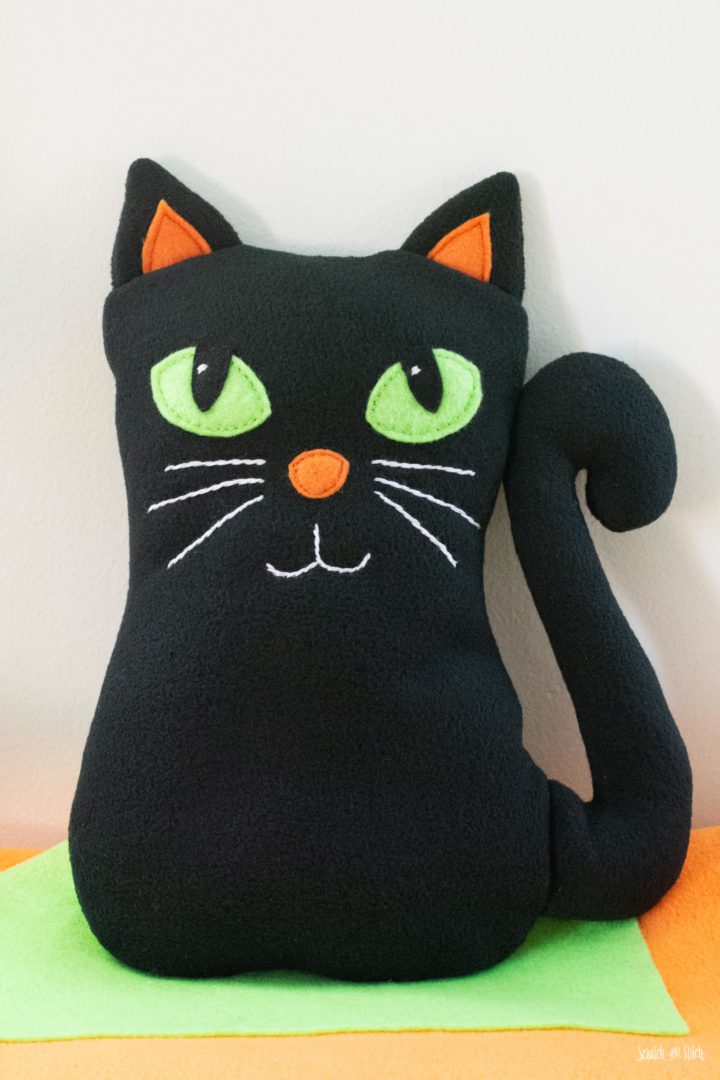
Optionally, you can stitch the tail to the side of the body. I had initially done this, but my son wanted the tail to be able to move around. He was right so I picked out the stitches.
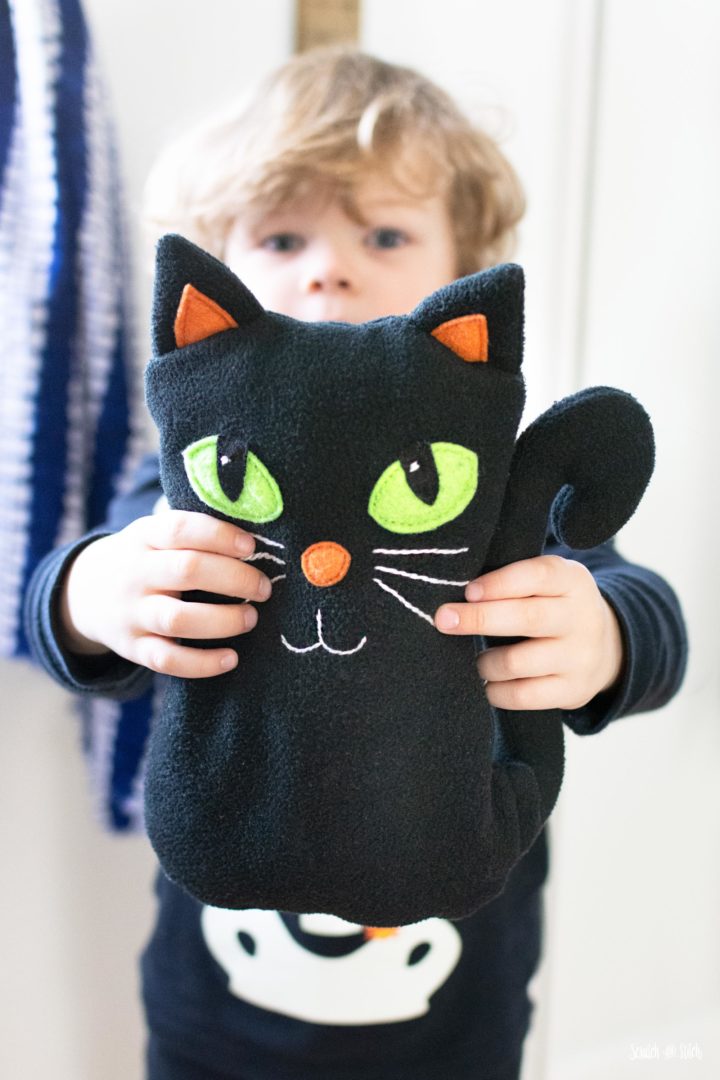
I hope you know someone who will love this cat plush as much as my son does. He has named him Meow Meow, and they have an adorable friendship.
Did you make a plush cat using my pattern? I’d love to see it! Tag @scratchandstitch on IG and FB or email me.
I am a beginner, trying to find animal patterns for my soon to arrive Grandaughter. Thanks for the free patterns. Will let you know when I start and finish my projects.
Hi Angie – Making stuffed animals for kids is so satisfying. You will enjoy the process and giving them away. Send pics of your creations :)
Love it I will try to make one for my daughter in pink color. 🌺
I would love to see your kitty in pink! Send pics :)
Thank you so much for this…as a sewing noob this pattern saved me. My daughter wanted a Callie cat doll for her birthday (after her brother got Pete the cat for xmas) but no such doll exists!!! I adapted your pattern to make my very first stuffed animal…I added legs and arms, made the tail/body thinner and the ears and head larger… I think the tail should probably go in the back instead but otherwise it came out great! There is an Emma the pug in Pete’s entourage as well, so I plan to use your pug pattern in the future!
I made an orange cat blinged out with some sparkles It was a darling pattern and a joy to sew. My granddaughter absolutely loves her kitty.
Thanks so much for sharing this pattern!
I am just about to make this cat for my elderly friend who recently lost her cat. She misses the weight of the cat on her lap, I thought I may add some weight to the bottom. Hoping to post when I have completed the cat.
I would like to thank you so very much for sharing. The crafting community should run the world with their can do, attitude and sense of inclusion
Thank you for your kind comments. :) The weighted cat is a wonderful idea! I have had others tell me that they add rice to be able to use as a reusable heat pack. Just a thought.
This is a great free cat plush sewing pattern! I’m going to make one for my cat!