This post may contain affiliate links.
A couple of my dad’s old quilted flannel shirts have been sitting around in my “clothes to upcycle” pile for quite a while. Finally this winter I decided it was time for a men’s shirt refashion and turn one of those cozy flannels into a women’s vest.

To make this reversible vest all you need is a quilted flannel shirt, bias tape, matching thread, and some buttons. Here is how I refashioned my flannel and some tips for this men’s shirt refashion.
Men’s Flannel Shirt Upcycle BEFORE
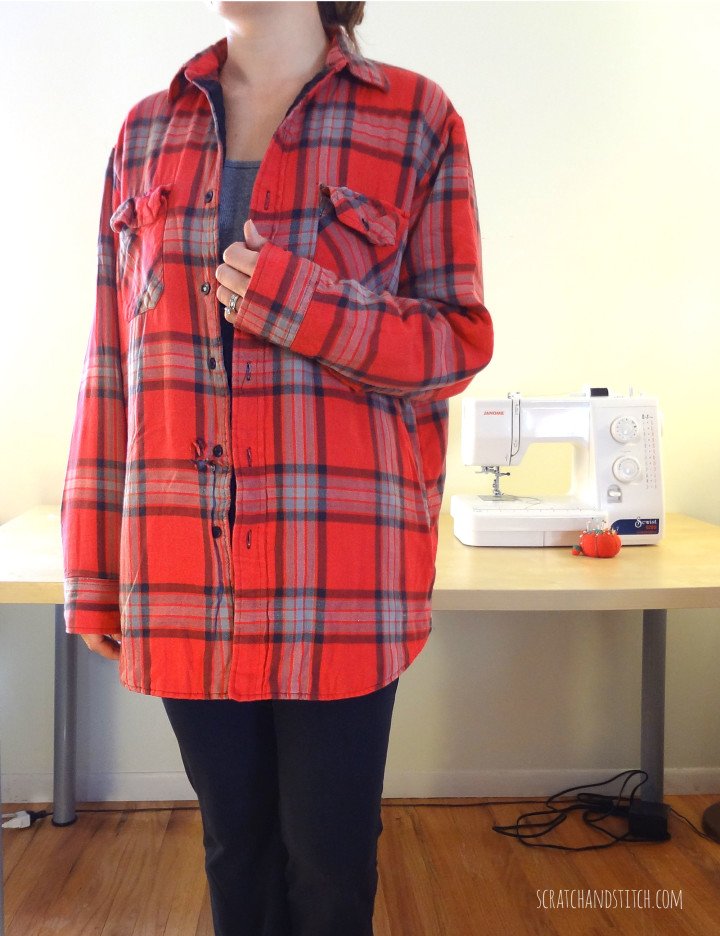
Try on the shirt and decide where it needs to be taken in. For me this flannel shirt needed to be given a flattering fit, shortened, tightened around the bust, shoulders adjusted, some hole repair, and new buttons.
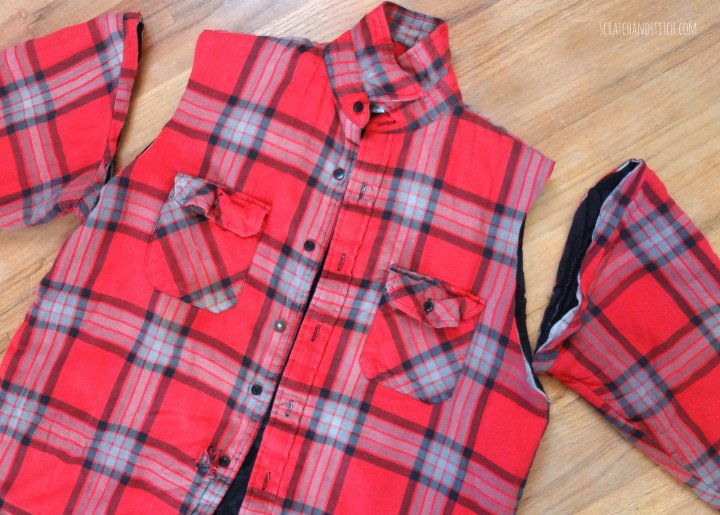
The first step was to cut off the sleeves inside the seams. (Save those sleeves for another project.)
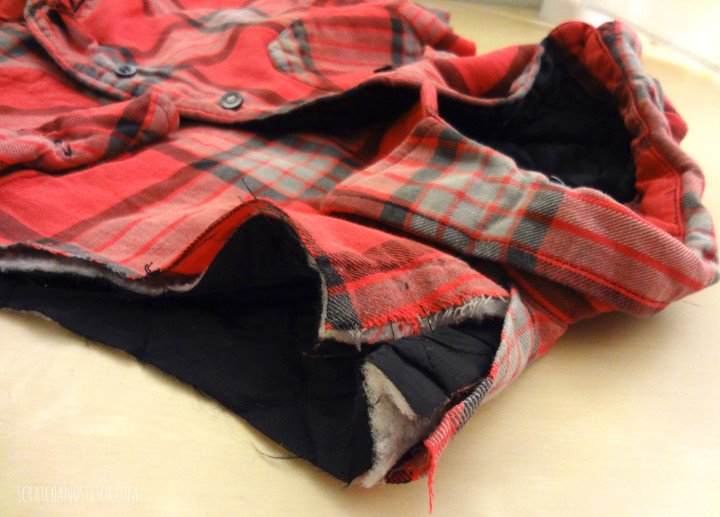
Before any torso adjustments were made, the shoulders needed to be fixed. This flannel shirt was made for a man and the shoulders were very square so I ripped the seams open.
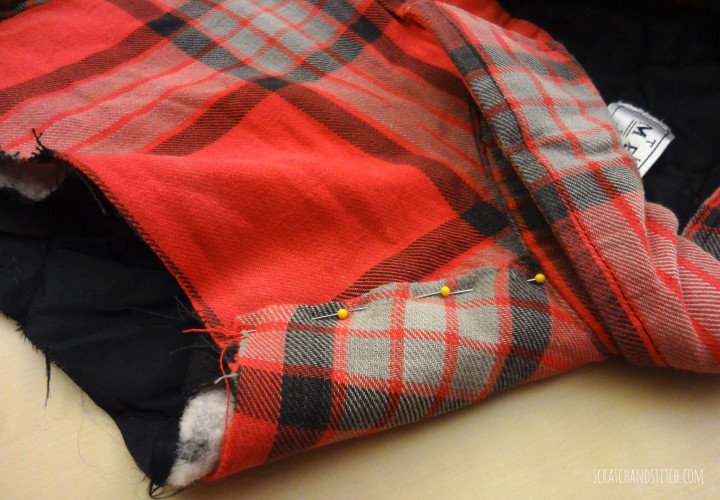
I was able to overlap the front and back pieces a bit more and sewed them back together.
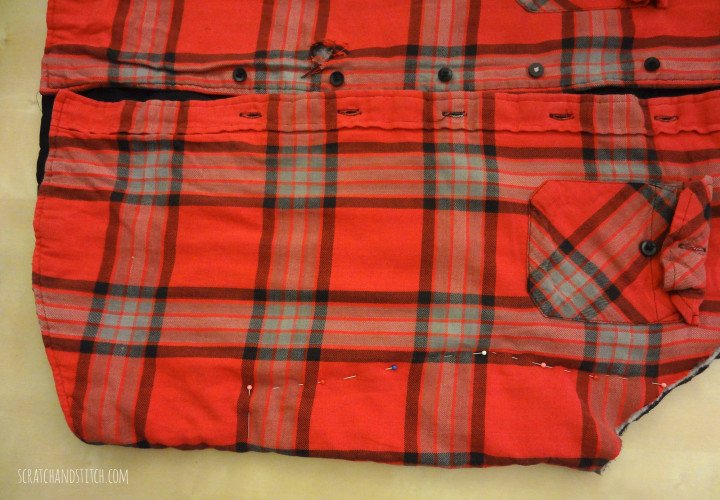
Wear the shirt buttoned up with right sides out. Begin creating a better fit by pinning the sides. Mark where the bottom of the vest should end. This took me several tries.
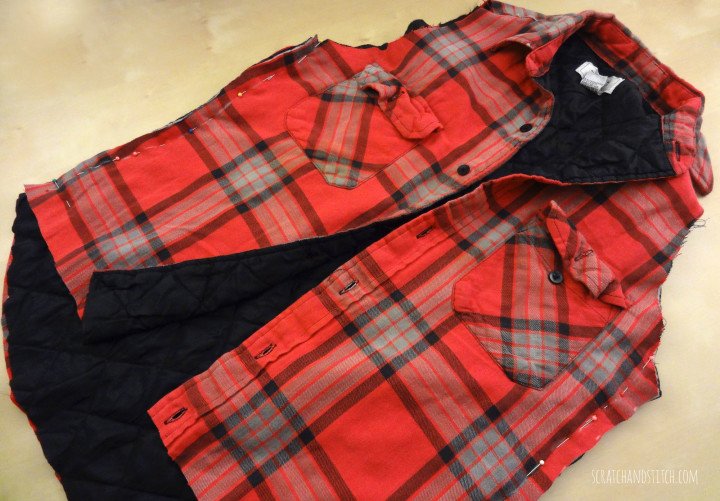
Cut off the excess fabric leaving a bit extra (I left about a 1″ seam allowance) just in case. Try on and make any adjustments.
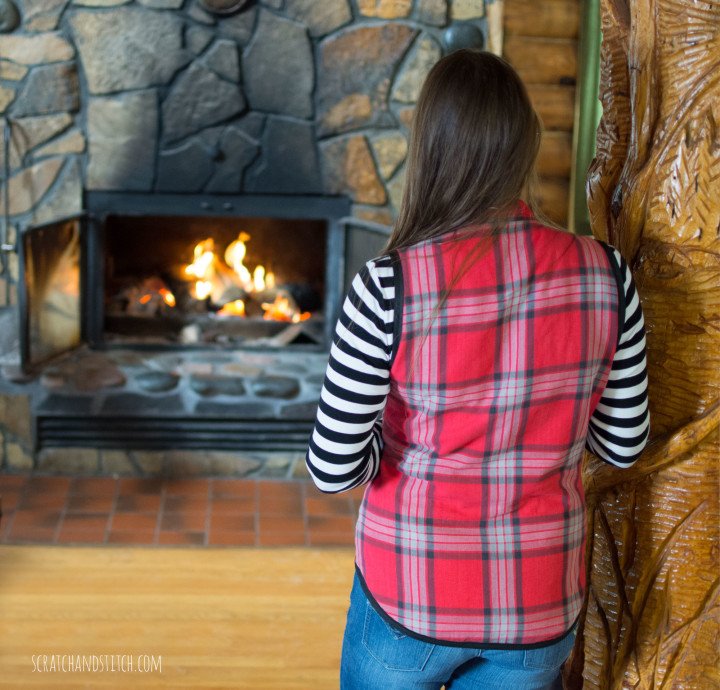
The original men’s shirt had a nice bottom curve on the backside so I cut it to keep that curve.
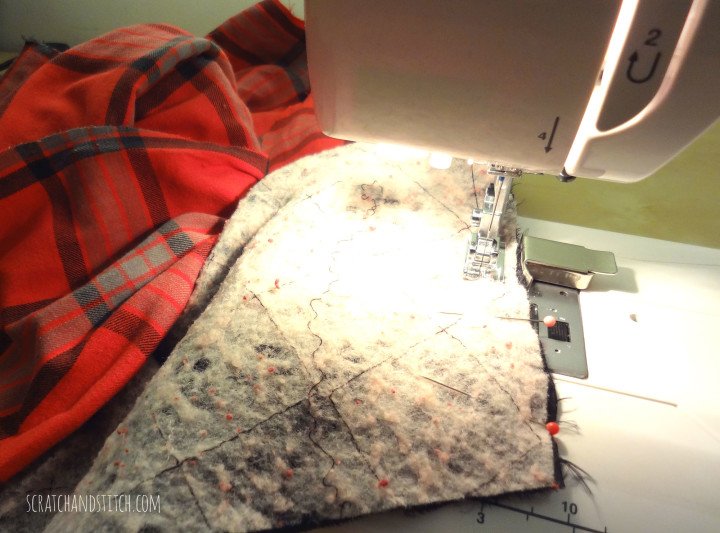
Flip the flannel shirt inside out. Pin the inside and outside shells separately so your seam allowance is towards the middle. Sew down the sides. Iron seams flat. Leave the bottom of the vest open for now.
Typical cat taking a nap on sewing project pic.
Mini Skirt to Tote Upcycle
Turn an unused mini skirt into a usable tote.
Additional Refashion Adjustments
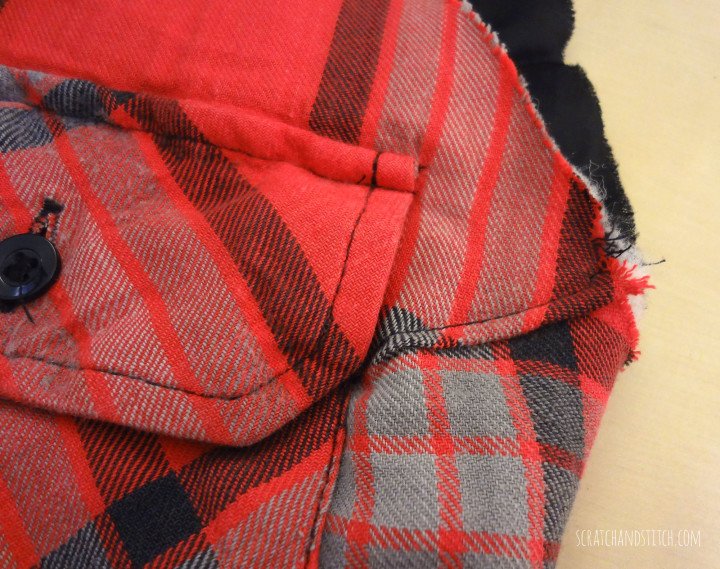
The original shirt was a XL men’s shirt so the chest was very broad and I wasn’t content with the way it sat on the bust. I added some “darts” to both the quilted inside and flannel outside between the arm holes and pockets.
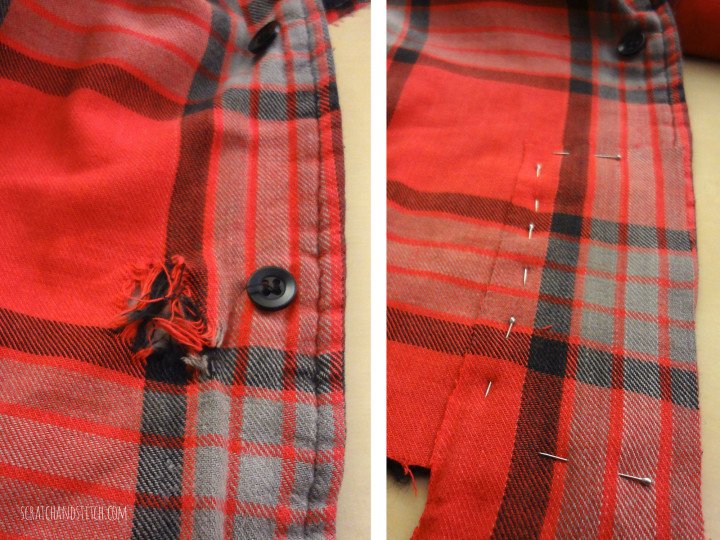
I had to do a little hole repair with a patch of extra fabric.
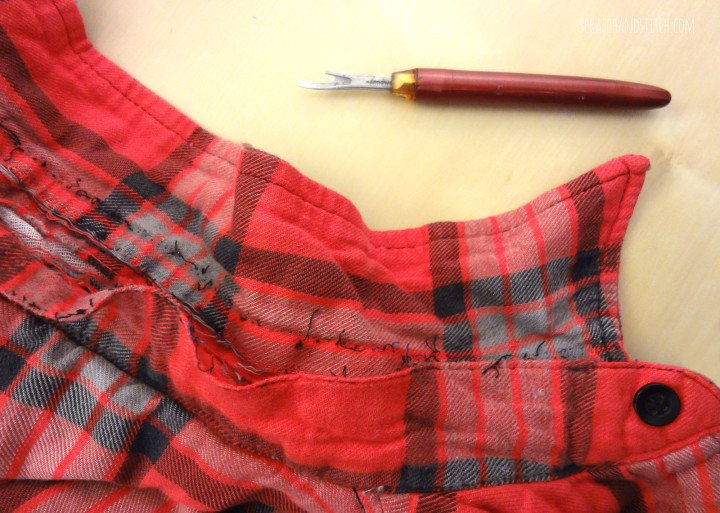
When I decided to remove the collar I realized the potential of the men’s shirt refashion to a reversible vest. Bonus!
Adding pockets
Adding pockets to the vest was not part of the original plan but I had so much extra fabric to work with. And who doesn’t love pockets?!
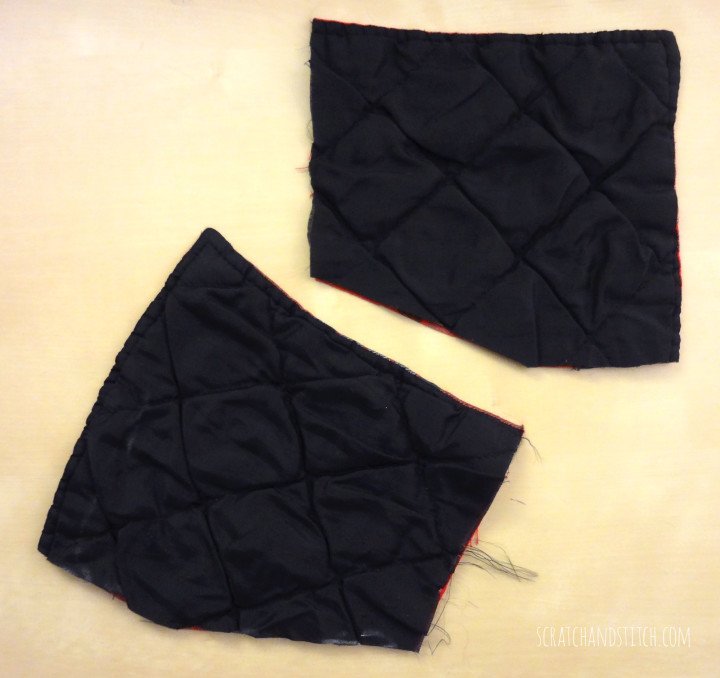
I cut pocket shapes from the scraps.
Two sides of the pockets were already hemmed so I finished off the other two sides with double-fold bias tape.
This was the first time I’ve worked with bias tape. I found this awesome tutorial on what bias tape is, how to make it, and how to use it from Dana Made It. Thanks Dana for helping me understand this amazing finishing technique.
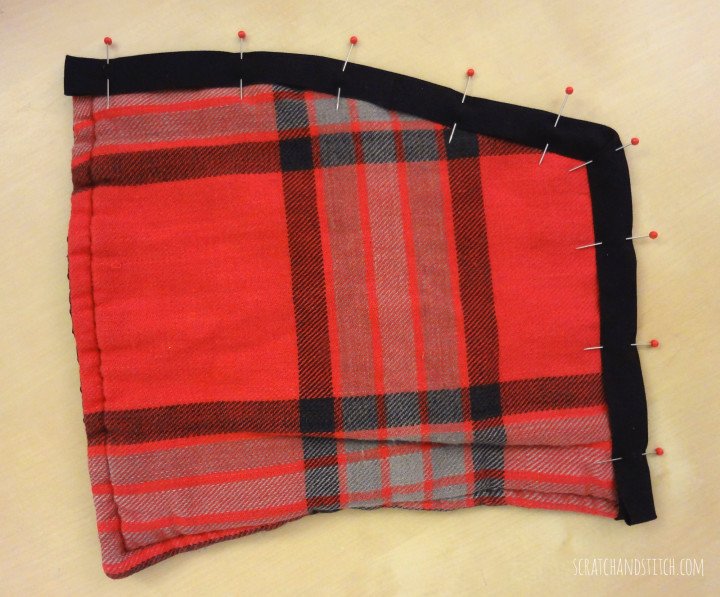
The pockets were made to be on the black, quilted side of the vest and are lined with red flannel.
Pin on the pockets, try on the vest, and test the placement. Adjust as needed. Sew pockets in place.
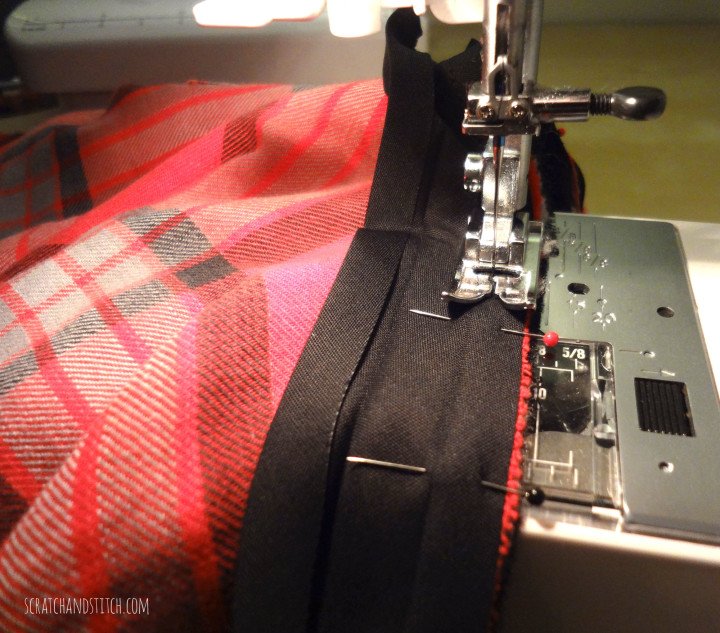
Finish the vest edges with bias tape around the arm holes and bottom. If needed replace buttons and add buttons to the reverse side.
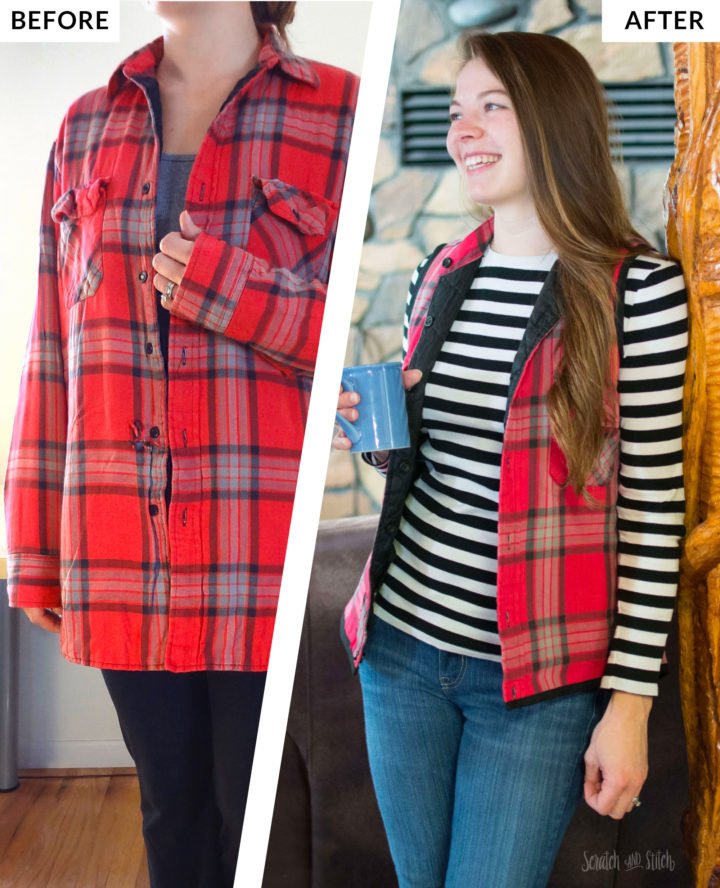
Men’s Shirt Refashion AFTER
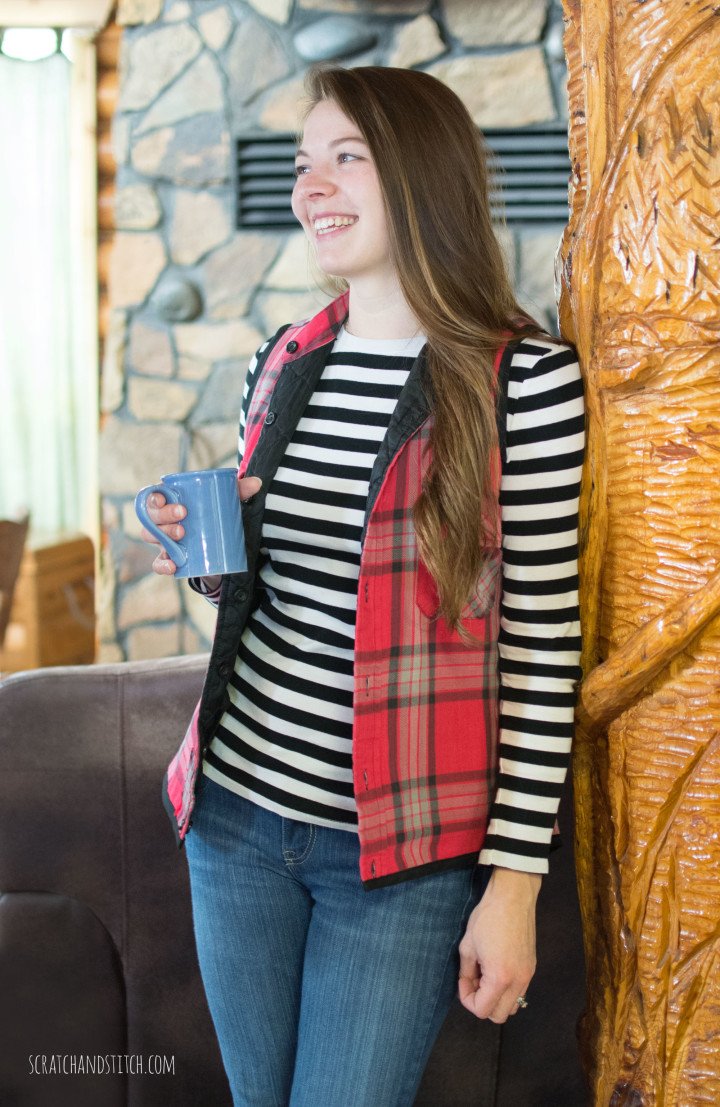
I couldn’t be happier with the way this men’s shirt refashion turned out. I got two vests for the price of…well none. :)
Here’s the backside with the bottom curve.
My favorite part about this project was that it turned out to be reversible.
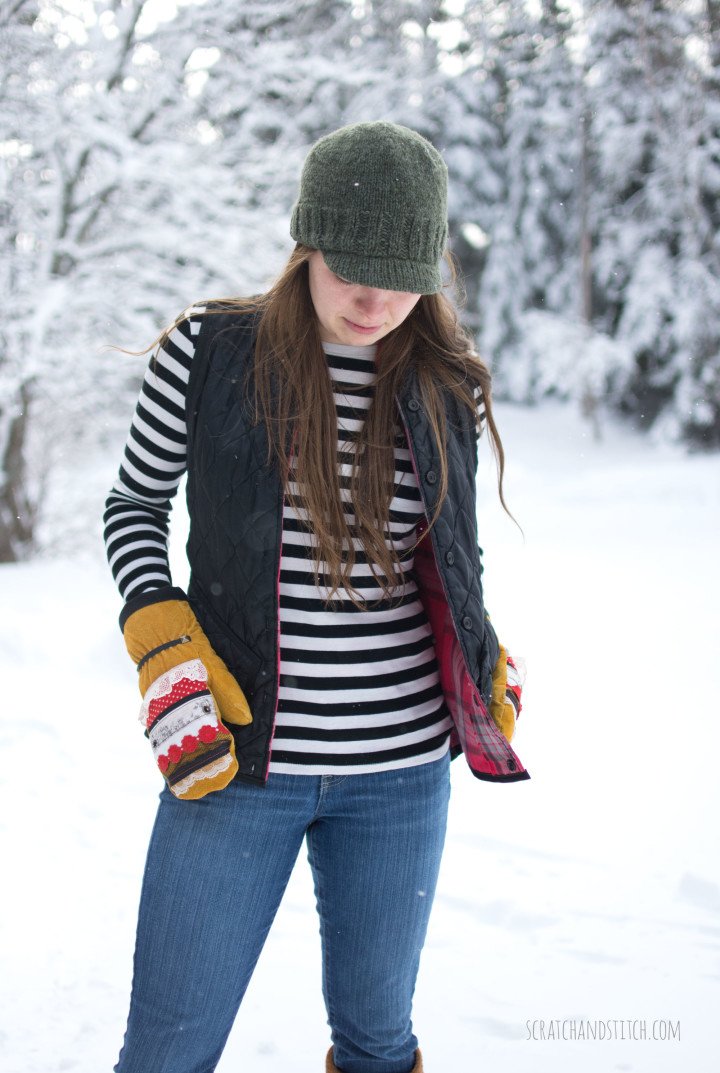
The black quilted side is my favorite.
Refashioned Winter Mittens
Update plain mittens with remnants and scraps from your stash.
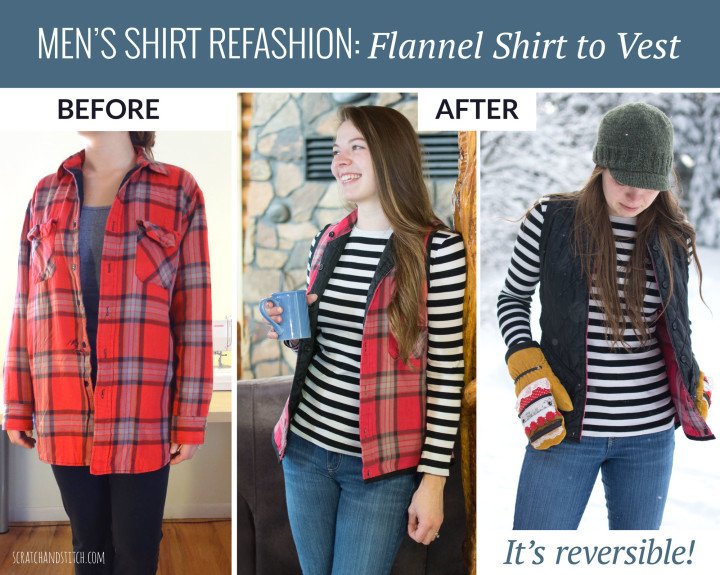
Are you looking for a simple men’s shirt refashion? Find a oversized shirt at a thrift store or raid someone’s closet and try this reversible flannel shirt upcycle.

This is so cute. I never would have thought of turning an old flannel shirt into a cute vest.
And now I’ve turned several old, weird fitting shirts into vests. Glad you enjoy!
Very clever and looks great! What’s not to love, thanks for sharing. – Karen
Thanks Karen!
WoW! Awesome job!! And to think, I would have just worn the old man’s shirt “as is”, roll up the sleeves, maybe. Thanks for the detailed refresh of the old flannel shirt.
Ha! That’s a good way to wear it too :) Glad you like it.
Was it a old man’s shirt?
I do wear them like they are sleeves rolled up.love them.i am going to do a best also. Thanks
Yes, the shirt was my father’s. It’s so comfy as a vest. :) Send pics of your project.
This is amazing! Thanks for the inspiration!!
Thank you. Glad to hear I’ve spread some creative inspiration!
That turned out so cute!! I’m going to keep my eye out for a lined flannel shirt at a thrift store. I’ve got a Craft Gossip post scheduled for tomorrow morning that features your tutorial: http://sewing.craftgossip.com/?p=90673 –Anne
Hi Anne – Thanks for the feature :) Flannel is not only in season right now, it’s trending! When you make yours send me a picture, I’d love to see and feature it here.
I can’t wait to do this. I’m headed to my husband’s closet RIGHT NOW !!
You’re a genius !
Sweet! Send me a picture :)
I love this idea so creative!
I’ve recently refashioned a shirt. Thank you so much for the idea. The shirt is so cute now.
Love your idea! My father has been long gone about 20 years. I kept his favorite (old and heavy) non-reversible but a hearty flannel shirt. I wanted to transform it into a keepsake memory pillow. but I like this idea better because I get to wear it and keep his memories even closer. thanks for the idea. I am a beginner sewer, but I am going to give this a try and let my father’s hands guide me too.
Hi Mona – Wearing Dad’s old flannel is the best! It’s like getting hug from him all day :)
Since you are a beginner sewer and this is a keepsake, I do recommend giving this a try on another old flannel or thrifted flannel just to work out any kinks before you cutting up Dad’s shirt.
Please send me a picture so we can see how it turns out.
I’m seeing this years later and LOVING IT! Oh the beauty of the internet that your idea is still out here available to continue inspiring people years later! I have a couple questions. Are the pockets you made patch pockets or did you work them into a side seam? Also, there is a picture with instructions to sew the seam allowance towards the middle. (Instructions right about the kitty) Can you clarify where that is, which seam? Maybe it will hit me when I try it.
Thanks again. This is a great idea!!!
Hi! That’s wonderful to hear. Yes, while this was made quite a while ago, it’s such a fun refashion. And it’s still one of my favorite pieces to layer. :)
You’ve got me questioning what I was referring to. I believe it means that right sides are together, and the seam allowance will be between the layers. I think it will make sense once you’ve dug in.
I would love to see pics of your vest!
Ho !!!!tengo la misma camisa pero de mujer con fondo blanco roto y me queda grande,no sabia que hacer de ella y vienes de darme una buena idea.perdida por perdida voy ententarlo.gracias
¡Estoy tan contenta de escuchar esto! Reelaborar cosas en nuestro guardarropa puede ser más gratificante que comprar algo nuevo. Envía fotos o etiquétame en las redes sociales con tu creación. :)
Oh My Word !!!! What a Fabulous Idea ! I Love Vests and have a Ton of hubby’s quilt lines flannel jackets ! He wears them until they are almost falling a part !!!
Now I can get them out and make a bunch of Vests to give away as gifts or sell them !!! :}
I can, also, use some of your other upcycling ideas to cover the worn areas…Like old lace table cloths, denim additions, etc. !
I just found your site and have been sharing some of your links to a Makers Telegram group !
Thank You for the Kick in the Butt Inspiration !!! 😍
Thank you for the kind comments! ☺️ I just wore that vest the other day and still love it just as much. I am so glad you have found inspiration from my projects, comments like this keep me taking before and after pics and sharing the process for others to be inspired by. I appreciate you sharing my projects too. :)
Did you see the bomber jacket I made out of another quilted flannel shirt? I wear it all the time! You can see it here.