This post may contain affiliate links.
One summer day I casually asked my then three-year-old if I were to make him any stuffed animal, what he would want. He quickly replied “centipede.” Well, I didn’t see that coming, but there was no way I wouldn’t satisfy that request. The brainstorming process of the stuffed centipede plush sewing pattern started right away.
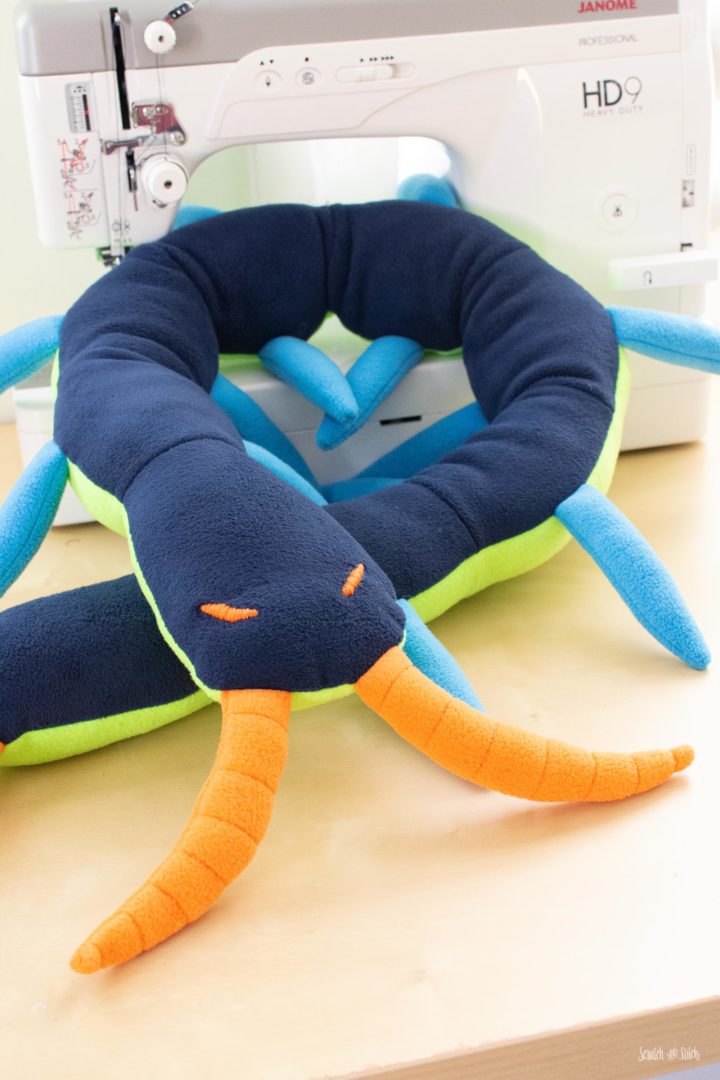
A little research (and a few giant centipede YouTube videos later), I felt pretty knowledgable about the parts of a centipede. This giant centipede plush has all the basic body parts of a centipede but is a little less creepy and a lot more cuddly.
About the Centipede Plush Pattern
Just like the number of legs a centipede has, there are quite a few pieces to be cut for this plush, but it’s many of the same shape. The process of making the centipede is very basic and can be completed by any level of sewist.
Along with the printable pattern and instructions, I’ve included a .SVG file to use your Cricut Maker or other fabric cutting machine to cut the pattern pieces.
Plush Centipede Sewing Pattern
Free download includes .PDF pattern and .SVG cut file.
Enter your email to get the free pattern in your inbox.
By submitting your email address you will be added to the Scratch and Stitch email newsletter. You can opt-out at any time :)
Materials
- centipede plush sewing pattern (download above)
- 1/4 yard fleece fabric (top)
- 1/4 yard fleece fabric (bottom)
- 1/4 yard fleece fabric (antennas, back legs, eyes)
- 1/2 yard fleece fabric (legs)
- embroidery thread (eyes, optional)
- Poly-fil (or similar)
- coordinating thread
- contrasting heavy weight thread (for antenna and back leg stitching, optional)
- basic sewing supplies
Project Notes
- Final size is about 5 feet long.
- The centipede can be sewn by completely by hand, or by combination of both hand and machine
- This pattern has been written for fleece fabric. Other fabrics can be used, though the process may need to change slightly to suit your fabric choice.
- I recommend Poly-fil or similar for stuffing plush toys. Fabric scraps are another great choice for filling.
- Seam allowance is 1/4″ throughout.
- Set your stitch length to 3 to 3.5 for fleece fabric.
- Lessen your foot pressure when sewing fleece fabric.
- A walking foot is another great option for sewing fleece.
- Felt can be substituted for the eyes.
How to Make the Giant Centipede Plush
After downloading the pattern, gather your materials and follow these steps to make the centipede stuffed animal.
Cut Fabric Pattern Pieces
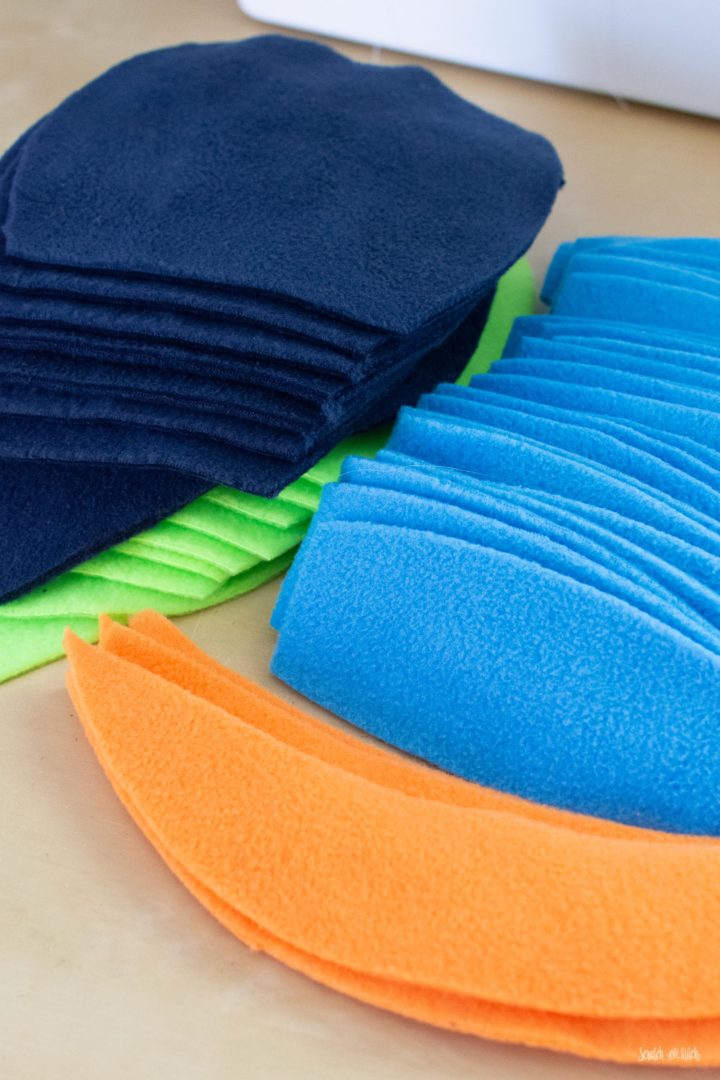
Full pattern pieces cut list is included in the .PDF pattern. Print it out and use as a checklist.
Make the Centipede Legs
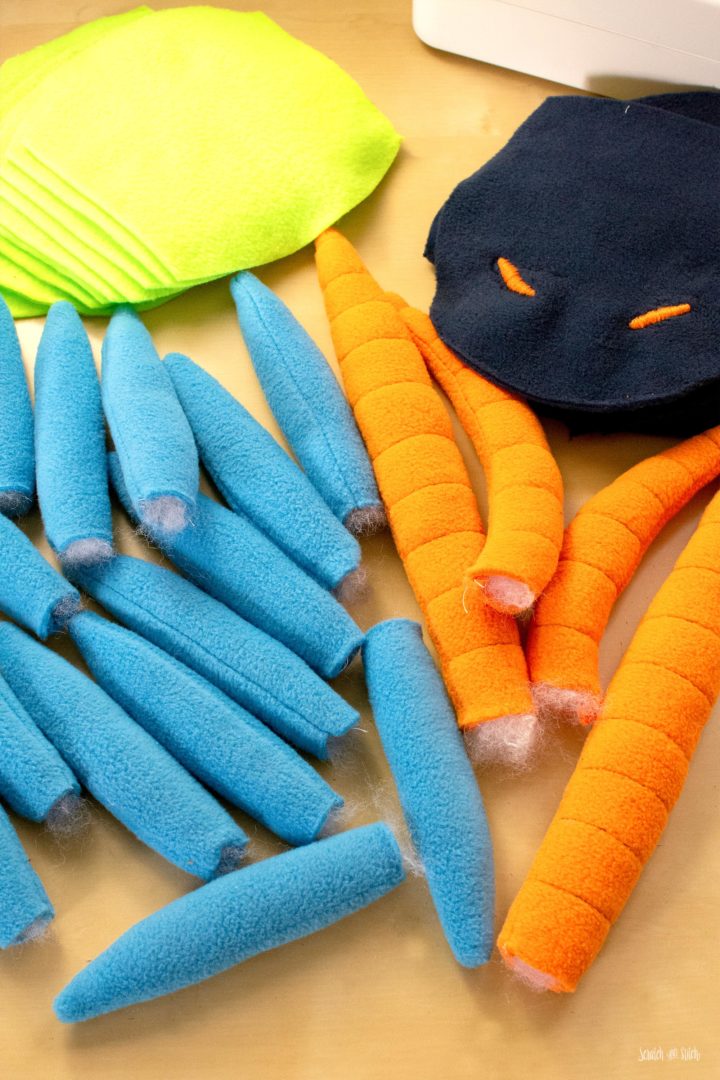
Place two legs pieces and right sides together. Clip or pin to hold in place. Sew around the perimeter with a 1/4″ seam allowance, leaving the flat edge open for stuffing. Make sure to backstitch at the beginning and end.
Trim some of the seam allowance at the pointed end to reduce the bulk. Carefully turn the leg right side out and push out the tip with a chopstick or similar tool. Lightly stuff the leg with Poly-fil, leaving about 1/2″ without stuffing at the opening.
Repeat with all 14 legs. Set legs aside.
Make the Antenna and Back Legs
Adding the contrast stitching lines to the top of the antennas and back legs is completely optional, but I think adds interest to the centipede.
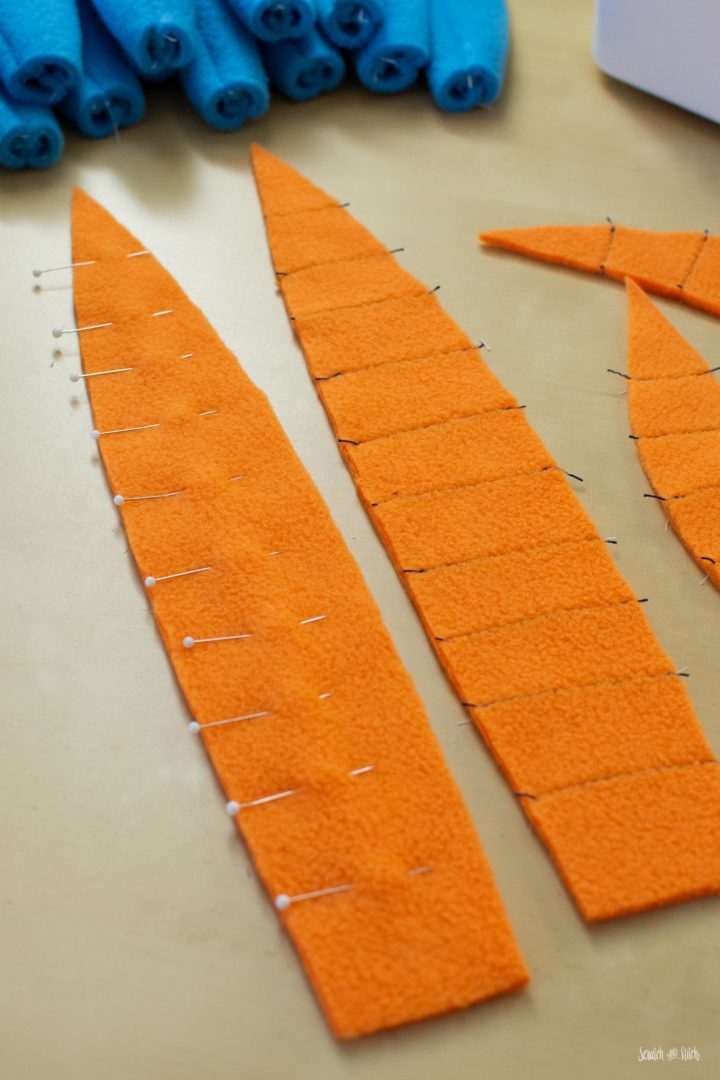
Separate two opposite antennas and two opposite back legs. Sew stitch lines spaced approximately 1″ apart on two antenna pieces and two back leg pieces. I recommend backstitching at the beginning and end of each stitch line to lock in the threads so they won’t pull loose during construction or play.
Once the stitch lines are complete, place two antenna pieces right sides together (one with stitch lines, one without). Clip or pin together. Sew around the perimeter with a 1/4″ seam allowance, leaving the flat edge open, and backstitching at the beginning and end.
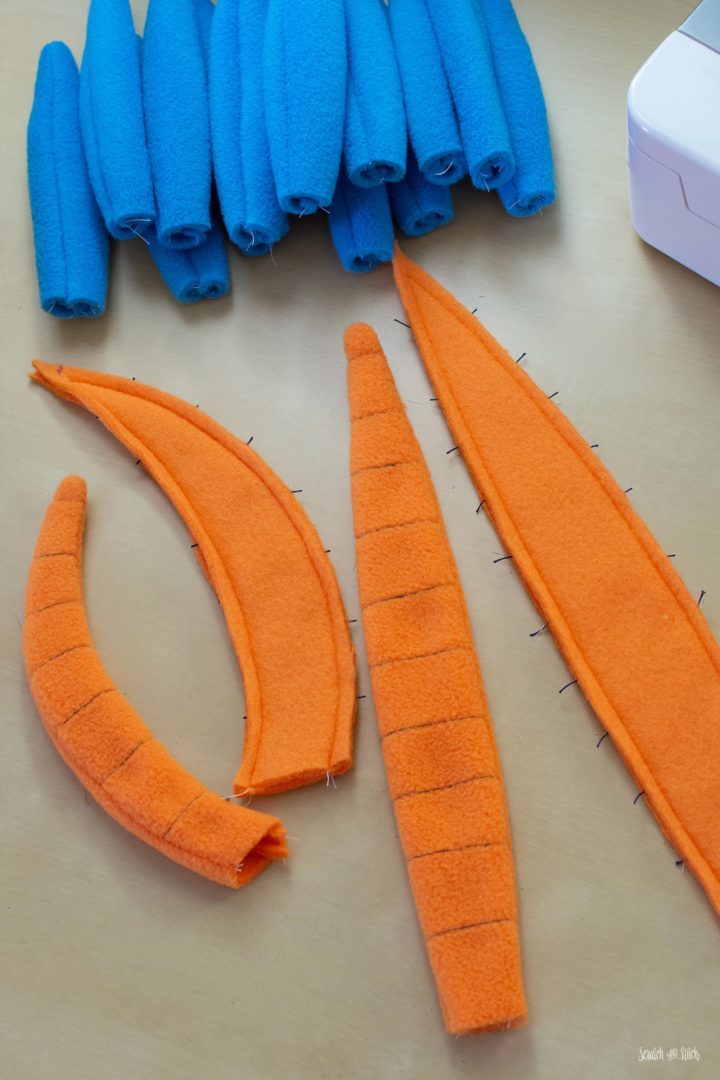
Trim off the seam allowance at the point to reduce bulk. Carefully turn the antenna right side out and lightly stuff, leaving about 1/2″ without stuffing at the open end.
Repeat with the other antenna and back legs. Set aside.
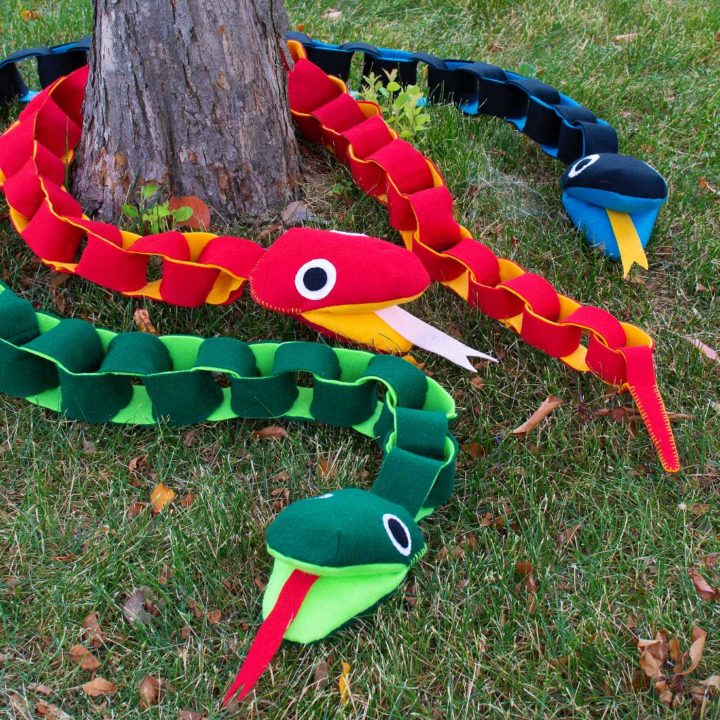
Free Felt Chain Snake Pattern
This felt chain snake is just as big as the plush centipede, but made with rings of felt fabric.
Add the Centipede Eyes
For the eyes, you can sew the fabric pieces onto the head piece and leave as-is. Or you can sew on the fabric eye pieces and cover the fabric eyes with a satin stitch embroidery stitch. I like adding the satin stitch over the fabric eyes. Here’s a video on how to satin stitch with embroidery floss.
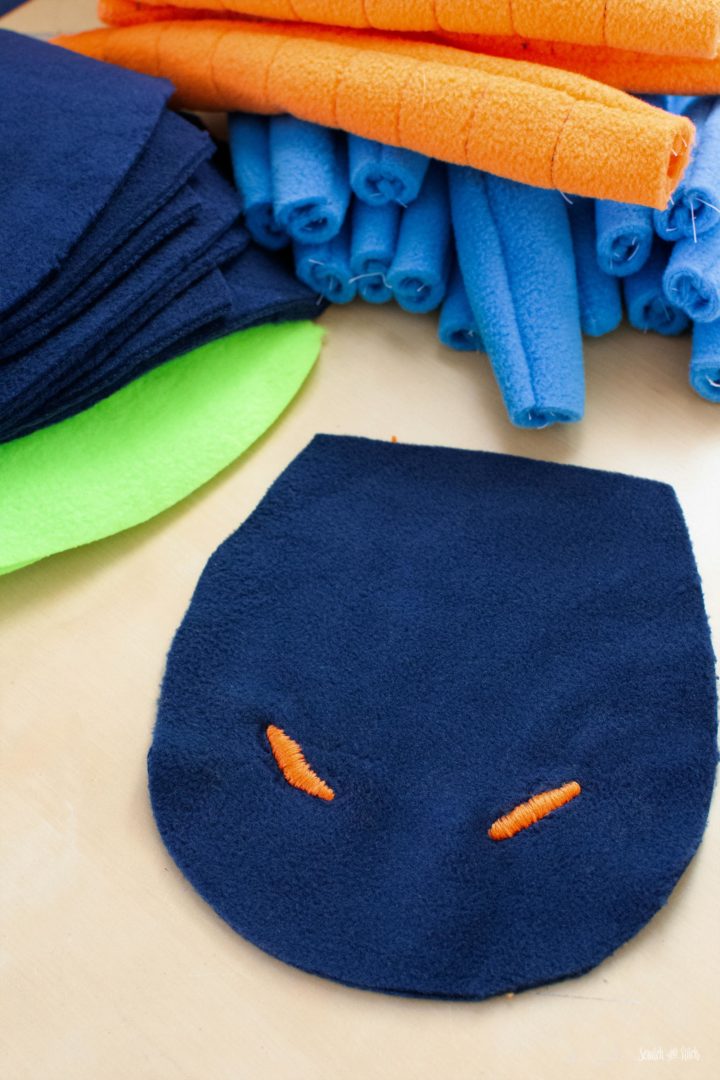
Place the eyes on to the right side of the top head piece. Pin in place and sew. Hand stitch over the fabric eyes with a satin stitch embroidery stitch. Set aside.
Make the Centipede Body Top and Bottom
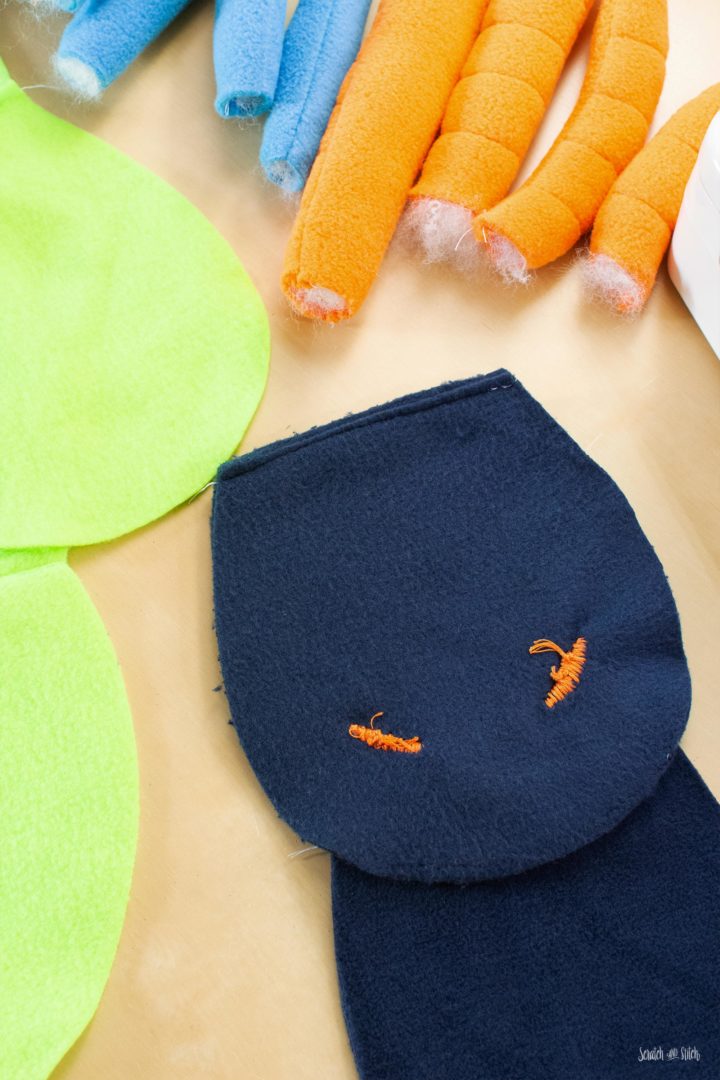
Place two body pieces right sides together and sew the flat edges with a 1/4″ seam allowance making sure to backstitch at the start and stop.
Open the pieces up and place another body segment right sides together on top. Sew together with a 1/4″ seam allowance. Repeat until all segments are connected. Add the head and butt pieces to the ends with the same process. Set aside.
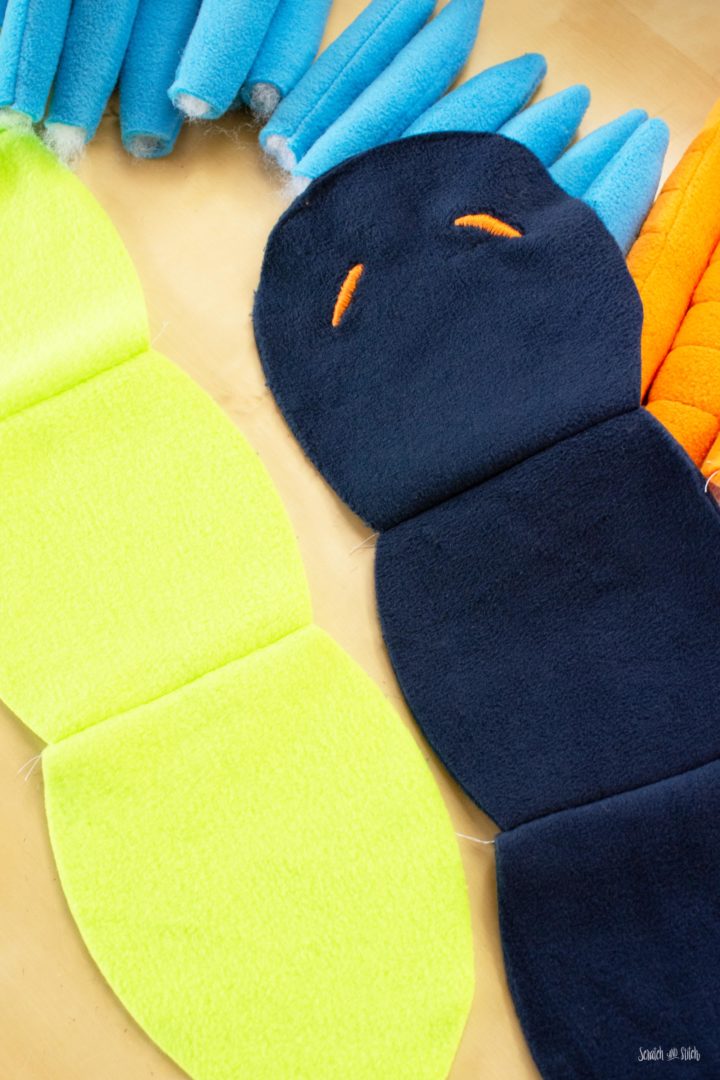
Repeat the same process with the body bottom pieces.
Add the Stuffed Centipede Antennas
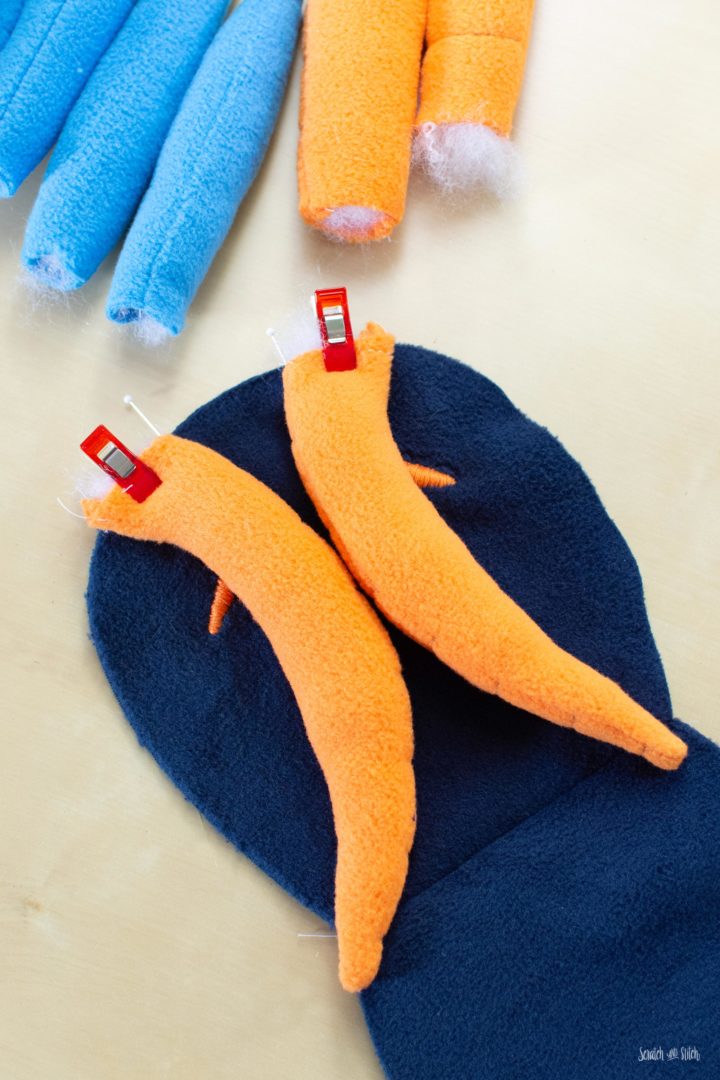
Clip or pin the antennas to the right side of the head piece so the antennas extend about 1/4″ paste the edge. Baste stitch with a 1/8″ seam allowance to hold in place.
Free Plush Ladybug Pattern
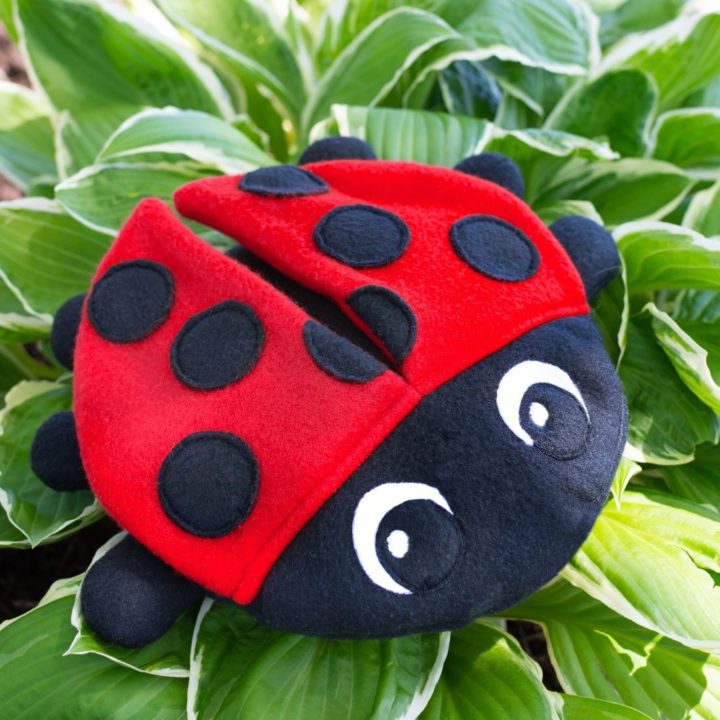
Looking for something small and cute? Try my free stuffed ladybug sewing pattern.
Attach the Back Legs
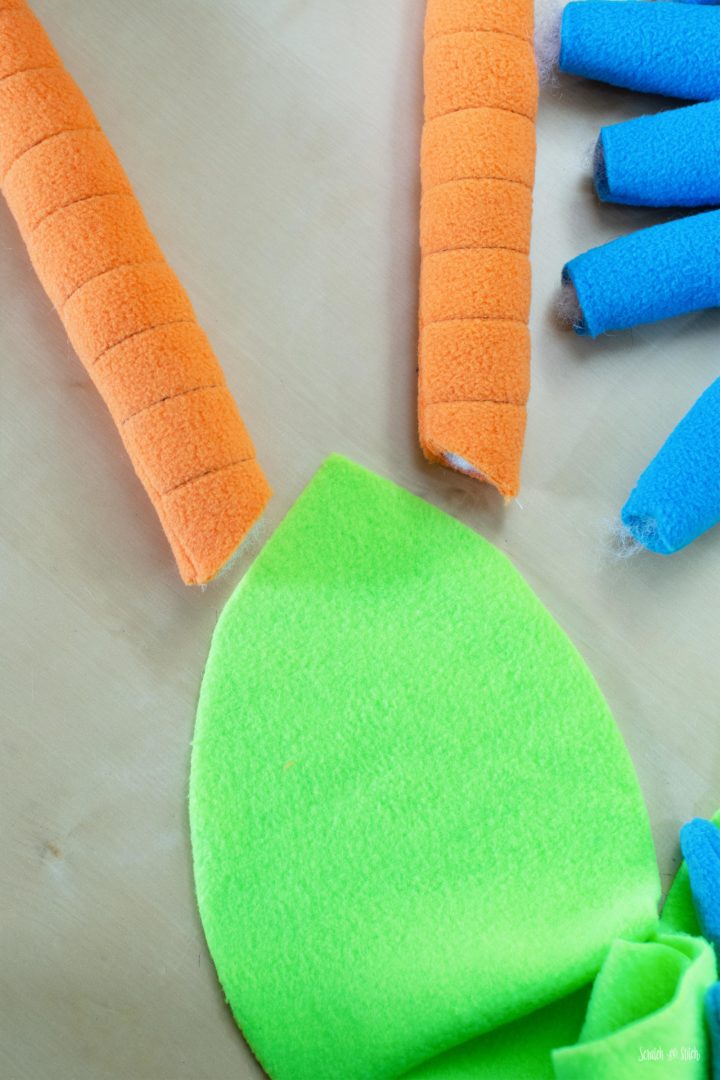
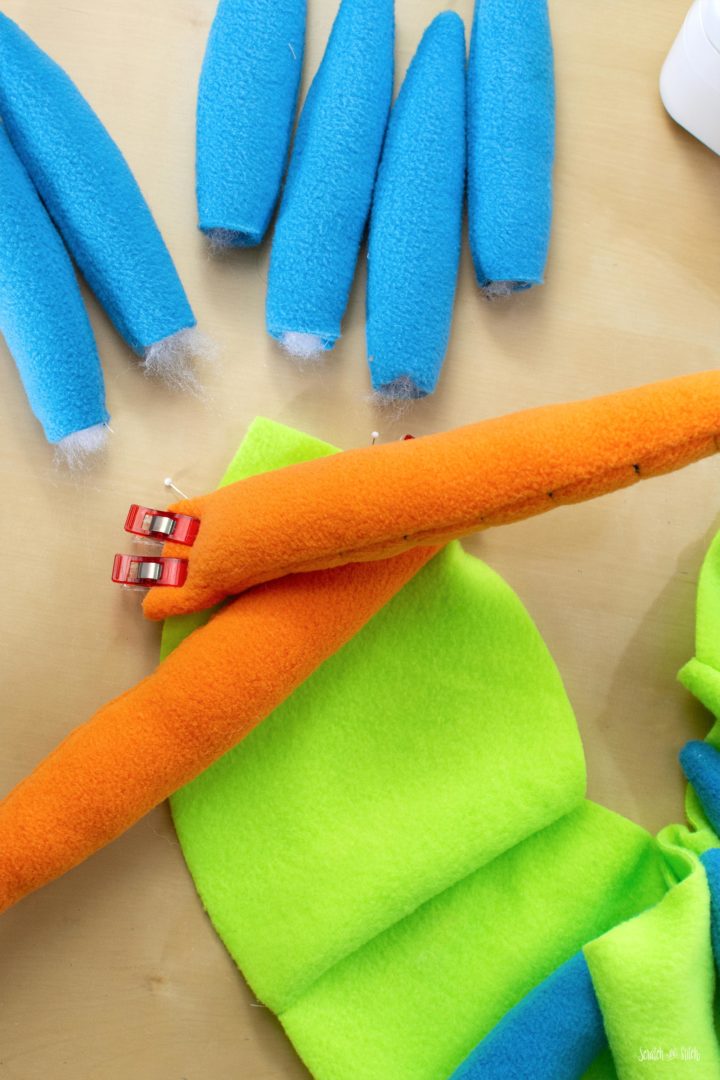
On the right side of the top butt piece, clip or pin the back legs at an angle with 1/4″ of the back legs extending past the edge (see photo below for the direction the legs lay). Baste stitch in place with a 1/8″ seam allowance.
Add the Rest of the Stuffed Centipede Legs
On one long side of the bottom body piece, clip or pin one short leg to the center of each body segment with about 1/4″ sticking out past the edge of the body segment fabric. Baste stitch each leg in place with a 1/8″ seam allowance.
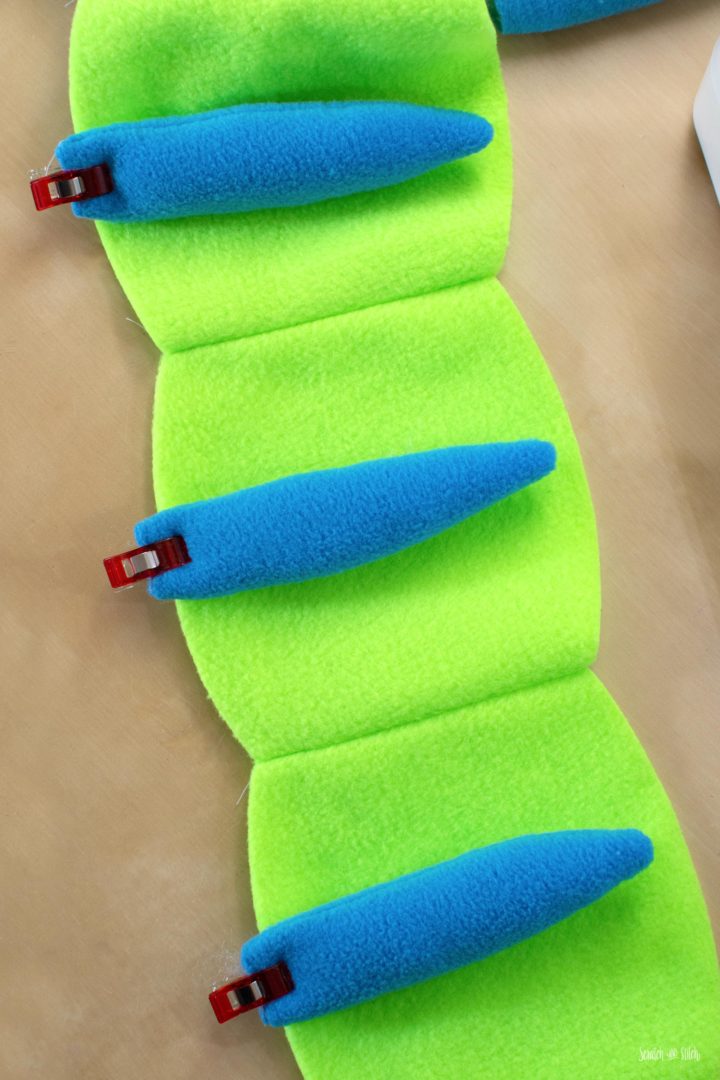
Fold the sewn-on short legs outward so they are out of the way. Clip or pin the legs onto the other side of the body segments with 1/4″ hanging over the edge, and repeat with a 1/8″ basting stitch to hold these legs in place.
Assemble the Body
Place the top body piece on top of the bottom body piece with the right sides together. Align the seams between body segments and add a clip or pin at each seam. On the side of the body with the opening for stuffing, fold the short legs outwards to keep them out of the way. Add more clips or pins to the sides of the body segments to hold together, making sure the edges of the body segments are aligned well.
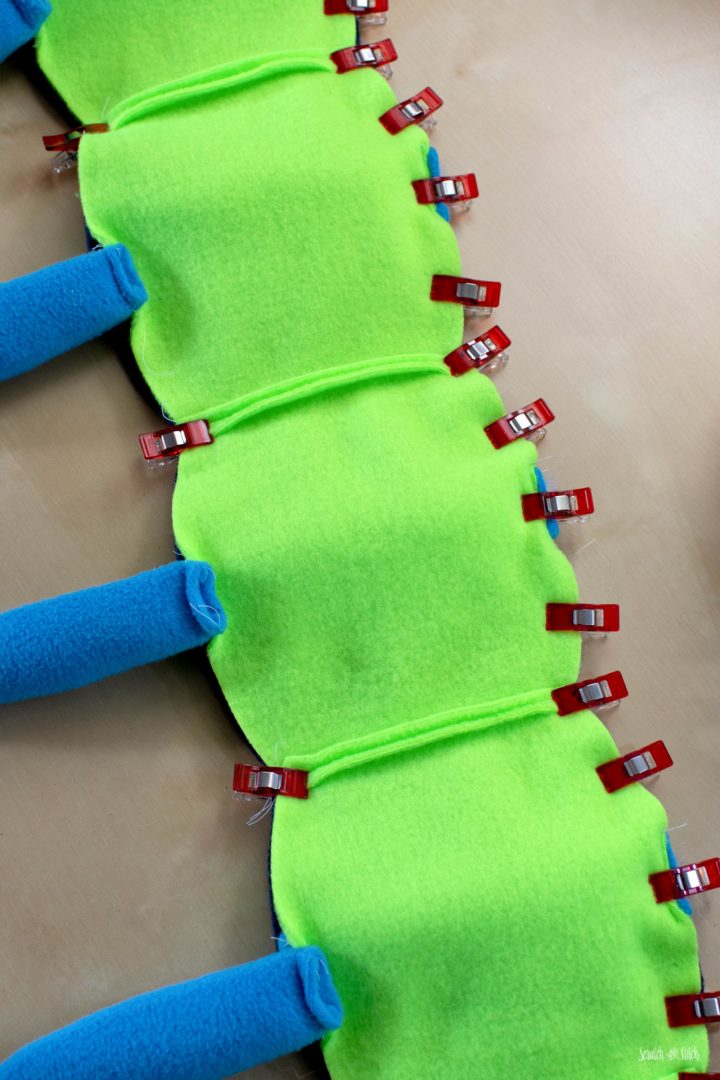
Starting and ending with a backstitch, sew from point A to point B with a 1/4″ seam allowance. This is from the butt piece, up the side body segments, pivoting slightly at each body segment seam, around the head, and over the antennas to point B. Check that the back legs, short legs, and antennas have all been sewn into the seam allowance.
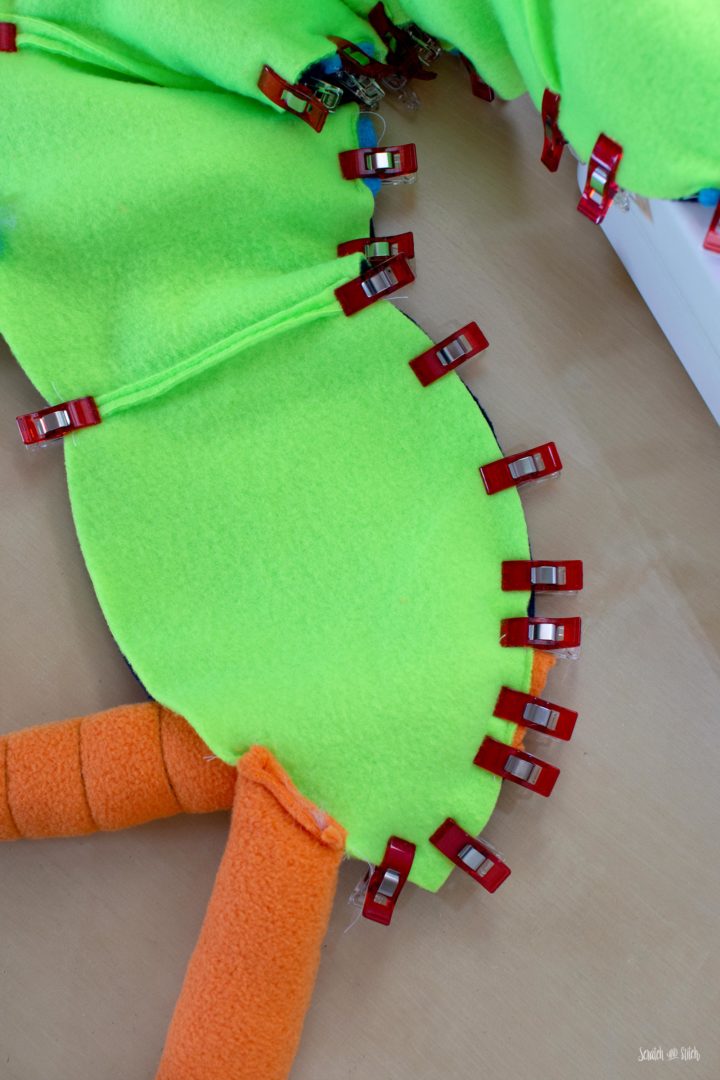
Fold the back legs in between the top and body butt pieces. Clip or pin the top and body pieces together. Sew from A to C with a 1/4″ seam allowance, making sure to backstitch at both points.
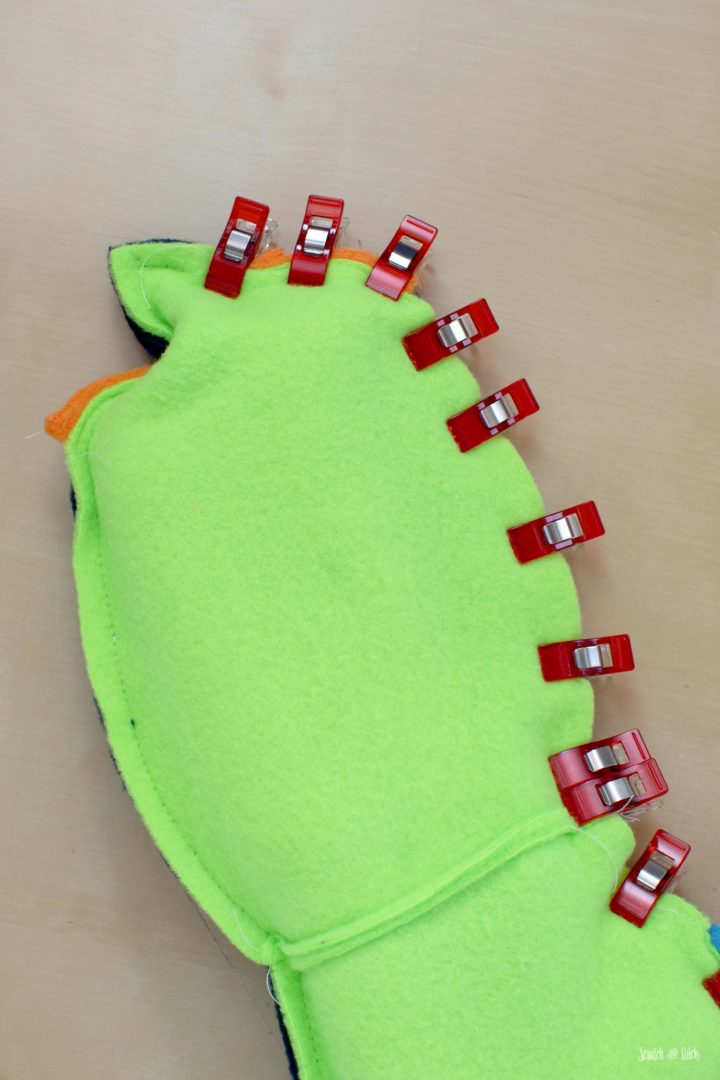
Fold the short legs in towards the center of the body. Push them so they all point towards the head. Add plenty of pins or clips to keep the open edges aligned. Sew from point D to point B. Check that all the legs have been sewn into the seam allowance.
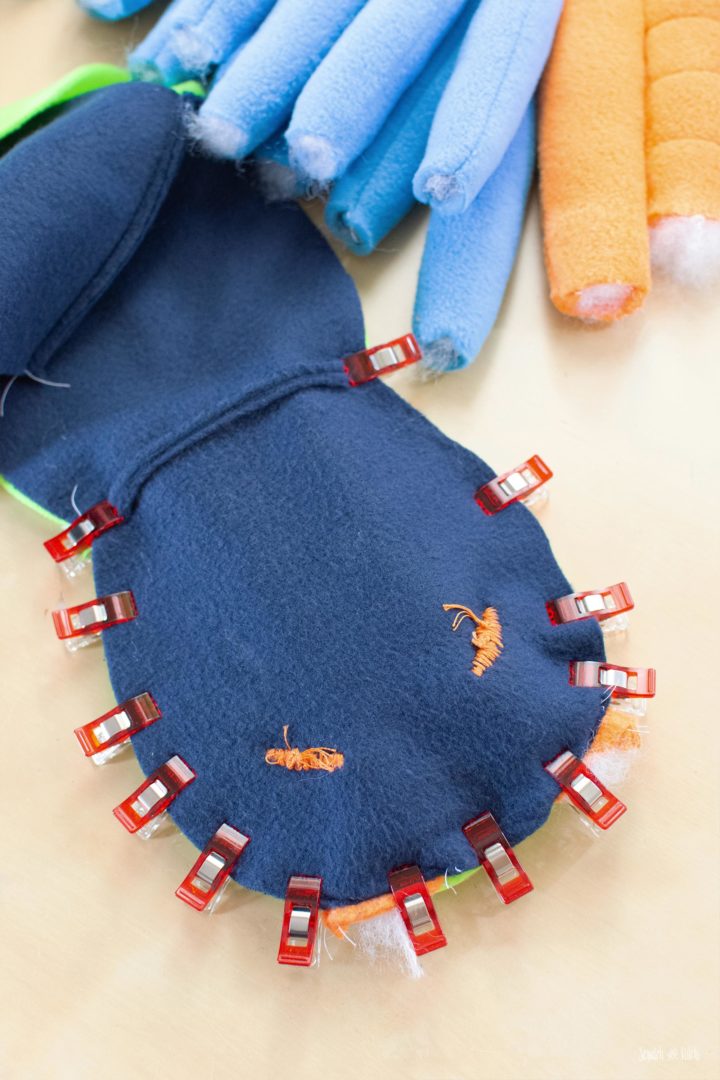
Ensure all legs and antennas are sewn in place. Clip seam allowance at the point of the butt to reduce bulk.
More Free Stuffed Animal Sewing Patterns
Bugs, bears, dogs, dinos, and more. Check out this collection of free stuffed animal patterns.
Turning and Stuffing the Centipede Plush
Carefully turn the centipede right side out. Double-check that all legs and antennas are sewn in place.
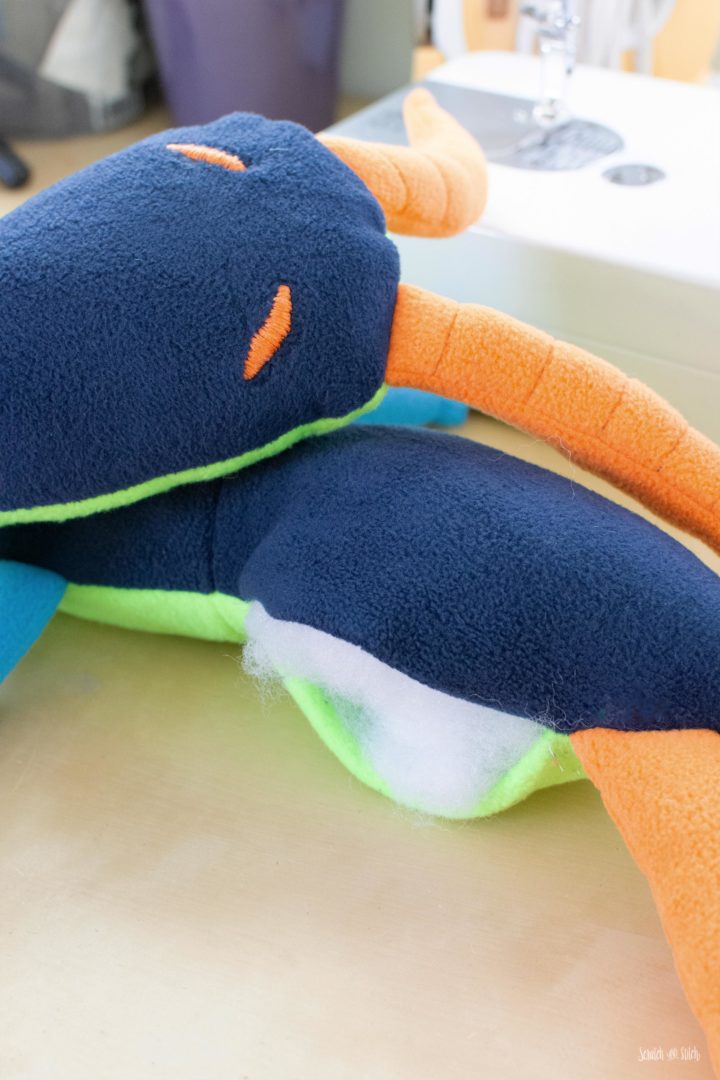
Begin stuffing the centipede. Push a handful of stuffing all the way up the body to the head and repeat all the way to the butt. Do not overstuff! The centipede should be fully stuffed but not plump round.
Finishing the Stuffed Animal Centipede
Close the opening by folding the 1/4″ seam allowance and pinning to hold. Hand stitch the opening closed with a ladder stitch. And you’re done!
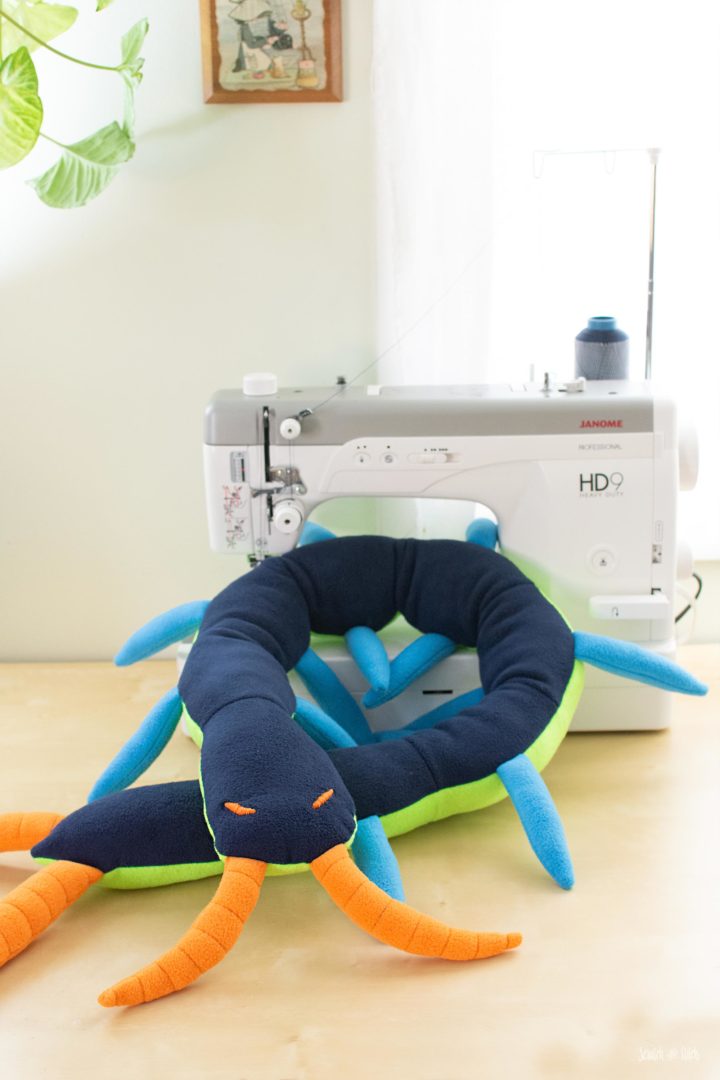
If you have a bug-loving kiddo in your life, they will love this giant centipede plush.
Plush Ladybug Sewing Pattern
Make this adorable plush ladybug with my free pattern and tutorial.

At just over five feet long, this oversized stuffed animal is thrilling for kids. And even though he might be a little creepy to some, he’s still very cuddly and can be loved just the same.
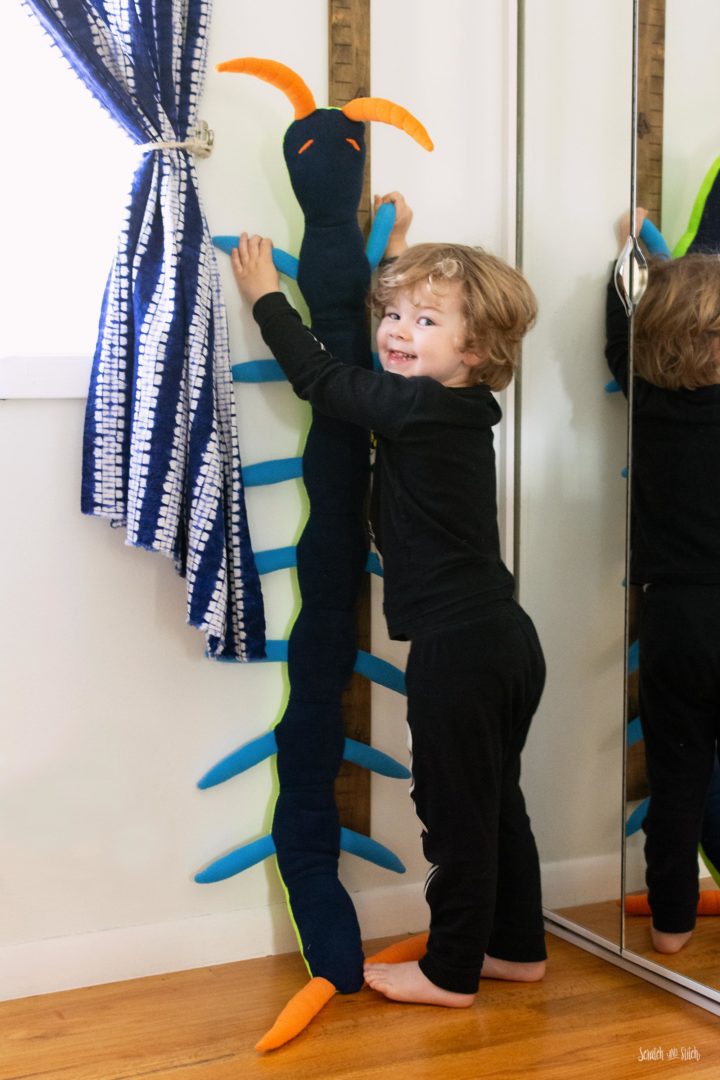
My son named his centipede plush “Bite-It the Centipede.” What’s your centipede’s name?
I hope you enjoy this pattern as much as our family does. Did you make the centipede plush? I want to see it. Tag @scratchandstitch on IG and FB, or send pics to cathi@scratchandstitch.com.

Leave a Reply