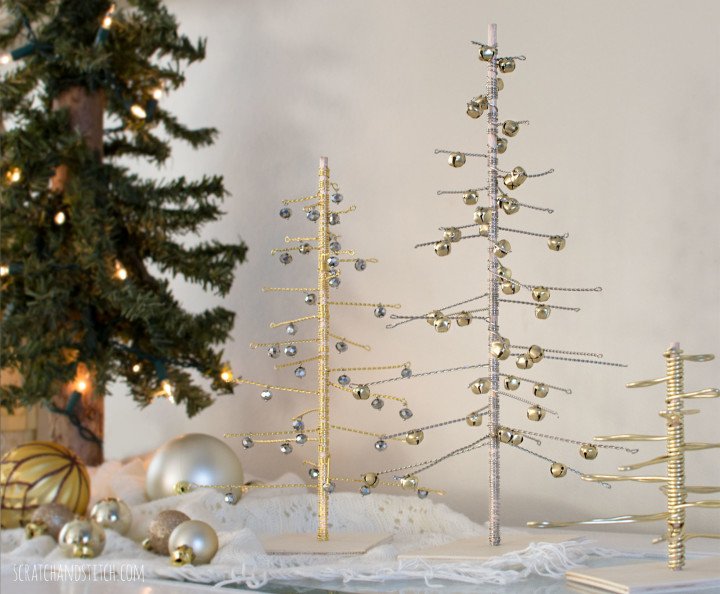
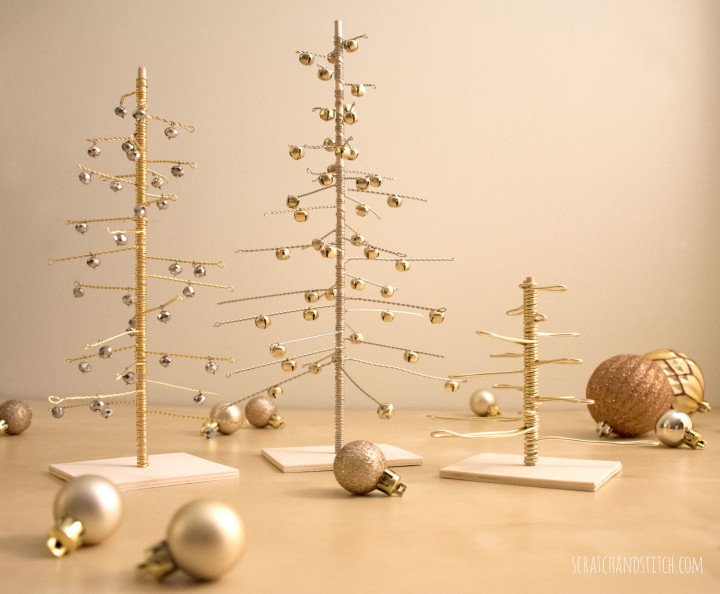
My BFF has an ever growing collection of Christmas tree decorations and I love to add to it when I can. This year I made these wire Christmas trees with just a few supplies and a power drill. The outcome is delicate and festive.
Use a variety of wire colors and thicknesses with beads or jingle bells. These wire Christmas trees work great for a holiday table centerpiece or decorated mantel.
How to Make Wire Christmas Trees
One wire Christmas tree takes about 20 minutes to make from start to finish. Customize your trees with different heights and branch lengths.
Materials and Tools
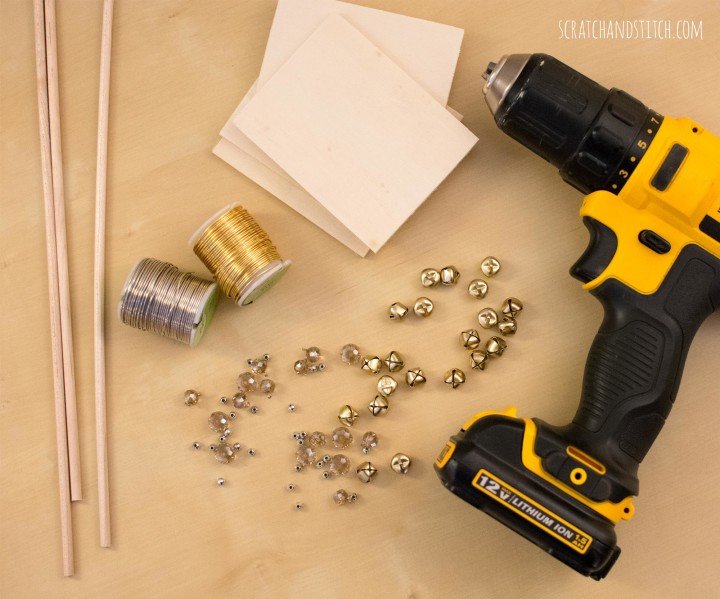
- wire
- beads or jingle bells (Michaels carries $2 crystal bracelets that are perfect for this Christmas project)
- wooden dowels (I used these 3/16″)
- balsa wood slats (I used these)
- power drill
- drill bit (match the size of the wooden dowel)
- medium-large safety pin
Directions
Begin by cutting a piece of balsa wood to the desired size. I cut the wood slats in half to approximately 3 1/2″ x 2 3/4″.
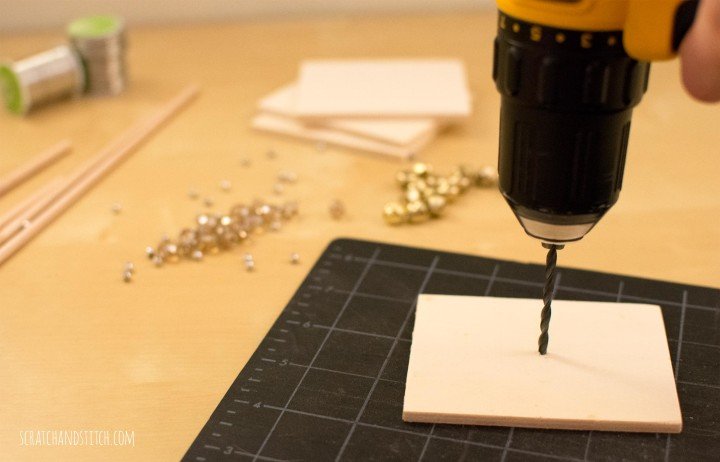
Find and mark the center of the wooden slat for the hole. The goal is to have the wooden dowel fit snug into the hole without falling out. Drill a hole with a drill bit one size smaller than the wooden dowel. Increase to a larger drill bit if needed.
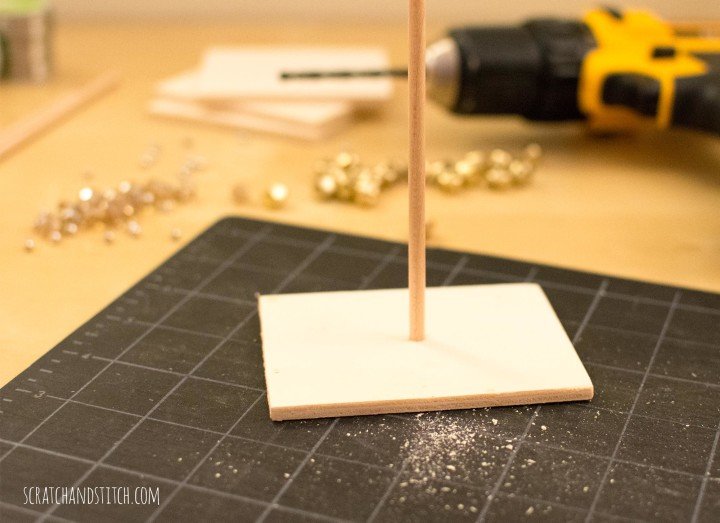
Push the end of a wooden dowel into the hole so it sits flat and stands straight.
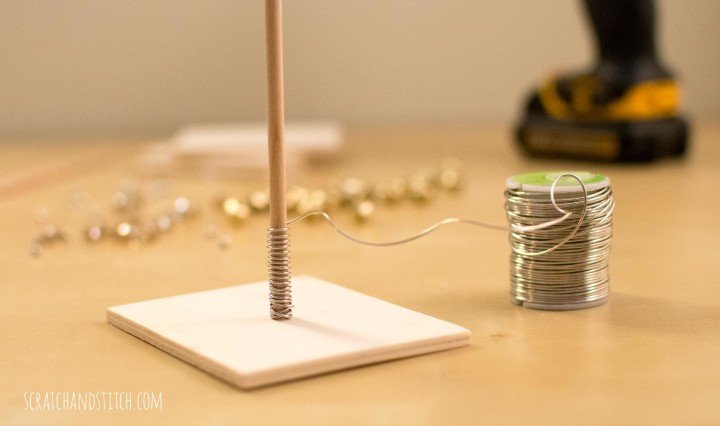
Begin wrapping wire around the base of the tree to create the trunk. You may need to overlap a couple of rounds to get started.
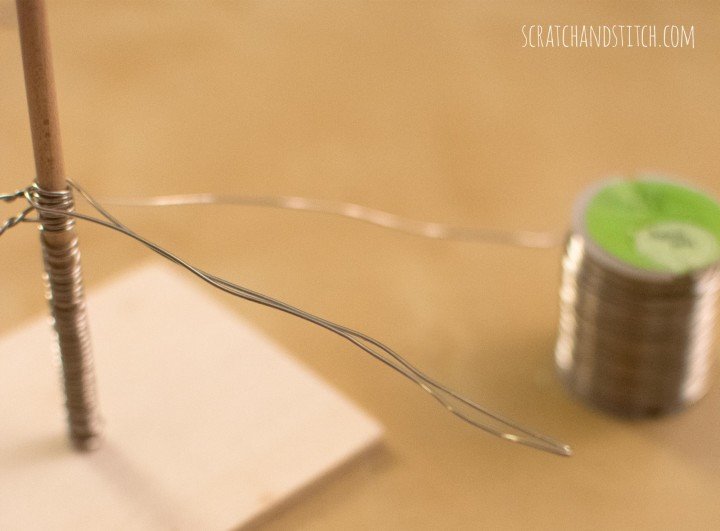
Begin making your first branch by bringing the wire straight out away from the wooden dowel. Fold the wire back towards the tree trunk creating a long loop. Wrap the wire around the dowel a few times and repeat with another branch in a different direction.
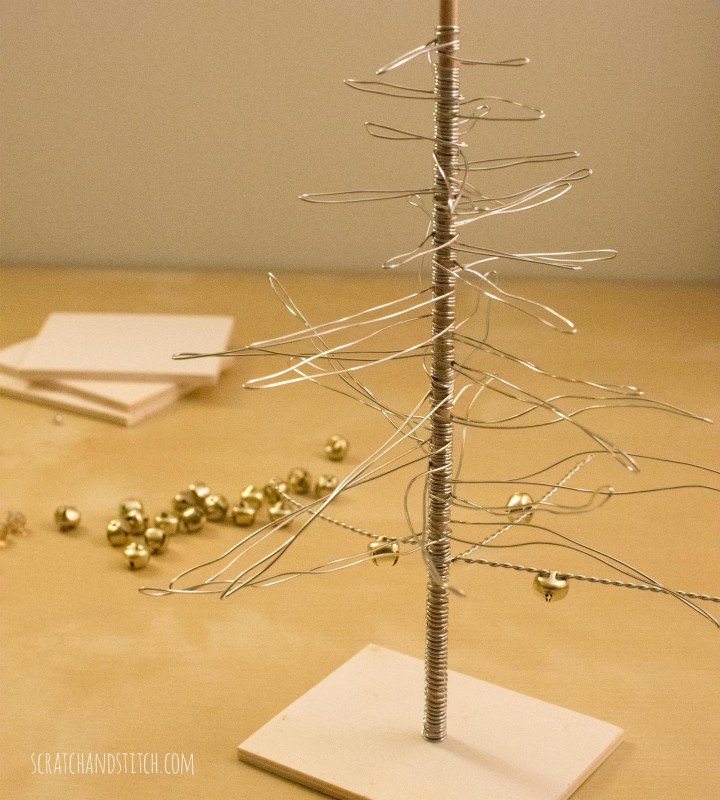
Continue making branches all the way up the wooden dowel. Vary the length of the branches and the direction they point.
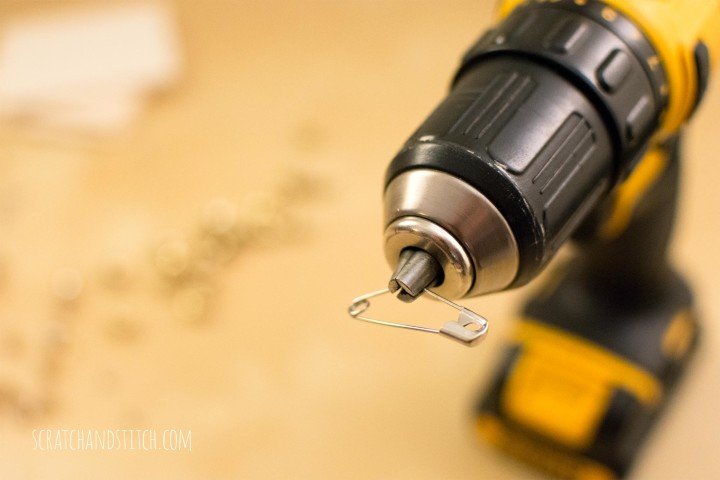
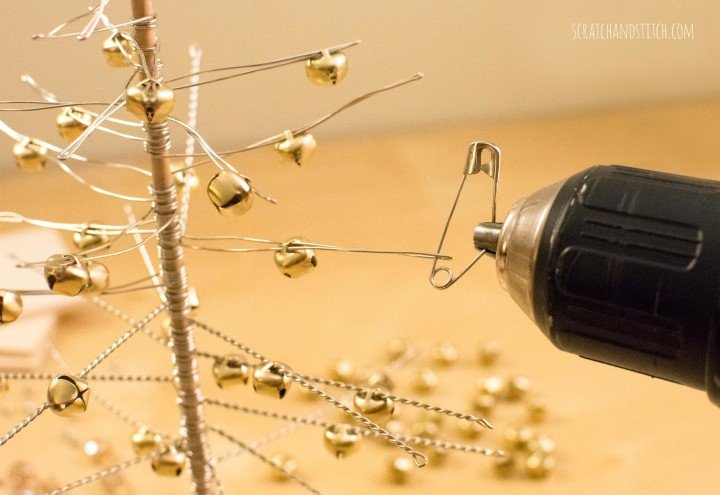
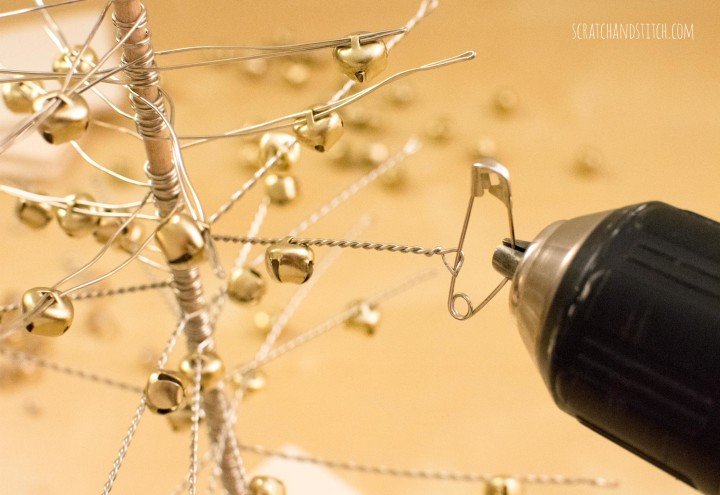
On your power drill tighten the chuck to hold a safety pin. The safety pin will need to be able to open and close. I had to bend the safety pin to hold in place.
Starting with the bottom branch of the wire Christmas tree push a bead or jingle bell onto the branch loop.
Slide the safety pin through the end of a branch loop. Hold the wooden dowel firmly with one hand and slowly begin twisting the wire with the drill and pin.
Repeat with the rest of the branches varying the location of the beads or bells. Try adding multiple beads to some of the branches.
Use different types of wire and beads for a variety of looks.
I love the simple look of these wire Christmas trees. They are lightweight and bend for easy storage.
Did you try these wire Christmas trees? Send me a picture, I’d love to feature them here.


What gauge wire did you use?
I’m not exactly sure though my best guess is a 20 or 22 gauge. I found the thin wire in jewelry making supplies. The thicker tree uses a thicker floral wire (probably 16 or 14 gauge) that’s very pliable. Send me pictures of your trees! :)
Hi Cathi, I’ll be making thw wire tree this evening, I Love your idea! I make Christmas bulbs and have nothing to display them on, until I saw your wire tree. I purchased the 18 Gauge aluminum wire, while in the store I checked to see what wire I could wrap around the tree easily, but yet be strong enough. I hope it’s strong enough! Thank you for the idea, I’ll send a pic to you when it’s done.
Betsy
Hi Betsy – This makes me so happy to hear! Yes, please send pics. I would love to see how they turn out. :)
We did not have luck the the safety pin but found a paper clip much easier to operate. I left the outer point of the paperclip end just barely visible from the drill so as to loop the wire onto the paperclip.
Awesome Janelle – I would love to see pictures!