Update the look of a weekender bag with fun patches. Remove pockets or add pockets for a totally custom weekender bag refashion.
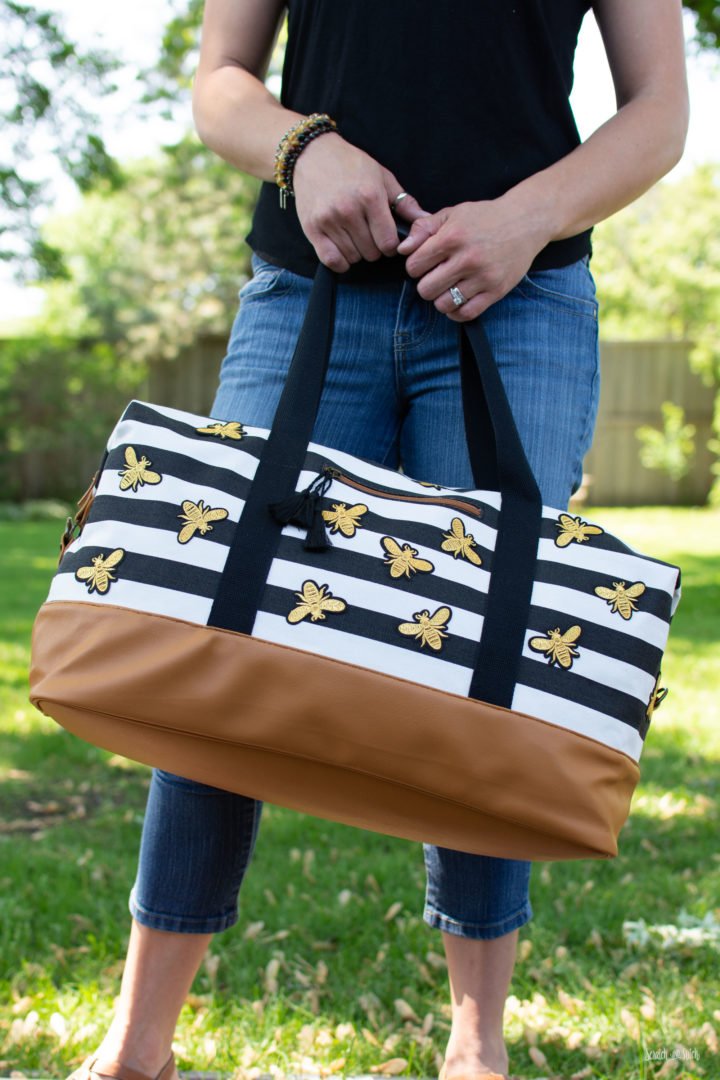
Anytime I see a promotion for a free bag with purchase from DSW I immediately start searching for a new pair of shoes to order. Between my son, my husband, and myself it’s likely someone is in need of a new pair of shoes. In the past I’ve updated a free clutch with studs and then another free backpack with diy patches.
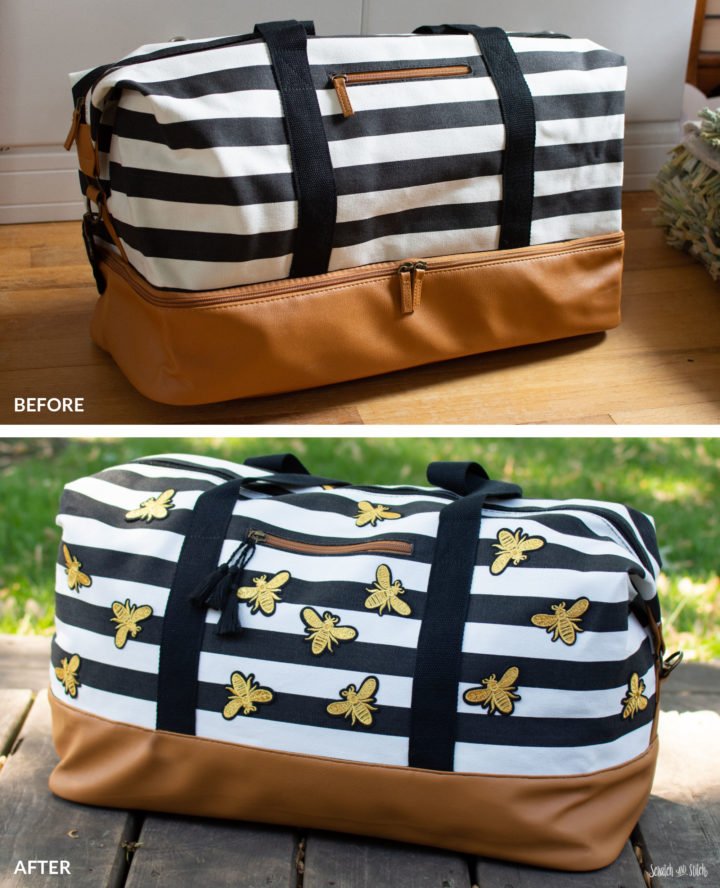
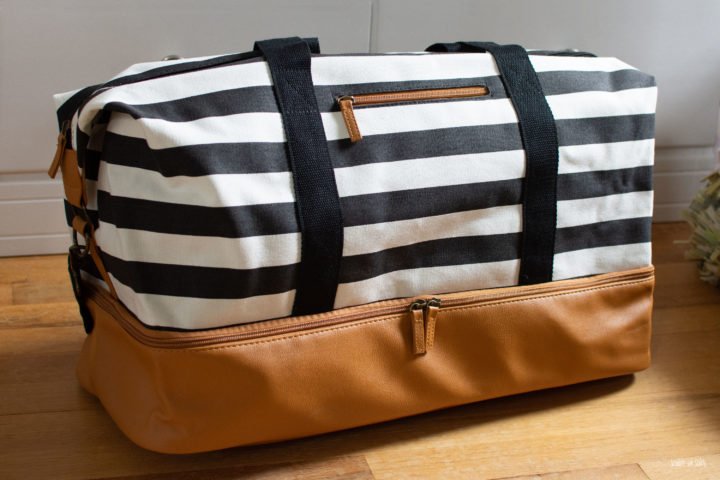
This time I got a free duffle bag with shoe purchase. The bag is black and white striped with faux leather bottom. It has a shoe compartment on the bottom and a zip pocket on the side.
Here is how I transformed this free weekender bag…
- Removed and replaced the shoe compartment pocket
- Added an interior slip pocket
- Added iron-on gold bee patches
- Replaced the zipper pulls with tassels
Deconstruction
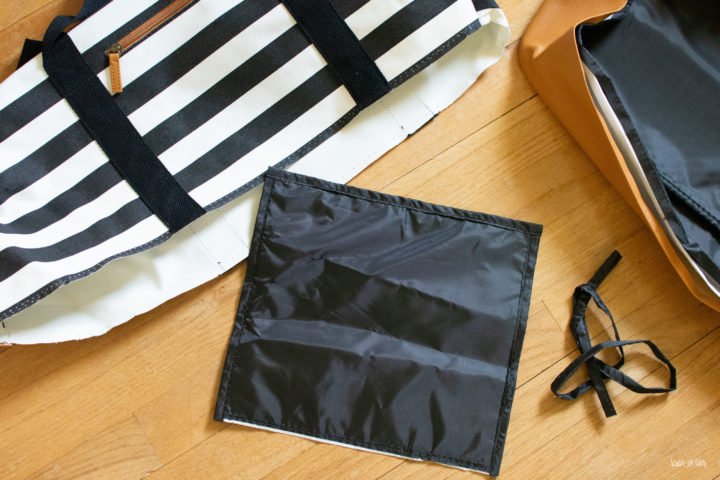
First step was to remove the lower shoe compartment and the layer that separated the two areas. I removed the zipper and will save it for another project. There was also a long strip of edge binding that was used later.
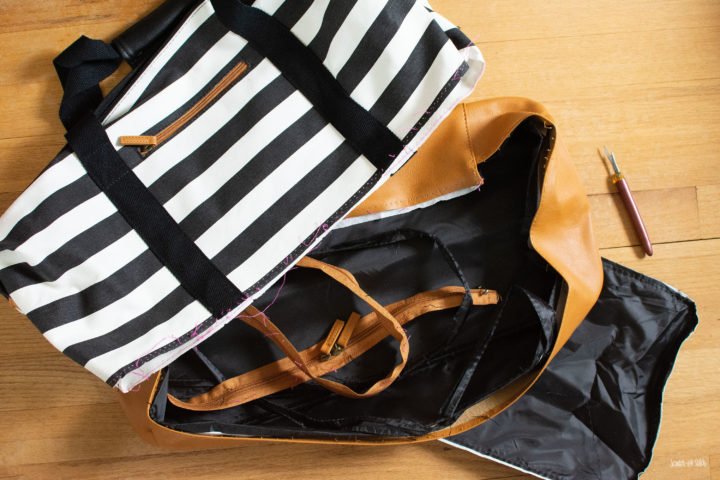
This weekender bag came with a shoe compartment on the bottom that I removed. I know what you’re thinking “you removed a pocket?!”. Yes! I removed the shoe compartment pocket because I didn’t like it in this particular bag. Removing that area converted the bag into one large area like a normal weekender bag. Plus, I added a slip pocket to the inside.
Add a Pocket
From the layer that separated the main compartment and the shoe compartment I cut a rectangle to create an inner slip pocket. I used the edge binding around the edges of the pocket to give it a nice finished edge. I then sewed the pocket into the interior of the bag leaving the top edge open.
Reassemble the Bag
The next step was to reattach the faux leather bottom onto the striped top of the bag. I used pins and clips to hold it in place and carefully stitched it back together.
Add the Iron-On Bee Patches
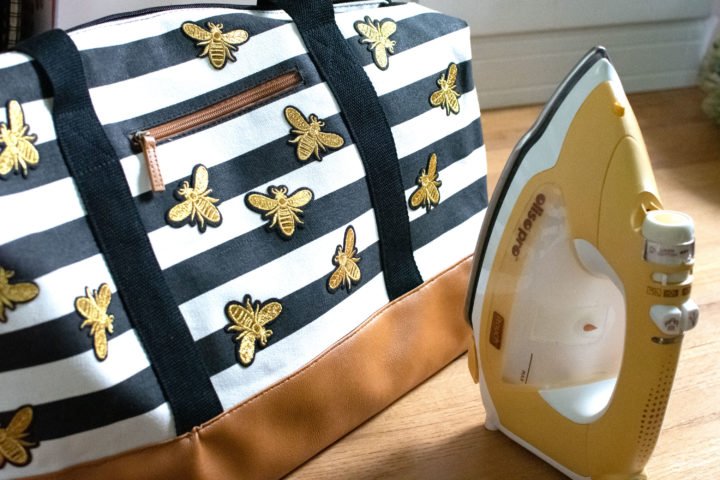
The final step was to iron on the bee patches. I created a random pattern with the bees and used a pressing cloth over the patches to adhere them.
Extras
- I later hand stitched the bee patches on to the bag to ensure they do not pop off with use.
- I also replaced the faux leather zipper pulls with some black tassels.
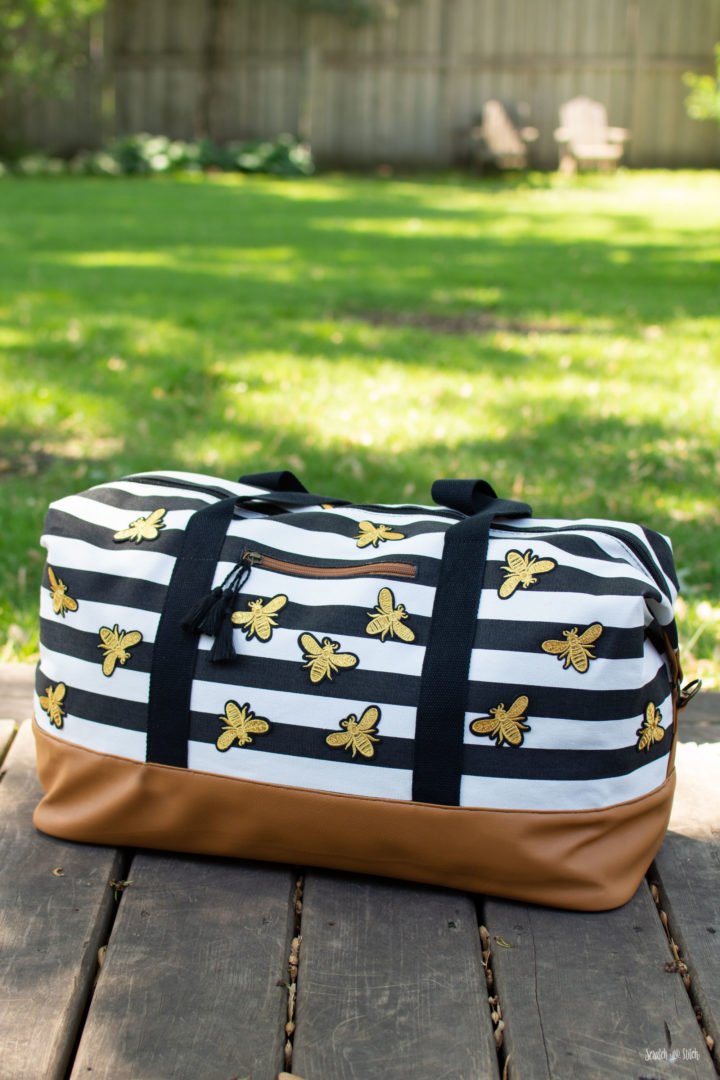
The metallic gold bees paired well with the stripes and faux leather and made the bag style a bit more fun.
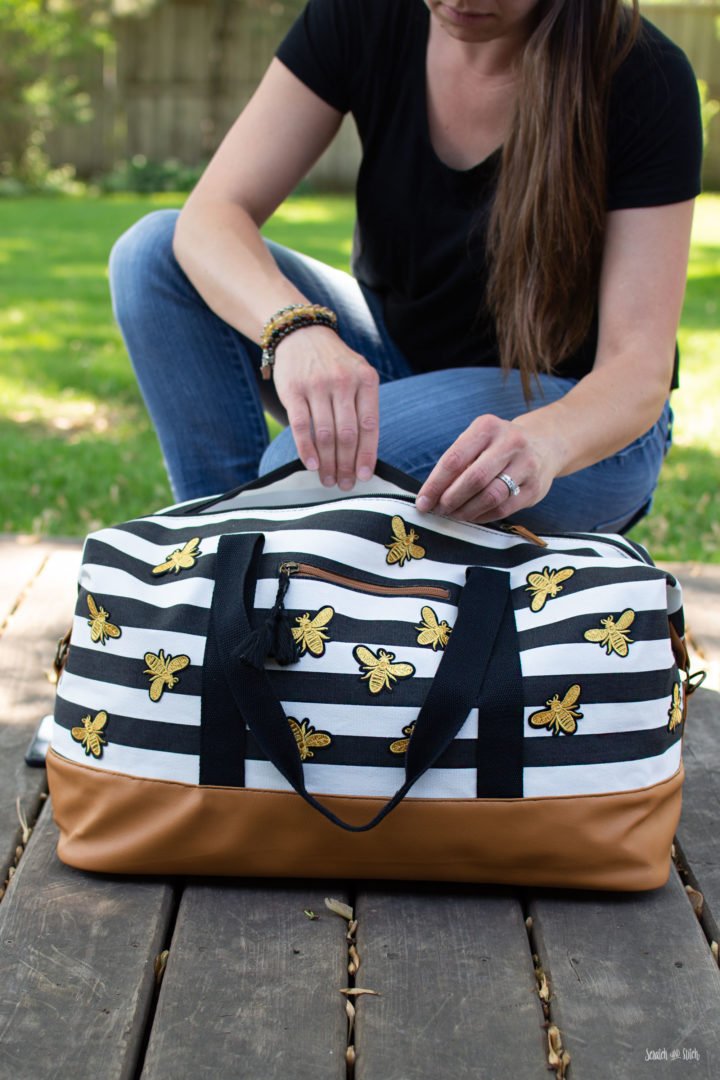
The extra interior slip pocket added another spot to put things when on the go.
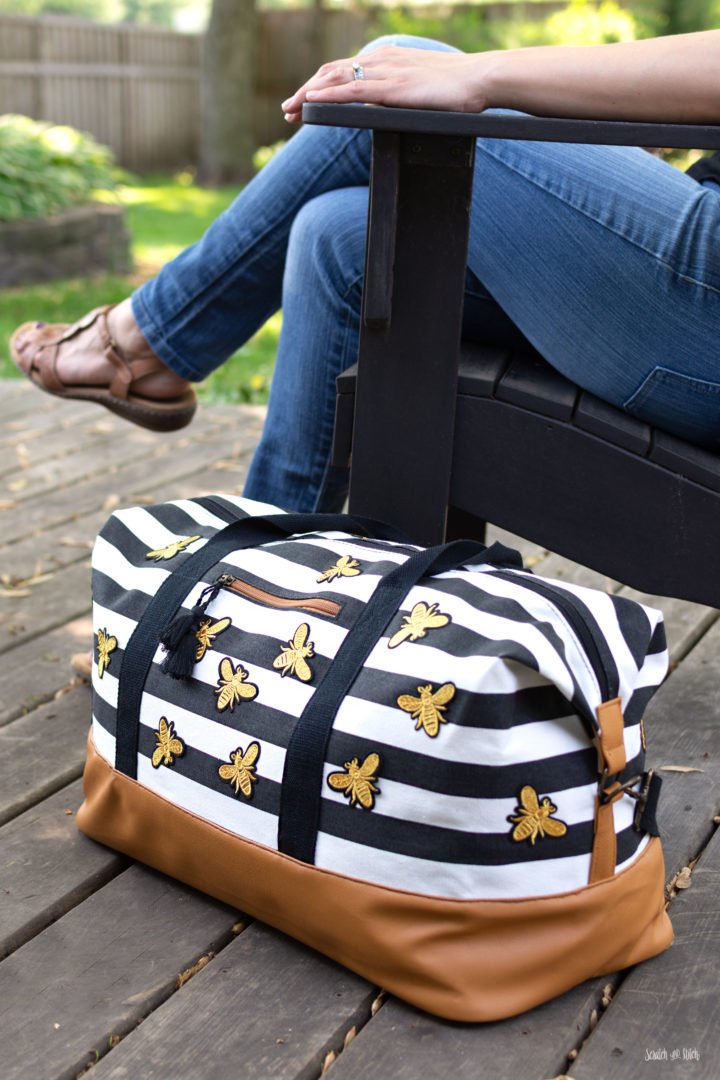
While this bag refashion upgrade was pretty simple, it’s much more my style. I think I’ll make this my new carry-on bag.
Do you make simple upgrades to your accessories? Send me a link in the comments below. I’d love to see them. :)

Leave a Reply