This post may contain affiliate links.
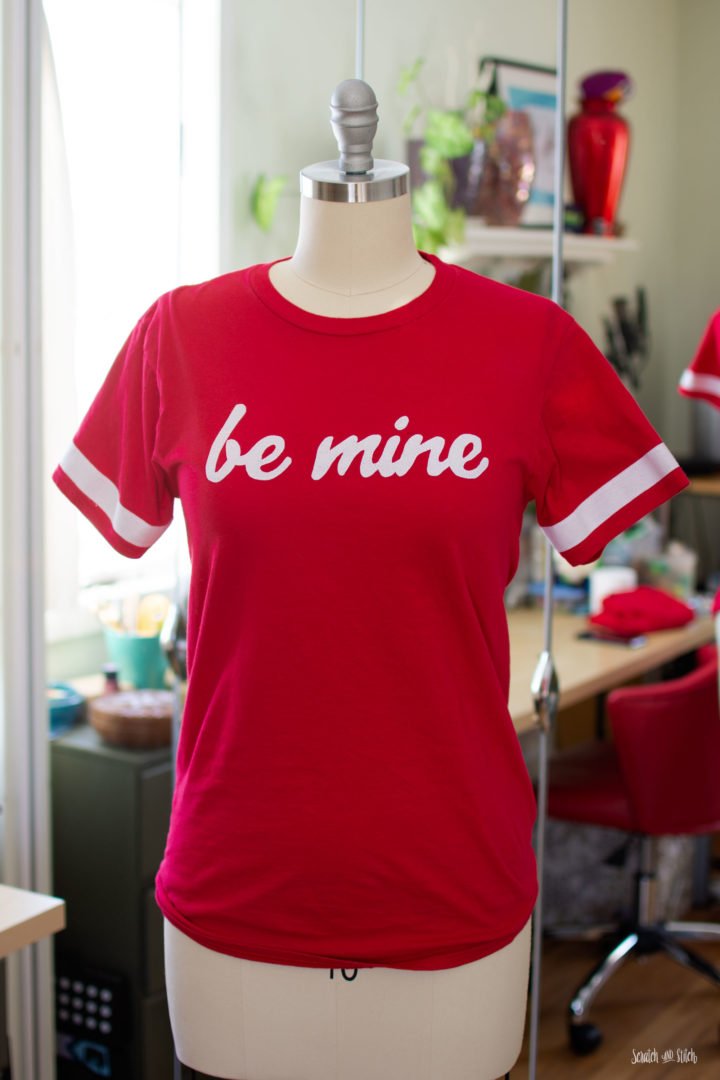
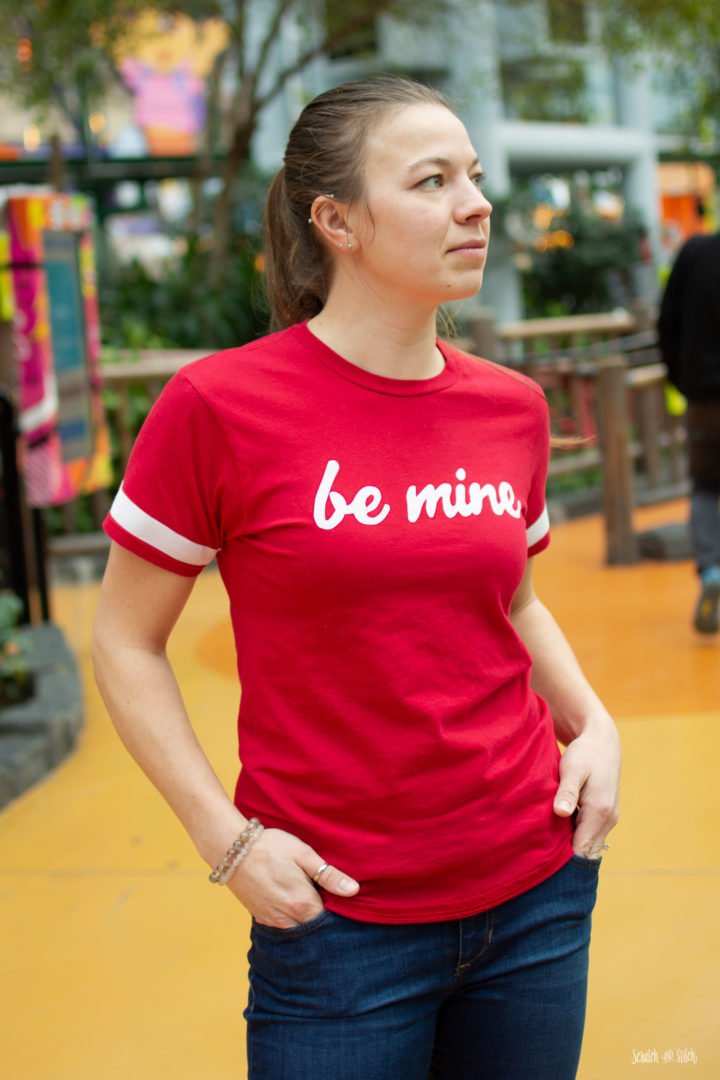
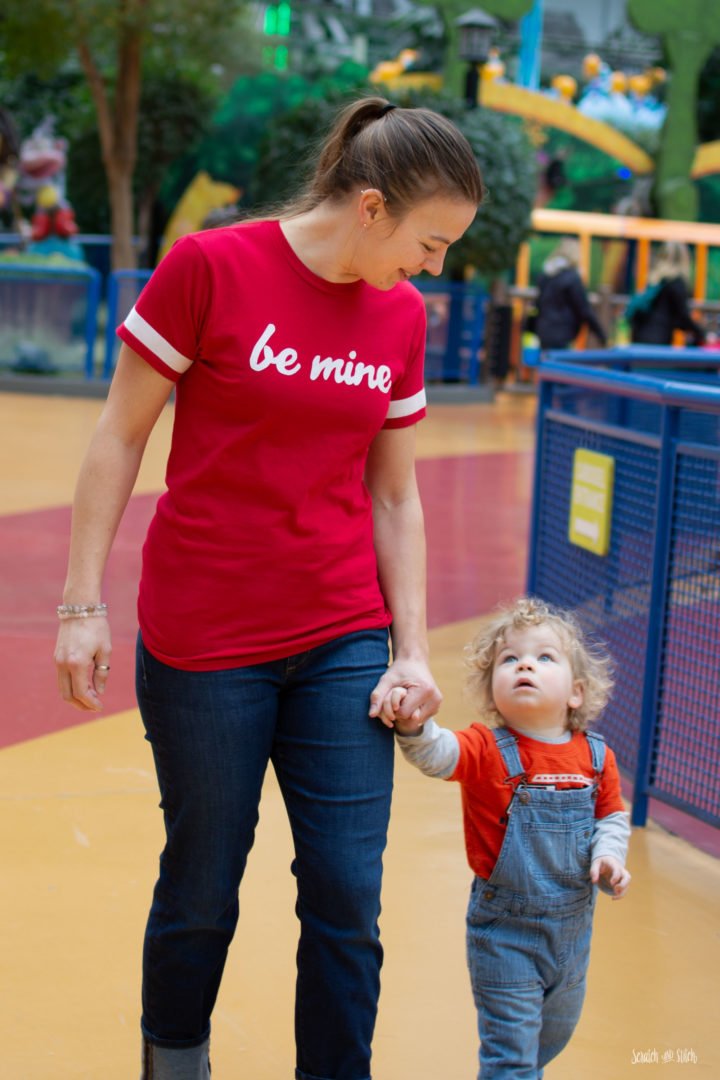
Show some holiday spirit for your sweetheart with a DIY t-shirt for Valentine’s Day! You can make any message that you like, for my V Day shirt I chose “be mine.” See how I made it below.
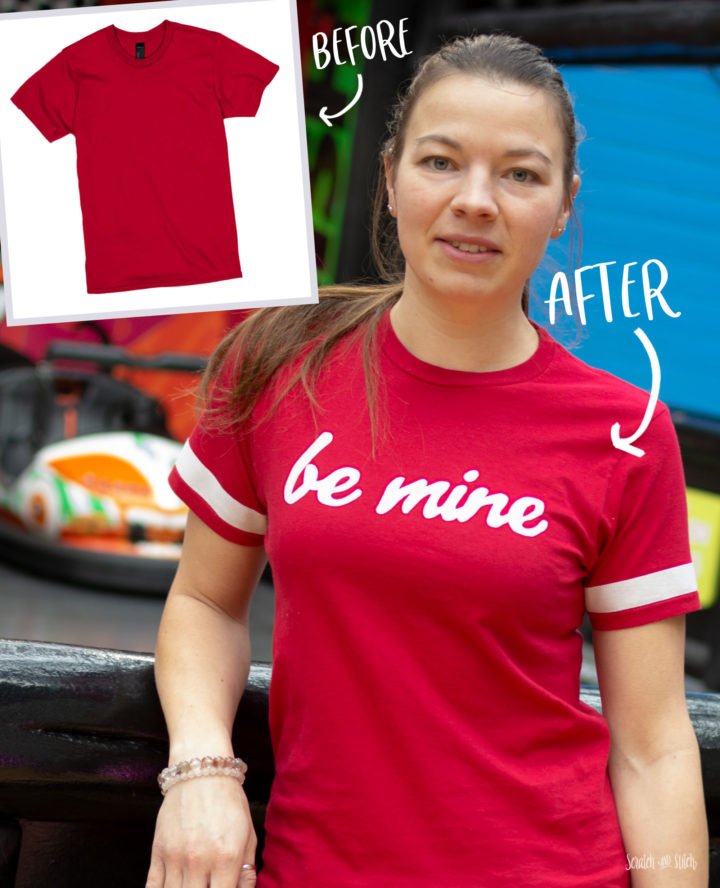
I recently came across this post and was inspired to make my own version of this Valentine’s Day t-shirt. Now you can make your own too! I’ve included a free download of the “be mine” text so you can cut the text for this Valentine’s Day DIY t-shirt by hand (like I did) or on your favorite cutting machine. You’ll also need a plain t-shirt or two, some fusible web, an iron, and some basic sewing supplies.
Valentine’s Day DIY T-Shirt Materials & Tools
- plain red t-shirt
- white t-shirt (or white fabric scrap, I recommend using jersey fabric or something with some stretch to it)
- HeatnBond Lite (if you prefer to skip the sewing part, use HeatnBond UltraHold)
- iron (this is my favorite iron)
- “be mine” text (download file below)
- printer/paper
- pencil
- scissors
- basic sewing supplies (this is optional, though I highly recommend it because it looks really cool with some stitching)
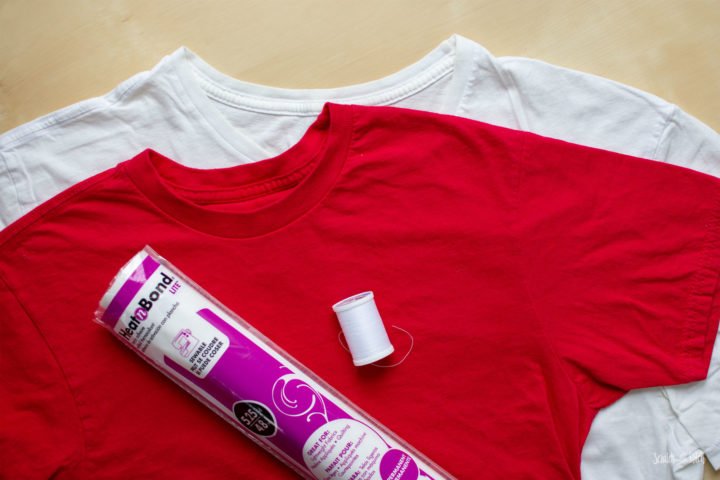
For the “be mine” text, cut white fabric slightly larger than the text. The text supplied in the download file is approximately 9″ x 3.5″.
For the sleeve stripes, cut one piece of fabric 2″ wide by the length around the sleeve (my t-shirt sleeve is about 13.5″). You’ll cut this in half in a later step.
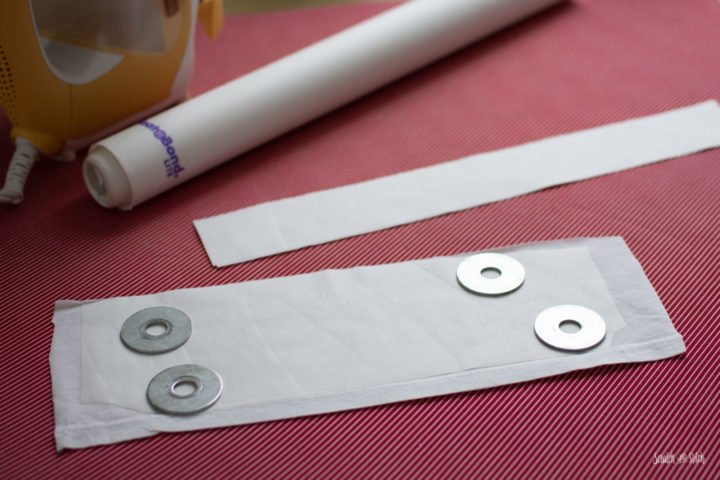
Cut a piece of HeatnBond larger than the final text but slightly smaller than the white fabric. You don’t want the adhesive to stick to your iron or ironing surface.
Follow the instructions to adhere the HeatnBond to the fabric for both the “be mine” text and the sleeve strips. Cut the sleeve strip in half lengthwise so you have two 1″ strips. Set aside.
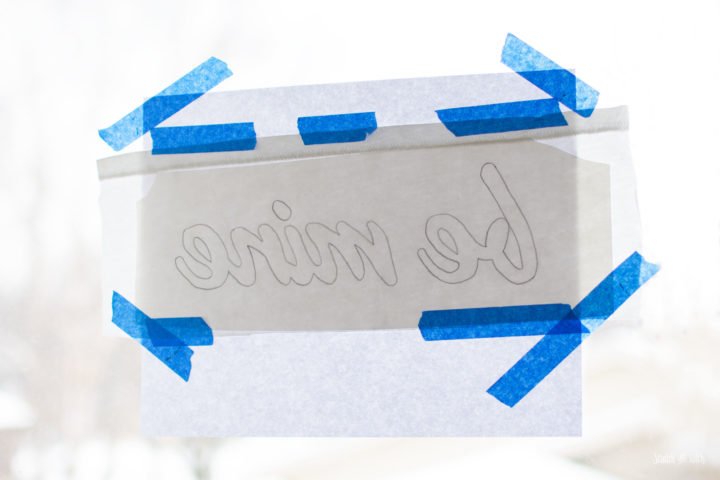
Transfer the “be mine” text onto the paper side of the HeatnBond with a lightbox or a window like I did. Tape the print out to the fabric and then to a well-lit window (or lightbox) and trace it onto the paper side of the fusible web.
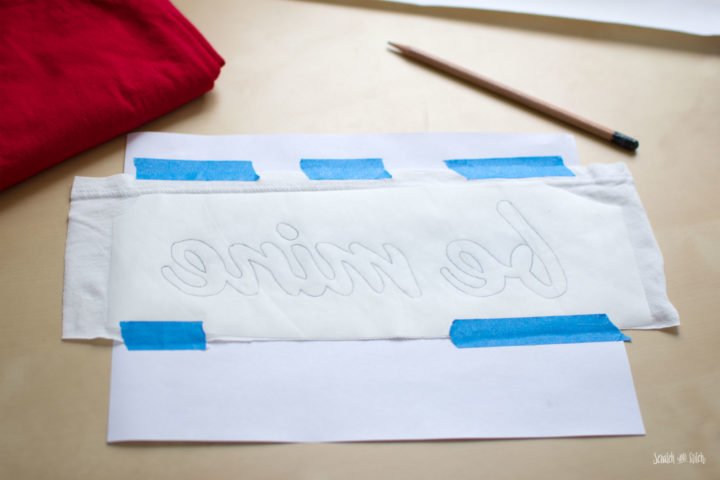
Make sure that the text reads correctly on the fabric side. It will be reversed on the paper side.
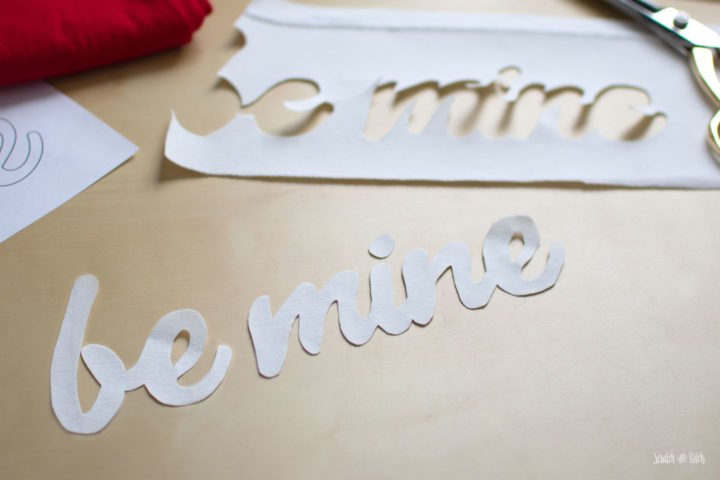
Cut out the text.
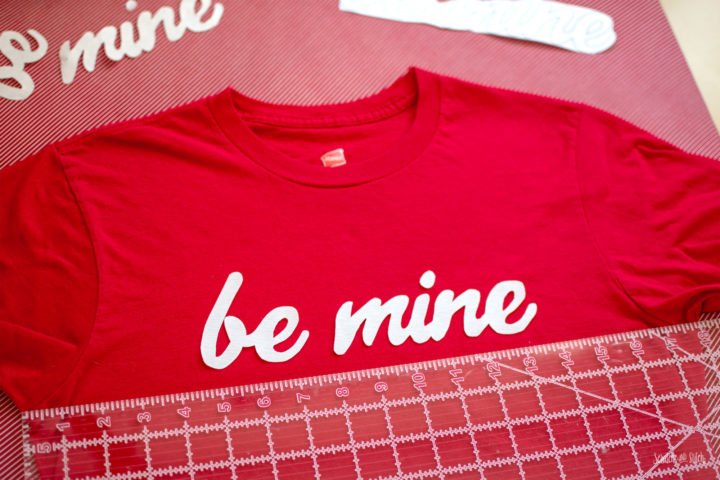
Remove the paper backing from the text and position the text onto the front of the shirt. Press according to the instructions on the package. Check to make sure it is adhered well and repeat the pressing if needed.
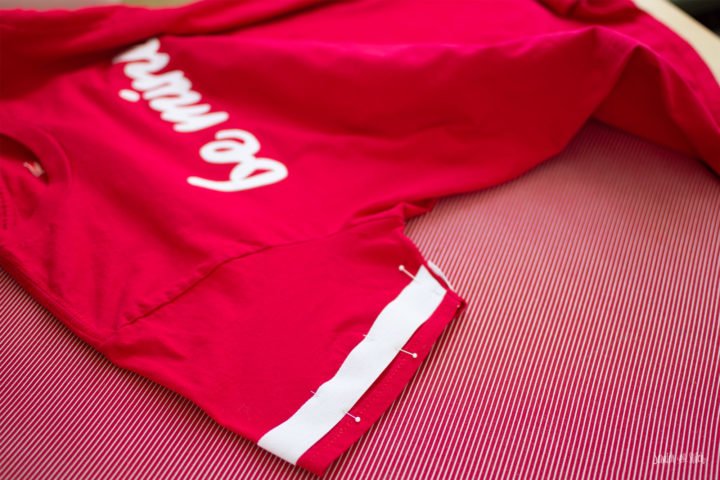
Position the strip onto the sleeve following the opening of the sleeve and pin to hold.
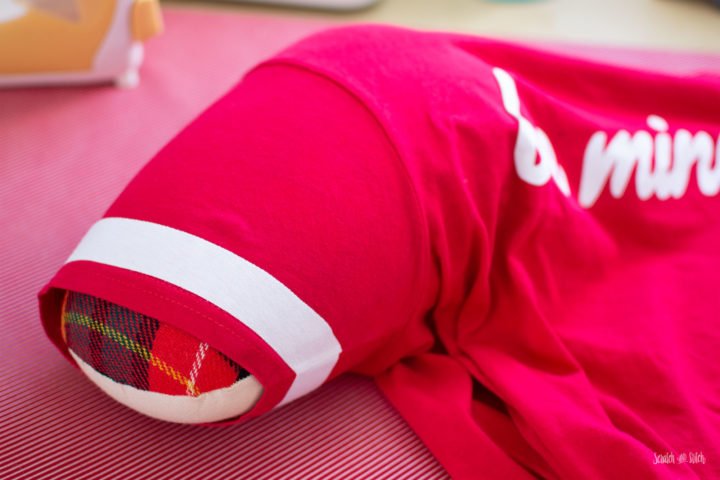
Remove the pins as you iron the strip in place. Use a tailor’s ham, the end of your ironing board, or a rolled towel to assist with ironing. Don’t have a tailor’s ham? Here is a free pattern and tutorial to make your own tailor’s ham.
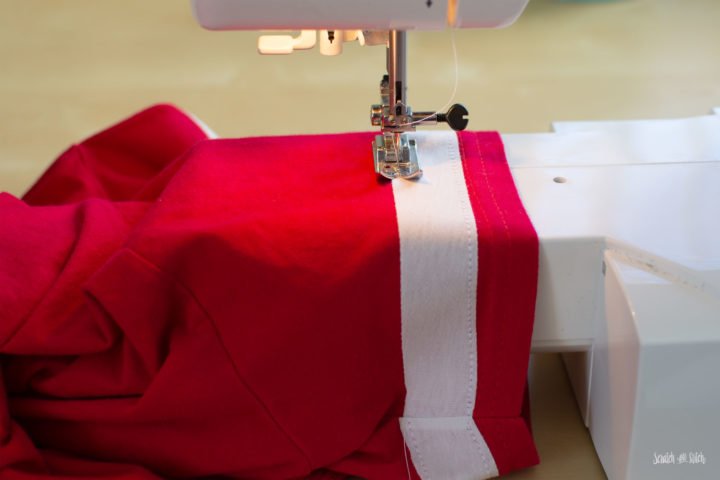
Sew the sleeve stripes and “be mine” text onto the shirt. You can add the final stitching on your machine or by hand. I used a stretch stitch on my machine.
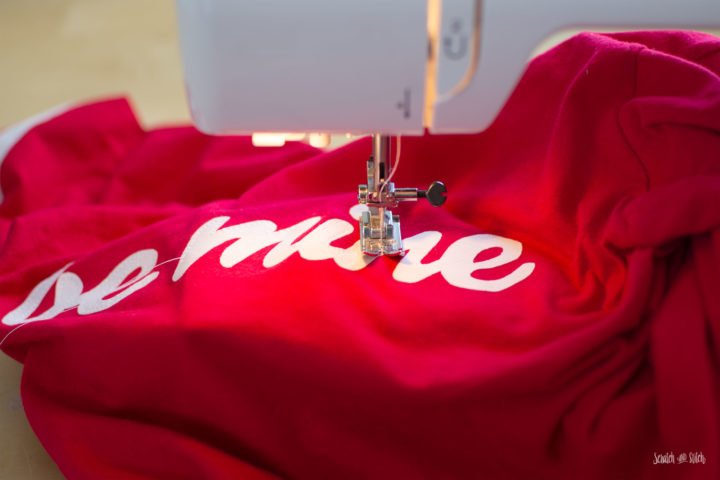
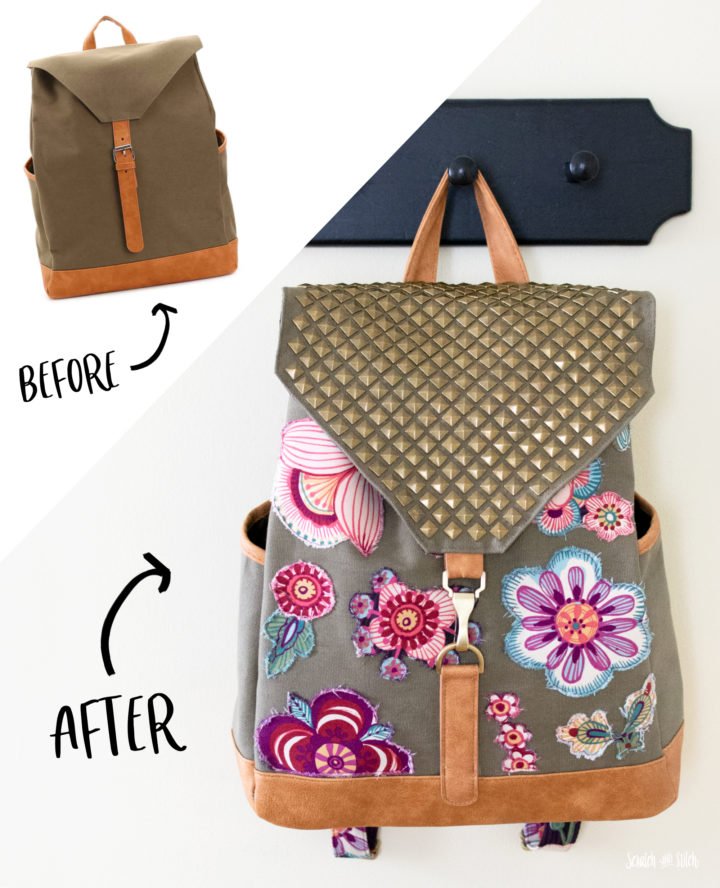
The stitching really gives this shirt an awesome final touch! I used a similar technique in this backpack refashion.
Refashioned Backpack with Studs and DIY Patches
Make a plain backpack your style with new hardware, metal pyramid studs, and custom patches.
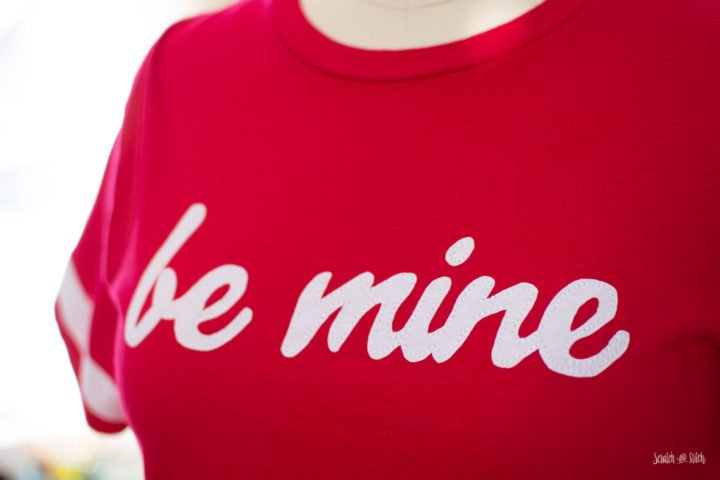
I’m not usually a words-on-shirt kind of gal, but I am a custom t-shirt kinda gal. This turned out really awesome, and I’m looking forward to using this same technique in future clothing refashions.


Valentine’s Day Plush Pattern
Make a love-able, squeezable heart plush with my free sewing pattern.

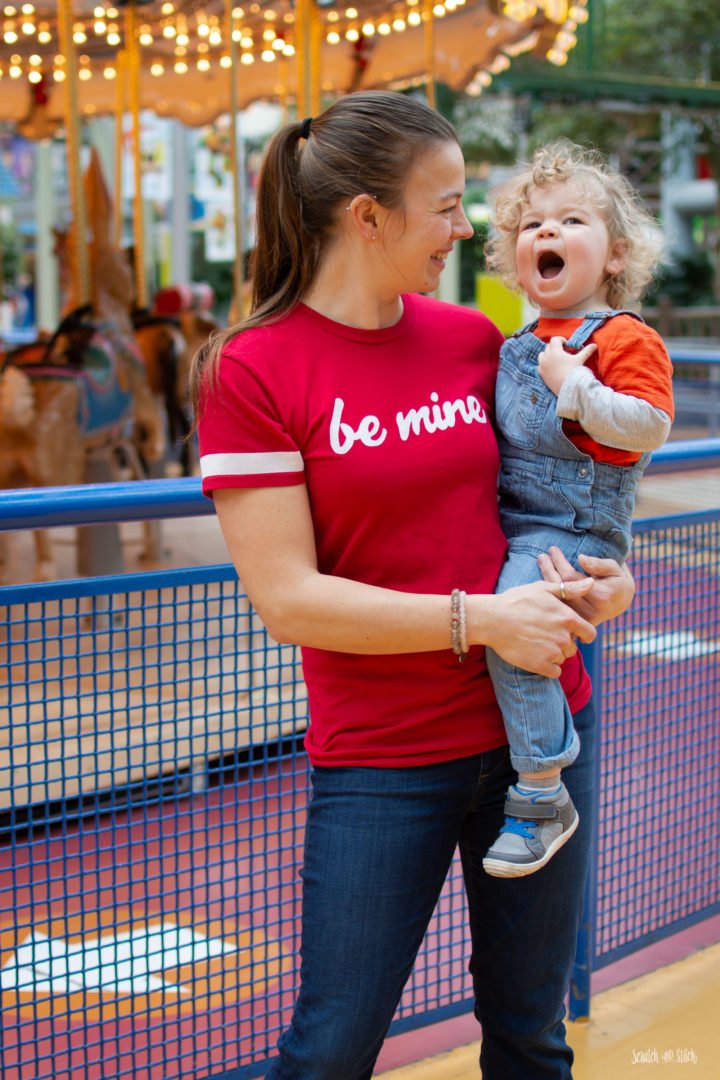
Have you made a custom DIY t-shirt using this tutorial? Comment below with a link to be featured on scratchandstitch.com


Leave a Reply