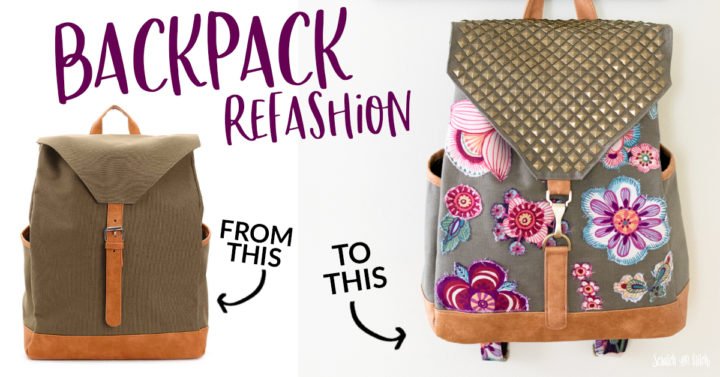
I’m always on the lookout for my next upcycle project. When I saw that DSW was offering a free backpack with purchase I jumped on the opportunity to 1) get a new pair of shoes and 2) make an upcycled bag. This backpack refashion turned out so cool and I’m already ready brainstorming my next upcycled bag.
How to Upcycle a Bag
You can make your own upcycled bag too. Use an old backpack you have, a thrifted bag, or get a free bag through a promotion like I did. DSW often gives away free bags with purchase. I’ve gotten several of them :)
What you’ll need to make an upcycled bag like mine:
- bag (this could be a backpack, tote bag, purse, luggage, etc)
- fabric scraps to create “patches”
- bag hardware (I replaced the buckle, snaps, and sliders)
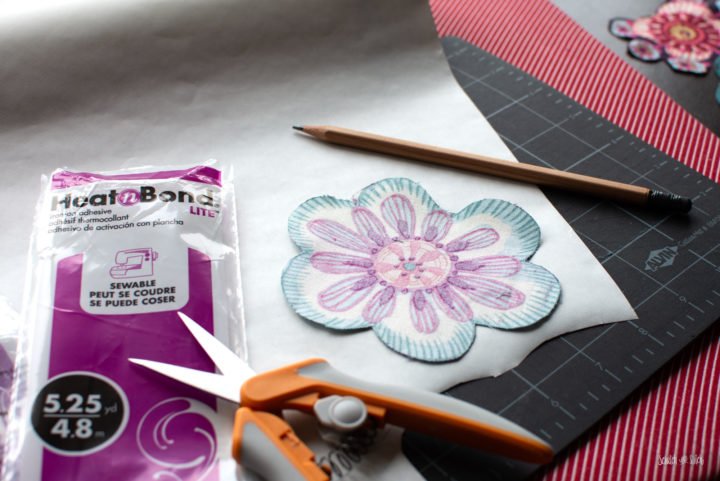
- Heat n Bond Lite (since I was also sewing on the patches I used Heat n Bond Lite. If you won’t be sewing the patches, use Heat n Bond UltraHold)
- studs
Upcycled Bag: BEFORE
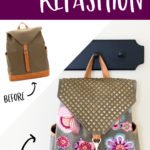
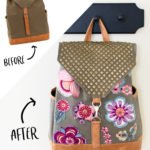
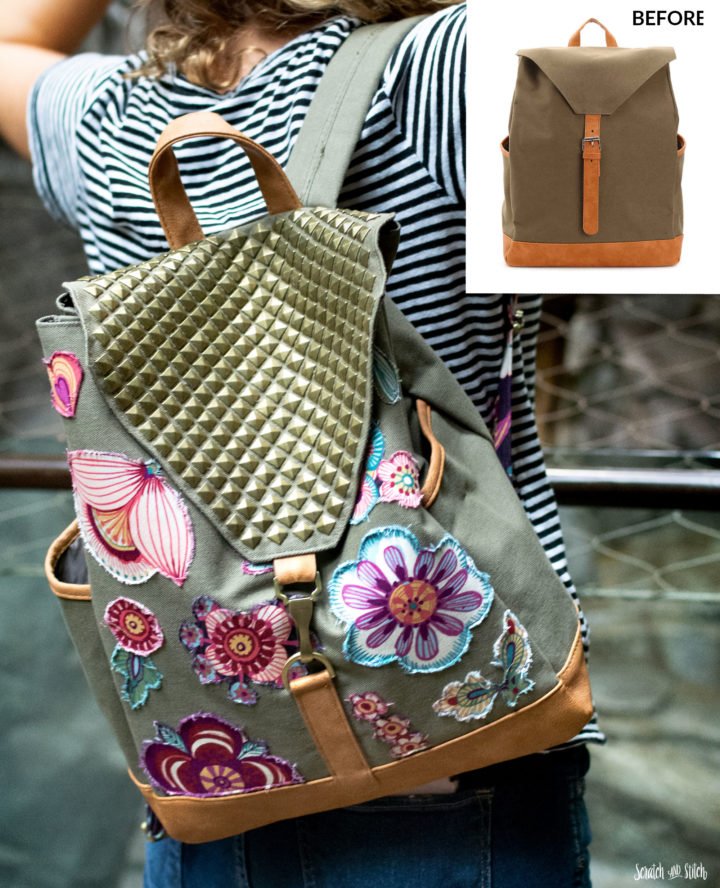
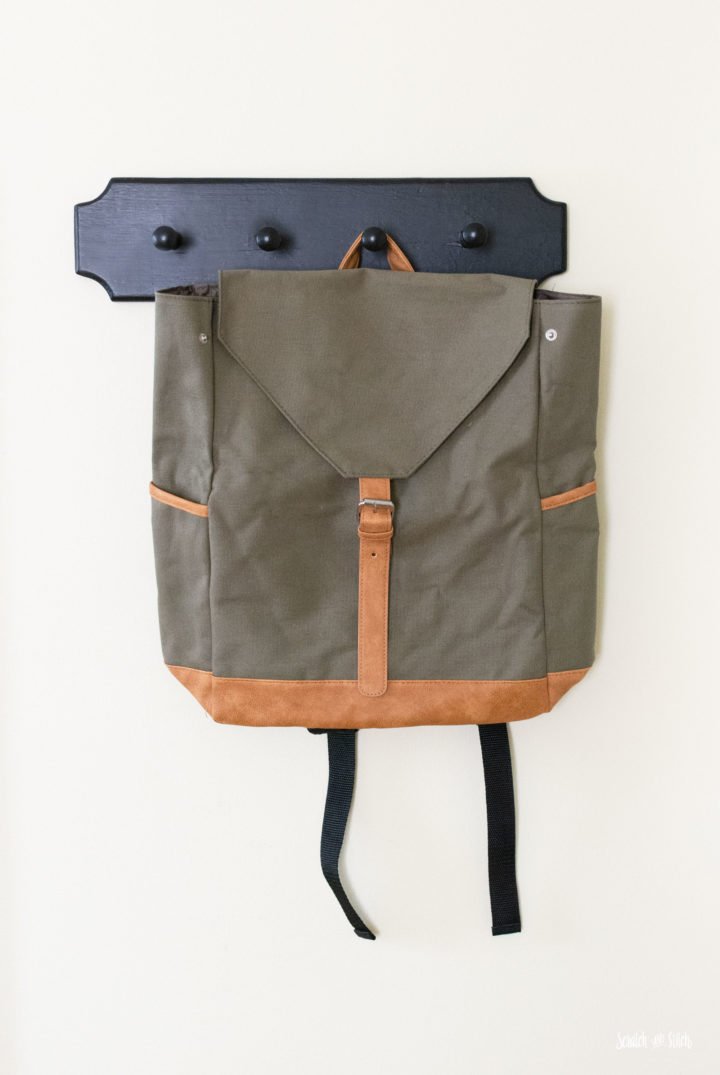
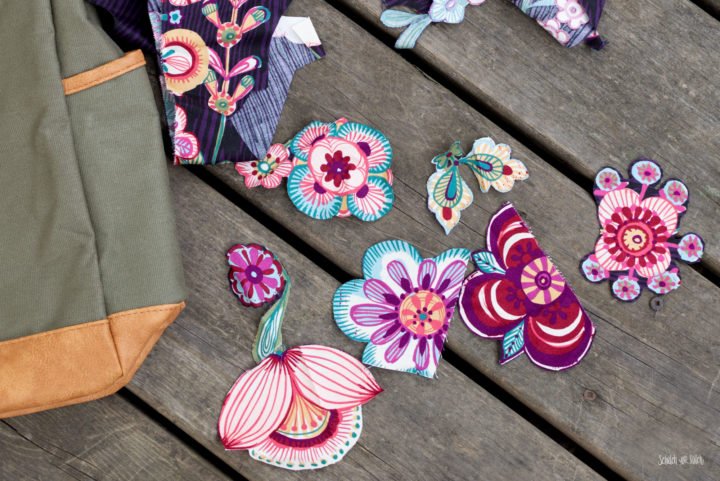
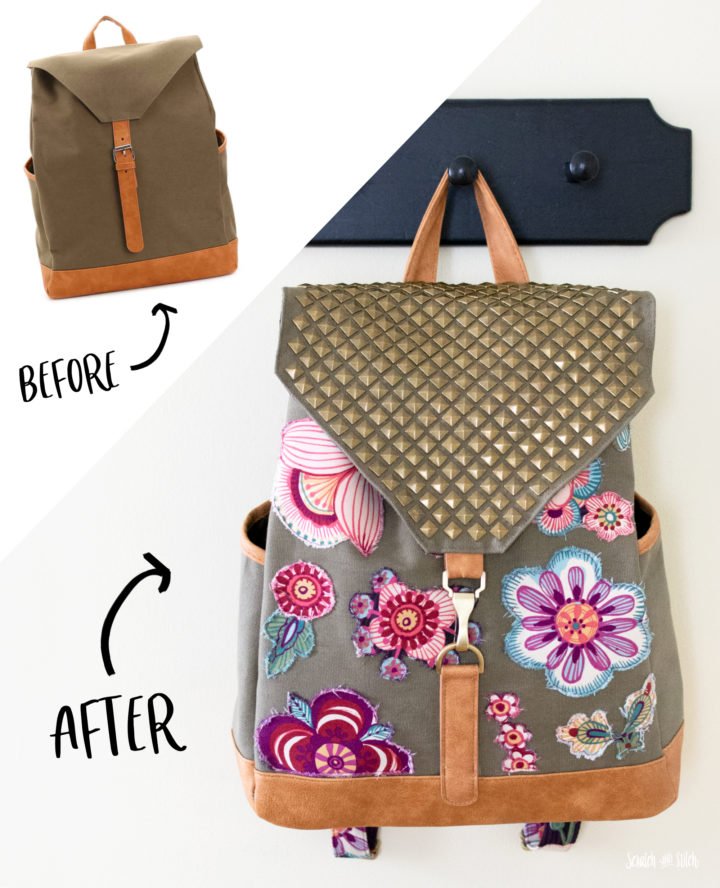
The backpack I used for this upcycling project is a very basic backpack made of canvas with faux leather accents and silver hardware.
My vision for the upcycled bag was inspired by a previous upcycle project. I happened to still have the same floral fabric in my stash.
Obligatory project pile pic…
View this post on Instagram
Upcycled Bag: Getting Started
Here are the steps I took for this upcycle project backpack refashion.
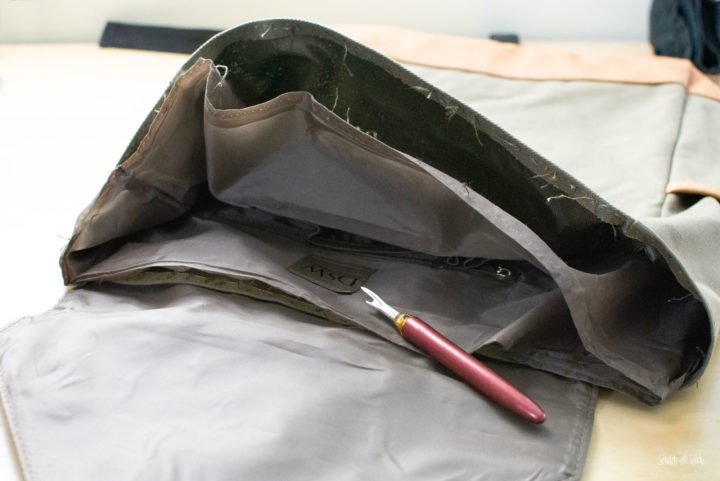
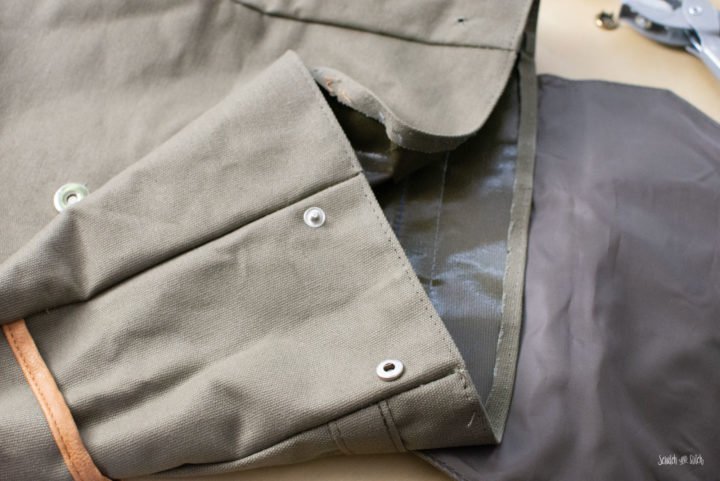
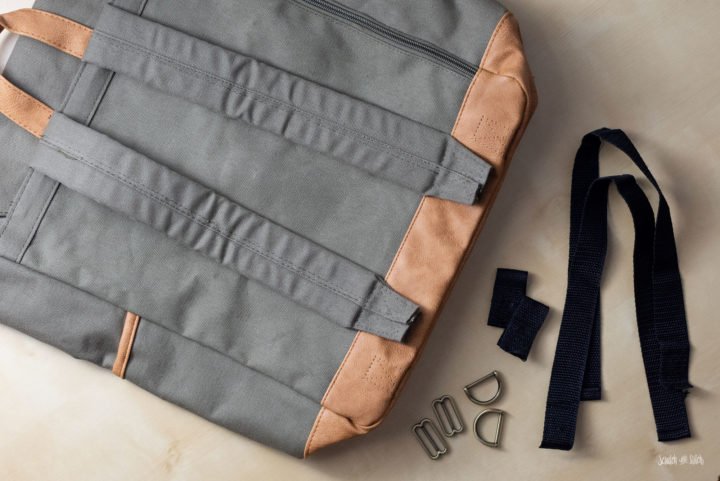
First step to this upcycled bag was to disassemble the parts of the bag. I removed the inner liner, all hardware, straps, cover with liner, and separated the front panel from the bag.
The original snaps on the sides of the backpack didn’t hold well so I replaced them with Dritz Heavy Duty Snaps. These only came in a gunmetal finish so I used a gold Sharpie to change the color.
View this post on Instagram
Upcycled Bag: Creating and Attaching Patches
The patches on my backpack refashion were intentionally made to look ragged. I achieved this by using fabric scraps, iron-on adhesive, and stitching.
I cut out several flowers from the scrap fabric.
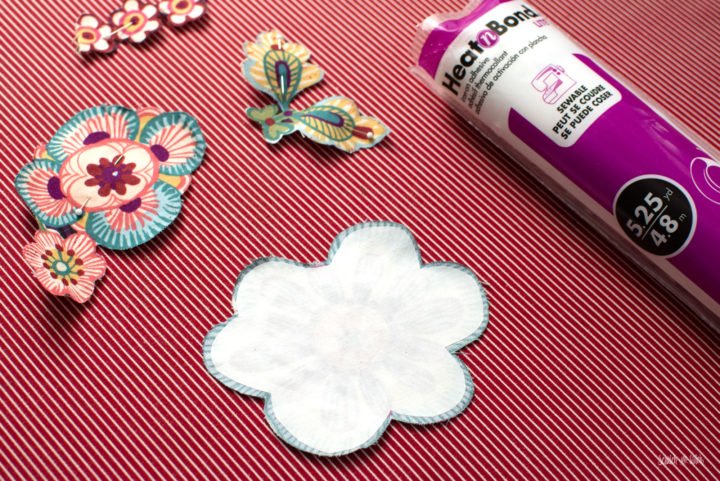
I traced the cut shapes onto the Heat n Bond adhesive paper. These were then cut out slightly smaller than the final shapes to allow the edges to fray.
The cut adhesive shapes were then ironed onto the back of the floral shapes following the instructions on the package.
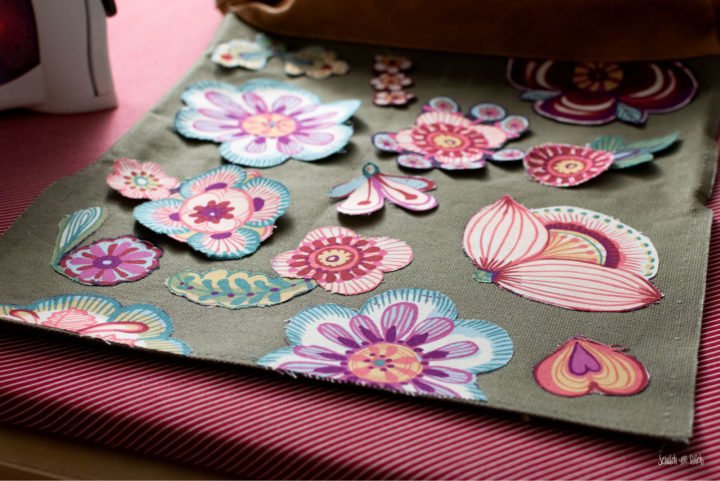
After deciding on the final placement of the floral patches, I removed the paper backing from the Heat n Bond and ironed the patches onto the front panel of the bag.
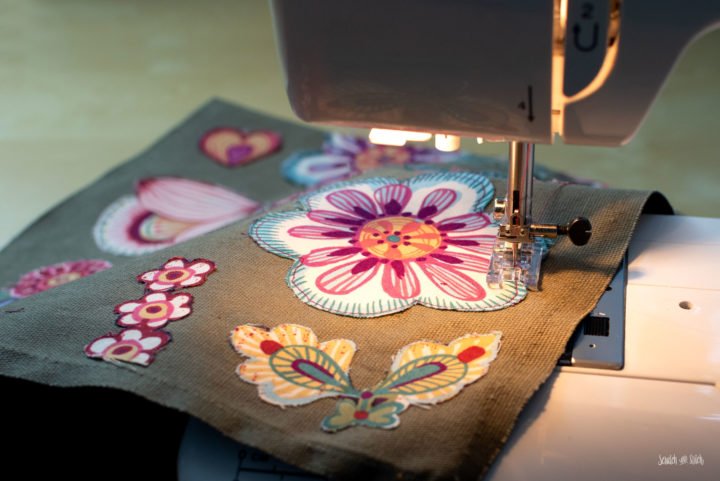
Next step to this upcycled bag was sewing around each of the patches. I chose a berry-colored thread from my stash and sewed each patch about 1/8″ from the edge with a short stitch length.
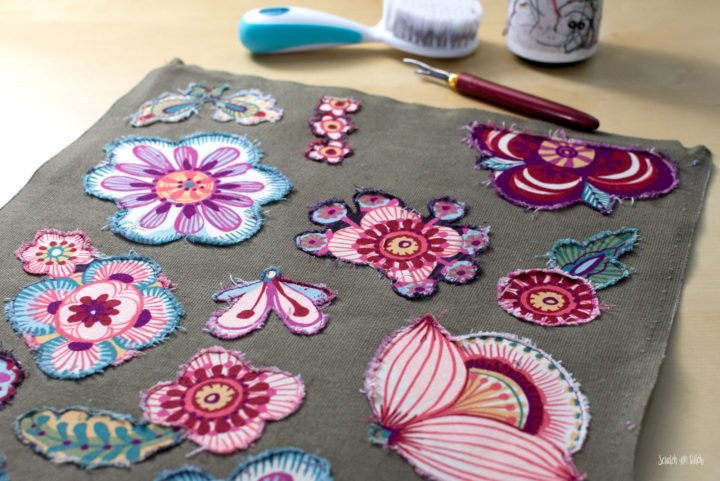
To fray the edges of the flowers I used a soft-bristled brush, my seam ripper, and a lint roller. The stitches keep the fraying just at the edges of each of the patches. The front panel was finished and set aside.
Upcycled Bag: Updated Straps
While the straps could have been left as-is, I felt that the flowers needed to be brought around to the other side of the bag. My plan was to cover the black webbing straps, replace the plastic sliders with brass sliders, and rethread the straps in a new way.
This technique for covering bag straps comes from Annie Unrein (byannie.com) in her Bluprint class Sew Sturdy: The Essential Backpack. This is a great way to cover plain straps on upcycled bag projects.
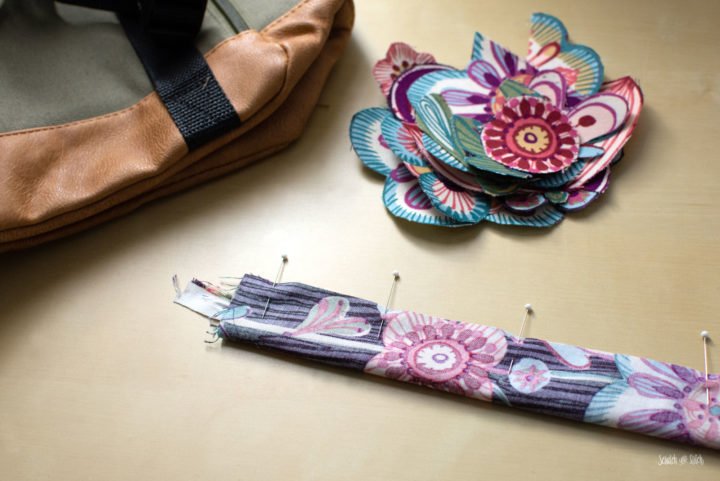
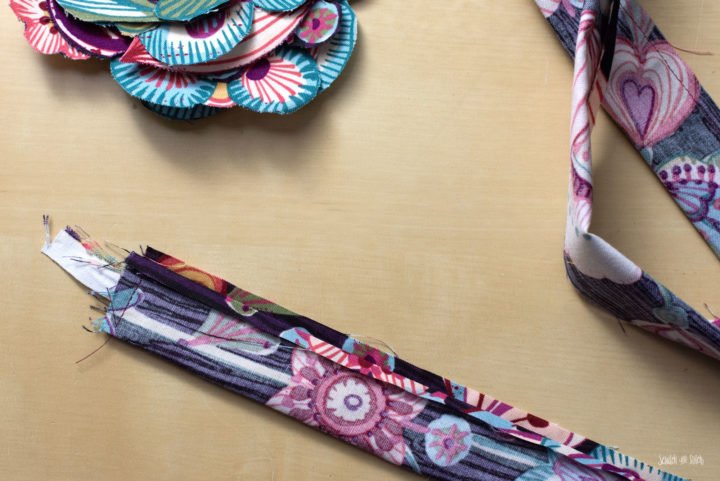
I cut a strip of fabric wide enough to cover the strap plus 1/4″ seam allowance. A length of fabric salvage was then laid in the middle of the fabric strip. The strip was folded in half, pinned, and sewn with a a 1/4″ seam allowance across one end (catching the salvage piece) and down one side leaving the other end open.
I pressed down one of the seam allowances and pulled the fabric salvage through the tube so the right-sides were turned to the outside of the tube.
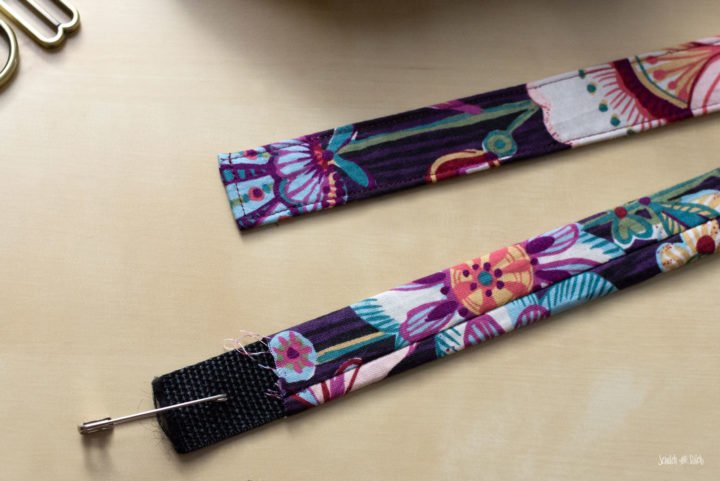
Using a large safety pin attached to the black strap I guided it through the tube. I finished the new straps with a top stitch on the ends and sides. The new straps were then threaded into the new sliders and reattached to the bag.
Upcycled Bag: Adding Studs
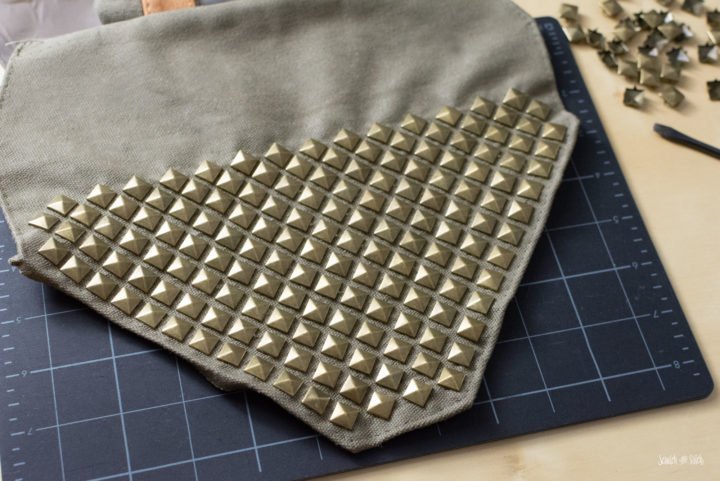
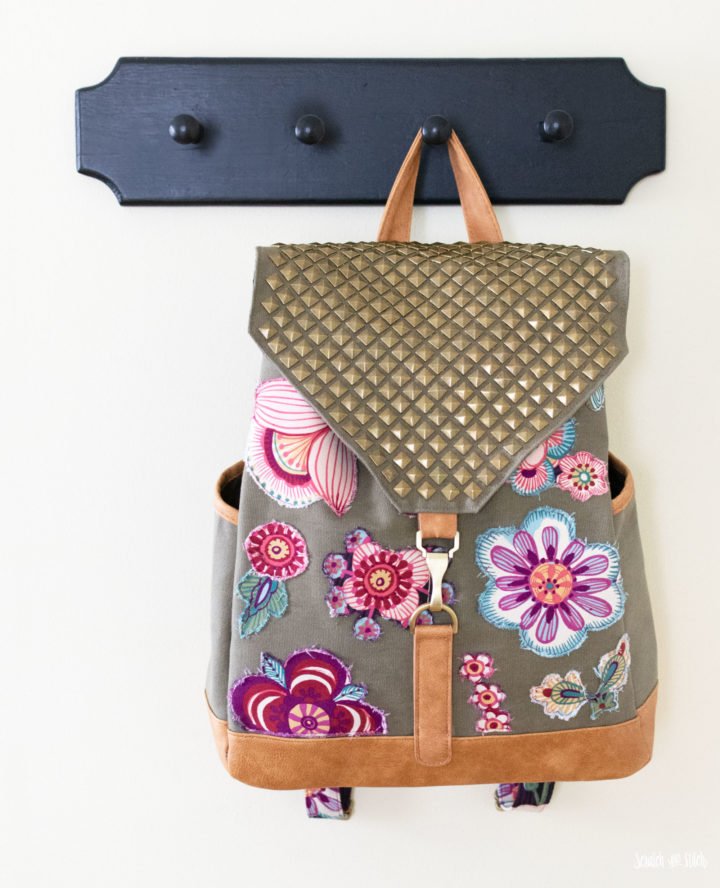
One of my favorite features of this upcycled bag is the cover flap covered in brass studs. I used 259 studs.
With the liner removed from the backside of the cover I began attaching the studs. The fours prongs of each stud were pushed through the fabric then folded over using a small flathead screwdriver (save your fingers!).
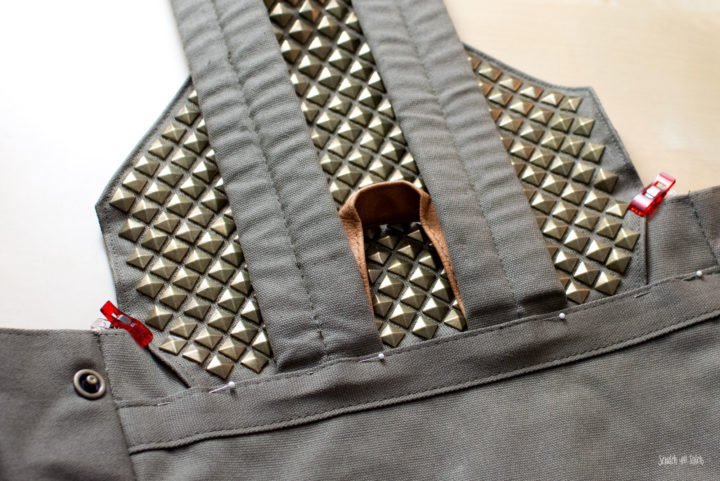
After all the studs were applied, I sewed the liner back onto the cover flap and reattached the cover to the bag.
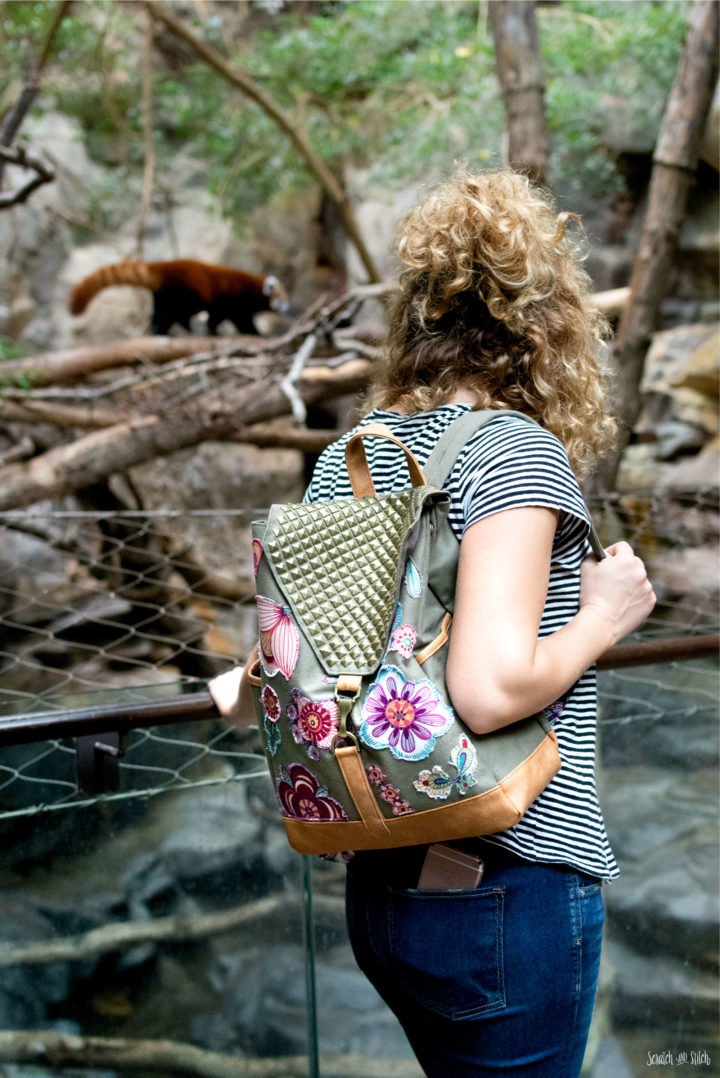
The final upcycled bag is such a great upgrade from the original backpack.
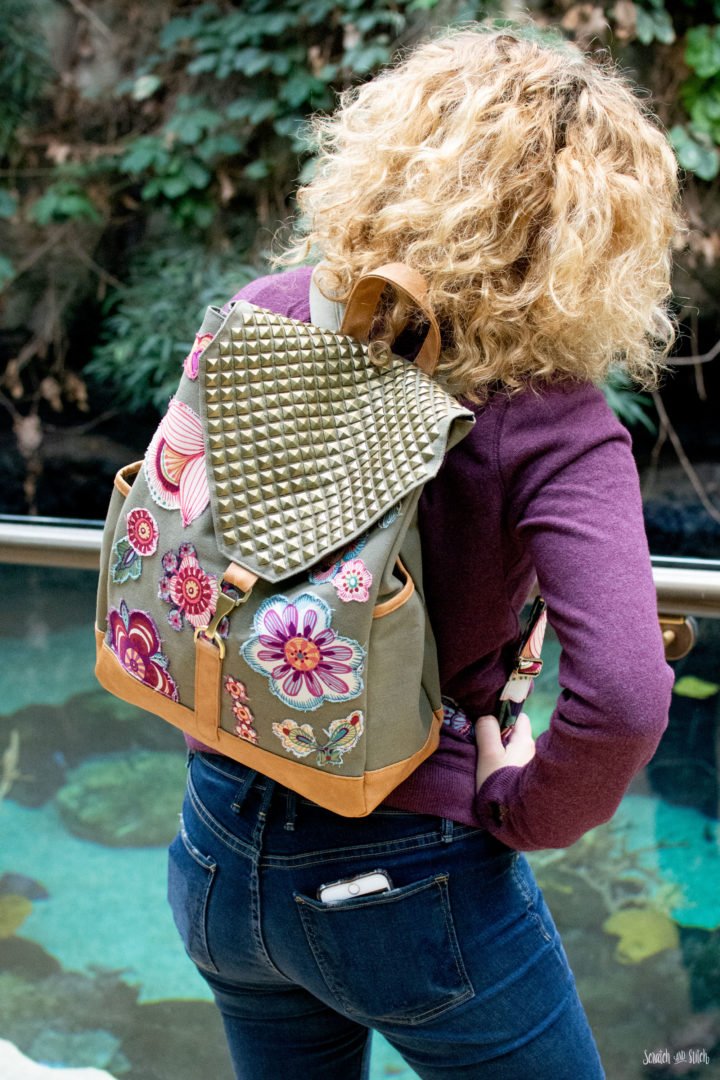
Special thanks to my beautiful sister-in-law for helping me out with an impromptu photoshoot at the zoo. :)
Were you inspired to create a backpack refashion or upcycled bag? Leave a comment below with a link or post it on Instagram and tag @scratchandstitch.
Leave a Reply