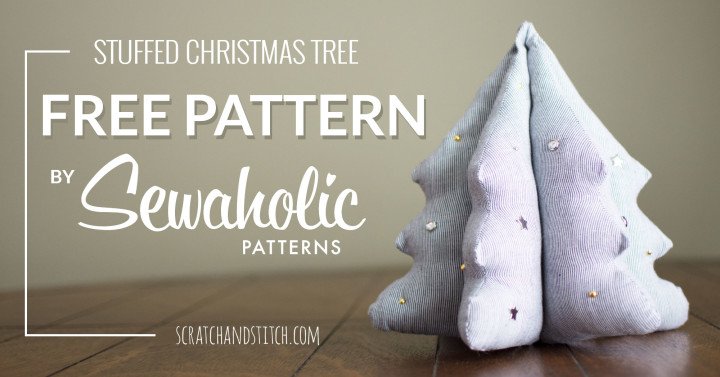
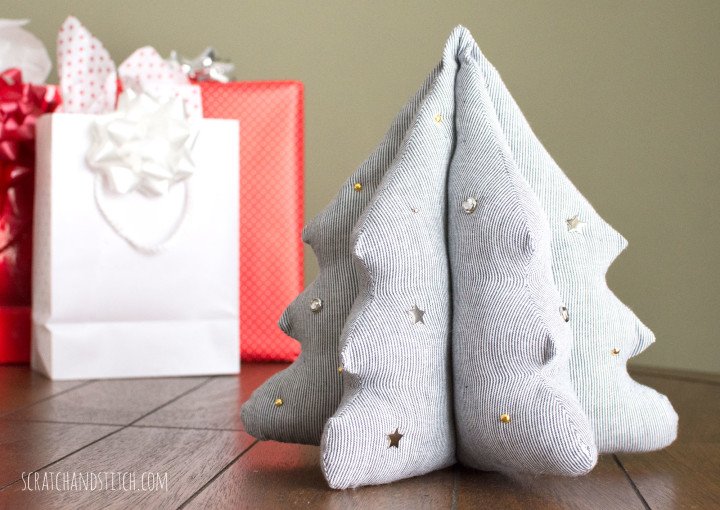
For those of you who have been following along, you may know about my BFF’s Christmas tree collection. Her ever growing collection has a well-rounded amount of Christmas tree styles from classic to rustic to bright and cheery. And now she has a blinged-out stuffed Christmas tree!
When I came across Sewaholic Patterns’, FREE pattern of the Stanley Tree I had to give it shot, then gift it to my BFF this year for Christmas.
This was my first time trying a Sewaholic pattern and I was pleasantly surprised on the ease of use. I followed their pattern’s directions and customized the final decorations with some findings I had on hand.
Materials
- Stanley Tree pattern from Sewaholic Patterns
- fabric
- coordinating thread
- stuffing (I used Poly-fil from Joann)
- studs, bells, ribbon, etc
Directions
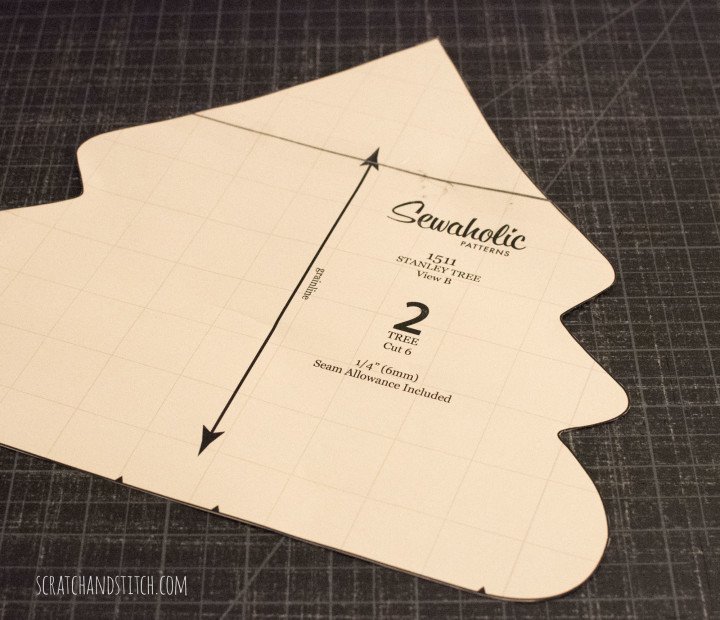
This stuffed Christmas tree is the 9″ version. Here’s a general outline of how to make the Stanley stuffed Christmas tree. Head over to Sewaholic Patterns to get their free PDF pattern while you still can.
Print, assemble, and cut the tree pattern.
Fold or double layer your fabric. Trace the tree pattern three times onto the fabric and cut out. Make sure to mark or cut the notches according to the pattern.
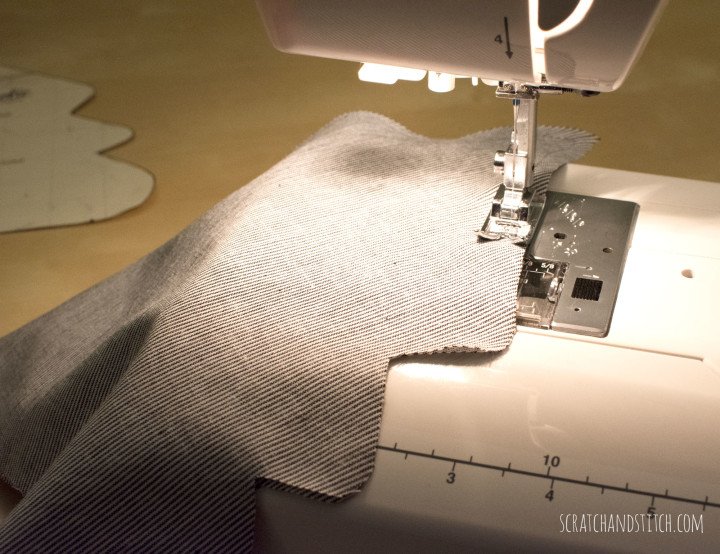
Following the pattern instructions, sew around the edges of the fabric pieces with 1/4″ seam allowance. Leave openings between your notches for adding stuffing later.
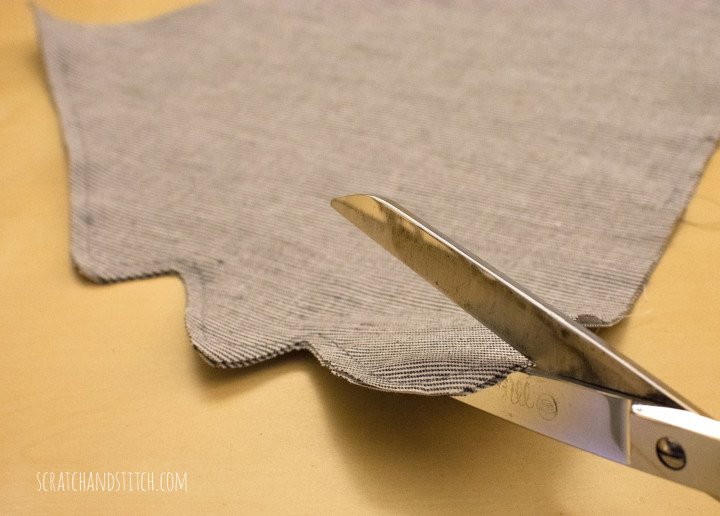
Sewaholic recommends cutting notches around the corners.
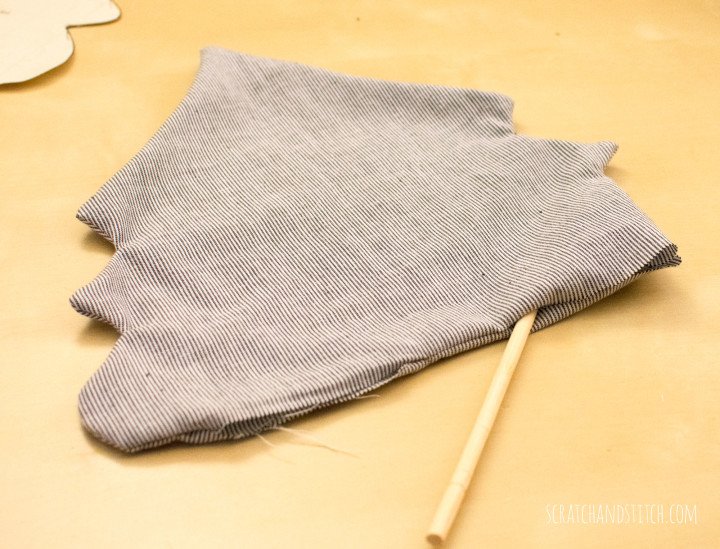
Turn right sides out.
Using a chopstick or similar push out the corners. Iron the seams flat.
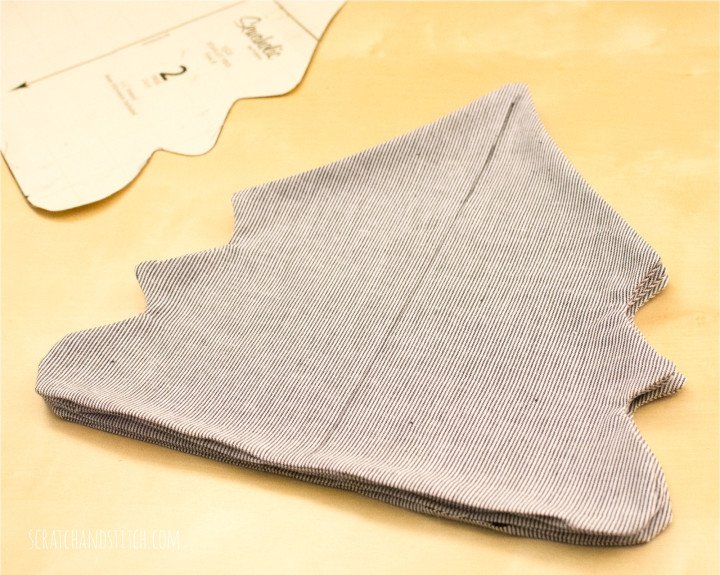
Lay the three sewn pieces on top of each other and sew a straight line down the middle.
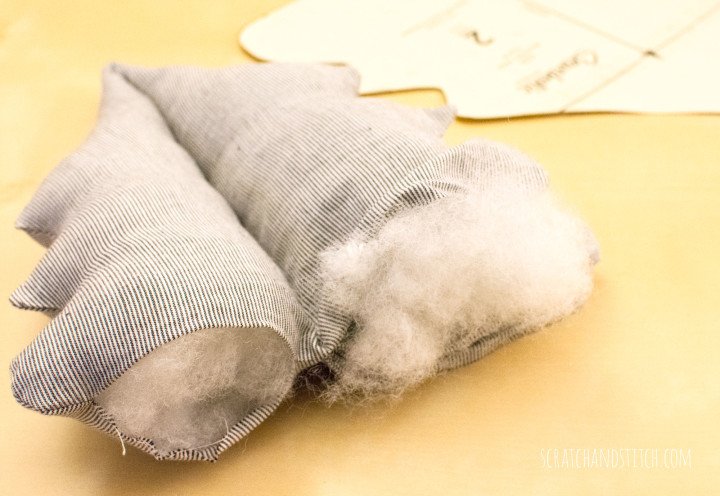
Start stuffing!
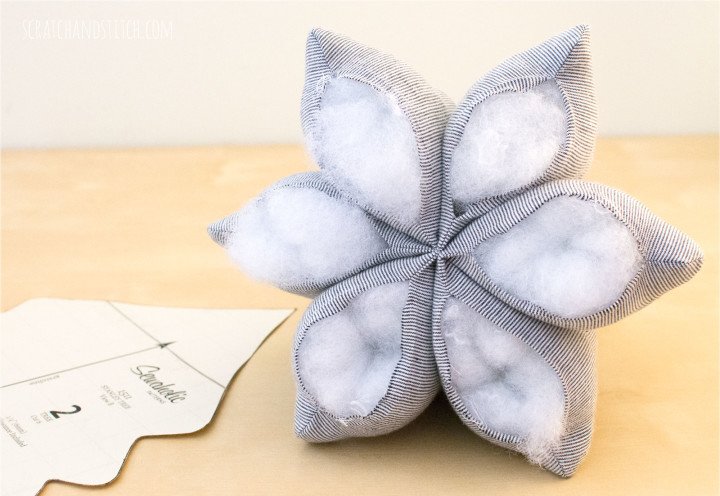
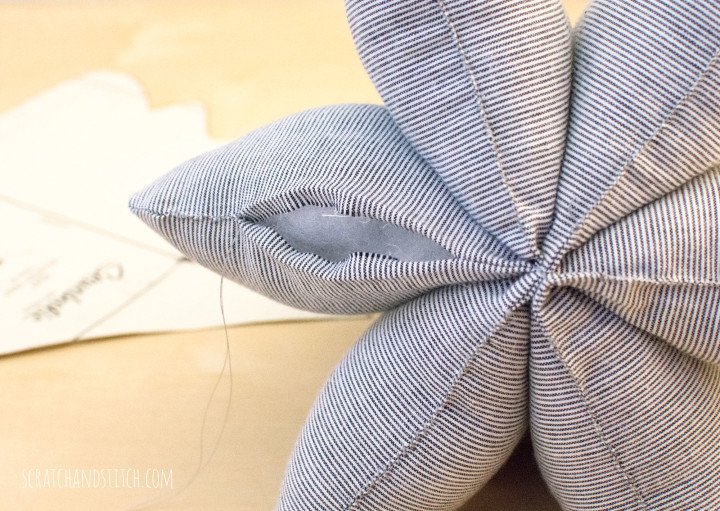
I found that filling each section a little at a time was the best way to ensure even stuffing. Get the tips filled to your liking and keep stuffing all the way to the bottom.
Massage out any uneven lumps as you go.
Finish the stuffed Christmas tree with a whip stitch (watch me whip…whatch me nae nae… No? Too soon?).
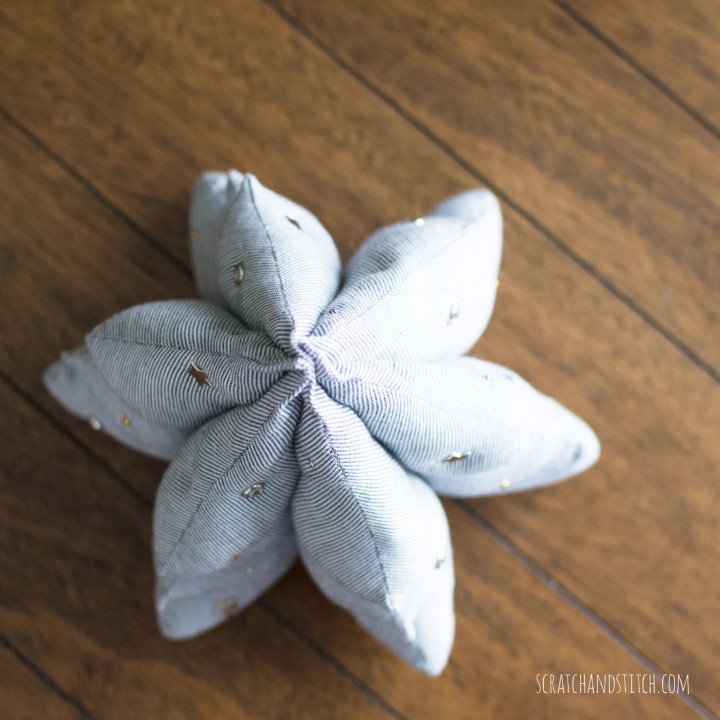
For the decorations on this stuffed Christmas tree, I used silver and gold metal brads, silver star studs, and rhinestone studs. Each was pushed into the tree and the backs were folded over.
**Note: The sturdier the studs the better. The metal brads I used were intended for paper and could easily fall out. I recommend studs intended for use with fabric or leather.
Adorn the stuffed Christmas tree with bows and bells, studs and rhinestones, or nothing at all. These trees are so easy-to-make and fun to display.
My BFF loved the new addition to her Christmas tree collection. I may have to make one for myself next year.
Thanks for the free pattern Sewaholic!
Thank you for the blast from the past! Made these years ago with my mom. Great memories.
Glad to bring back some warm-fuzzies. 🤩