This post may contain affiliate links.
The 1964 stop-motion classic Rudolph the Red-Nosed Reindeer was the Christmas movie of choice in our house growing up. Our whole family would be quoting the lines and singing along as the misfits journeyed along. Since we all know and love this Christmas hero, I’ve created the Rudolph Christmas Stocking pattern.
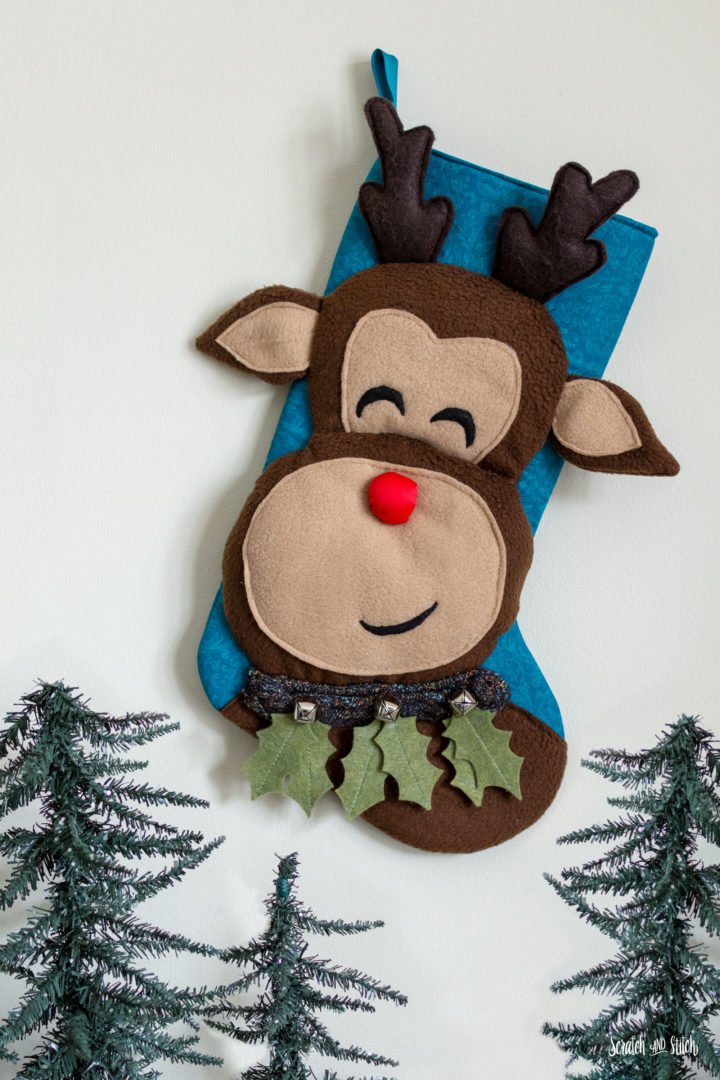
I’ve made this stocking pattern large because, in my family, we overdo stocking stuffers. One year we had a stockings-only rule and had to have overflow gift bags to accommodate.

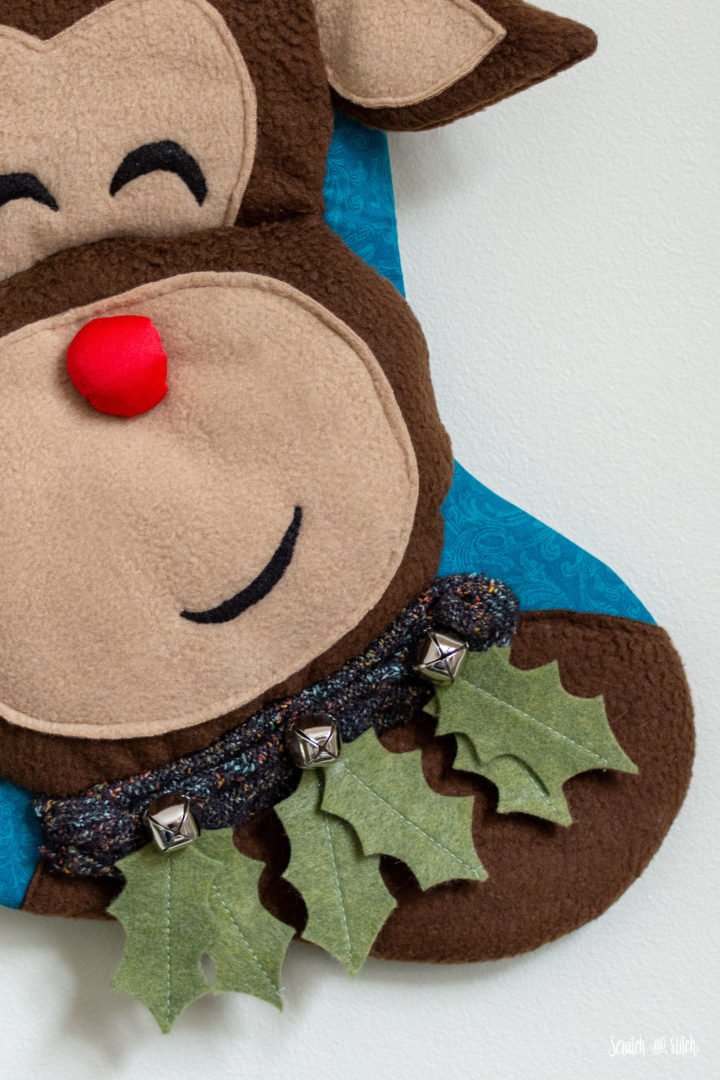
The Rudolph stocking is part of a three-part series of Christmas stocking sewing patterns. He goes along with a Santa stocking and a Snowman stocking. For each of the three stockings, I encourage you to use things you may already have in your stash, like a knit hat on the snowman and a real belt buckle on Santa. The Rudolph stocking has a sweater sock as a scarf and jingle bells.
Choosing Fabric for this Christmas Stocking Pattern
- Quilting cotton works great for the base of this stocking.
- The Rudolph head and body is intended to be made with fleece fabric. This allows for exposed raw edges and is a bit forgiving with sizing. Plus, fleece fabric is great for sewing plush stuffed animals. I recommend felt fabric for the antlers and holly leaves as it’s a bit stiffer.
- The red nose can be made with any fabric, and I chose a shimmery fabric found in my sewing fabric scrap bin.
- The scarf is a great time to use up some scrap fabric though I’ve also included a pattern piece to create a fleece collar.
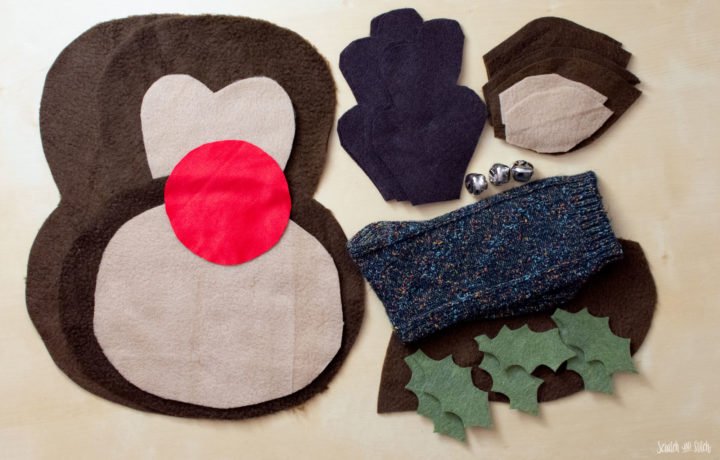
Materials
- quilting cotton for stocking base
- Soft & Stable (quilt batting will work too, Soft & Stable is more rigid)
- 1” ribbon scrap (approx 5 inches)
- brown fleece fabric (head/body)
- tan fleece fabric (face/mouth)
- green felt (holly leaves)
- dark brown felt (antlers)
- black felt (eyes, smile) *optionally embroider
- red scrap (nose)
- scrap fleece, sock, scarf, or knit scrap (scarf)
- jingle bells
- poly-fil
- coordinating thread
- basic sewing tools and supplies
Download the Free Rudolph Stocking Pattern
The printable PDF pattern includes Christmas Stocking Pattern, Rudolph pattern, materials list, and cut list.
Enter your email to get the free pattern in your inbox.
By submitting your email address you will be added to the Scratch and Stitch email newsletter. You can opt-out at any time :)
How to Sew the Rudolph Christmas Stocking
Download, print, and assemble the Christmas stocking pattern.
For the base of the Christmas stocking, you can use two different fabrics for the interior and exterior of the stocking. I chose to use the same fabric for both the inside and outside of the stocking. A scrap piece of one-inch ribbon approximately five inches long works great for hanging this size of the stocking.
Transfer the stocking pattern onto your fabric and Soft & Stable. Take note that the stabilizer pieces are 1/2” shorter than the main fabric pieces. You’ll need two reverse pieces for the exterior, two reverse pieces for the interior, and two pieces of stabilizer.
Sew the two lining pieces right sides together with a 1/4” seam allowance leaving the top of the stocking open. Back-stitch at the top. Set aside.
With wrong sides facing, sew the front main fabric and piece of stabilizer together with a basting stitch, leaving the top open. This will create the canvas to attach Rudolph to. Repeat with the backside and another piece of stabilizer. Set aside.
How to Make Rudolph
Download, print, assemble the paper pattern, and cut out pattern pieces.
Transfer the paper pattern piece onto your fabrics and cut out.
You will have:
- 1 face
- 1 mouth
- 2 eyes
- 1 smile
- 2 inner ears (1 reverse)
- 1 upper head
- 1 lower head
- 4 outer ear (2 reverse)
- 1 body
- 1 head back
- 1 nose
- 6 holly leaves
- 4 antlers (2 reverse)
- 1 collar or scarf (I used the top portion of a sweater sock)
Making Rudolph’s Antlers
The antlers are intended to have raw edges exposed. With right sides facing, sew two pieces of felt together with a 1/4” seam allowance leaving the bottom open (make sure to back-stitch). Lightly stuff with poly-fil. Set aside.
Making Rudolph’s Ears
Sew two inner ear pieces onto two outer ear pieces with the bottoms aligned. Then, with the other outer ear piece and right-sides facing, sew the ear pieces together. Trim the point and turn right-sides out. Lightly stuff with poly-fil. Set aside.
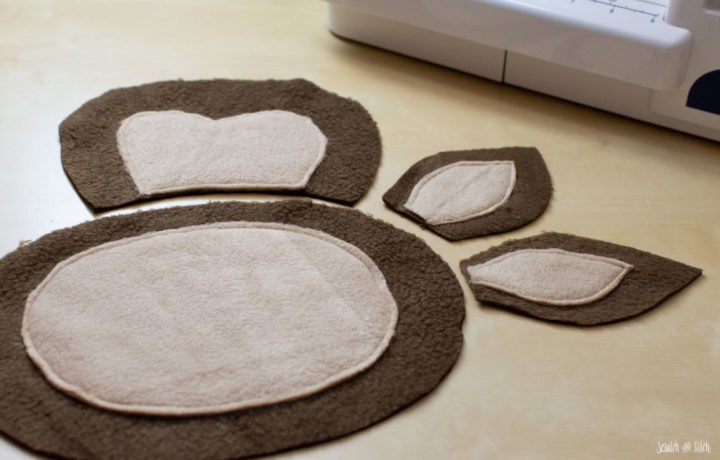
Making Rudolph’s Face
Rudolph’s eyes and a smile can be added using black felt or embroidered. However you’d like to add them, now is the time. Determine the placement of the eyes onto the face and smile onto the mouth, pin in place, and hand-stitch on.
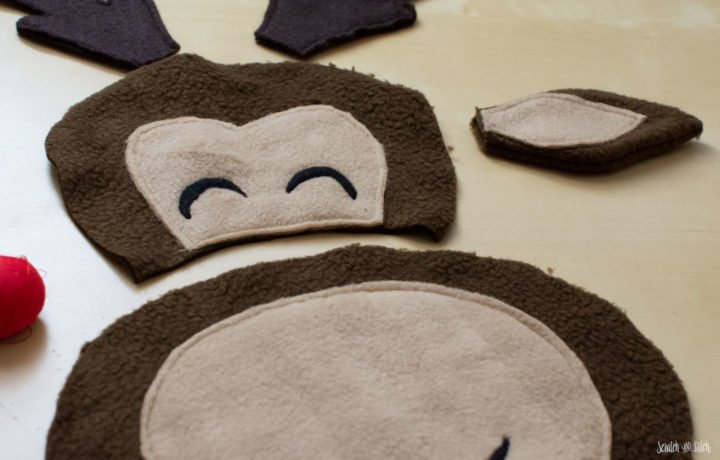
Sew the face (with eyes) to the bottom-center of the upper head. Set aside.
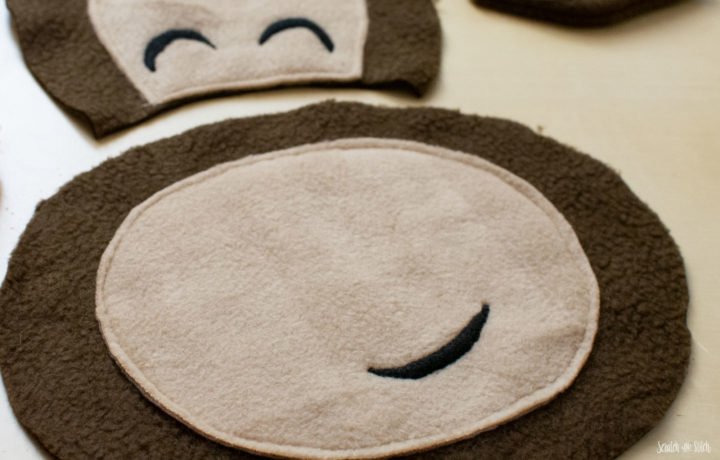
Sew the mouth (with smile) to the center of the lower head. Set aside.
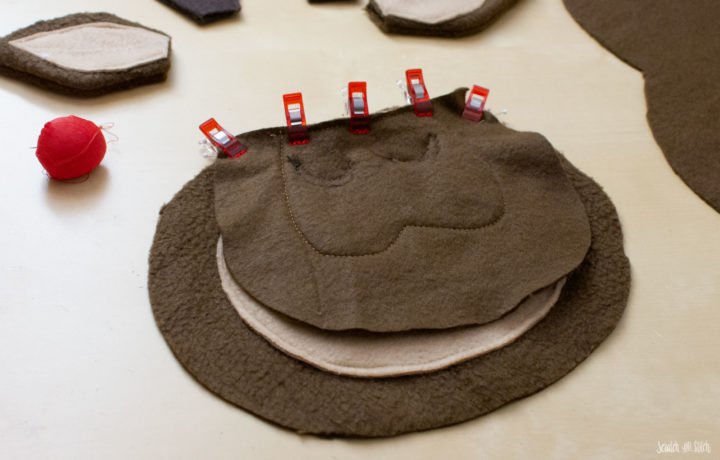
With right sides facing, align the bottom of the upper head to the top of the lower head sew together. Flip the upper head up.
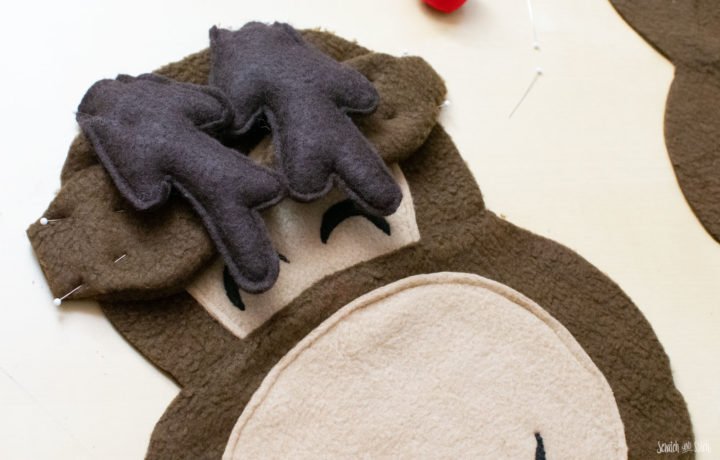
Decide the placement of the ears and antlers. Turn the ears and antlers inward toward the face and pin or clip (optionally, you can sew these in place so ensure they slip around). Place the head back on top and clip or pin.
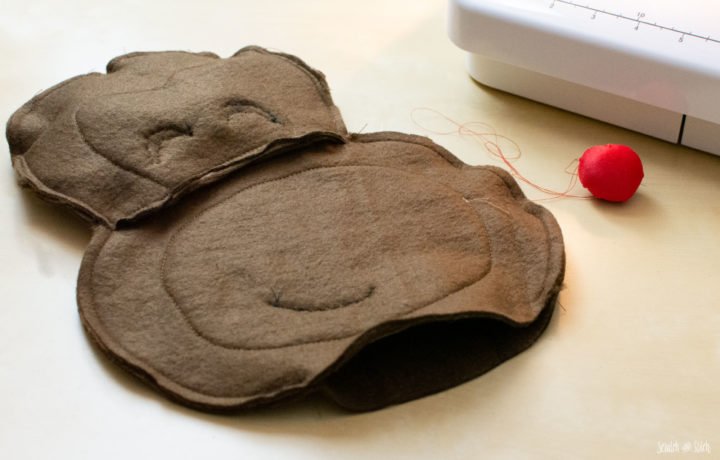
Sew around the perimeter with a 1/4″ seam allowance, leaving the bottom open. Turn right-sides out (the ears and antlers should be in the correct position now). Lightly stuff with poly-fil. Hand-stitch the opening closed with a ladder stitch. Set aside.
Making Rudolph’s Nose
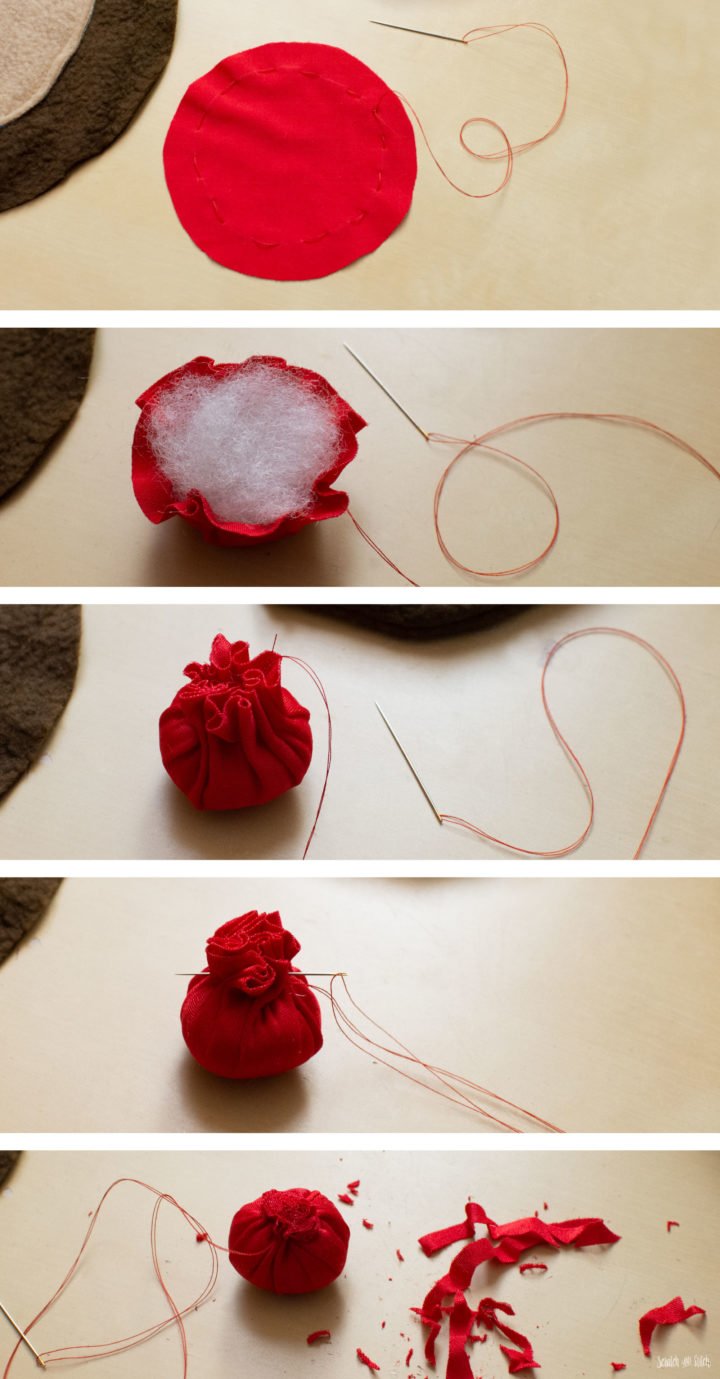
Hand-stitch a basting stitch around the perimeter of the circle with a 1/4” seam allowance. Leave the thread tails extra long for pulling and gathering. Gently pull the threads to begin to create a “balloon” with the fabric circle. Keep pulling the threads until it will hold the stuffing. Stuff the ball with poly-fil and continue gently pulling the threads to close the opening. Add a few stitches through the gathered fabric to hold it together. Trim excess seam allowance. Set aside.
Putting it All Together
Align the body piece onto the front stocking piece. Pin or clip. Sew the top part in place with a 1/4″ seam allowance. Sew around the bottom of the body and stocking with a 1/4″ seam allowance.
Position the head onto the stocking front and pin in place. Hand-stitch the face in place, leaving the ears, antlers, and sides of the mouth loose and not sewn. **It’s important to leave the sides of the face not sewn to assemble the stocking.
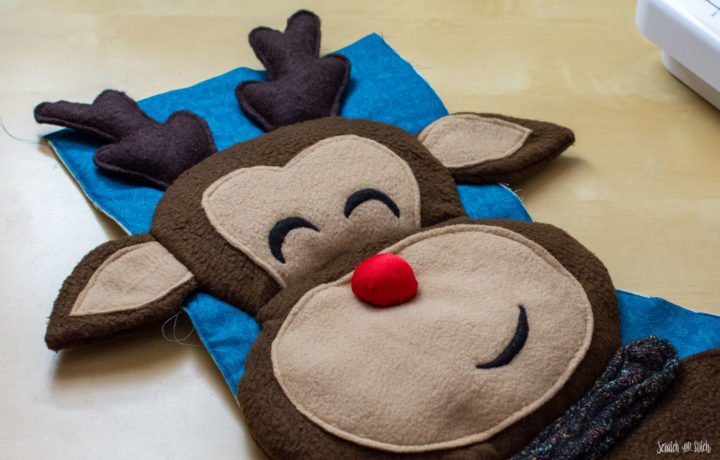
Add a few stitches under the upper head.
Hand-stitch the nose in place.
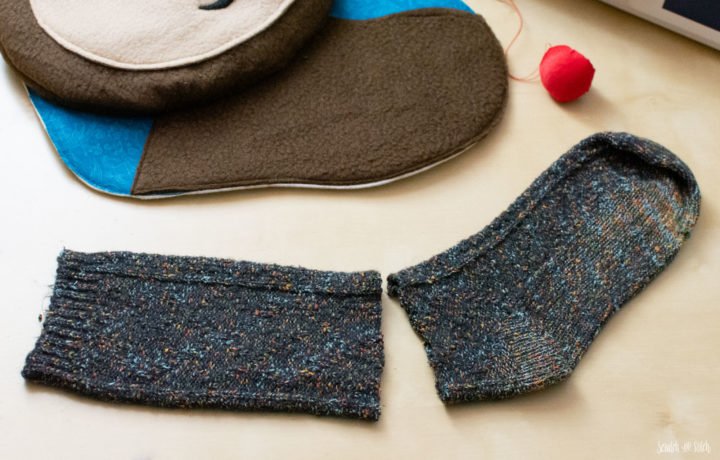
Place the collar (or scarf) onto the body and sew it in place. I used the upper portion of a mismatched sweater sock and hand-stitched into place while adding some wrinkles in the fabric.
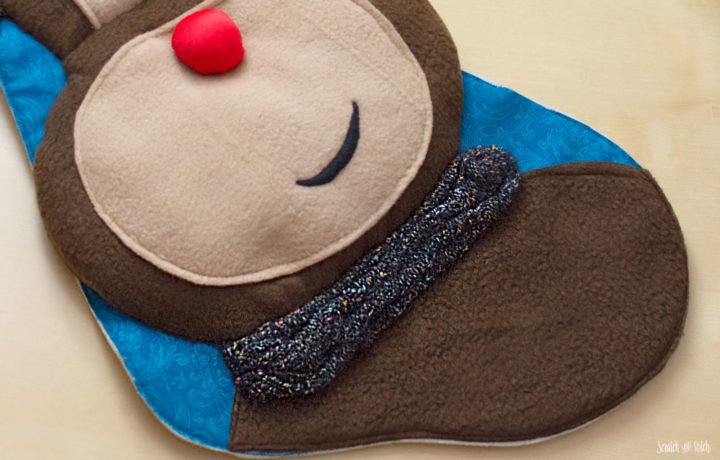
Hand-stitch the tops of the holly leaves and jingle bells into place.
Finish the Stocking
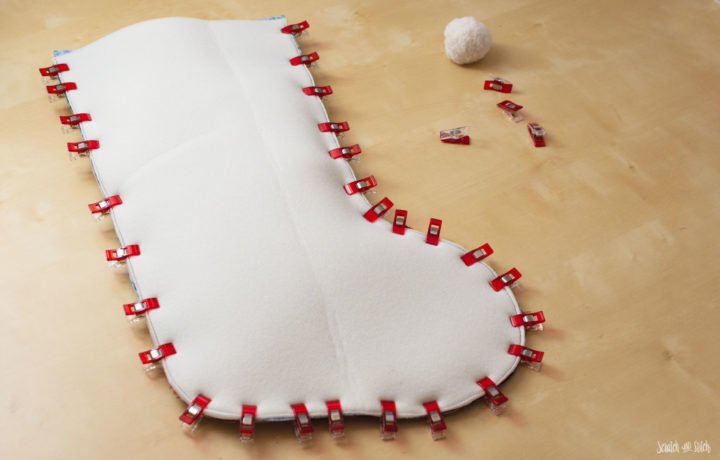
Pin the ears, antlers, holly leaves, and sides of the mouth in towards the center of Rudolph. Place the back piece of the stocking on top of Rudolph’s face with right-sides facing. Clip or pin. Sew around the perimeter of the stocking with a 1/4″ seam allowance (make sure you don’t catch the sides of the mouth, ears, and antlers), leaving the top open.
Carefully turn Rudolph’s face right-side out. Hand-stitch the sides of the face onto the stocking. The ears, antlers, and holly leaves are intended to hang loose.
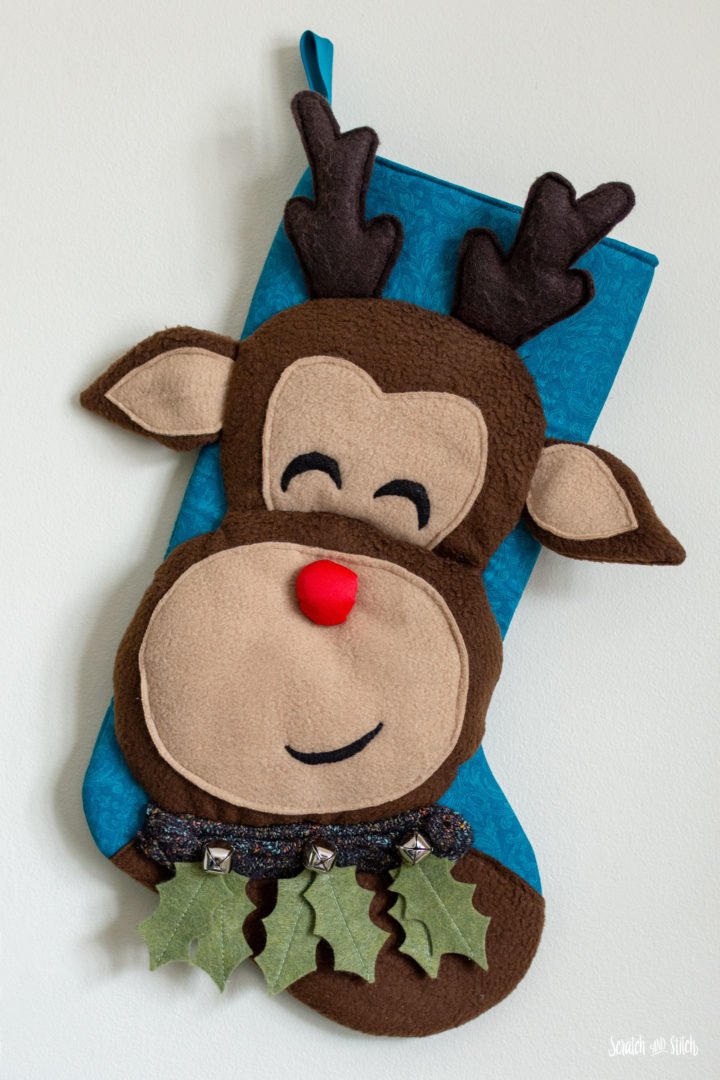
Stuff the lining into the stocking. If the lining is slightly larger than the outer piece, resew the lining with a larger seam allowance, so it stays flat inside the stocking. Fold in the top edges of the main and lining fabrics, so the stabilizer is hidden between the layers. Press to create a sharp fold. Pin the ribbon loop to the side of the stocking opening. Topstitch around the top of the stocking.
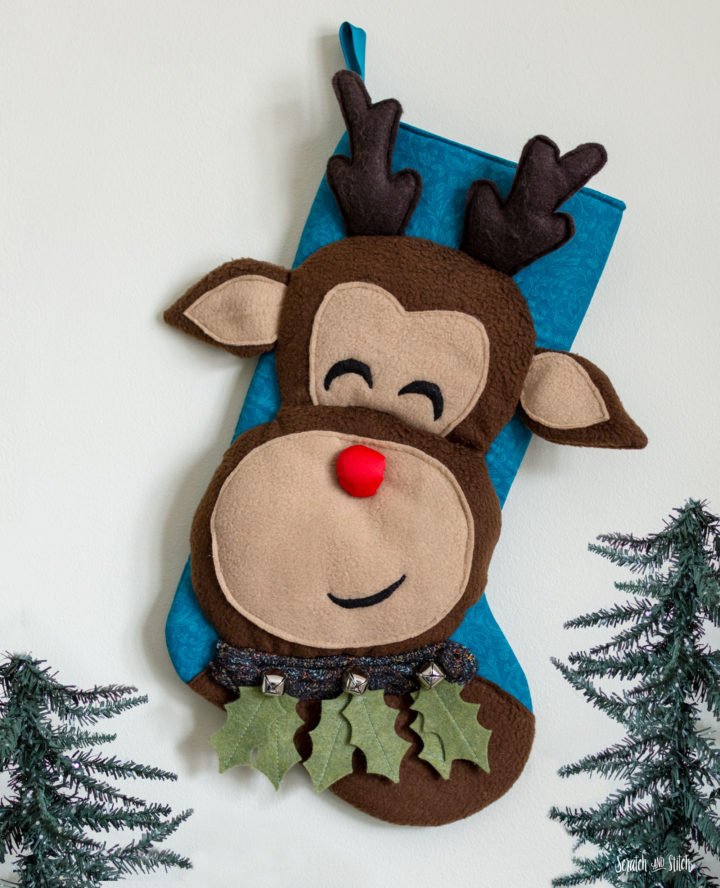
For bonus points, hand-stitch a few stitches in the seam of the toe to keep the lining from getting pulled out of the stocking during unloading.
These are by far the most sturdy and stable stockings I’ve ever seen. I especially like the large size and rigidity of the stockings. Though they could still be bigger :)
I hope you enjoy this Rudolph Christmas Stocking pattern as much as our family does.
Have you used my sewing patterns? If so, I’d love to see what you made. Send me photos of your project or tag @scratchandstitch on Instagram

Gorgeous work! Thank you for sharing your gift.
Any plans for a penguin?
Thank you Cristina- I didn’t have plans for a penguin, but I’m already brainstorming on the pattern and how to make it. If I get it put together, I’ll be sure to let you know. :)
I subscribed, but there is no place to enter my e-mail on the pop-up box to get the pattern download for the Christmas stockings (reindeer or snowman).
Thank you for letting me know! I just sent both the Snowman and Rudolph patterns over to you, as well as the Santa pattern. :)
Hi Cathi,
How much fabric is needed or does it depend how big you make him I’m going to make him into a wall hanging.
Love your ideas.
Hi Susan – Great question and a great way to adapt to this pattern! 1/2″ yard should cover the brown head, body, and ears. Then even less for the lighter brown face, antlers, and holly leaves. Send pics of your project, I would love to see how it turns out. :)
Gorgeous! Thank you for sharing these! Off to the fabric store I go – again!
Gotta get on that holiday sewing. :) Send pics!