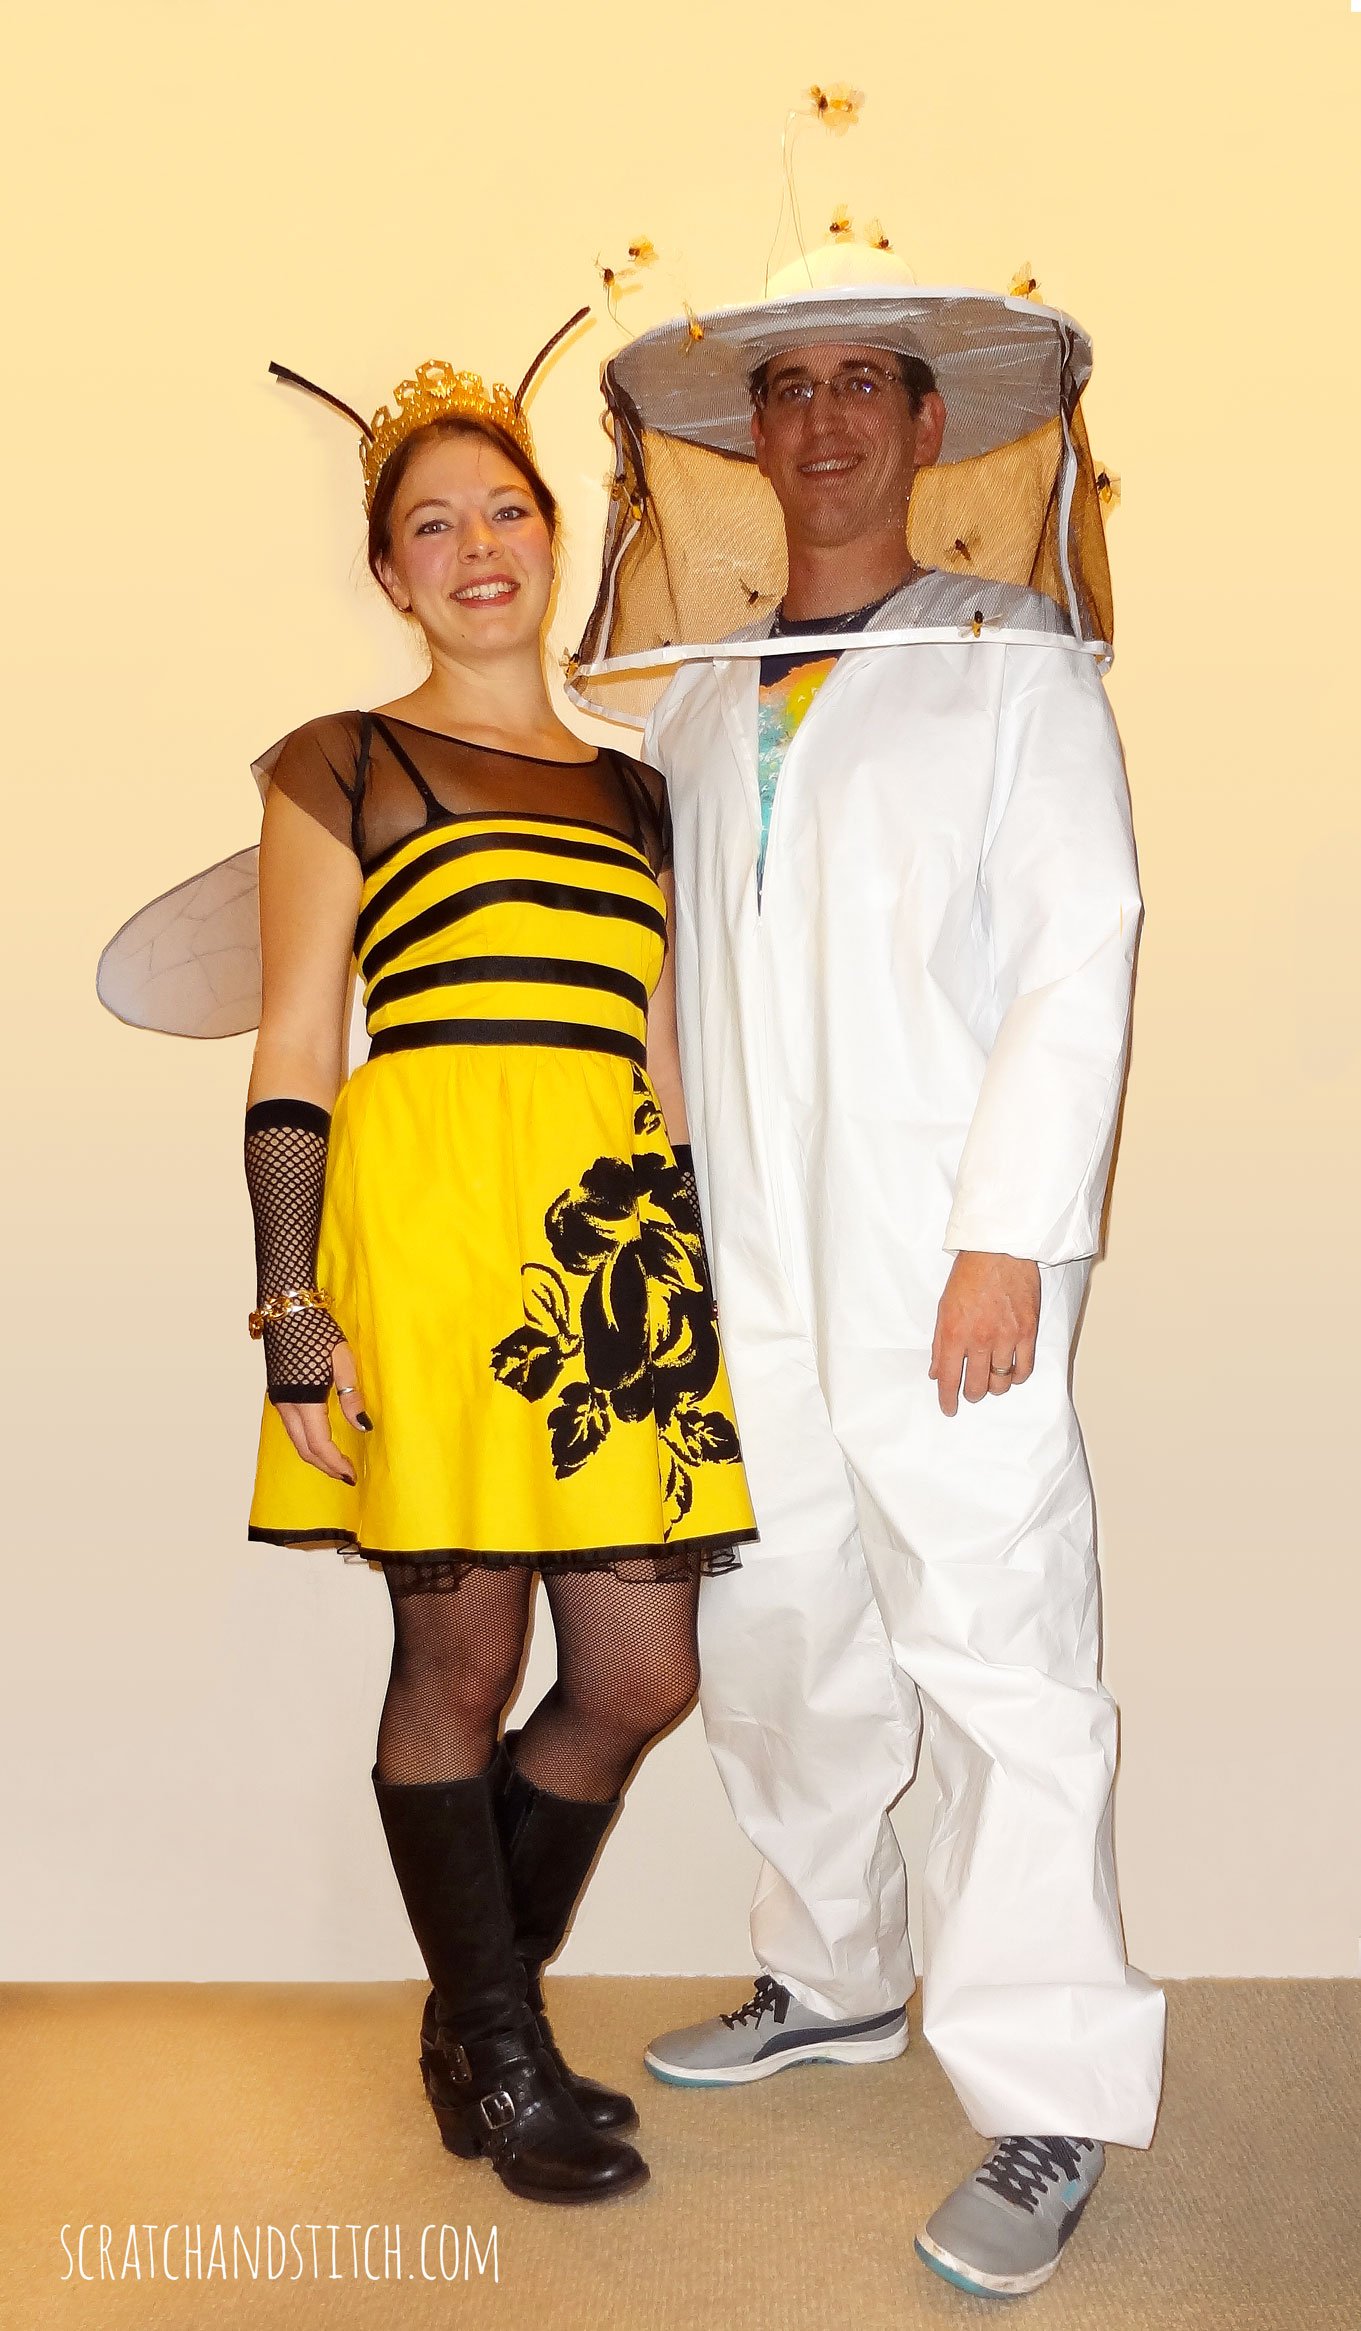
Are you already planning what your Halloween costume for this year? Try this adult Queen Bee costume and Beekeeper costume for couples.
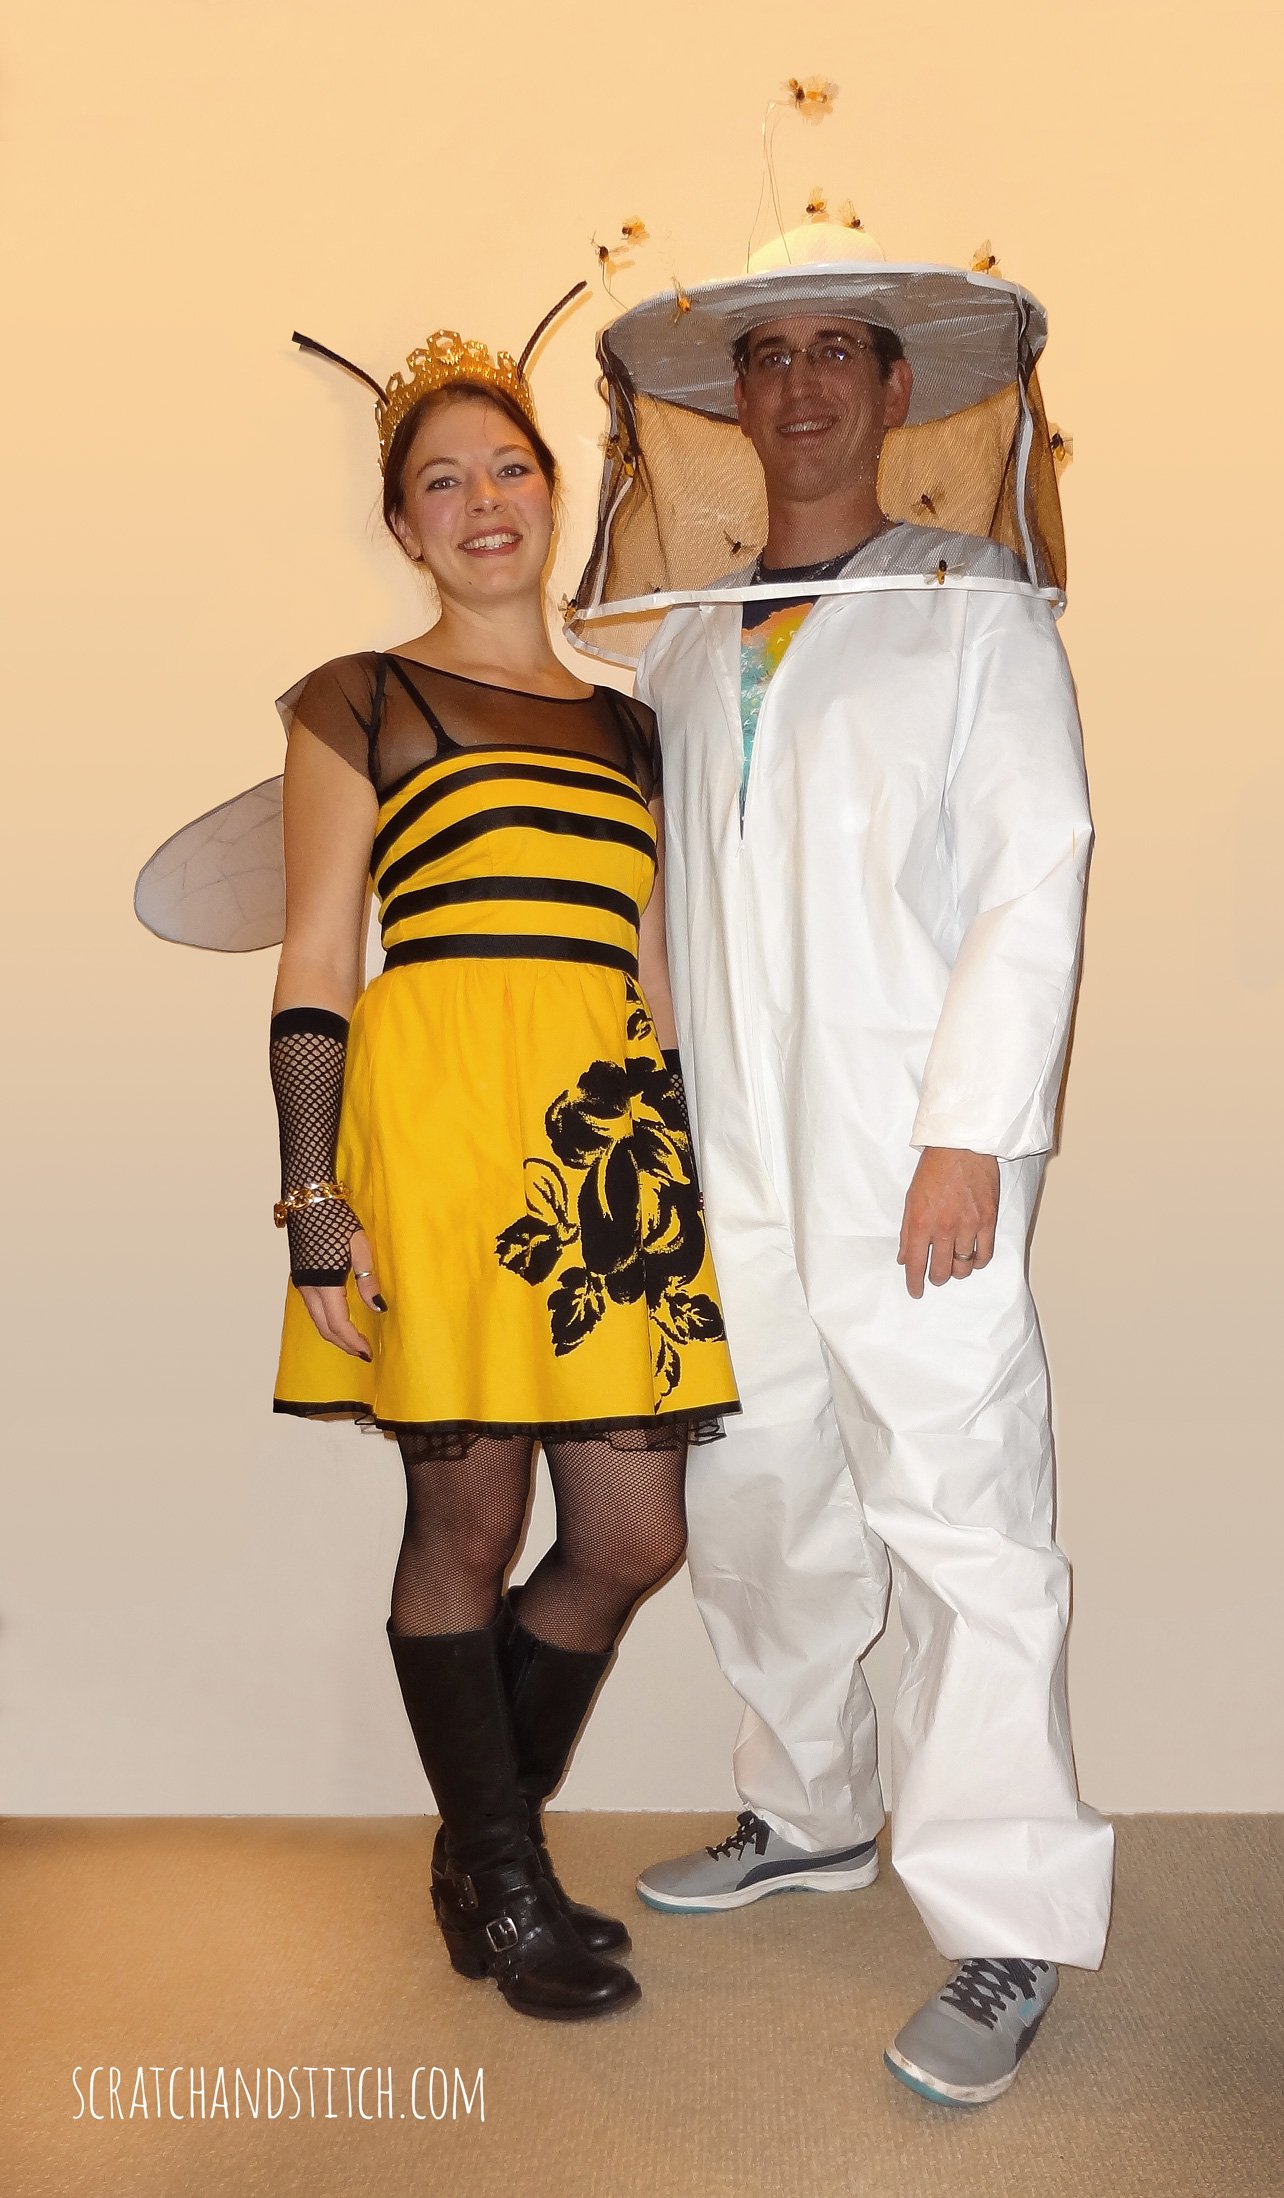
As you may already know, my husband and I love Halloween. We love the spooky spirit, the season, the themed parties, and mostly the costume making (and wearing). Our adult Queen Bee and Beekeeper costumes were easy and inexpensive to make. And so much fun to wear.
We are sticklers about costume accuracy, comfort, and functionality. We always make sure our costumes are suitable for the party venue (if it’s going to be really hot or cold, we try to accommodate for this); we have to be able to quickly remove and assemble (for driving); and we absolutely have to easily be able to drink or eat when in costume. Here’s how we made our inexpensive Queen Bee and Beekeeper couple’s costumes.
DIY Adult Queen Bee Costume
For the dress
- dress
- yellow dye (if needed)
- 1″ black ribbon
- sheer black fabric
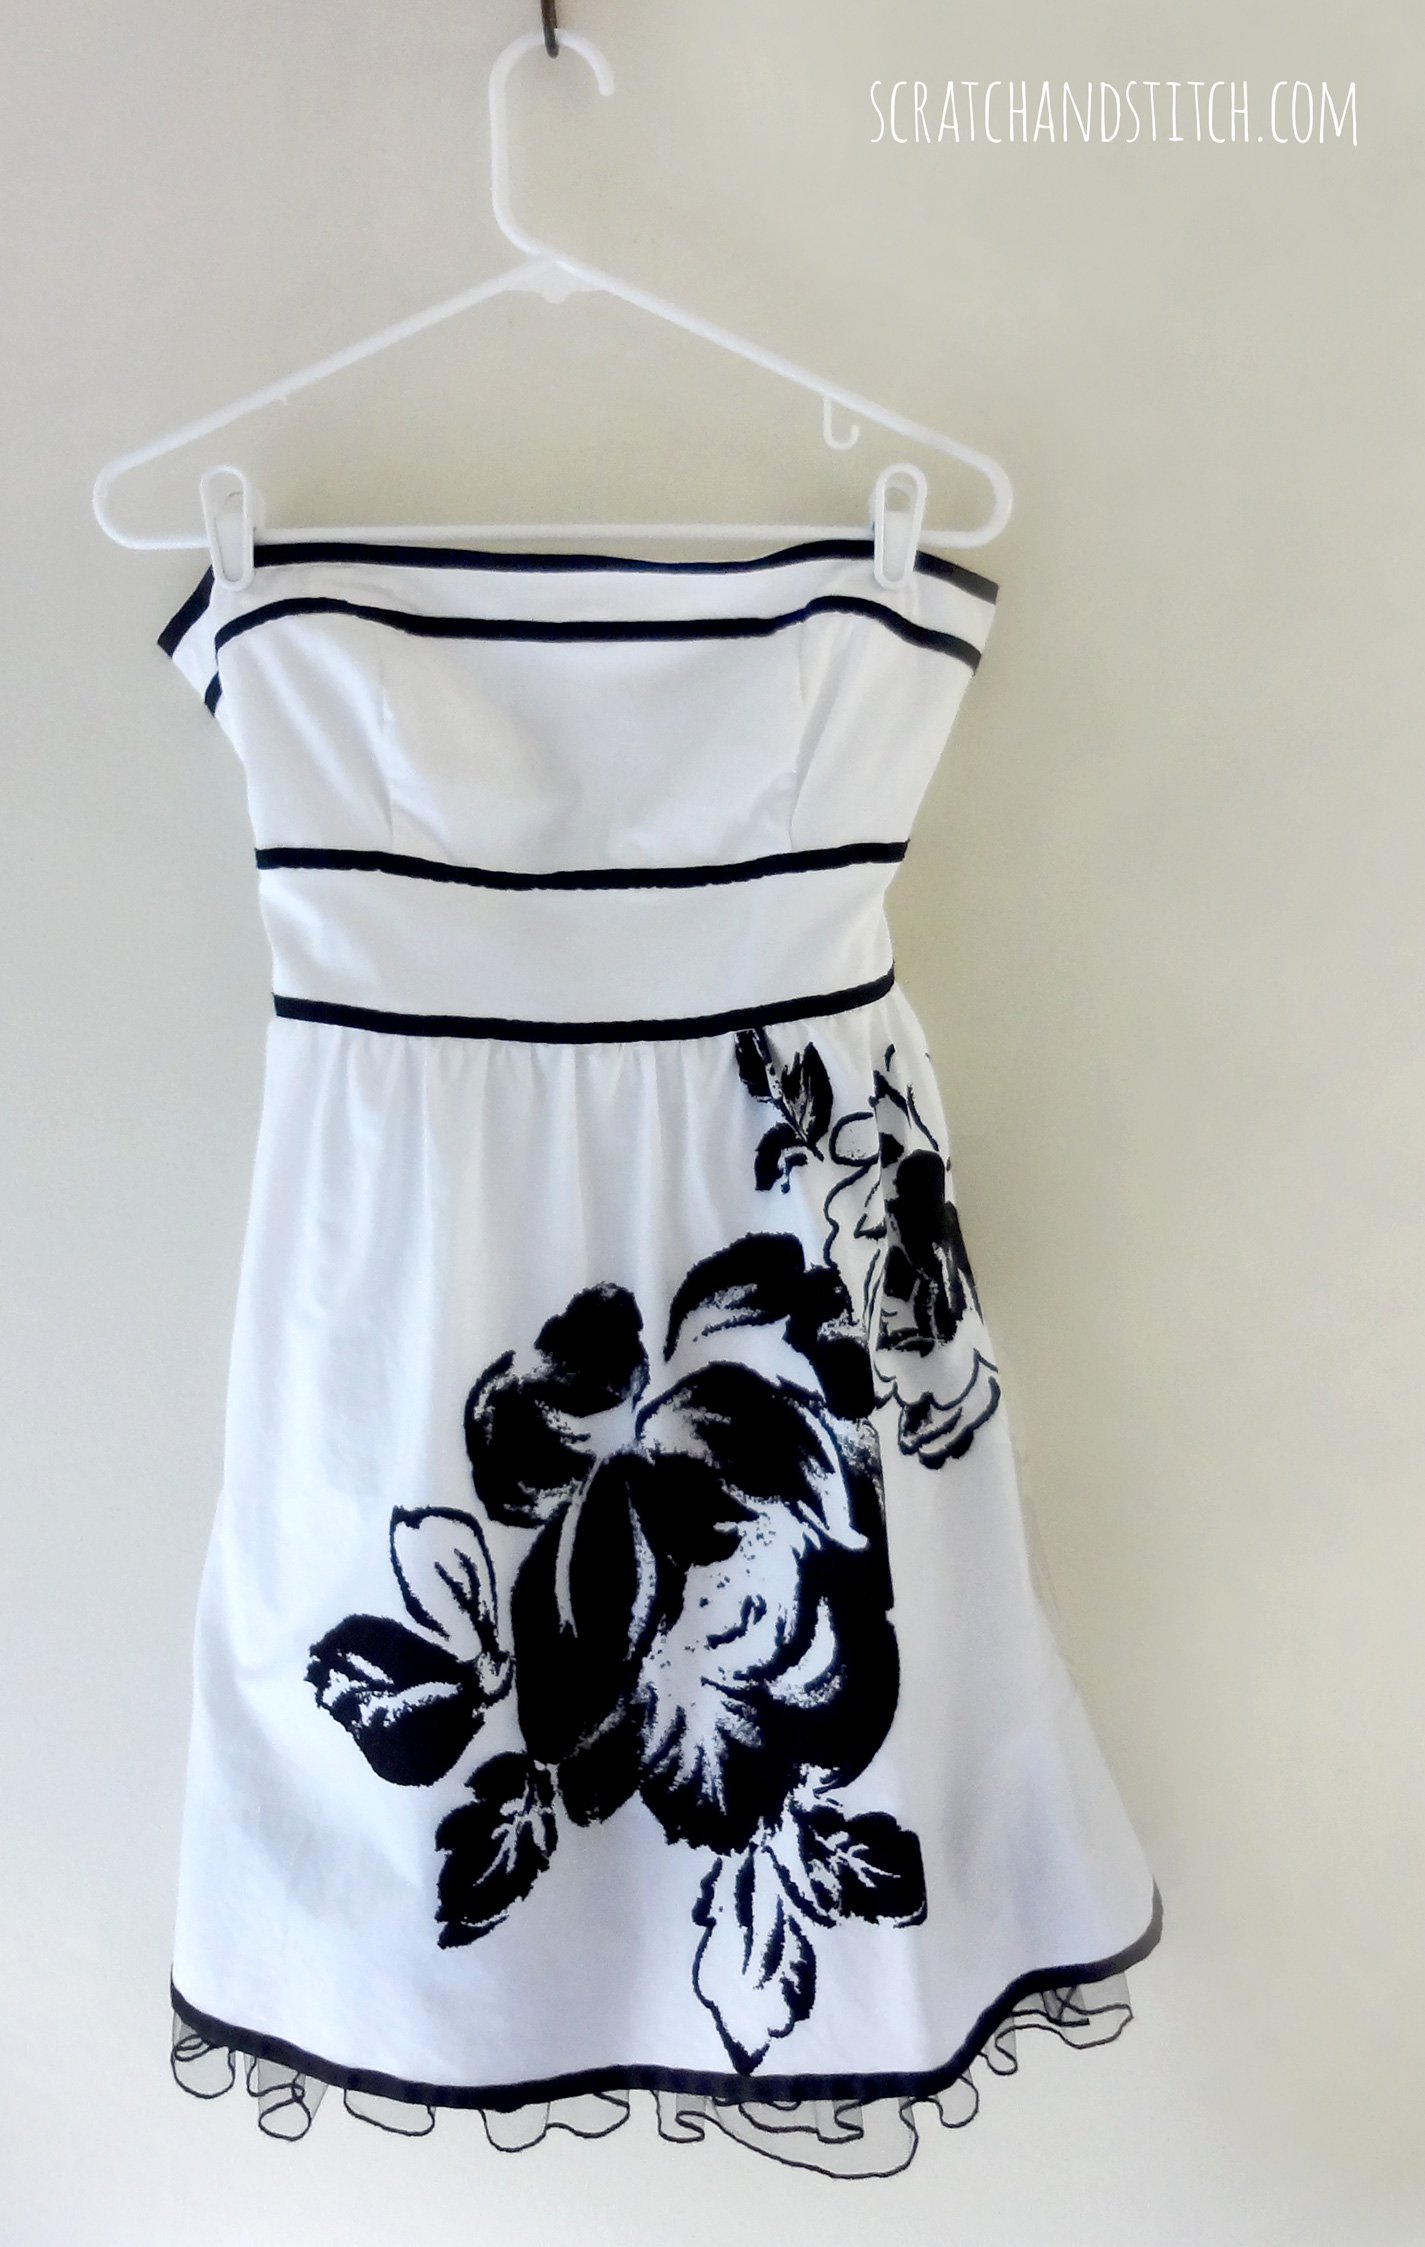
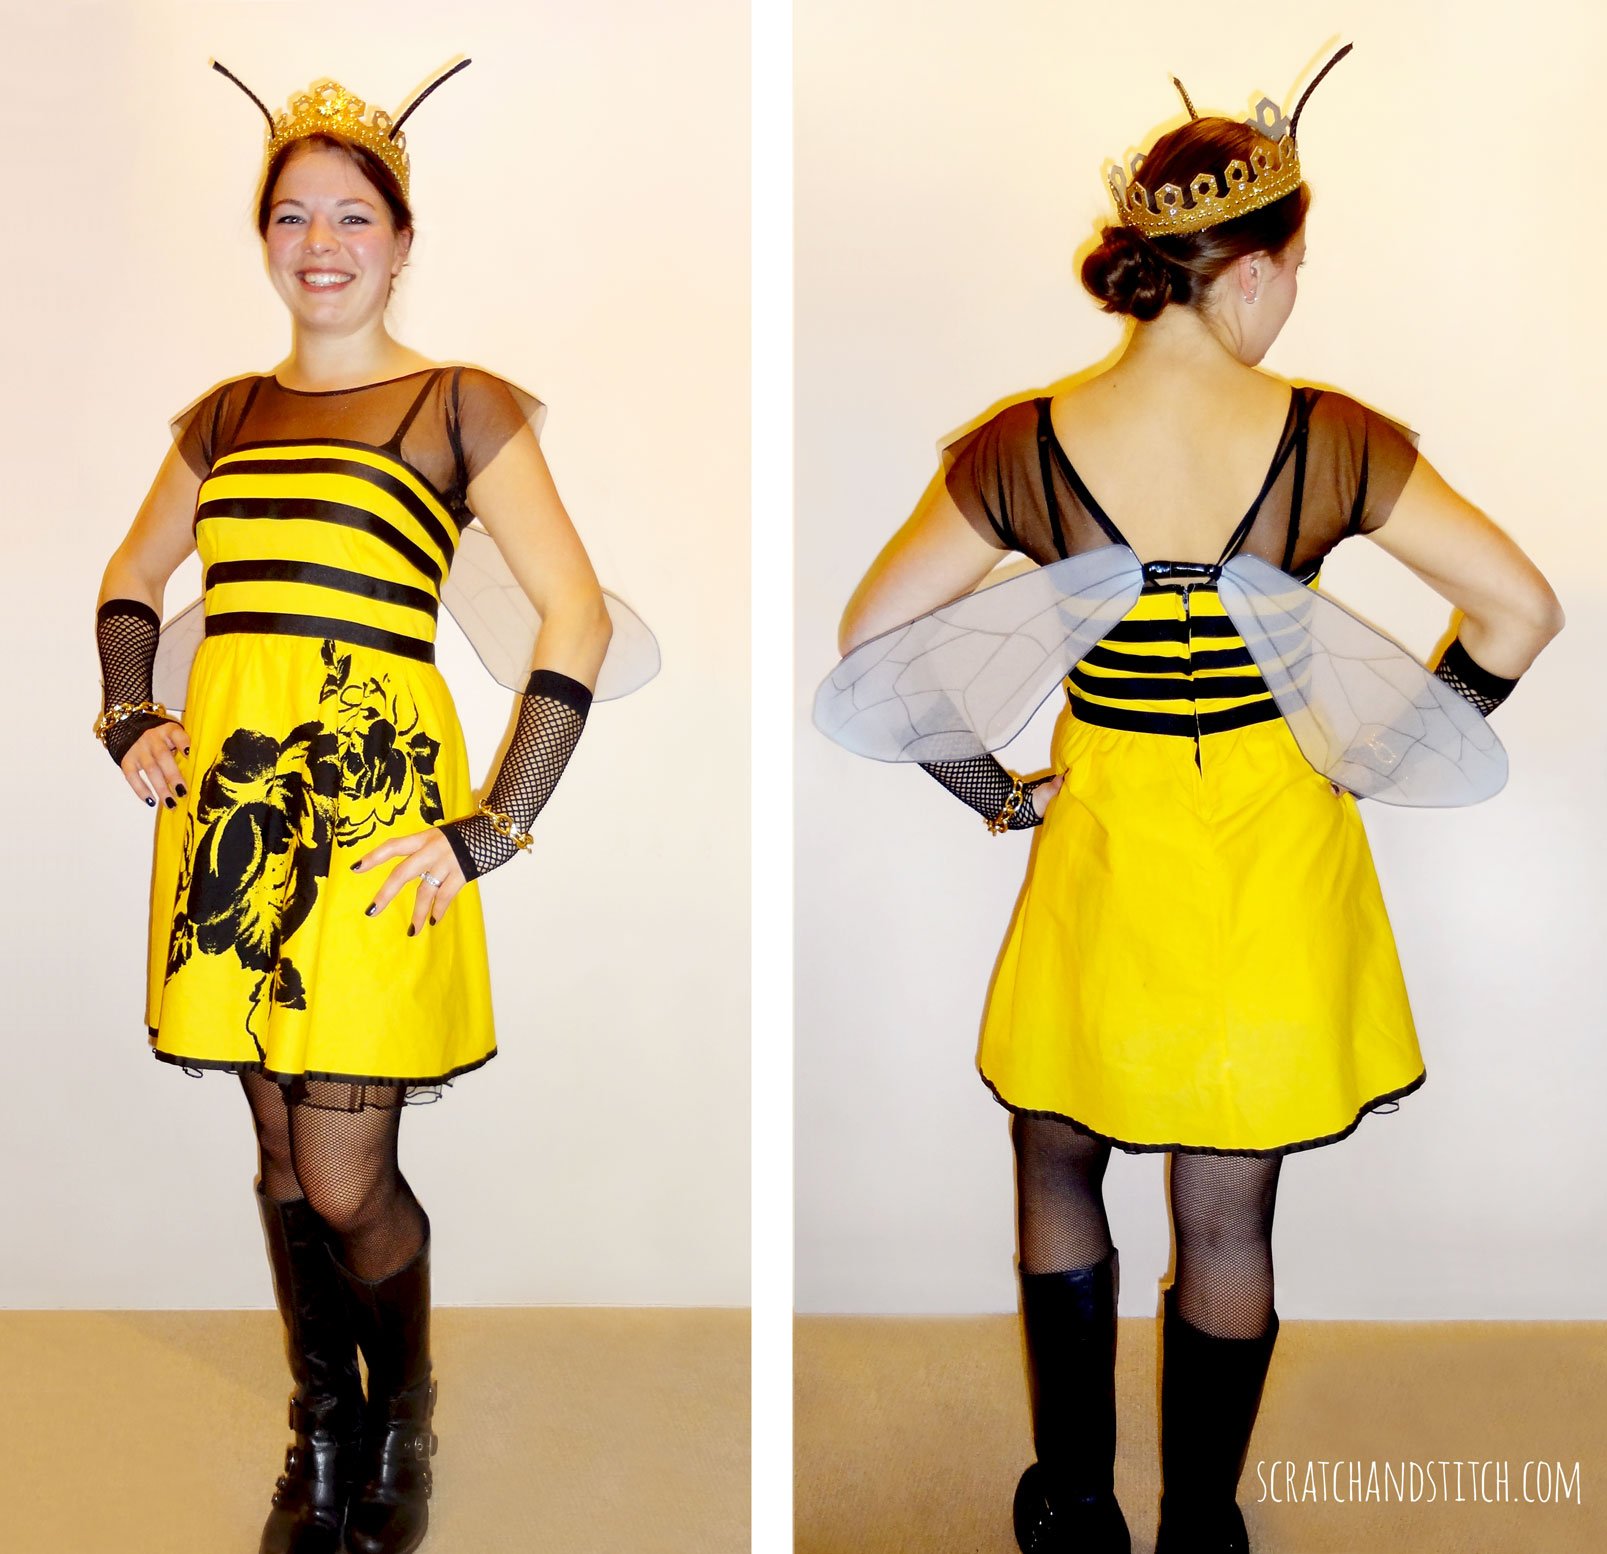
I found this super cute, brand-new, black and white, strapless dress at a consignment shop. The fit was perfect, it’s really comfortable to where, and the $5 price tag was a no-brainer. It hung in my closet for at least a year until I donated it to the Halloween costume box.
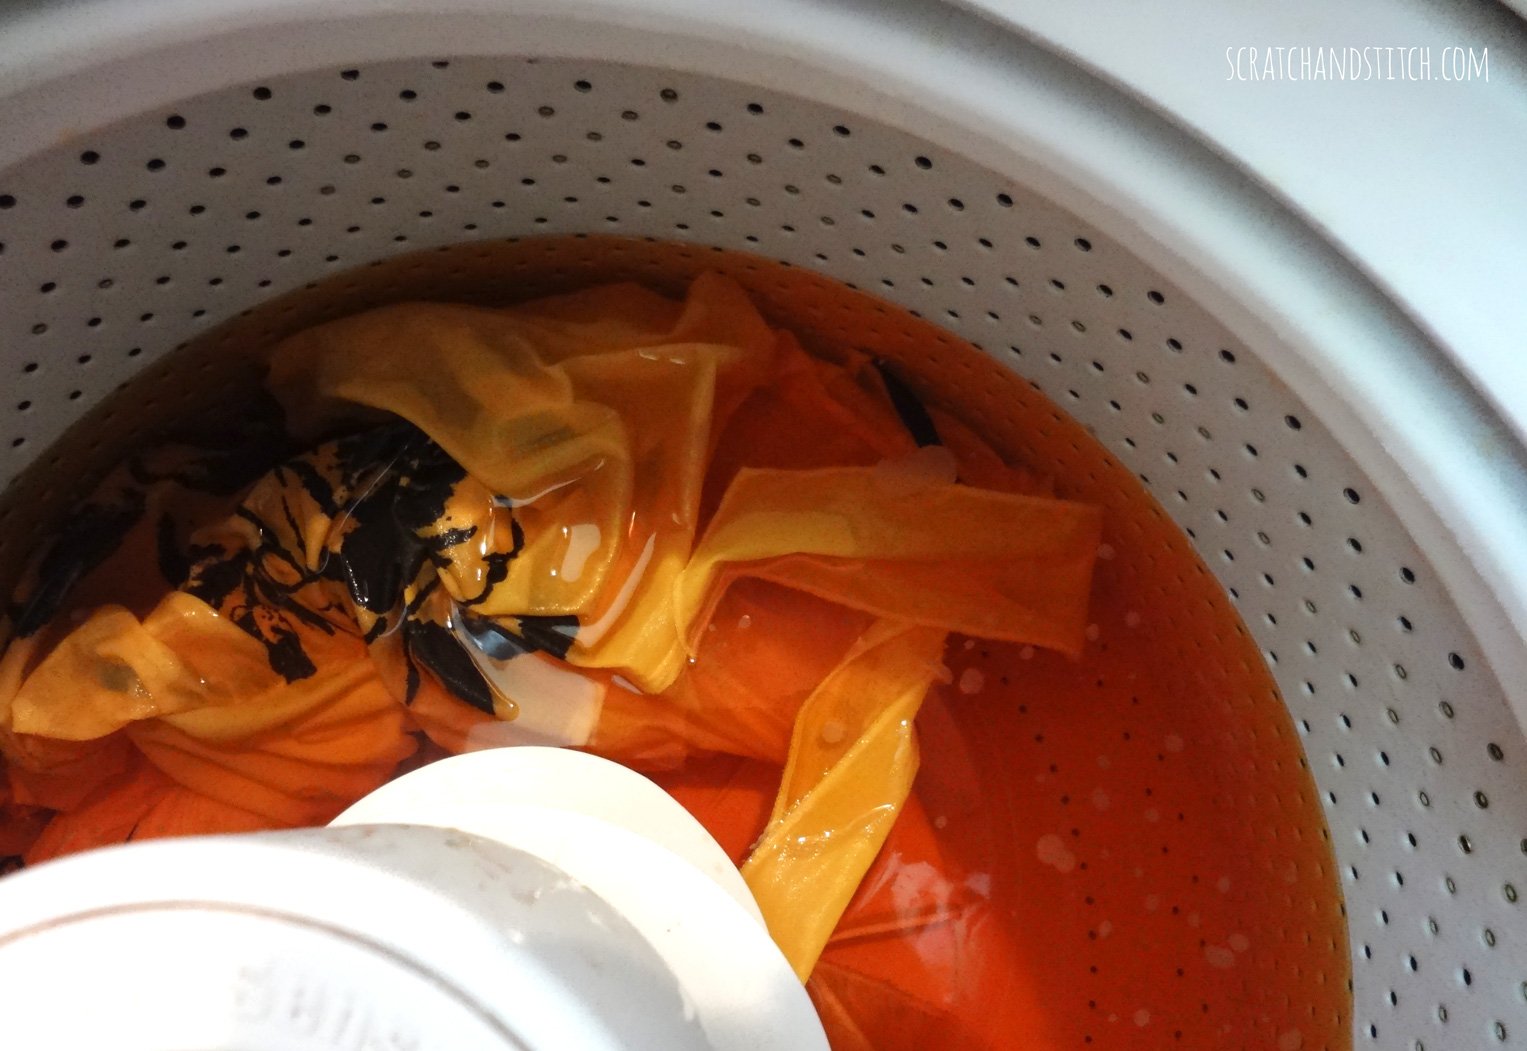
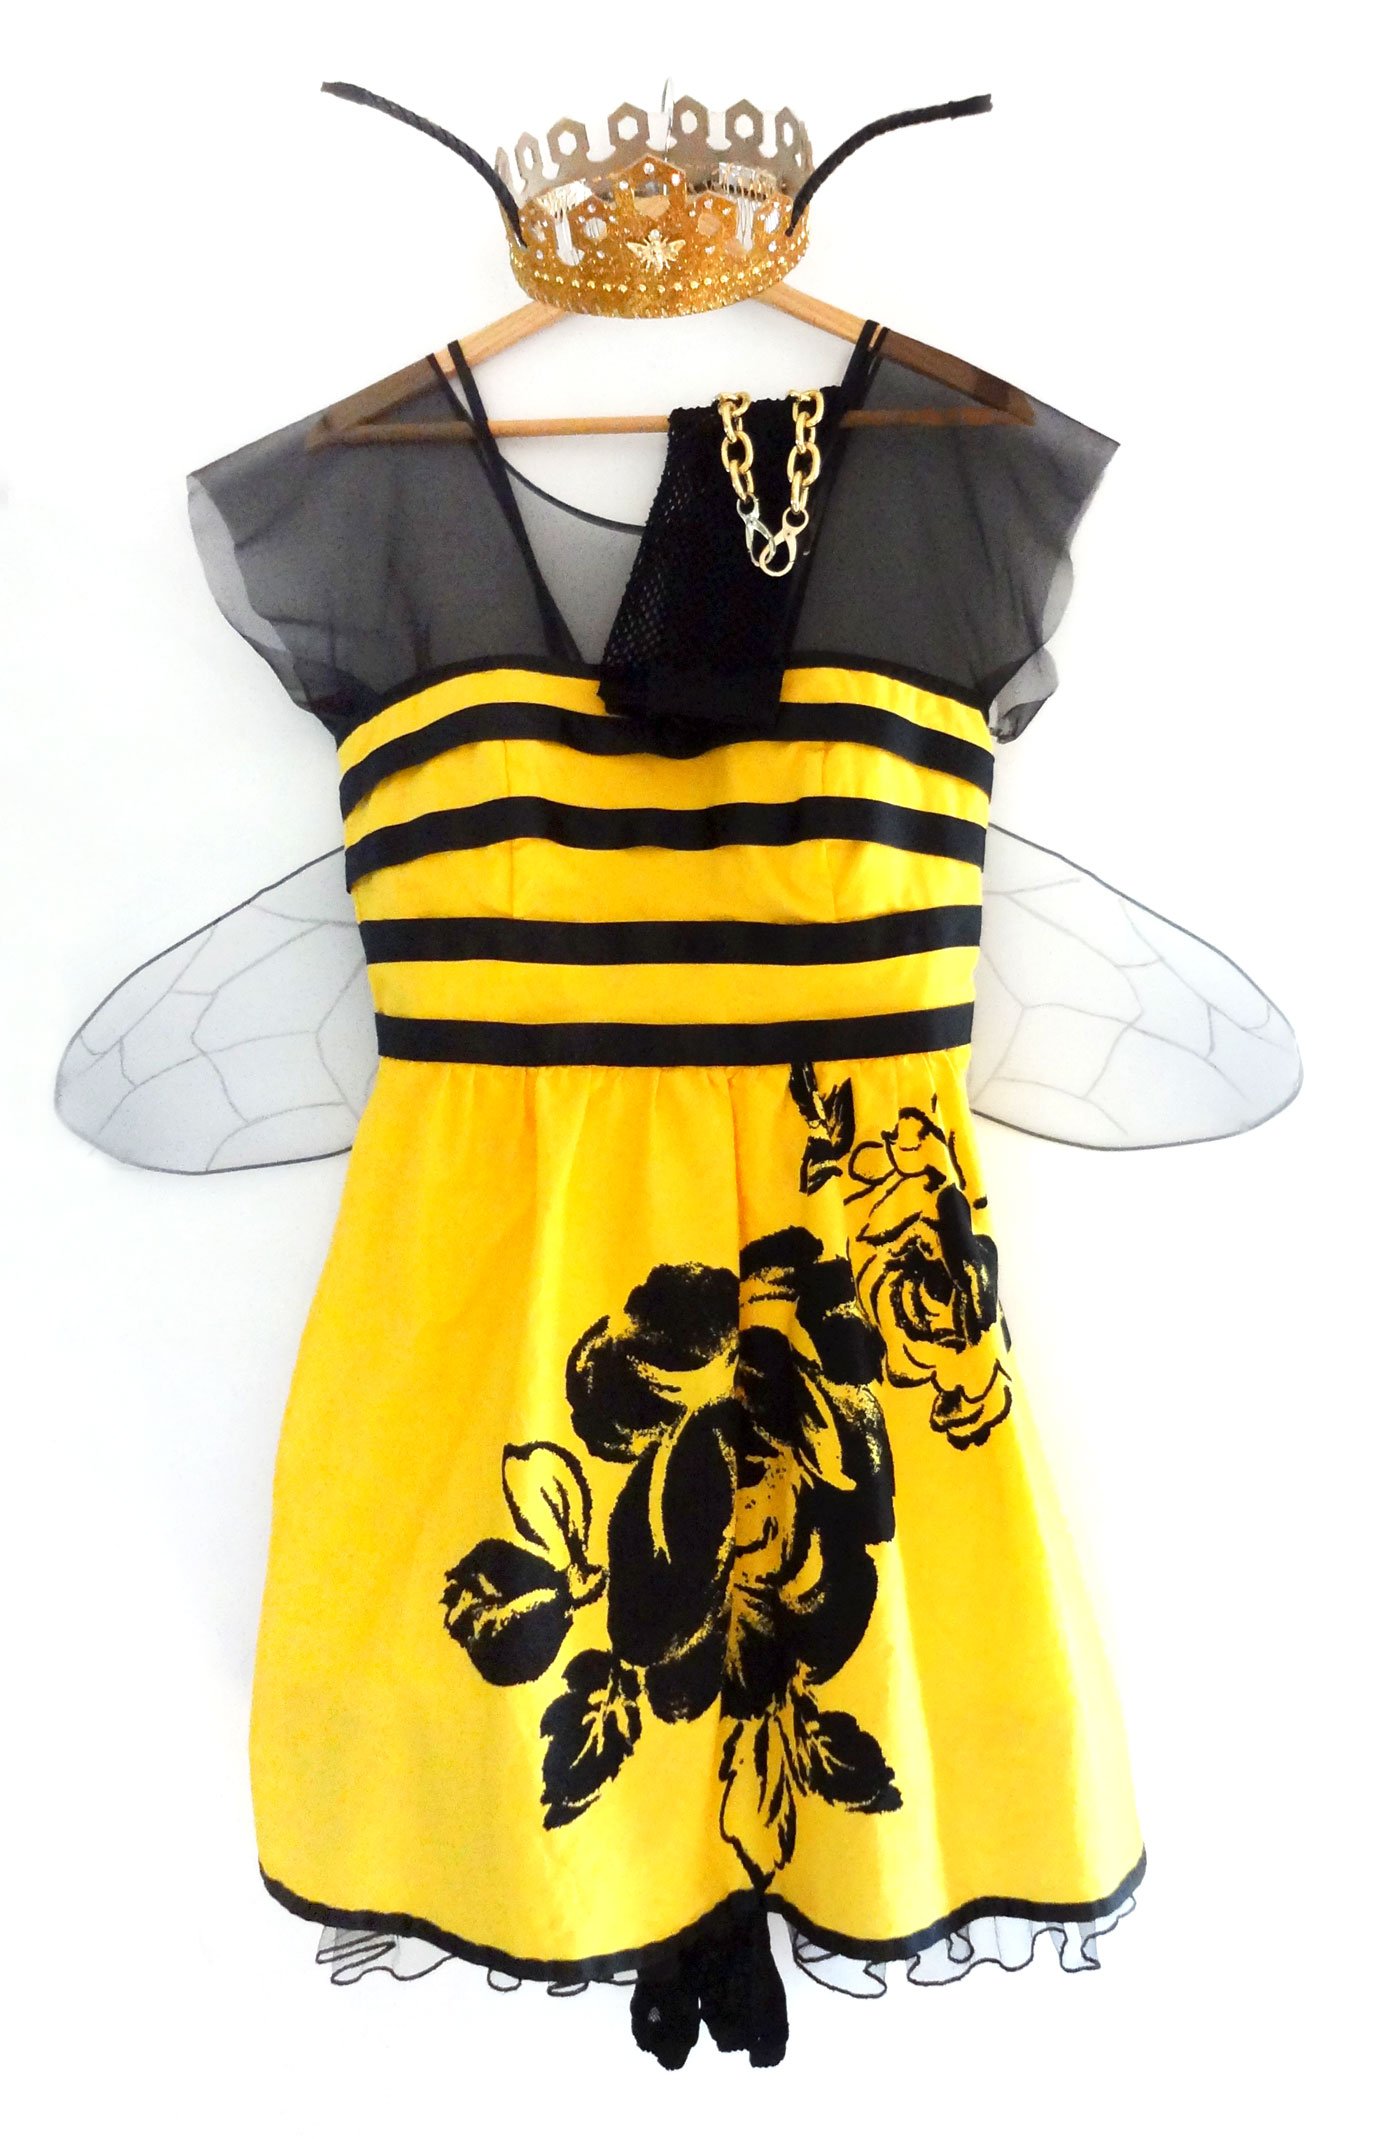
A bottle of Golden Yellow Rit fabric dye turned this dress into the perfect base for my Queen Bee costume.
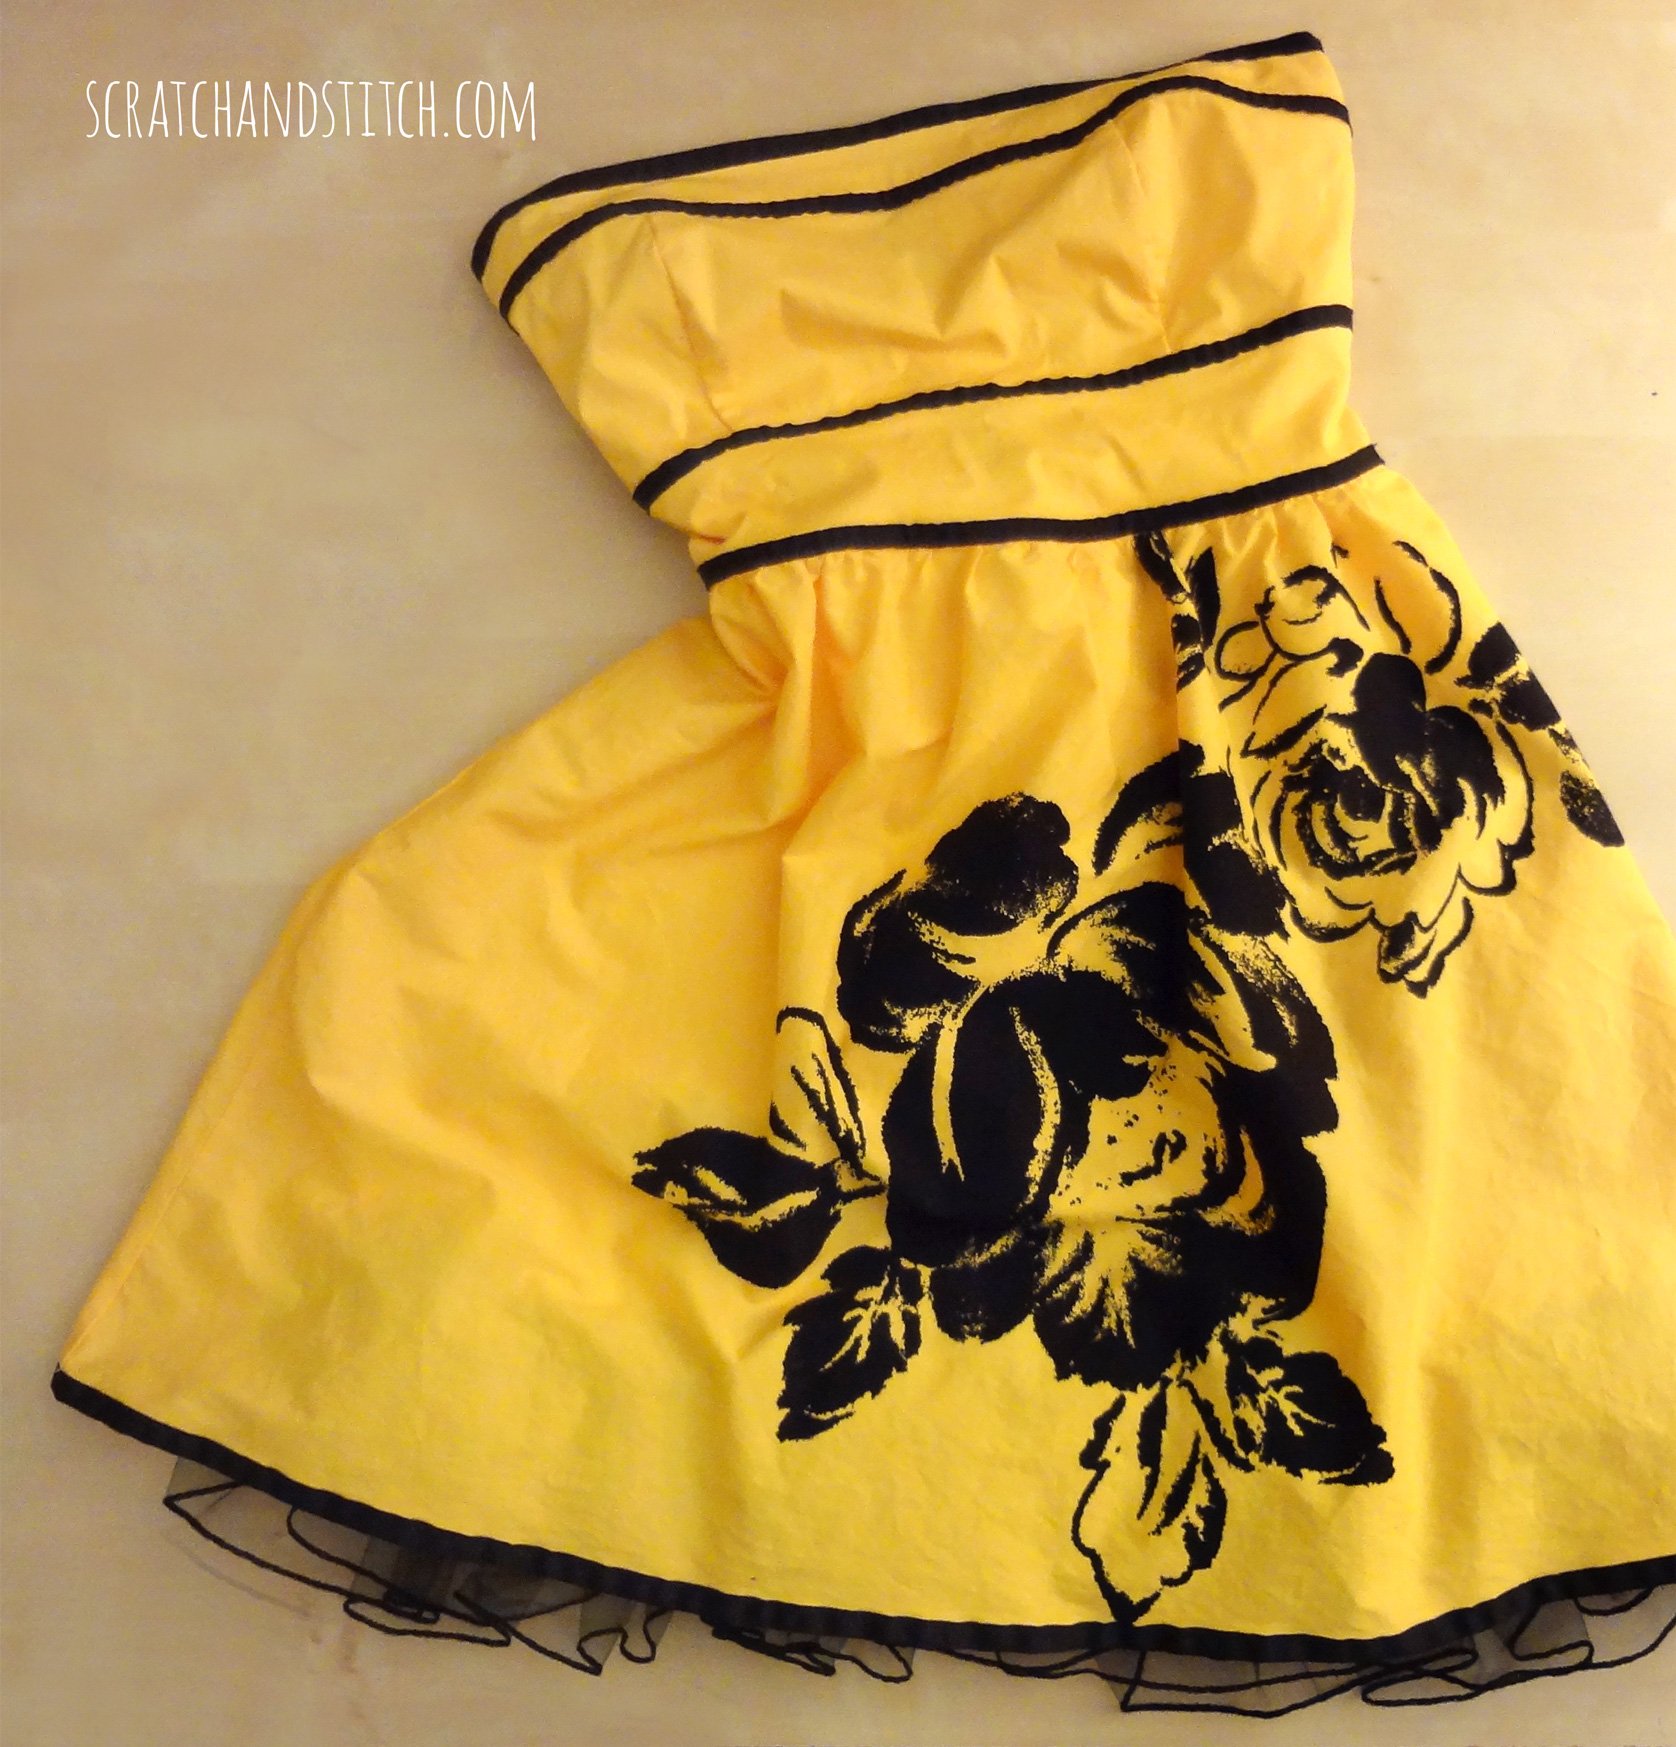
Some shear black fabric sewn onto the top created cap sleeves and eliminated the need for a strapless bra.
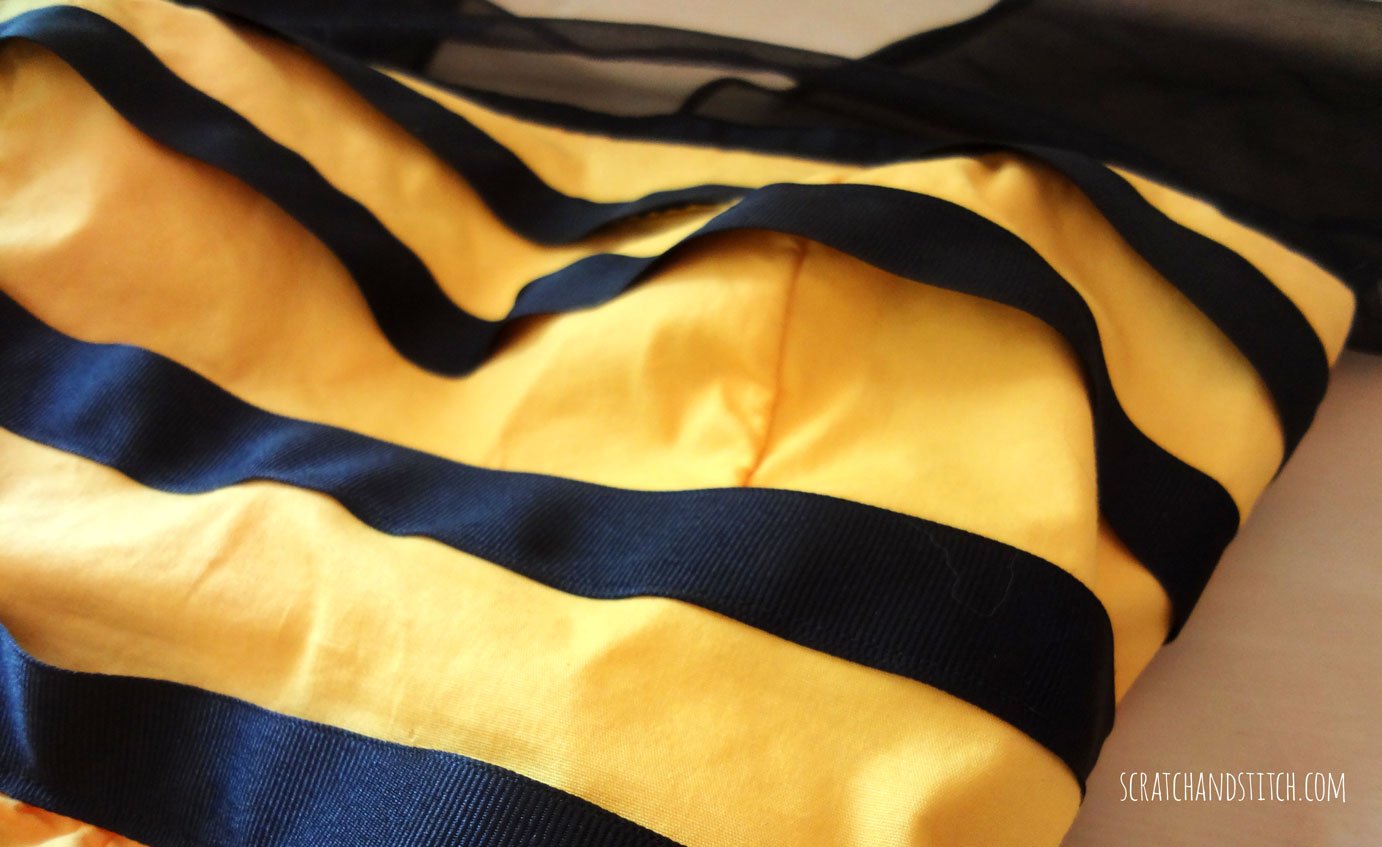
I added 1″ black ribbon bee stripes around the torso of the dress.
For the bee wings
- 2 wire hangers
- 2 nylon socks (I used light gray)
- black sharpie
- 1/4″ black elastic
- black duct tape
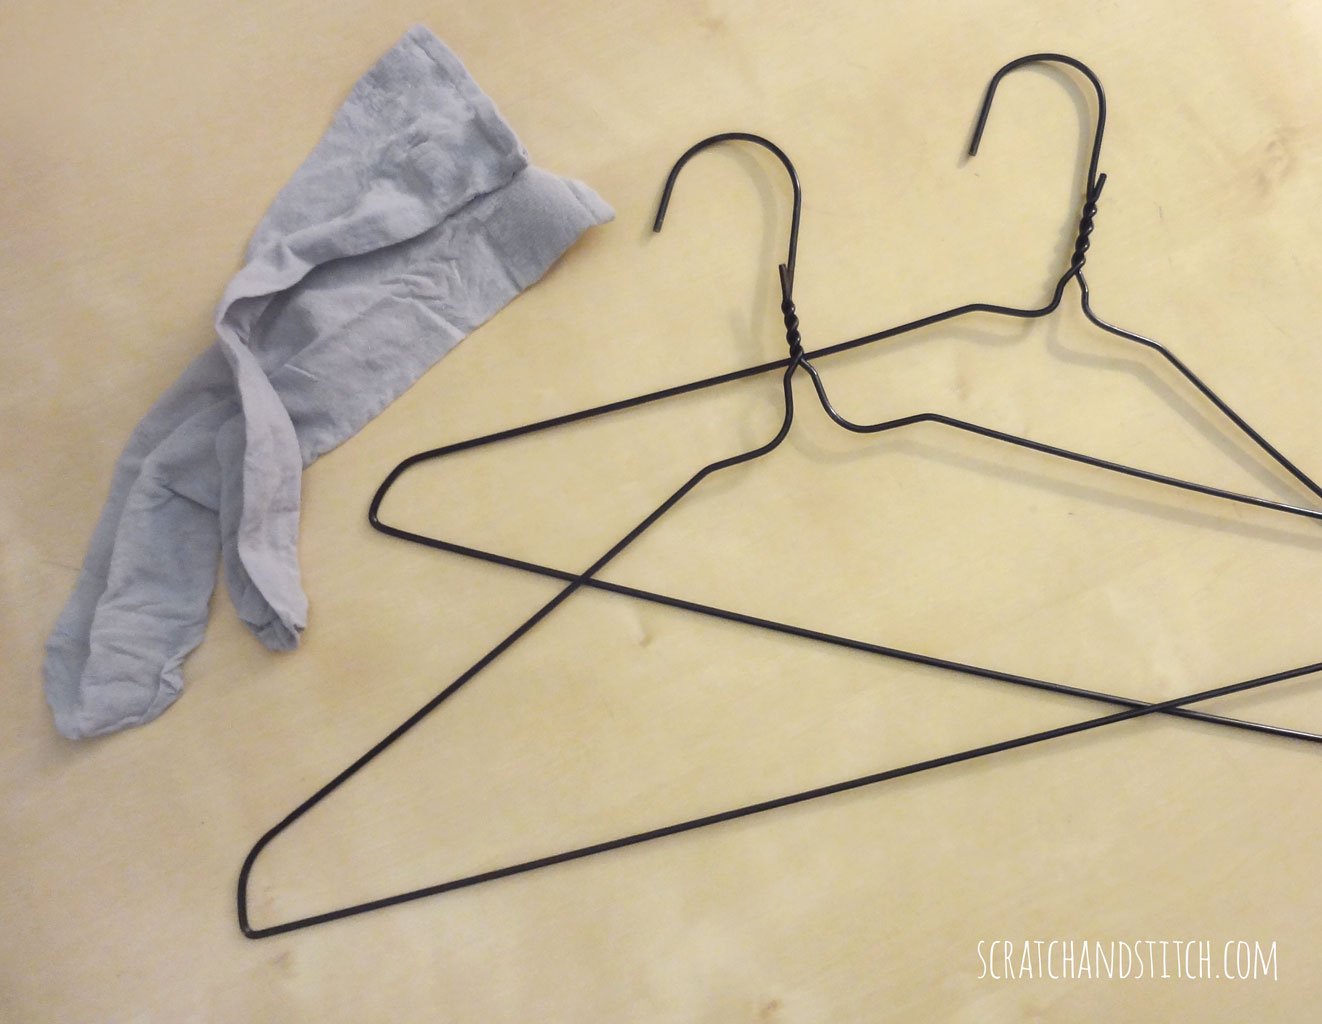
Bend the wire hangers into matching bee wing shapes leaving a portion of the ends straight to easily attach together in the middle.
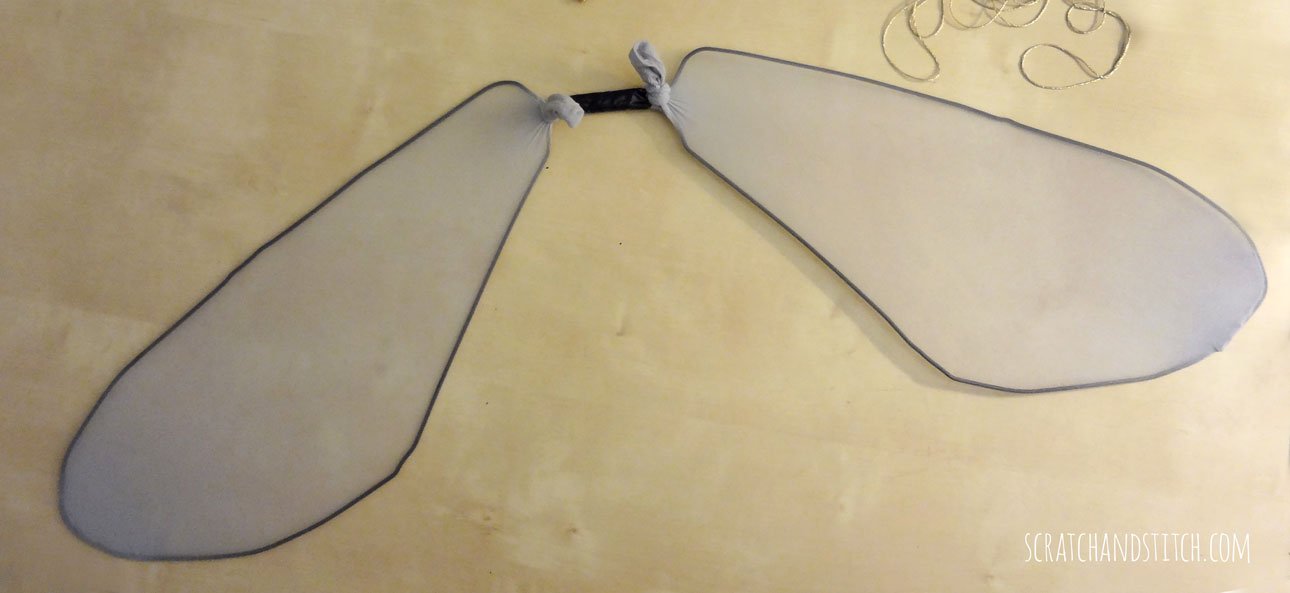
With black duct tape, tape the two wings together in the middle covering any sharp ends. Pull the nylon socks over the wire wings forms and tie tight.
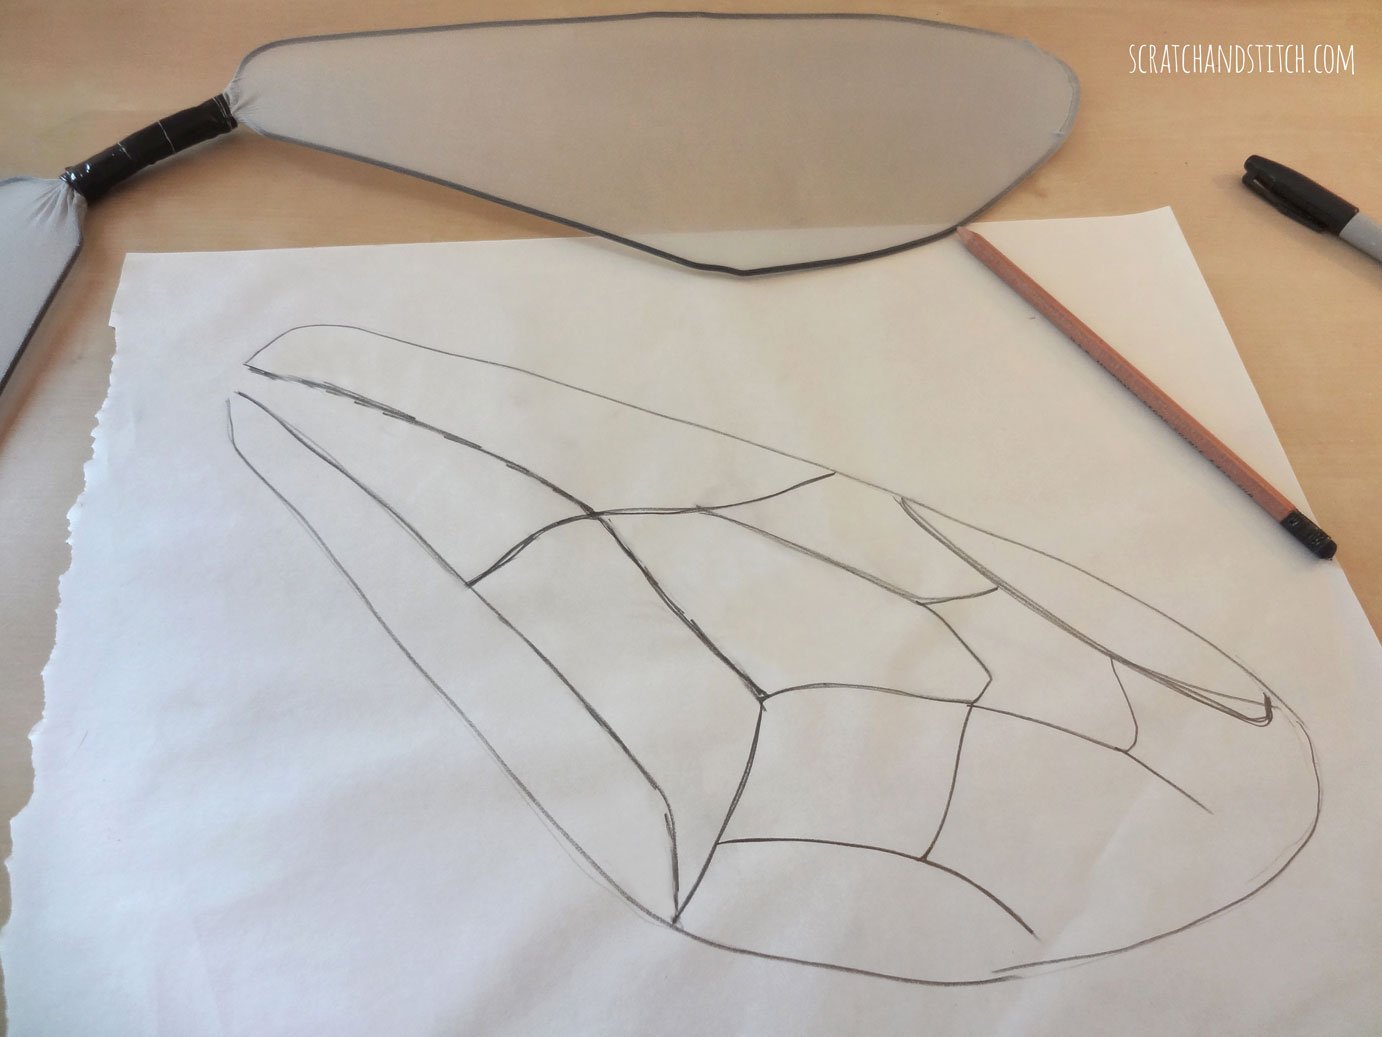
On a large piece of paper, trace the outline of the wing. Draw bee wing veins onto the paper.
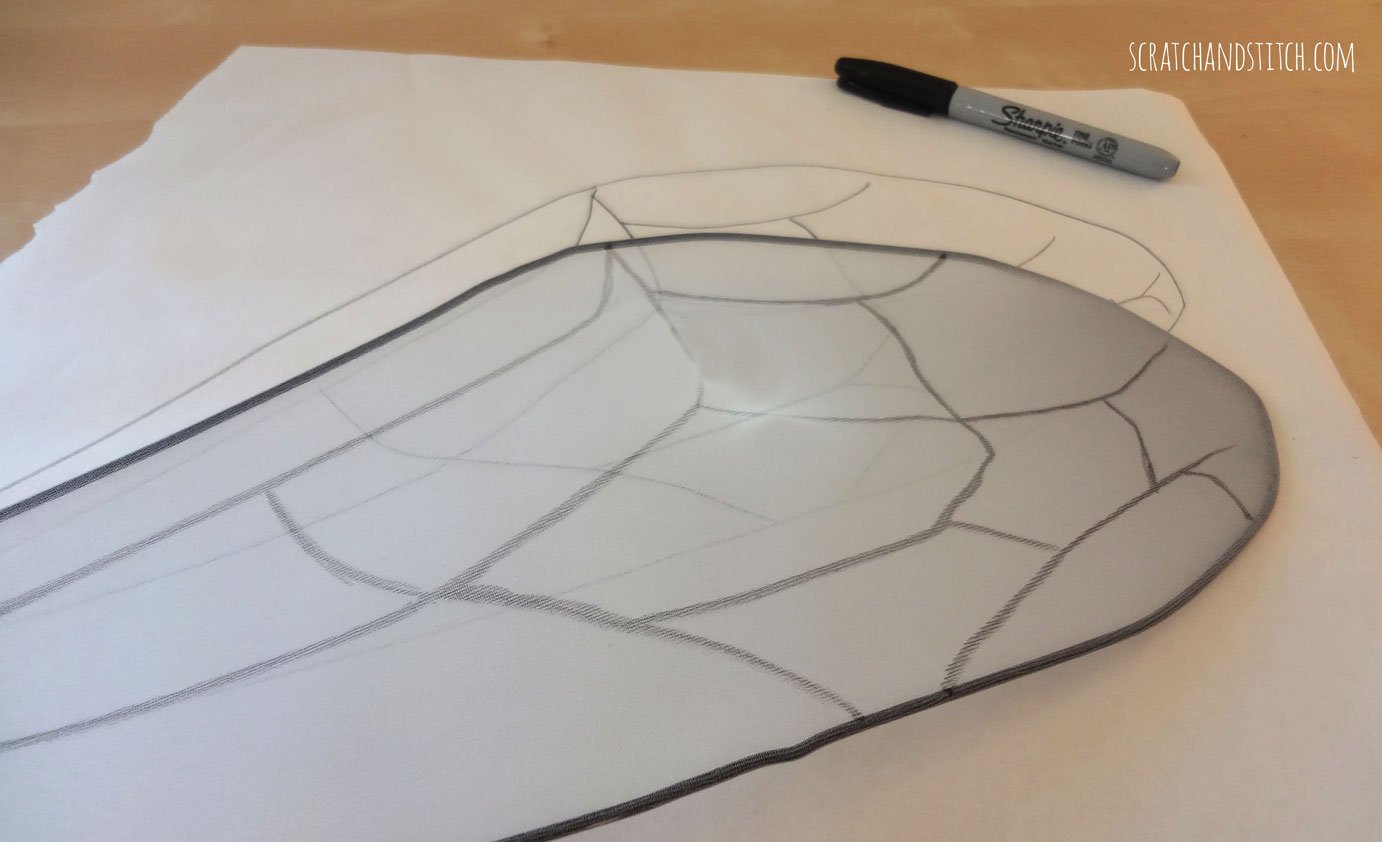
Lay your wings over the drawing and lightly trace the veins onto the nylon with a black sharpie marker.
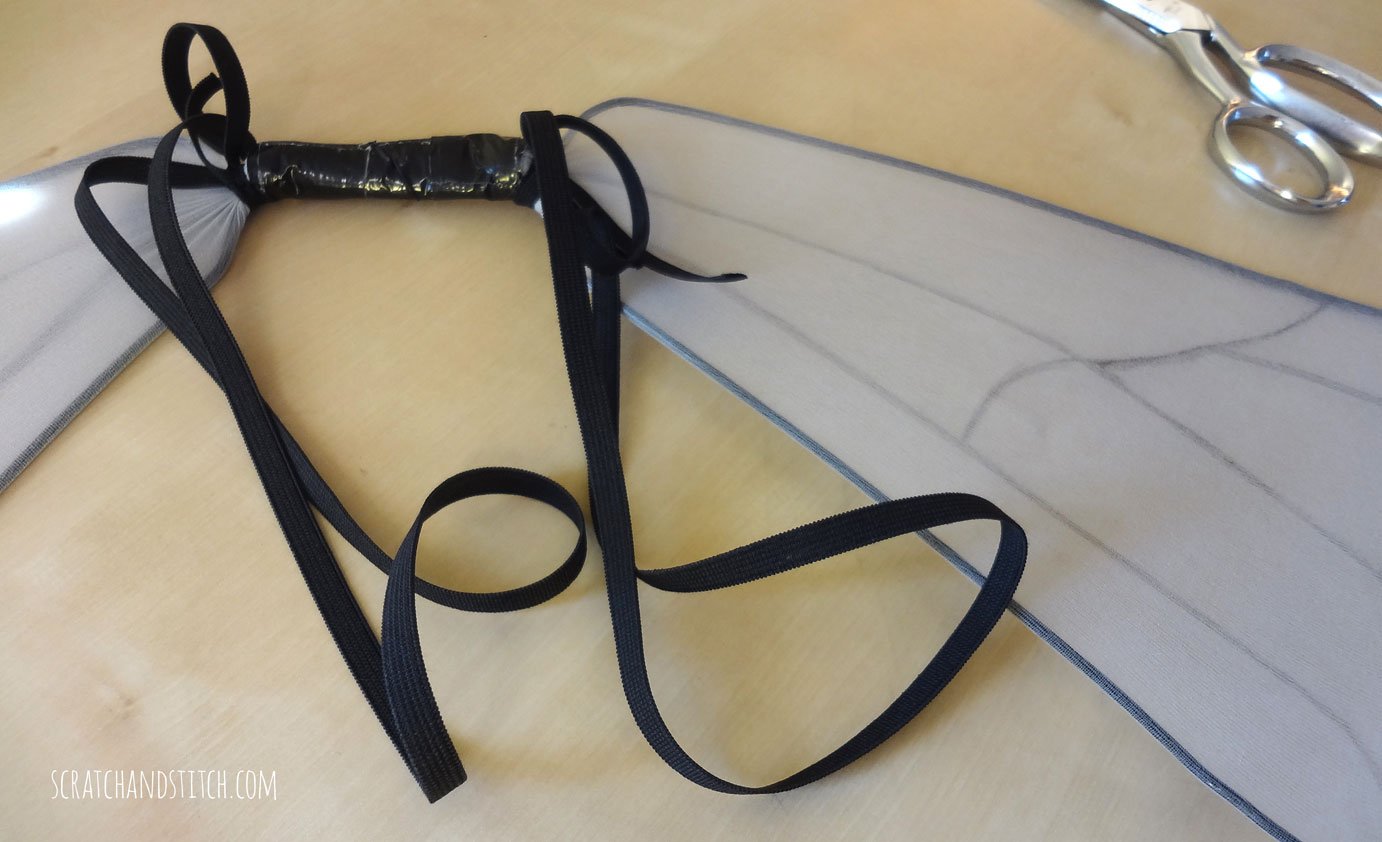
Tie two loops of 1/4″ elastic onto the wings to go around the arms/shoulders like a backpack. Adjust size as needed.
For the queen bee crown (FREE download below)
- 1 metal hanger (or about 2′ of thick wire)
- 2 gold, glitter foam sheets
- 1 black, wired headband
- 2 hair combs
- gold wire
- 1 honeybee pendant
- assorted gold and clear gems
- gold embroidery thread
- gold metal brads
- glue
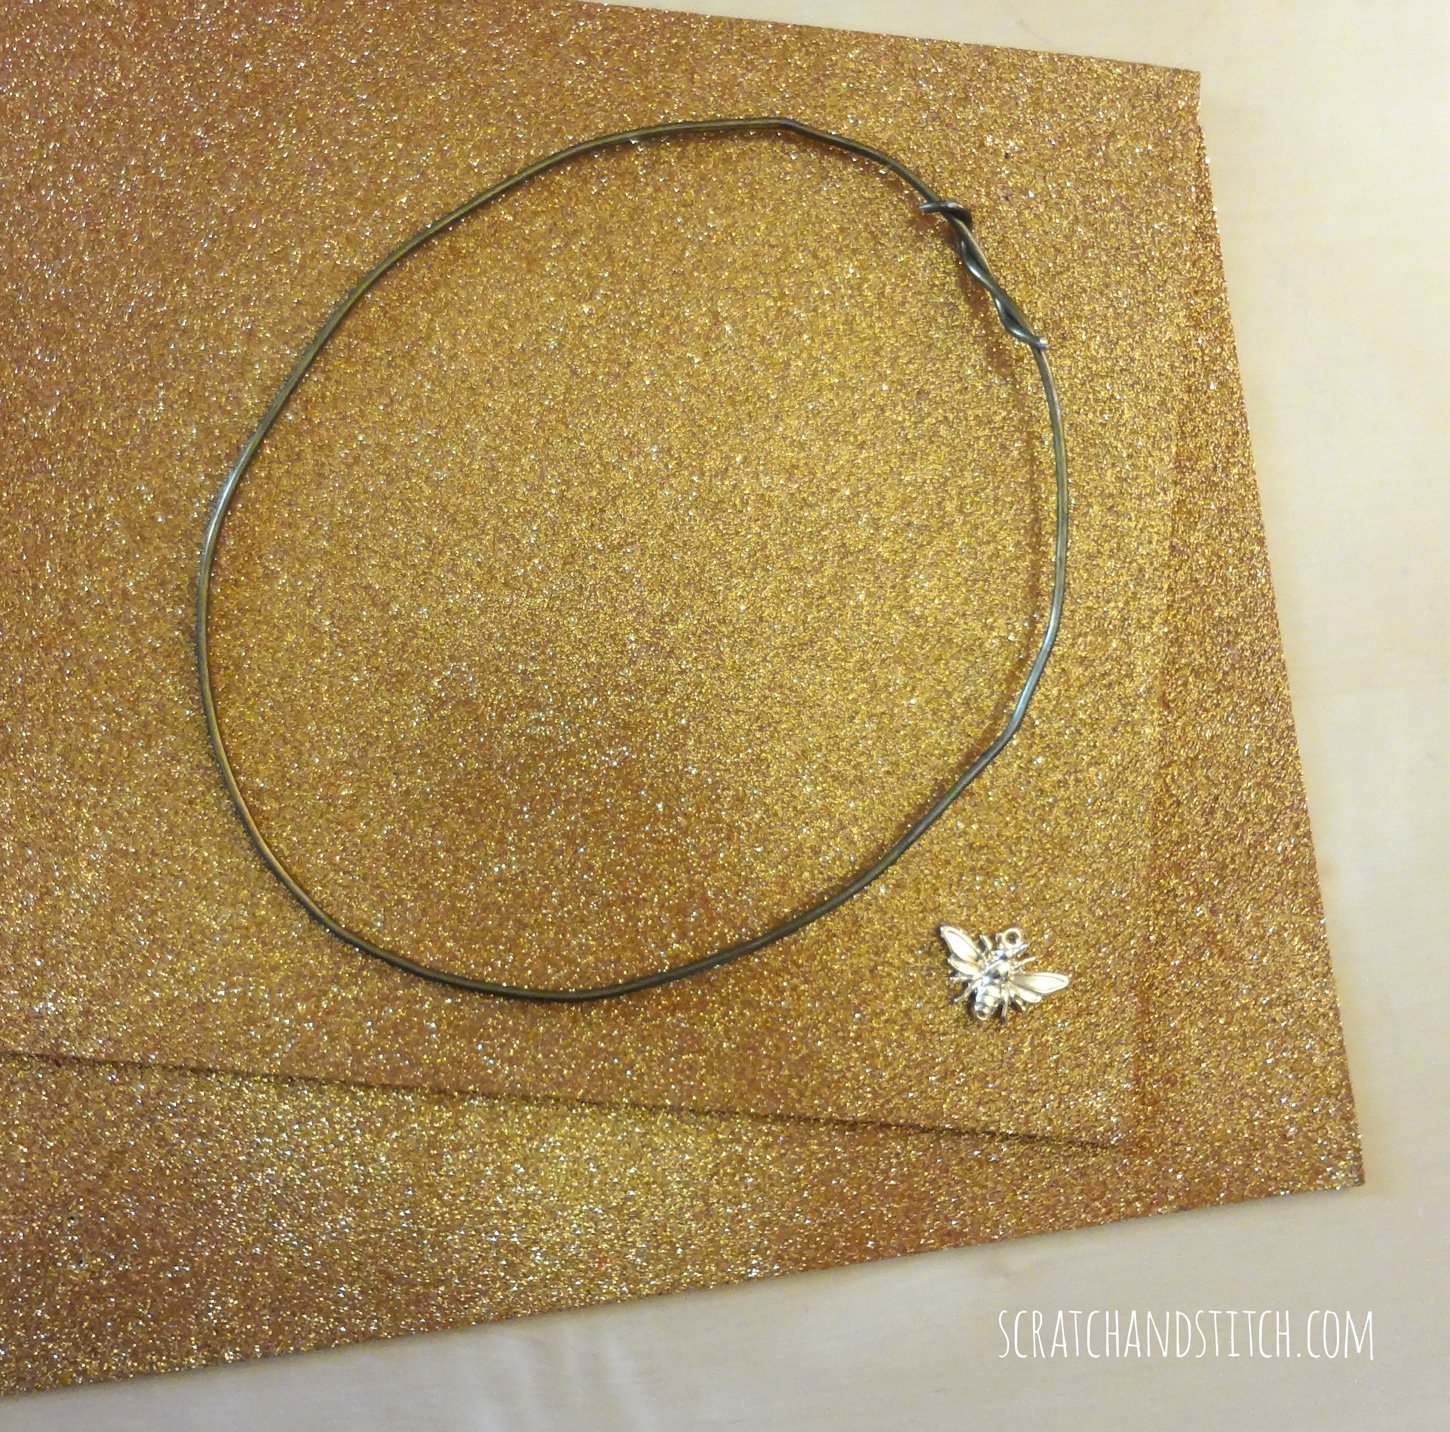
First create a round shape with the wire hanger that fits on the head and sits comfortably. With gold wire, attach the two metal combs onto the ring. Test the ring’s size and shape on the head. Adjust for comfort.
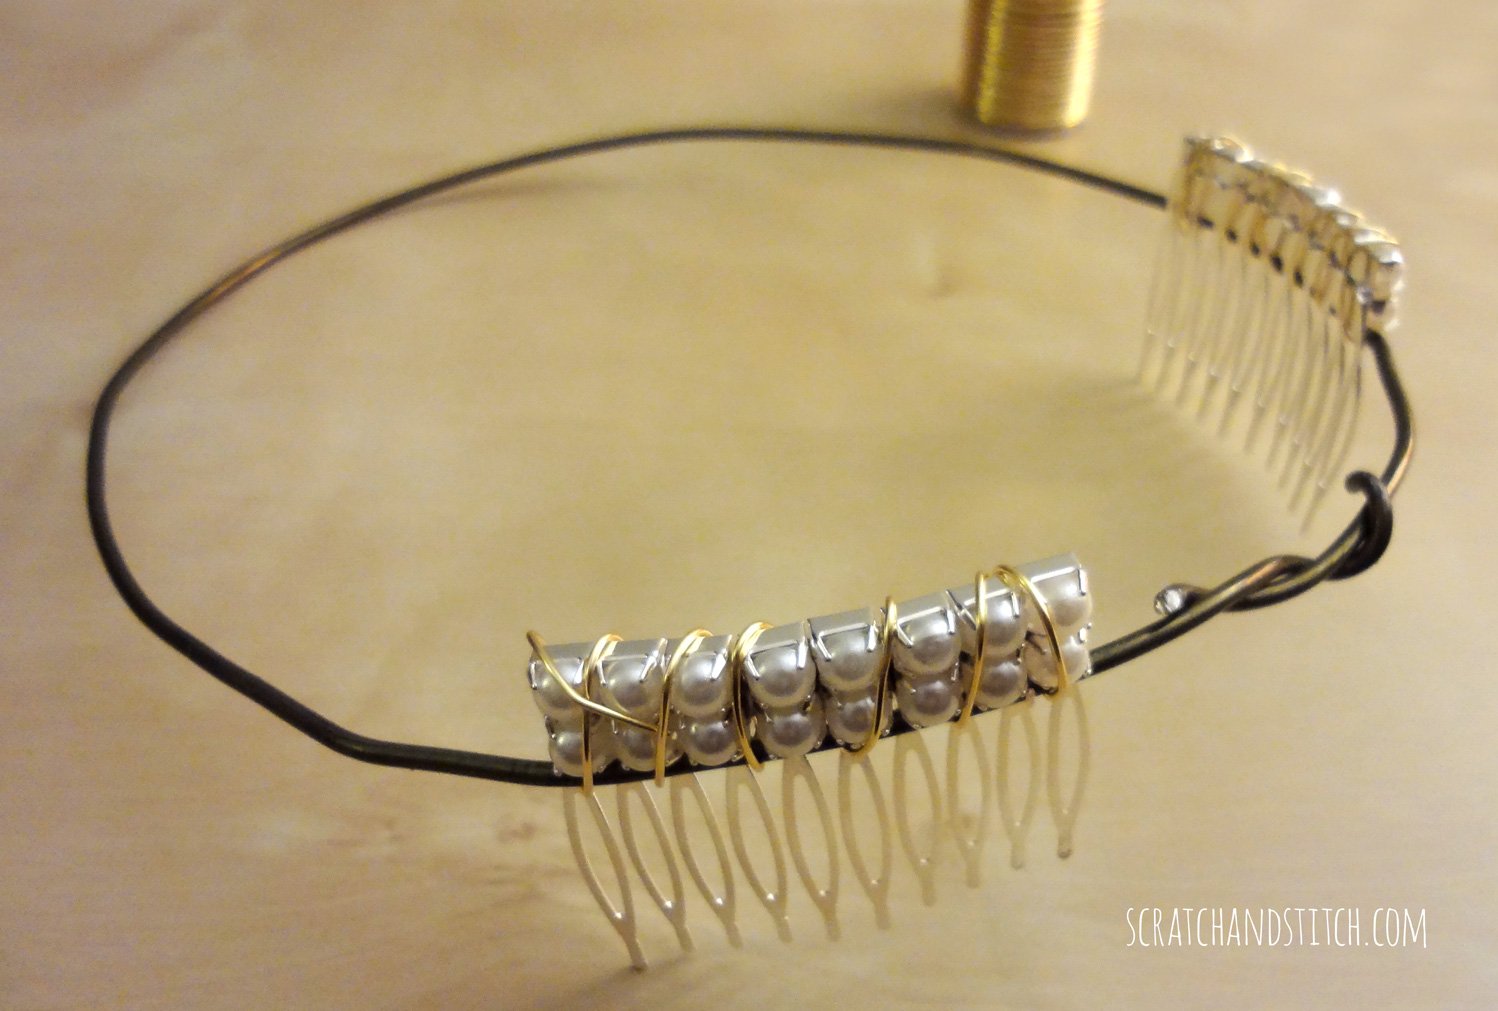
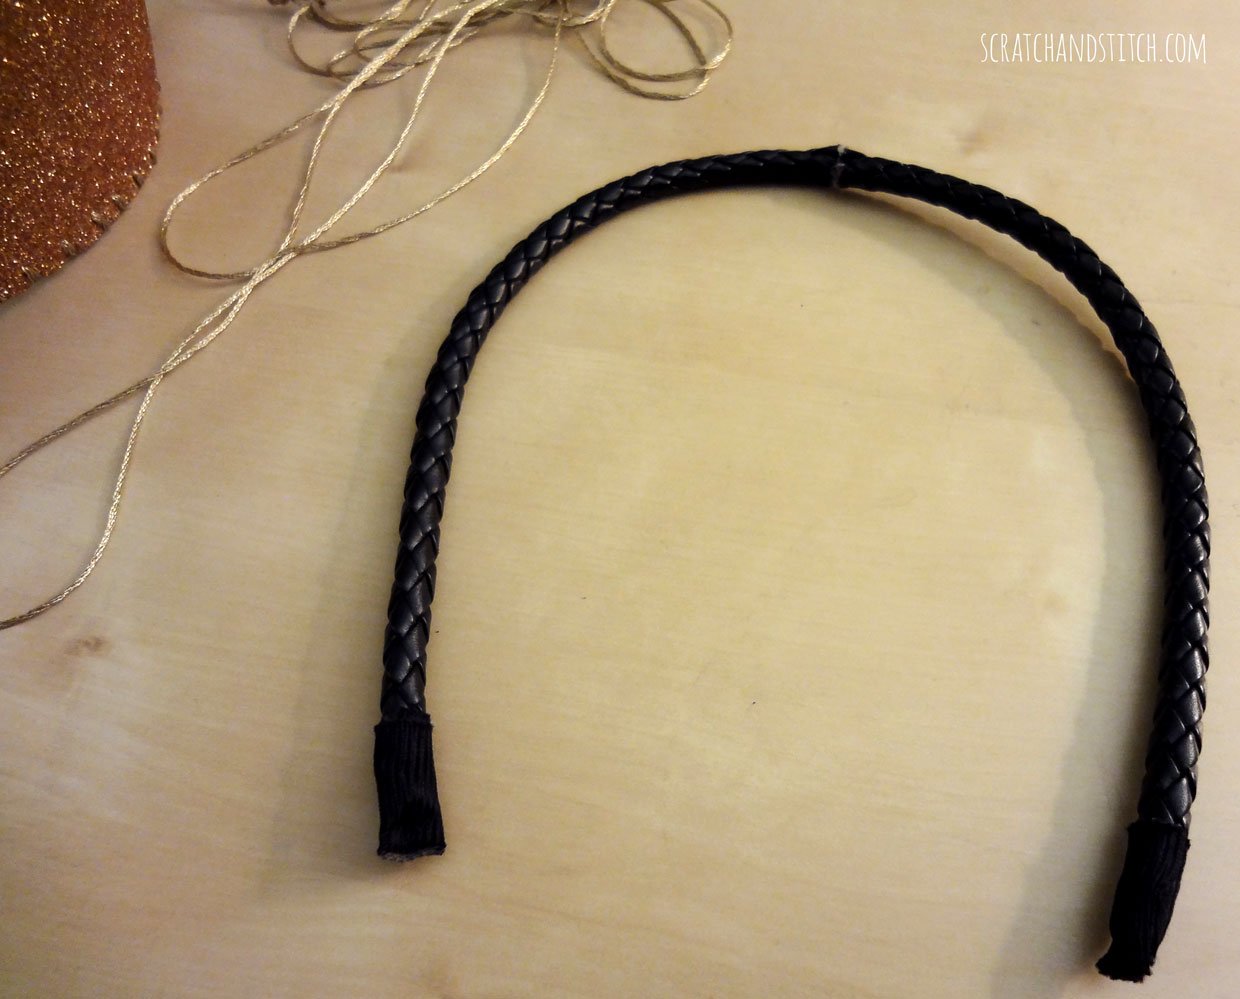
If using a headband for the antennas, cut the headband in half. Cut away some of the outer shell to expose the inner wire of the headband. Wrap the ends around the crown ring.
Placement doesn’t really matter at this point as the antennas will attach the foam crown to stay in place.
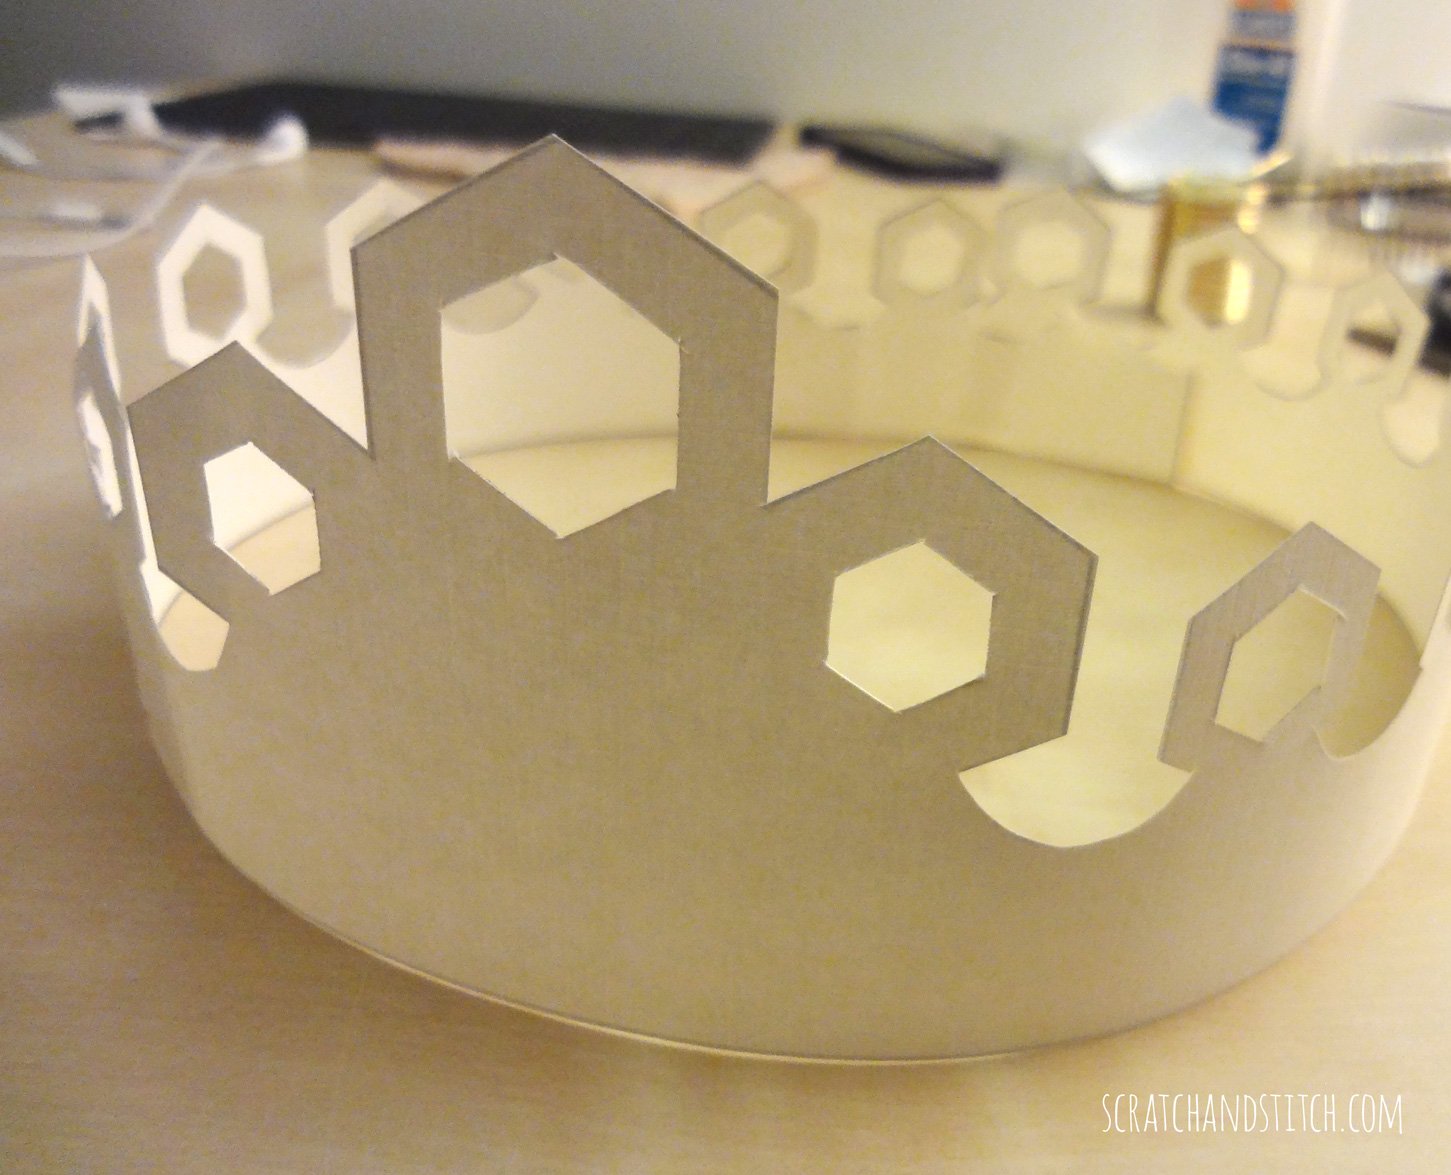
Measure the circumference of the metal ring circle. On a piece of paper, create a crown pattern using honeycomb shapes.
Download my queen bee crown pattern
I’ve included a free PDF of my honeycomb crown pattern. Click here to download.
To print
- Open in Adobe Acrobat
- Select Print
- In the print dialog box under Print Sizing & Handling select Poster.
- Under the Poster options, select Tile Scale: 100% and Overlap: 1 in.
- Click Print. This will print on 3 sheets of paper.
To test sizing
- Roughly cut out the crown shape and tape together.
- Test sizing around the wire form on the head.
To adjust size larger or smaller, adjust the Tile Scale percentage and print again.
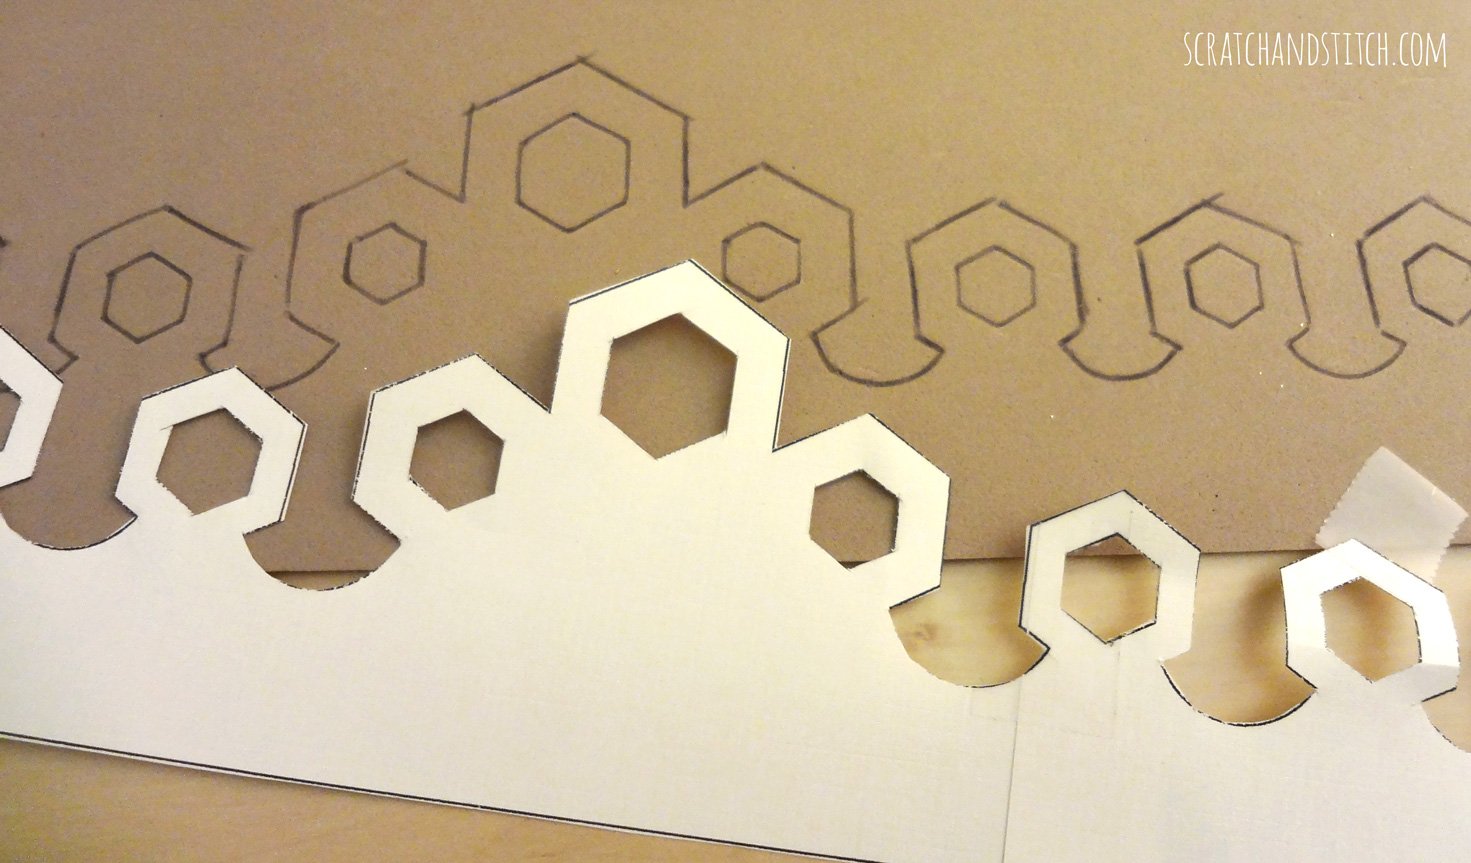
Once you’ve come up with the correct sizing, trace the crown shape onto the back of the gold foam. Cut out with a scissors or exact-o knife. Leave some extra foam at either end of the pattern to ensure there’s enough to go all the way around the crown ring, you can trim any excess later.
Using a sewing needle and gold embroidery thread, hand-sew the bottom of the foam crown onto the wire crown ring.
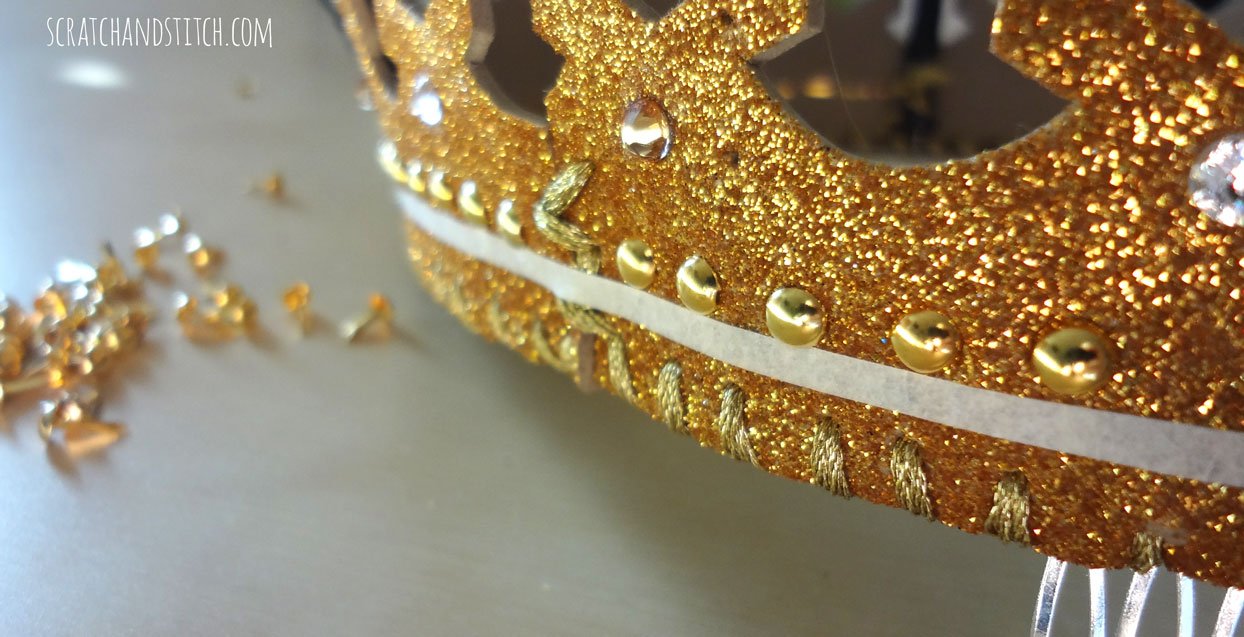
Attach the honeybee pendant onto the center front of the queen bee crown. Glue gems onto the foam. Line metal brads or studs around the bottom of the crown. Use tape to get a straight line.
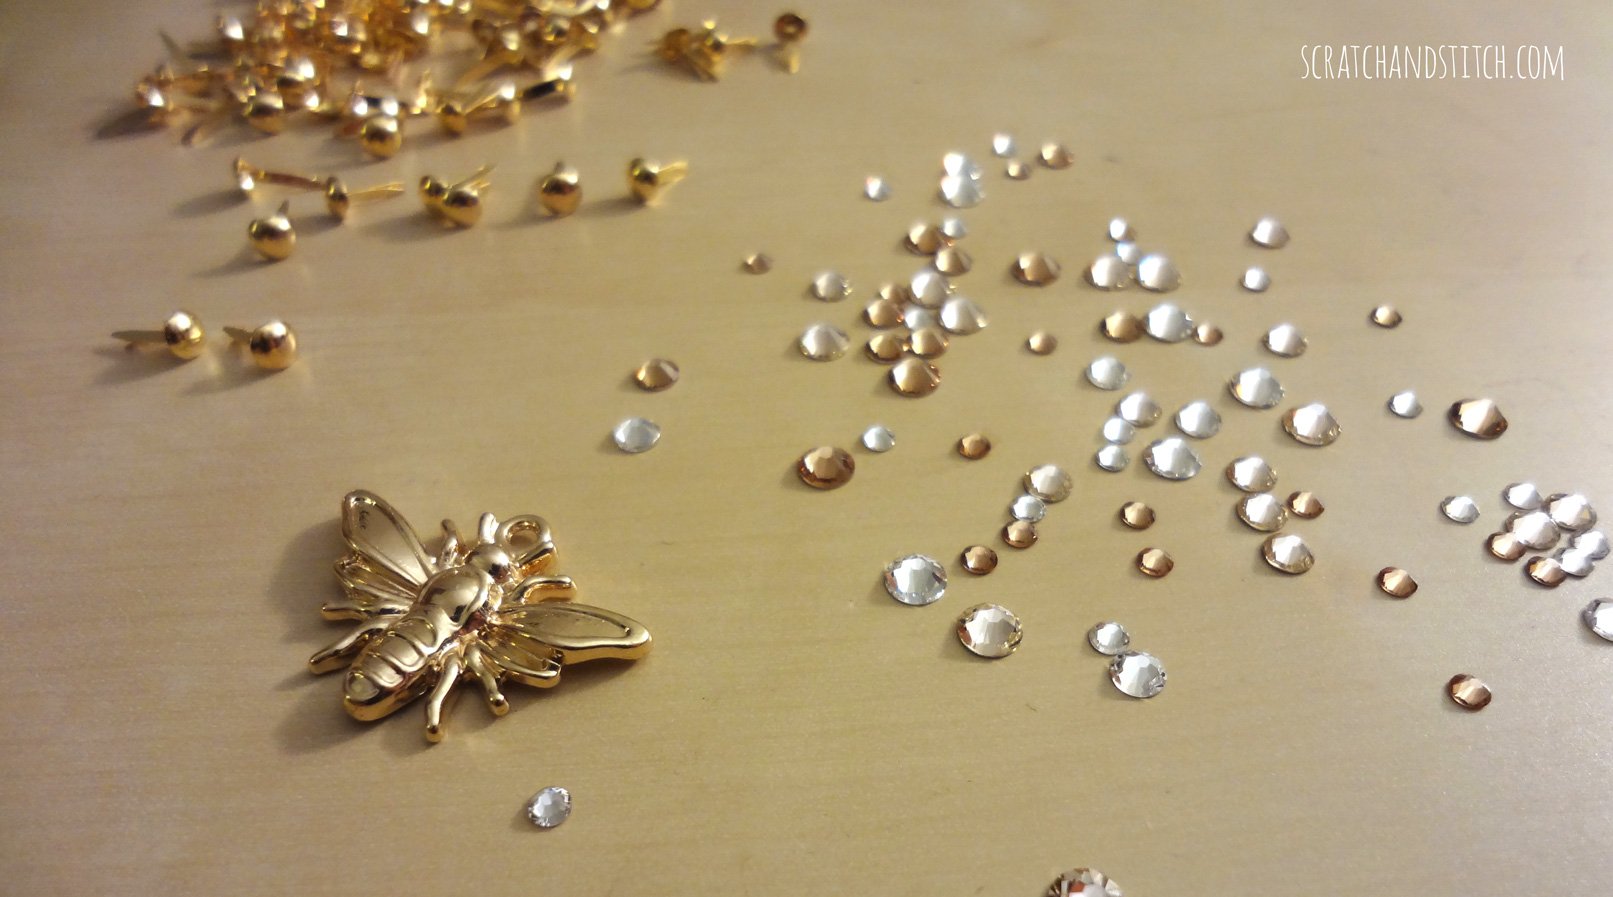
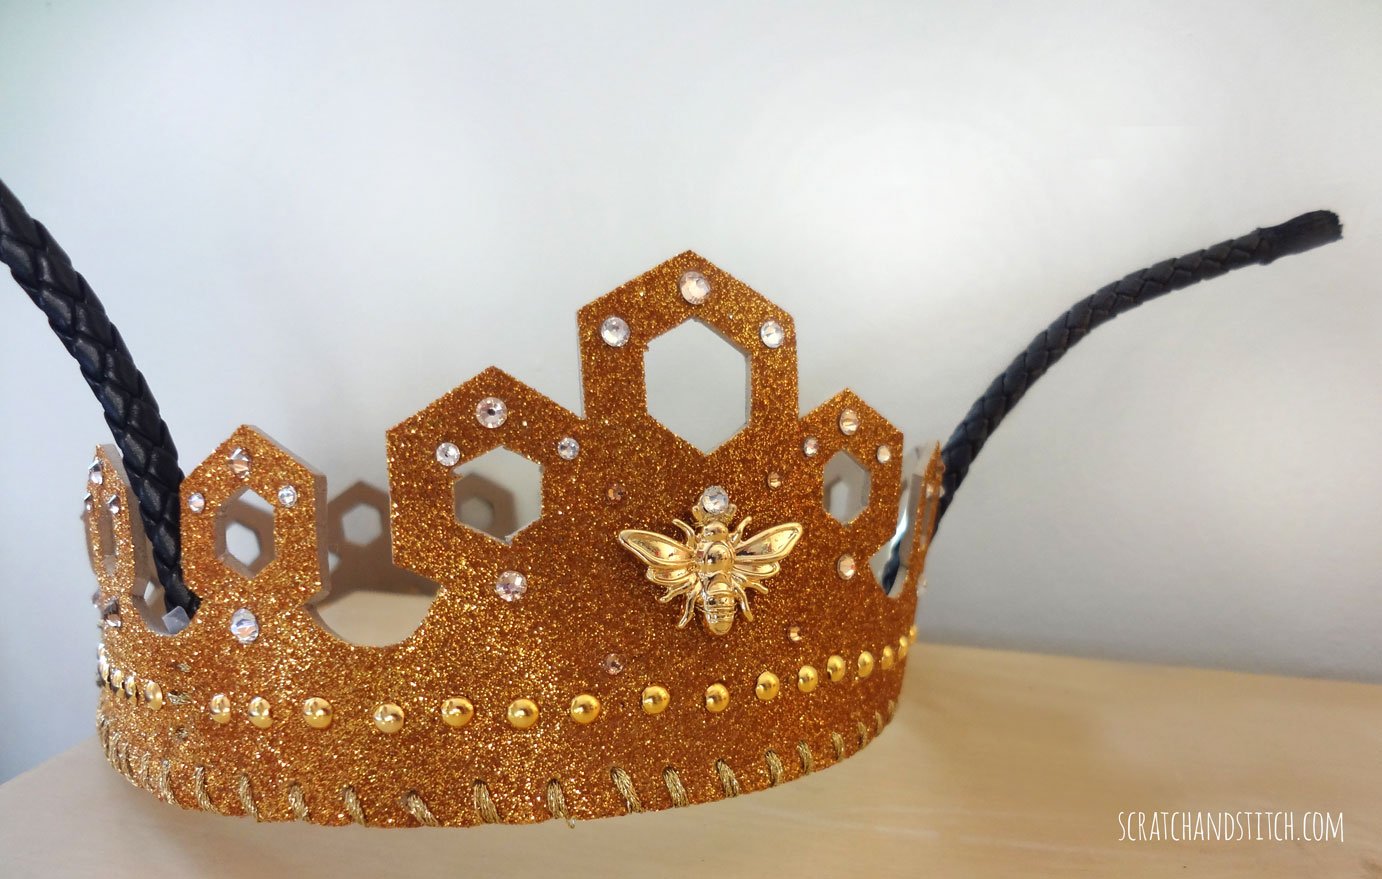
Here’s a close-up of the final Queen Bee crown. So sparkly!
Adult Queen Bee Costume Accessories
- fishnet stockings
- black boots
- fishnet gloves
- chunky gold chains
DIY Beekeeper Costume
No Queen Bee is complete without her Beekeeper! Make this adult Beekeeper costume for under $20.
Adult Beekeeper Costume Materials
- white paint suit
- wide-brimmed hat
- white baseball cap
- cardboard (for DIY beekeeper hat)
- white Duck tape (for DIY beekeeper hat)
- netting fabric
- floral wire
- artificial bees
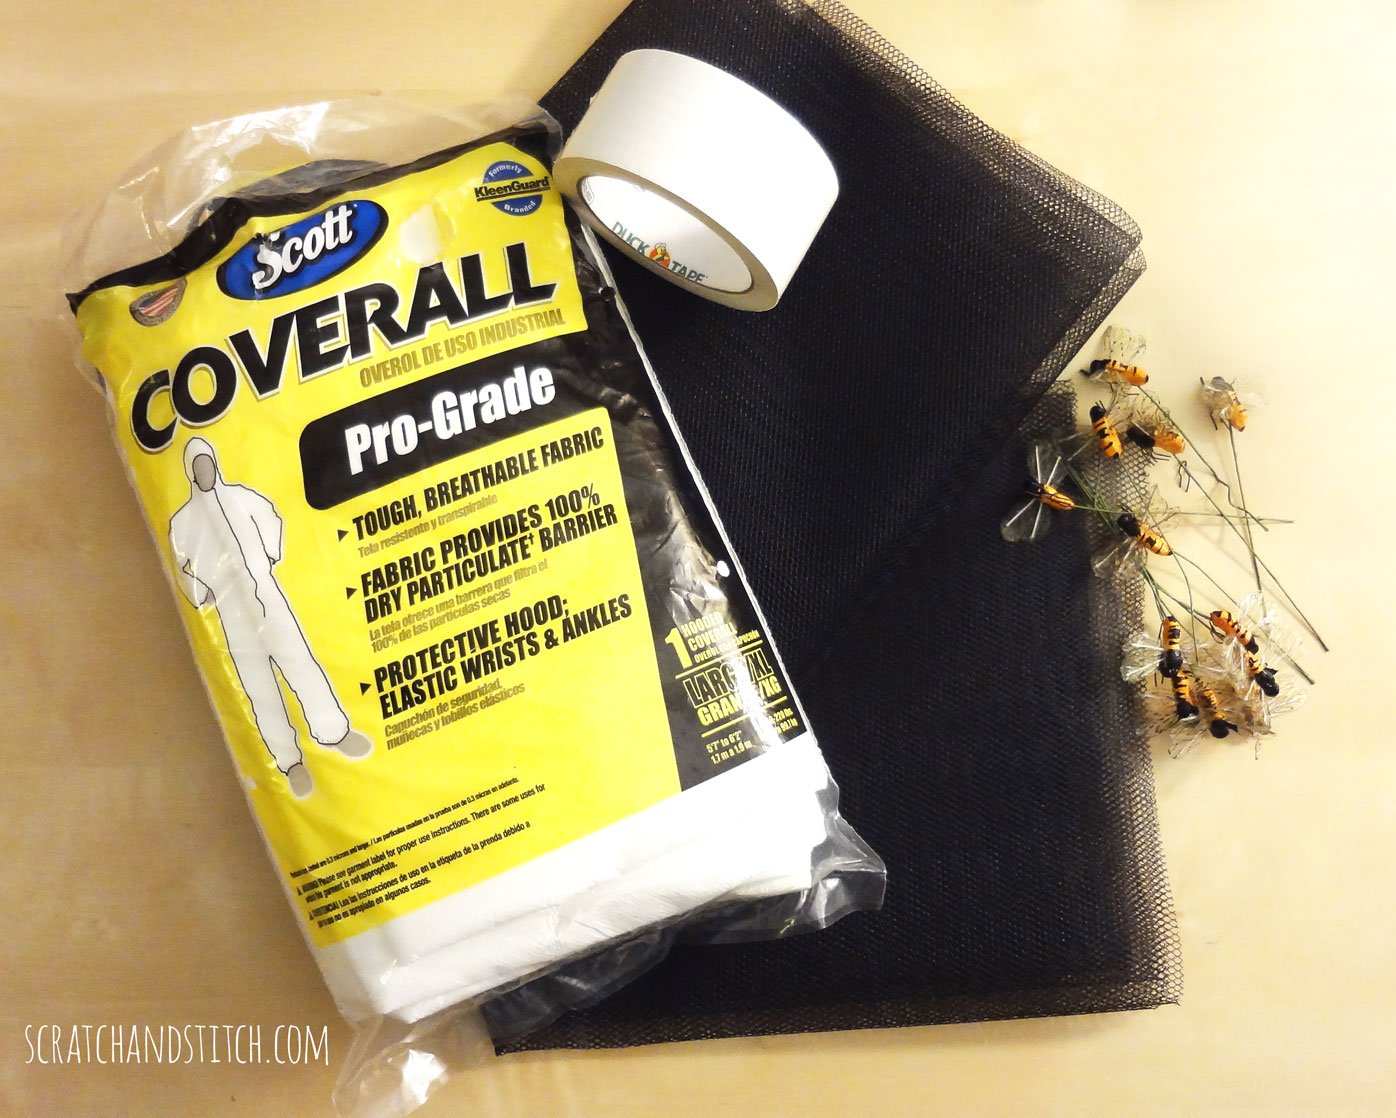
You can find a cheap, white, paint suit at any hardware store. We found this one on clearance for $5 at Home Depot and cut off the hood.
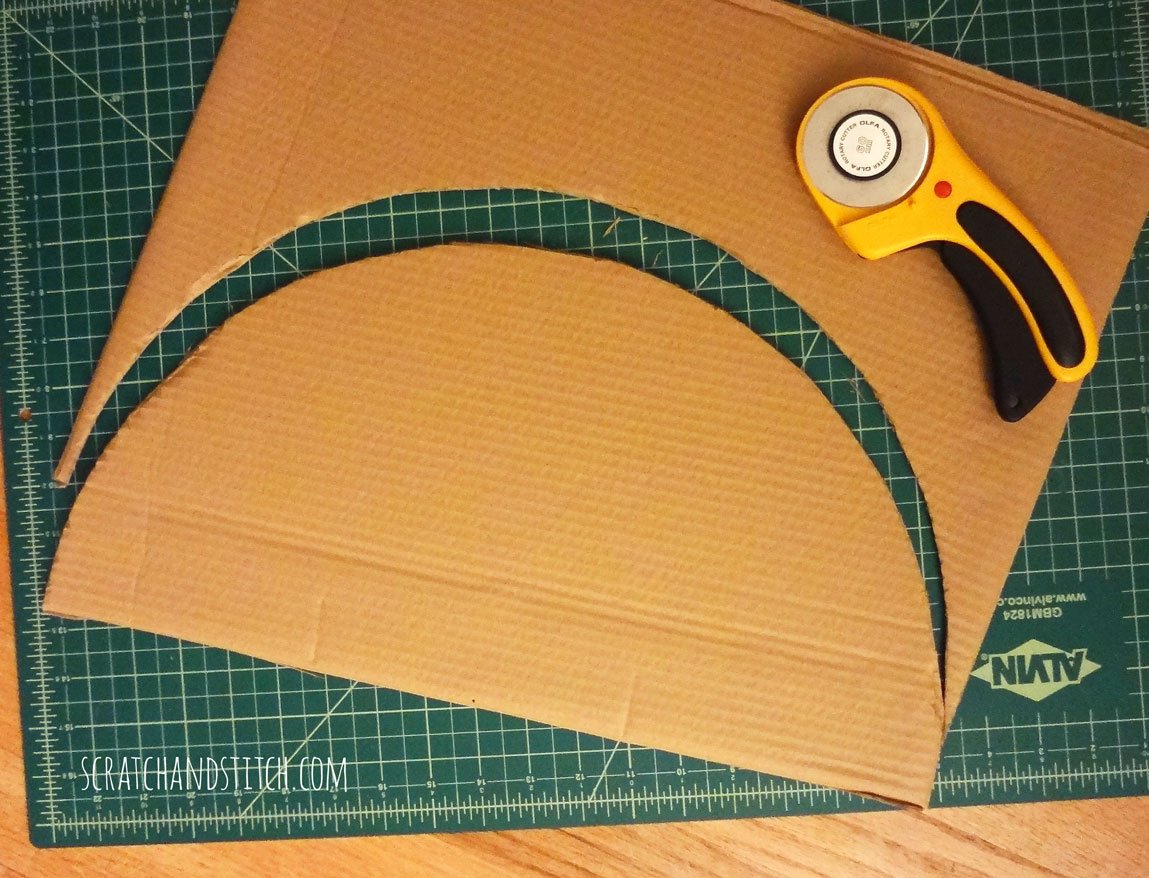
Determine how wide you want your beekeeper hat to be. We made his about as wide as his shoulders. Using large pieces of cardboard, cut out 2 half circles (or 1 large circle if you have a piece large enough). In the center cut a circle for the head.
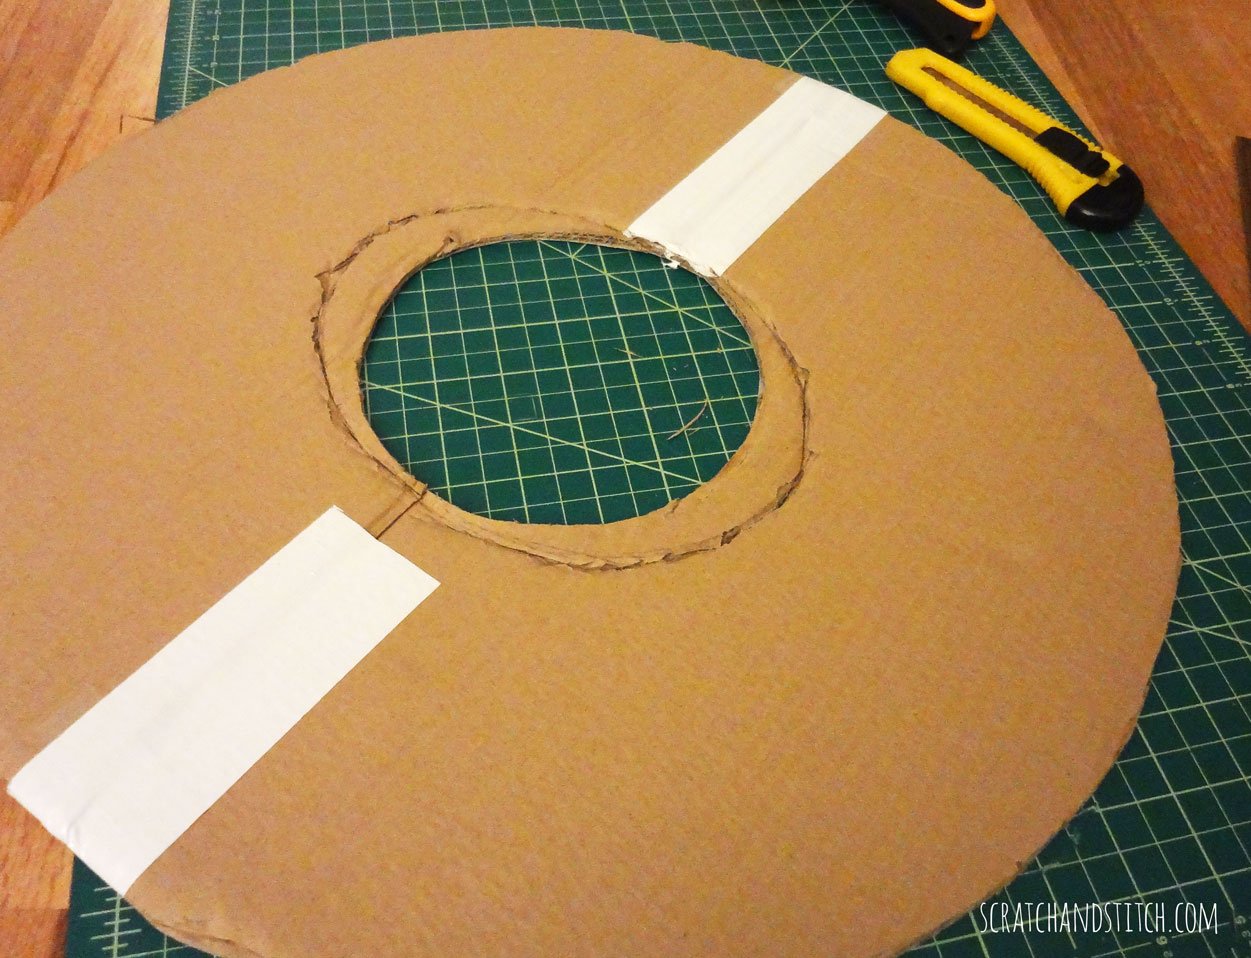
Put the 2 half circles together with white duct tape leaving you with a large cardboard ring. This should fit over the baseball cap on the beekeeper’s head tight enough that it doesn’t slide down. Test the sizing and comfort, adjust the center circle as needed.
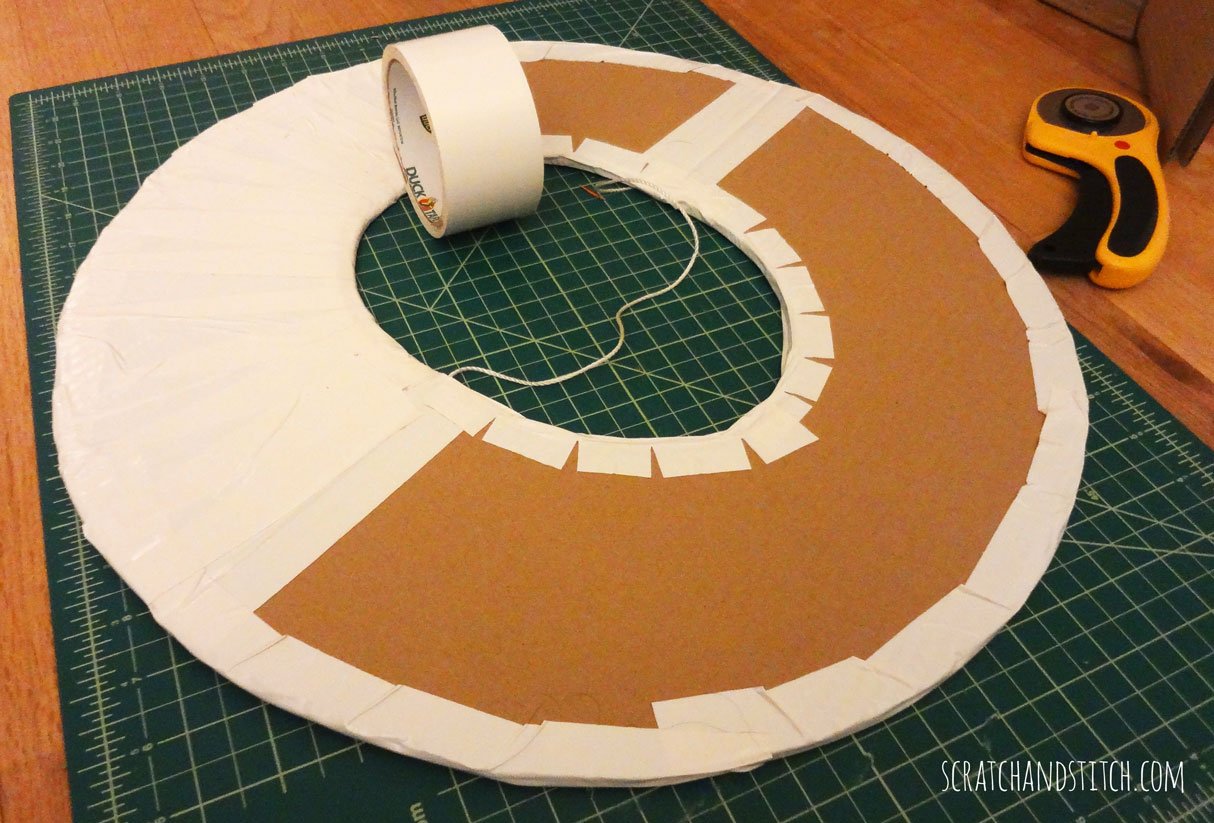
Cover that cardboard ring with white duct tape.
Attach white cord to the cardboard ring on four sides to create a cross that goes over the head front-to-back and side-to-side. We were able to twist and tighten this cord around the button on the top of the baseball cap.
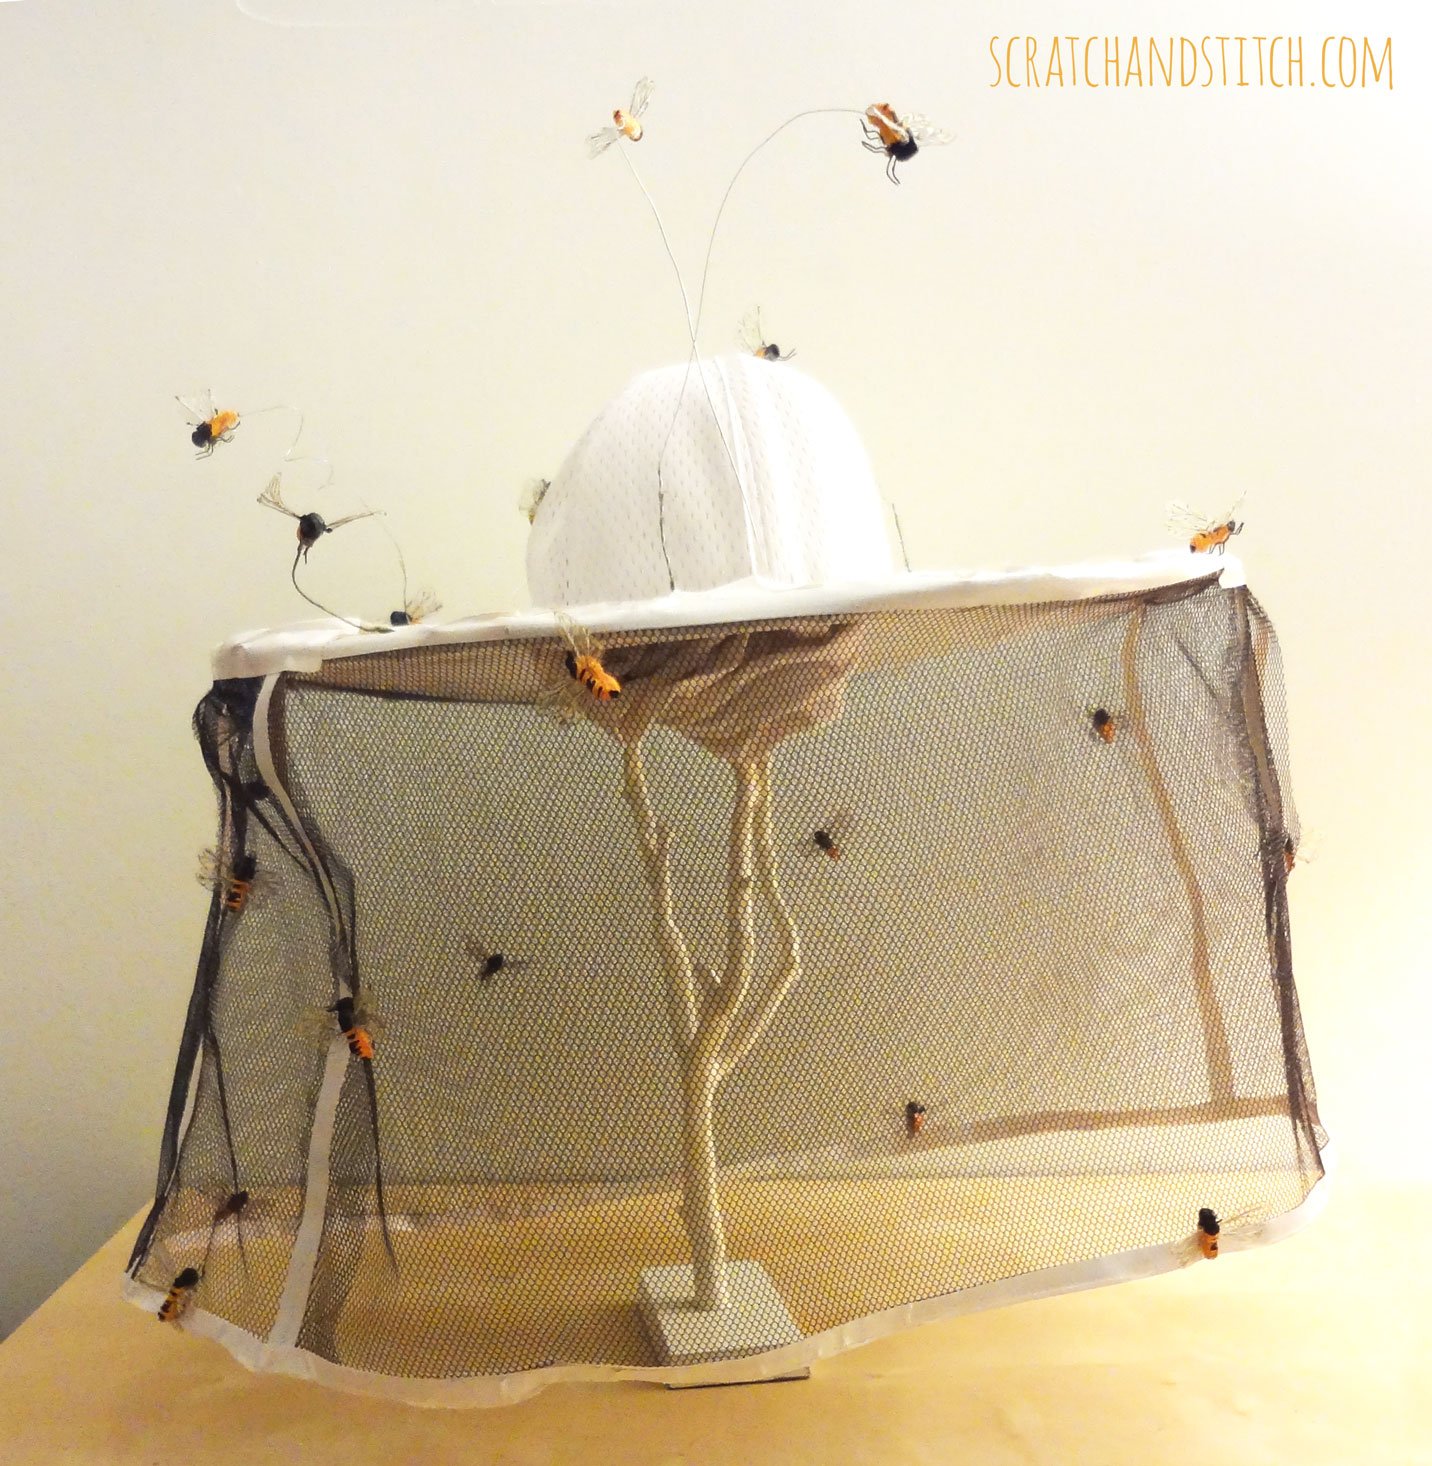
For an extra secure hold, tape the brim of the baseball cap to the cardboard.
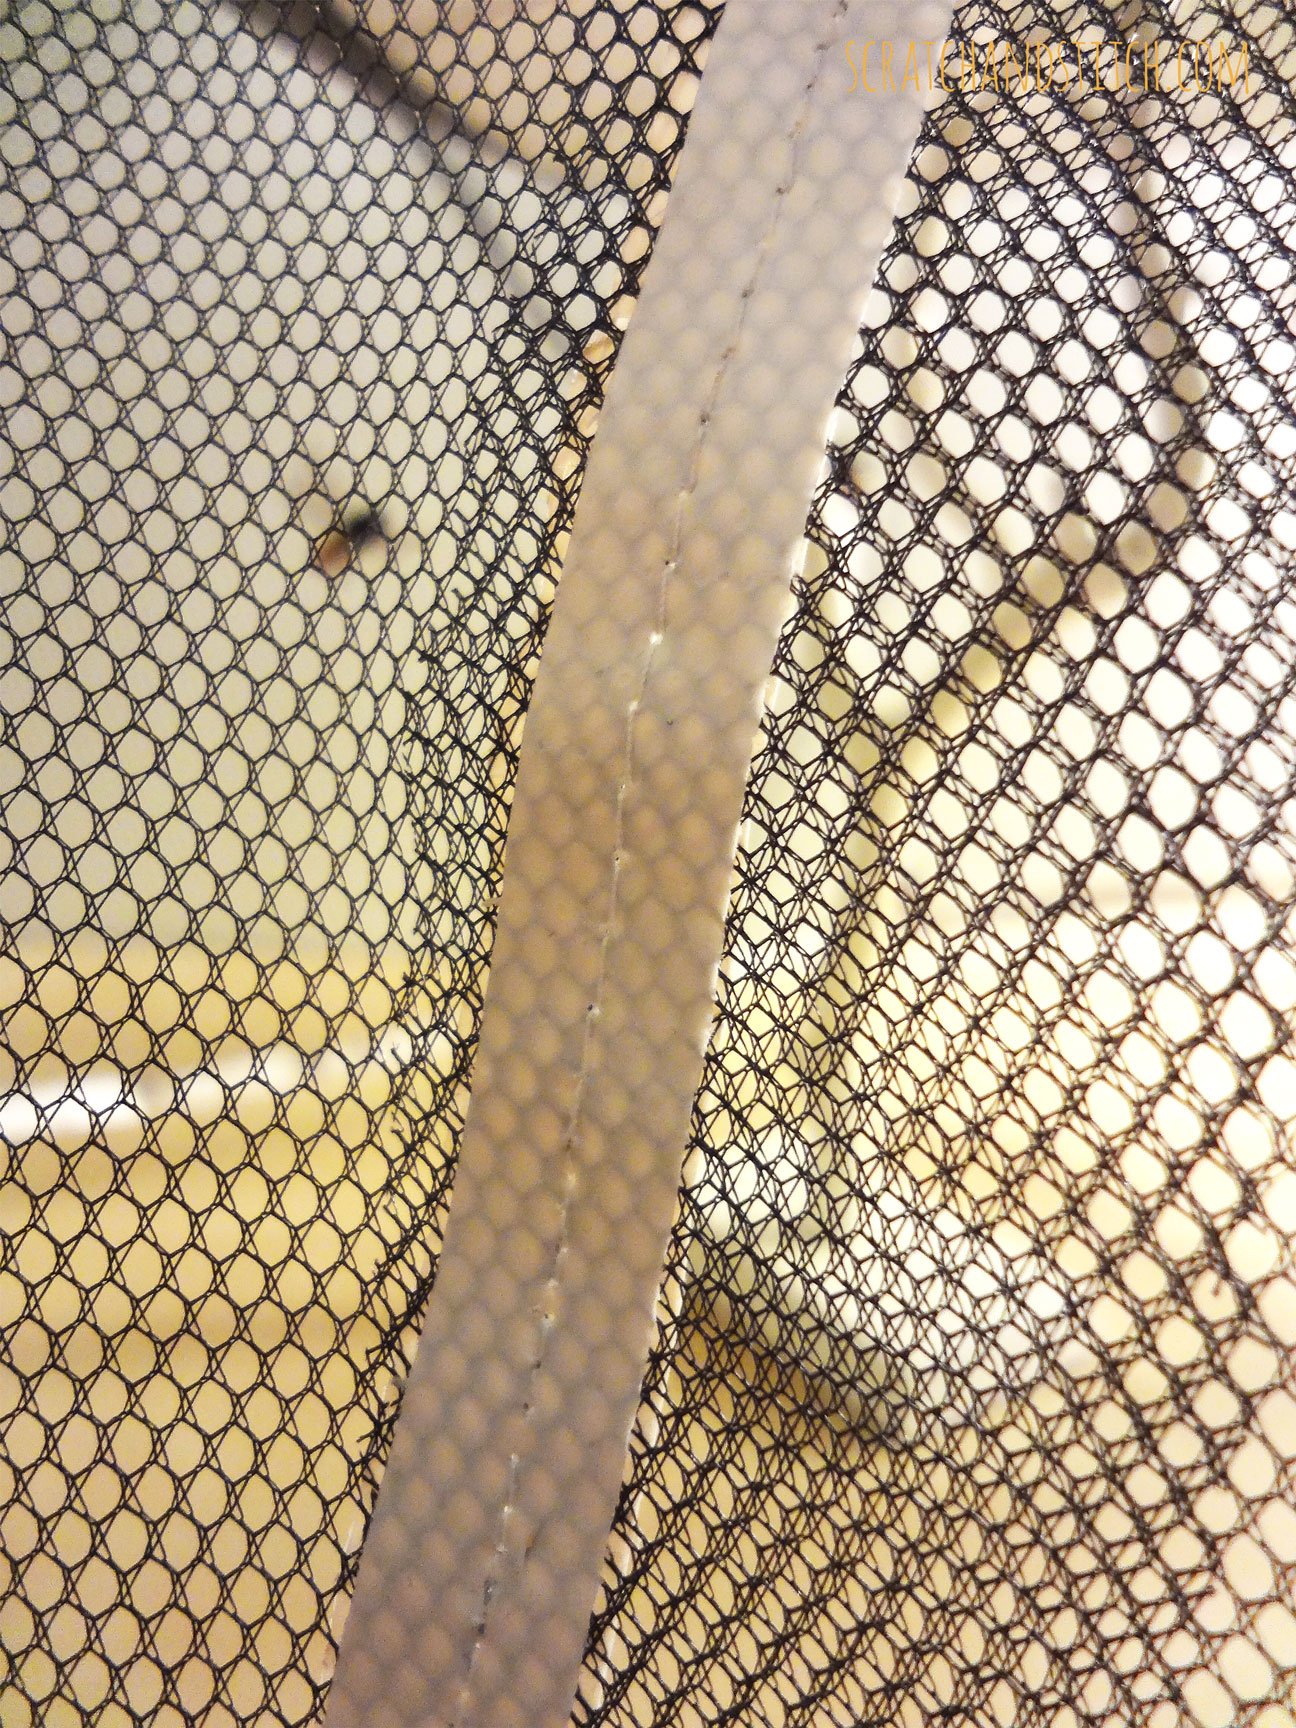
Begin taping the netting fabric to the edge of the cardboard brim all the way around the perimeter. Where the netting fabric overlaps, place a strip of duct tape from top to bottom. I sewed down these strips on my sewing machine to ensure it would hold throughout the night.
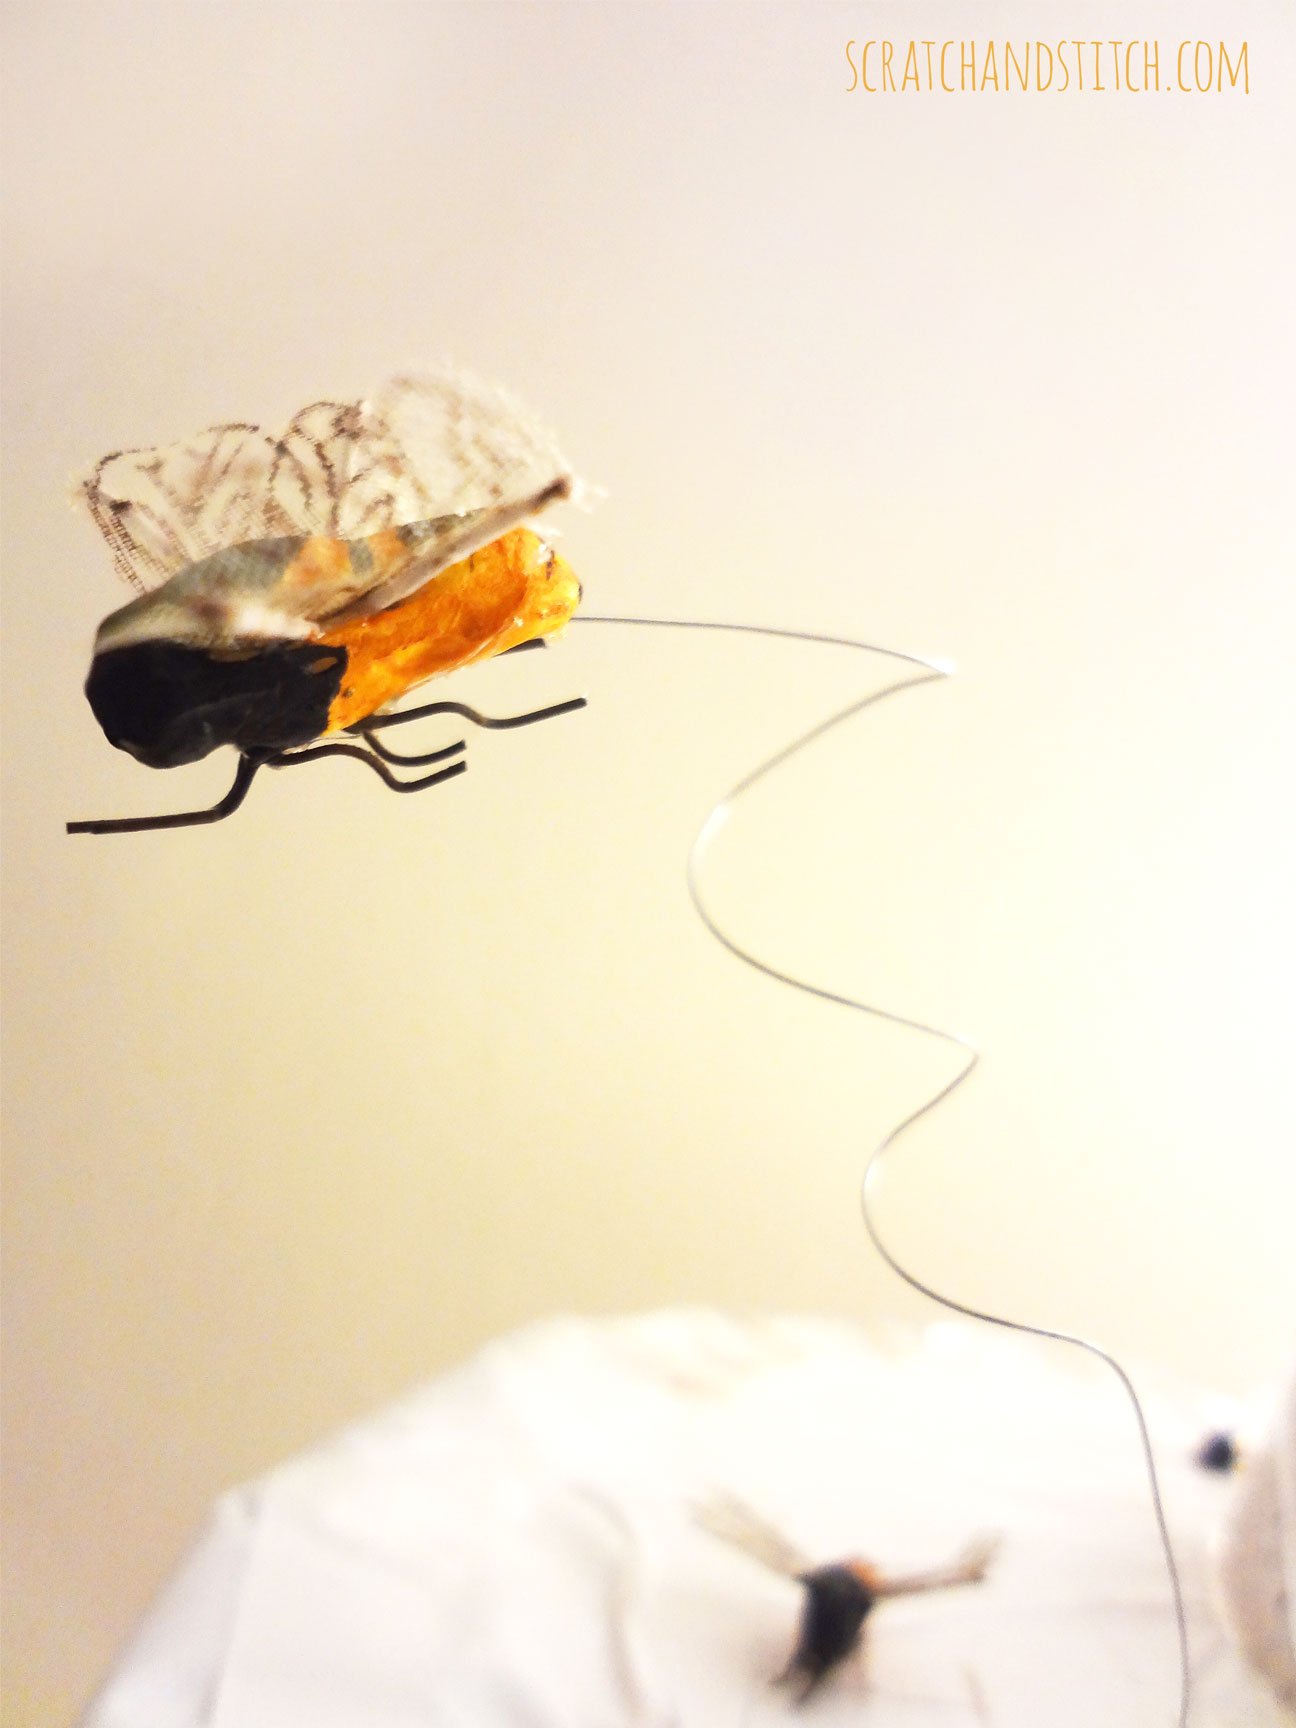
Attach artificial bees to the beekeeper hat netting. Create “flying” bees with coiled wire attached to the cardboard hat brim.
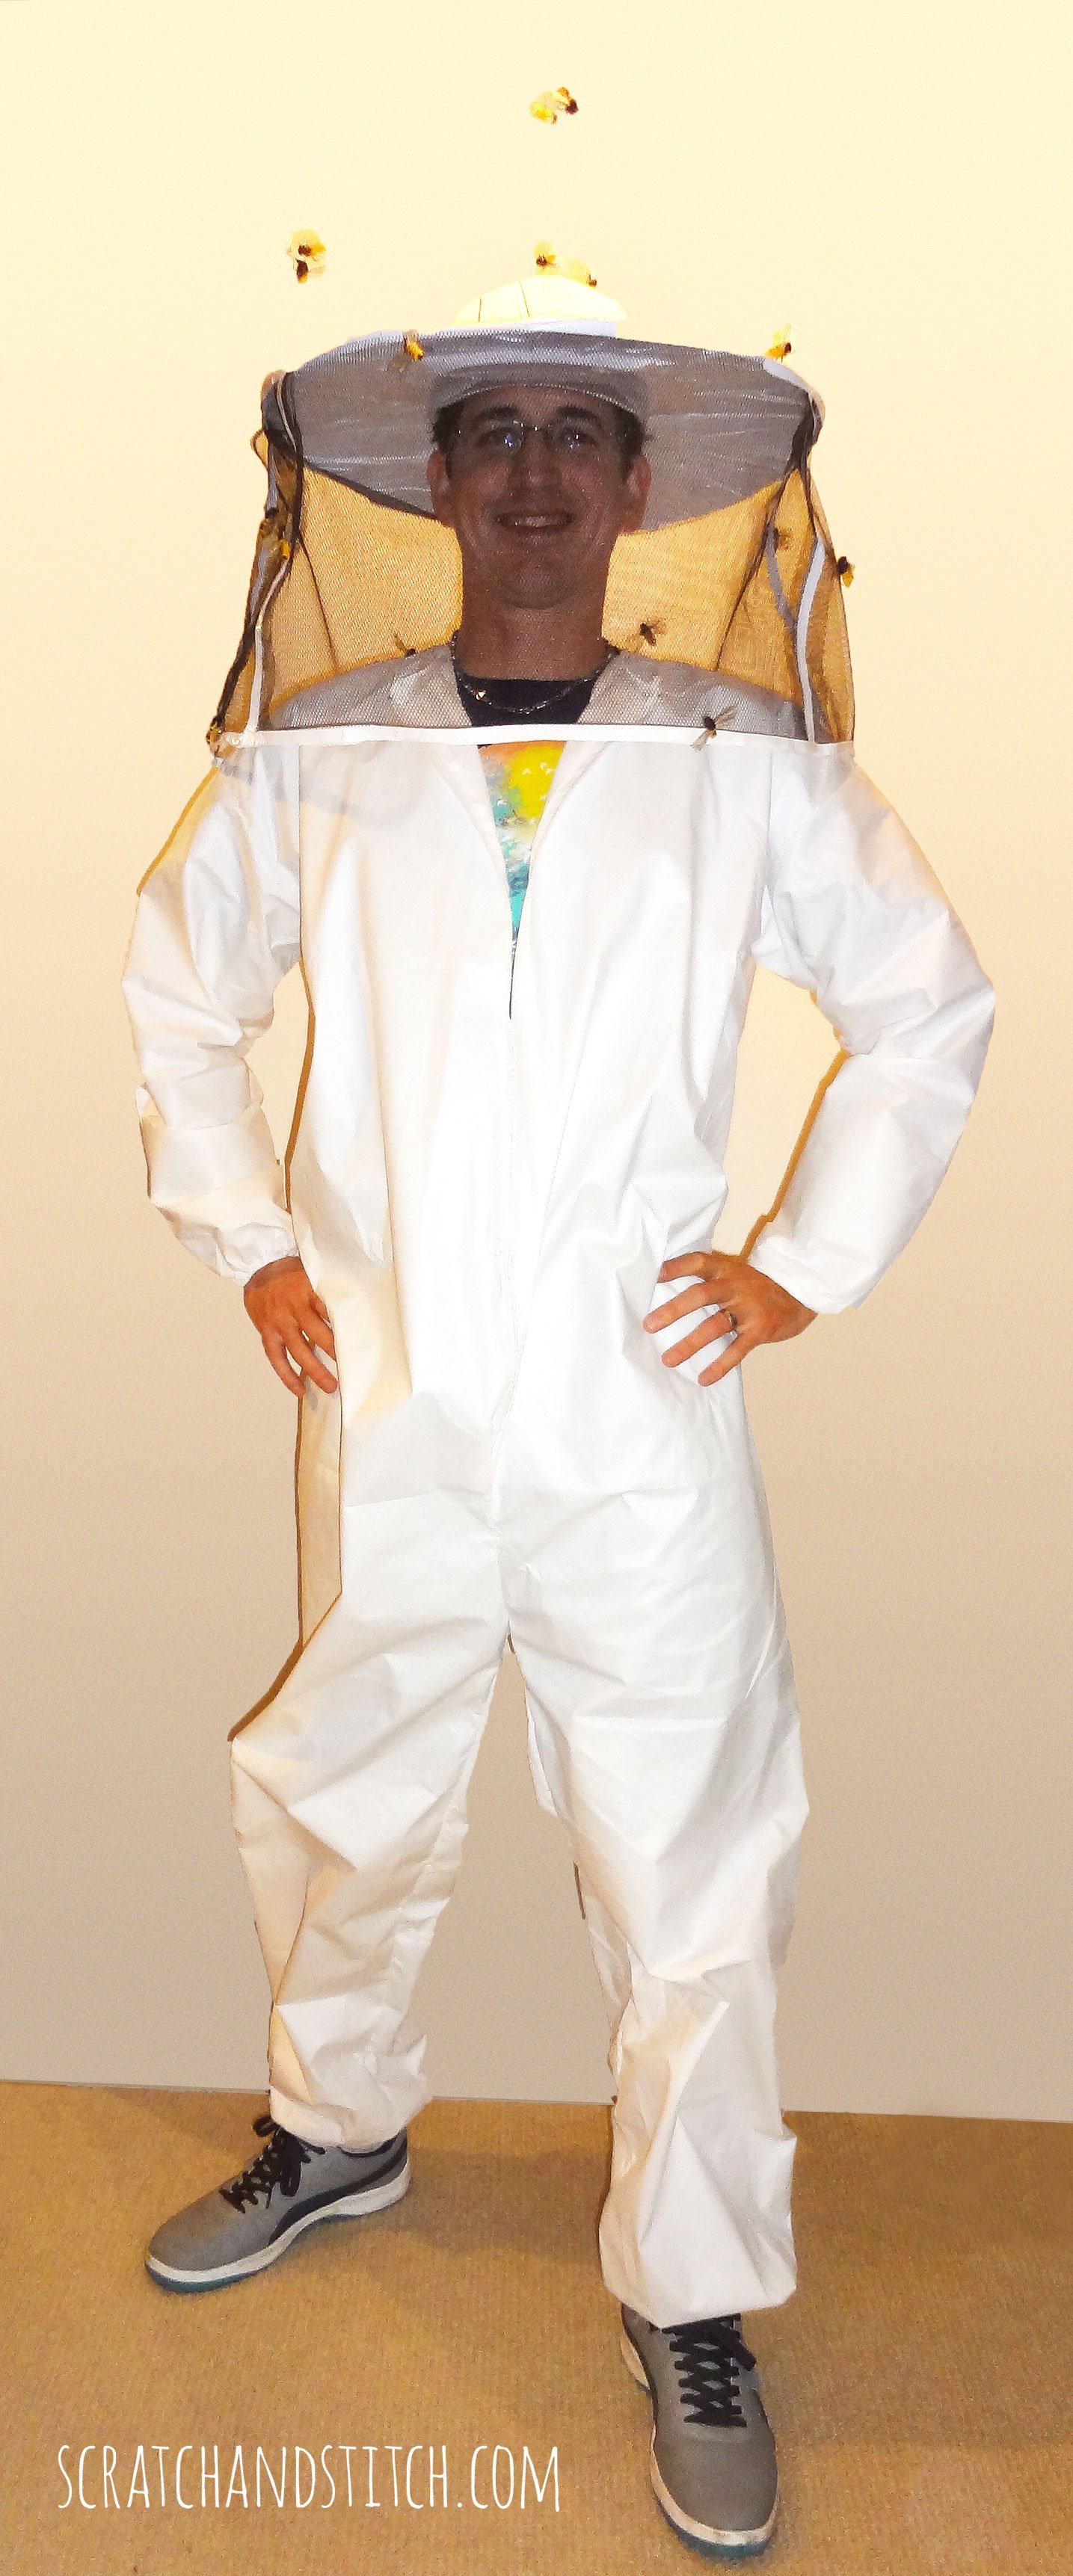
Optional beekeeper costume accessories
By now you should be able to rock a Queen Bee and Beekeeper couple’s costume. We had so much fun dancing the Halloween night away in our handmade costumes.
Looking for other couple’s costume inspiration? Check out our past handmade couple’s costumes.

Where can I get those artificial bees?
These are the ones we used: link here
Nothing in the link opens. Can you please let us know where you got the bees and what type wire you used to keep them elevated in flight?
Thanks for asking! This costume and post has aged a bit, so I’ve gone in and updated links to products I think will work. A thin but stiff floral wire should do the trick. I couldn’t find the exact bees, but there are several options at the link above.