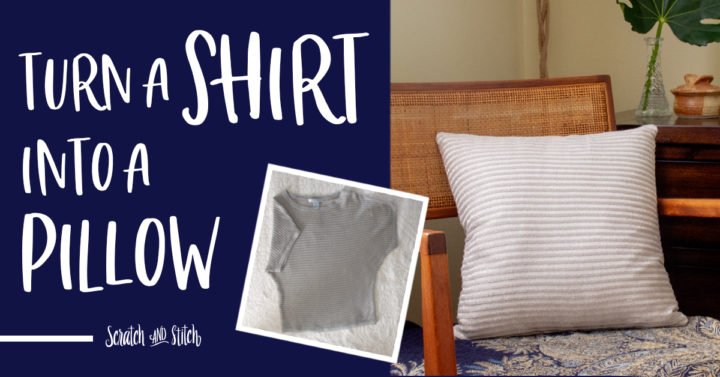
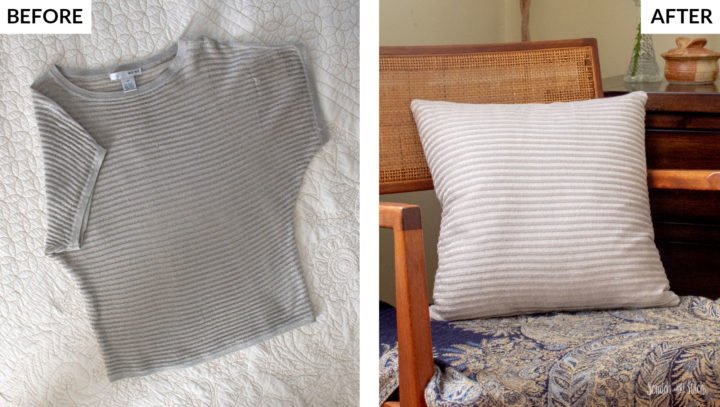
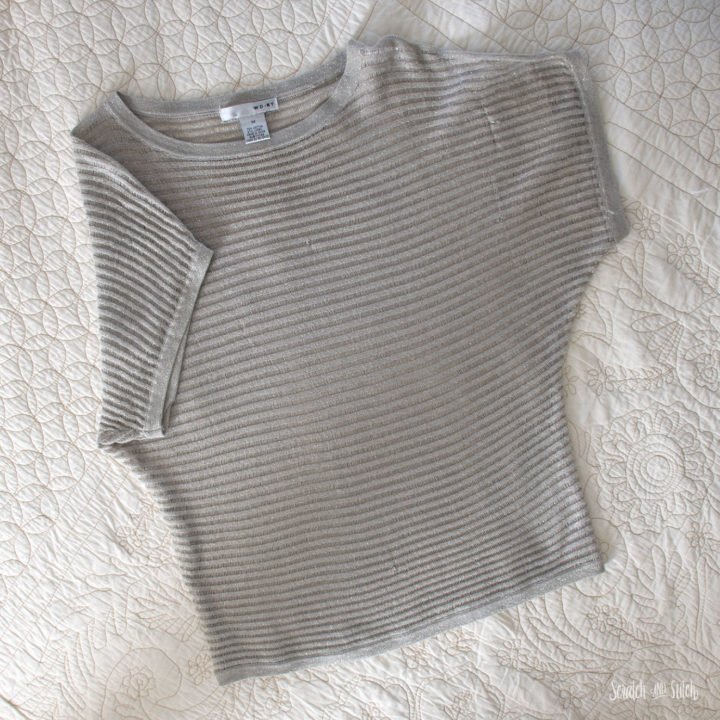
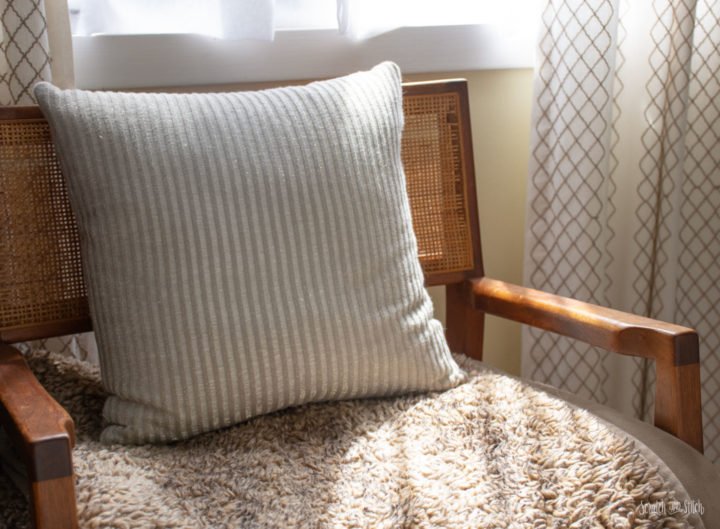
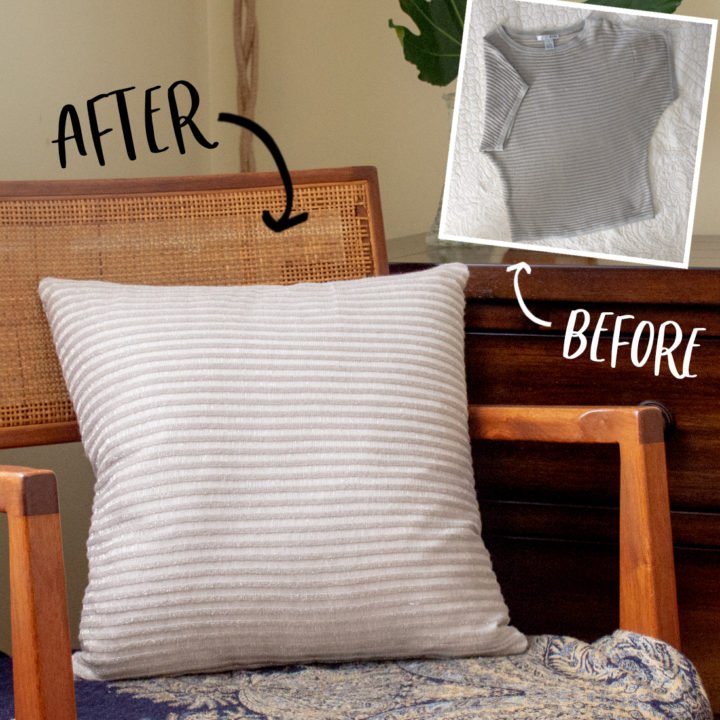
This gold sweater has been hanging around in my closet for quite a while. It’s passed through several donation purges because I really liked the shimmery gold fabric and semi-transparent finish but I still never wore it. Finally I decided to move it to the upcycle project pile to turn it into a diy pillow and I love the results.
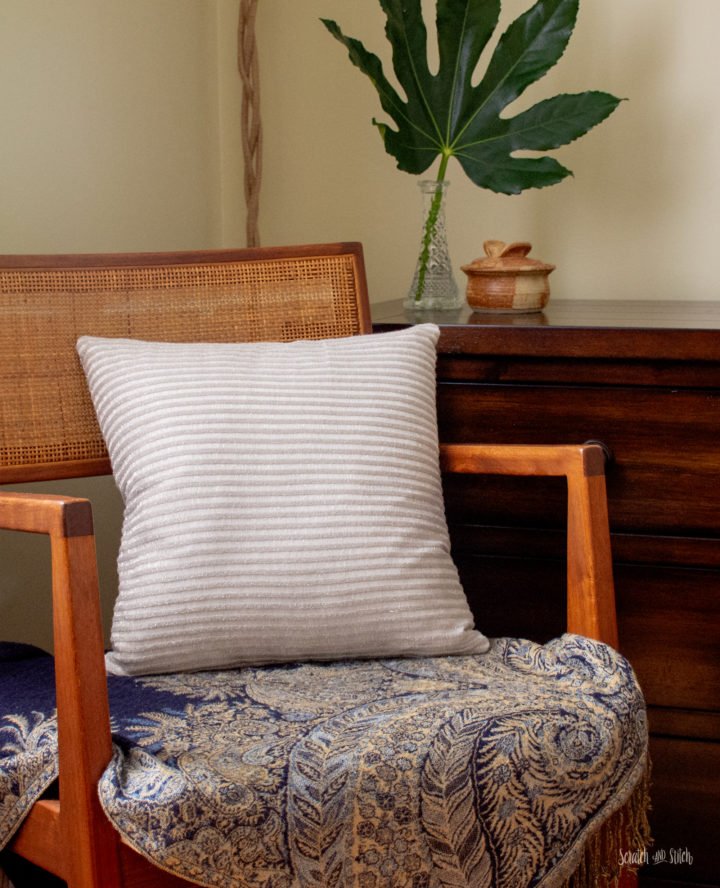
This diy pillow is now used more than the shirt was ever worn.
How to Turn a Shirt into a DIY Pillow
You can easily turn any shirt into a throw pillow. Use a plain pillow insert, update an existing throw pillow, or make a pillow insert to use.
Materials
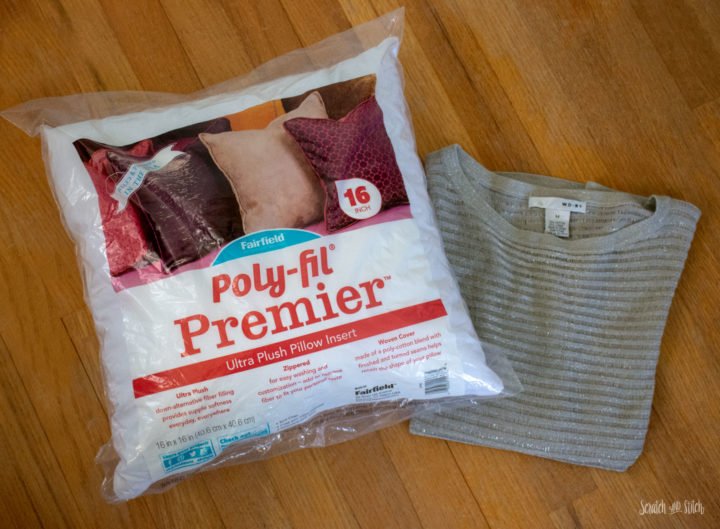
- sweater, t-shirt, or button-up shirt
- pillow insert (measure the shirt to find an insert that will fit best, mine was a 20″ square pillow insert)
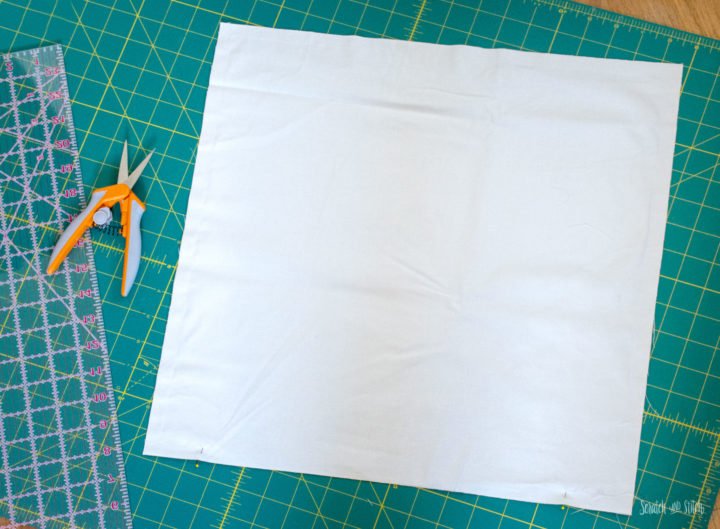
- fabric for the second layer (this is optional if you’re base layer will show through the shirt fabric)
- basic cutting tools and sewing supplies
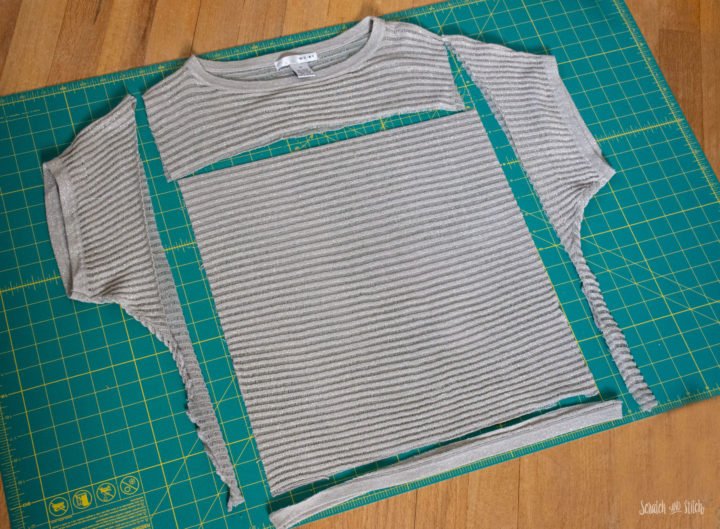
Start by turning the shirt inside out and laying flat on your cutting surface.
You’ll want to cut the shirt the exact size of the pillow insert. Measure and mark the shirt before making any cuts. This will ensure the insert fits snug into the diy pillow cover.
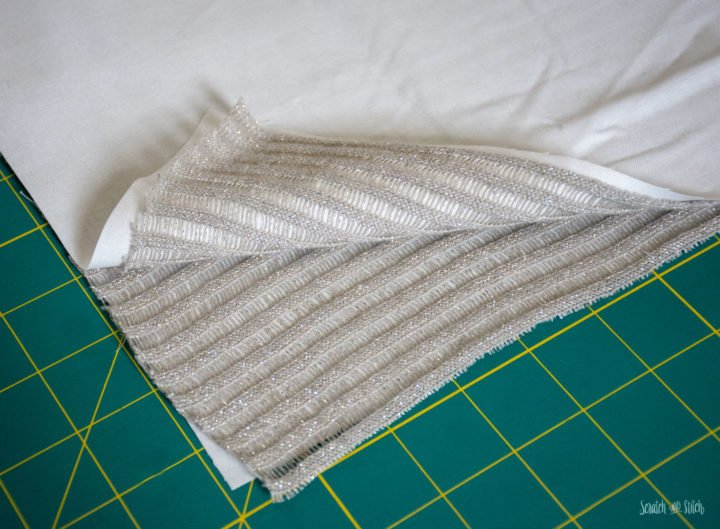
If you’re using a base fabric to layer under the shirt fabric, cut two pieces the same size as the cut shirt pieces.
Layer the four layers right sides together with the shirt pieces in the middle. Pin around the perimeter leaving a space for an opening to stuff in the pillow insert.
Sew around the four sides with a 1/4″ seam allowance making sure to leave open the gap for adding the pillow insert. If your shirt fabric frays easily I recommend finishing the edges with a serger or zig-zag stitch to prevent any fraying at the edges.
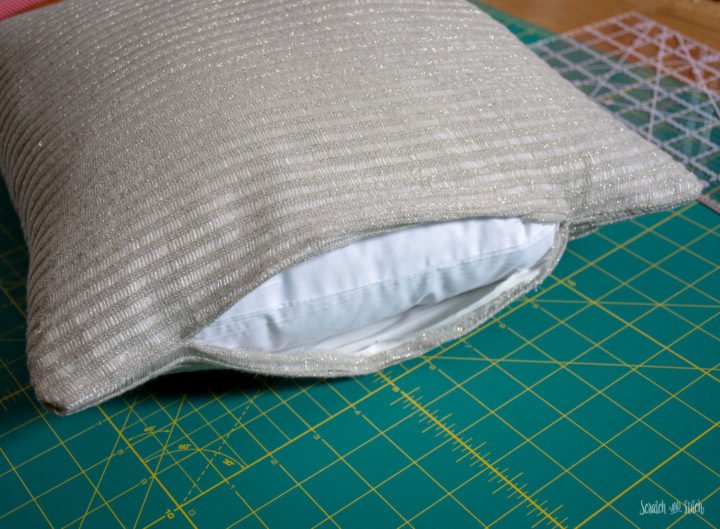
Flip the pillow cover right sides out and stuff with the pillow insert. Sew the opening closed with a ladder stitch or slip stitch.
Enjoy your new diy pillow!
This is a great upcycle project if you’re like me and really like the fabric of an old shirt. It’s also a great way to update an outdated throw pillow.
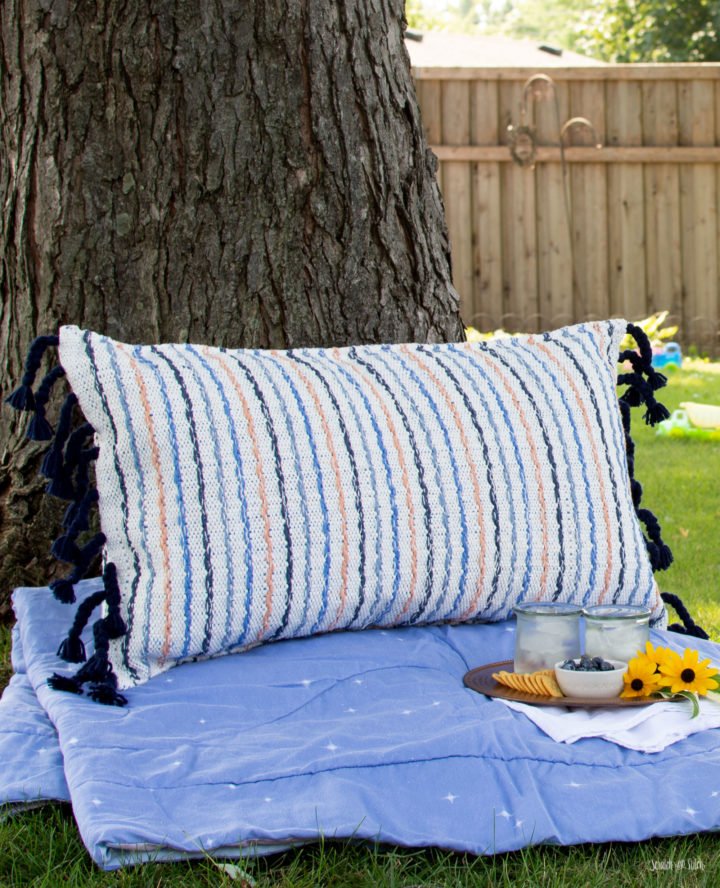
DIY pillows can be so easy to make. Here are a few other DIY pillow projects:


Leave a Reply