A while back I wore my men’s shirt refashion vest to my parent’s house and my mom immediately knew it was a refashion of one of my dad’s flannel shirts. Once we caught my dad up to speed that the vest was previously his flannel shirt he was impressed. He immediately went to his closet to find another old shirt for me to refashion.
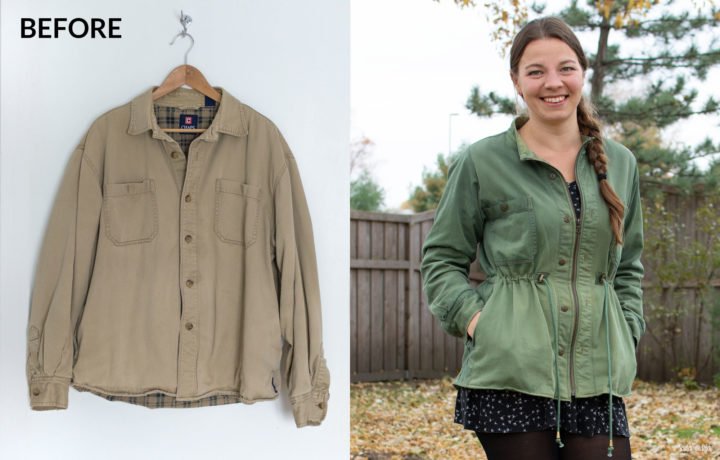
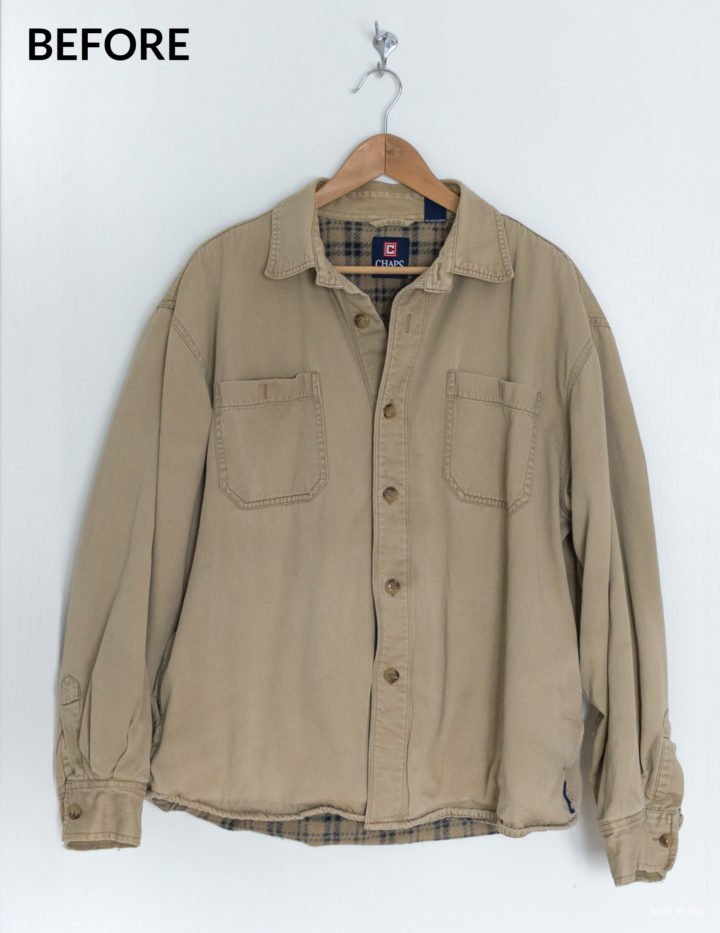
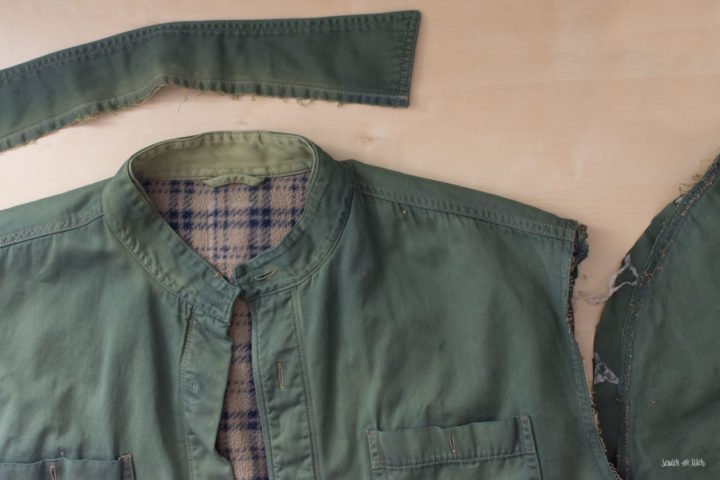
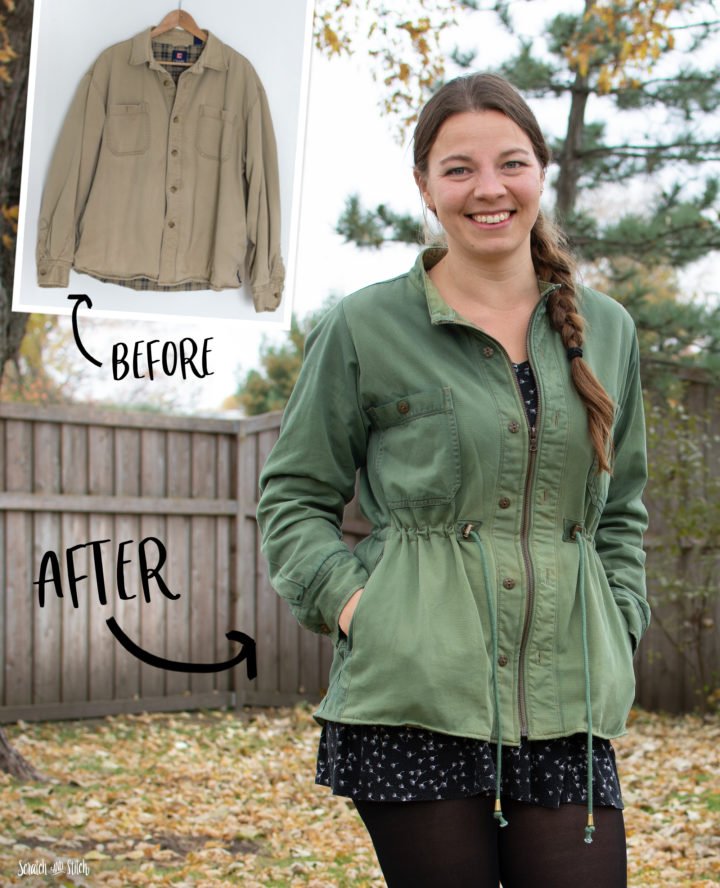
He brought out this flannel lined men’s shirt. It was old, well-worn, slightly torn, and a little faded. Because of how worn it was it was also very soft. For this men’s shirt refashion I knew right away that it needed to be dyed green and turned into a jacket.
How to make a Men’s Shirt Refashion into a Jacket
A used men’s shirt is a great place to start for a refashion project. For this shirt to jacket upcycle I changed the color to green, resized to a feminine fit, removed the collar, added a zipper, replaced the buttons, and added a cinched waist cord with brass cord stops and cord ends.
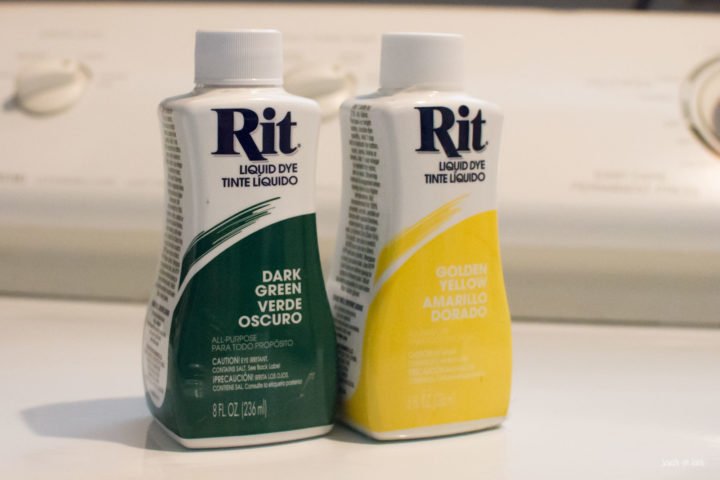
The first step was to dye the shirt green. I used Rit Dye Liquid Dark Green and Golden Yellow.
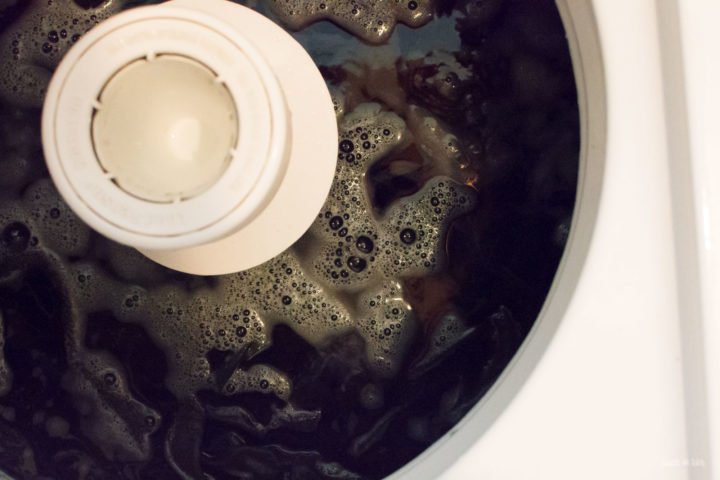
I used the washing machine method for dyeing the fabric and just restarted the cycle several times to get a dark army green color. Since this shirt was well used it didn’t take the dye evenly but I like the outcome anyway.
Next step was disassembly. I removed the collar flap and arms then set aside.
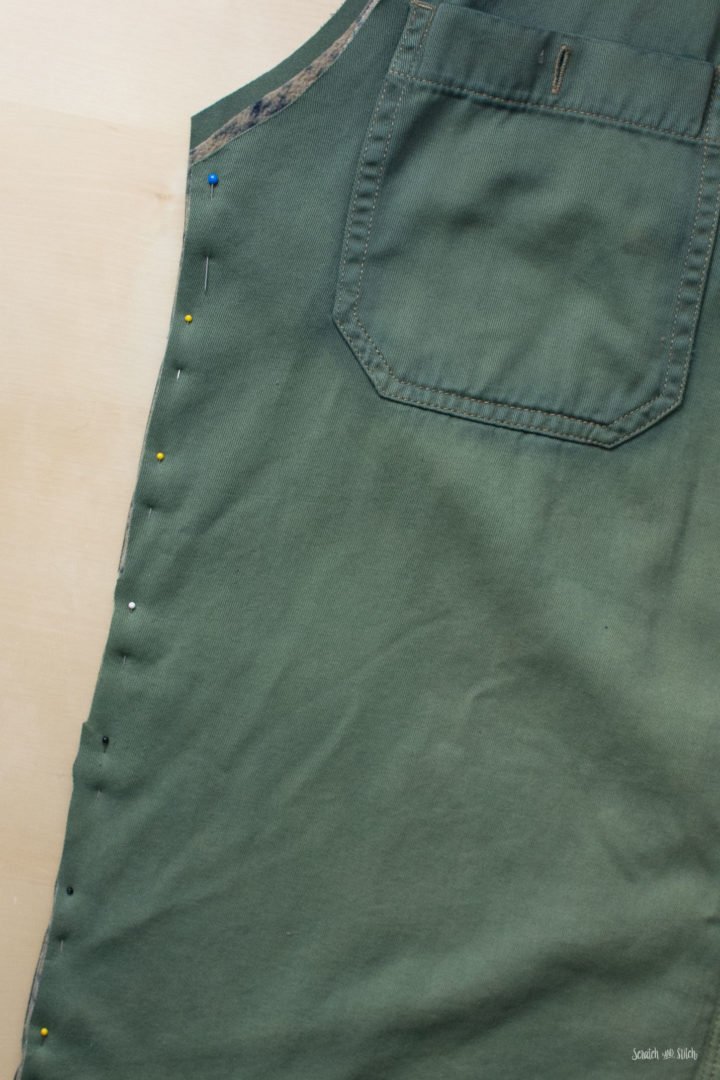
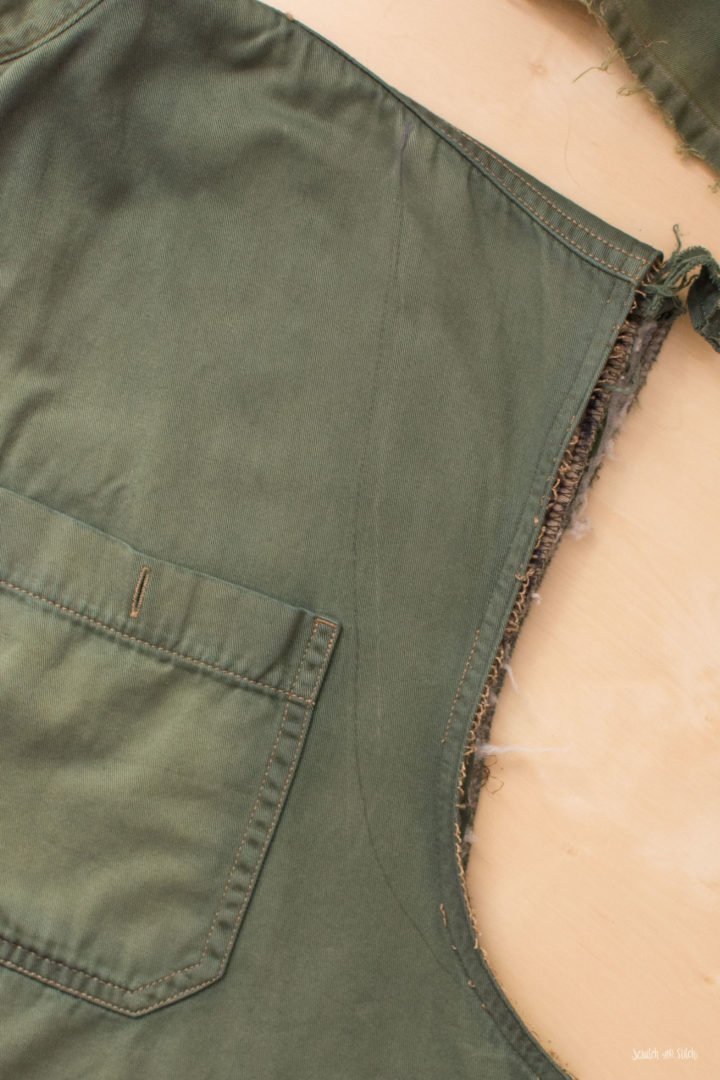
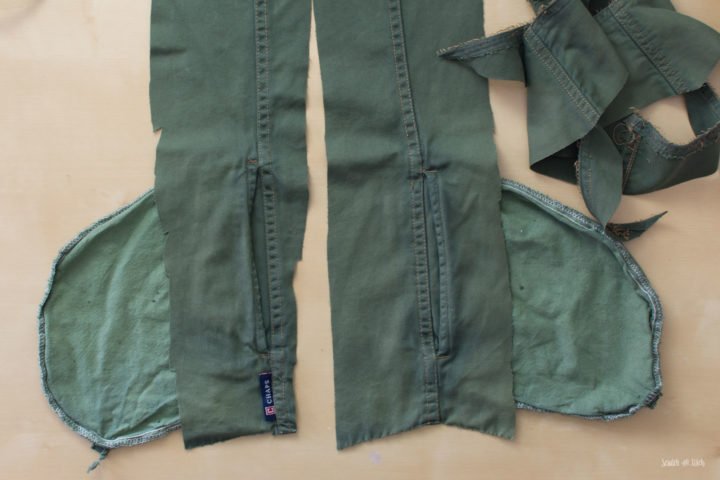
Next was to change the fit from a boxy men’s shirt to a form fitting women’s fit. I cut out the sides that included side seam pockets and set aside to add back in later.
As with most men’s shirt refashion projects, I repositioned the shoulder seams to sit on the edge of my shoulders.
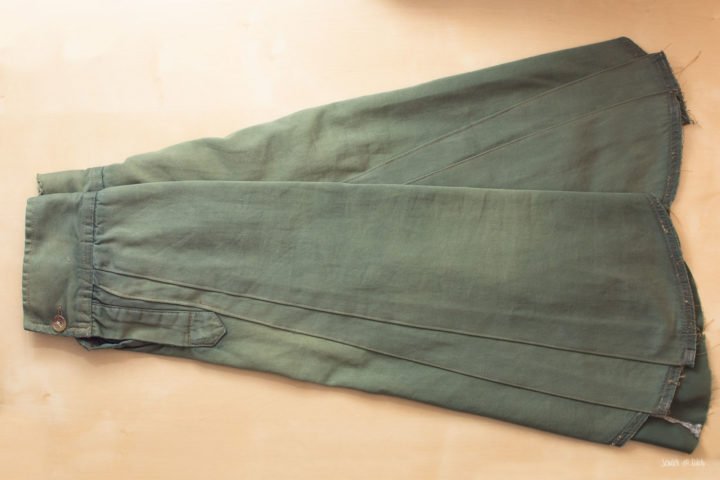
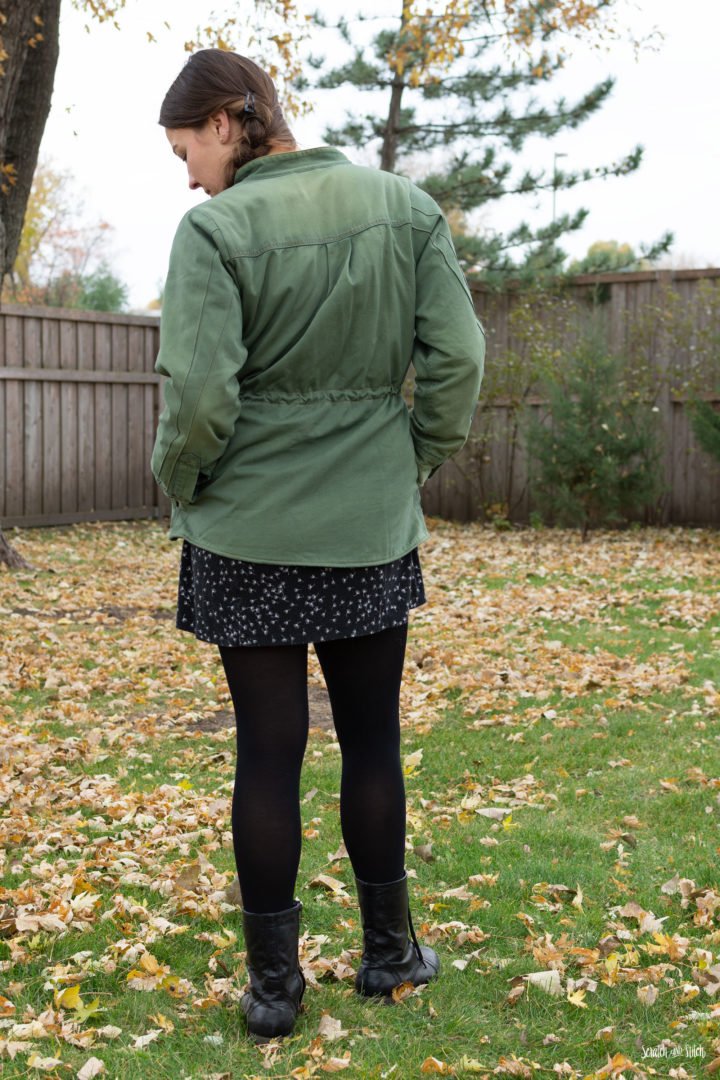
The arms were still too wide and instead of just making them slimmer by removing fabric I added some decorative pleats with topstitching.
To create a more feminine shape I added a triangle piece to the sides of the jacket using the scrap pieces that included the pockets.
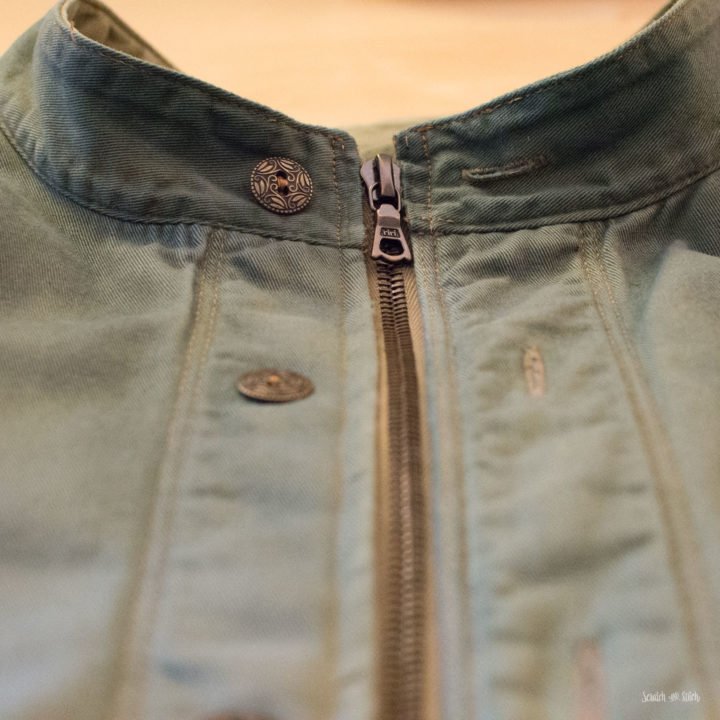
The plastic buttons were replaced with decorative brass buttons and I added a brass RiRi zipper down the center front.
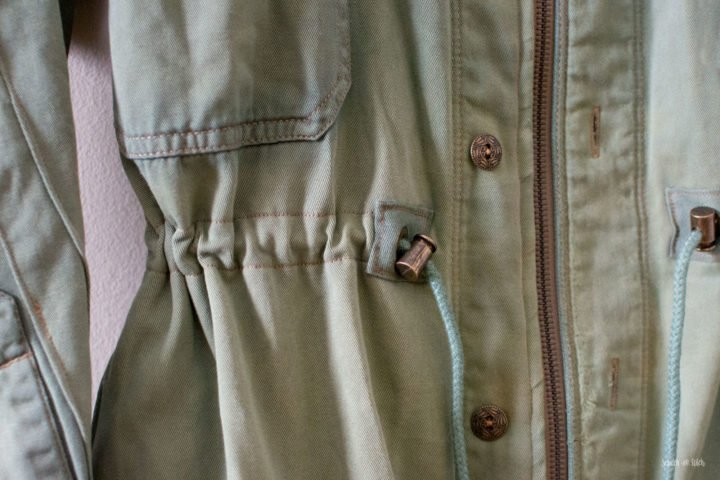
Before the final assembly I added a tube and brass grommets to create a cinch waist. The cord has brass cords stops and is finished off with brass cord ends.
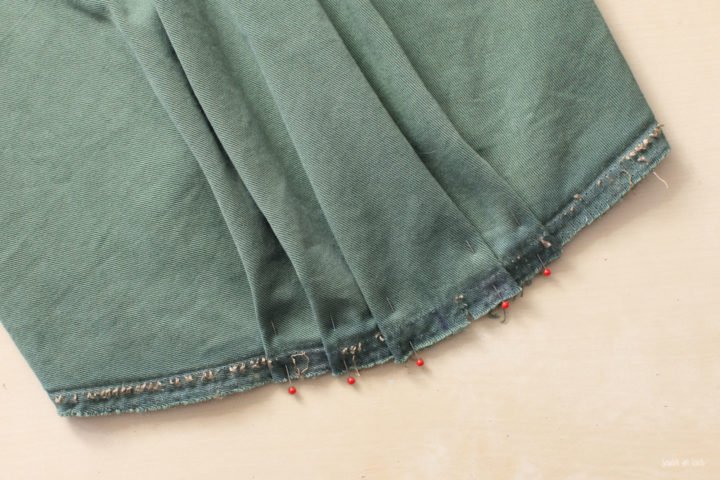
The last step was to close up the bottom of the jacket.
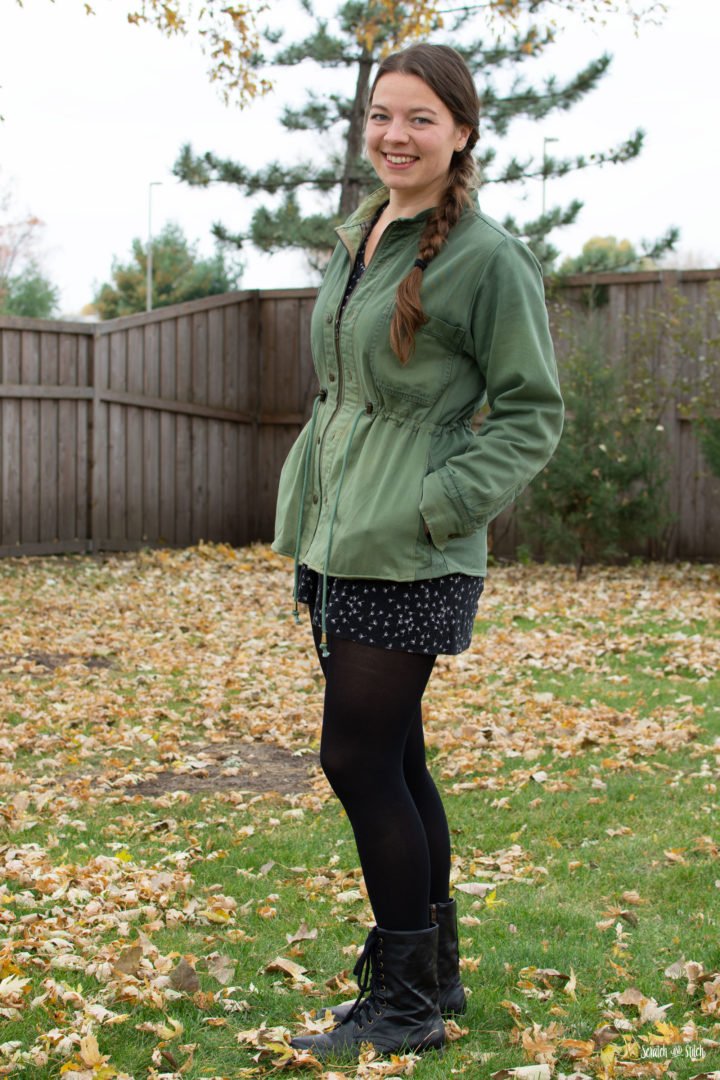
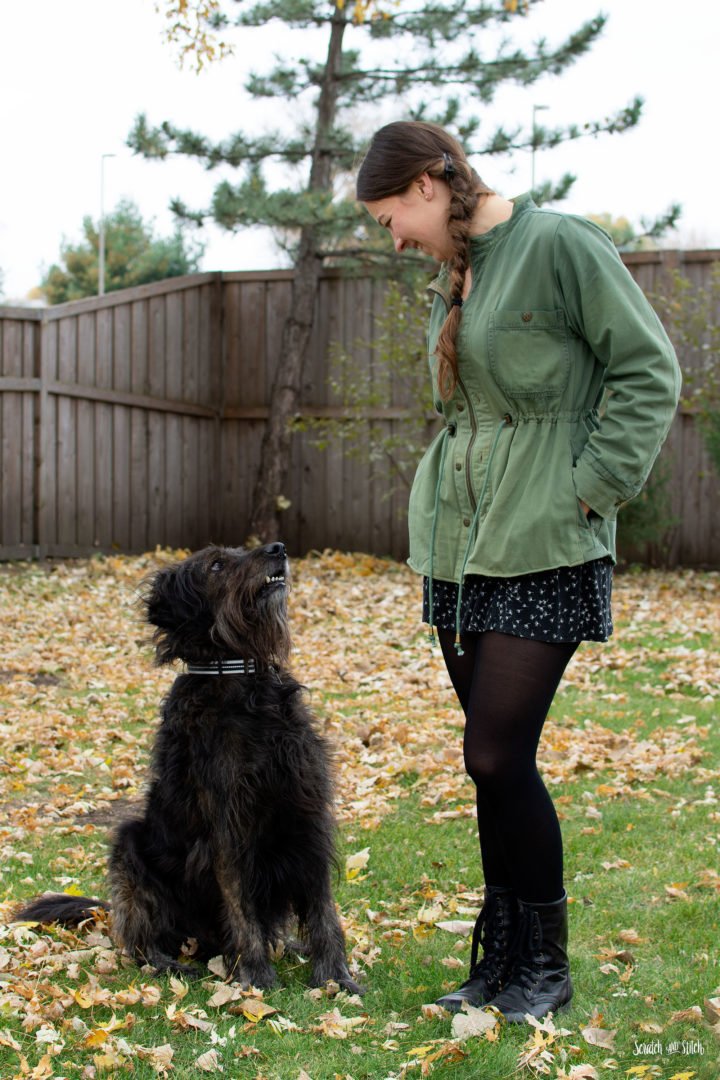
The final outcome of this men’s shirt fashion is an awesome jacket with a feminine fit.
And of course POCKETS!
This men’s shirt refashion is quite the transformation from before to after.
My next men’s shirt refashion is already on the sewing table. Have you created any men’s shirt refashions inspired by my creations? Tag me on Instagram with your refashions @scratchandstitch

This is so impressive! I have been wanting a jacket like this. You did an awesome job!!!
Thanks Lindsay! :) I highly recommend giving it a try.
Love it
Wow, I love this make-over. I have sewn for a long time, although I don’t count myself as any expert on fit (my grandmother could take a pinch here and a nip there and make anything fit!). I got a little lost when you cut out the side panels and later added them back (although the concept is clear). And I’m not sure how you moved the shoulder seams.
Do you have tutorials with more info? I totally understand if you don’t want to explain step by step, which could be pretty tedious for you. Anyway, I’m very impressed with you skills, and enjoy seeing what you’ve done.
Thanks Kate! I don’t consider myself an expert either but I feel pretty comfortable behind my sewing machine. :)
For the side panels, since I had cut out the excess fabric from the sides that included the pockets I had enough to cut a triangle piece to place at the bottom of the side seam. This helped created a more feminine shape at the hips and put the pocket back in.
In regards to moving the shoulders, this is the easiest way to make a men’s shirt fit a women though it can be tricky to get the hang of. I don’t have any tutorials on it but this video explains it very well and I reference it often.
This is a great remake. I love that it was your Dad’s 💕. Your pictures helped a ton. Deconstructing and then seeing back for just your size was a cool process to watch. Also I appreciated you dying the fabric – an option I usually forget. ⭐️⭐️⭐️⭐️⭐️
Thanks Leslie! It really was a fun project. And yes, fabric dyeing is such an easy way to update something old to something new. :)
This is gorgeous. For a year now I have been agonizing over what to do to the buttons and buttonholes on shirts that I want to turn into zippered jackets. I looked at your fabulous refashion and realized the right answer is : Nothing. So liberating!! And I love the idea of clinching the waist. Thank you so much for sharing this.
Right!! I have to give my husband credit for this idea because I was in your same boat. He’s like “just leave them” and I doubted it at first but love the way it looks. :) Send me links to your refashions, I’d love to see them.
Your refashion is much nicer looking than so many utility jackets out there. Great results!
Thanks Dineen! This means a lot to me to hear that. That waist cinch is everything :)
Can you be specific on how you added the “tube” for the drawstring cord? It looks like you stitched through both the coat and the lining and added reinforcement squares. Any additional info you can provide?
Hi Pat – That’s exactly right! I added the reinforcement squares and grommets to the outer layer first. Then I pinned the inner and outer layers together, and marked a straight line all the way around from zipper to zipper. I then stitched two lines about 1″ apart to create that “tube.” Then using a safety pin (that will fit through the grommets) on the end of the cord, I threaded the cord through the tube. The last steps were to add the metal cords stops and tie some knots. Does that help clear it up? Are you making one? I’d love to see it :)
Back in 1980 I made a similar coat from my grandfathers wool buffalo check jacket. I gather the back waist to cinch it in. Used an old windbreaker as a liner, used a French tack to keep sleeves attached at the wrist. Reset the cuff button a bit tighter. Added belt loops and a web belt. I wore it several years. I wish I still had it.