I’ve been carving pumpkins for as long as I remember and before that I remember watching my mom carve our Halloween pumpkins. Here’s a little rundown on how to carve pumpkins and the process we go through.
If your pumpkins have been sitting outside in the cold, I highly recommend letting them sit inside for at least a day to warm up. Sticking your hands into ice-cold pumpkin guts is not very comfortable.
We often carve our pumpkins inside since it’s normally pretty cold in Minnesota at that time of year. We prep our area with newspaper or cardboard on the floor for easy cleanup. For the waste I line paper grocery bags with a plastic bag to keep it from leaking and it stands up right. We have a separate bowl to keep our seeds (see how baked seeds recipe below).
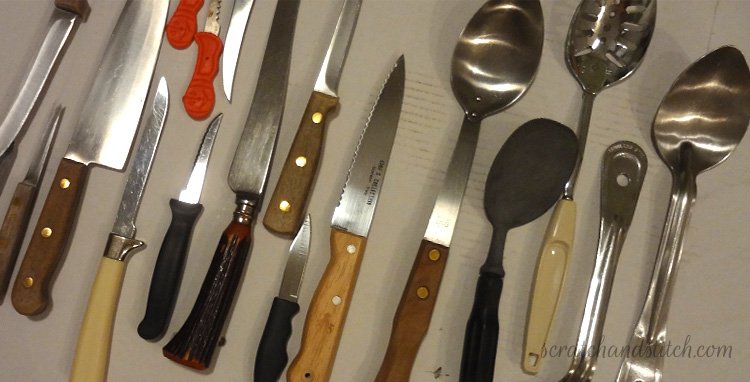
We use a variety of tools to prep and carve our pumpkins. In our pumpkin carving tool kit we have: steak knives, safety pumpkin carving knives, paring knives, garden knives, an ice-cream scoop, large serving spoons, markers, and pencils.
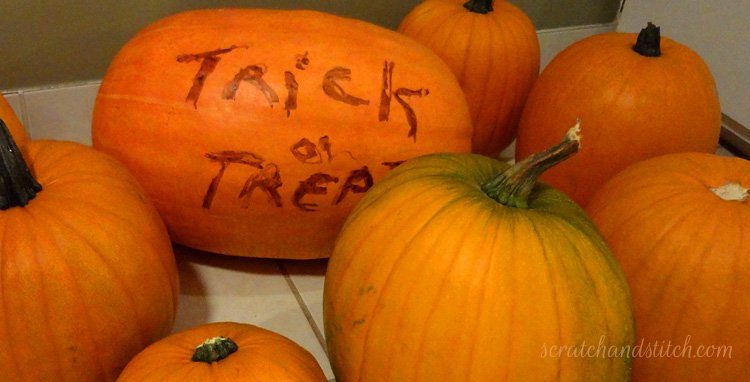
The very first step to pumpkin carving (after selecting the perfect pumpkins) is to choose which side of the pumpkin will be carved.
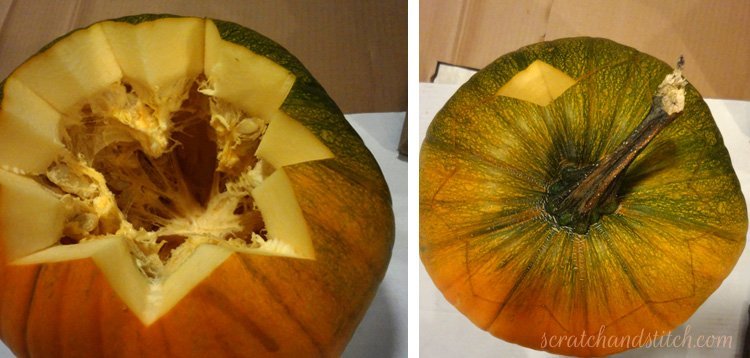
Next cut out the top large enough to fit your hand and spoon into. I always cut my top with an uneven zig-zag outline, this way it’s easy to fit back in the hole. Also, cut one of the jagged, triangles off for a chimney to allow the heat/smoke from your candle to escape from the top. This will ensure brighter and longer candle burning.
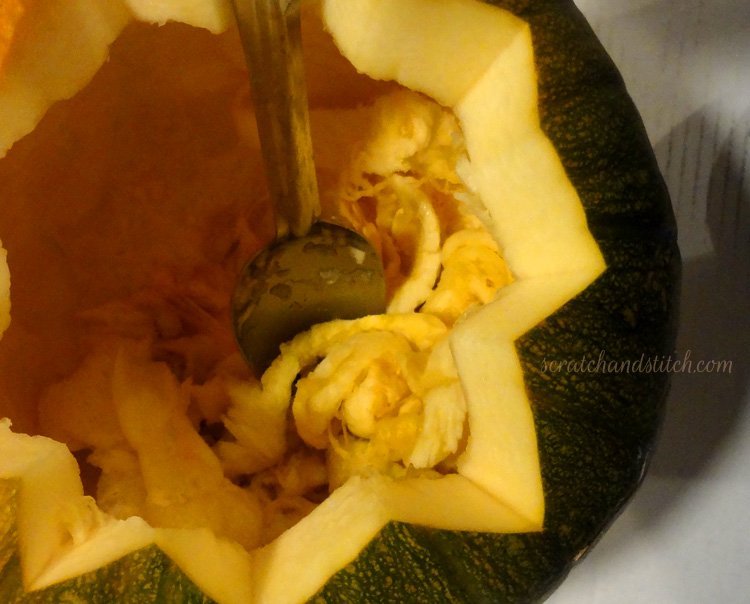
Scoop the guts, separate the seeds.
I clean out my pumpkins very well so the sides are nice and smooth by removing a layer from all sides inside. I often make the “front side” walls thinner because it helps allow light through the carved holes. Also make the very bottom flat so your candle has a good platform to sit on.
Now the carving starts! Decide on your face or design. You can draw on your pumpkin with a marker or pencil, carve a slight outline with a knife or pen, or just wing it and start carving.
Once your design is final, you might need to cut away some of the pumpkin flesh from thin carving holes to allow more light to escape.
Light your candle and place into your pumpkin, replace your top, stand back and enjoy the dancing flames.
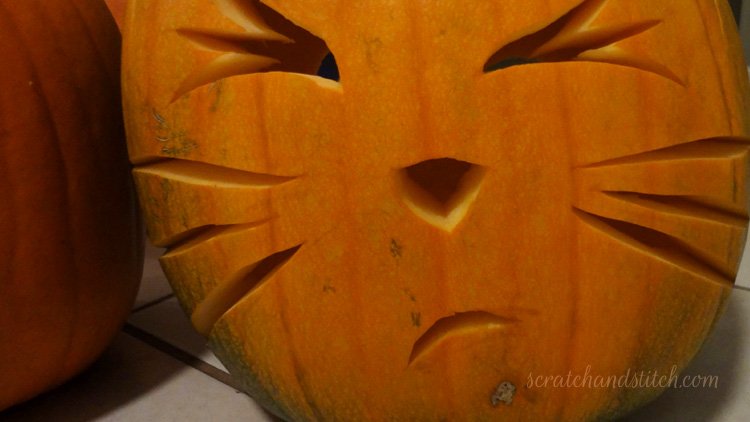
Take a look at some of our past Halloween pumpkin carvings for inspiration.
Save your seeds!
Baked Pumpkin Seeds
Ingredients
- Pumpkin seeds from a fresh pumpkin
- Sea Salt (amount depends on how salty you like your seeds, you can always add more as you bake them)
Save your seeds from your pumpkin carvings. Around here we like to keep some of the guts in with the seeds. Pumpkin is not only nutritious it’s a yummy snack.
Directions
- Rinse and drain your seeds (and guts if you kept em).
- Spread seeds onto a cookie sheet and sprinkle with sea salt
- Bake at 250° for 45 minutes, flipping half way through, until seeds are cooked to desired doneness.
- Remove from oven and allow to cool.
Enjoy!

Leave a Reply