This post may contain affiliate links.
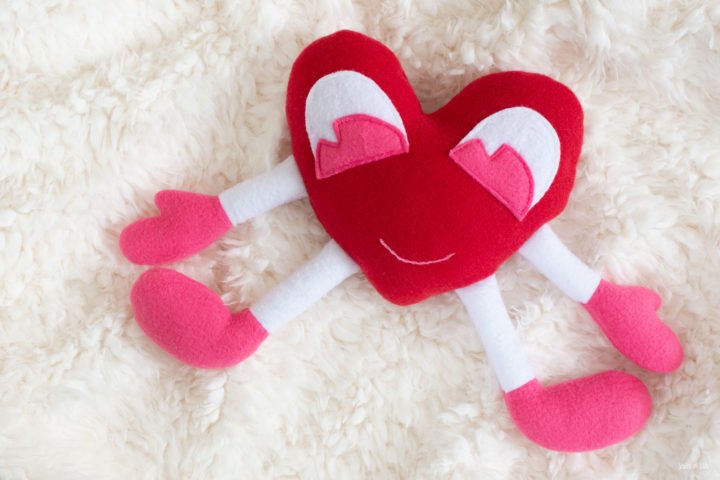
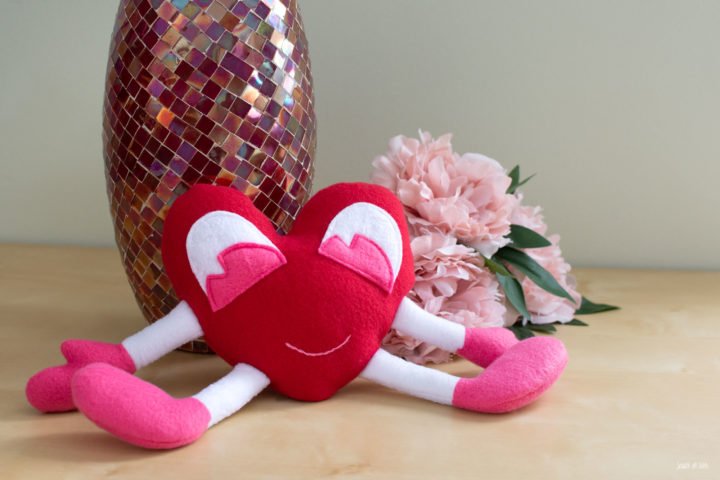
Meet Heart Squeeze, the happy little heart that’s ready to love and be loved. He’s squeezable, lovable, and cute. This free plush pattern is simple to make for beginner or advanced sewists.
Free Plush Pattern
The Heart Squeeze plush pattern is a great scrap buster project that can be completed in under an hour. Make him just like the pattern or change up the face and colors. This plush pattern can be sewn by hand or with a sewing machine.
Materials
- Heart Squeeze Plush Pattern (download below)
- fleece fabric (I prefer to use fleece for plush toys because it’s soft and has some stretch)
- embroidery floss
- poly-fil
- basic sewing supplies
By submitting your email address you will be added to the Scratch and Stitch email newsletter. You can opt-out at any time :)
Print the pattern and cut out the pattern pieces.
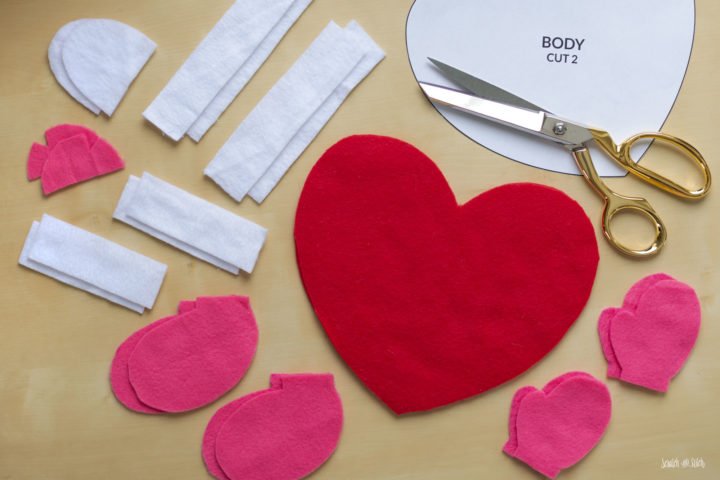
Trace the pattern pieces onto the fabric and cut out.
You will have the following pieces:
- 2 body pieces
- 4 hands
- 4 feet
- 4 arms
- 4 legs
- 2 outer eyes
- 2 inner eyes
Creating the limbs:
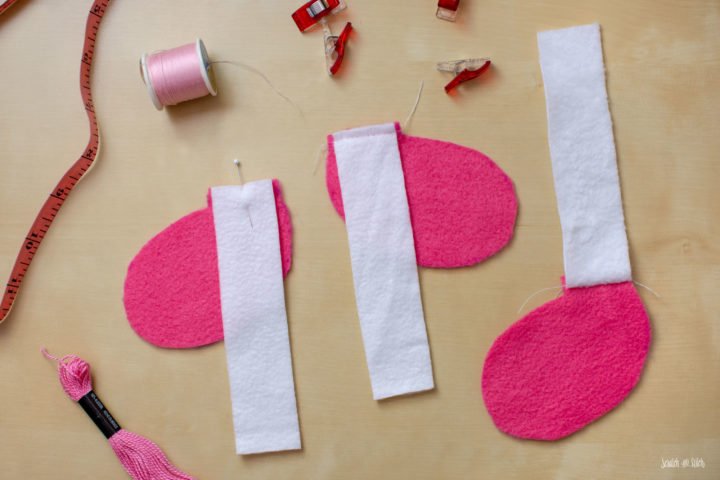
Begin by sewing one foot piece to one leg piece with right sides together. This will then flip open to create one whole leg/foot piece. Repeat for the other three leg and foot pieces.
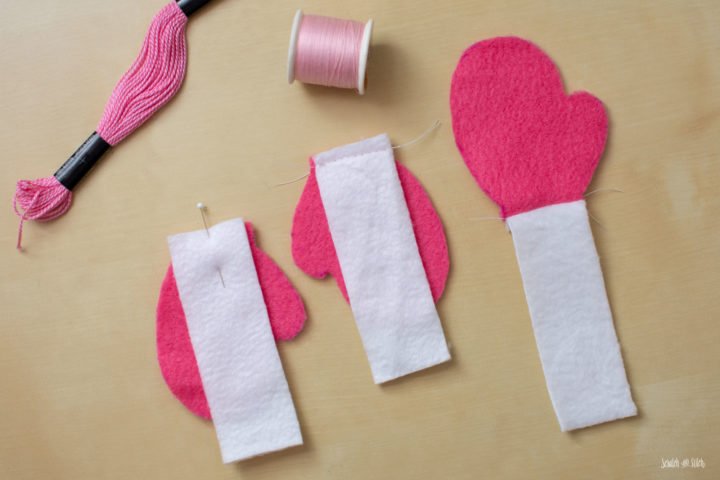
Repeat the same steps with the hand and arm pieces.
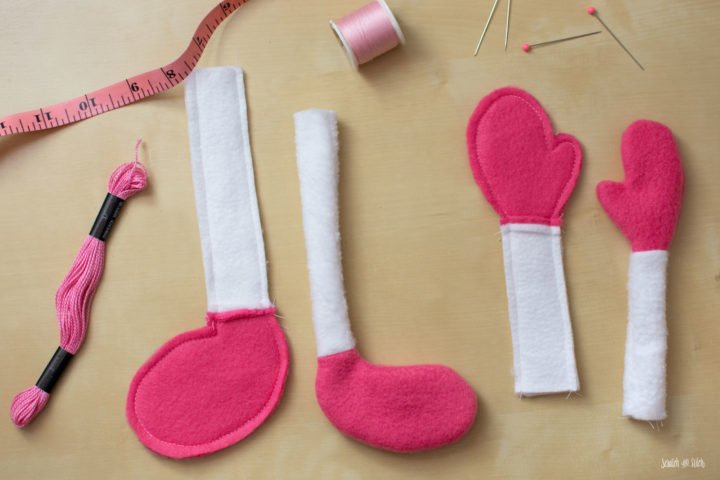
With right sides facing, sew around the perimeter of the leg piece leaving the top open. Make a small cut in the seam allowance at the inner corner of the ankle. Flip the legs right sides out using a chopstick or similar tool.
Repeat the same steps with the other leg and the arm pieces.
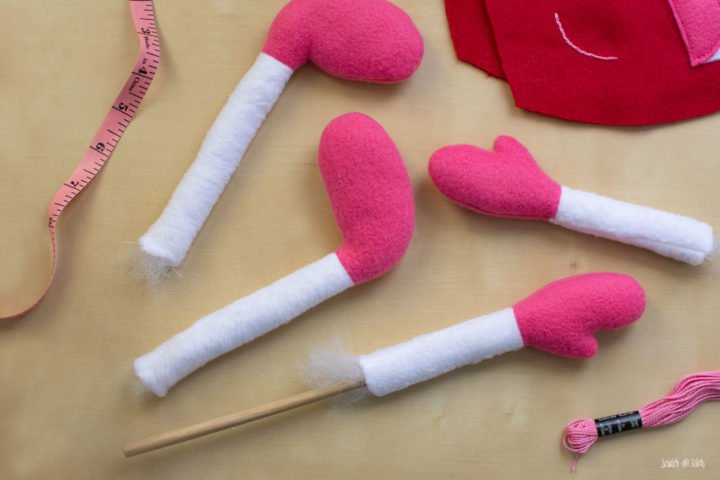
Lightly stuff the arms and legs with poly-fil. Use a chopstick or similar tool to help get the filling evenly stuffed. I prefer to stuff the arms and legs with just enough filling to give them some dimension but not stiff. Set the limbs aside.
Assembling the body and face:
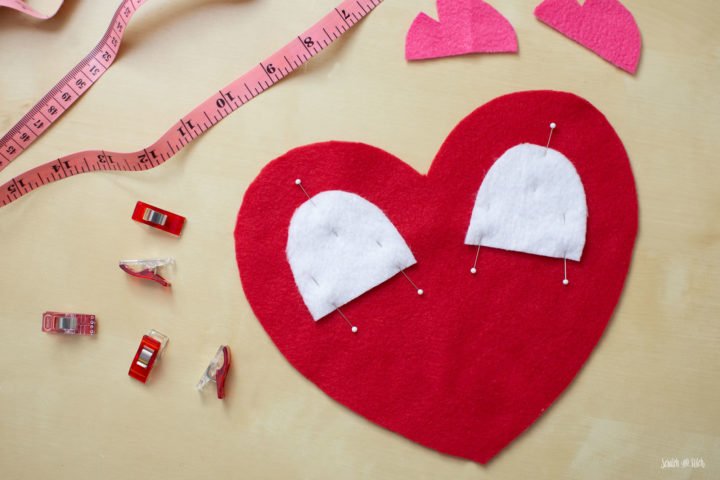
On one of the body pieces, pin the two outer eye pieces in place and sew.
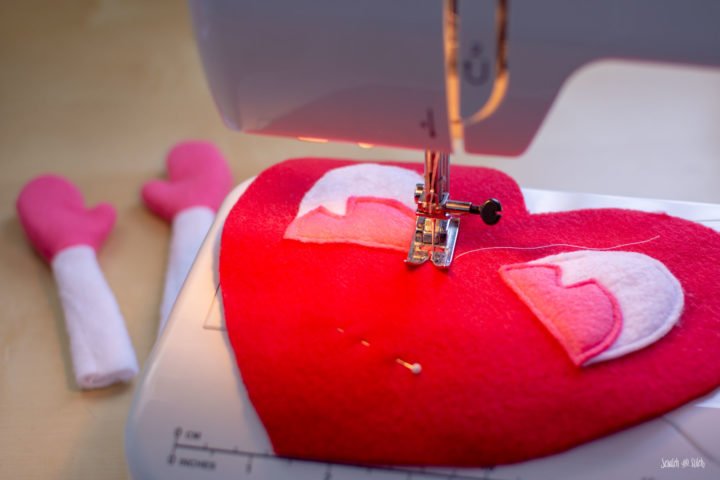
Pin and sew the inner eye pieces on top of the outer pieces.
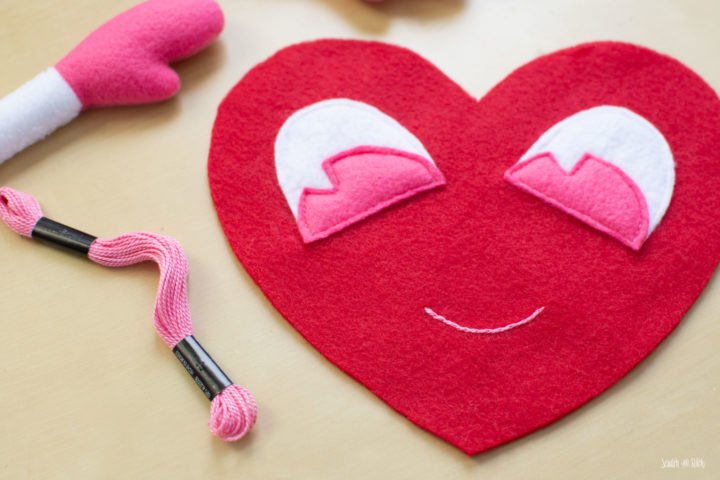
Use embroidery thread to stitch a smile onto the face. I used a split stitch.
Putting it all together:
I have designed this plush pattern to allow you to decide on the length of the arms and legs. In the next step you’ll want to have at least 1/2″ hang over the edge before sewing. This will help keep the limbs in place while you sew them in on.
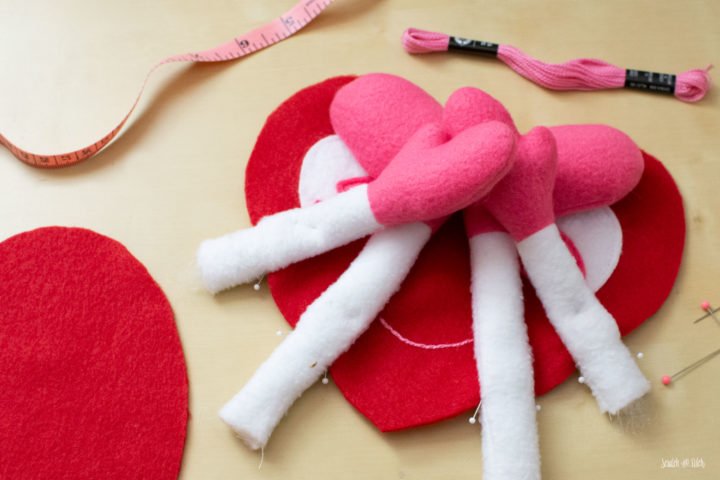
With the face side up, put the arms and legs in place and pin the limbs securely. You should have a pile of limbs over the face (like pictured above).
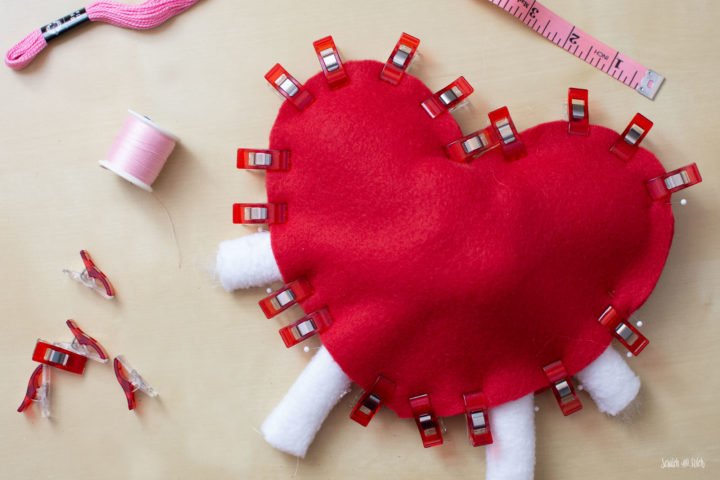
I highly recommend using wonder clips for this step as they hold better than pins. Make sure to leave an opening to be able to pull the limbs through.
Place the other heart body piece over the limbs and clip or pin in place.
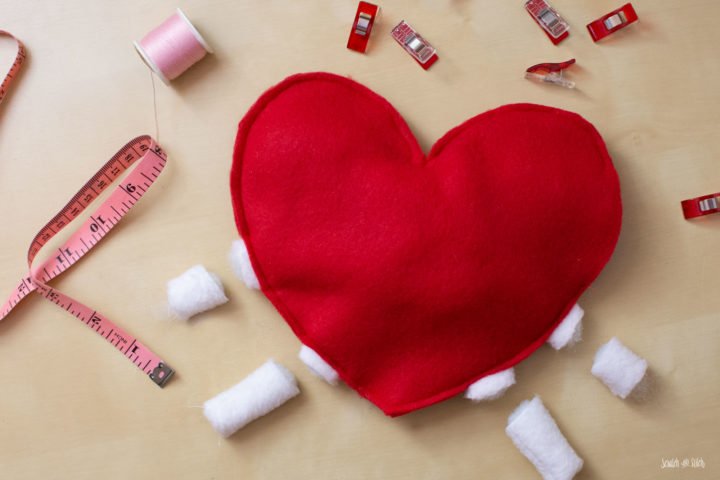
You can now trim off the excess legs and arms.
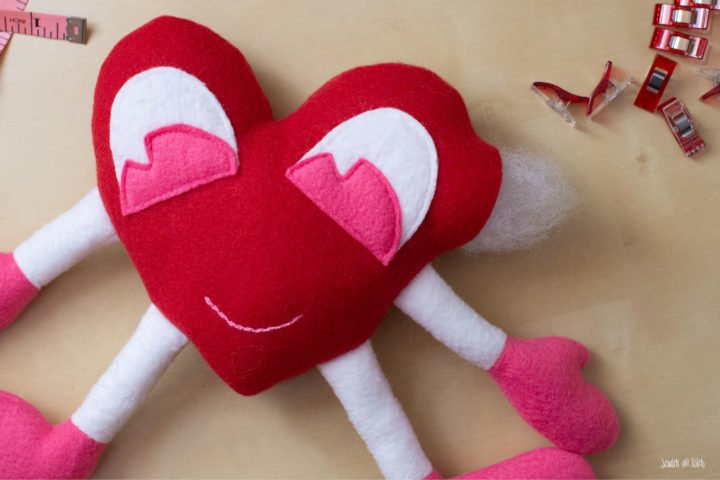
Gently pull the limbs through the hole and push out the seams. Lightly stuff the heart with poly-fil. Close up the hole with a slip stitch.
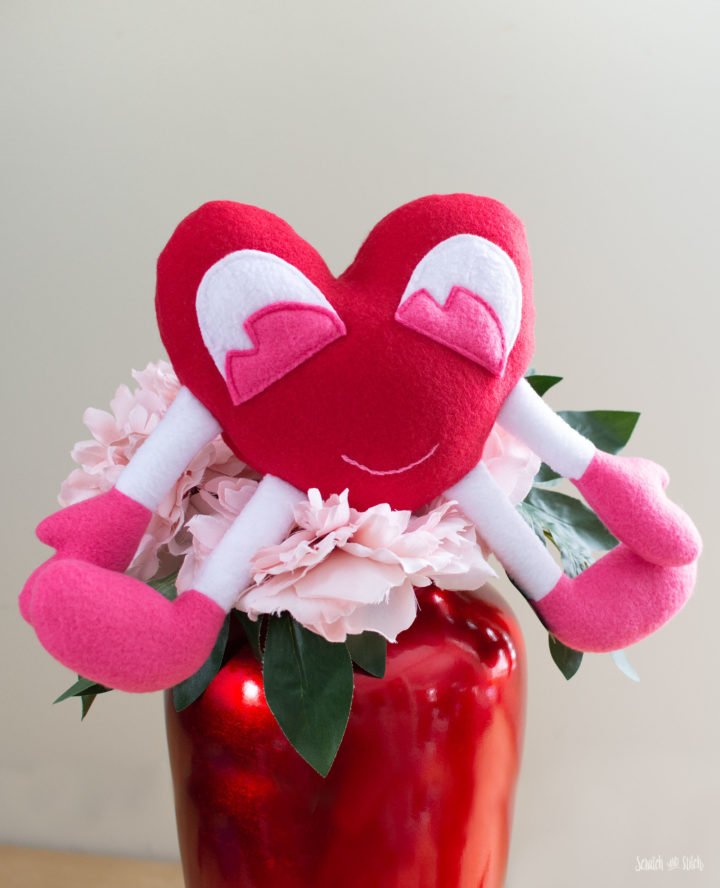
You now have a happy little heart made with my free plush pattern. If you have any questions about the pattern or steps to create Heart Squeeze, leave a comment below. Thanks for reading!

Did you make this free plush pattern? Comment below with a link to where I can see it and get featured on Scratch and Stitch. Tag @scratchandstitch

I totally missed this for valentines , But can still use it . This also sooooo Adorable . Thank you sew much .
I wish the instructions were as easy to print as the pattern. But it’s so cute.
Hi Robin – I’m glad you mentioned that! I have gotten a few requests, and am in the process of transferring my patterns to printable patterns for purchase. It’s good to know that there is interest. :)
I made it but it did not turn out as cute as this one. Need to be more careful and neater next time.
Cannot paste the picture here so I will just post it on Facebook.