This post may contain affiliate links.
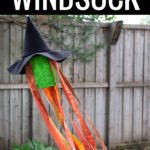
It’s that time of year again where the DIY Halloween decoration ideas are flowing. Witches, ghosts, cats, spiders…I love them all. This year, I realized that I really like windsocks too. After making my American Flag windsock over the summer, I knew that a Halloween windsock was in the books. A brainstorming conversation with my mom (THE Halloween queen) inspired the idea for this Halloween Witch Windsock.
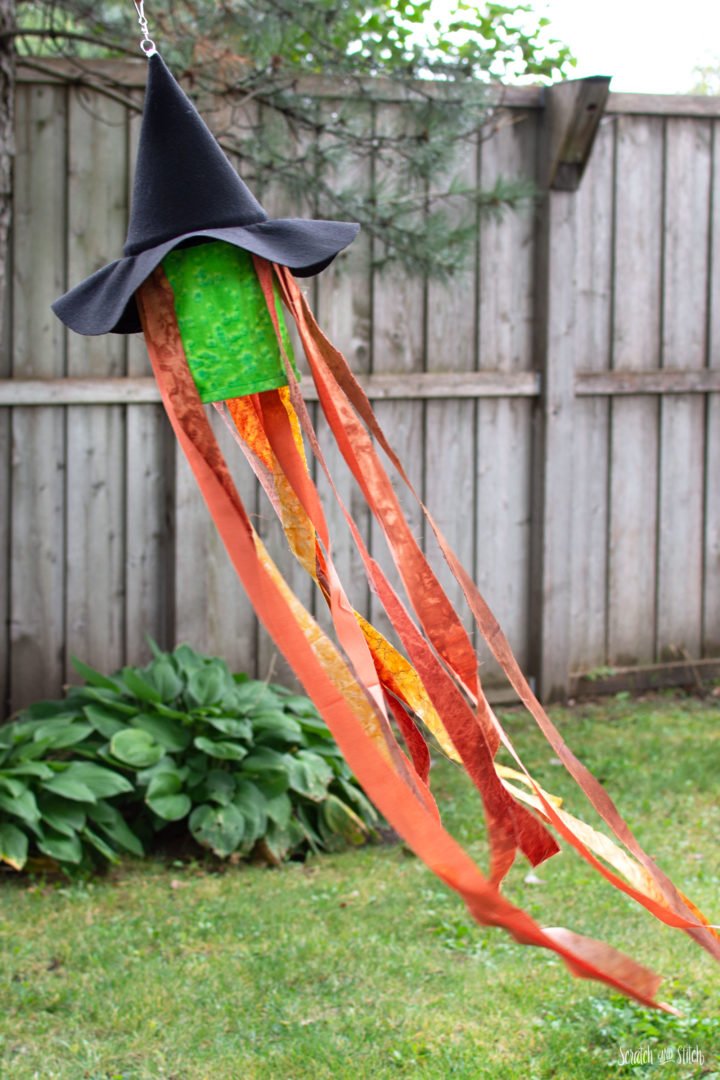
This Halloween windsock is a great scrap buster project and is quick to make. It uses fabric strips, felt fabric, two hoops from an embroidery hoop, and a windsock spinner. I’ve included a free witch hat pattern for you to download as well. This Halloween witch windsock project includes some sewing that can be done entirely by hand or with a combination of hand and machine sewing.
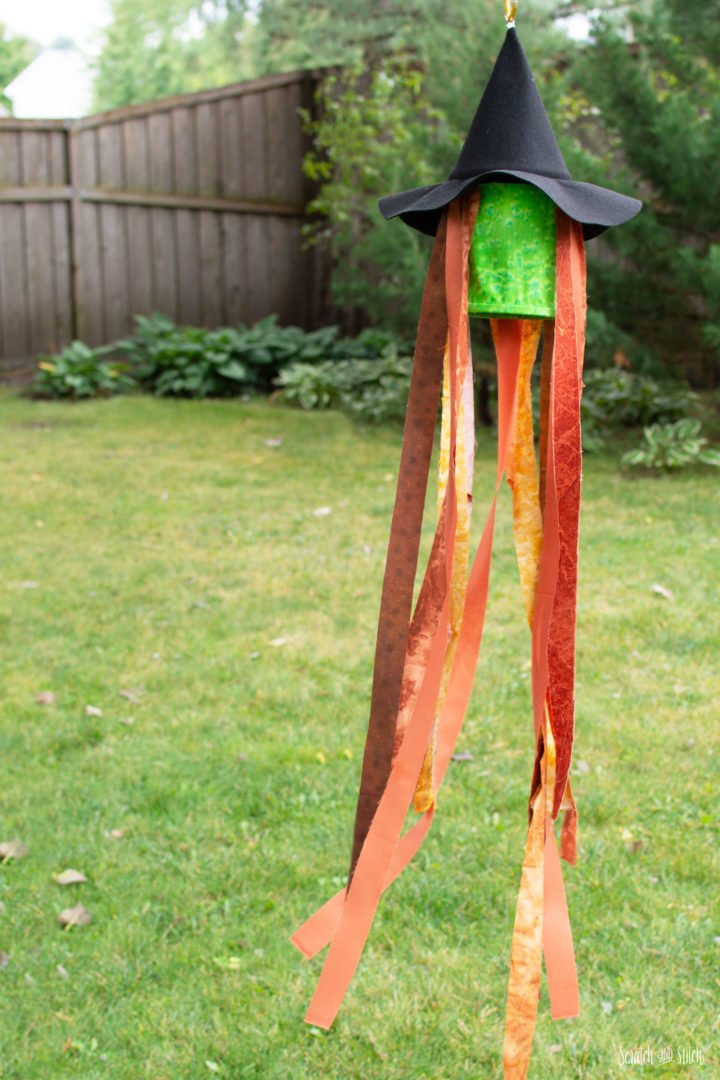
Materials & Tools
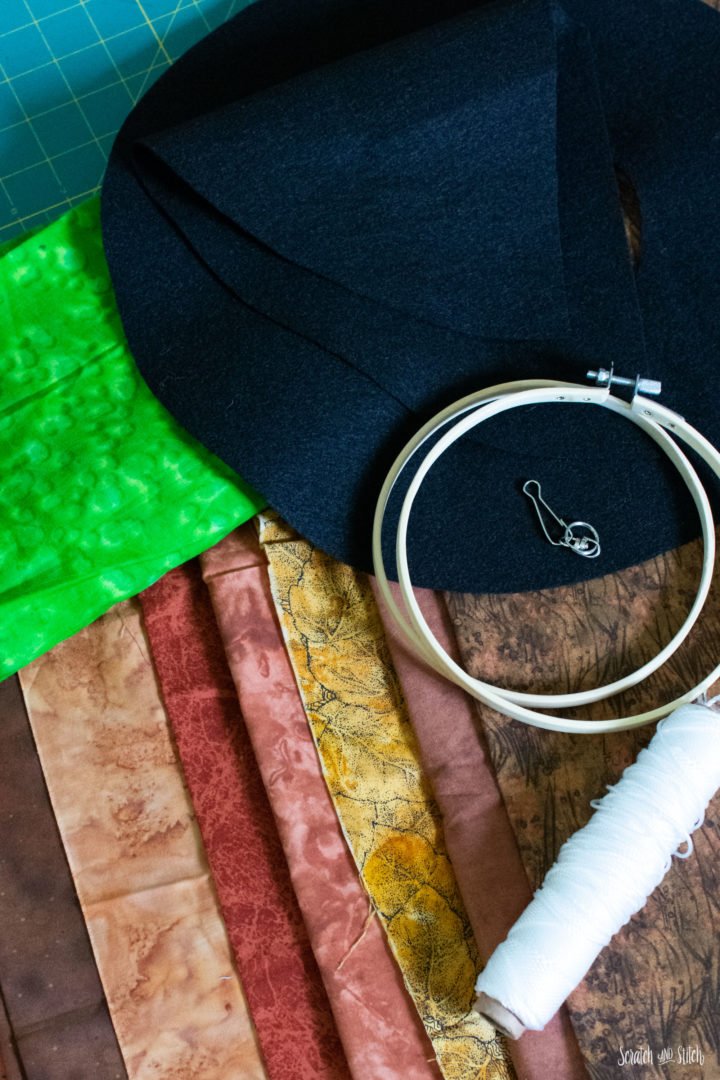
- black felt (I recommend a thick, premium felt)
- 10 or 12 – 1.5″–2″ orange/brown fabric strips in varying lengths (30″ – 36″)
- green fabric cut to 9″ x 19″
- 6″ embroidery hoop
- duct tape (or another heavy-duty tape)
- witch hat pattern (get it below)
- nylon cord (nylon will hold up best to weather wear-and-tear)
- windsock spinner
- large-eyed sewing needle
- coordinating thread
- basic sewing tools
By submitting your email address you will be added to the Scratch and Stitch email newsletter. You can opt-out at any time :)
How to Make a Halloween Witch Windsock
Print the witch hat sewing pattern at 100% or “actual size.” Assemble the paper pattern pieces by aligning the black stars and taping the pages together. Cut out the paper pattern pieces.
Making the Witch Hat
Pin the paper pattern to your felt fabric, making sure to pin the brim piece on the fold. You’ll need one of each piece.
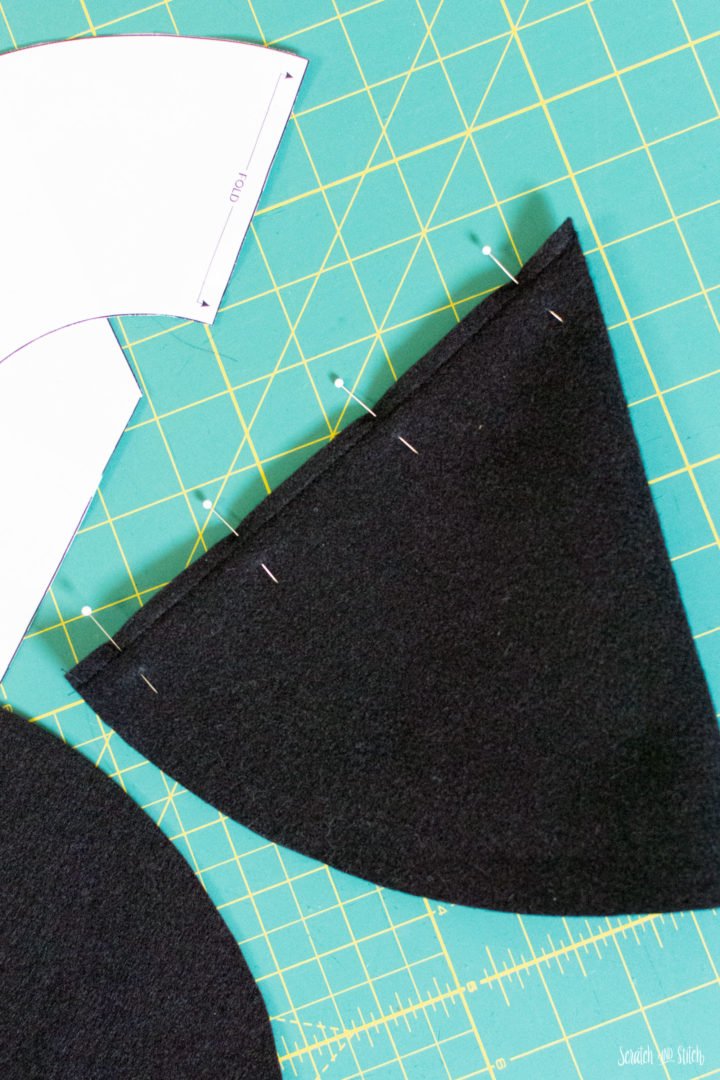
Starting with the hat cone, pin the two straight edges together and sew with a 1/4″ seam allowance. Backstitch at both ends while backstitching the top about 1″.
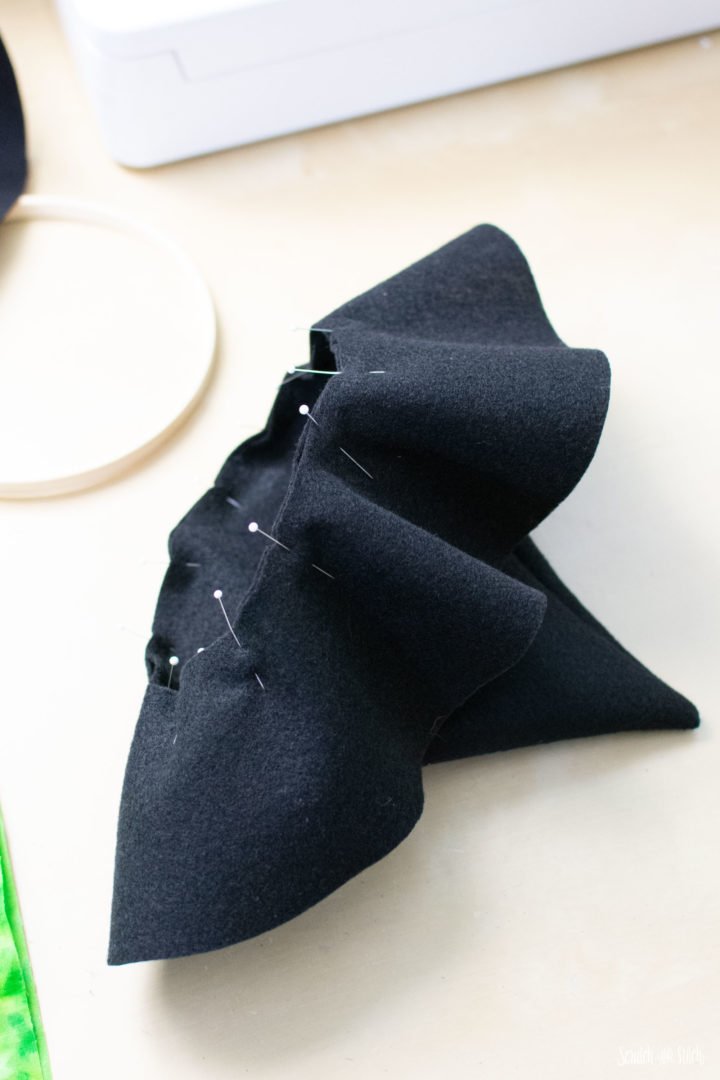
Flip the cone right side out and push out the point. Place the brim piece over the cone with the right sides together and pin around the circle opening. Sew with a 1/4″ seam allowance. Set aside.
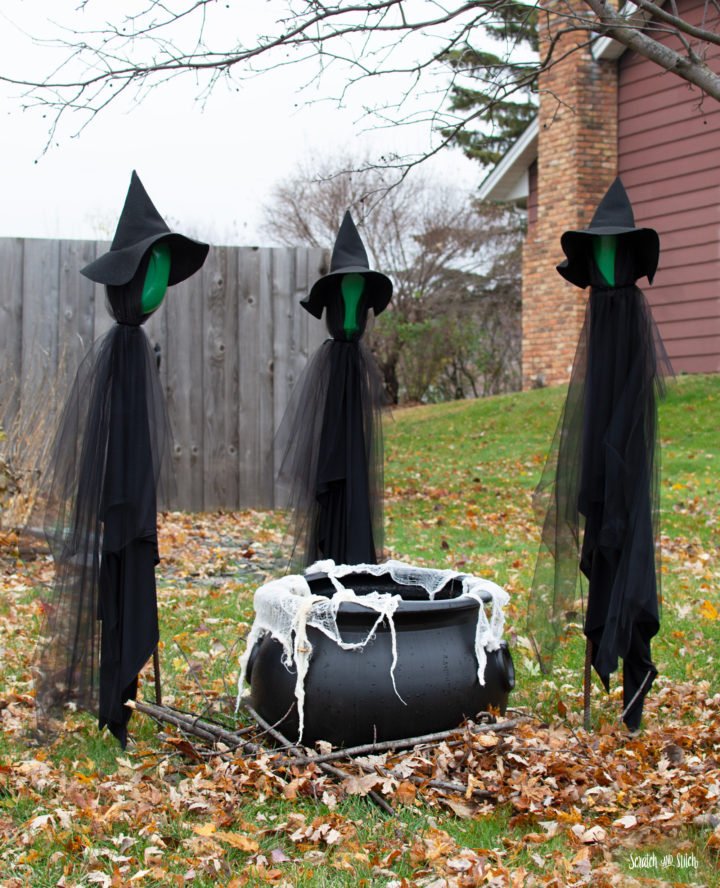
3 Witches and a Cauldron
So you like Halloween witches? Try making this eerie witch gathering for your yard.
Making the Face
With right sides together, fold the green fabric in half, so the 9″ sides are aligned. Pin and sew with a 1/4″ seam allowance. Turn the green tube right sides out.
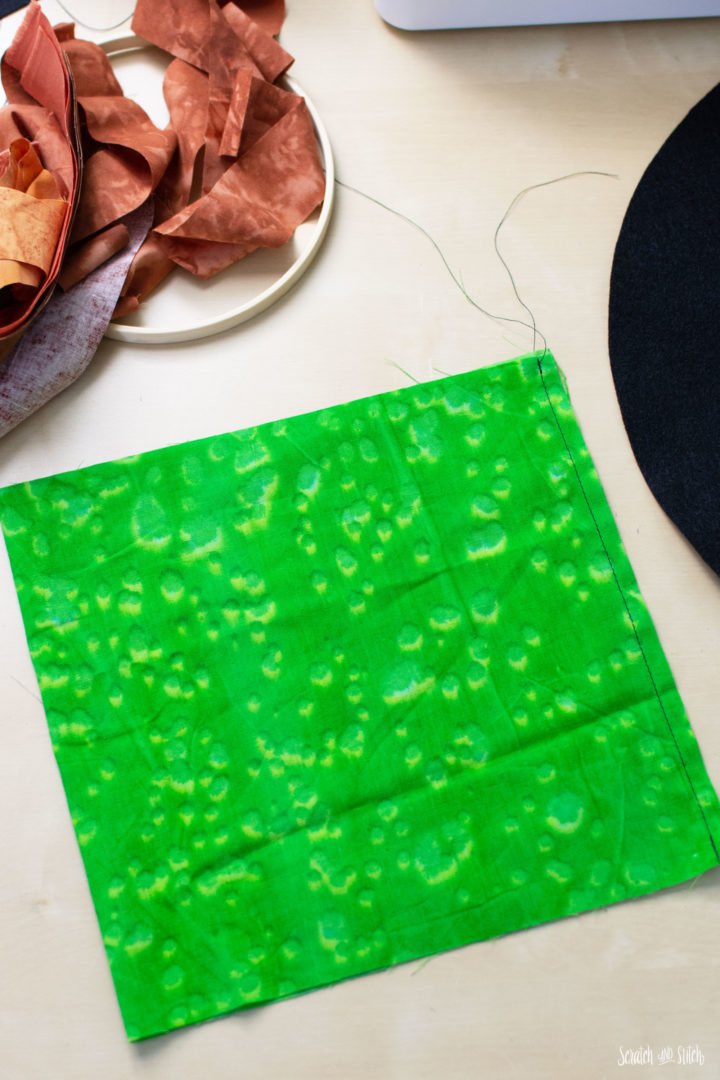
On the opposite side of the seam, mark a 4″ wide area, this will be where the face is.
Adding the Hair
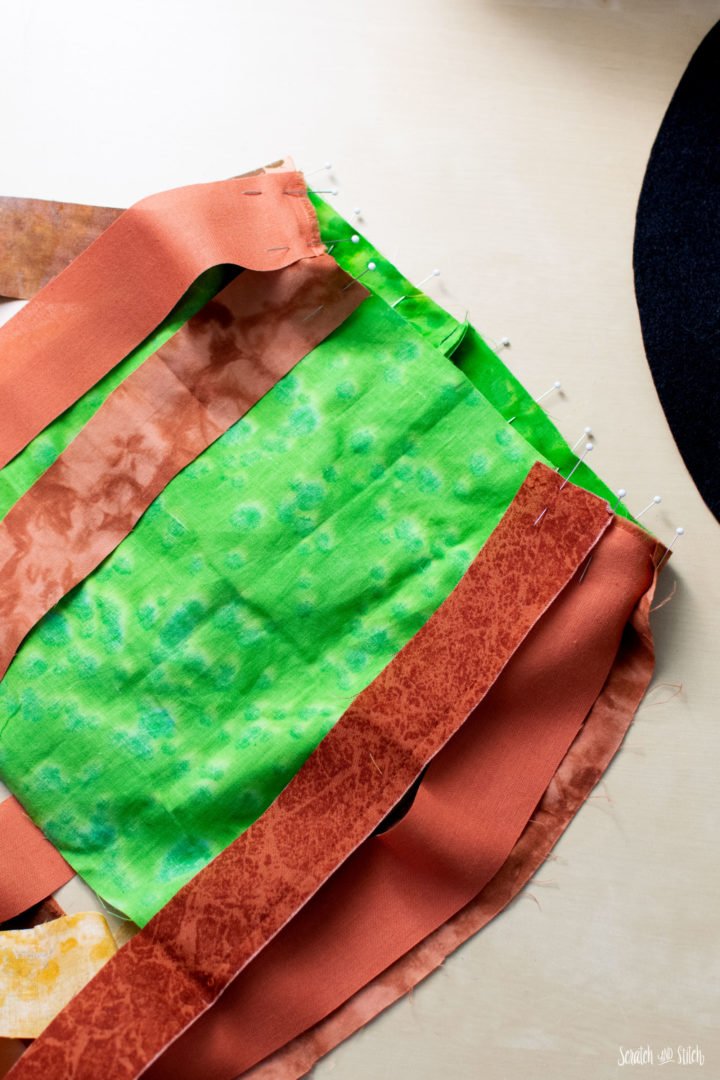
Pin the hair fabric strips around the tube leaving the face area without hair. Sew with a 1/4″ seam allowance.
Adding the Embroidery Hoops
Remove the metal tightening parts of the embroidery hoop and tape the hoop back together. Use plenty of tape to ensure a secure hold.
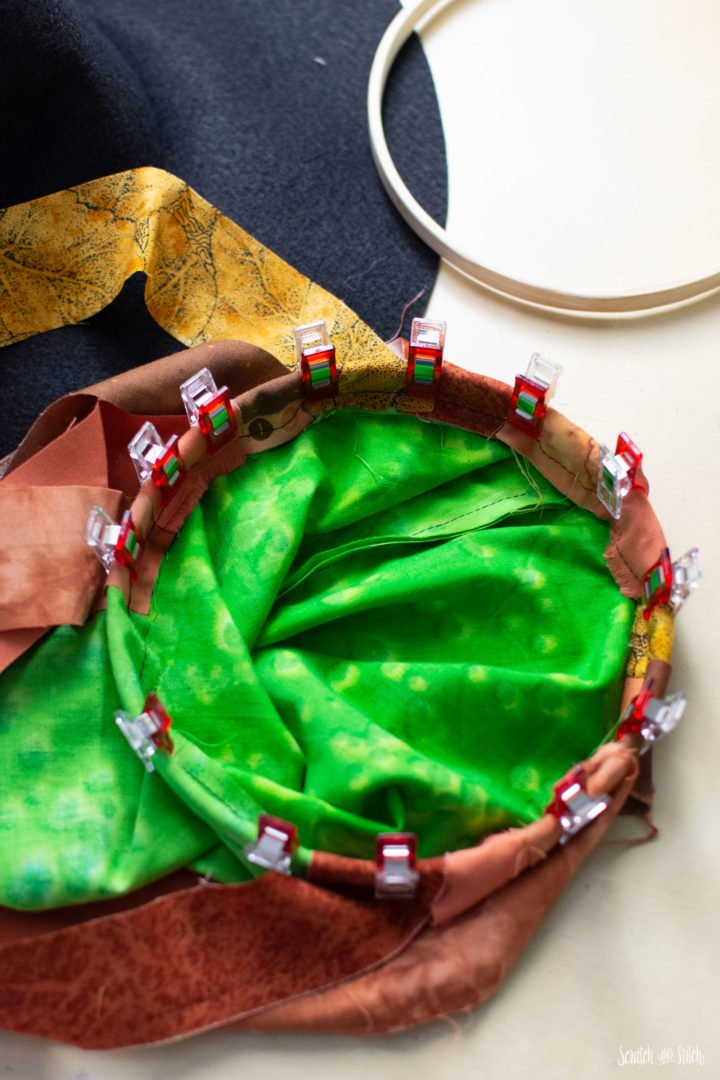
Insert one hoop into the top of the green tube where the hair is attached. Fold the fabric over the wooden hoop about 1″ and clip or pin to hold. Sew (by hand or machine) around the tube, just under the hoop. Repeat the same process with the bottom of the tube.
Add the Nylon cord
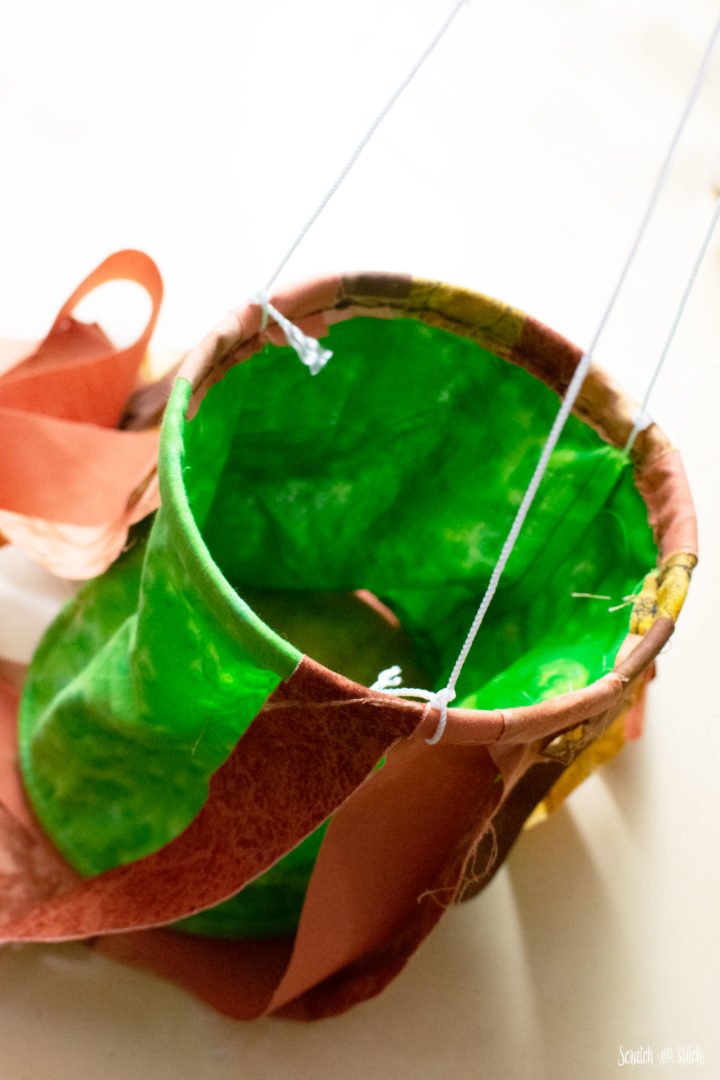
Poke three evenly spaced holes into the fabric just below the hoop. Cut three lengths of nylon cord (approximately 20 inches long). Thread each of the cords into the three holes and knot securely. Let the cords hang down into the center of the hoops.
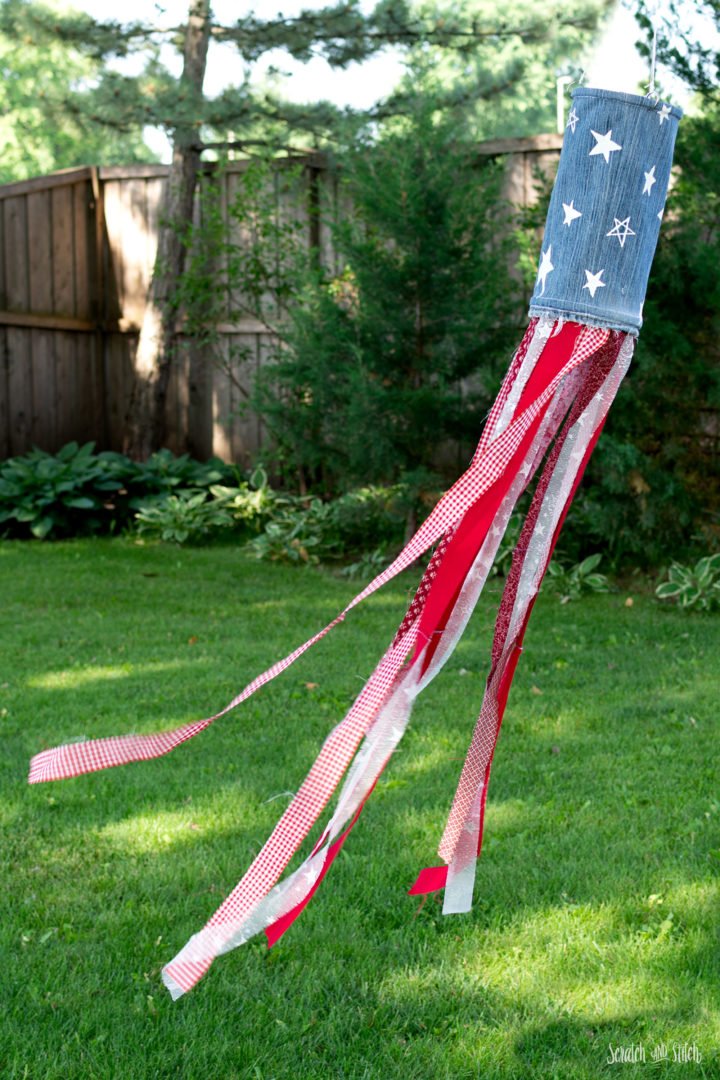
American Flag Windsock
Frayed denim, lace, and cotton fabric strips make up this DIY windsock that is reminiscent of the American flag.
Attaching the Witch Hat
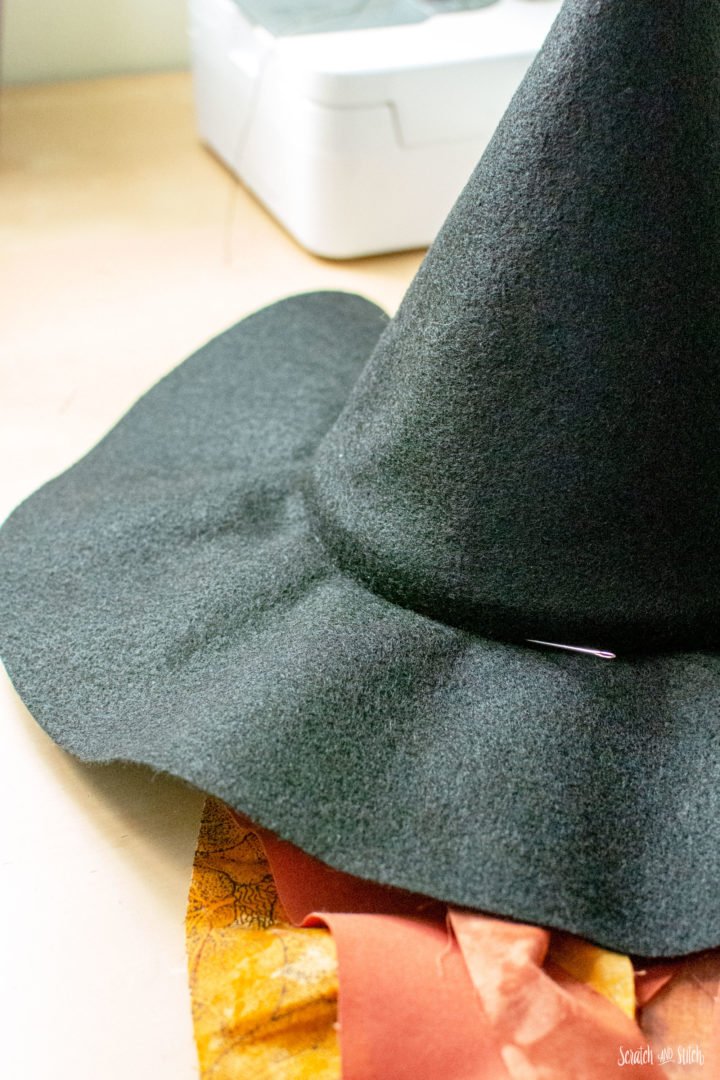
Place the witch hat onto the top hoop, so the seam lands just below the hoop. Pin in place if needed. Hand stitch the hat to the hair and face fabric.
Finishing the Witch Windsock
Thread the three cords into a needle and push it through the top of the hat cone. Hold the windsock from the three cords ensuring the cords are tight. Make a mark onto the three cords at the very top point of the hat.
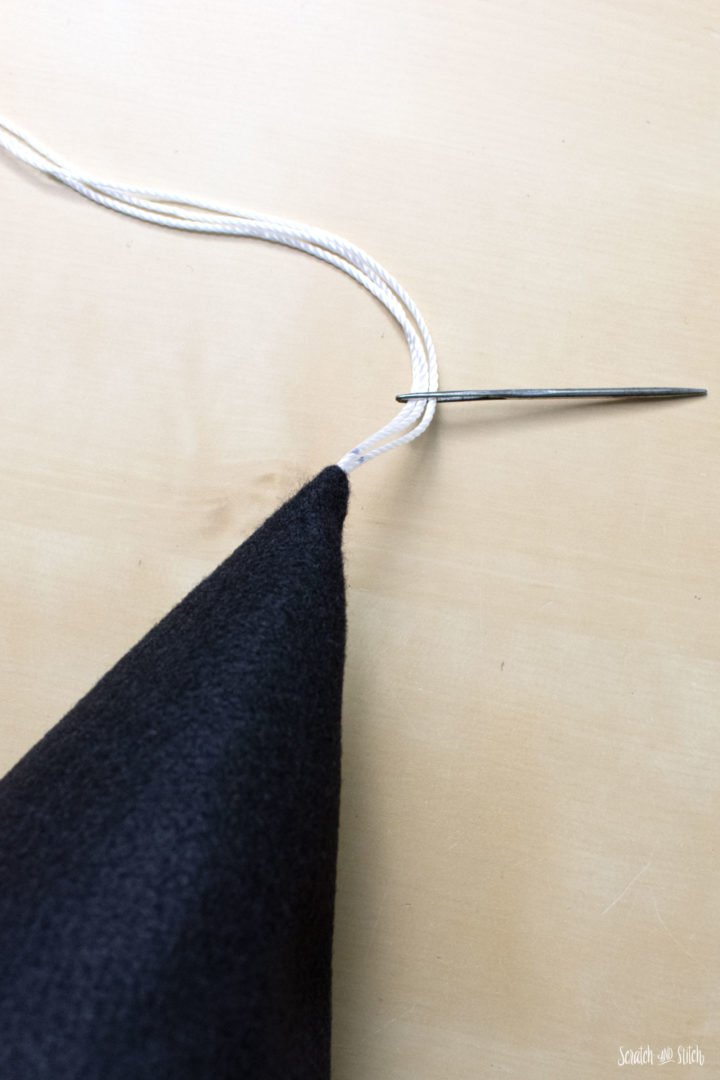
Pull the cords back through the hat point and tie a knot just below the mark. This will keep the hat from slouching down. Rethread the three cords onto the needle and through the point of the hat. Securely knot the cords onto the keyring, then thread the loose ends back through the point of the hat. Attach the keyring to the windsock spinner.
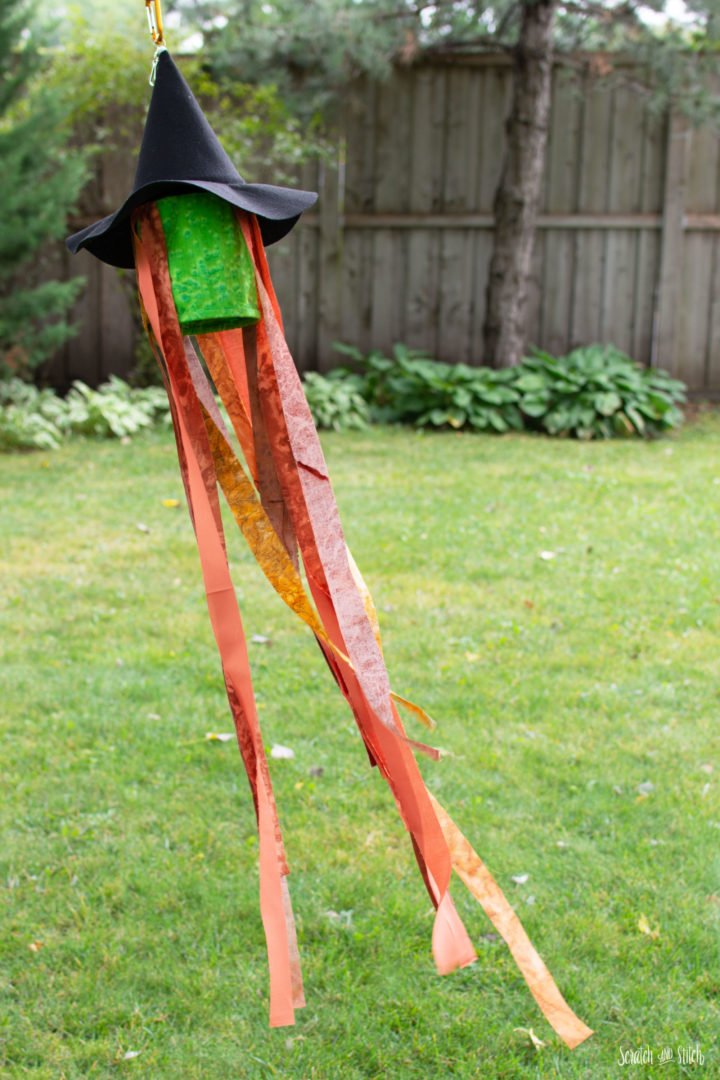
I hope you love the way this witch’s hair floats in the breeze as much as I do.
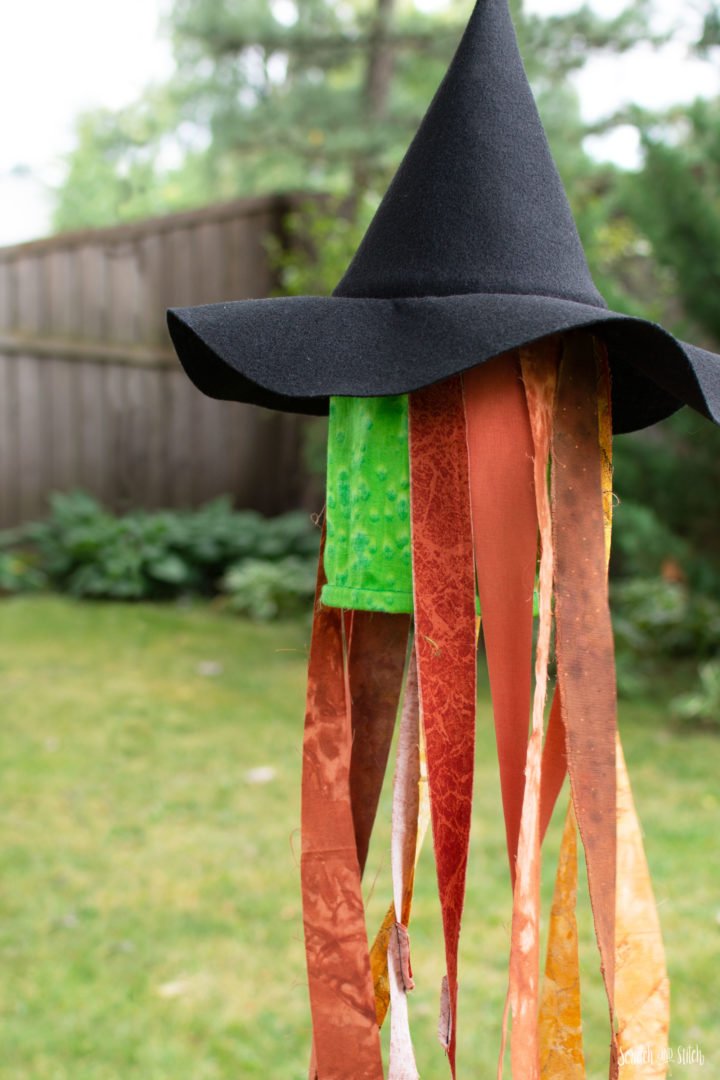
Where does the green witch face come from? I was curious too, here’s a fun outline of the green witch face.
More DIY Halloween Decorations
If you’re into making your own Halloween decorations, you’ll love this list of DIY Halloween decorations that use upcycled, recycled, and repurposed materials.

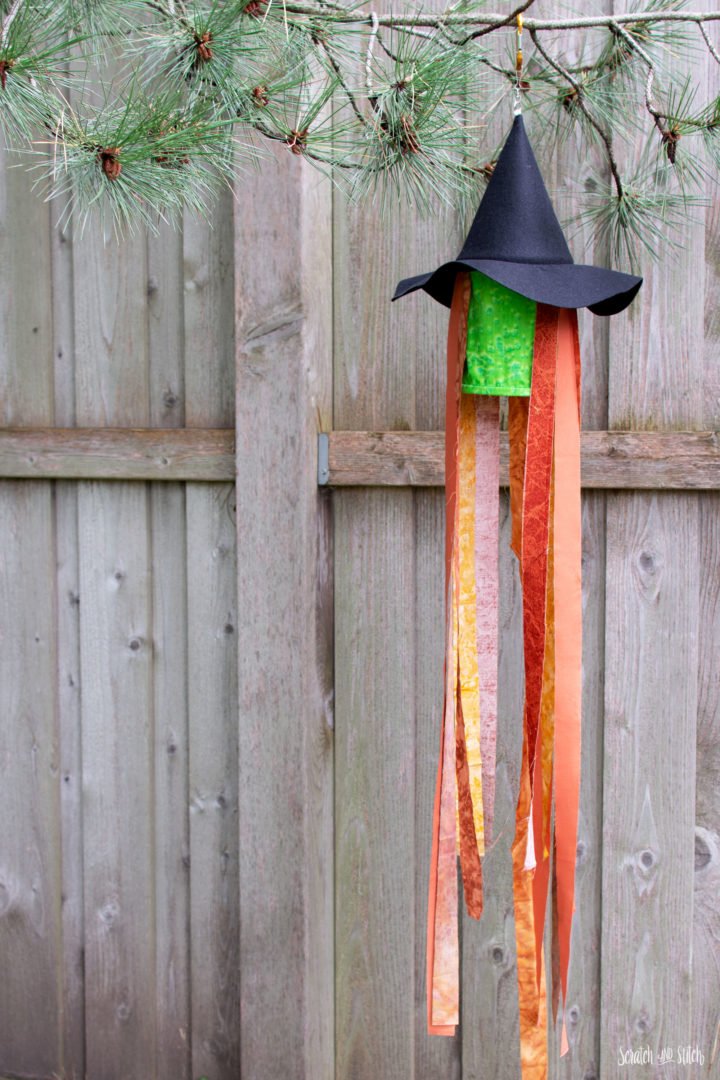
Did you make this Halloween Witch Windsock? I’d love to see it! You can send me pictures here or tag @scratchandstitch on Instagram and Facebook.
Leave a Reply