This post may contain affiliate links.
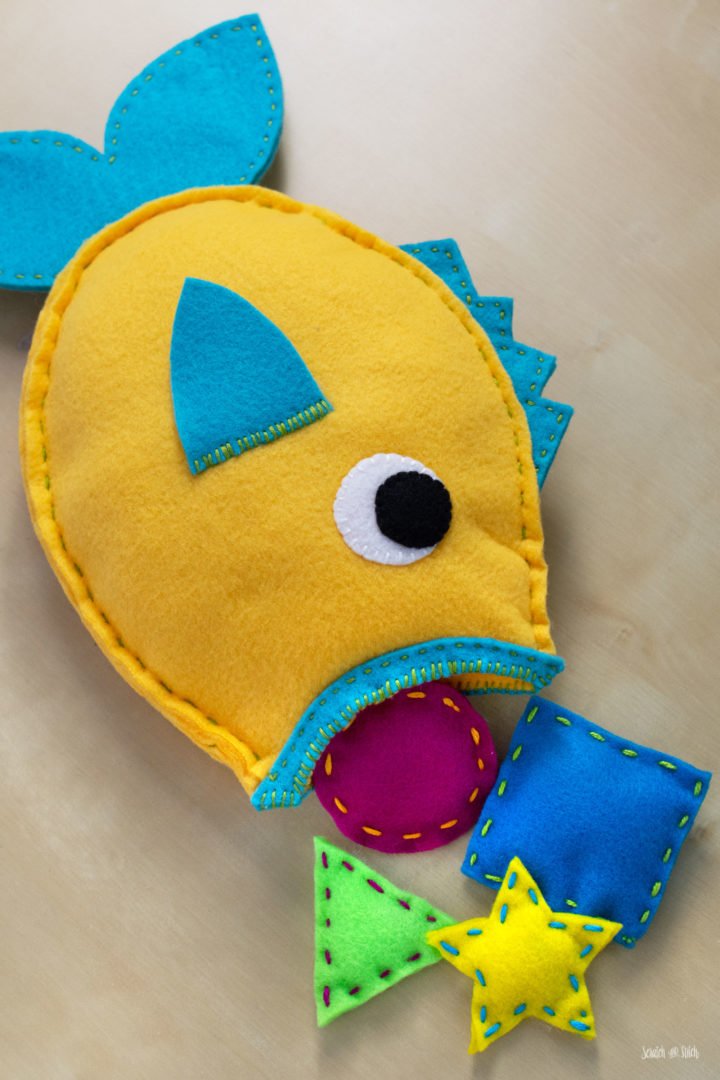
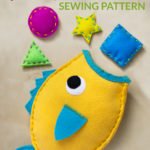
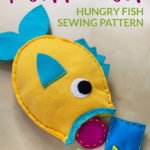
This fish stuffed animal sewing pattern can be sewn by hand or on a sewing machine. Here you will find step-by-step hand sewing instructions using fleece and felt fabrics. Gather your materials, download the free sewing pattern below, and follow along with the picture tutorial.
The hungry fish plush pattern is part of the Sew a Softie July 2020 tutorial hop. Every day this month, talented crafty and sewing bloggers are publishing free plush sewing patterns and tutorials. These free stuffed animal patterns with tutorials are geared toward teaching both kids and adults to learn to sew by hand. There are so many fun softie patterns and tutorials for animals, flowers, food, people, and more. Follow along on Instagram to find all of the patterns and tutorials, plus see what everyone is making.
How to Make the Hungry Fish Stuffed Animal
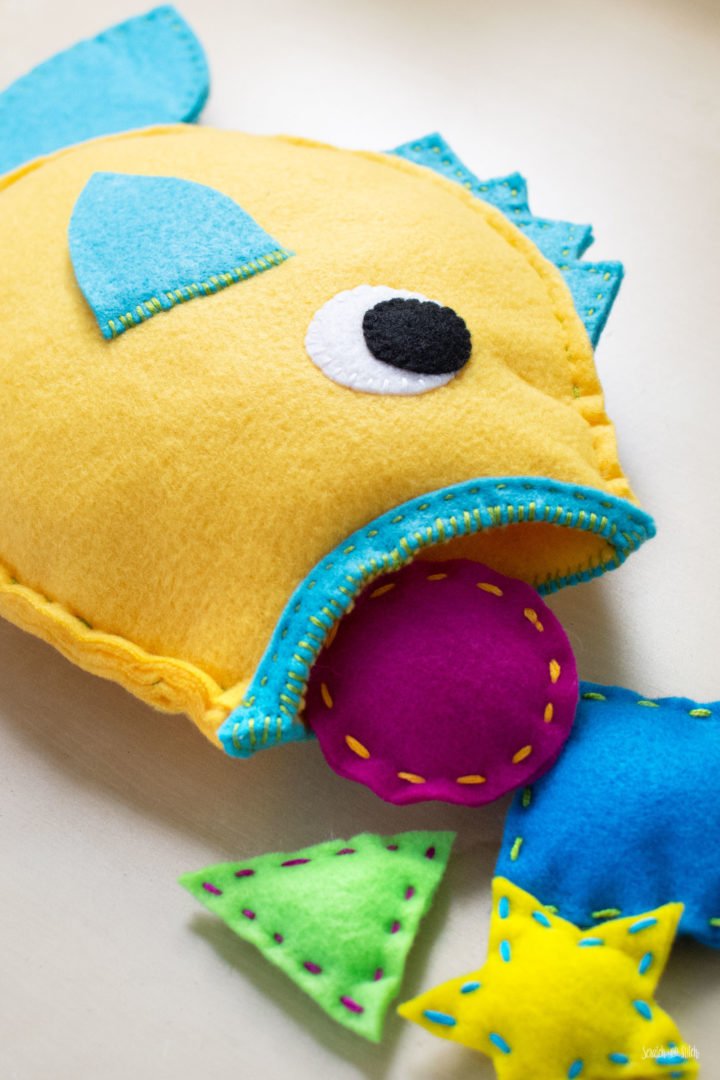
The hungry fish plush has an open mouth to be fed. In addition to the fish stuffed animal pattern, there are four simple shapes to make as “fish food.” The fish uses two types of hand stitches that even a beginner sewist can learn quickly. Get creative with your fabric and thread colors, and the food shapes you make.
Materials
- fish stuffed animal sewing pattern (download below)
- fleece fabric (for the body)
- felt fabric (for the fins, tail, lips, eyes, and food shapes)
- embroidery thread
- Poly-fil or other stuffing
- coordinating thread
- sewing needle
- sewing pins, clips, or clothespins
Project Notes
- Final size is approximately 12″ X 8″.
- Fleece fabric works great for the body as it has some stretch. Felt fabric can be used for the entirety of the fish too.
- The top fin and tail are double-layered felt to add body and stiffness.
- The fish food shapes are included in the pattern, though you can draw your own too.
- While this pattern is intended to have an opening to feed the fish, the opening can be omitted. If going this route, only cut two body pieces and stitch the mouth shut after stuffing.
Fish Stuffed Animal Pattern
Download the pattern and print at 100%.
Enter your email to get the free pattern in your inbox.
By submitting your email address you will be added to the Scratch and Stitch email newsletter. You can opt-out at any time :)
Print the fish pattern and cut out the paper pattern pieces.
Tips for Cutting Pattern Pieces
There are a couple of ways to cut pattern pieces from fabric. The best method for you may depend on the size of the pattern piece and the fabric. For large pattern pieces on fleece fabric, I like to pin the paper pattern pieces right to the fabric and cut around the paper. For smaller felt pieces, I prefer to pin the paper pattern piece to the felt and trace around it with a fabric marking pen (a regular pen works too). Then cut just on the inside of the pen line.
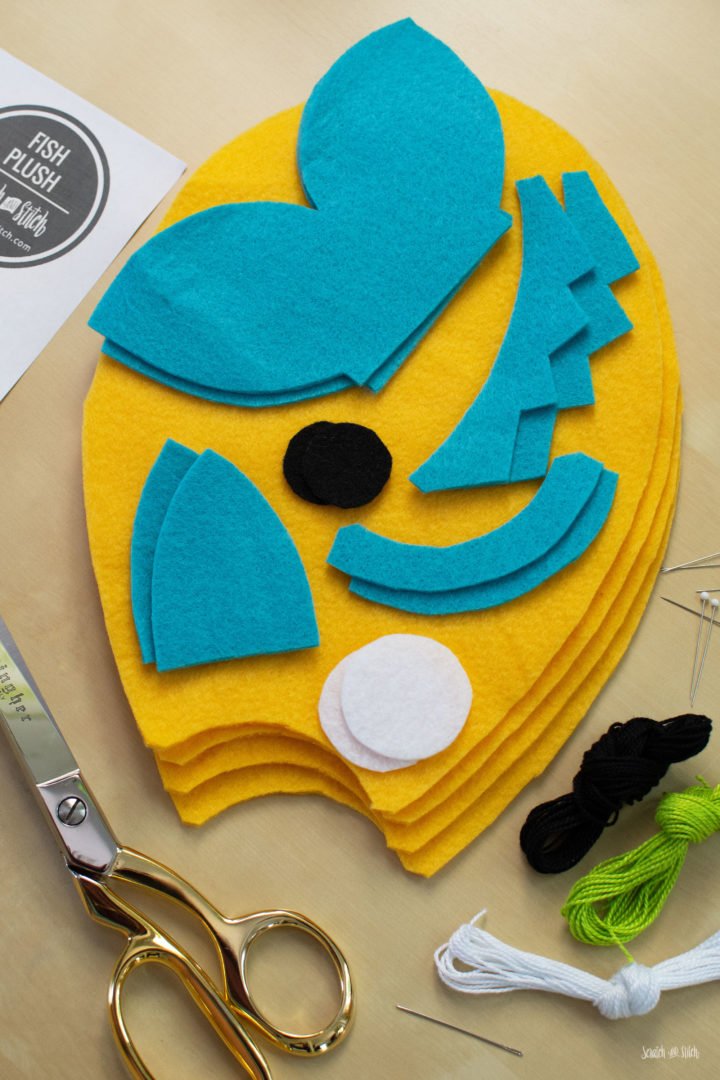
Cut out the pattern pieces from your fabrics. You will have:
- 4 body pieces
- 2 top fins
- 2 tails
- 2 side fins
- 2 lips
- 2 eye A
- 2 eye B
- 2 each of fish food shapes
Make the Fish Tail and Top Fin
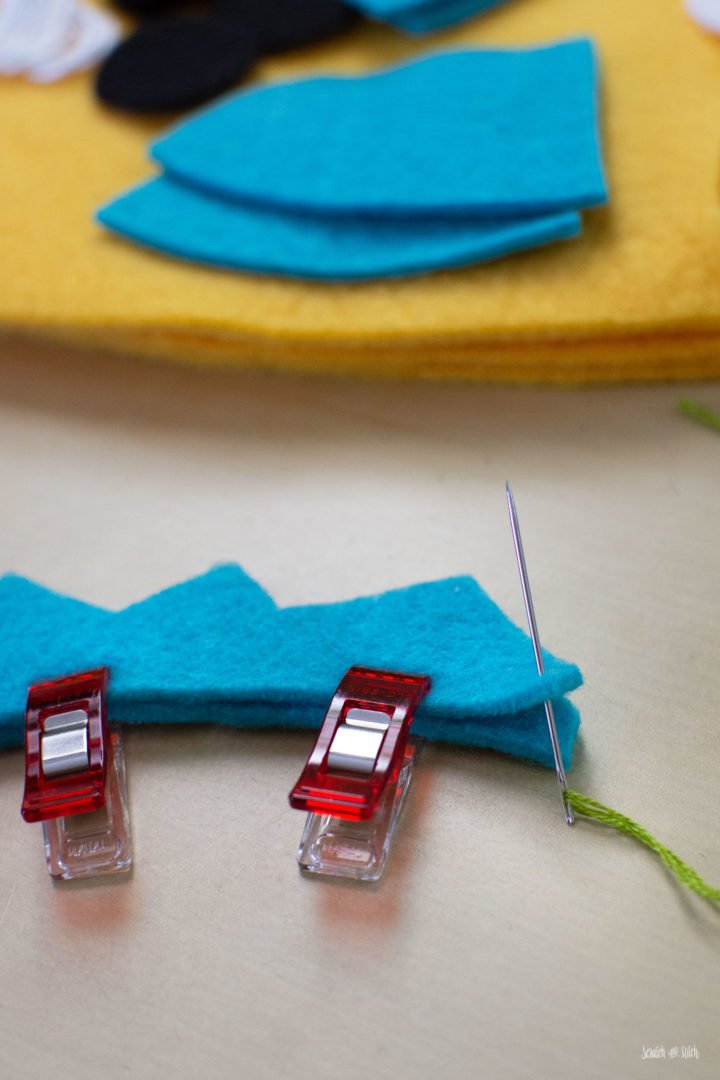
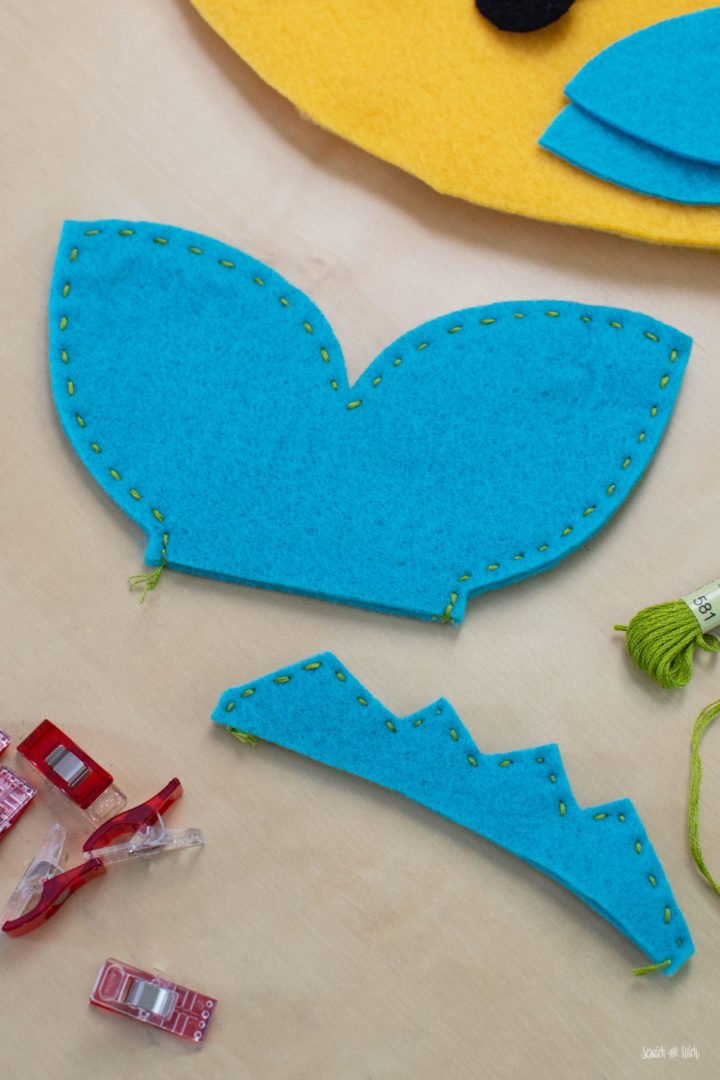
Layer the two top fin pieces on top of each other and clip or pin to hold together. Tie a knot at the end of your thread, and starting at one corner, push the needle through the top layer of felt. This will hide the knot between the layers. Sew along the jagged top edge of the fin with a running stitch. The bottom curved edge does not need to be sewn. Tie a knot at the other corner of the fin. Set aside.
Repeat the same steps with the tail pieces. Start at the corner of the tail and sew all the way around to the other corner, leaving the flat edge open. Set aside.
Add the Side Fins, Eyes, and Lips to the Body
For this step, you’ll need two body pieces, two eye A pieces, two eye B pieces, two lips, and two side fins. On the body pieces, layout the side fin, eye pieces, and lips to determine placement. Remember that the two body pieces will be mirror images of each other.
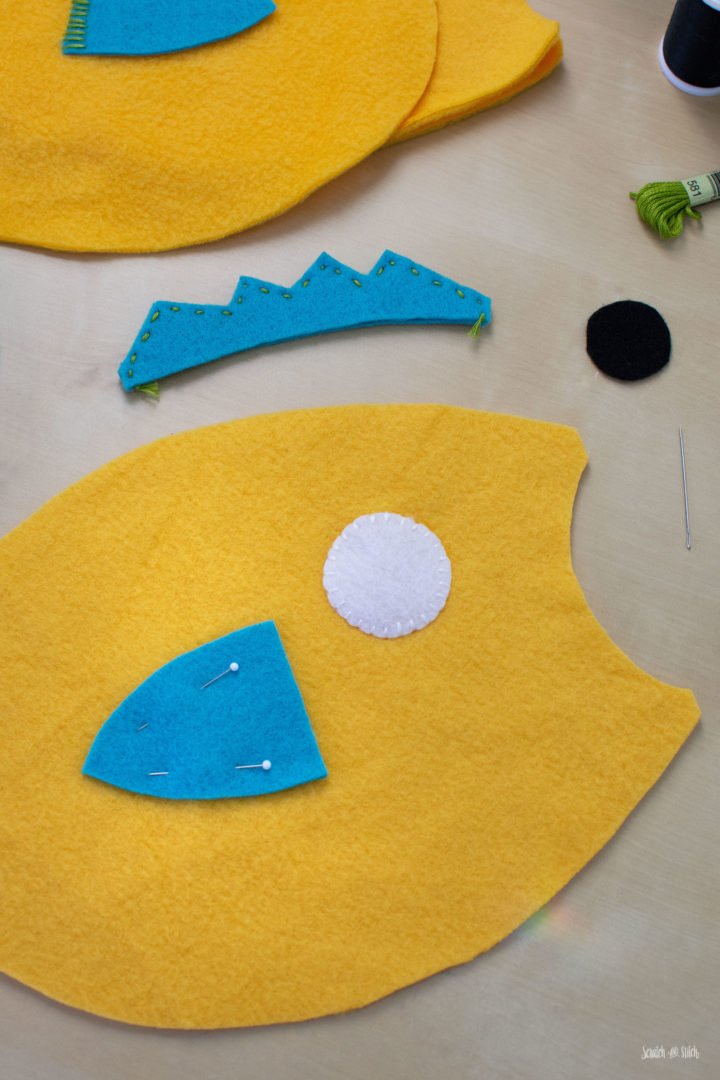
Pin the side fin and eye A to the body piece. S ew the large eye A piece in place with a whipstitch.
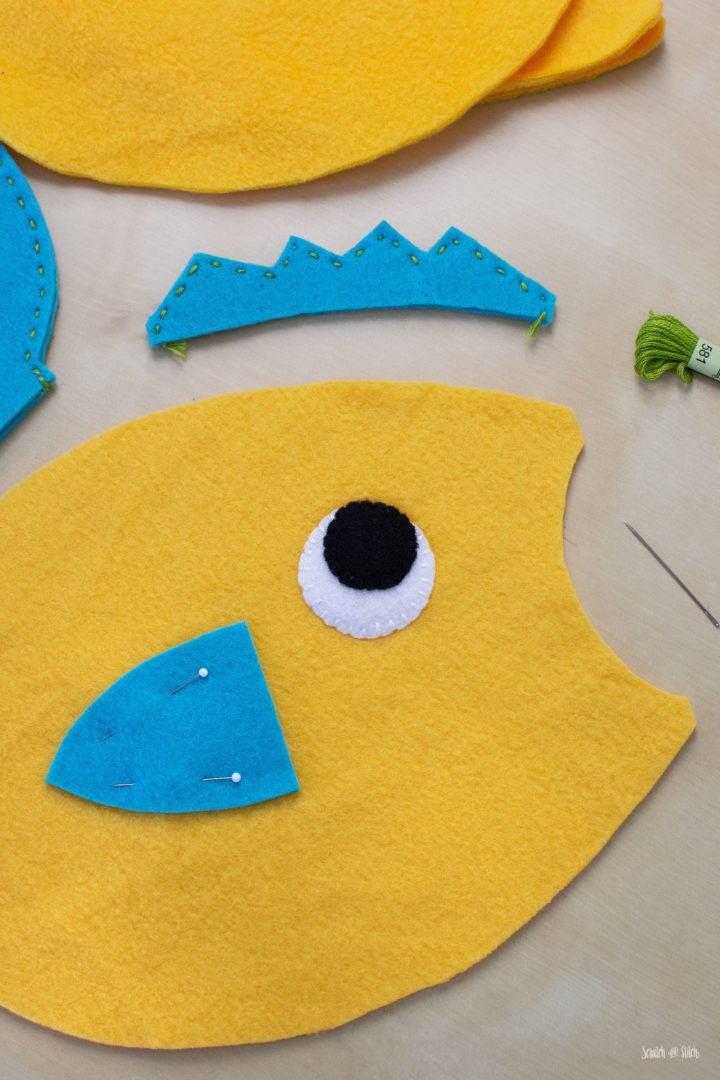
Sew the flat side of the fin with a whipstitch.
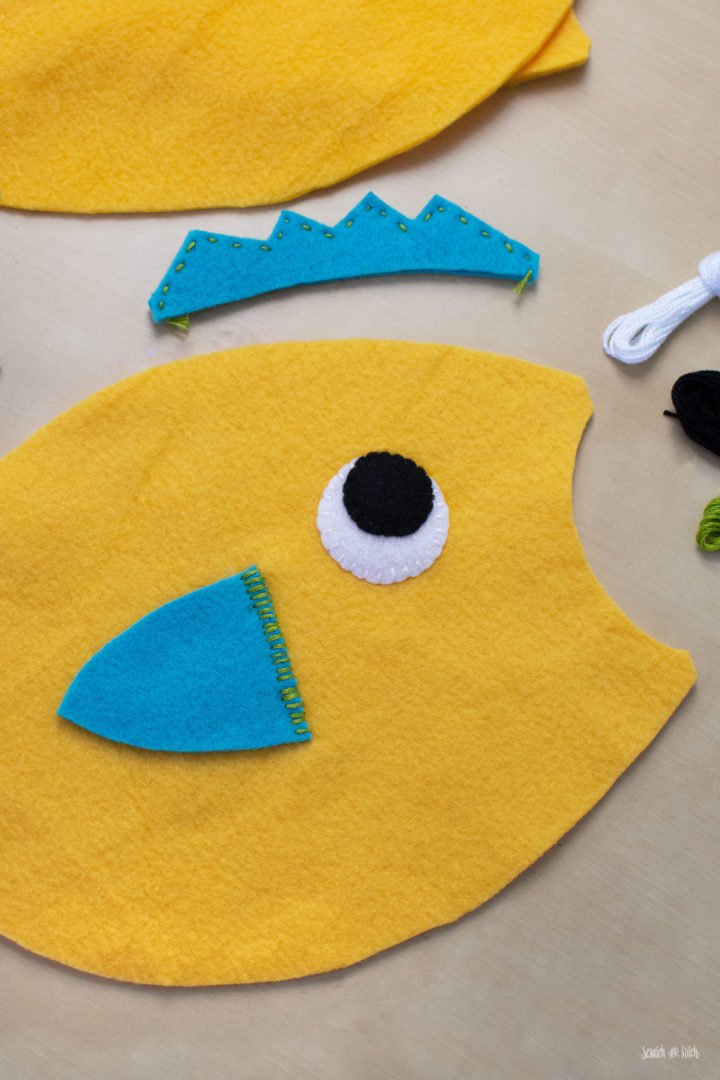
Next, add the small eye B on top and sew all the way around with a whipstitch.
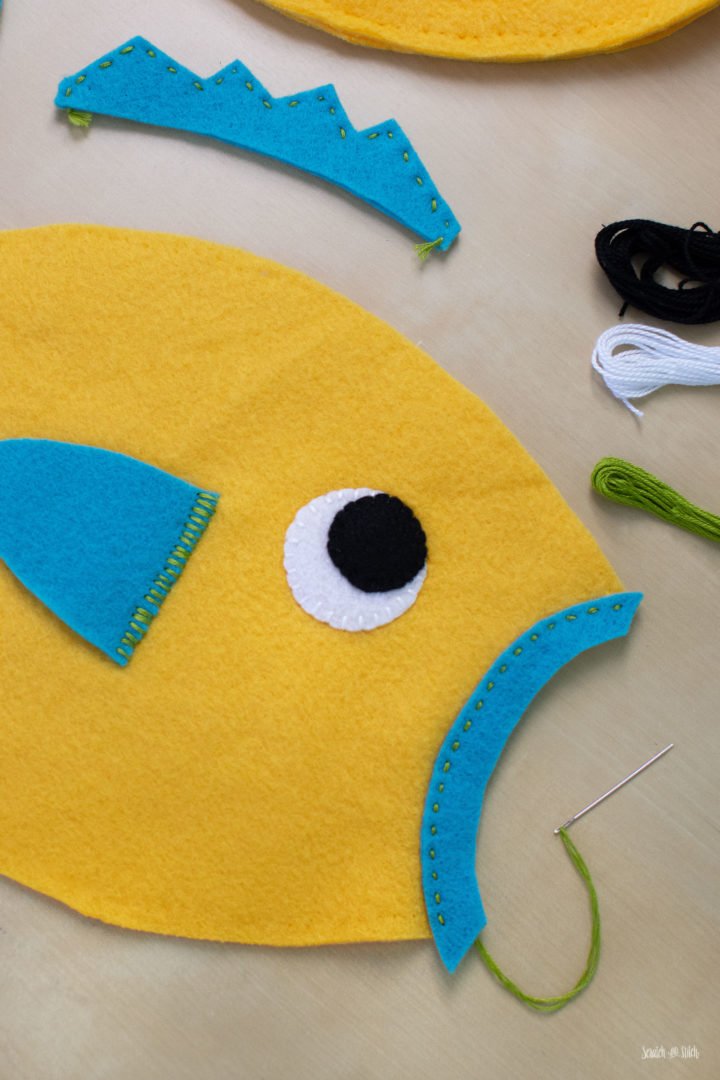
For the lips, align the edge of the lip piece to the edge of the body piece so the lip slightly overlays the body. Clip or pin in place and sew with a running stitch on just the inner edge (nearest to the eye) of the lip piece.
Repeat sewing the side fin, eye, and lip on the other side of the body.
Assemble the Body
Layer the four body pieces on top of each other with the two blank body pieces sandwiched in the middle. The body pieces with the side fins, eyes, and lips should be facing out just as they will in the final fish. Slide the top fin and tail in place between the middle body layers. Clip or pin all the layers together to hold in place.
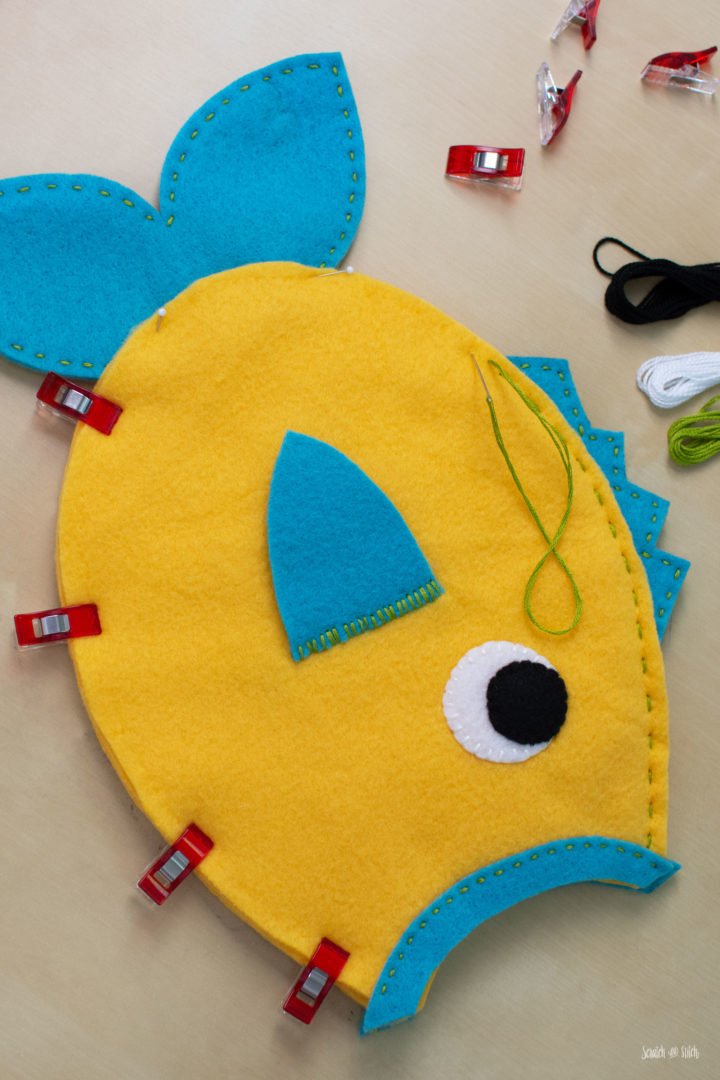
Starting at the top of the mouth, sew around the body with a running stitch. Make sure you’re catching all four body layers, the tail, and the top fin as you sew along. Knot at the other side of the mouth, leaving the mouth open.
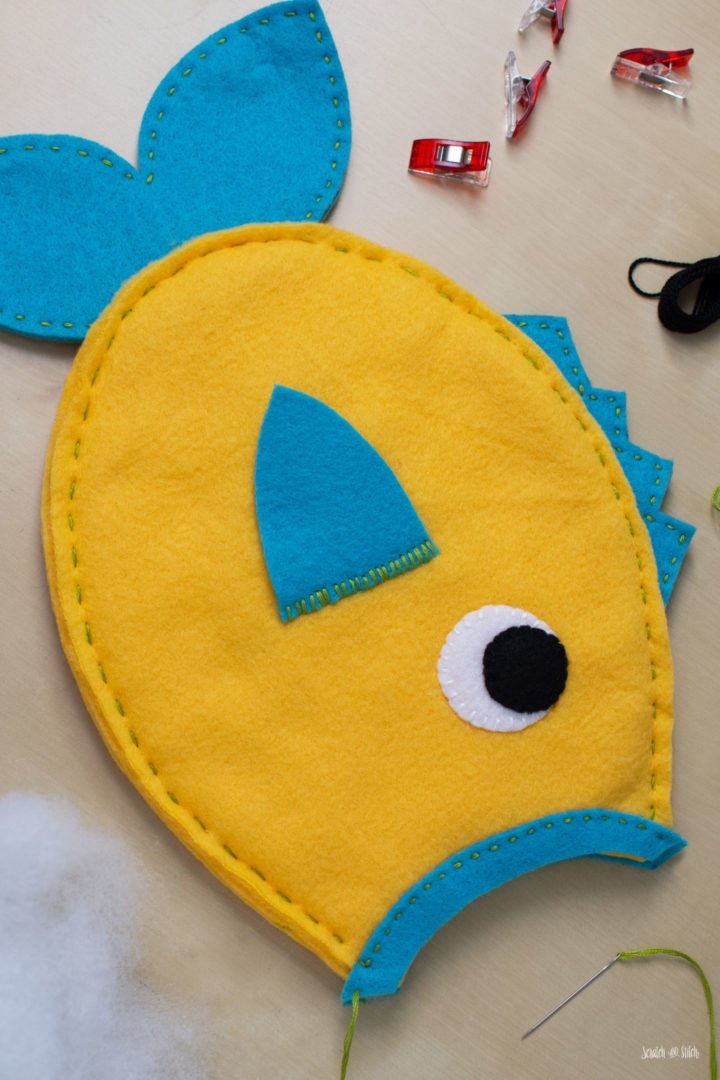
Lightly stuff the top and bottom portions of the body, leaving the middle empty to create the belly of the fish stuffed animal. Do not over stuff! Just a little stuffing will give the fish a plump shape and allow enough room for little hands to feed the fish.
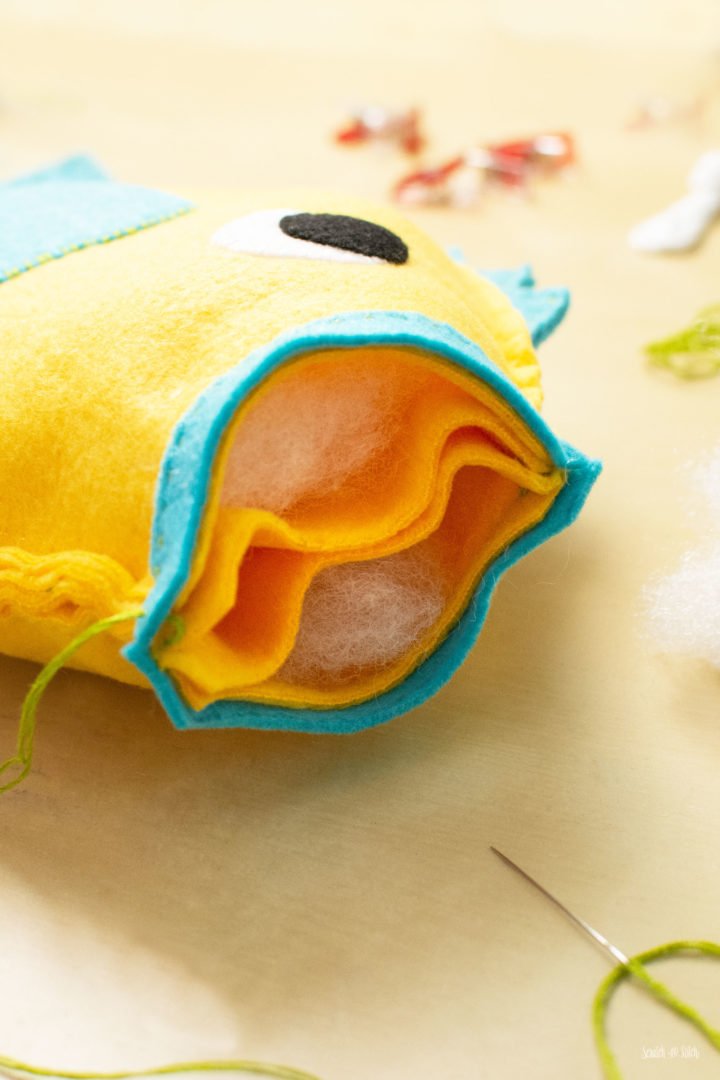
Sew the two openings closed using a whipstitch.
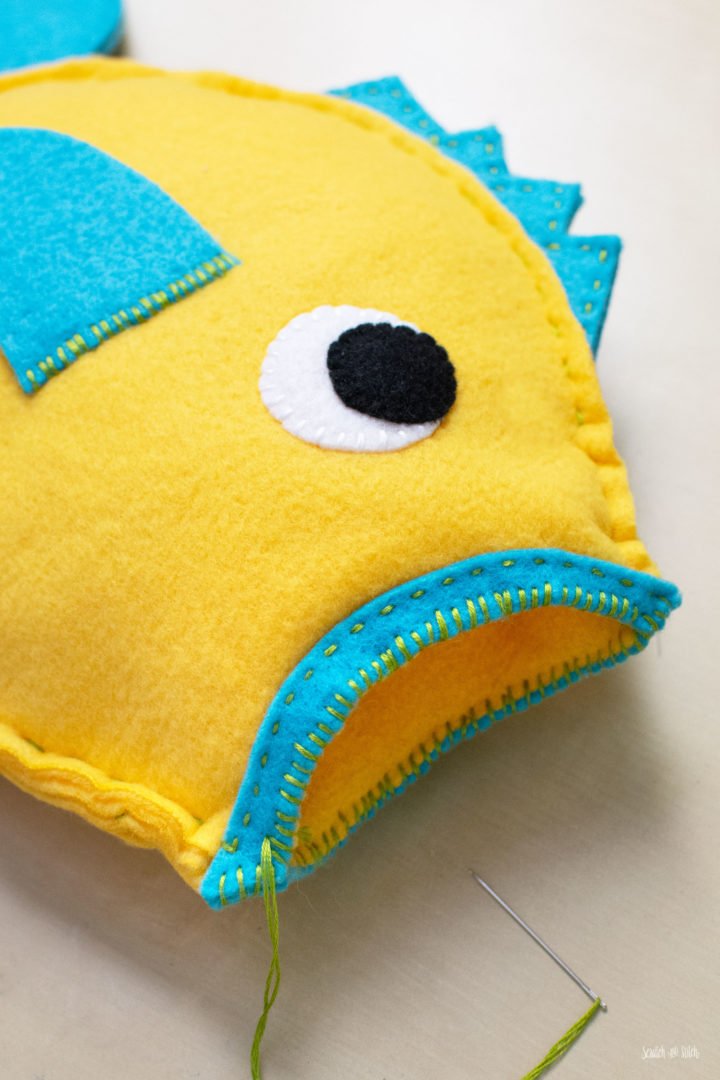
Make the Fish Food Shapes
Layer the two pieces of each shape on top of each other. Begin stitching around the perimeter with a running stitch and stopping when there is about a one inch opening. Lightly stuff the shape and continue stitching closed. Knot your thread.
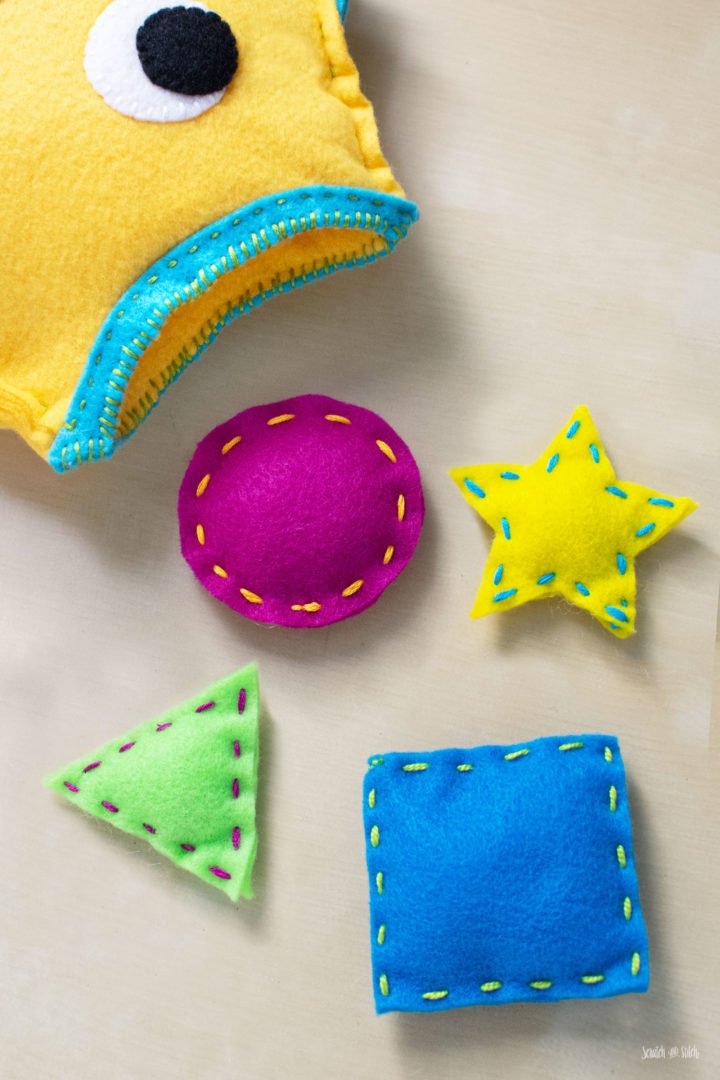
Have fun with your food shapes. Kids will love to stick their hands in the fish mouth.
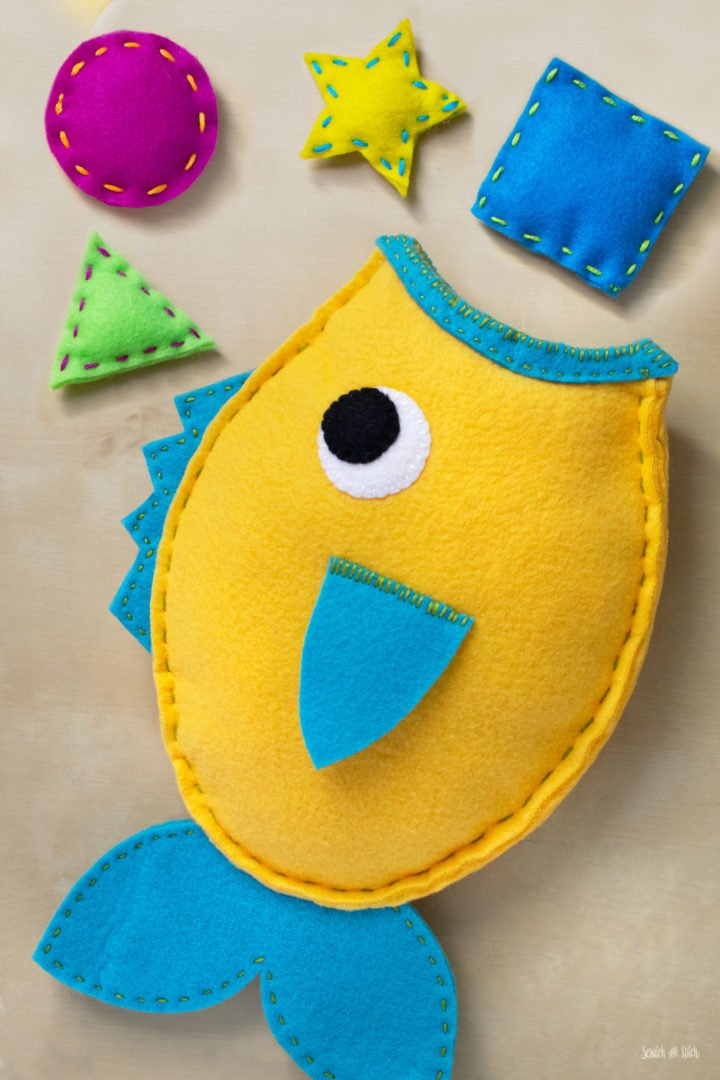
You know have a plush fish that’s hungry and ready to be fed!
More Free Stuffed Animal Patterns
Did you like this fish stuffed animal pattern? There are more where that came from. Check out these 30+ free stuffed animal patterns.
I hope you had enjoyed making this Hungry Fish Stuffed Animal! Make sure to check out Sew a Softie for more free plush sewing patterns.
Did you make the hungry fish? I love seeing your creations. Be sure to tag @scratchandstitch on Instagram and Facebook. You can also send me a note here.
Amazing tutorial … just love your fish!!!
Thanks Trixi – It’s a fun make :)
This is so cute. My grandson, Wyatt loved it.
That’s wonderful to hear! (I just sent you an email)
Thank you for this cute pattern. It was a very simple pattern to follow and turned out quite cute. I just finished the fish for my great granddaughter for a Christmas gift. I have a photo but it is on my phone.
Hi Betty – That’s so special. You’re great-granddaughter will enjoy her fish handmade by Grandma. :) I would love to see photos. You can email them to me. Happy Holidays :)
What a great pattern! I helped my granddaughter make this fish. She super enjoyed the experience of learning how to hand sew. Thank you for the pattern. I have a photo but I can’t find it to upload.
So cute!! I’m an aprentice nursery teach and I was looking for a fun activity- this fish is perfect for it! Now the kids will learn the shapes in a fun way! Thank you for this lovely craft miss!O(≧▽≦)O
This pattern just drew me in with its adorable fish and the usefulness of a toy that builds skills and entertains! I used a tie-dye fleece that had a v-shaped pattern as it looked sort-of fish-scale like. It came out so cute! Thank you for this great pattern!