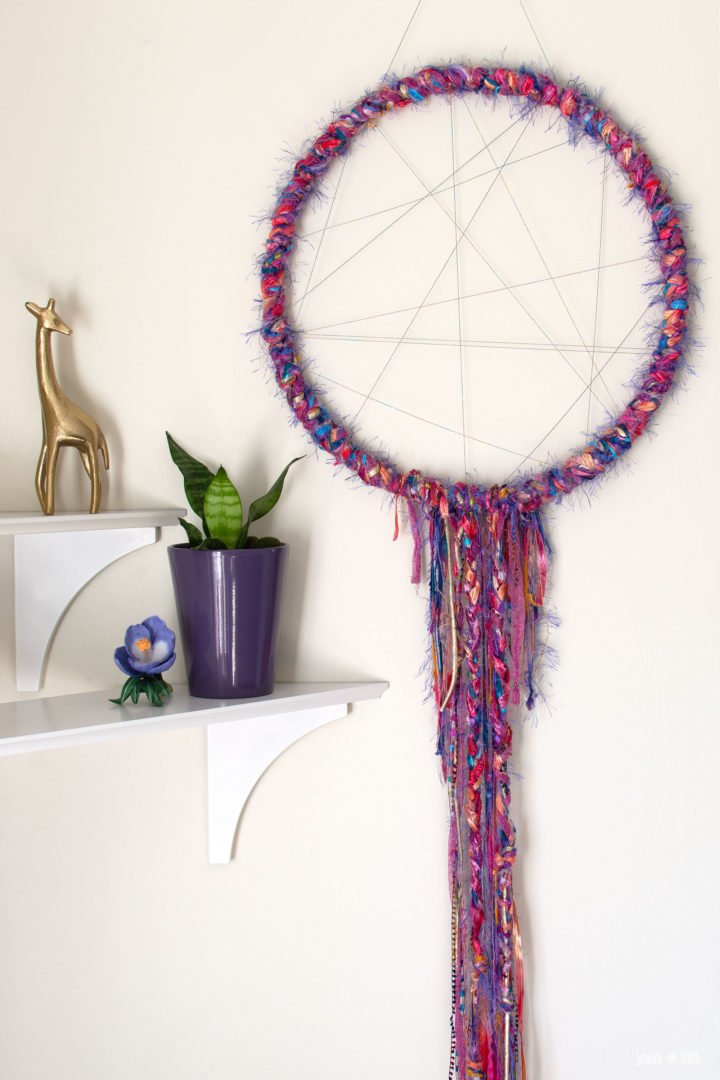
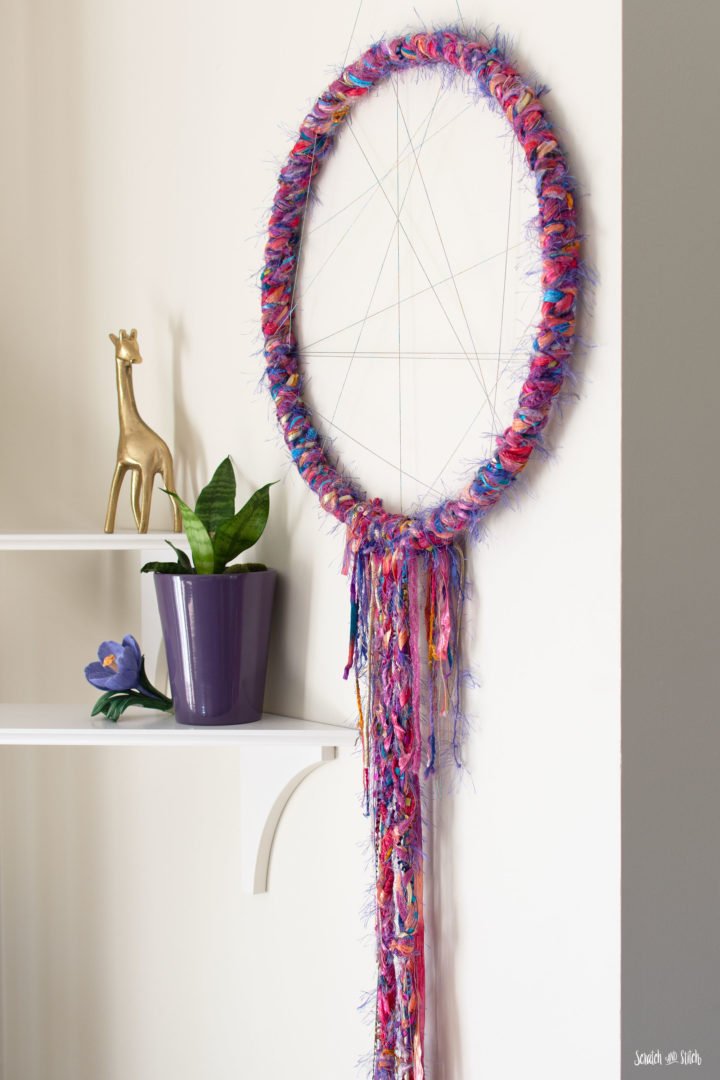
Do you ever have a pile of materials but no specific project in mind? When this happens to me I let the materials become the project. That’s exactly what I did with a collection of beautiful yarn and it led to this fun embroidery hoop yarn wreath.
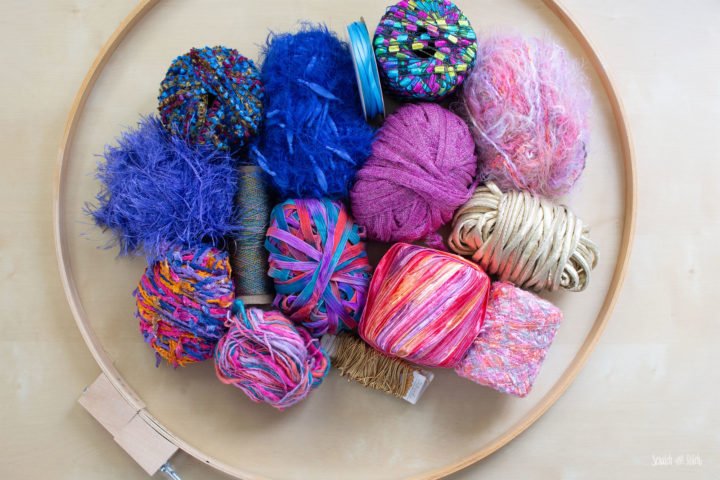
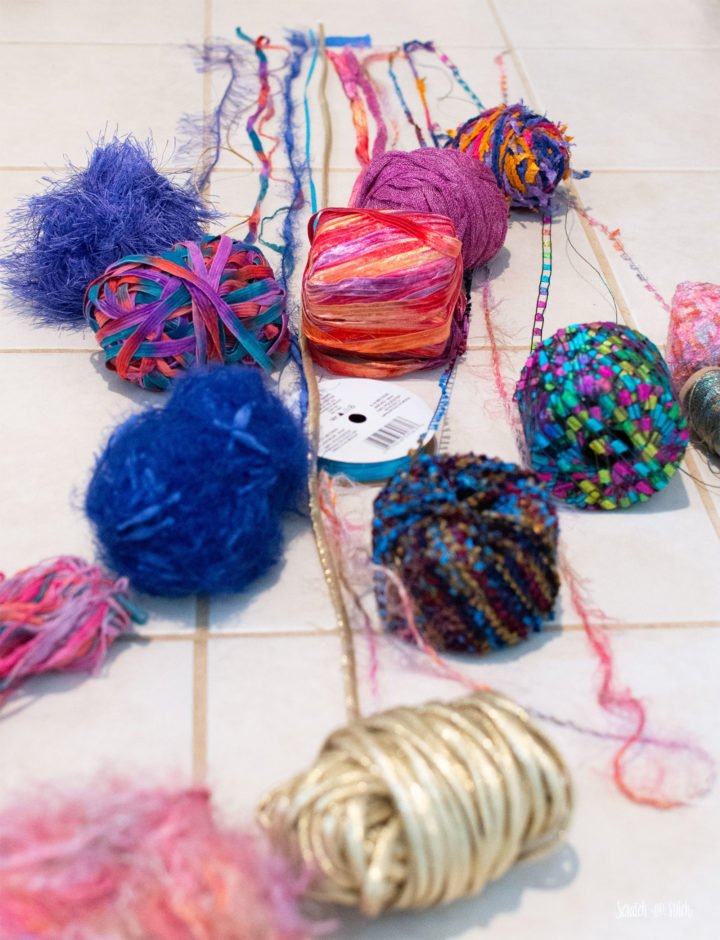
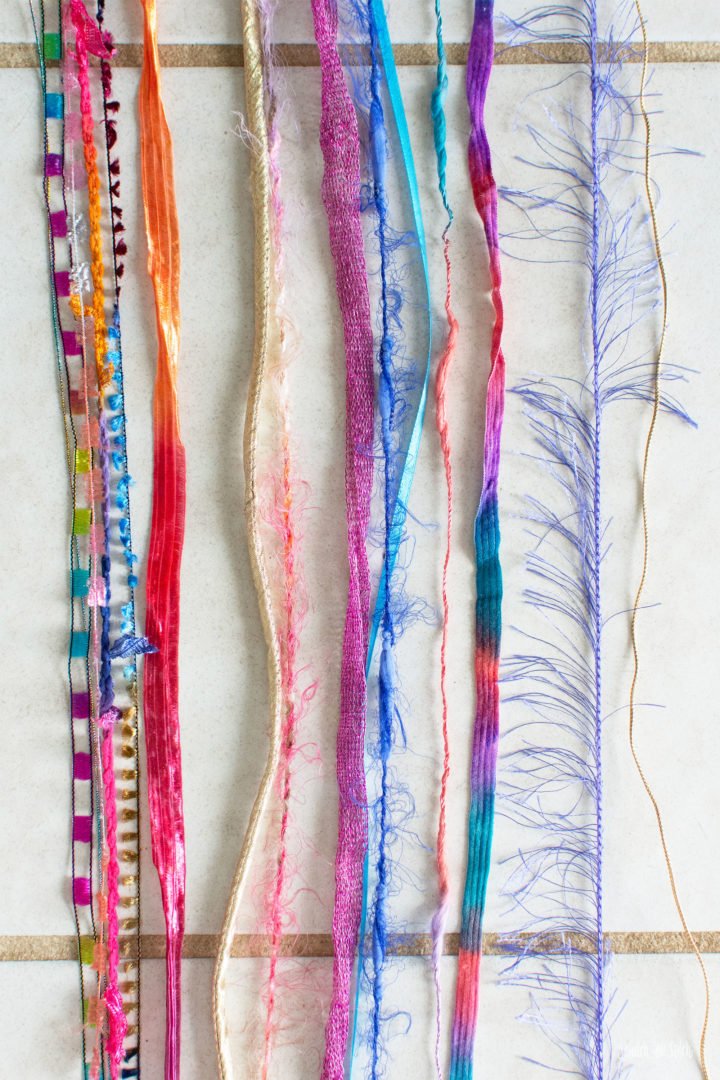
My aunt recently invited me over to dig through her craft studio and take what I wanted which is how I ended up with a massive collection of fun yarn in all sorts of colors and textures. I also happened to have the outer hoop of an embroidery hoop left over from my Sunburst Mirror. The yarn and hoop were destined to be this embroidery hoop yarn wreath.
Materials
- a variety of fun colorful yarn, cord, or string
- embroidery hoop or other large hoop
- clips (chip clips work great)
How to Make an Embroidery Hoop Yarn Wreath
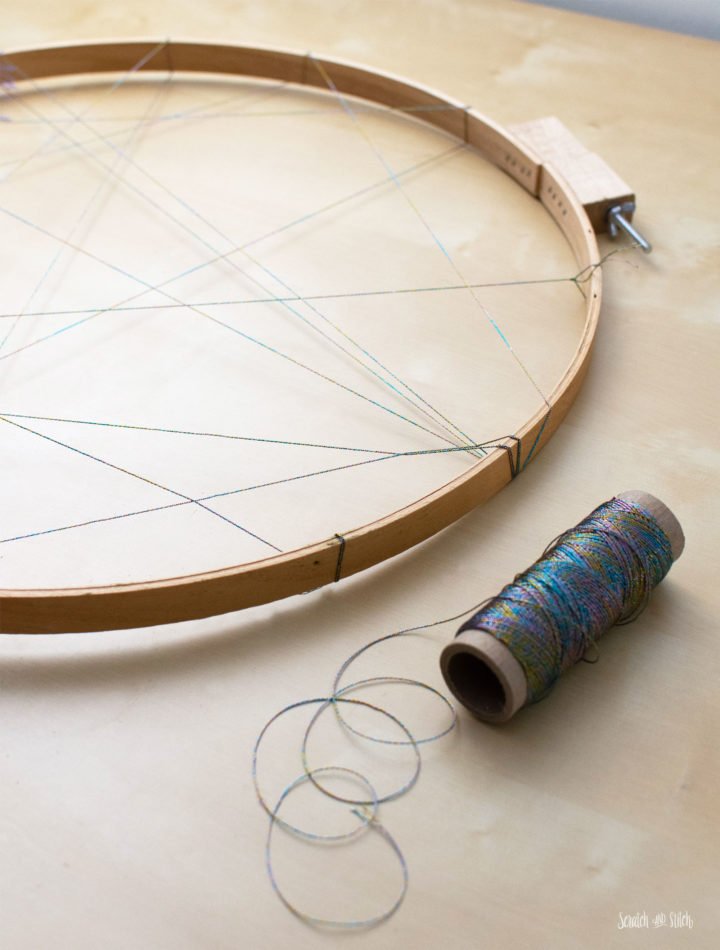
On your hoop, tie yarn or string to use onto the hoop. Tape if necessary. Begin stretching the string randomly across the hoop, looping around the hoop to hold in place. Add as many cross sections as you like.
Determine the length of yarn needed to wrap around the yarn wreath. I used a 14 inch embroidery hoop and cut my yarn into 20 foot lengths. This is six times the circumference of the circle. To calculate the length needed for your hoop size take the diameter (the width of the hoop) and multiply by π (3.14). Multiply that number by 6. This will give you the length in inches. Divide that by 12 to get the length in feet. And just to be sure, add a bit more length.
Lay out your various yarn, cord, and string to the length needed. Do this all at once by taping down the ends of your yarn and stretch the distance you need. I did this on the kitchen floor.
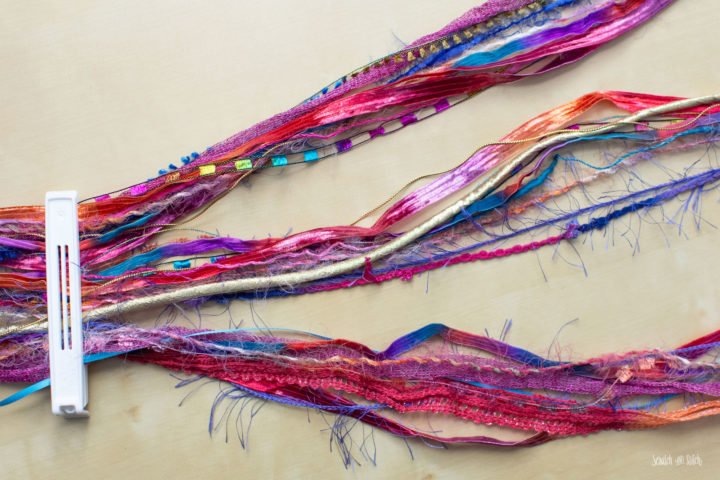
Once all of your yarn is laid out, find the center place a clip.
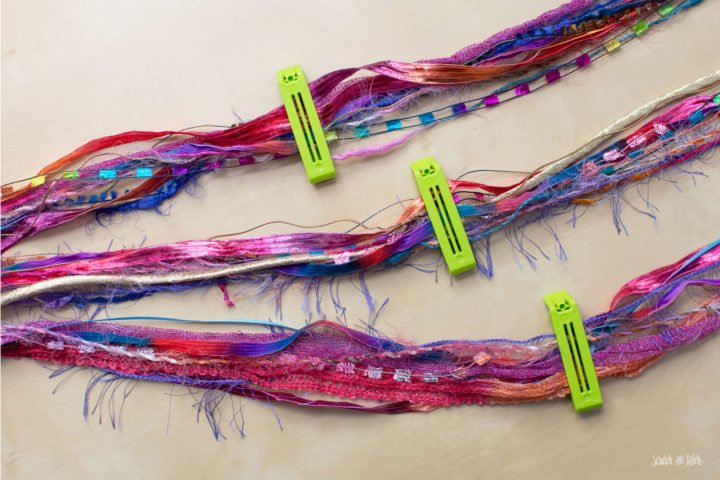
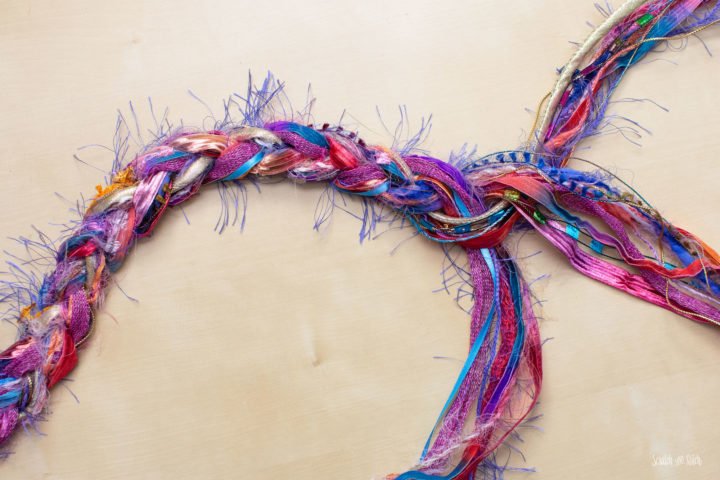
On one side of the clip divide the yarn into three sections and add clips to help keep them separated.
Begin loosely braiding the three sections almost all the way to the end. Clip the ends to keep them together. Repeat on the other side.
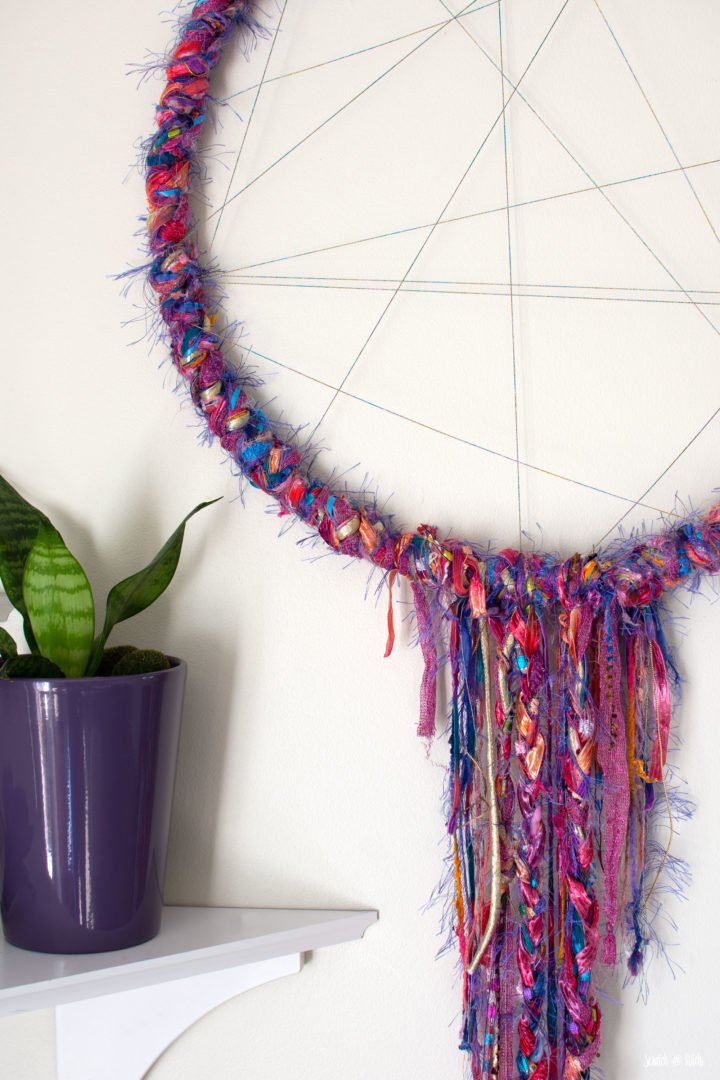
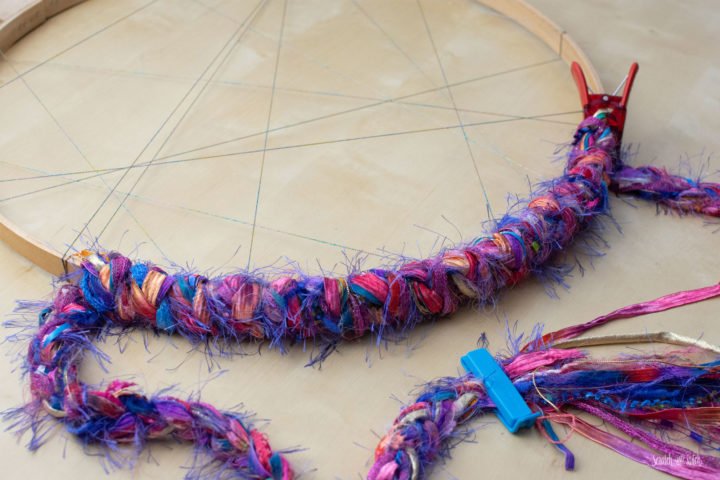
Once all of the yarn is braided you can begin wrapping around the hoop. Starting at the middle of your braided yarn, begin wrapping around half of the hoop. Use clips to help hold in place.
Repeat on the other half of the hoop. You should have pretty equal tails remaining after wrapping around the hoop.
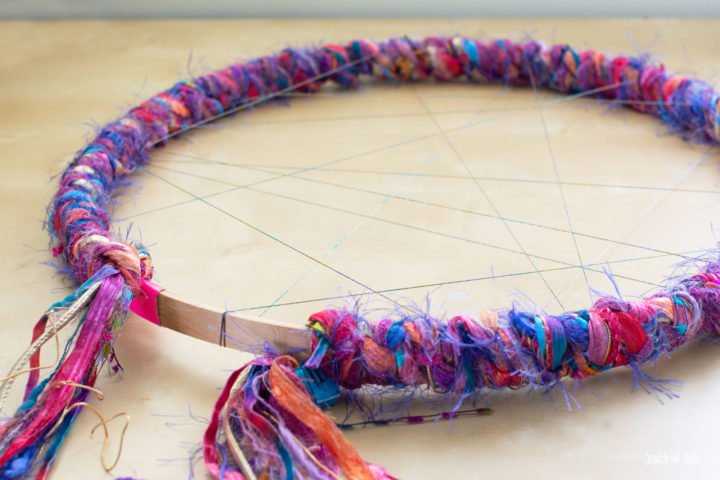
Tie the tails of the braided yarn around the bottom center of the hoop.
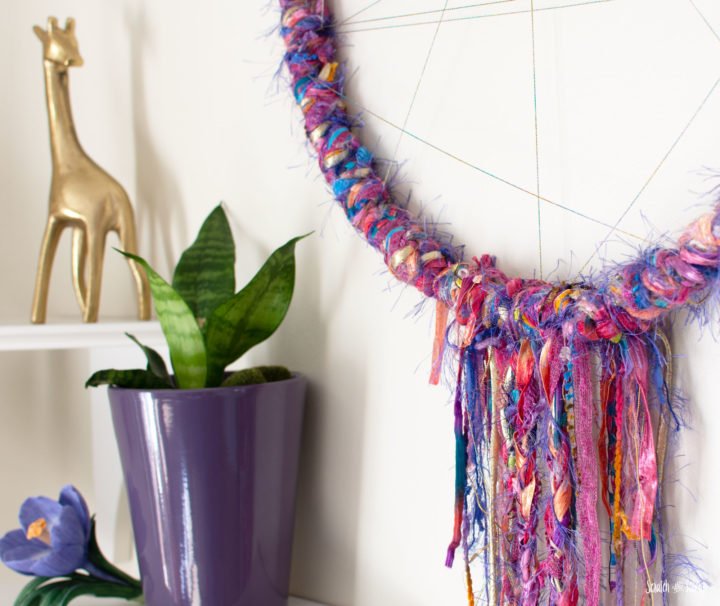
From here you can let all the tails hang loose or braid some smaller sections together. I chose a combination of both braids and loose strands.
My wreath is a total of about 5 feet long and hangs the length of our front door. I love the long, dramatic look of it.
Customize your embroidery hoop yarn wreath to match your style. Send me a picture of the final wreath so I can feature it here on Scratch and Stitch.

I want to teach this project to the seniors where I live. I’m having trouble figuring out the length of the yarn. I have 6 inch hoops and I keep coming up with 20.14. That is almost the same size as you example but my hoop is half the size. What am I doing wrong? Can you help me?
Thank you
Hi Candace – This sounds like a great project to teach! It’s been a while since I made this wreath and wrote the instructions for it. I’ve gone back and read it and done the math according to my instructions. For your hoop, the yarn should be about 6 times the circumference of the hoop. For a 6 inch hoop the circumference is about 18 inches. 18 x 6 = 108 inches, divide that by 12 and that equals 9. So you should cut your yarn to 9 feet (or maybe 10 just to be sure). :) I hope that helps! I would love to hear how it goes and see pics if you have them!