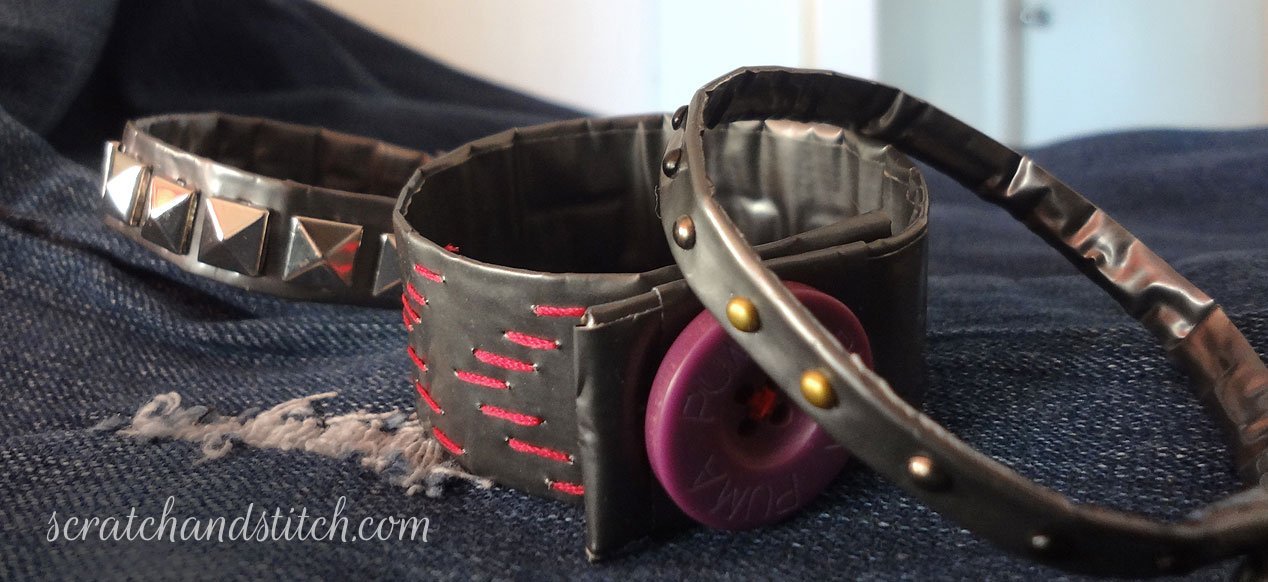
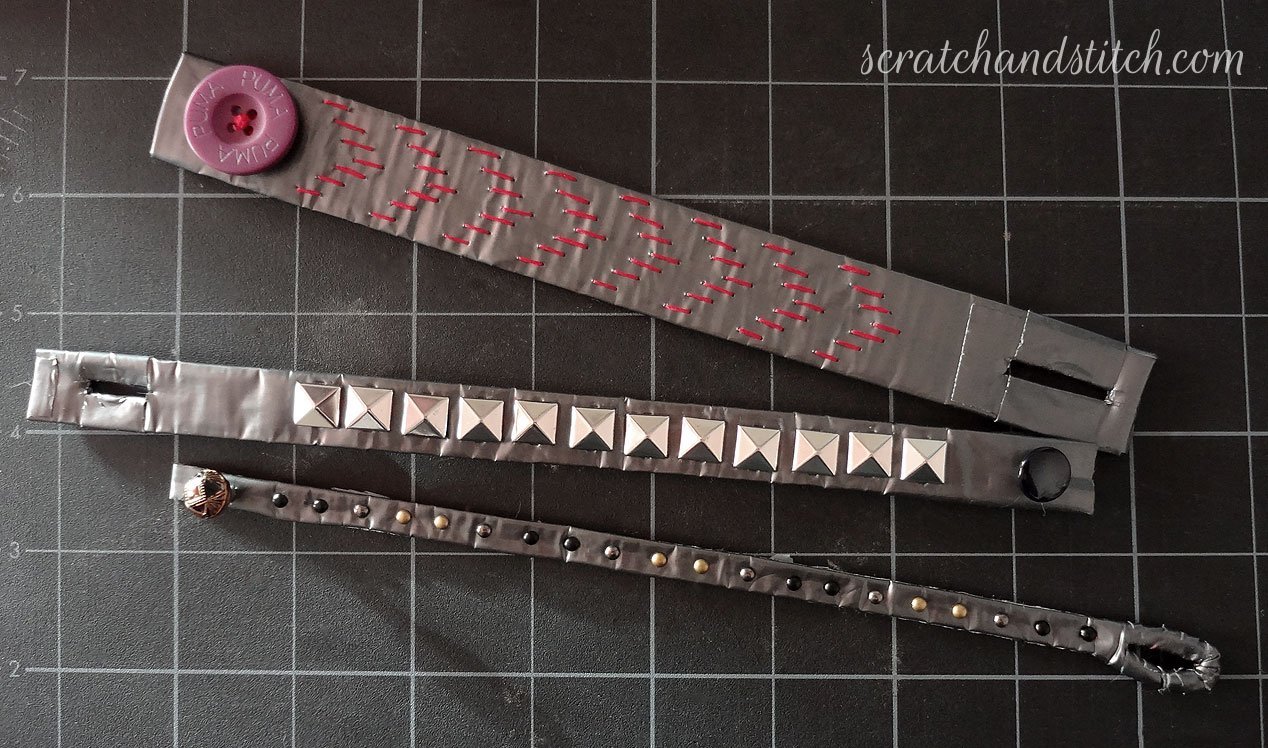
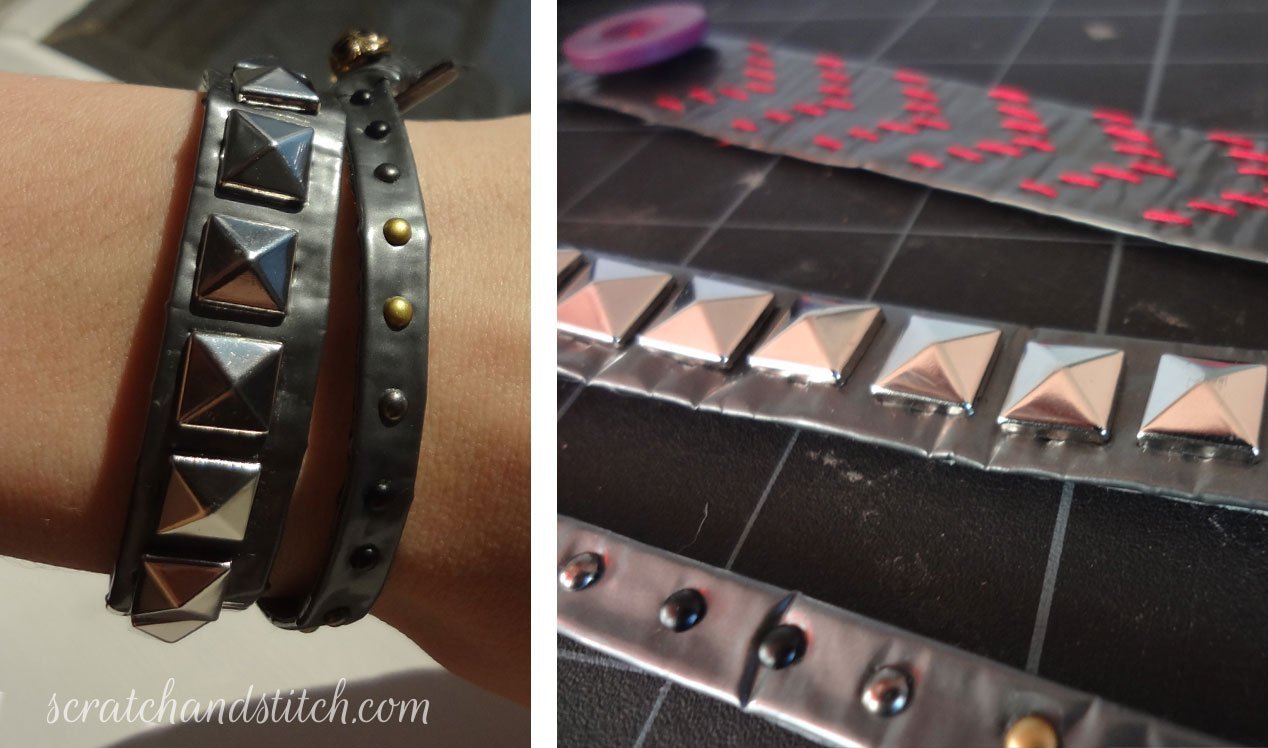
Here’s a fun Duct Tape Bracelet DIY project for those times when you’re feeling the need to get crafty. It doesn’t take a lot of set-up or materials and you probably already have all the stuff to make it.
Materials
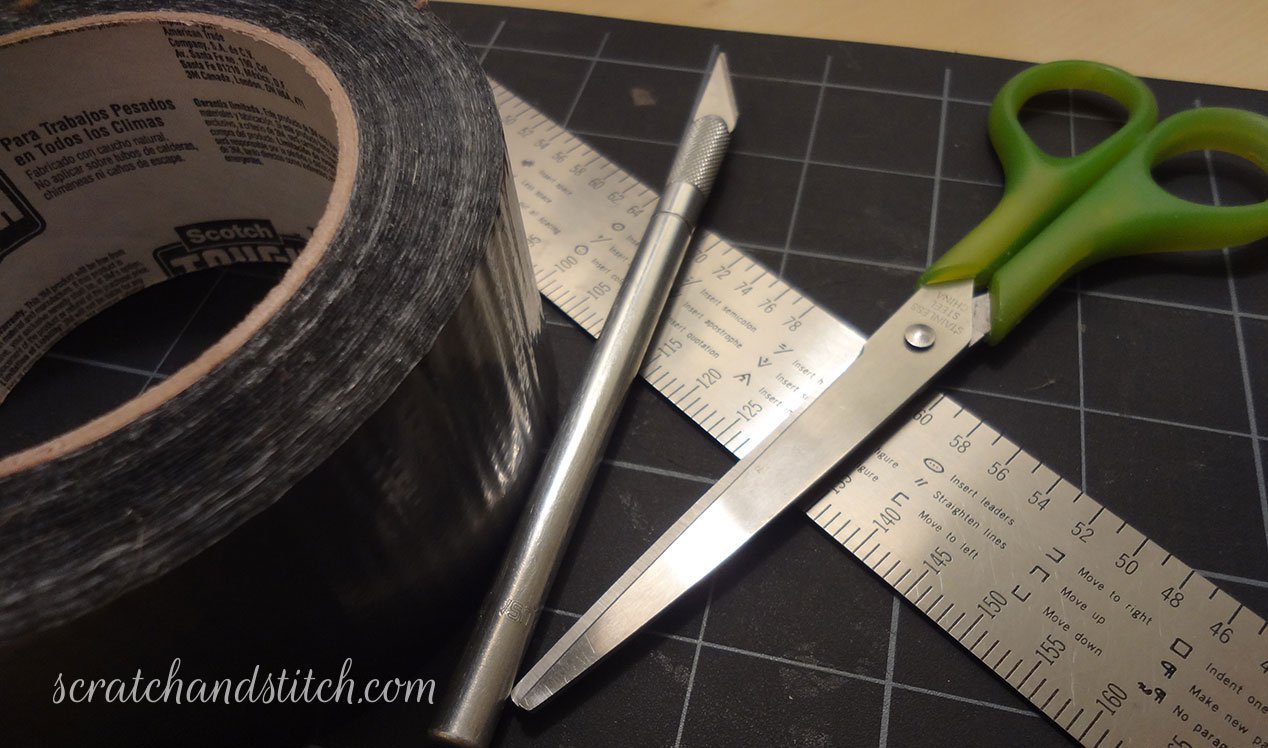
- duct tape
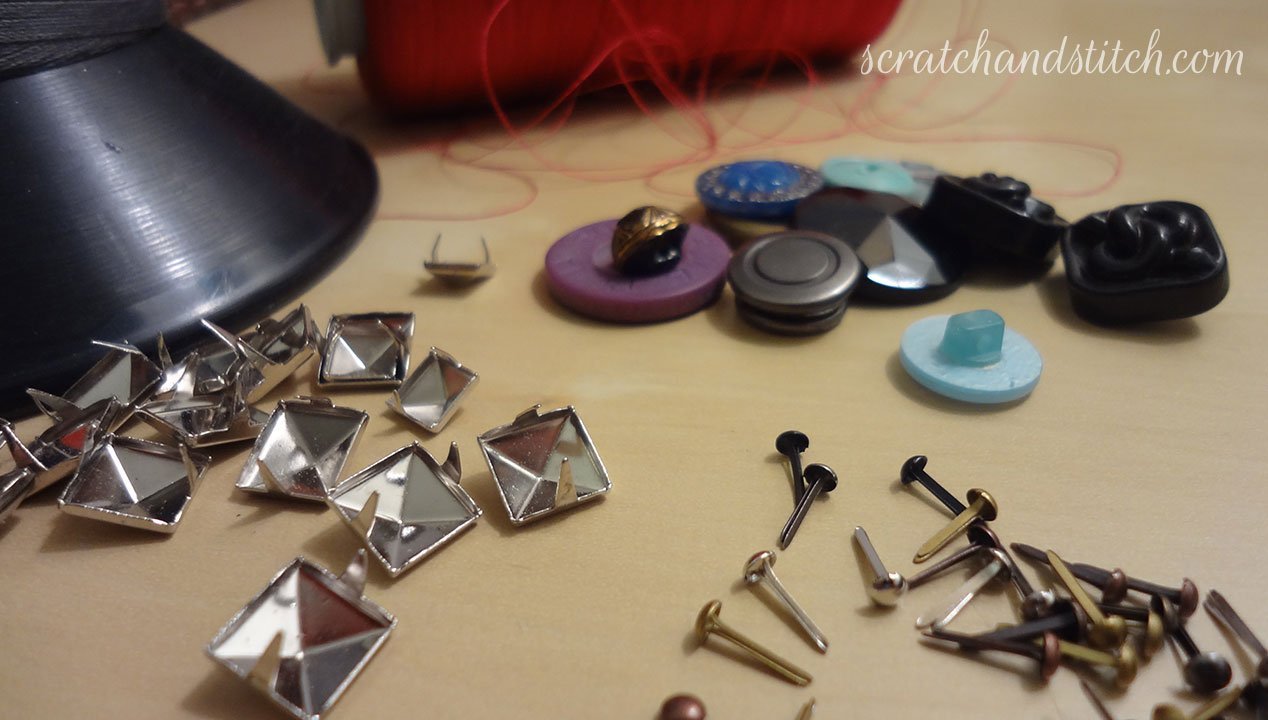
- buttons
- thread
- studs
- metal brads
Tools
- scissors
- Exact-o knife or box cutter
- needle
- bone folder
- ruler
- pen
- paper
Directions
Cut two pieces of duct tape long enough to fit around your wrist plus a little extra to work with (8″-9″).
Stick the two pieces, sticky-side together.
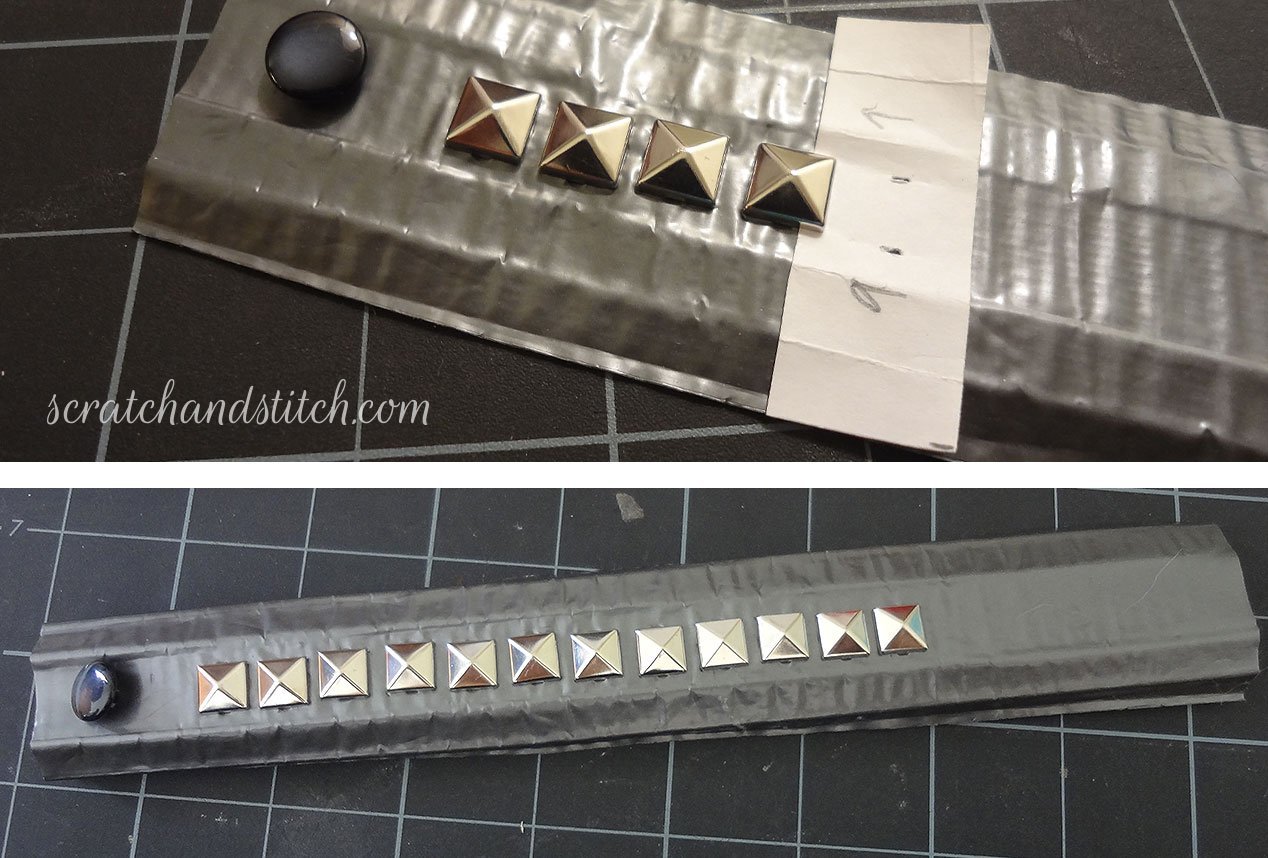
With a ruler, mark 1/2″ in on both sides on either end. With a bone folder (or an upside-down Exacto knife), make a crease lengthwise down the duct tape. This will create the face of your bracelet. For a thinner bracelet (like the one here with the metal brads or metal studs), make two creases to fold under or cut your duct tape to a thinner width.
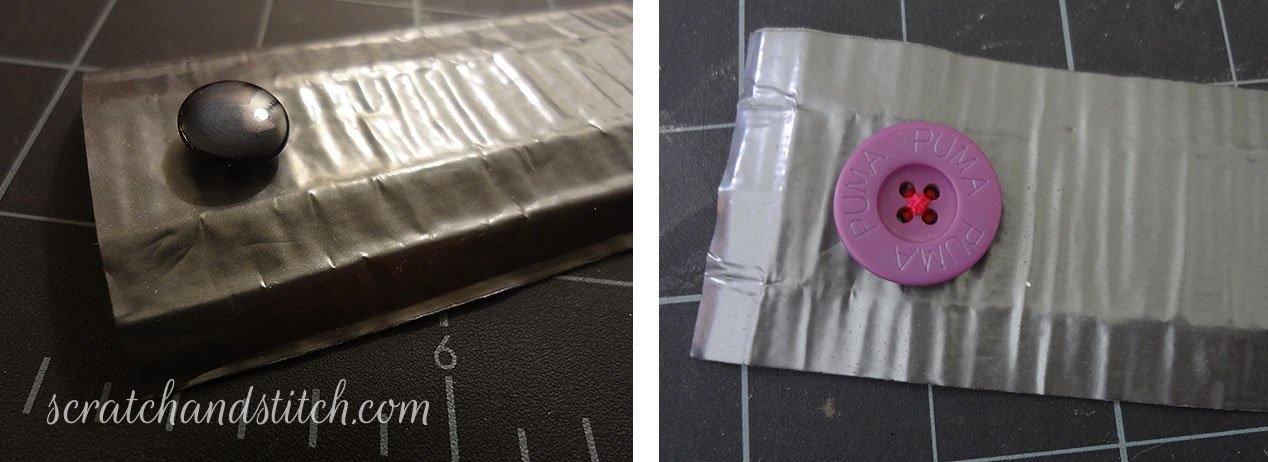
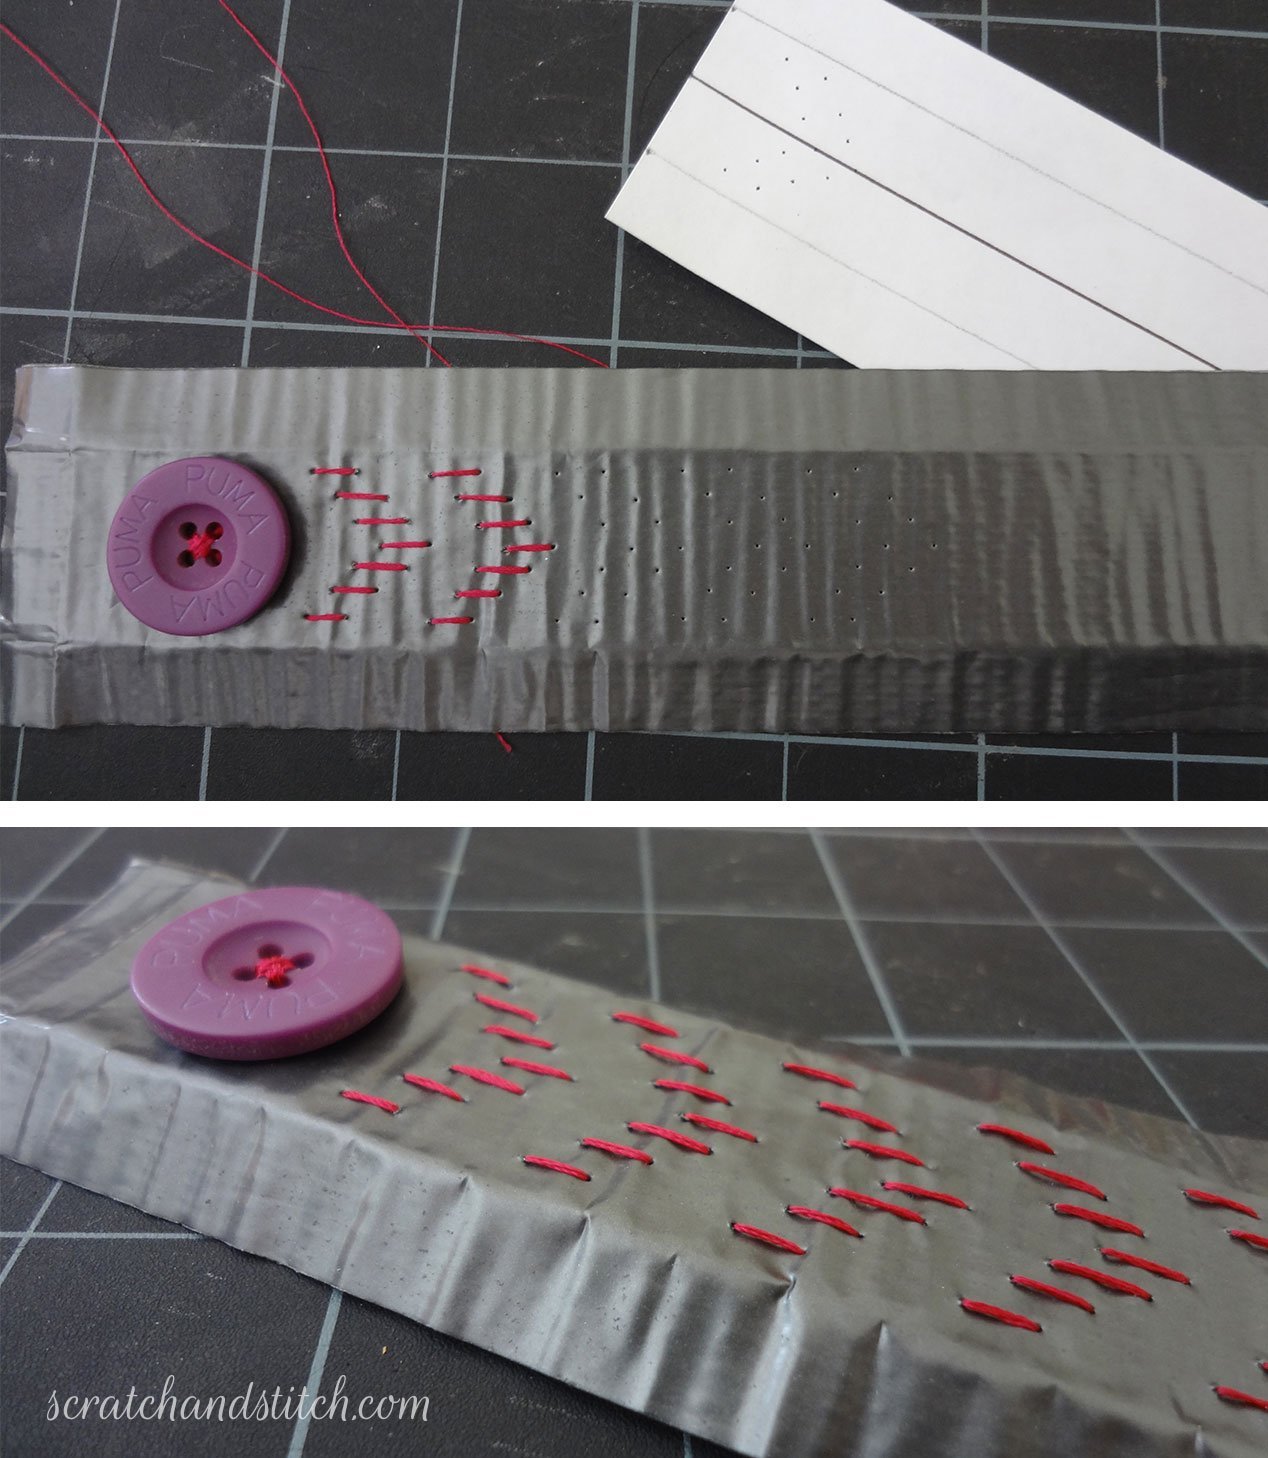
Sew a button on to one end of the bracelet.
Create a pattern on a piece of paper cut the same width as your bracelet, mark the face of the bracelet and a pattern of where your studs, thread, or metal brads will go. This ensures an even end result. Hold your pattern over the duct tape bracelet and with an Exact-o knife, create holes for the studs, brads, or thread.
Once your notions are attached or sewn, fold in the sides and cover it with another piece of tape that is slightly less wide.
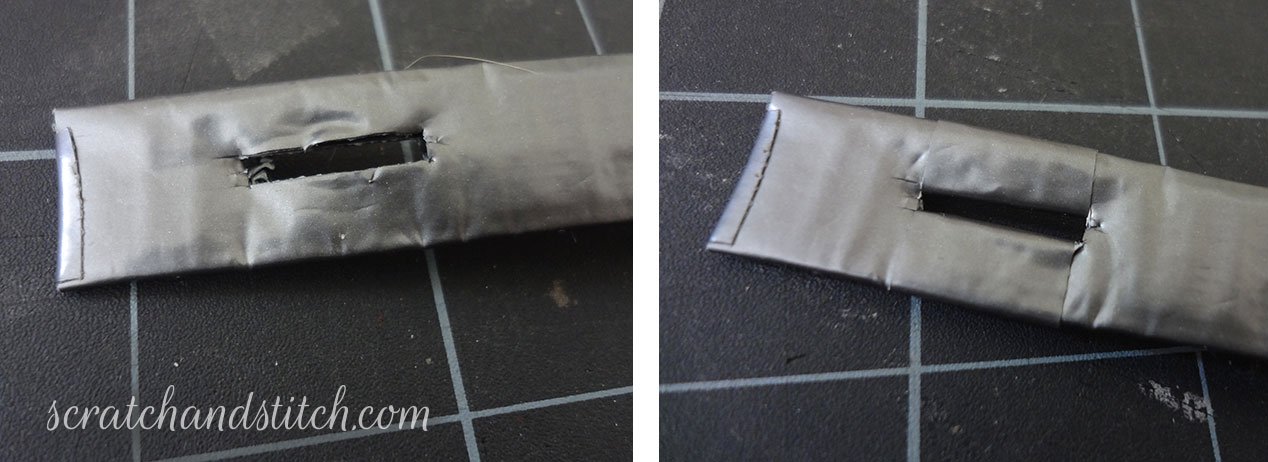
On the other end, cut a button hole and cover with a few more pieces of tape. Fold over and cover the ends with more tape.
Other ideas:
- Use multiple colors of duct tape to create stripes or other patterns
- Stitch embroidery thread into bracelet
- Add beads, wire, or gems
- Use snaps instead of buttons
What do you make with duct tape?

Leave a Reply