This post may contain affiliate links.
Make a set of fun DIY Valentine gifts for kids that hold Valentine candy or other goodies. Not only will kids enjoy the contents of the pouches, but they will also walk away with some Valentine monsters to enjoy.
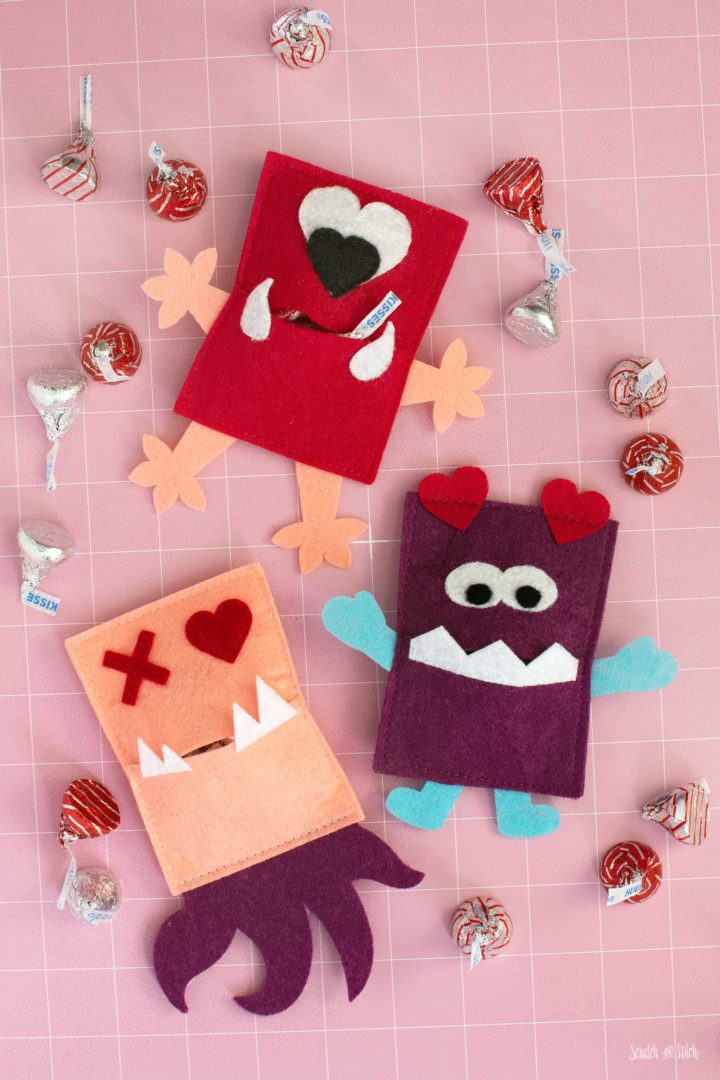
Each monster pouch can hold a few treats, a small toy, or a love note to your little Valentines. After the candy is eaten, kids will love playing with their new little monster friends.
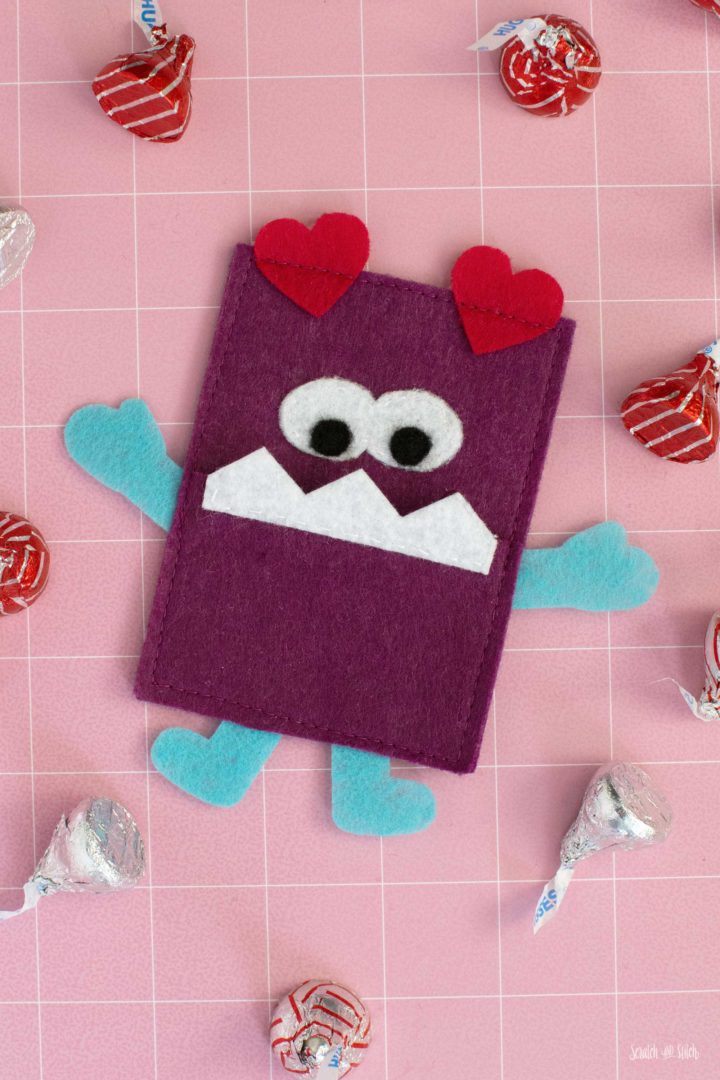
How to Make Candy Monster DIY Valentine Gifts
There are three different DIY Valentine candy monsters to make: XO Squid, Heart-Eyed Cyclops, and Munch Monster. All three candy monsters are quick to assemble once all the pieces are cut. Each of the DIY valentines can be cut by hand or on a cutting machine. Both a PDF pattern and an SVG file are included in the free download.
Materials
- printable .PDF pattern OR .SVG cut file (download below)
- felt fabric in a variety of colors (I recommend Cricut felt or other stuff felt fabric)
- coordinating thread
- basic sewing tools and supplies
Valentine Candy Monsters
Download includes printable PDF, and SVG cut files for use with Cricut Maker (or other cutting machine software).
Enter your email to get the free pattern in your inbox.
By submitting your email address you will be added to the Scratch and Stitch email newsletter. You can opt-out at any time :)
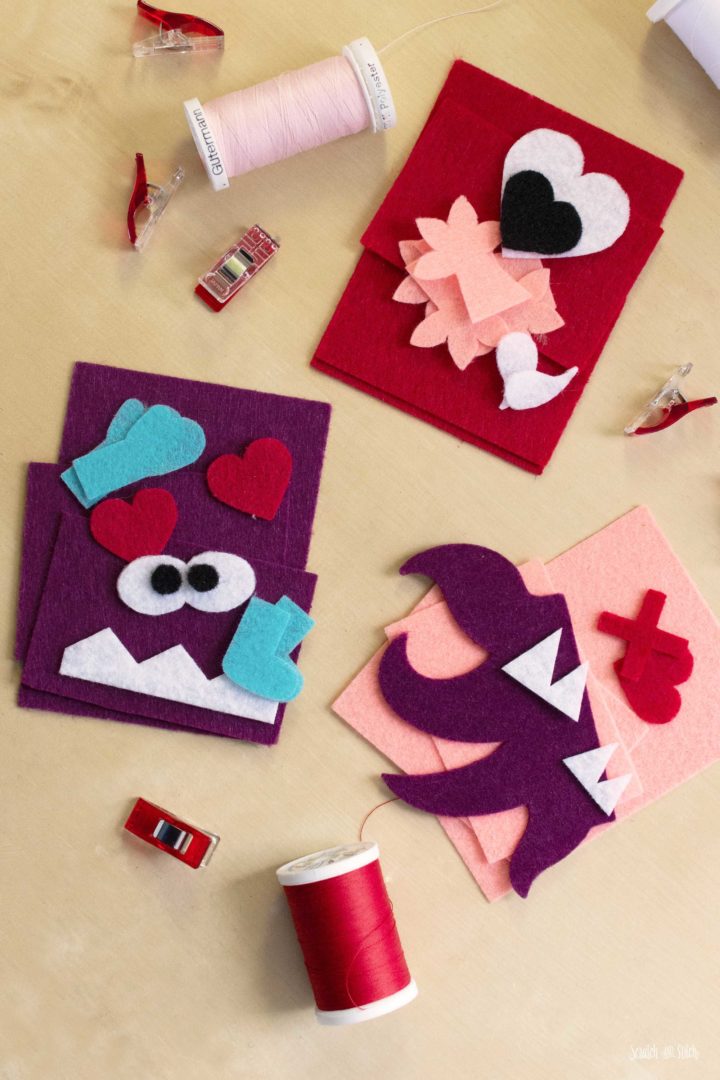
Cutting the Candy Monsters DIY Valentines
To Cut By Hand:
Print the PDF pattern at 100%. Cut out all paper pattern pieces. Follow the cut list for each Valentine monster to cut the felt pieces.
To Cut Using Cricut Design Space:
Upload the SVG file to a new canvas in Cricut Design Space. Feel free to change the colors of the pieces to match the felt colors you will be using. Click the “Make It” button to send it to the Cricut. Select the material “Felt” from the list of materials. Prepare your FabricGrip mat, load the correct blade for your material, and begin your cuts.
Sewing the Candy Monsters
The DIY Valentine Gift Candy Monsters can be sewn by hand, by machine, or a combination of both. All stitches are a basic straight stitch or running stitch. A seam allowance of 1/8″ or less works great for this free sewing pattern. I recommend backstitching over the sides of the mouths to secure these areas well.
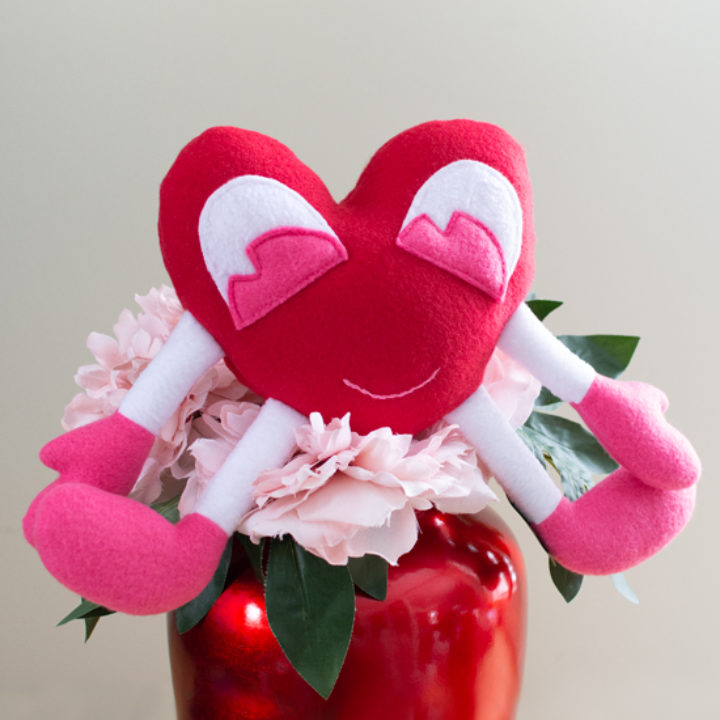
Valentine Heart Plush
Make a plush heart to give as a DIY Valentine’s Day gift. Free sewing pattern and tutorial to follow along.
Making the Munch Monster
Ensure you have all the Munch Monster pieces following the cut list included in the PDF pattern.
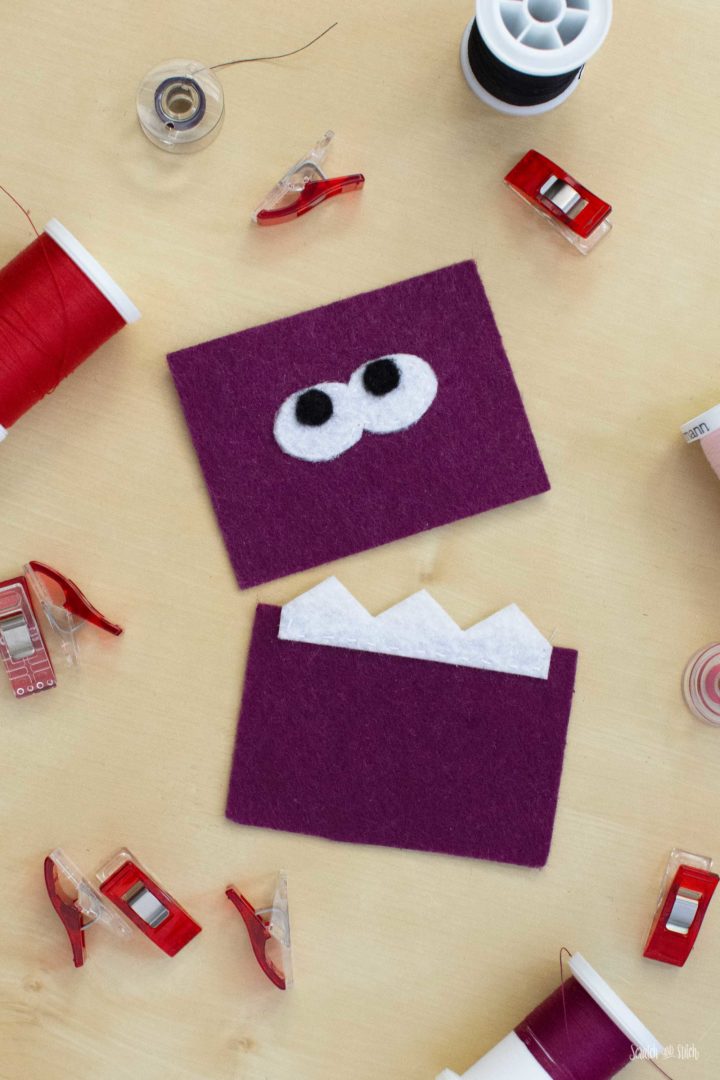
Sew Eyes A centered onto Body A. Add both Eye B pieces onto Eyes A.
Place the Teeth onto Body C, so the tops of the teeth hang over the edge. Sew down the side and bottom edges of the teeth.
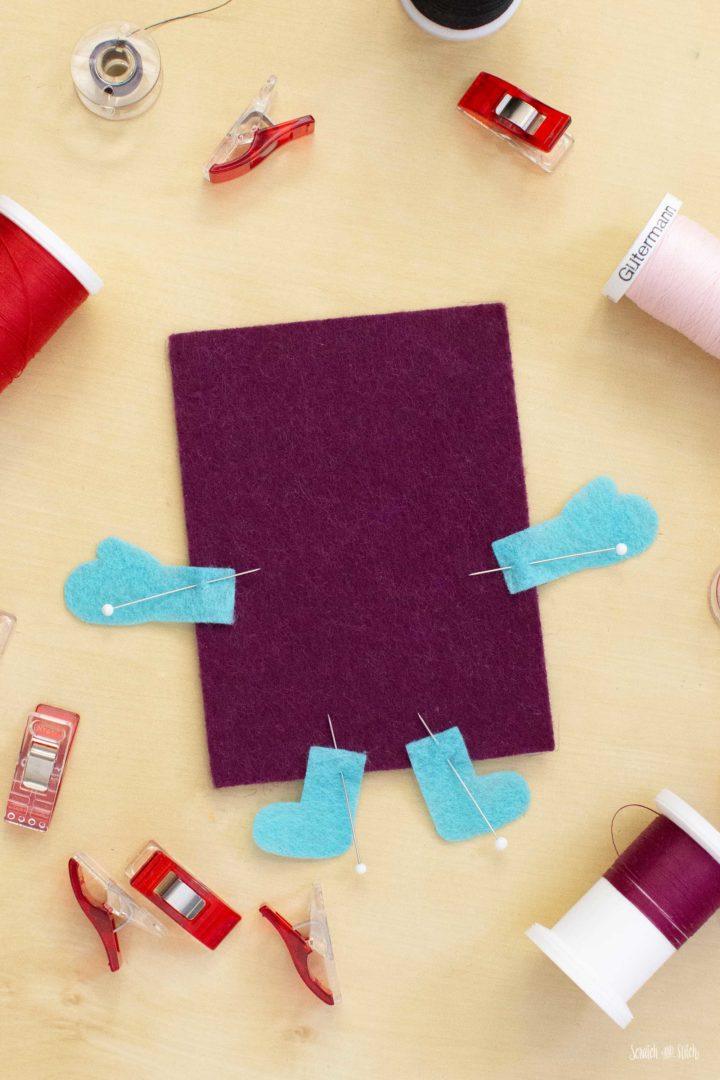
Pin the Arms and Legs onto Body B. Add Body A on top of Body B with the top edges aligned, pin or clip in place. Layer Body C on top with the bottom edges aligned, pin or clip to hold. Pin the hearts to the top edge.
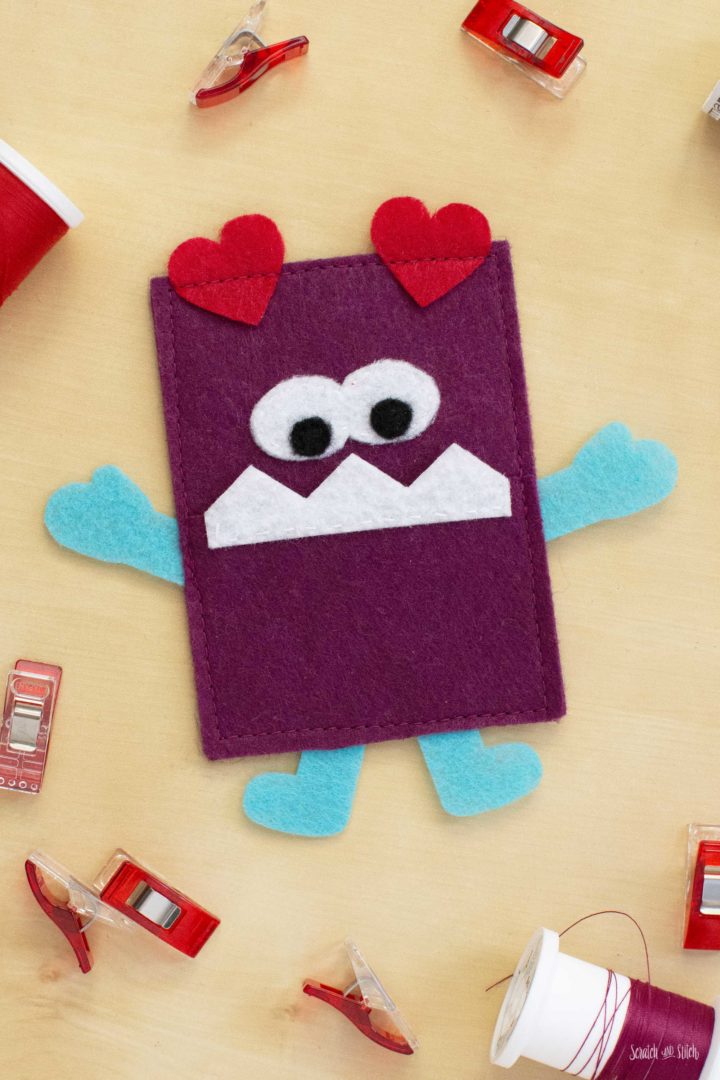
Sew around the perimeter of the body with a 1/8″ or less seam allowance. Backstitch over the seams at the sides of the mouth to secure well.
The Munch Monster is ready to eat up all the Valentine candy.
Making the XO Squid
Use the cut list included in the PDF pattern and gather all pieces needed for the XO Squid.
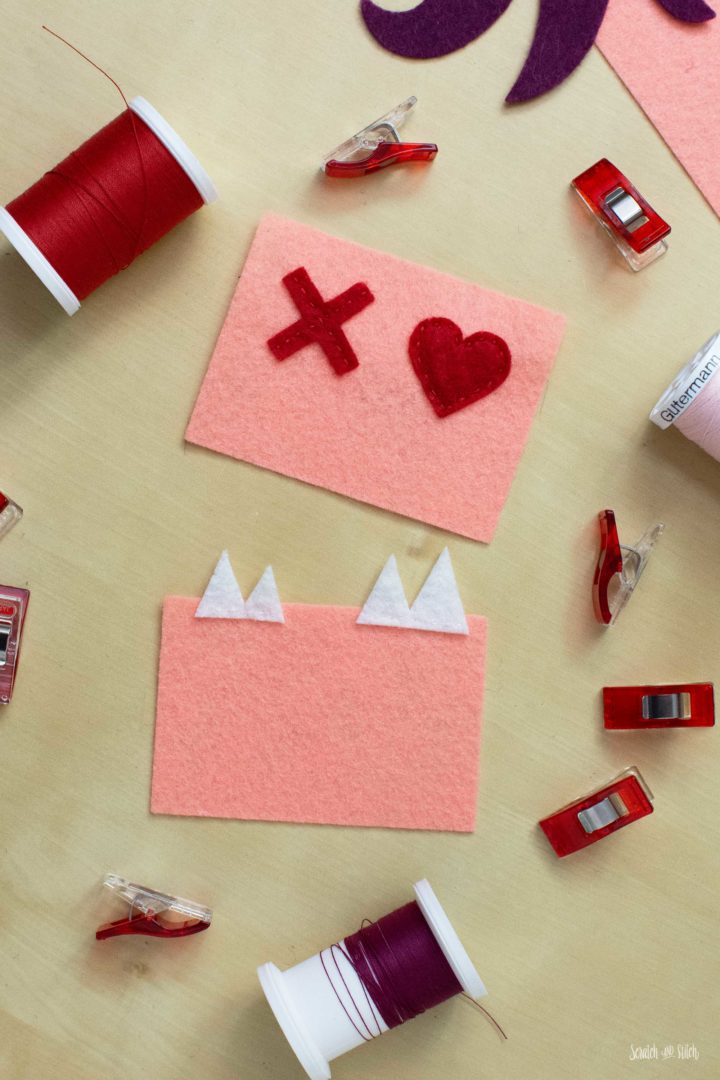
Sew Eye A and Eye B onto Body A. Sew Teeth A and Teeth B onto Body C’s top edge, so the teeth hang about halfway over the edge.
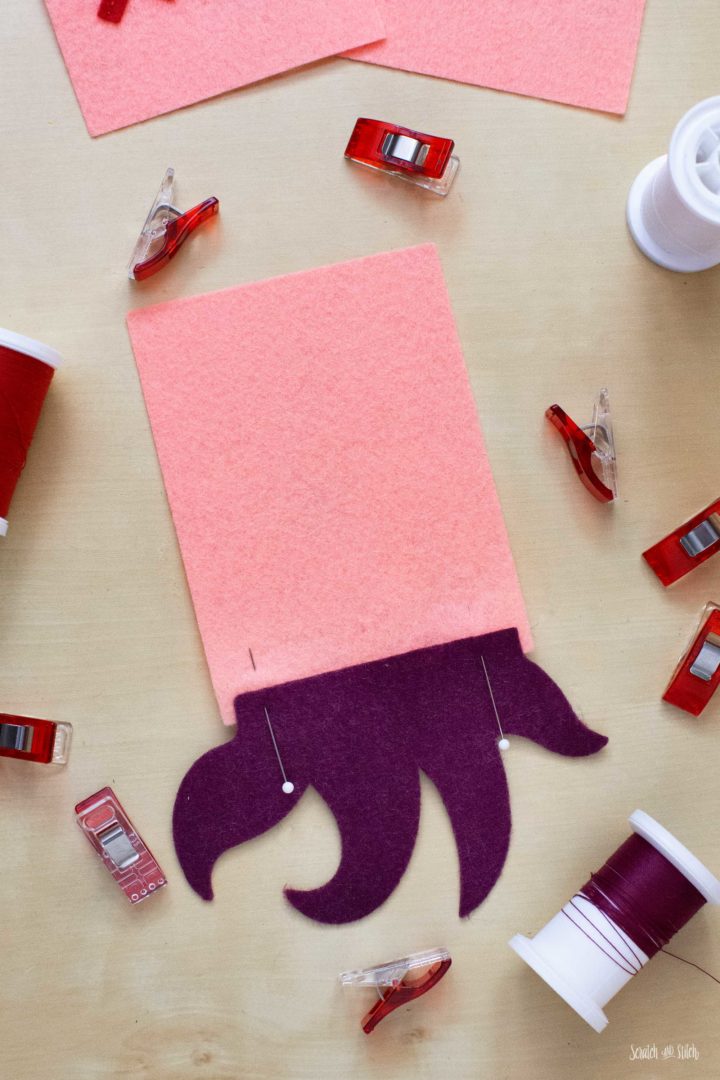
Add the Tentacles to the bottom edge of Body B, pin to hold. Layer Body A onto Body B with the top edges aligned, pin or clip to hold. Add Body C on top and pin or clip to hold.
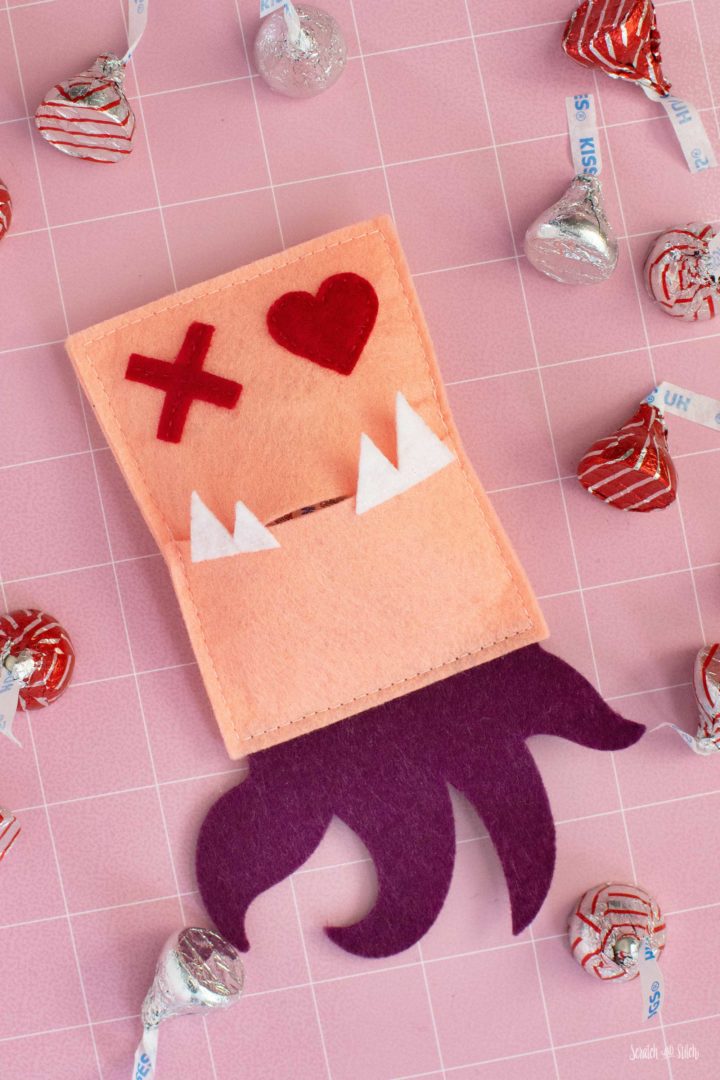
Sew around the perimeter, making sure to backstitch over the sides at the mouth seams to secure.
The XO Squid is ready to “Be Yours.”
DIY Valentine T-Shirt
Create a custom Valentine t-shirt to wear this Valentine’s Day.
Making the Heart-Eyed Cyclops
Gather all the pieces according to the cut list included in the PDF pattern.
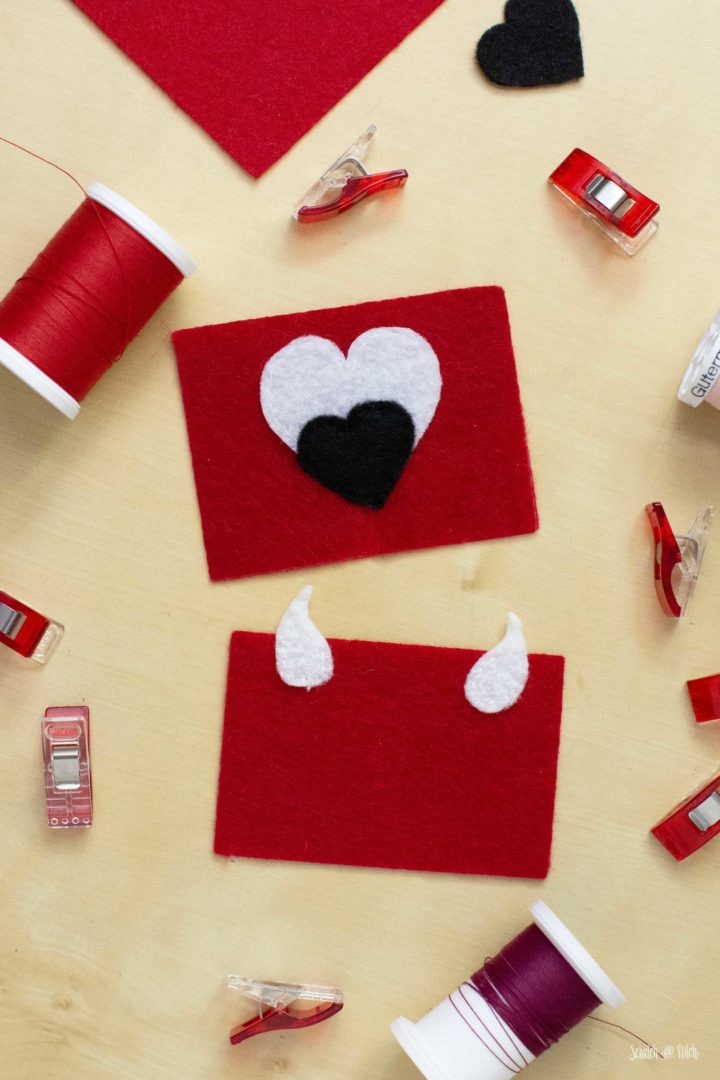
Sew Eye A slightly higher than centered onto Body A. Add Eye B on top of Eye A with the bottom points aligned.
Sew the Teeth onto Body C with the pointy tops hanging over the top edge.
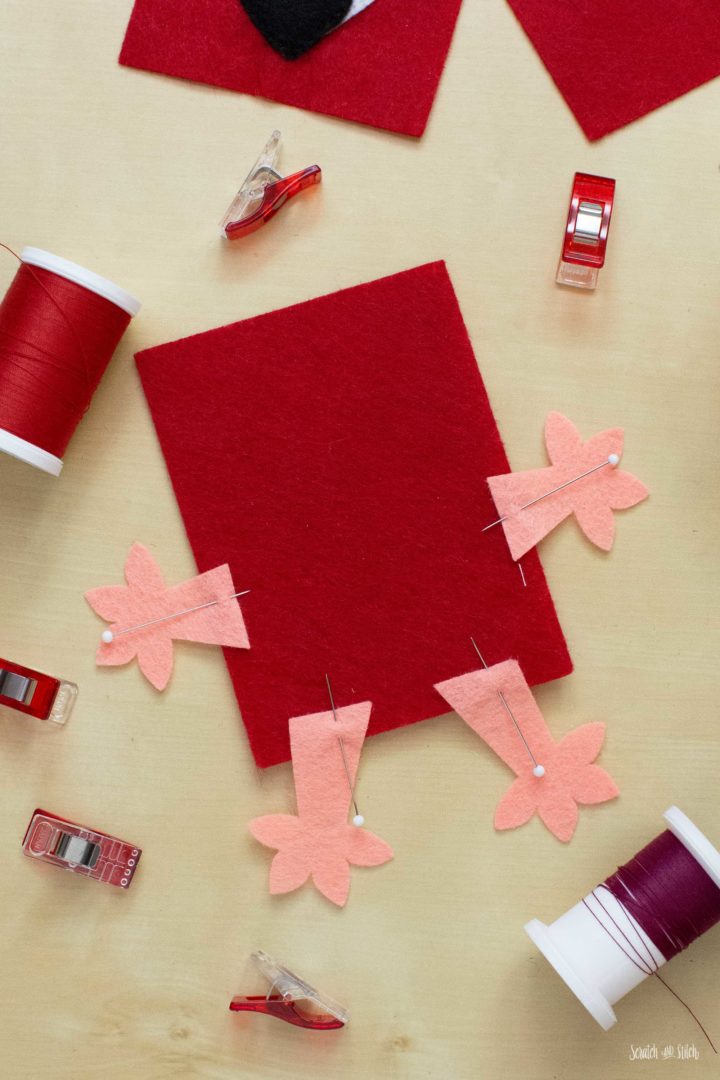
Pin the Arms and Legs onto Body B. Layer Body A on top with the top edges aligned, pin or clip to hold. Add Body C on top with the bottom edges aligned, pin or clip to hold.
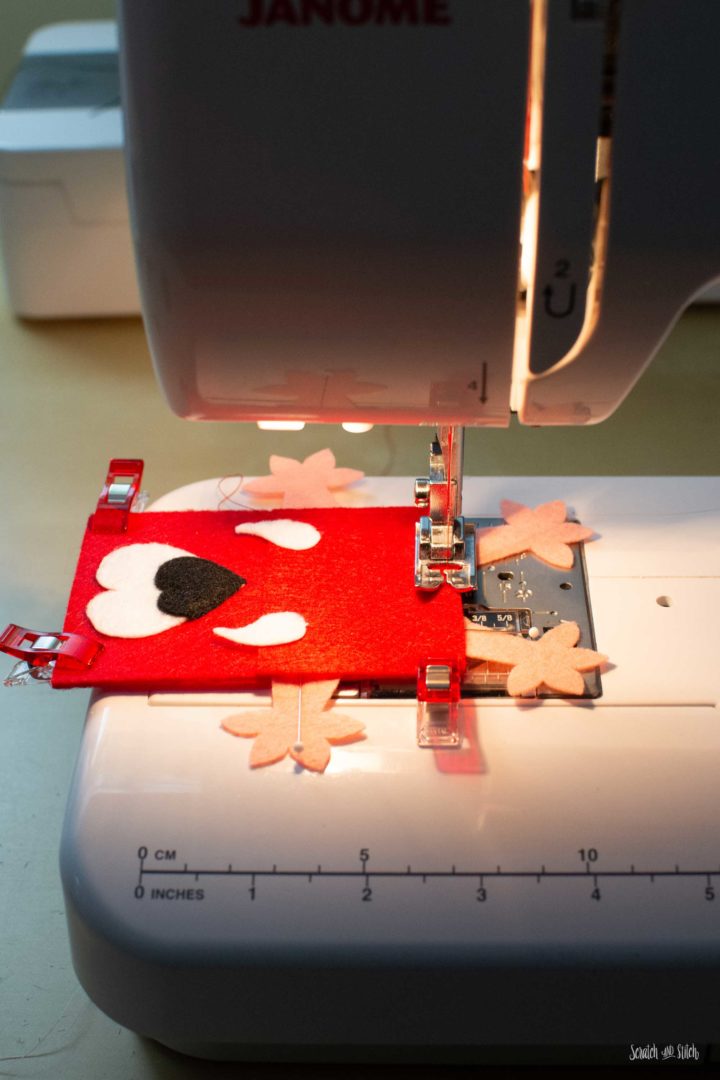
Sew around the perimeter, sewing extra over the seams at the sides of the mouth to ensure a good hold.
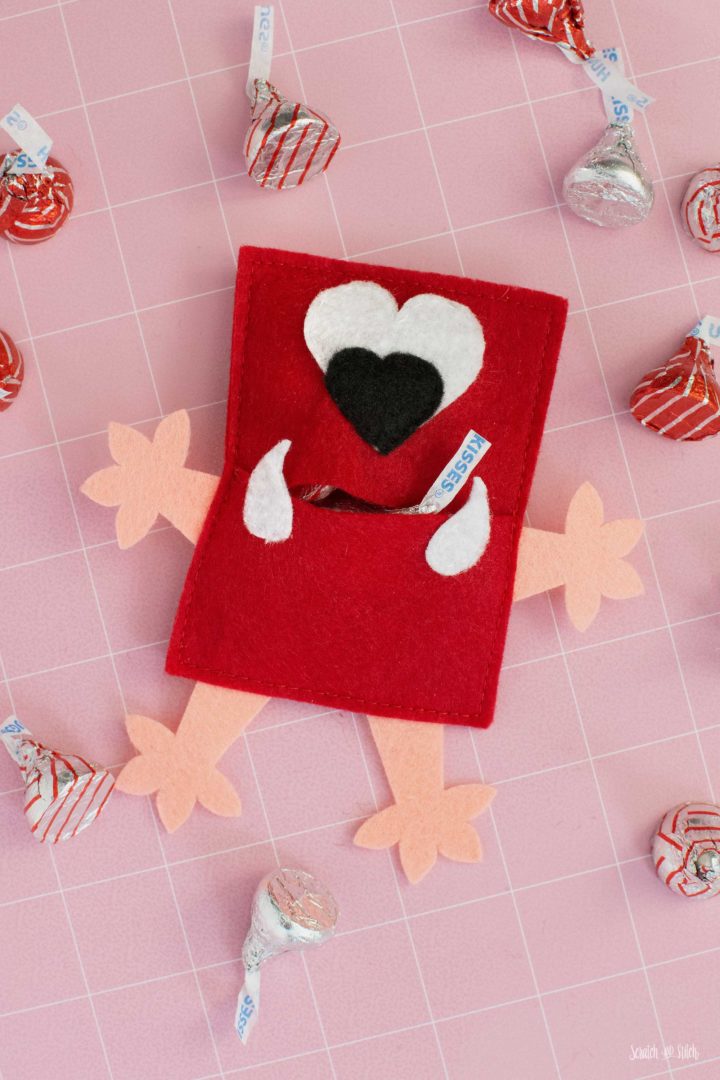
The Heart-Eyed Cyclops is ready to be loved.
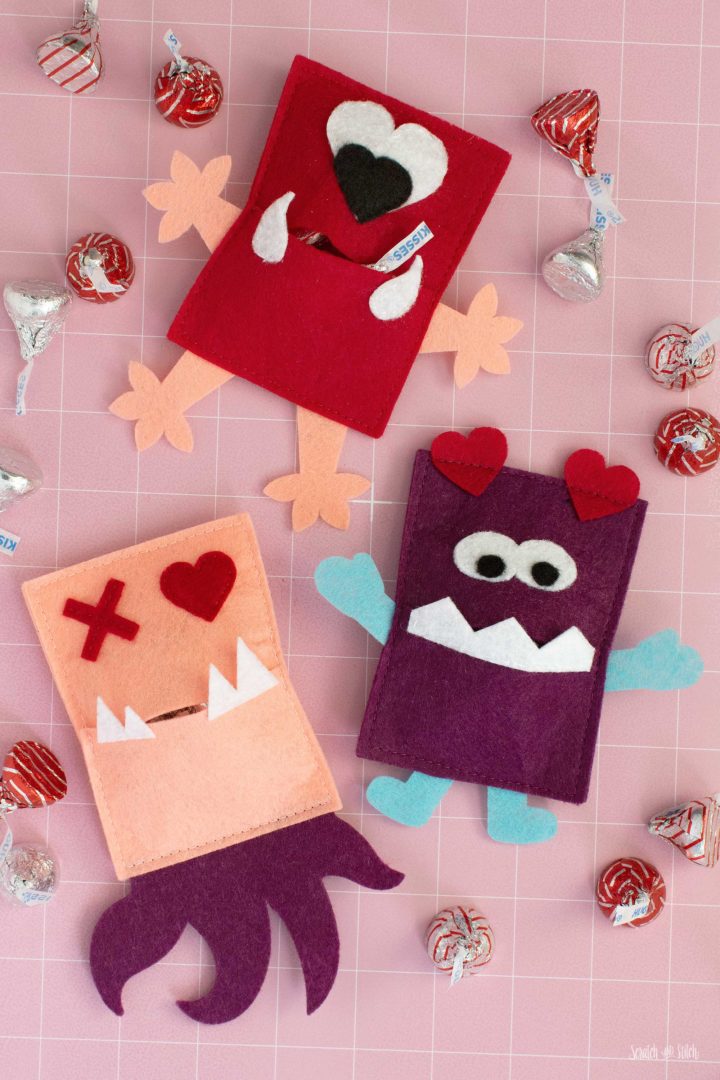
I hope you know some kids that will love these DIY Valentine Gifts as much as mine does. Before you know it, the Valentine monsters will be munching on all sorts of other small goods around the house.
Did you make these DIY Valentine Gifts? I would love to see them and feature them here! Send me an email with pictures or tag me on Instagram or Facebook with @scratchandstitch.


Yes, made the valentine monsters, they turned out great. The kids loved them! Will make more next year. Unfortunately I have no photos.
Yay! I’m glad you enjoyed them. :)