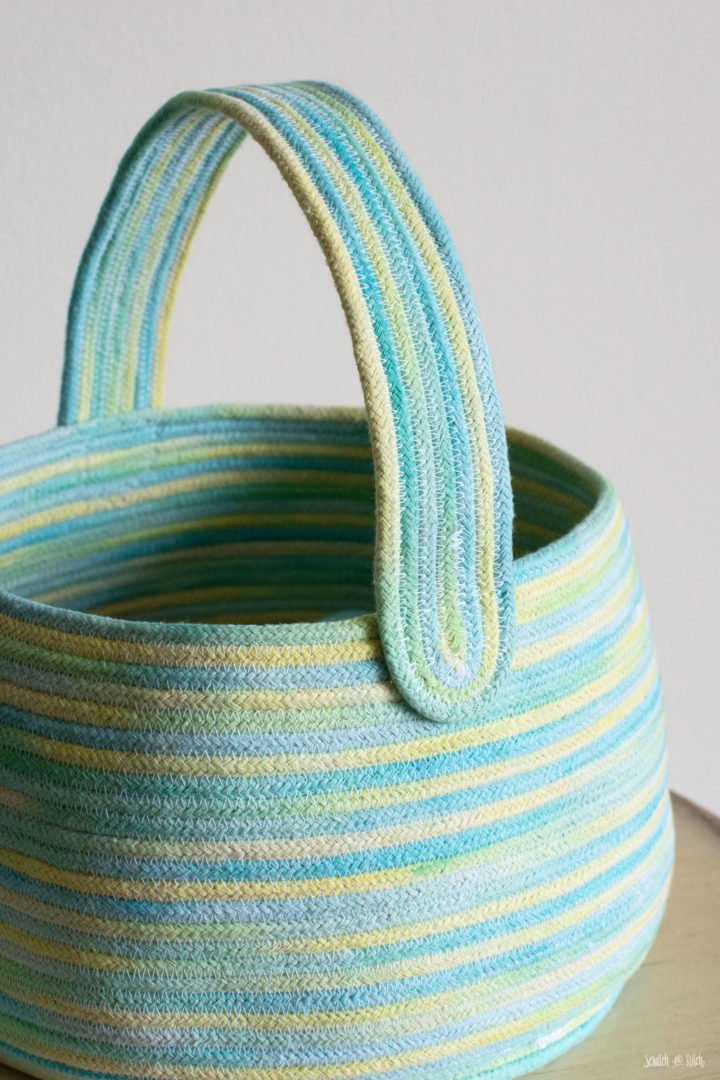
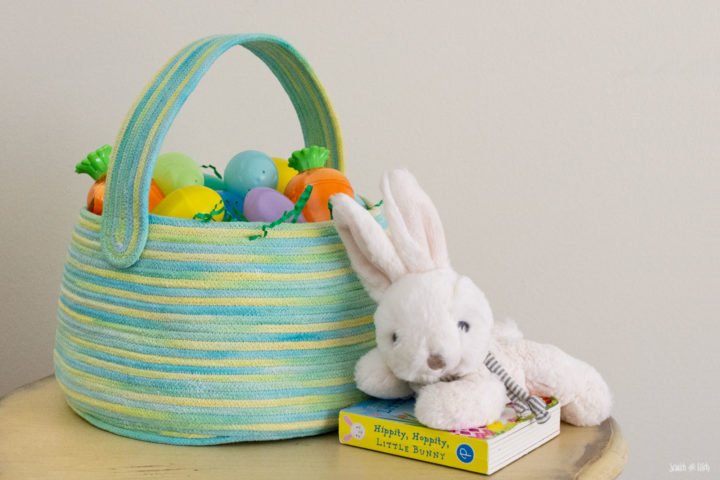
Here’s how I made this sturdy robe basket. It’s perfect as an Easter basket and all it requires is some clothesline, dye, and a sewing machine!
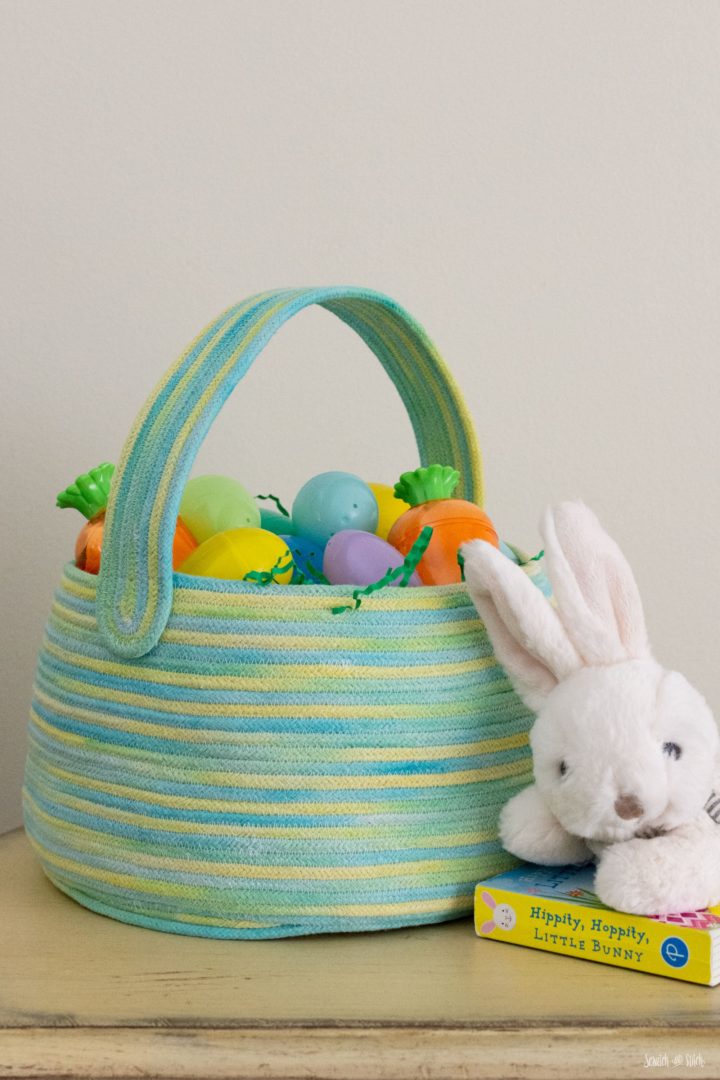
Rope Easter Basket Materials & Tools
- 100 ft cotton clothesline (cotton is important if dyeing)
- fabric dye (I used Tulip’s Tie-Dye Party Kit)
- rubber bands
- zip-loc bag
- rubber gloves
- coordinating thread
- basic sewing supplies
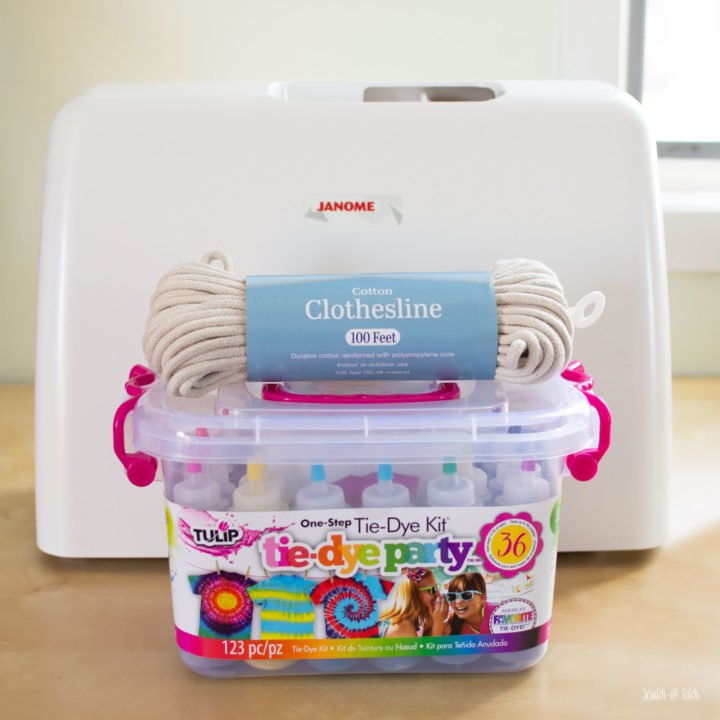
How to Make a Rope Easter Basket
You can make a sturdy one-of-a-kind DIY Easter basket that will last for years. Dye the rope to get a unique look. It’s a great size and easy for kids to carry to collect their Easter goods.
Dye the Rope
There are many options and products on the market to dye the cotton clothesline. I chose to use the blue and yellow dyes from Tulip’s One-Step Tie-Dye Party Kit.
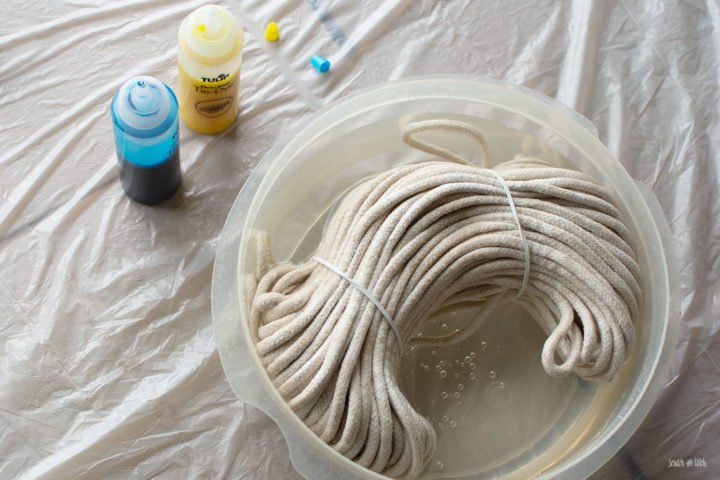
Remove the packaging but keep the rope coiled up. Wrap with rubber bands to keep the clothesline wrapped together. Thoroughly soak the clothesline in water.
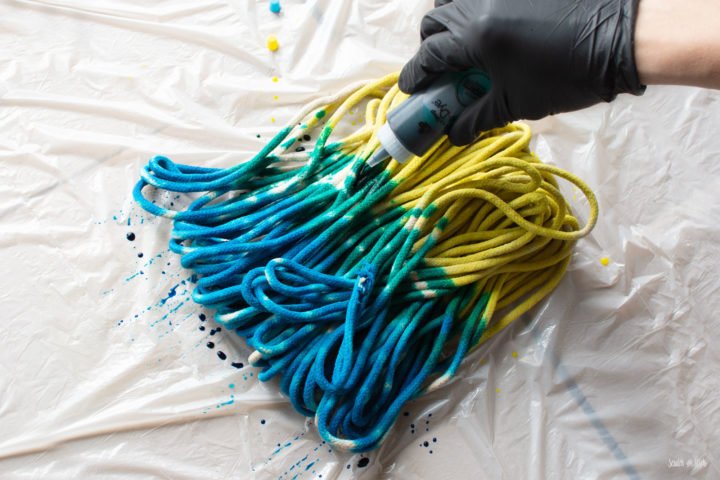
Dye one side of the pile of rope according to the dye’s package instructions. Carefully flip the pile of rope and repeat.
I dyed a third of the rope with half of the blue bottle and another third with half of the yellow bottle. I then combined the remaining blue and yellow dye to make green and dyed the middle third of the rope.
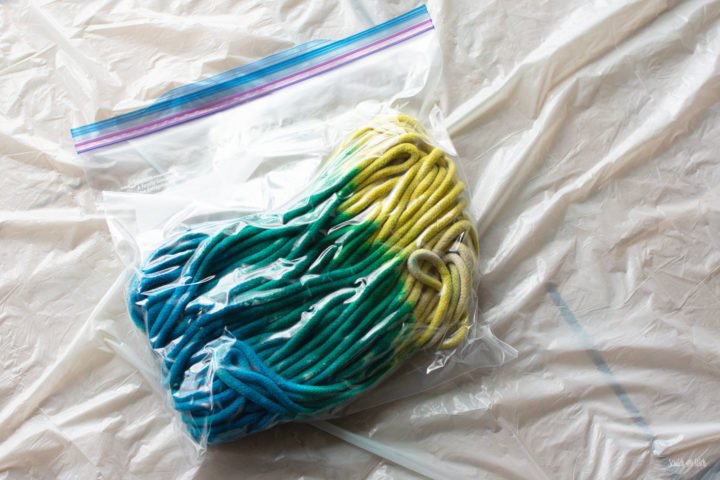
Place the rope into a sealed plastic bag and let it sit overnight. The package recommends letting it sit for 6-8 hours, I had to let mine sit for 24 hours.
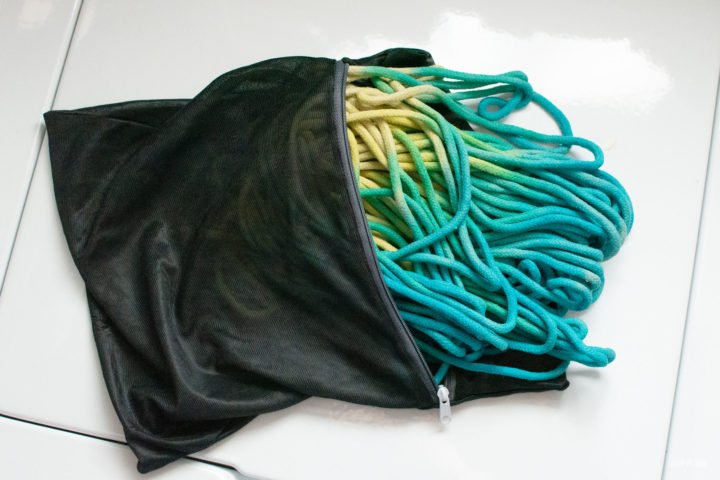
Rinse the rope under cold water until the water runs clear. Put the rope into a garment bag and wash in the washing machine in hot water with laundry soap. Dry in the dryer in the garment bag.
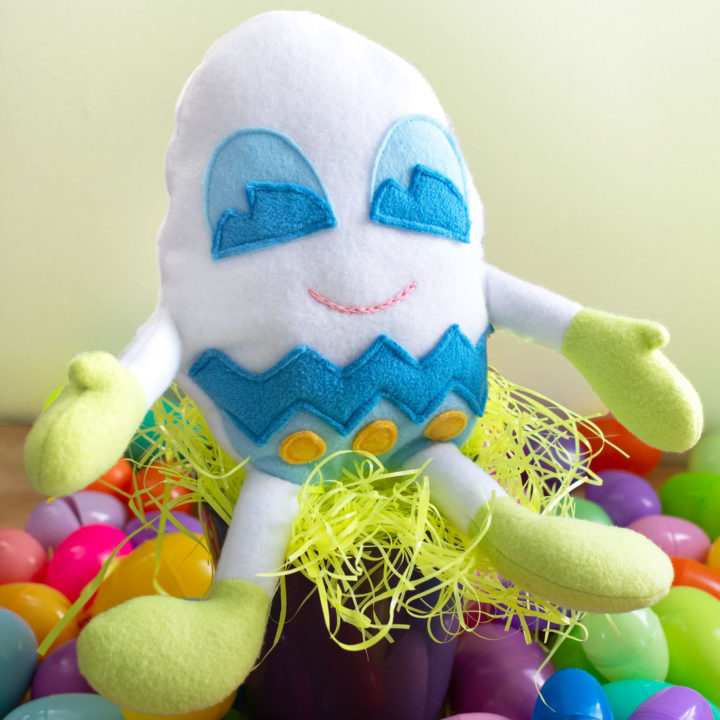
Plush, Fillable Easter Egg Sewing Patten (FREE)
Make a plush Easter Egg with a pocket for filling. This is a great handmade toy to add to a kid’s Easter basket.
Sewing the Rope Basket
Cut approximately 4 yards (144 inches) of rope to use for the handle and set aside. Cut off any frayed ends. You can start by sewing either the basket or the handle.
Making the Basket Bowl
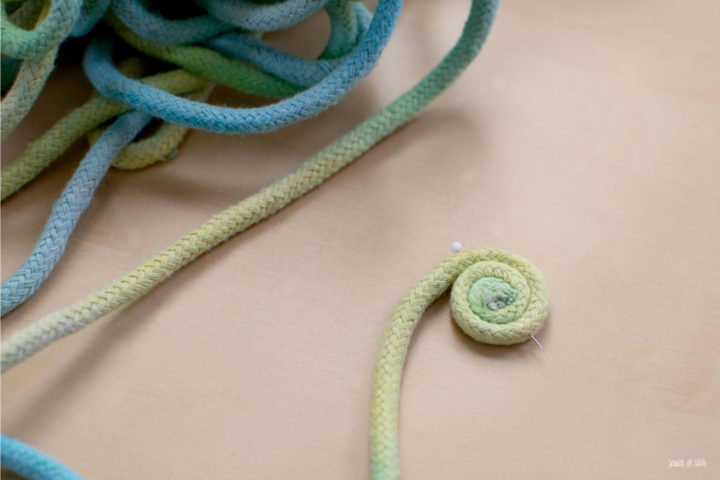
Coil a few inches of the rope into a tight spiral and stick a pin through the coil to hold it in place.
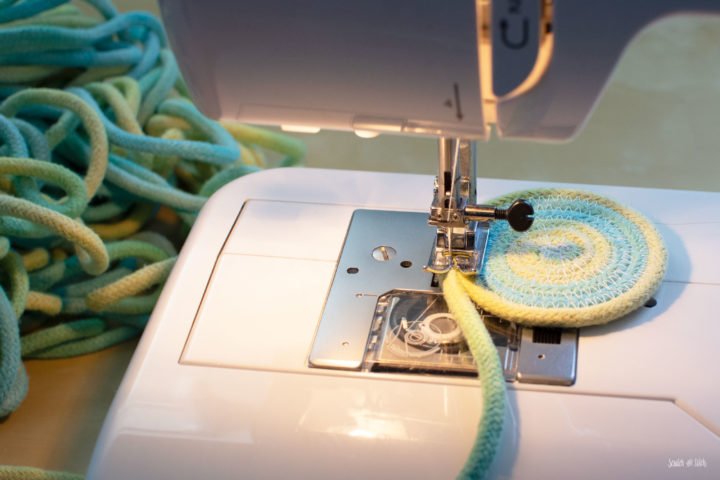
Begin sewing the coil at the middle of the coil using a zig-zag stitch. You’ll want the stitch to be wide enough to grab half of the width of the rope. I used a stitch width of 5 and length of 2.5.
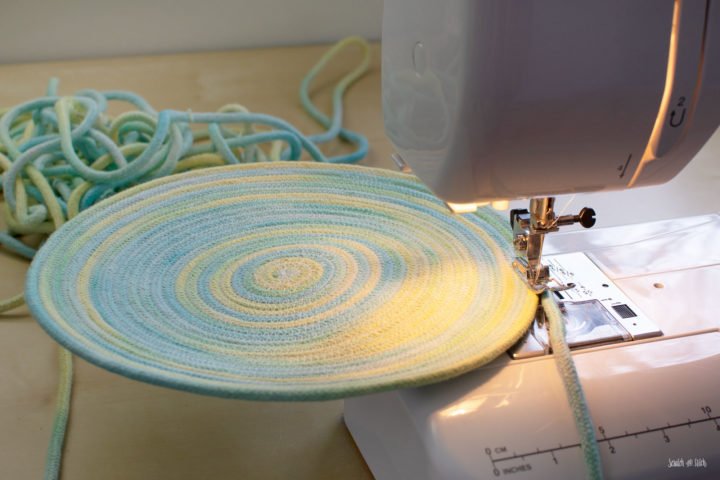
Continue sewing the base of the basket until it’s the desired width. Mine is approximately 9 inches wide. Try to keep this portion as flat as possible.
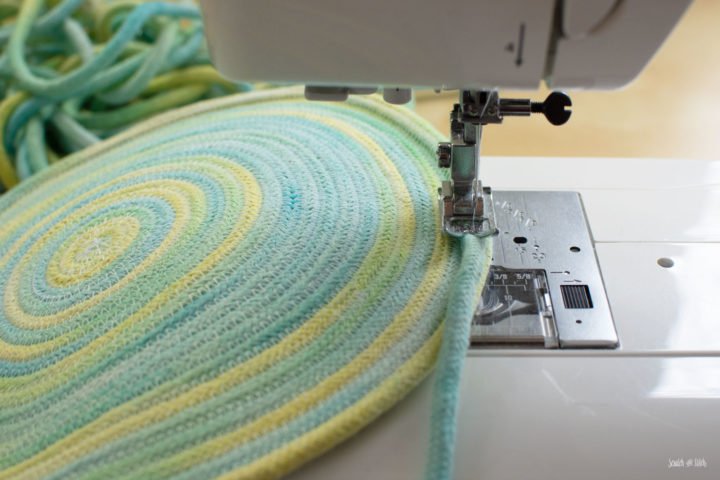
To begin making the sides of the basket, lay the rope on top of the outer ring of the base and continue sewing. This is one of the hardest parts but very worth the effort.
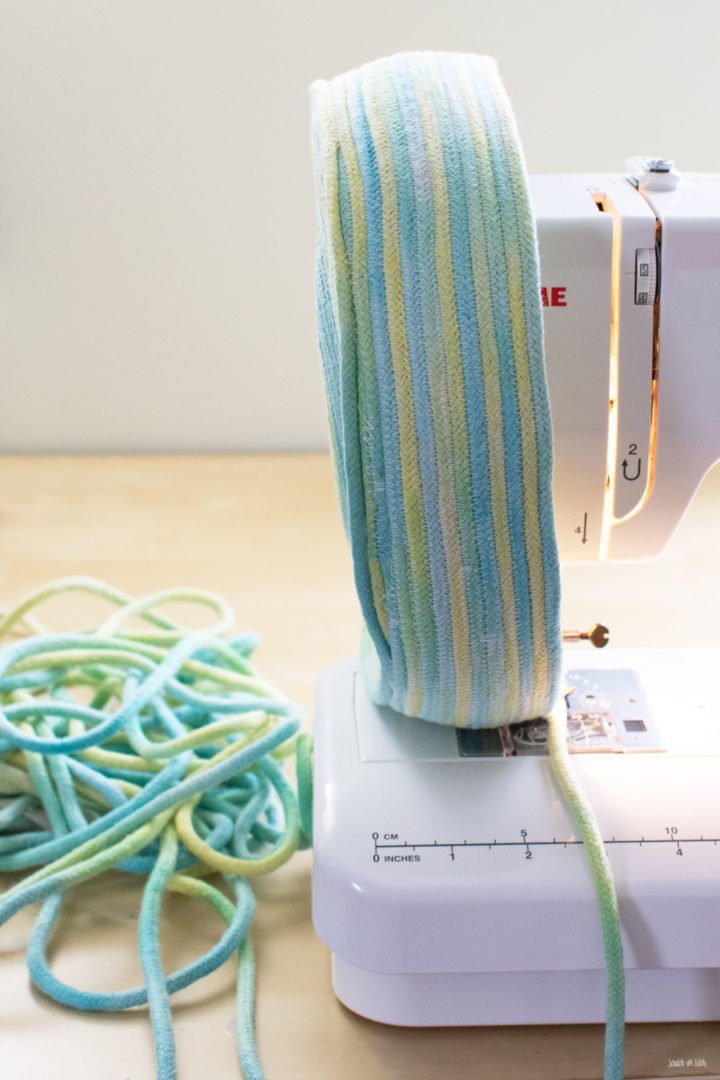
Once you have one ring all the way around the base you’ll be able to turn the base on it’s side and continue sewing up the sides of the rope basket.
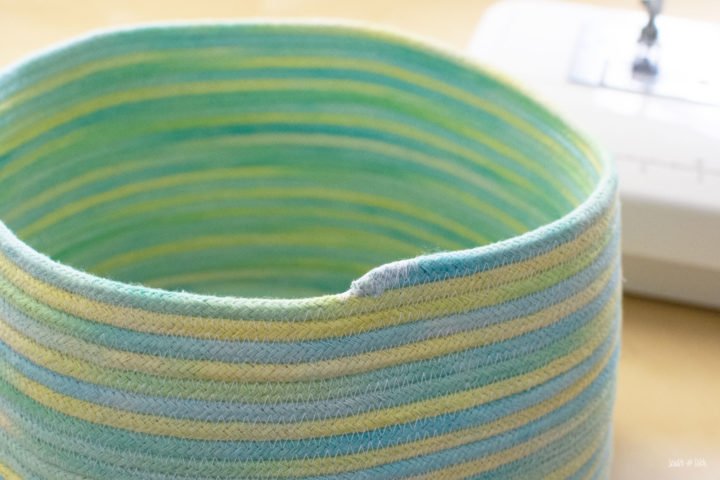
To end the coil, backstitch a few stitches over the end of the rope to secure to the top of the basket.
DIY Kids Easter Outfit Bunny Hoodie
Turn a regular kids hoodie into a Easter bunny hoodie by just adding ears. A fluffy tail is a cute bonus!
Making the Rope Basket Handle
You’ll need about 14 yards (144 inches) of rope to create a 17 inch handle for the rope basket.
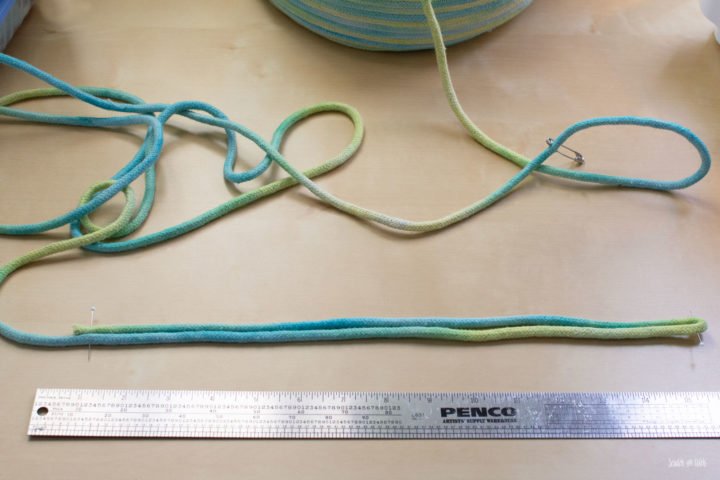
Fold a long coil (approximately 15 inches long) and sew down the middle with a zig-zag stitch.
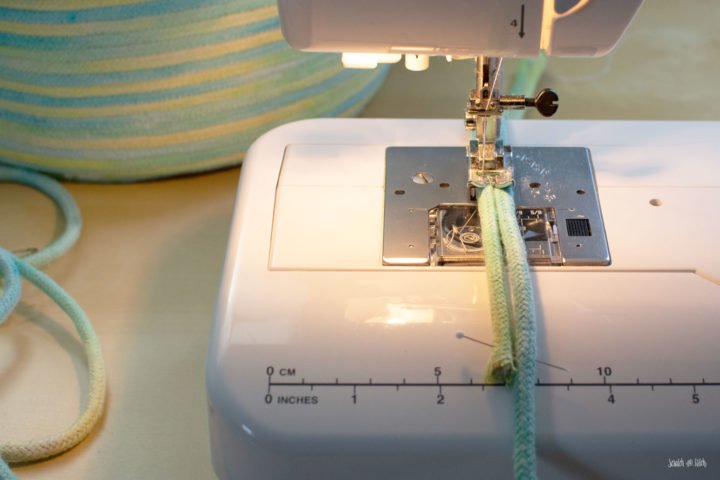
Continue coiling the long piece until you’ve used up the entire 4 yards of rope.
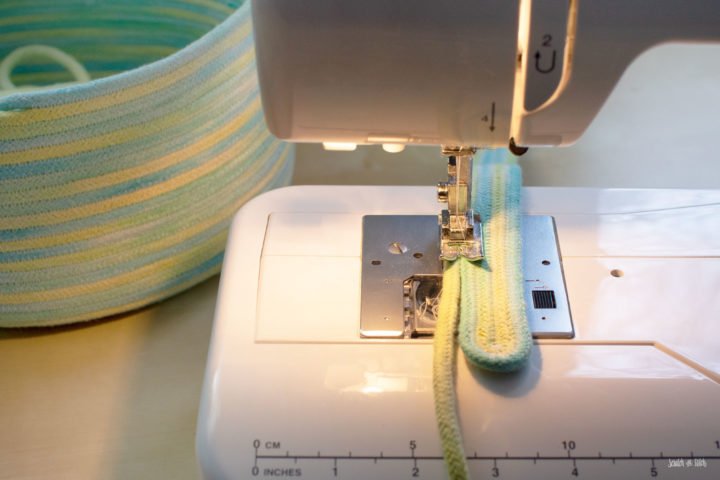
This will create an oblong piece for the handle. End the rope the same way as with the basket sides.
Hand stitch the handle onto the sides of the basket bowl.
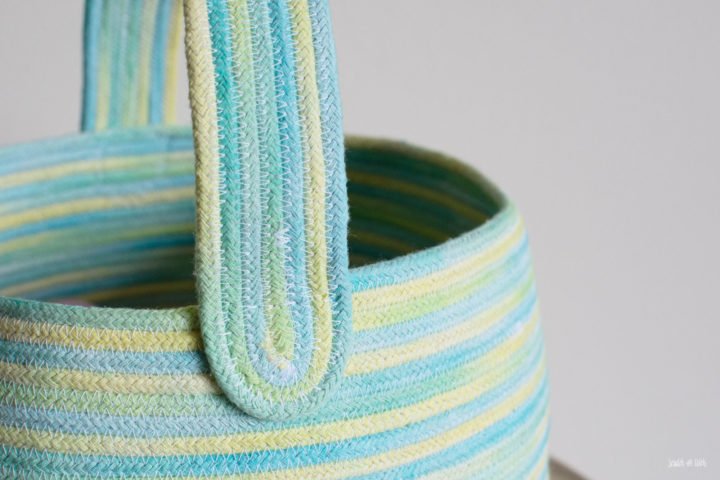
You now have a sturdy rope Easter basket to fill with Easter goodies (like a Plush Easter Egg). This rope basket works perfect for our toddler boy and will hold up for years to come. BONUS…it’s machine washable! :)
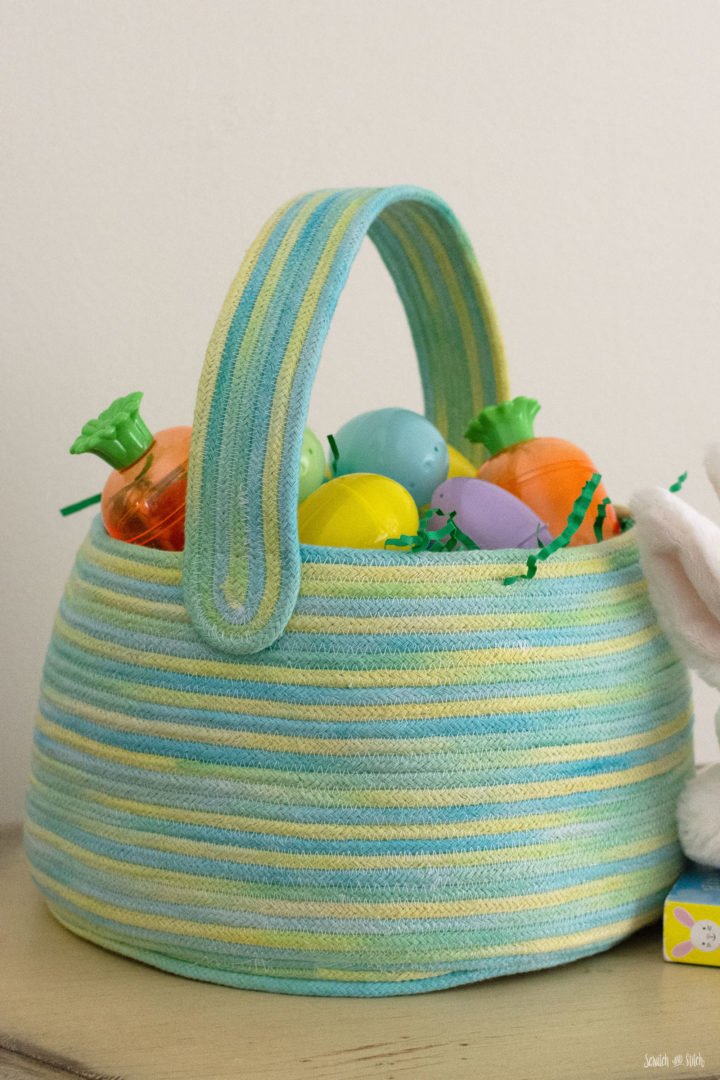
I love that this basket takes on the shape and look of a traditional Easter basket with a handle.
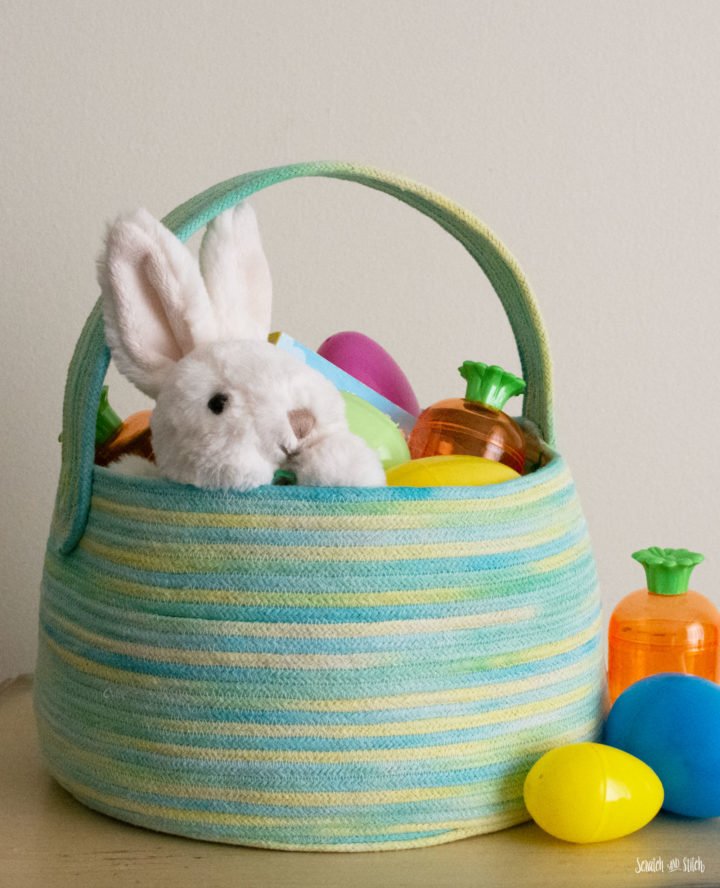
I made an Easter Rag Basket for my niece a few years ago. Check it out here.
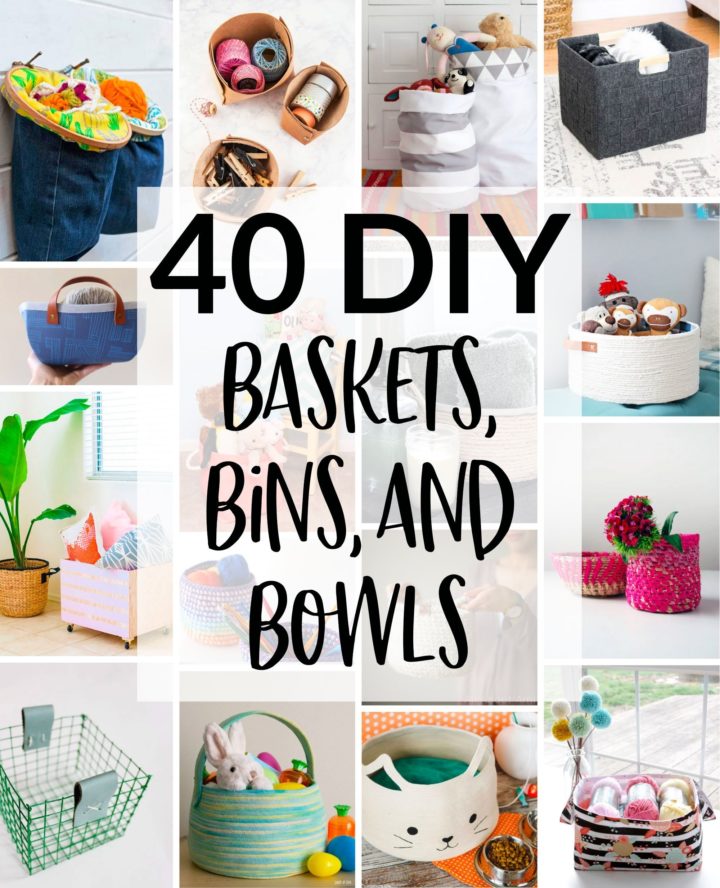
MORE DIY BASKETS, BINS, AND BOWLS
This rope Eater basket is featured with 40 other baskets, bins, and bowls that you can make.
Show me pictures of your rope Easter basket! Leave a comment below and tag @scratchandstitch on Instagram with your #scratchandstitch inspired creations. Thanks for reading :)

that is really lovely.
🥰 Love this tutorial! 🥰
Thank you! I love the way your basket turned out :)
What were your final dimensions? How tall were the sides of the basket? I am not achieving the same shape with the sides of the basket that you appear to have. I am almost finished so will post pic soon.
Hi Terri – The sides are just under 6″ tall, the base is about 9″, then tapers out slightly, then in again at the top. I hope that helps. Can’t wait to see how yours turns out :)