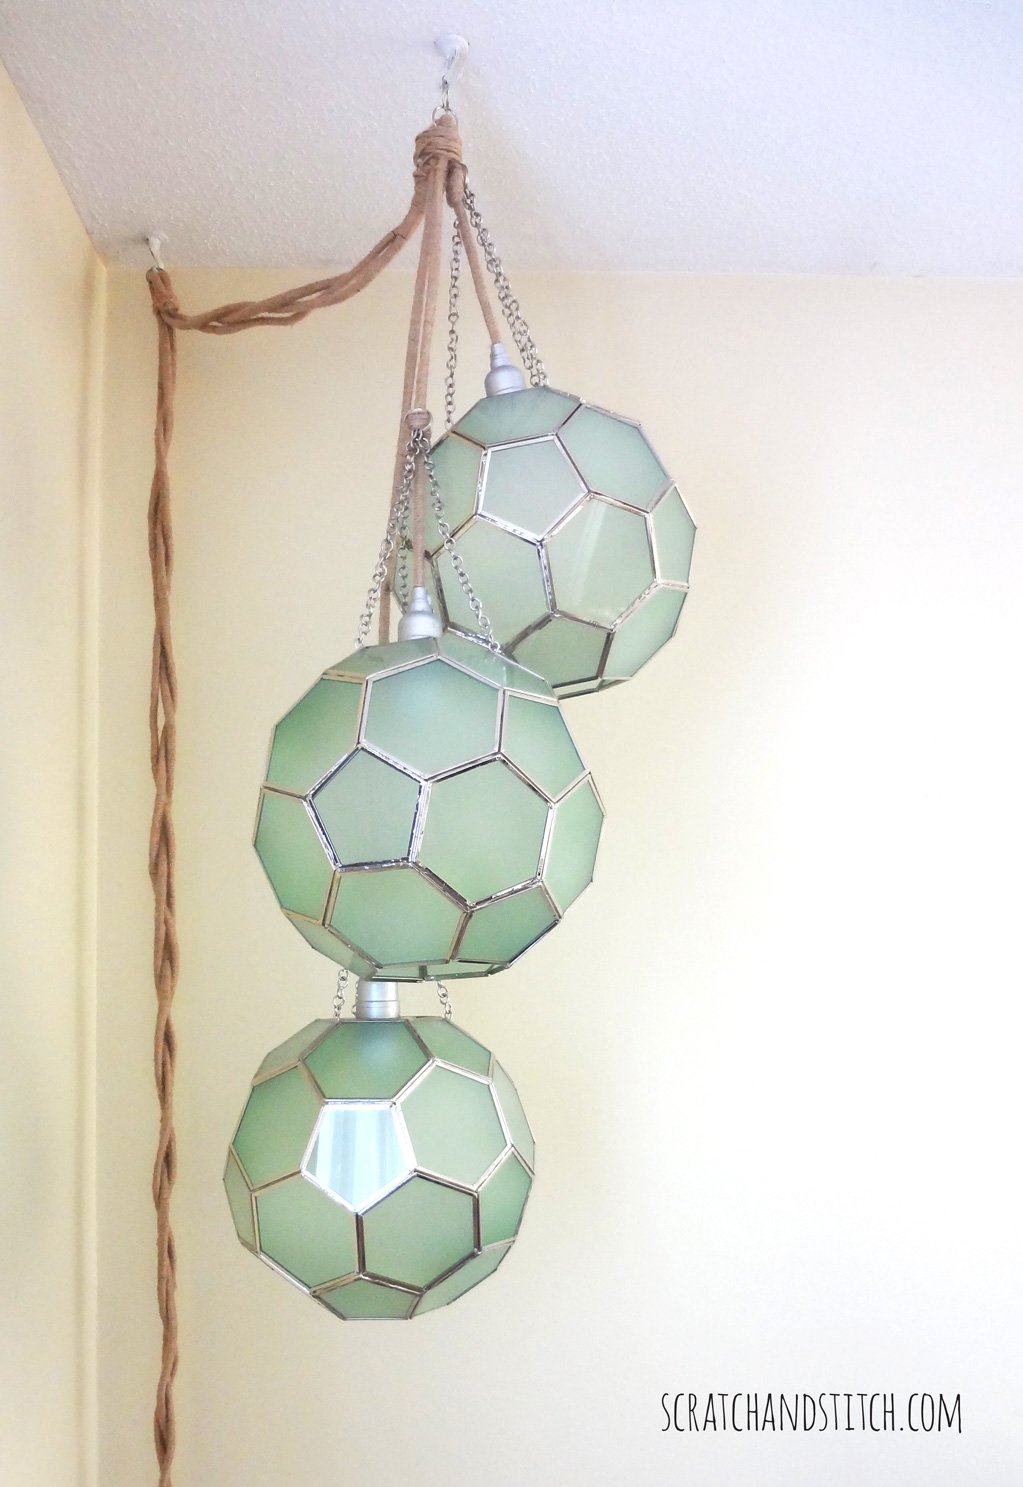
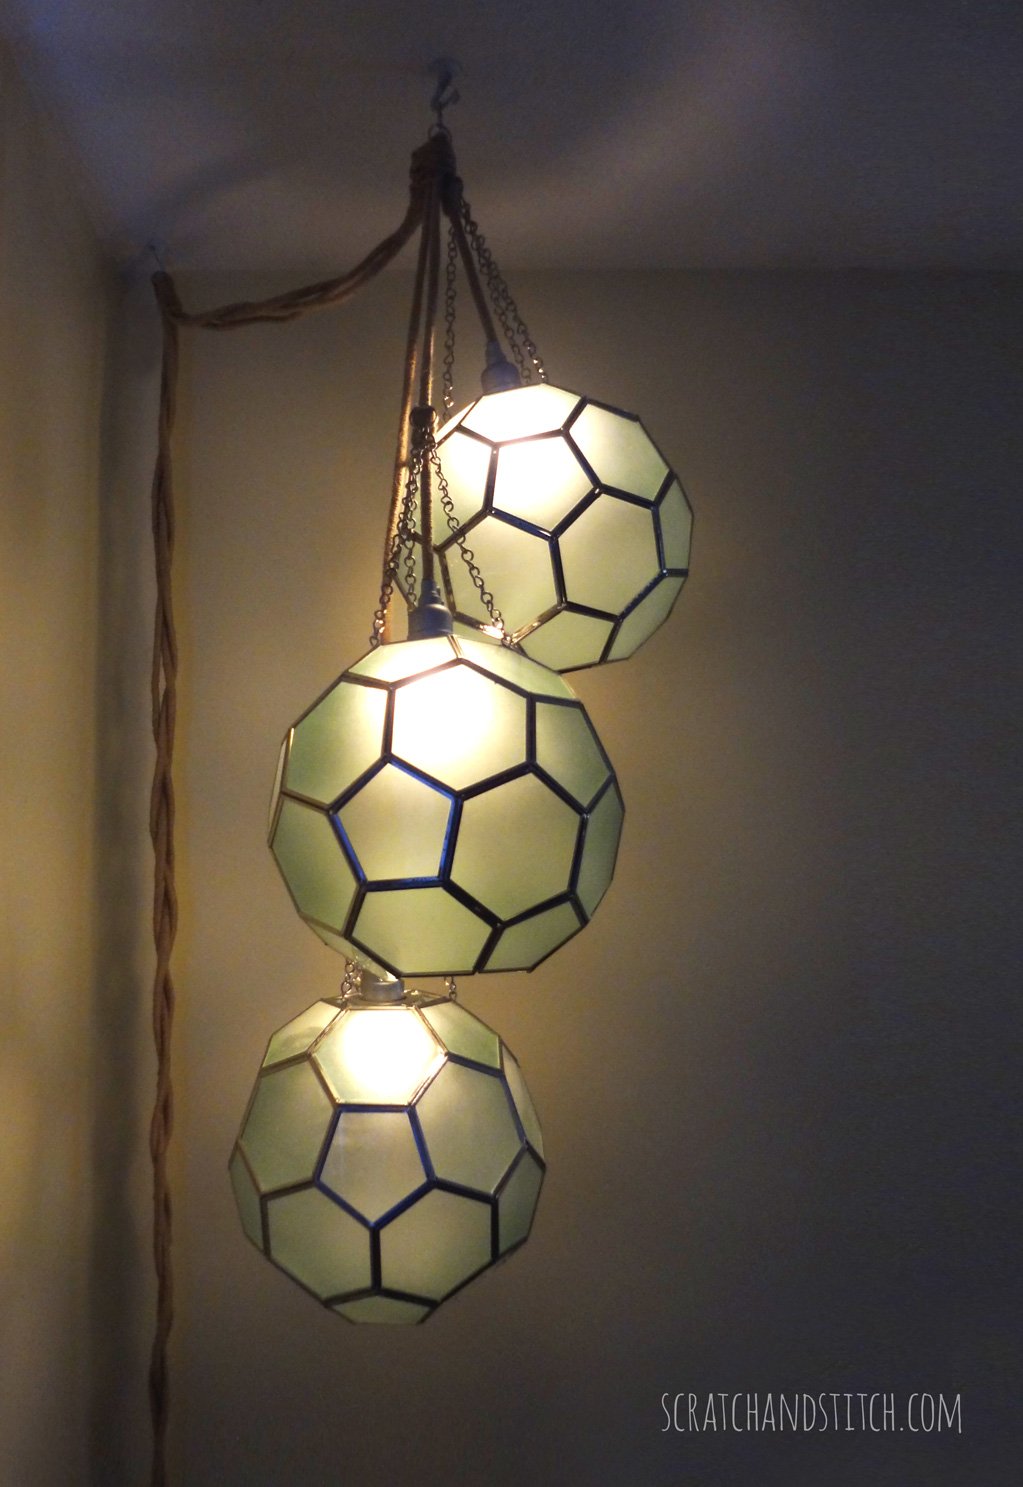
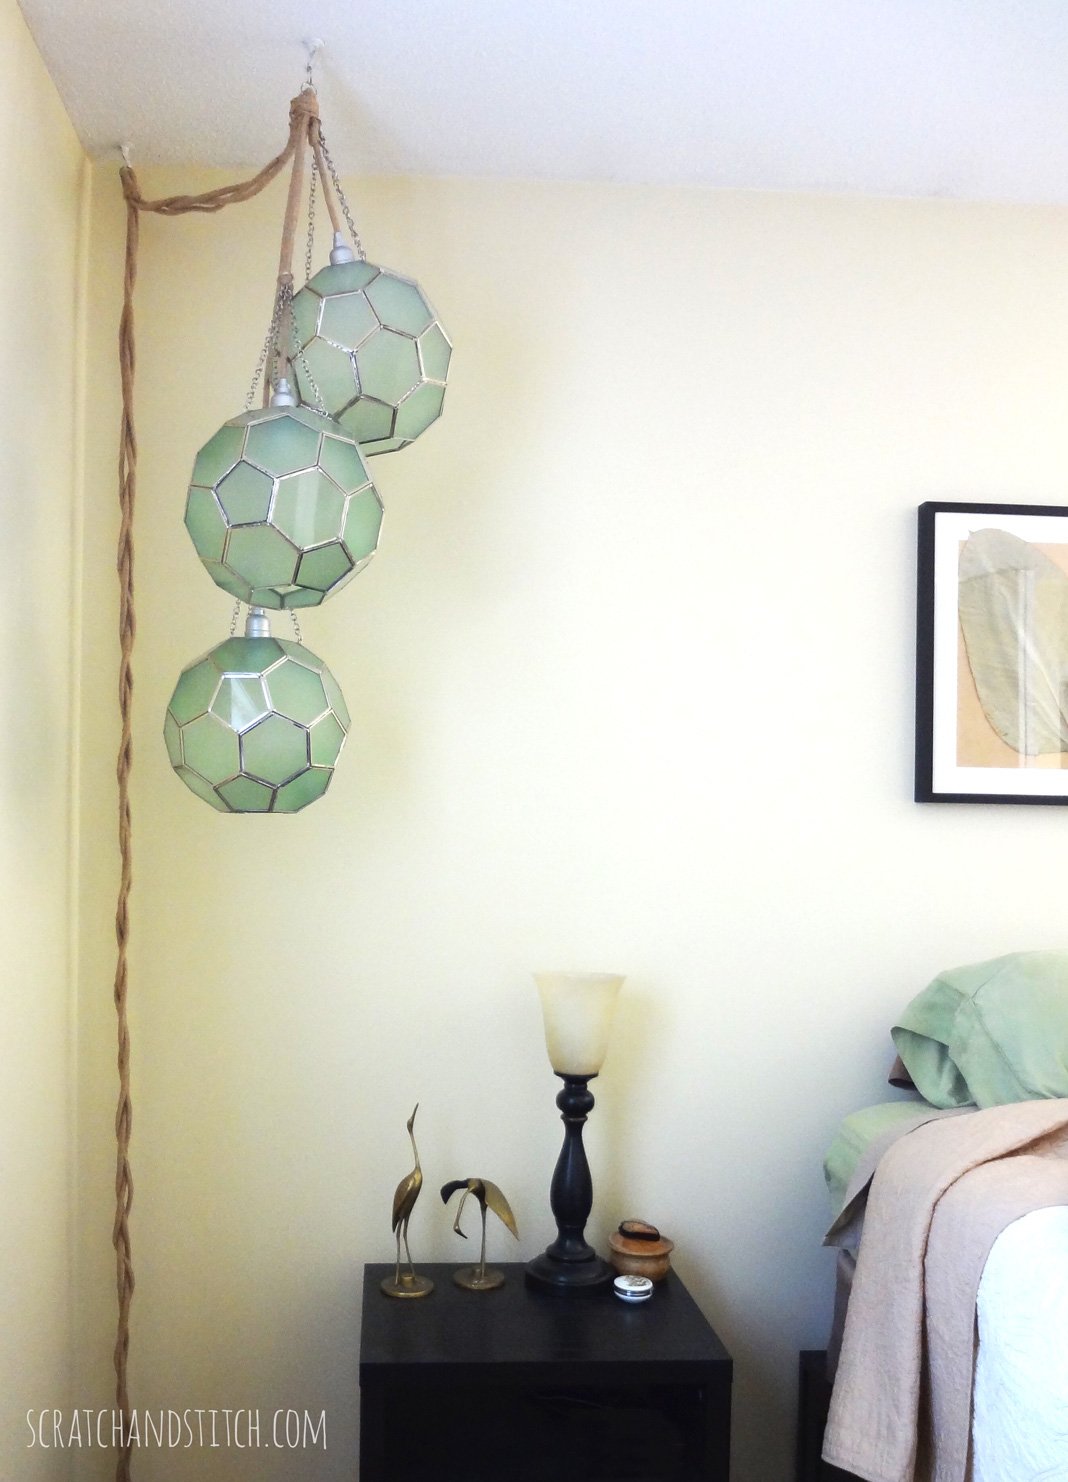
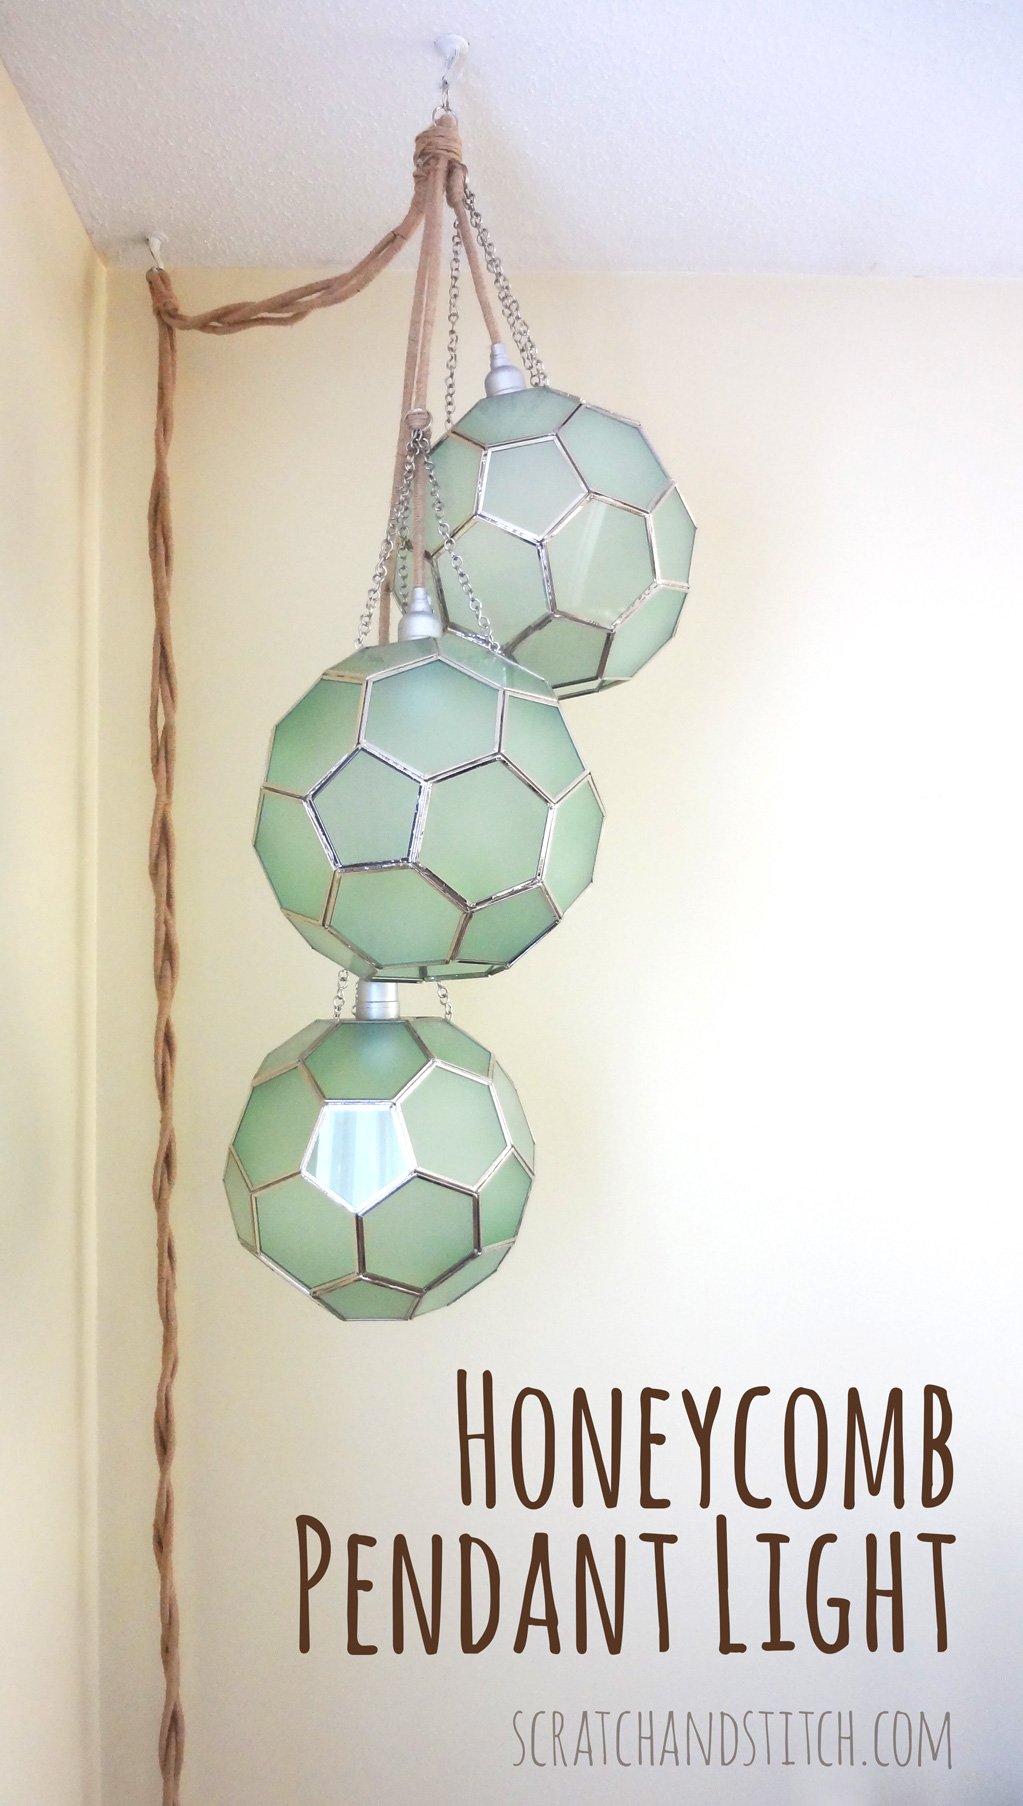
When I first saw these honeycomb globe lights I fell in love! I had been wanting a hanging pendant light in our bedroom for quite a while but wasn’t finding the perfect light until I saw these globes. I immediately knew I needed three globes to create a DIY pendant light with the exact look I was going for.
Make Your Own DIY Pendant Light
You can make your own DIY Pendant Light like mine with a short list of materials and a little time.
Materials
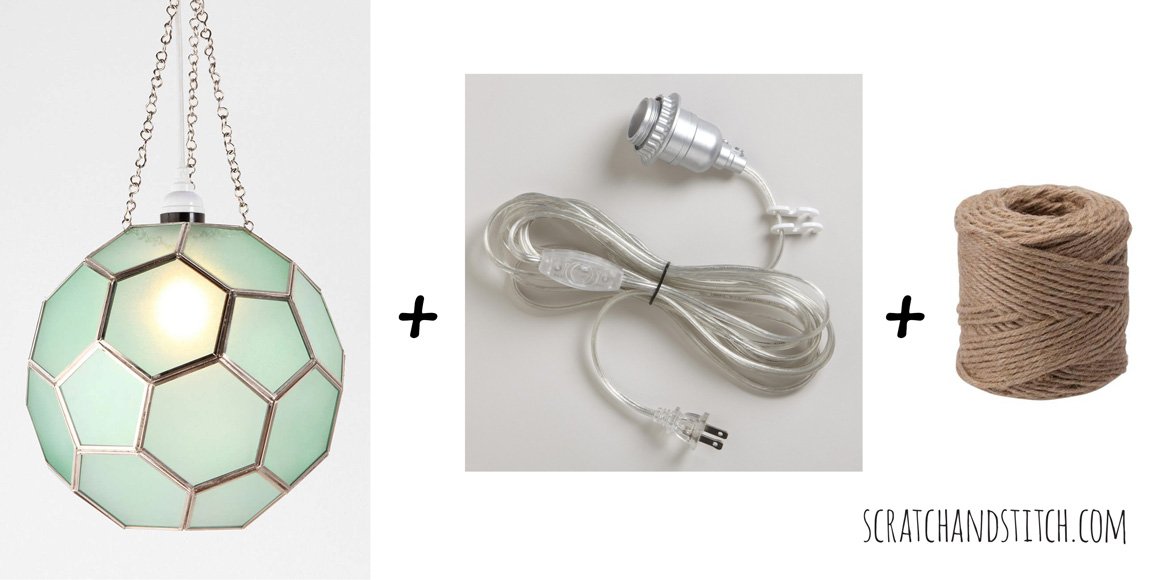
- honeycomb light globes (the Urban Outfitters globes I used are no longer available but similar versions can be found online)
- swag cord light kit
- jute twine
- wire
- 2 ceiling hooks
- 4 key rings (or 2 large key rings)
- lightbulbs (I used 7.5 watt)
These glass honeycomb globes didn’t come with the cord light kit which is great because it meant I could choose the color I wanted. I found this cord light kit at World Market that came in silver with a clear cord for only $10 each.
How To Make A DIY Pendant Light
Prepare the cords and chains
Attach the cord kit to the globes. Working with one globe at a time, hang the cord with globe attached from something secure to work with. (I used a clothing rack.)
This step is optional and you could remove the chains altogether. Use the plastic hooks included with the cord kit to hang the chains. This is for aesthetics only and not intended to be weight-bearing. Weave the cord through the hook so it doesn’t slip. Leave enough space above the top of the globe so the keyring and chains hang tight but are not taking on the weight-load of the globe.
Remove the globe from the cord kit and set aside somewhere safe.
Wrap the cords
To give the DIY pendant light a nautical/beachy feeling I wrapped each cord individually with jute twine and then braided the three cords together. Having the three cords individually wrapped allows them to be replaced later if needed.
Get settled with a good movie (or an entire season of your current binge show) and prepare to wrap some jute twine. Tip: Wear rubber gloves to avoid any blisters or dry skin.
Working with each cord individually, start by tying the end of the jute twine just above the light socket. Start wrapping the jute around…and around…and around…and around… Tip: Use clothes pins or chip clips to hold the twine during those much-needed breaks. Wrap the twine all the way to the switch (that’s about 14 feet). Repeat with two other cords.
Install ceiling hooks
Make sure to install the ceiling hook that light will hang from into a joist in the ceiling. WikiHow has a great illustrated tutorial on how to install ceiling hooks here. The second hook that the cord hangs from is probably okay if it’s not in a joist as it’s not weight bearing and is just holding the cords away from the lights.
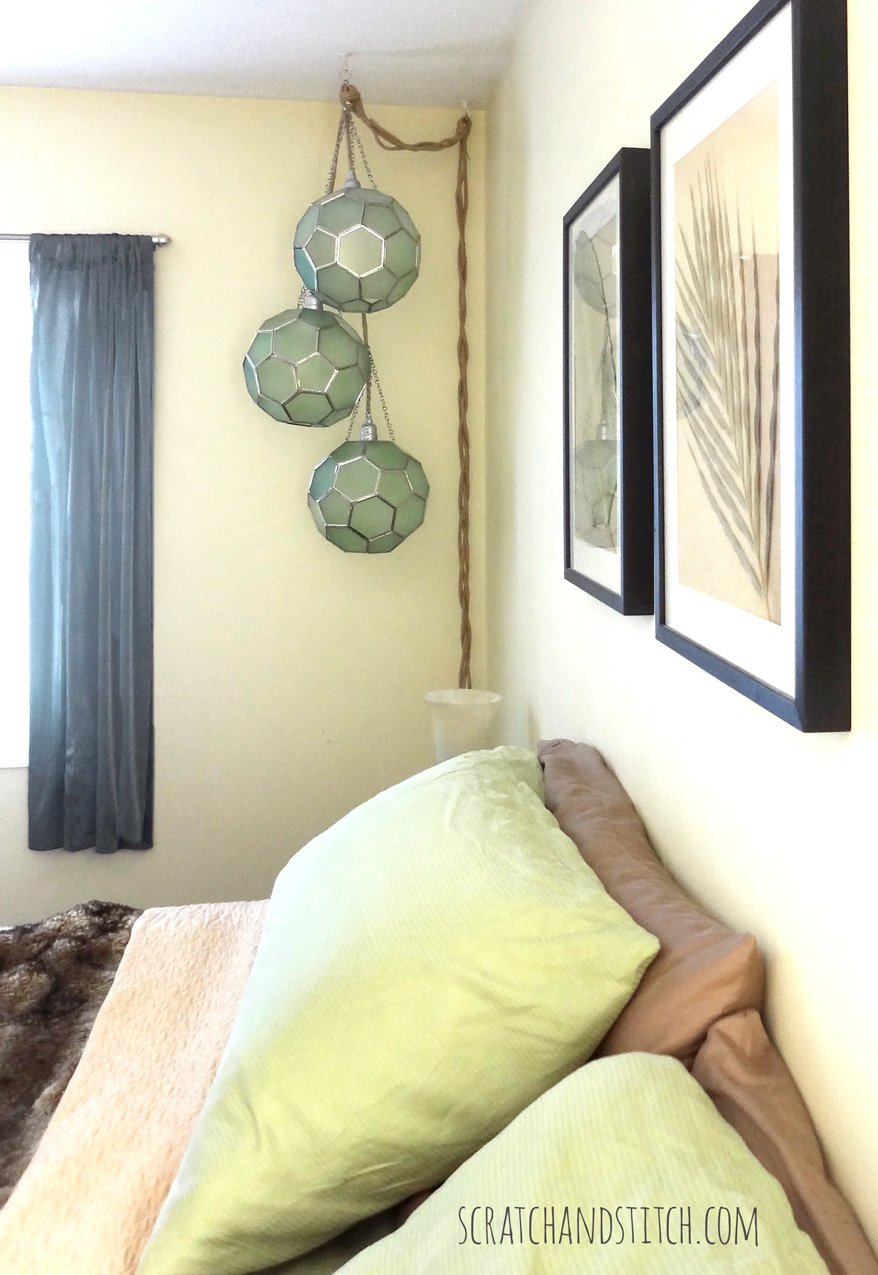
Determine where you want to hang your lights. Mine hangs in a corner about 16 inches away from the walls.
Make the three cords to hang as one DIY pendant light
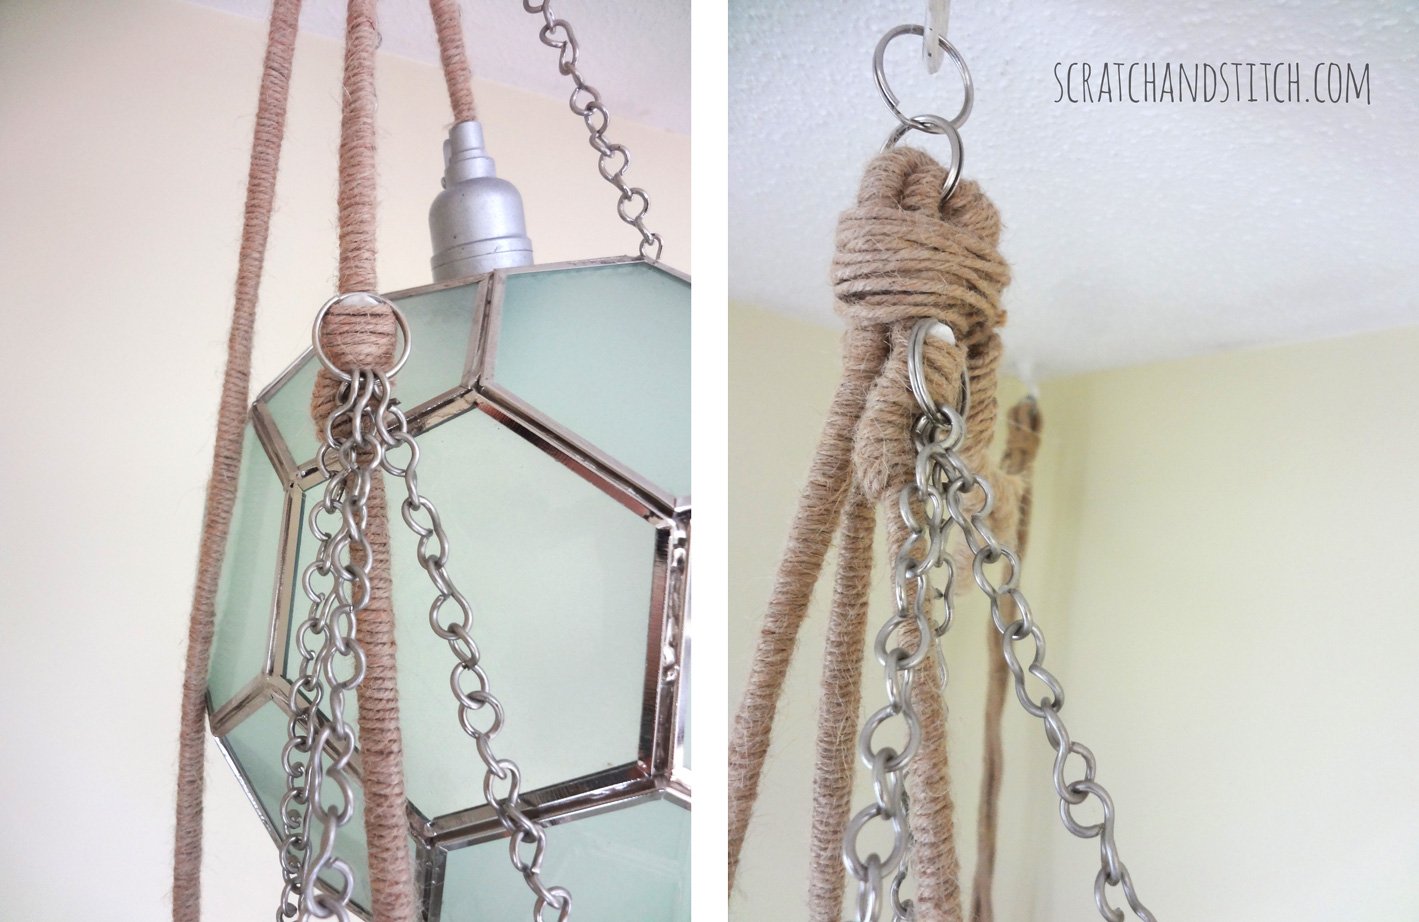
Determine the length you want the DIY pendant light to hang from the ceiling hook (mine hangs about 45 inches). Attach one of the key rings around the three cords above all plastic hooks. Attach the three globes onto their cords. Work carefully to space out the three lights to hang evenly.
Once you’re happy with the way the three globes hang together, fold the three cords at the key ring to create a loop. Wrap some wire around the folded cords to secure them in place. Get a helper to assist in holding these up as you wire them together. You want this to be secure so they don’t move!
If you’re using two key rings to hang the lights like I did, attach a second key ring to the first.
Remove the globes from the cords and set aside. Wrap more twine around the wire to cover it up. Braid the three cords together.
Make another loop and wrap with wire and twine to hang the cords from the second ceiling hook.
Hang it and enjoy!
Have any questions? Did you make this? Please share, I’d love to see.
Leave a Reply