On the wall at my Grandparents house there was a diy growth chart ruler. It was a long, thin piece of cardboard that my Grandma had lined every inch and wrote in the measurements. When I would stay at their house I would stand up as tall as I could and my Grandparents would add a mark with the date to the ruler.
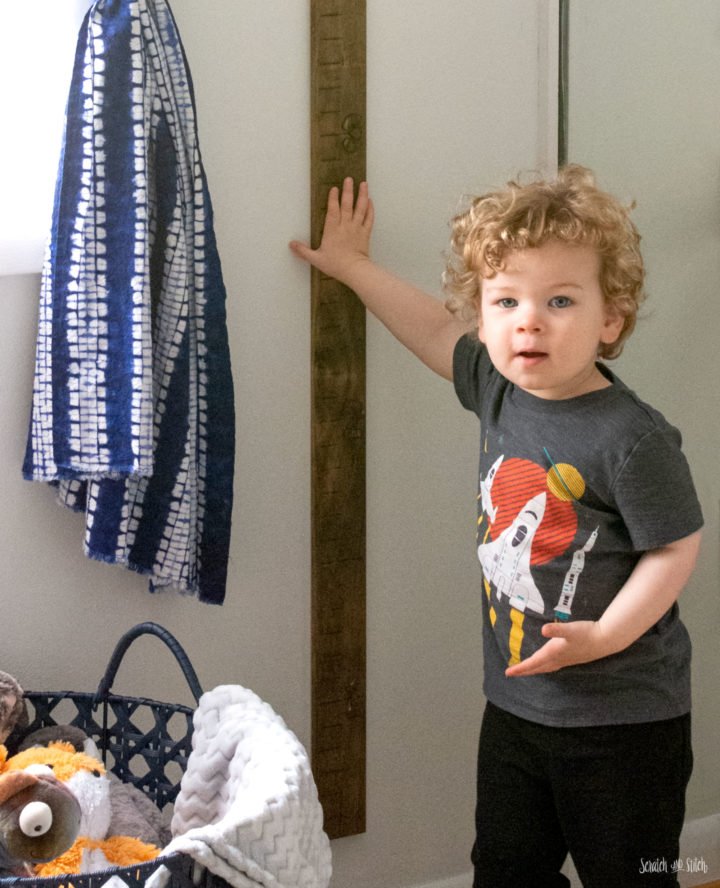
There was at least 18 years of measurements marked on that ruler. You could clearly see growth spurts and height changes throughout the years. I decided I wanted to have a growth chart ruler for our little boy to measure his height as he grows. There are several store bought versions of these giant growth chart ruler and many other diy versions. Here is my take on the diy growth chart ruler.
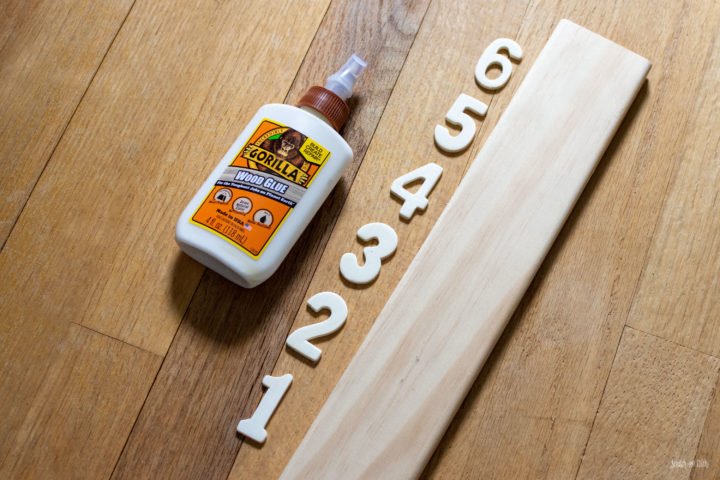
Materials and Tools
- a piece of wood at least 6 feet long (I picked up an unfinished piece of pine baseboard from Home Depot for about $6.) Use a longer piece if you have an extra tall family that exceeds 6.5′ or take this into consideration with the bottom measurement.
- ruler
- box cutter or other tools for carving lines (I used an engraving tool)
- wooden numbers
- wood glue
- stain
- paintbrush
- dust-free cloth
- command picture hanging strips (or screws for a permanent option)
DIY Wood Headboard
Make a custom headboard using decorative wood panels. Find out where to get them and how to hang them.
How to Make a DIY Growth Chart Ruler
Prepare the piece of wood. Use sandpaper to sand out any marks or rough areas on the wood.
Measure and mark the lines. Use a ruler to mark lines every inch. I marked the measurements with a pencil and then came back with a engraving tool to make the grooves. **You’ll want to start your lines at 6″ rather than 0. This will allow you to have the bottom of the board hang 6″ above the floor. I made each line about 2″ long and the lines every 6″ go all the way across the board.
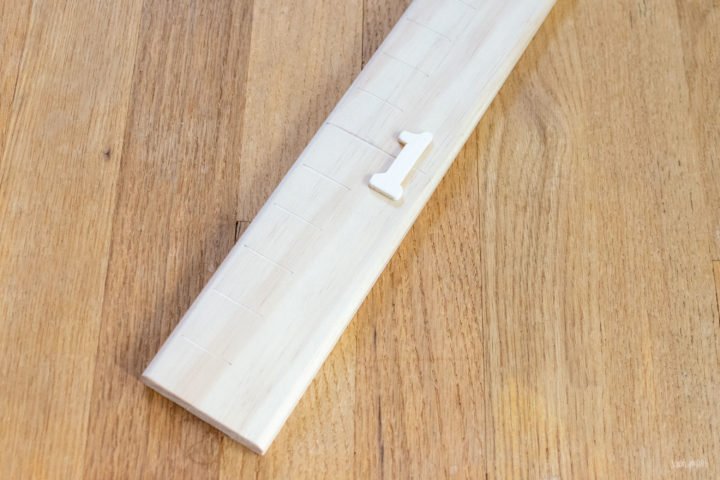
Glue on the numbers. Add the numbers 1 through 6 every foot. Keep in mind that the number 1 will start at the first 6″ mark at the bottom of the board. The number 6 will be at the top of the board. Try not to get the glue outside the number even if it dries clear. Wood stain will not stain the glue and light spots will show where the glue was. Let the glue thoroughly dry before staining.
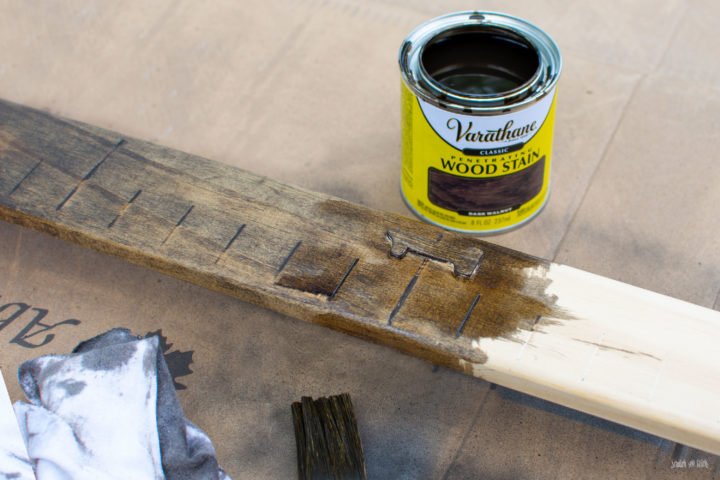
Stain the wood. Using a small brush and working in small sections, paint on the wood stain. Follow-up by wiping off the stain with a cloth. The stain will sit in the grooves making them darker and very legible. Let the stain dry before hanging.
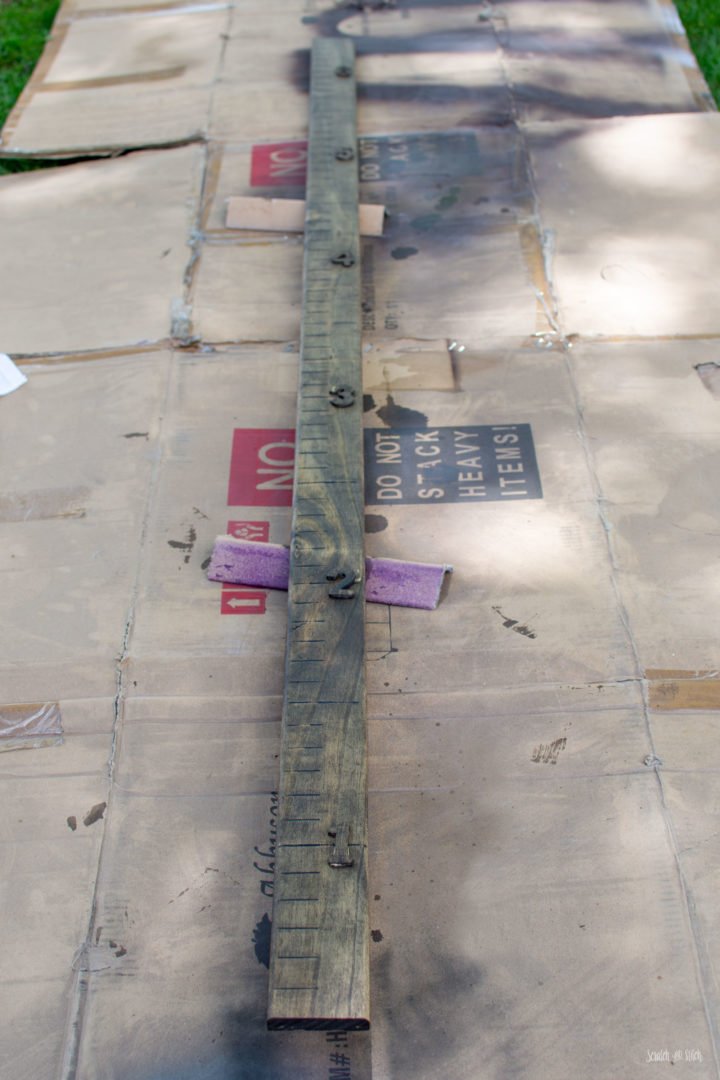
I added a single coat of a Dark Walnut wood stain to my giant ruler.
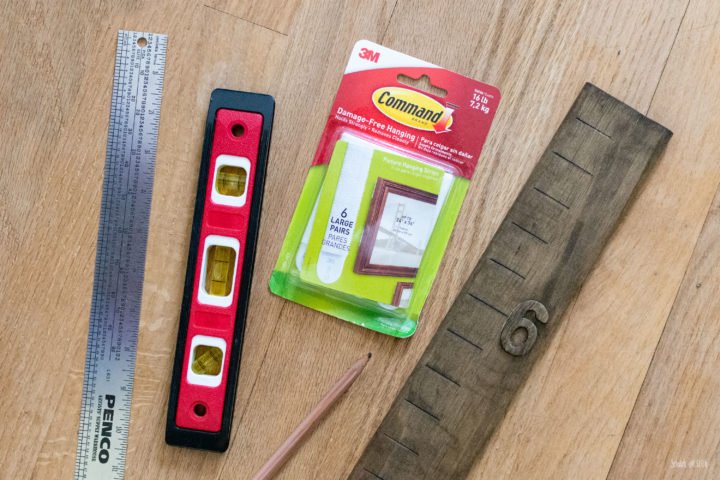
Hang the giant ruler. I highly recommend using Command Brand’s Picture Hanging Strips. The strips will hold strong but still be removable for easy repositioning. It’s almost flat against the wall and little hands won’t be able to pull it off the wall. I used four strips to hang the giant ruler.
Make a mark on the wall 6″ from the floor (this is where the bottom of the board will align). Use a level to ensure the board hangs straight vertically.
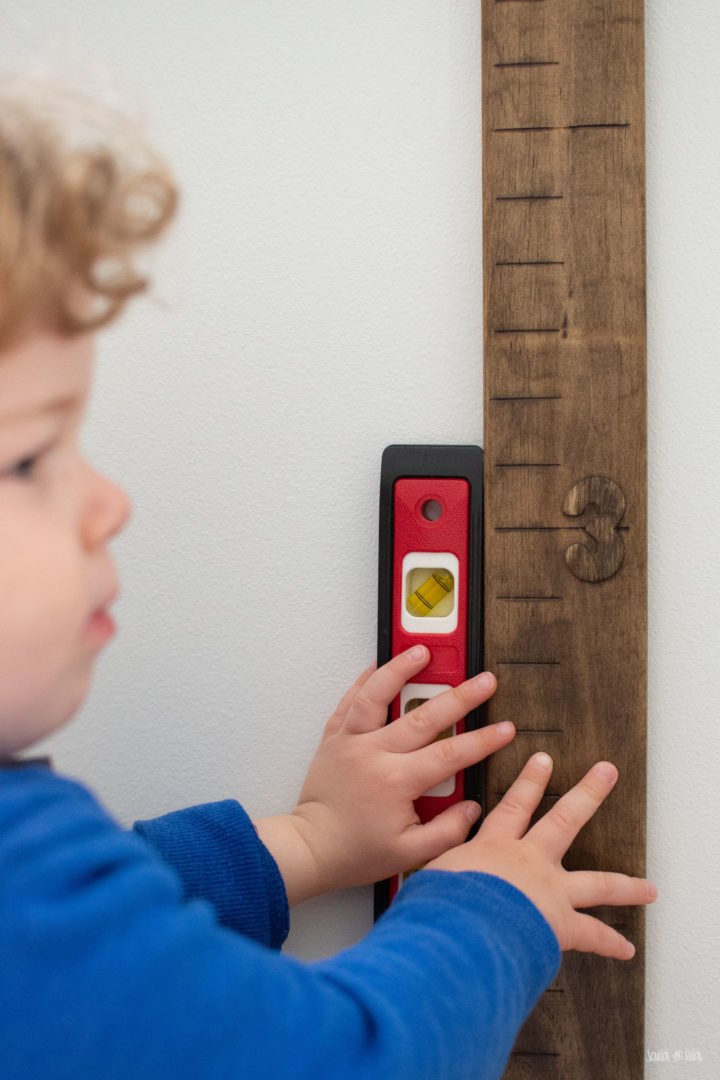
My little man helped with leveling and hanging our giant ruler. He made sure to have his tools ready in his tool belt.
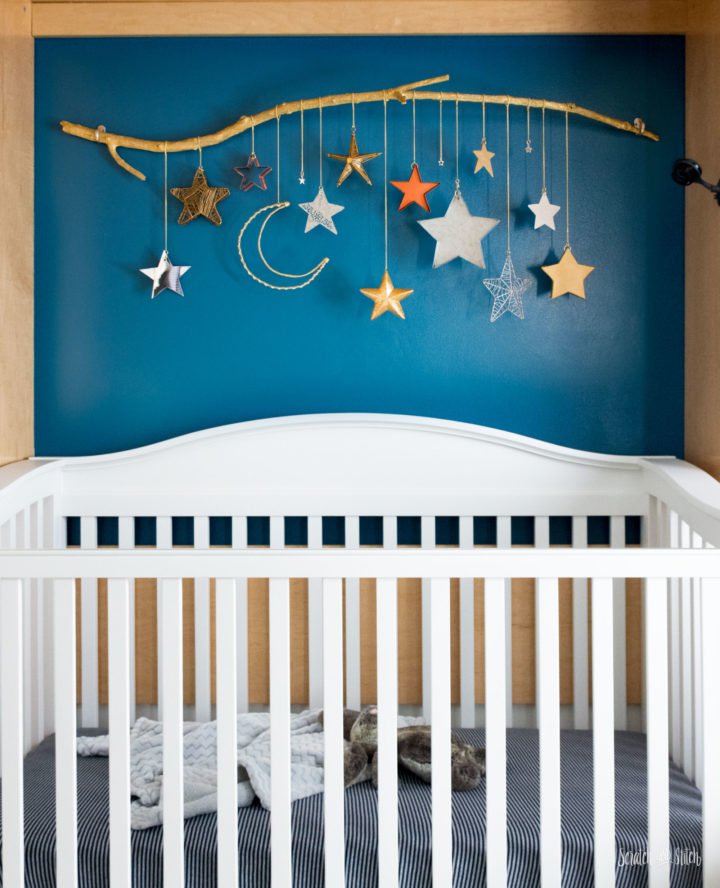
Moons & Stars Wall Decor
Make a dreamy DIY mobile or wall hanging with moons and stars that uses a branch as the base.
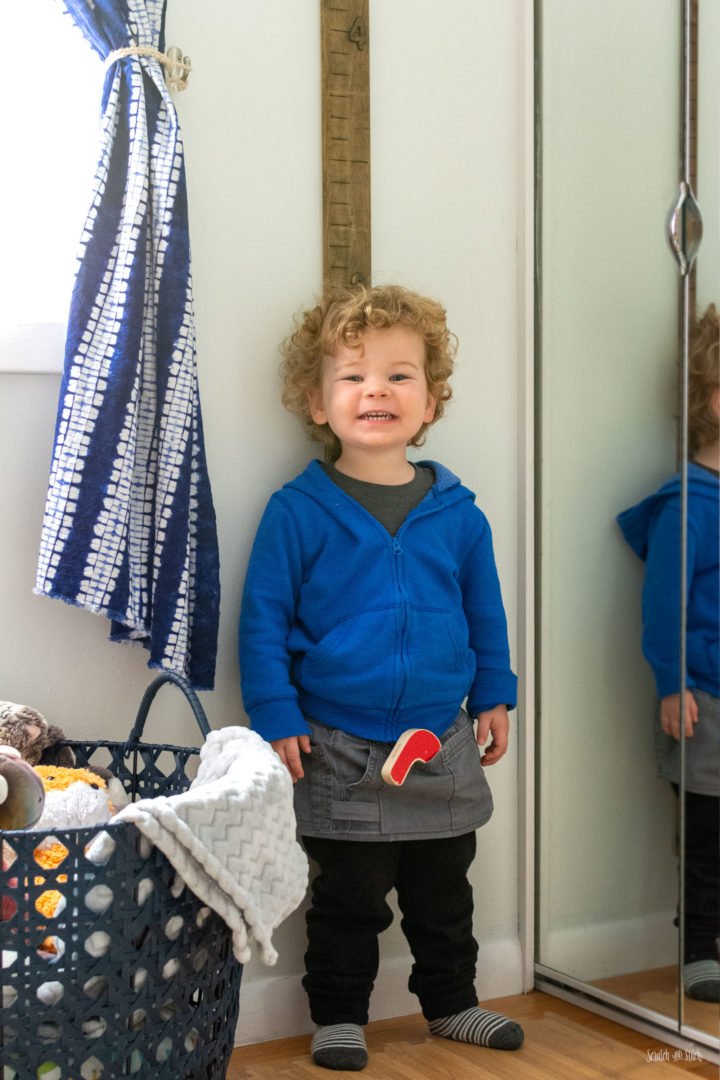
I am using a fine tip Sharpie marker to write in the date and measurements on the ruler.
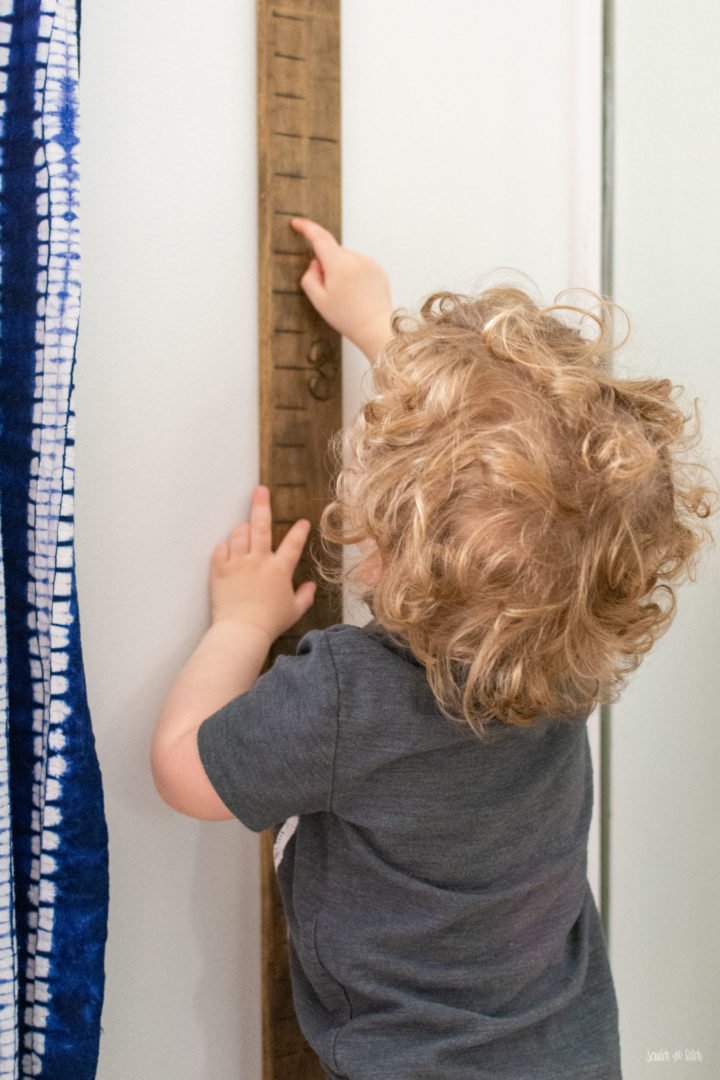
I added in the dates and measurements from his previous doctor check-ups too.

The diy growth chart ruler is also great for measuring friends.
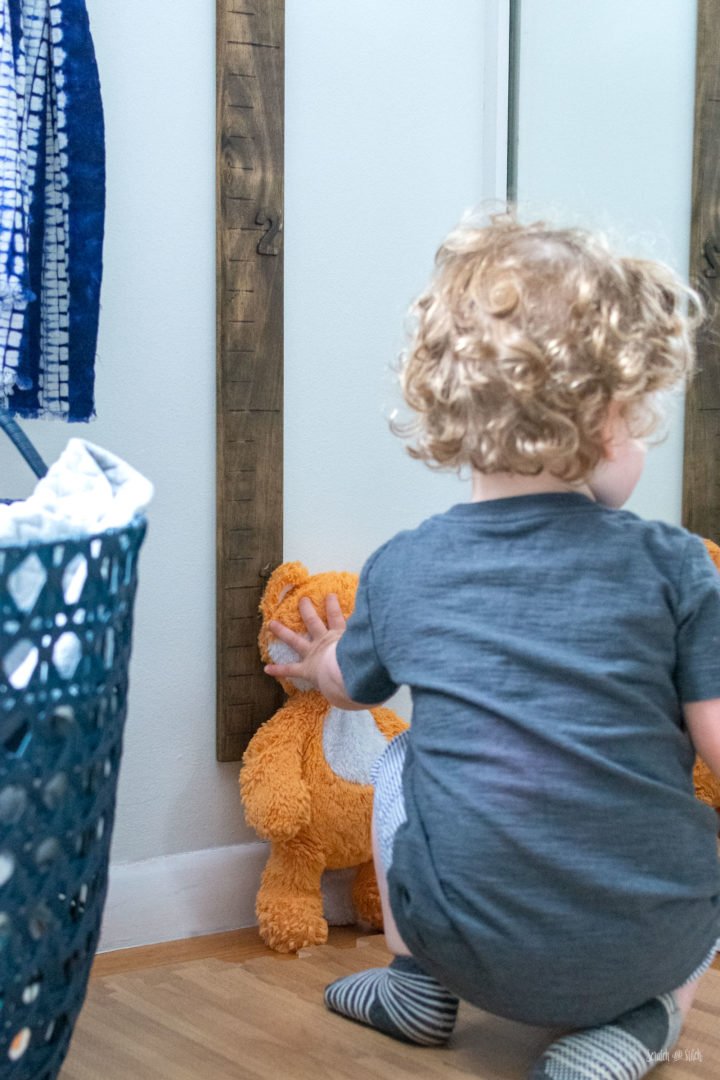
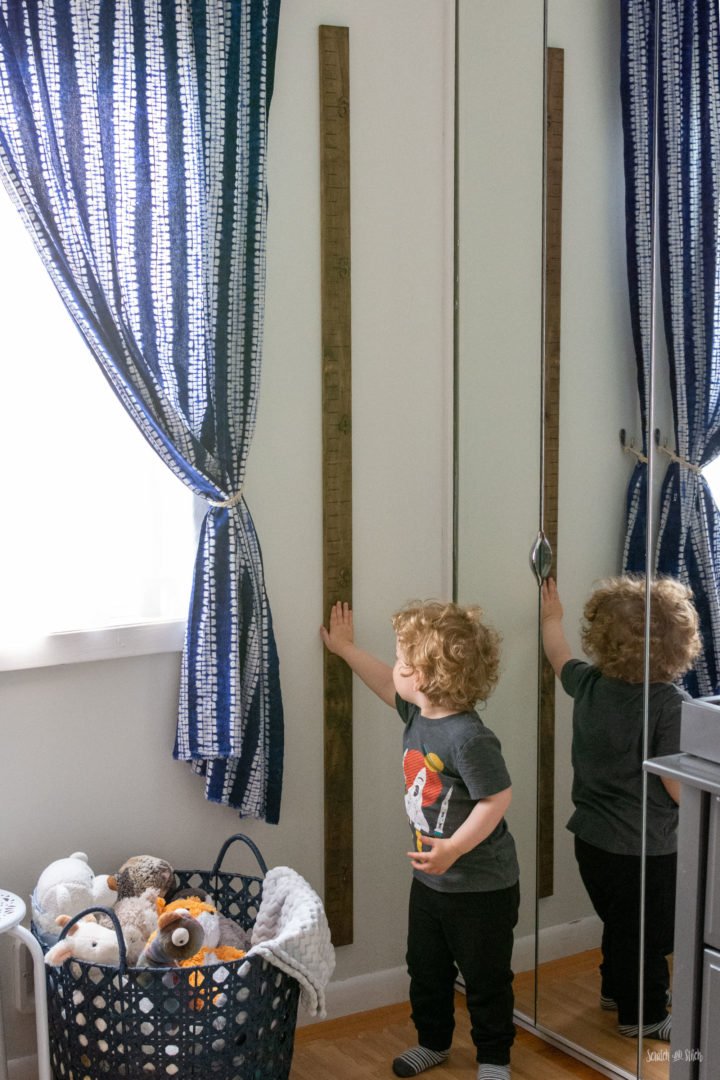
Since the giant ruler is only about 3″ wide, it can be hung just about anywhere. This diy giant growth chart ruler looks great hanging in his bedroom.
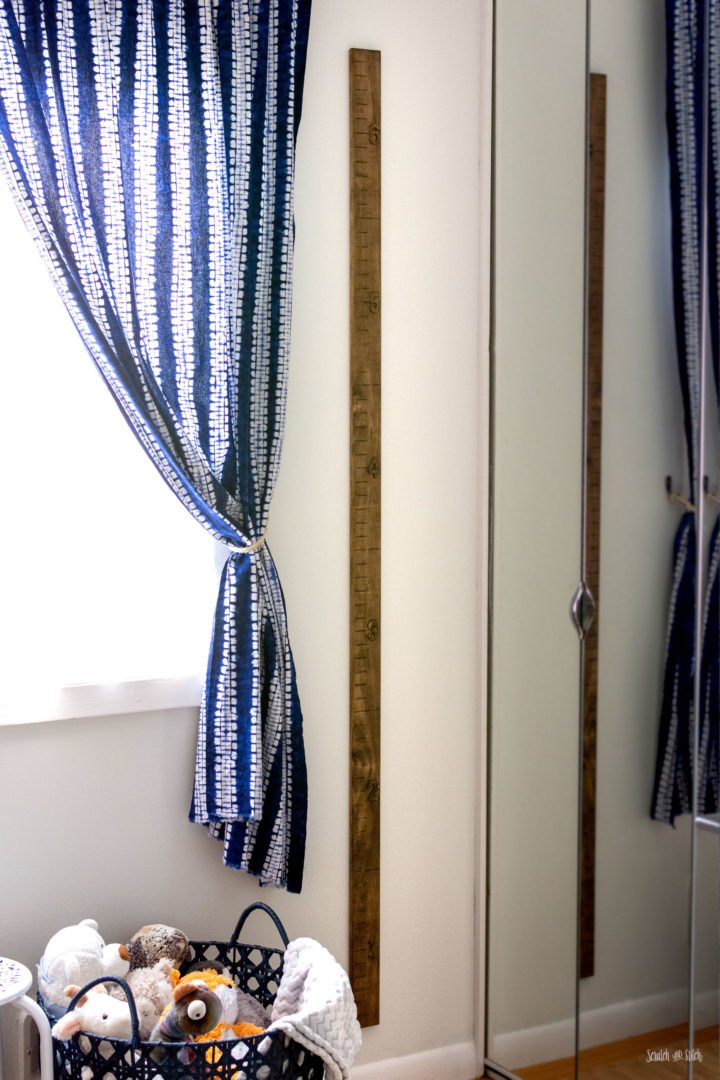
Did you make a giant ruler to measure your growing kids? Leave a comment below.


i love this idea! I know my growth chart was on a wall – this way no matter where you move you can take it with you. so sweet
Right!? Using Command strips was a lightbulb moment :)
Such a sweet and sentimental idea that you can move with you!