This post may contain affiliate links.
As Halloween approaches, so do the colors and characters of the spooky holiday. Spiders, cats, and bats join witches, ghosts, skeletons, and monsters as regular Halloween scenery. This time of year, our home is covered inside and out with these creatures, cobwebs, and other creepy decorations. But not all of Halloween needs to be scary.
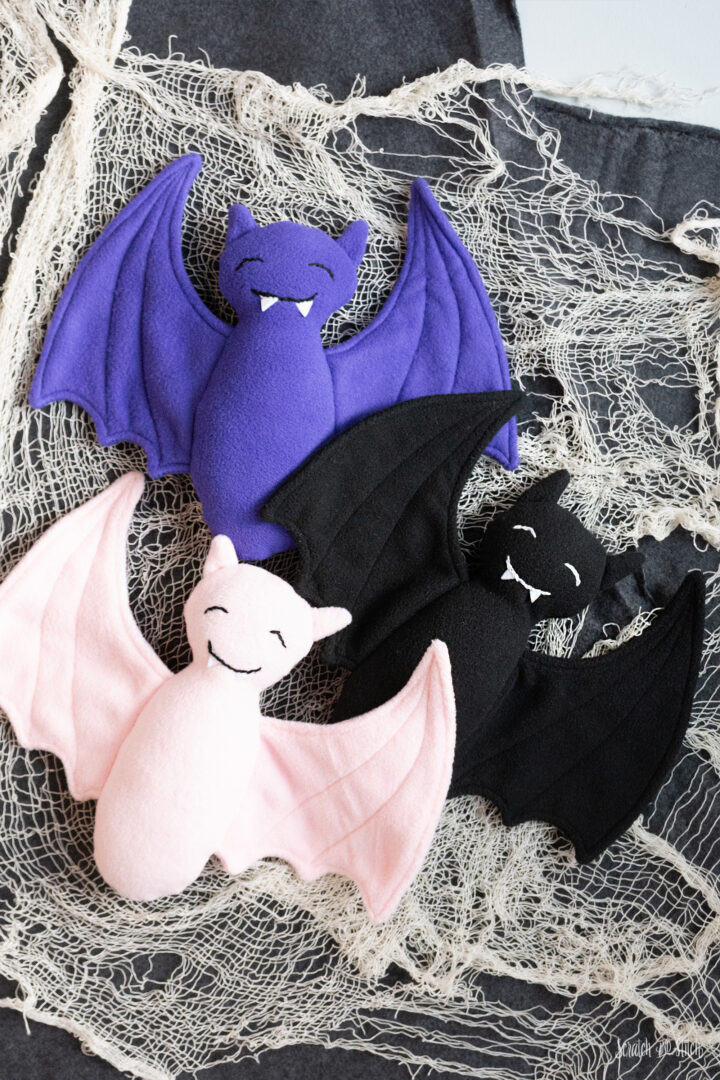
Free Stuffed Bat Halloween Sewing Pattern
I’ve added another free Halloween stuffed animal sewing pattern to the lineup this year. (Find my free plush cat pattern and ghost puppet pattern here.) This free plush bat sewing pattern comes together quickly and will be ready for cuddling just in time for those Halloween movie nights. Print the paper sewing pattern, cut the pieces, and sew with these easy steps. Watch the video below for a sped-up tutorial of all the steps.
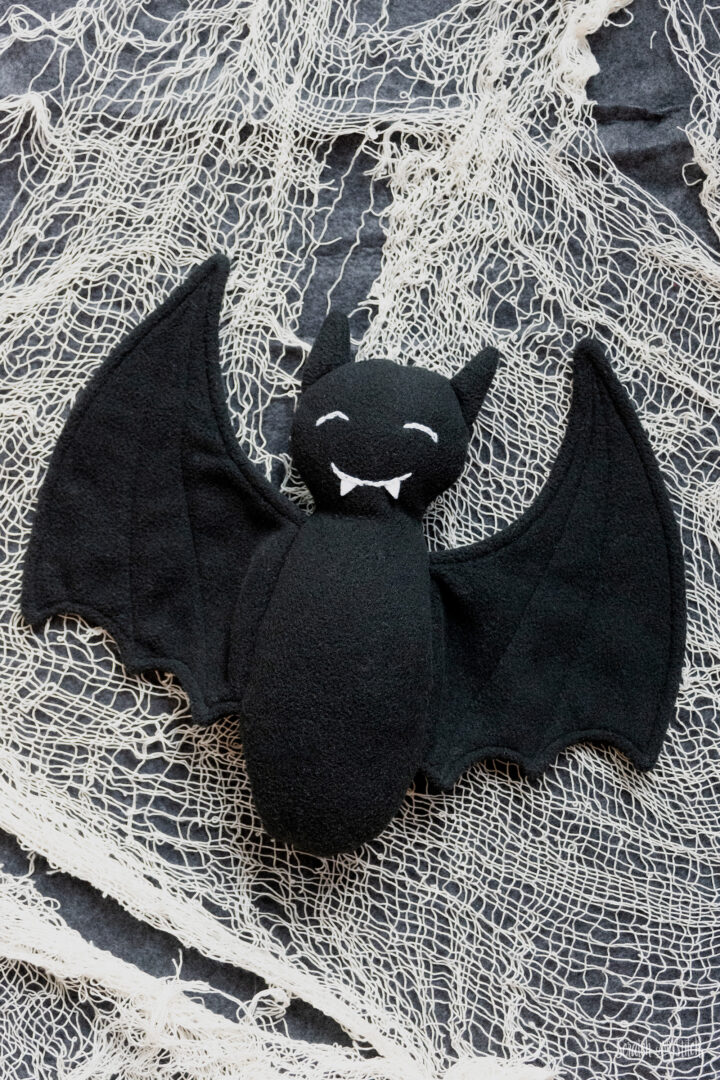
Which Fabric is best for this Bat Plush Pattern?
All of my free plush patterns are written for fleece fabric. Fleece has some stretch and, of course, is ever so cuddly, making it perfect for handmade stuffed animals. Read below for my tips on sewing fleece for plush toys.
Many of my free stuffed animal patterns have been made by others using minky fabric, quilting cotton, flannel, and upcycled materials. All of my sewing patterns can be made with fabrics other than fleece but may take extra considerations for sewing and longevity. Feel free to message me if you have questions about using my patterns.
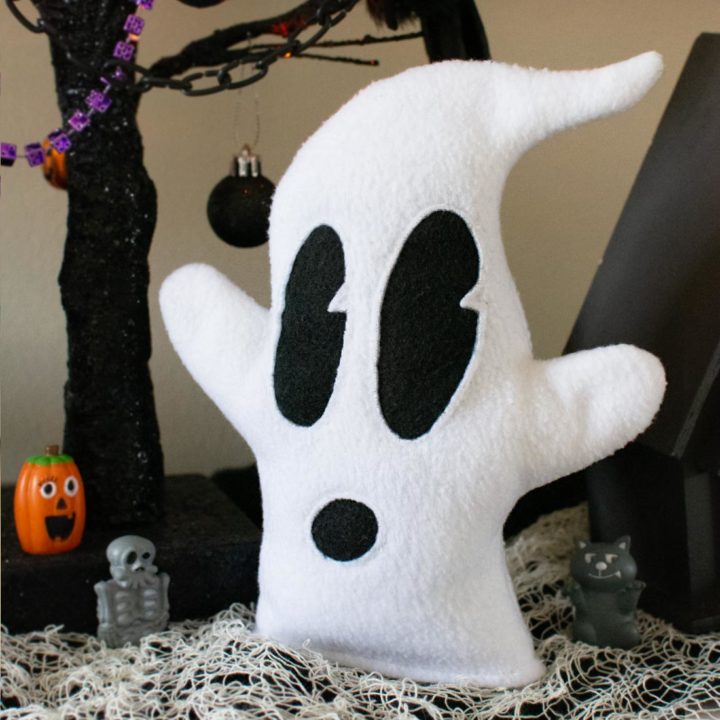
Free Ghost Puppet Sewing Pattern
Kids will love this plush ghost hand puppet. The free sewing pattern comes together scary fast!
How to Use the Free Bat Sewing Pattern
Get the free printable pattern for the plush bat sewing pattern by submitting your email address. The printable PDF pattern file and SVG files will be emailed to you after you confirm through an email in your inbox.
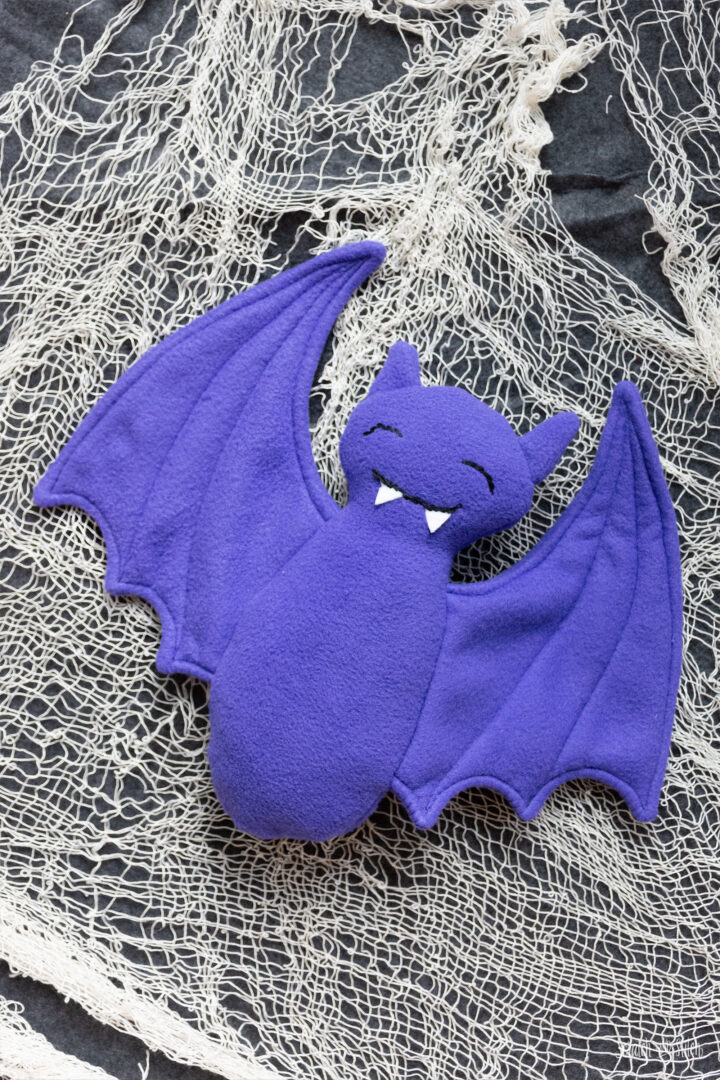
Plush Bat Sewing Pattern
Enter your email to get the free pattern in your inbox.
By submitting your email address you will be added to the Scratch and Stitch email newsletter. You can opt-out at any time :)
Printing the Bat Sewing Pattern
In the PDF pattern file, there are three pages, two pages of pattern pieces and a page with materials and a cut list.
- Download the pattern file.
- Open the file in Adobe Acrobat.
- Open the Print dialog. Make sure the scale is set to 100% or Actual Size.
- Print the pattern file.
Using the SVG Sewing Pattern
The SVG file can be opened/imported into the cutting software used with your cutting machine. The Body, Wings, and Ears are purple, and the Teeth are black in the file to indicate the different fabrics needed. I’ve included the mirrored pattern pieces for each pattern piece needed to make the plush bat.
- Download the SVG file.
- Open or Import the file in the cutting software used with your cutting machine.
- Set up the fabric and cutting mat for your machine.
- Set your cut settings to match the fabric you’re using and cut.
Materials & Tools Used to Make the Plush Bat
- 1/2 yard fleece fabric
- small scrap white felt (teeth)
- embroidery thread
- poly-fil (or similar for filling)
- coordinating thread
- embroidery needle
- glue stick
- basic sewing supplies and tools
Cutting out the Bat Sewing Pattern
Cut out the paper pattern pieces on the outside of the lines. You’ll need two Body pieces, four Wing pieces (with two as mirrored pieces), four Ear pieces (with two as mirrored pieces).
Fold your fleece fabric in half with RST so there are two layers of fabric. Pin the paper pattern piece to the layers of fleece fabric and trace around the pattern piece. Remove the paper pattern pieces and pin the fabric layers together. Cut out the pattern pieces from the fleece fabric.
TIP: The Teeth pattern pieces are two small triangles. These can be cut using the pattern pieces, or just wing it and cut two matching triangle pieces from white felt fabric.
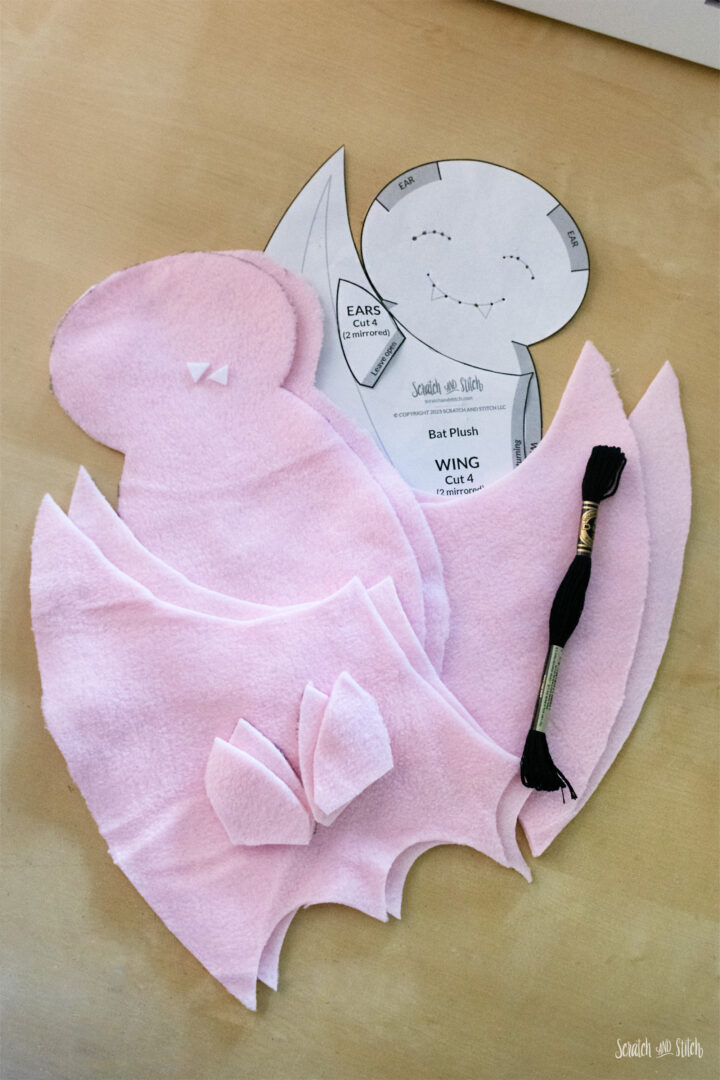
Cut List
- 2 Body
- 4 Wings (2 mirrored)
- 4 Ears (2 mirrored)
- 2 Teeth
Tips for Sewing Plush Toys with Fleece Fabric on a Sewing Machine
Thread: I use a polyester or cotton 30-weight thread for all of my plush sewing patterns whether sewing by machine or by hand.
Needle: A size 14 universal needle is my go-to for sewing stuffed animals with fleece fabric. Other fabrics may require a different needle.
Stitch Length: This is my #1 top for sewing fleece! Increase your stitch length to 4-6 when sewing fleece fabric.
Foot pressure: Now’s the time to decrease the foot pressure on your machine. This will allow the fleece fabric to move more easily under the presser foot.
Presser Foot: I use the standard presser foot on my machine when sewing stuffed animals. A walking foot is also an excellent option for sewing fleece, as it will help the fabric feed evenly under the presser foot.
Stiletto: Use a stiletto or similar tool to help you guide the fabric under the presser foot. This enables you to move the material if it gets slightly misaligned and keeps your fingers out of the way of the needle.
Backstitch: Unless noted otherwise, always backstitch when starting and stopping sewing fleece fabric. The larger stitch length, fabric stretch, and turning pieces right side out will allow the stitches to easily pull out. Backstitching will ensure your stitches stay secure.
Trimming Seam Allowance: This instruction is in many of my sewing pattern tutorials. Trimming the seam allowance at sharp corners will reduce the bulk when the pieces are turned right side out. Sometimes, I will direct you to make small snips in the seam allowance on curves. This will allow the curves to lay flat once turned so the curves lay flat.
Plush Cat Sewing Pattern
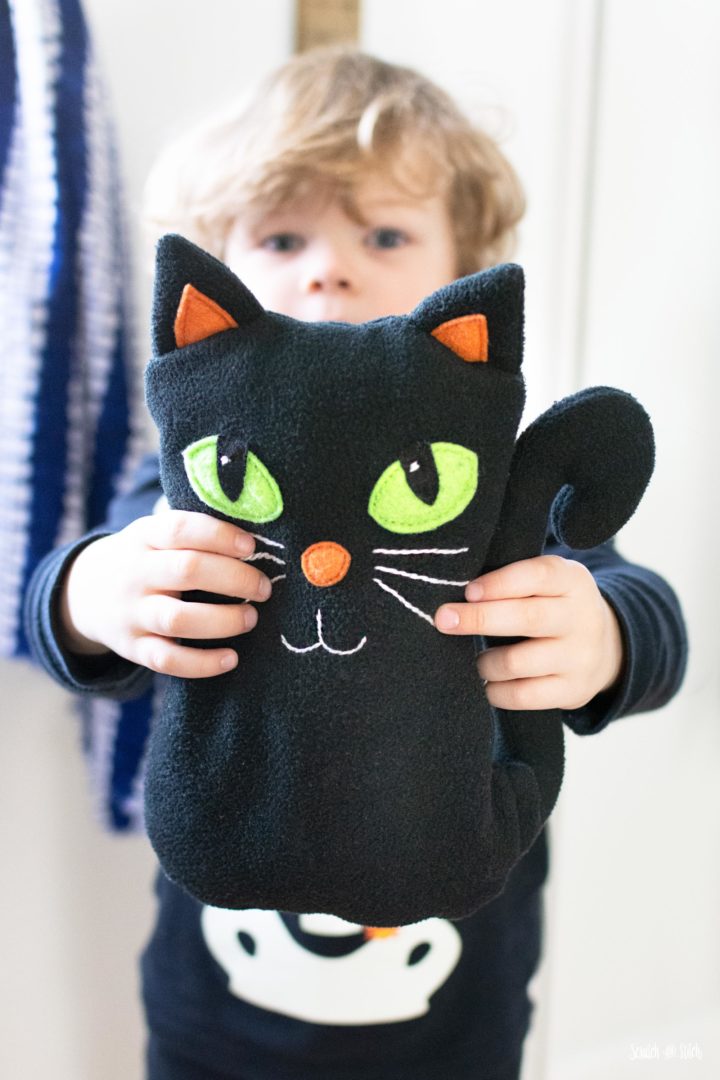
You can’t beat the classic black cat for Halloween. But this cat can be any color and it’s equally as lovable. Get the free pattern!
Add the Bat Face
You’ll need: 1 Body piece, 2 TEETH pieces, embroidery thread and needle, BODY pattern piece.
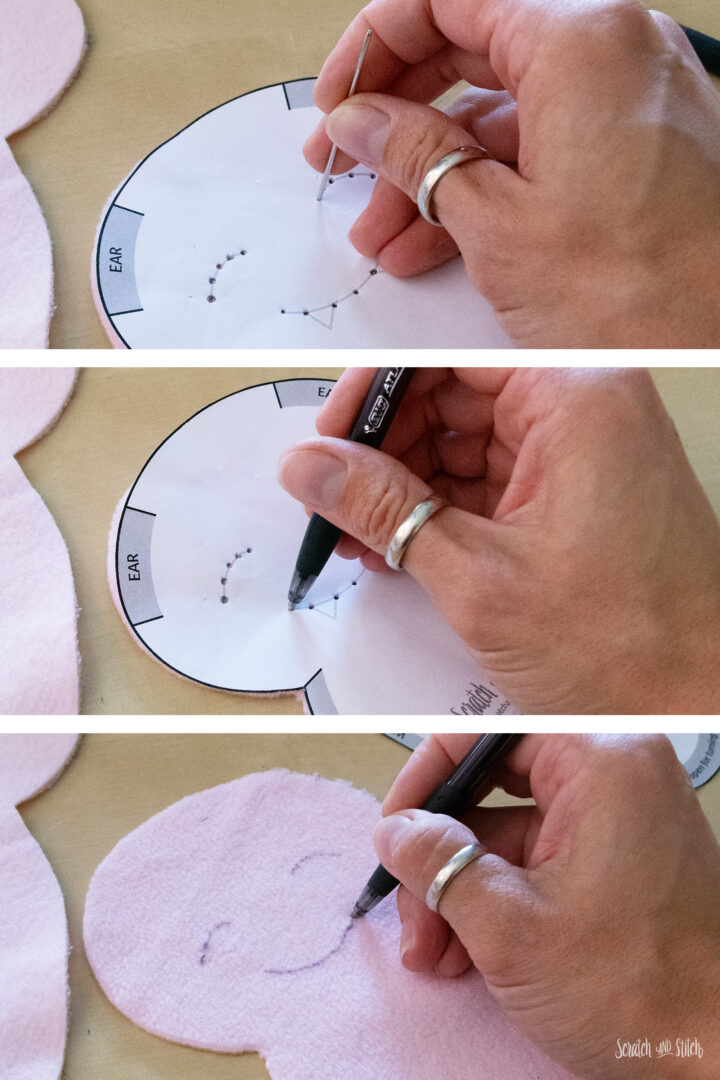
Using the Body pattern piece as a guide, add the face onto the right side of one Body piece by placing the pattern piece on top of the fabric Body. Using a large needle or similar tool, poke holes along the lines of the eyes and mouth line. Mark dots into the holes and onto the fabric using a pen, pencil, or fabric pen. Remove the paper pattern piece and trace the dotted line. You should now see the facial features enough to be able to follow them.
For the eyes
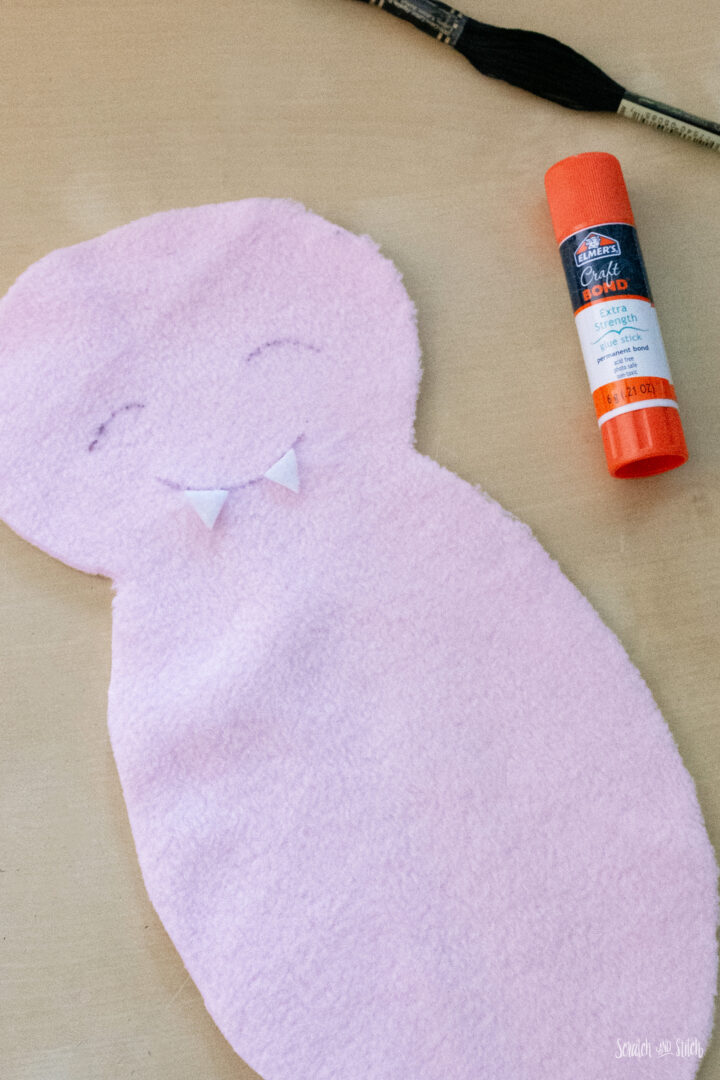
Thread a length of embroidery thread onto a needle, fold it in half, and knot the ends together. Stitch along the eyes using a backstitch, split stitch, or stem stitch to create a solid line. Knot and cut the thread on the wrong side of the fabric individually for each eye. Here’s an easy-to-follow guide to basic embroidery stitches.
For the mouth
If needed, use the Body pattern piece as a guide for placement. Add a bit of glue to the wrong side of the Teeth and place them next to the mouth line. The glue is only meant to temporarily hold the Teeth in place while you stitch the mouth line, not a permanent hold. Using the same embroidery stitch used for the eyes, sew along the mouth line, making sure to catch the top of the Teeth as you go. Knot and cut the thread on the wrong side of the face.
This is now called the Front Body. The body piece without the face is the Back Body. Set both aside for now.
Make the Bat Ears
You’ll need: 4 Ear pieces.
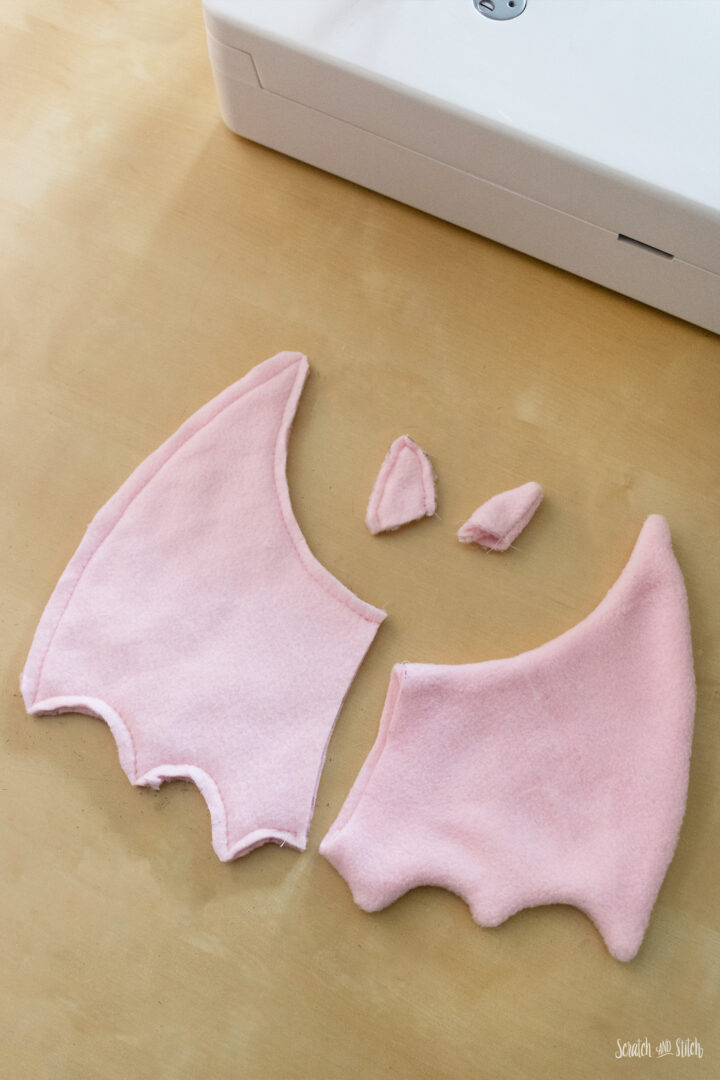
Place both pairs of Ear pieces right sides together, making sure you have two opposite Ears. Pin and sew with a 1/4″ seam allowance around the curved sides of the Ears, leaving the flat portion open. Make sure to backstitch at the start and stop so the stitching doesn’t come undone when the ears are turned.
Trim the seam allowance at the tips of the Ears, then turn the Ears right sides out. Set aside for now.
Make the Bat Wings
You’ll need: 4 Wing pieces, Wing pattern piece.
Place each pair of Wing pieces right sides together. You should have two opposite stacks. Pin or clip the layers together to hold.
Sew along the top, outside, and bottom edges with a 1/4″ seam allowance. Leave the inside edge open as noted on the pattern piece. Make sure to backstitch at the start and stop.
Trim the seam allowance at the pointed tips. Make small snips in the seam allowance along the curved edges on the side and bottom of the Wings.
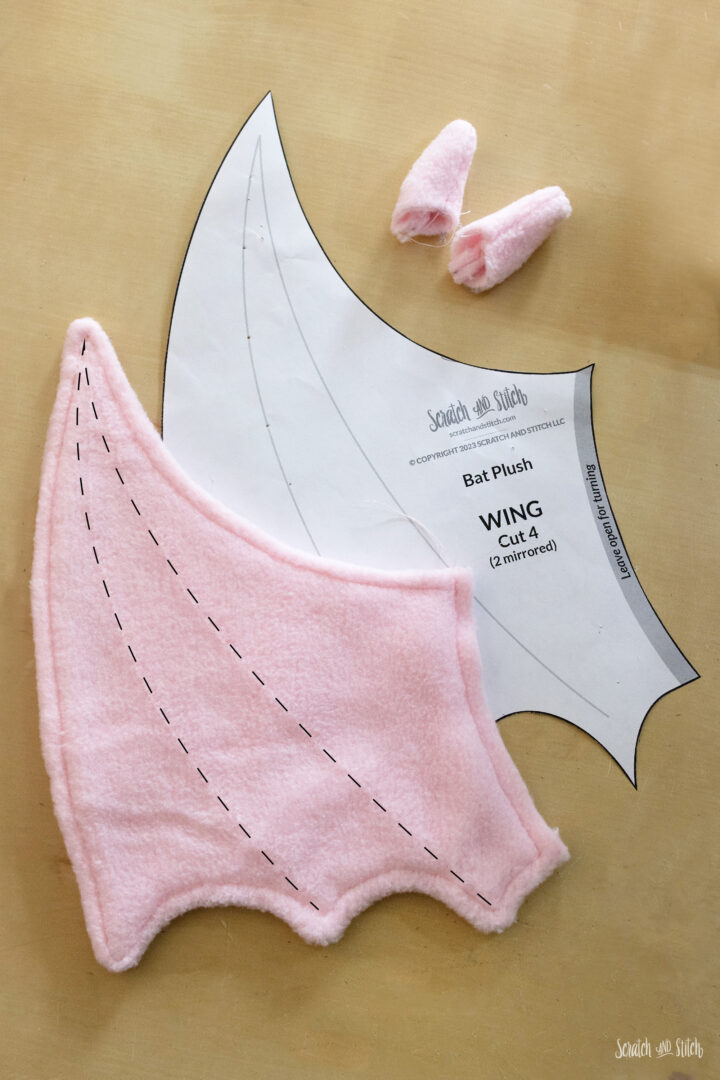
Turn the Wings right sides out. Topstitch at about 1/4″ from the edges all the way around the perimeter of both Wings.
After topstitching, lay the Wing pattern piece onto the Wing and transfer the lines using the same method as the facial features were transferred.
Starting at the bottom of the Wing, sew along the line up to the top point of the Wing, pivot at the tip, then continue down to the bottom. Backstitch at the start and stop to secure the threads.
Putting It All Together
You’ll need: Front and Back Body pieces with facial features in place, assembled Ears, assembled Wings, Body pattern piece.
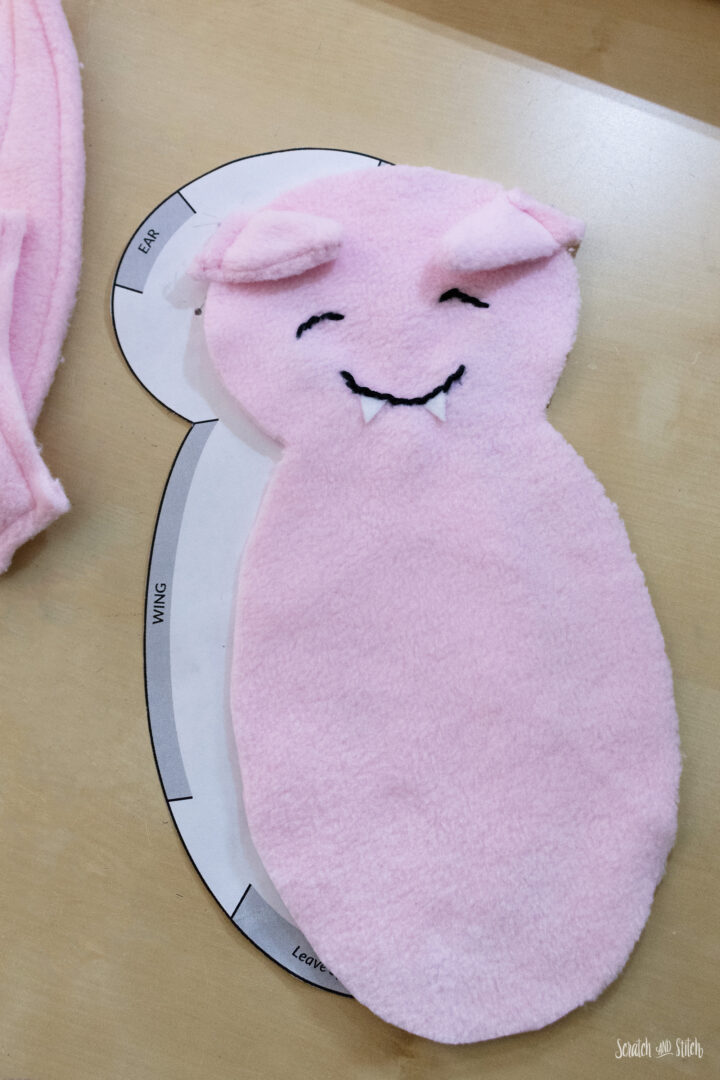
Lay the Front Body piece with the face on top of the Body pattern piece. Mark the Ear placement using the pattern piece as a guide. Place the Ears onto the Front Body piece so the raw edges match up, and the tips point toward the face. The long curve of the ears should be facing towards the bottom of the Body. Pin or clip in place and baste stitch the Ears to the Body.
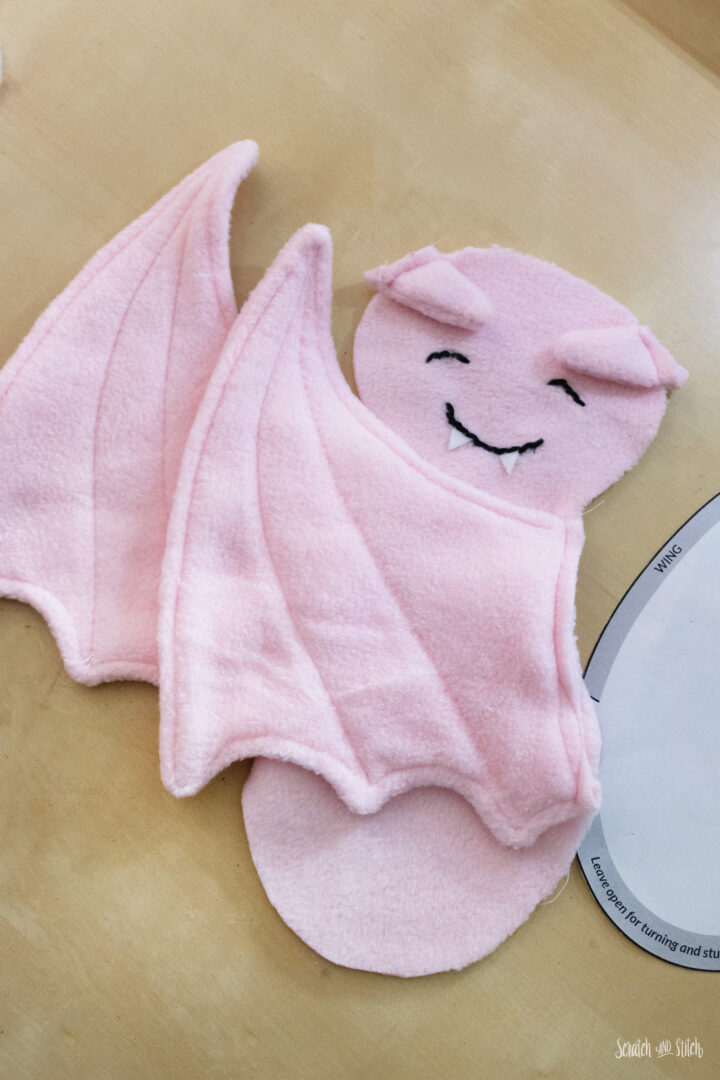
Align the wings to the sides of the Front Body piece. The Wing piece intentionally curves in the opposite direction, so once it’s flipped, the curves match. Pin or clip the Wings to the sides of the Body and baste stitch along the edge.
Once the Wings and Ears are attached to the Front Body piece, it’s ready to be finished. Roll and fold the Wings towards the center of the Front Body. Place the Back Body piece on top with the right sides together. First, align the corners at the neck and pin or clip to hold. Next, align around the top of the Body and sides of the Body and clip or pin to hold. Make sure to clearly mark where to leave an opening at the bottom for turning, using the pattern piece as a guide.
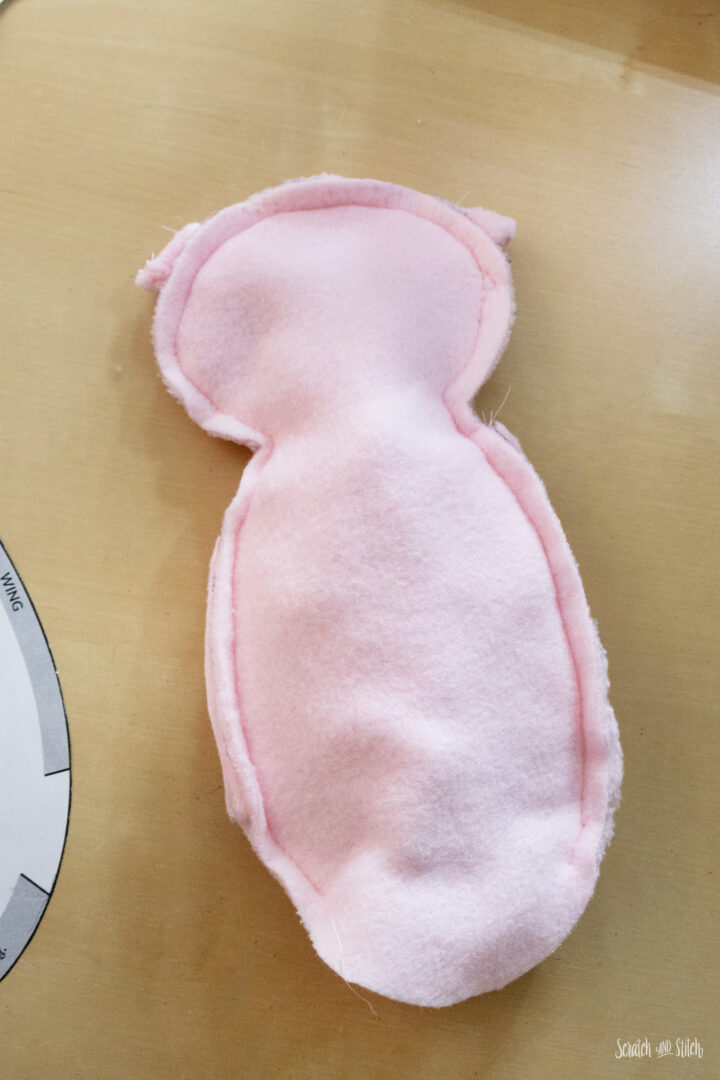
Starting at the opening at the bottom of the Body, sew around the perimeter with a 1/4″ seam allowance, making sure to backstitch at the start and stop.
Once you’ve sewn around the whole Body, check your seams. Snip the seam allowance at the inner corners of the neck.
Now you can turn everything right side out. Use a chopstick or similar tool to push out the seams.
Finishing Up the Bat Plush
The bat is now ready for stuffing. Fill the Body so it’s full and squishy but not too firm.
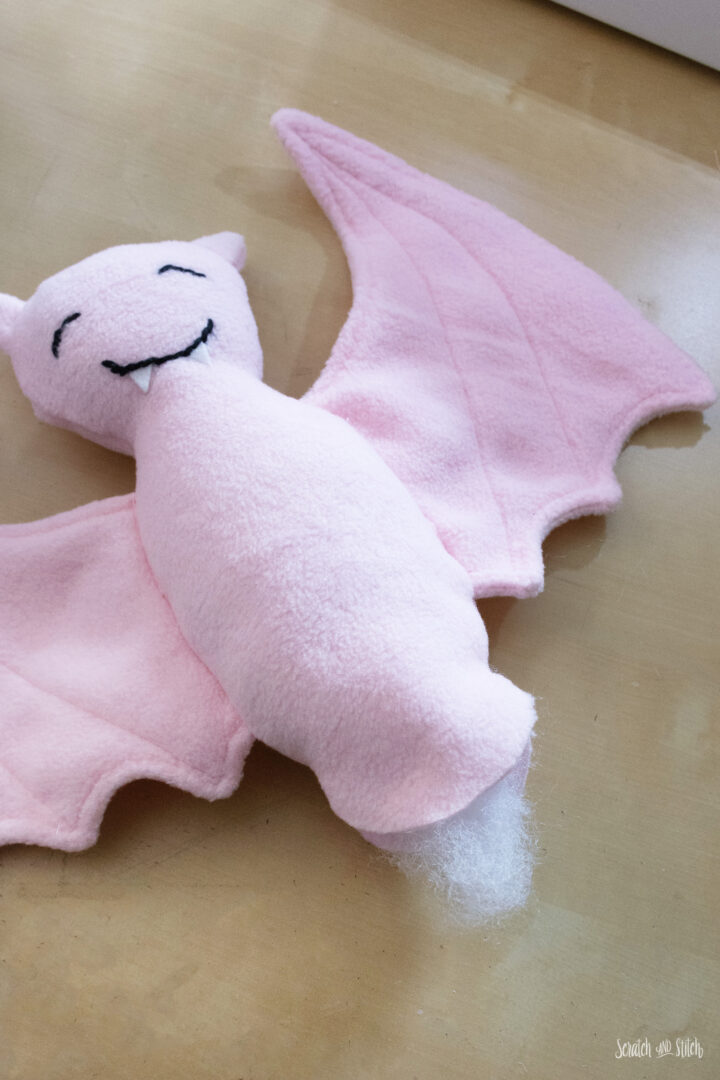
At the opening, fold the seam allowance in and pin the opening closed. Since the opening is on a curve, take some extra time to keep the curve smooth and pin closed.
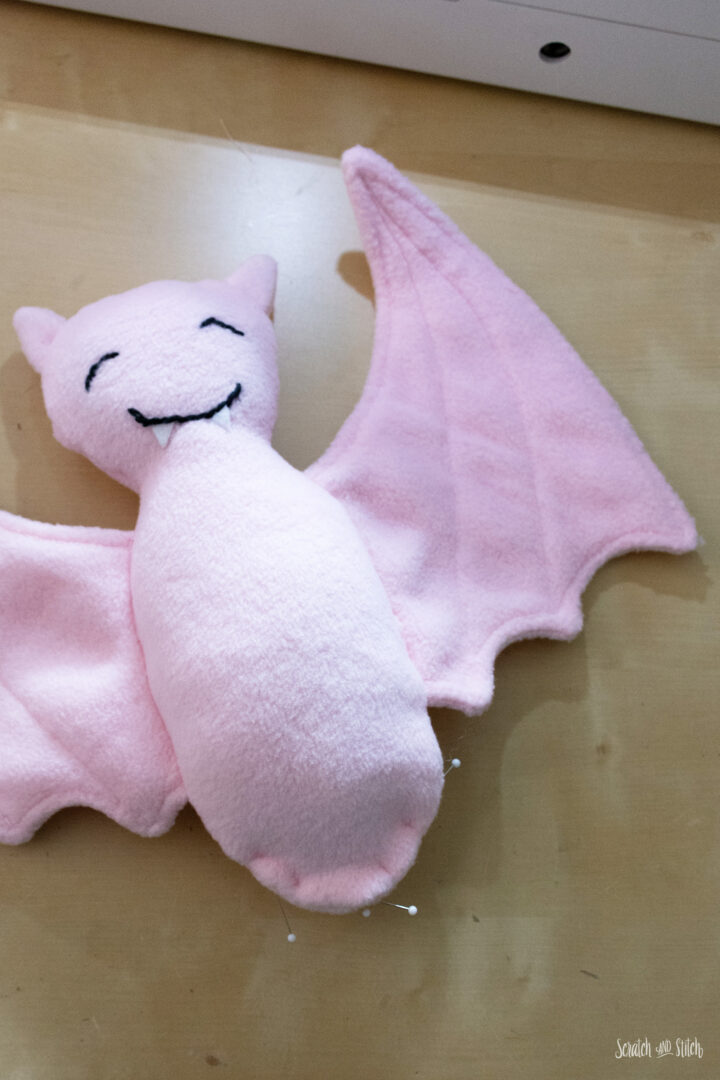
Using a ladder stitch, close the opening.
How to Make the Plush Bat Video
Let’s get started making the free plush bat sewing pattern.
Watch the video walk-through below.
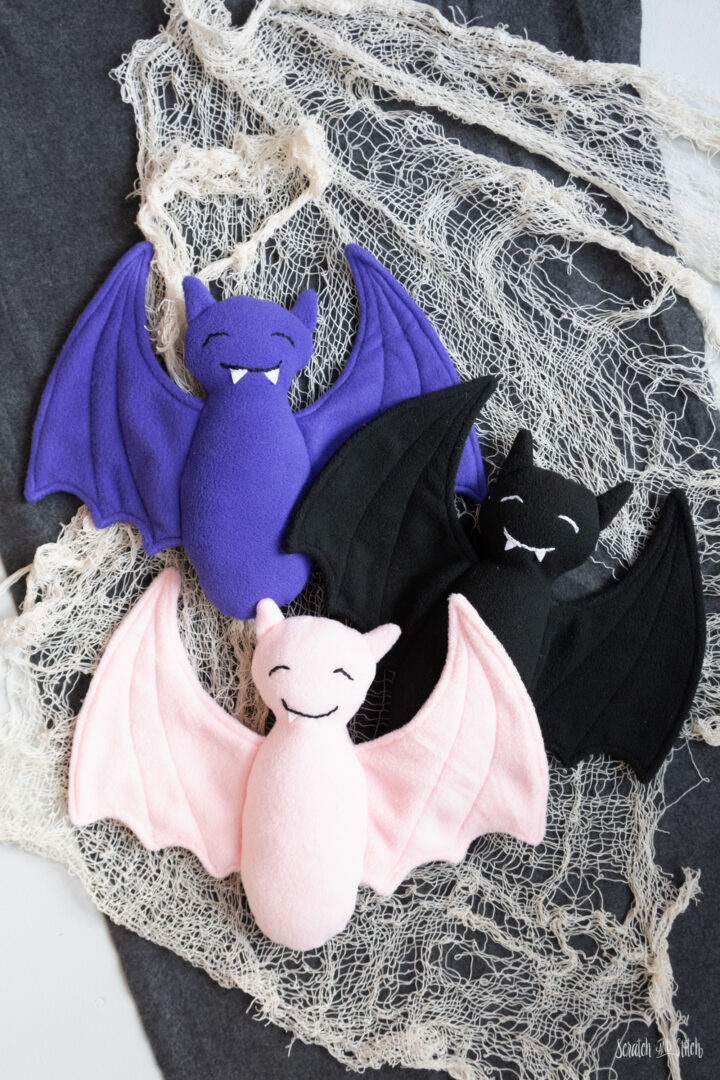
A Handmade Stuffed Animal Bat Sewing Pattern
I hope you’ve enjoyed making this bat as much as I have. It’s simple design is a happy bat with a Halloween vibe, ready for cuddling on those cool fall nights.
My son requested a version with sinister eyes. 🙂
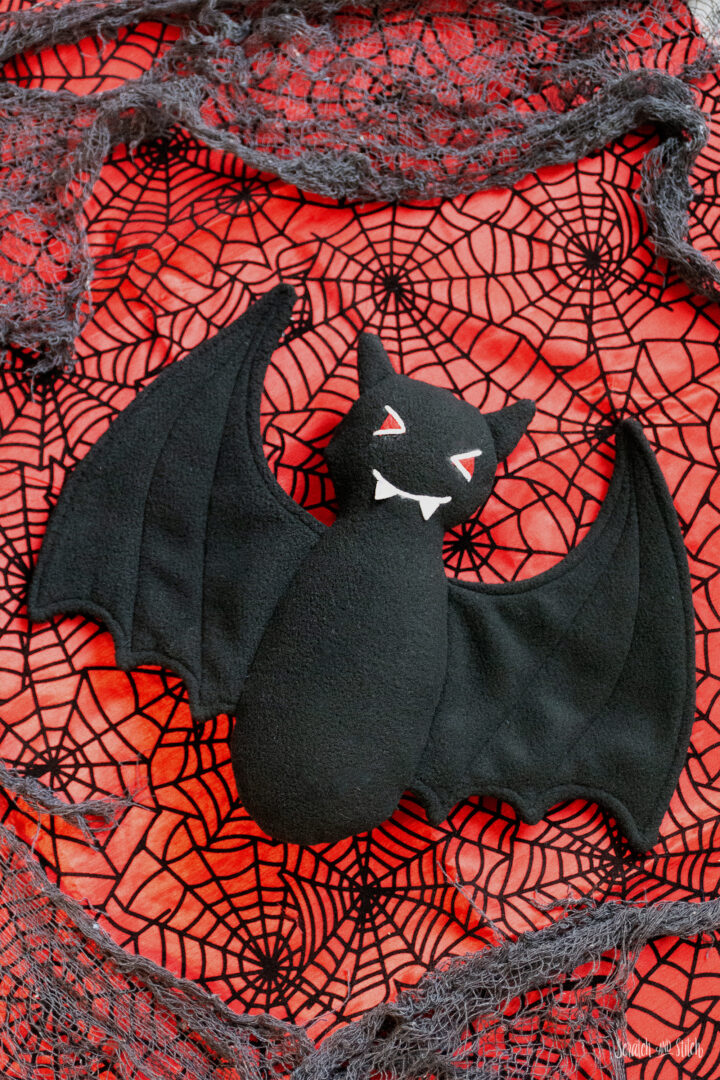
Happy sewing and Happy Halloween!
Leave a Reply