This post may contain affiliate links.
Every home cook knows the importance of having reliable kitchen tools, and oven mitts and hot pads are no exception. Whether you’re pulling a hot pizza pan from the oven or making scrambled eggs for breakfast, a sturdy oven mitt and hot pad set can make all the difference. Not only do they protect your hands from burns, but they also add a touch of personal style to your kitchen. Now, you can create your own set with this simple, easy-to-follow oven mitt and hot pad sewing pattern – perfect for beginners and seasoned sewers!
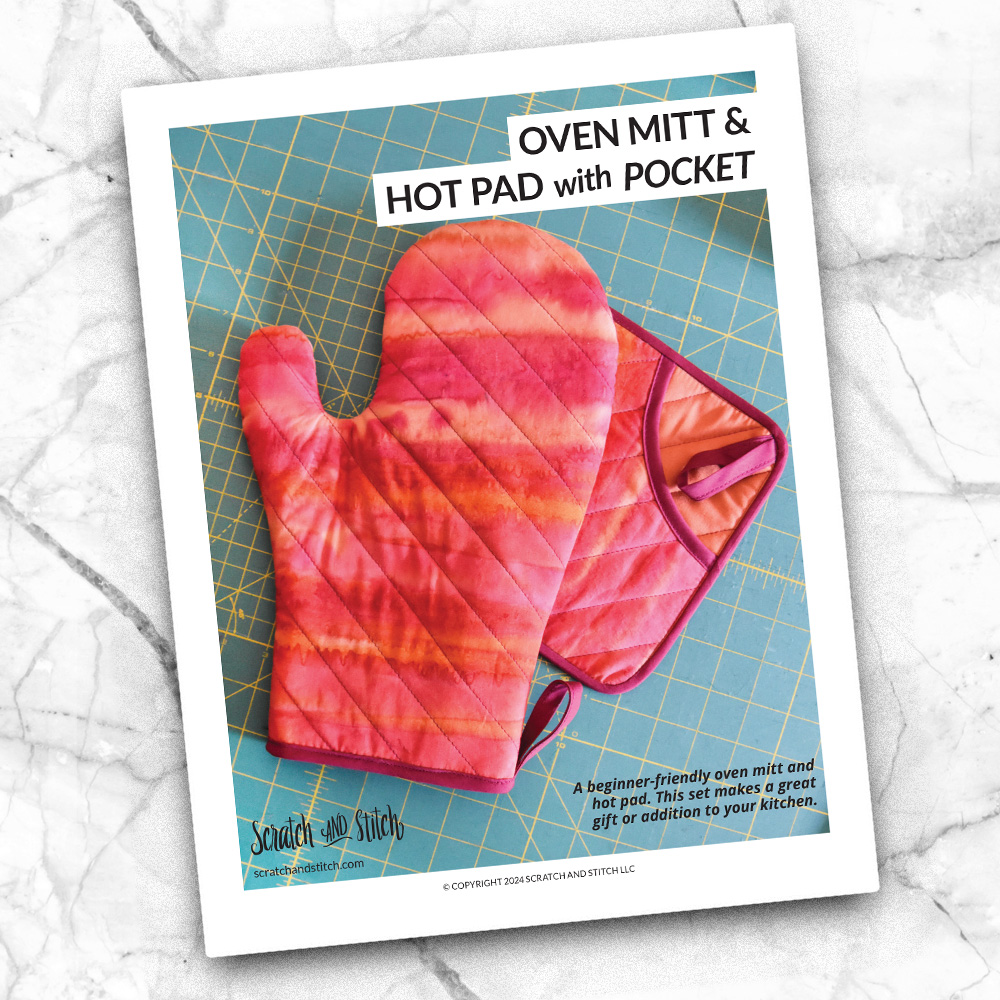
Easy Oven Mitt & Hot Pad Sewing Pattern
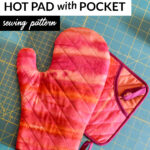
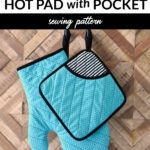
A beginner-friendly oven mitt and hot pad (with a pocket).
This set makes a great gift or addition to your kitchen.
When my favorite oven mitt was on its last leg and needed to be replaced, the best way to get an oven mitt that fits my hands well was to make one myself. Of course, it needed a companion hot pad (with a pocket to use it like an oven mitt). This beginner-friendly oven mitt and hot pad sewing pattern set hit the mark! Over a lengthy text thread, my mom (a retired Occupational Therapist) and I shared our pros and cons of some store-bought oven mitts. We came up with a design that fits our long fingers yet isn’t too bulky and still fits the thumb. The space between the thumb and pointer finger is needed to ensure a good grip on hot pan handles and the sides of a cake pan—the thumb design and the space between required a few trial-and-error attempts to get right. Several trips were made between the studio and kitchen to test the holdability of hot dishes.
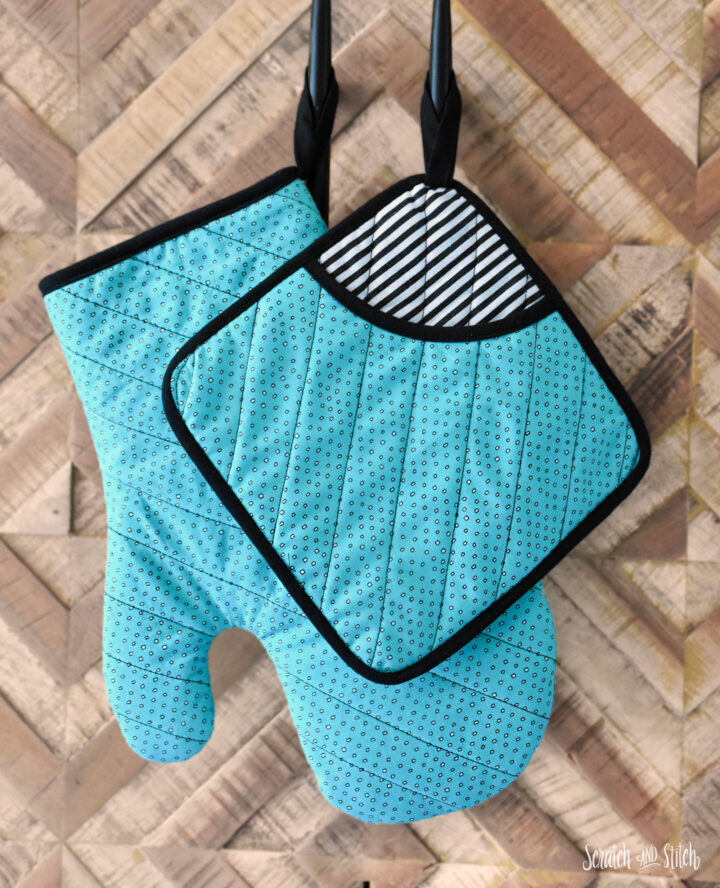
A Beginner-Friendly, Easy Sewing Pattern
Whether you’re new to sewing or a novice behind the presser foot, easy sewing patterns are an excellent choice for your next sewing project. Many of my simple sewing projects cover several basic sewing skills and techniques that are used in sewing. (Did you see my Sewing 101 Video?) Starting with sewing projects that are manageable and enjoyable helps create a seamless sewing experience. Easy sewing patterns are perfect for beginners to build confidence and skills without feeling overwhelmed and frustrated. This oven mitt and hot pad with a pocket sewing pattern uses several sewing skills and creates an excellent end product. After your first run, you’ll want to make these in batches.
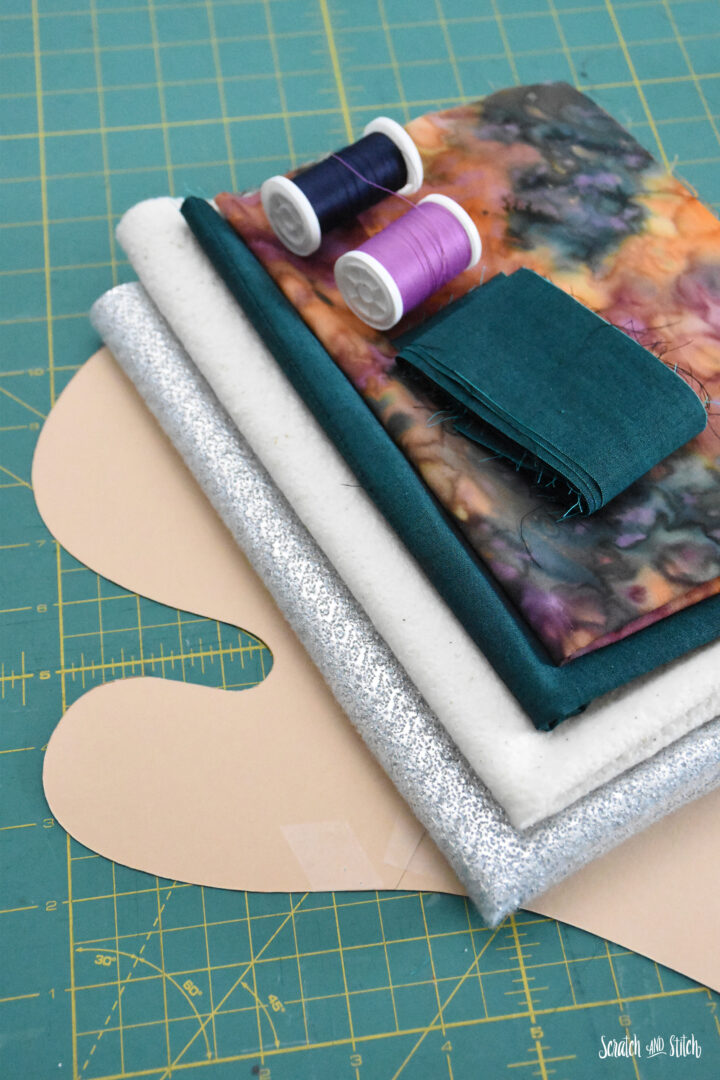
Materials for the Oven Mitt and Hot Pad Sewing Patterns
For the Outside:
COTTON! Yes, I’m yelling that in all caps. Bust out those pretty quilting cotton fabrics from your stash to make this simple oven mitt and hot pad set. Make sure to use the COTTON thread and COTTON bias tape, too. Synthetic or polyester materials will melt when exposed to the high heat of dishes coming out of from the oven. While cotton can burn, it will not melt to the side of your favorite casserole dish or sauté pan like synthetic materials will. Did I mention that you should use COTTON?
On the Inside:
In between the layers, we’re using cotton batting and insulated batting. While I’ve written the pattern for two layers of cotton batting, you can use just one layer. The cotton batting adds an extra layer between the heat and your hand and adds a layer to absorb moisture. The insulated batting is used nearest to your hand, and the cotton batting is closest to the exterior of the oven mitt and hot pad. I like this cotton batting by the Warm Company and this insulated batting by Pellon. Insul-Bright is another great insulated batting, but it comes with a crinkle sound.
!!! Please make sure to read and follow the instructions included in the insulated batting! Due to the metallic layer used in insulated batting, it is NOT MICROWAVE SAFE!
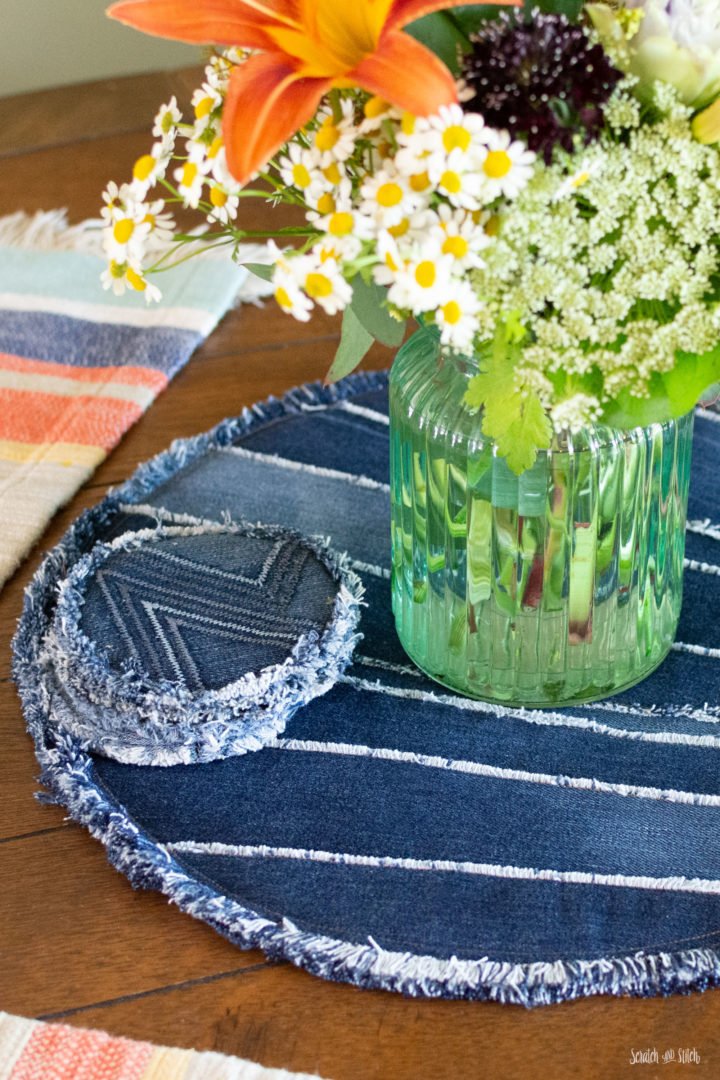
Upcycled Tabletop Textiles
Learn how to make a set of Denim Drink Coasters and Denim Placemats to match. This matching set will surely be a topic of conversation at the table!
Recommended Sewing Tools for this Simple Sewing Project
While not all of these tools are required for this sewing pattern, these are my favorite tools that help make this simple sewing project even more effortless.
- Sewing Machine: A sewing machine will make sewing the oven mitt and hot pad a breeze. Any domestic or home sewing machine should efficiently complete this set.
- Sewing Needle: Always use the correct needle for your project. Remember, the type of needle is for the fabric, and the size is for the thread.
- Sewing Thread: COTTON! Gutterman’s 50-weight cotton thread is my go-to for simple quilting cotton sewing projects like this.
- Presser Feet: For construction, a standard presser foot will work wonders. My machine is most often equipped with a 1/4″ Teflon presser foot. While the non-stick Teflon is not required for cotton fabrics, it’s just my favorite foot. Your standard foot should work well here, too, for quilting, but a quilting foot is even better. With a standard pressure foot, you may need to adjust your foot pressure so the layers slide under evenly. A quilting foot will walk those layers smoothly through your machine and minimize any shifting.
- Sewing Pins or Sewing Clips: Are you team sewing pins or sewing clips? I use both for the Oven Mitt and Hot Pad Sewing Pattern and most of my other easy sewing patterns and projects.
- Rulers: Most sewists have a collection of rulers in their toolbox. Different-sized rulers are better for different uses. Aside from cutting fabric using a 24″ x 6″ quilting ruler, my 12″ x 2 1/2″ and 6″ x 1″ rulers are used most with this sewing pattern.
- Fabric Scissors: At my sewing table, I use gold-handled 8″ Gingher fabric shears and Fiskars Micro-Tip Scissors.
- Fabric Marking Utensil: Any water-soluble fabric marking tool will work well with this project. I like this water-soluble marking pencil by Dritz.
- Stiletto Tool: If you have yet to use a stiletto tool when sewing (especially when sewing cotton), you are missing out! This fantastic little tool makes sewing a breeze and keeps your fingers out from under the presser foot and needle. This ByAnnie.com Stiletto Tool is my absolute favorite tool in my sewing kit.
How to Sew Your Oven Mitt and Hot Pad Set
While the detailed step-by-step instructions are included in the purchased sewing pattern, here’s a brief overview of the process to give you an idea of how easy it is to create your own oven mitt and hot pad set:
- Cutting the Fabric: You’ll begin by cutting out the fabric pieces according to the pattern’s cut chart. You’ll need both the outer fabric and the lining, bias tape, and batting for insulation.
- Assembling the Layers: Layer the fabric pieces with the batting in between according to the instructions, ensuring everything is aligned correctly.
- Adding Quilted Lines for Structure and Design: The pattern includes instructions for simple diagonal quilting lines spaced 1″ apart. Adding the quilted lines will help with the structure and add a nice design element. Plus, who doesn’t love some good quilting lines?!
- Cutting out the Pattern Pieces: Once you’ve quilted your layers, you will trace and cut out the pieces using the pattern pieces included with the sewing pattern.
- Sewing the Mitt and Pad: Using straightforward stitching techniques, you will sew the layers together. The pattern provides clear instructions on how to handle the curves and corners for a polished finish.
- Adding the Pocket: The hot pad includes a handy pocket, making it versatile enough to use as an oven mitt. Follow the simple instructions to attach this pocket securely.
- Finishing Touches: Finally, finish the edges with bias tape using my easy-to-follow sewing pattern instructions. You will also add a handy loop for hanging.
RELATED: Get organized with these 40 DIY Basket, Bins, and Bowl ideas.
How to Make a Oven Mitt Video Tutorial
Learn how to make this easy oven mitt with our beginner-friendly sewing pattern! This sped-up, abbreviated video tutorial pairs with the step-by-step instructions included in the downloaded pattern.
How to Make a Hot Pad with Pocket Video Tutorial
Create a custom hot pad with a handy pocket using our beginner-friendly sewing pattern! This sped-up tutorial walks you through each step to make a custom hot pad that doubles as an oven mitt.
Beginner-Friendly Sewing
This simple oven mitt sewing pattern and hot pad with a pocket sewing pattern is perfect for beginner sewists. The clear, well-written instructions make creating this set a breeze. The accompanying video will walk you through each step and includes tricks for a successful and easy-going project. Quilting cotton is one of the most widely used fabrics, and this oven mitt and hot pad set are a great way to show off some of those beautiful fabrics you may already have in your stash. The pattern only uses a little fabric, making this an excellent scrap-buster project. The techniques used in this beginner sewing project are some of the most essential skills used in sewing. Once you have tried (you don’t even need to master the skills), you can move on to experimenting with more advanced techniques and customizations.
Ready to Start Sewing?
This beginner-friendly oven mitt and hot pad sewing pattern set is the perfect project to start your sewing journey while adding a practical item to your kitchen (or someone else’s). With this pattern, you’ll create a functional kitchen accessory that everybody can use and gain confidence and basic sewing skills. Get the Easy Oven Mitt and Hot Pad with Pocket Sewing Pattern here.

Easy Oven Mitt & Hot Pad Sewing Pattern
A beginner-friendly oven mitt and hot pad (with a pocket).
This set makes a great gift or addition to your kitchen.
Have you made any Scratch and Stitch sewing patterns? Let’s see it!
Tag @scratchandstitch on IG, FB, and TikTok. You can also email pics of your creations.
Leave a Reply