This post may contain affiliate links.
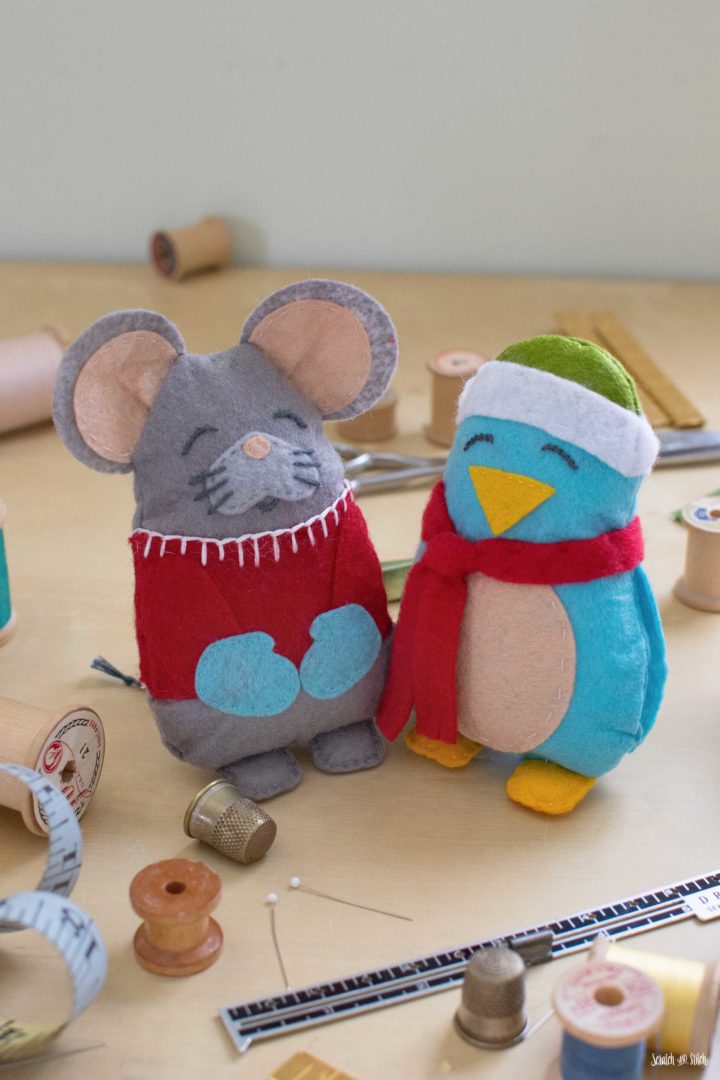
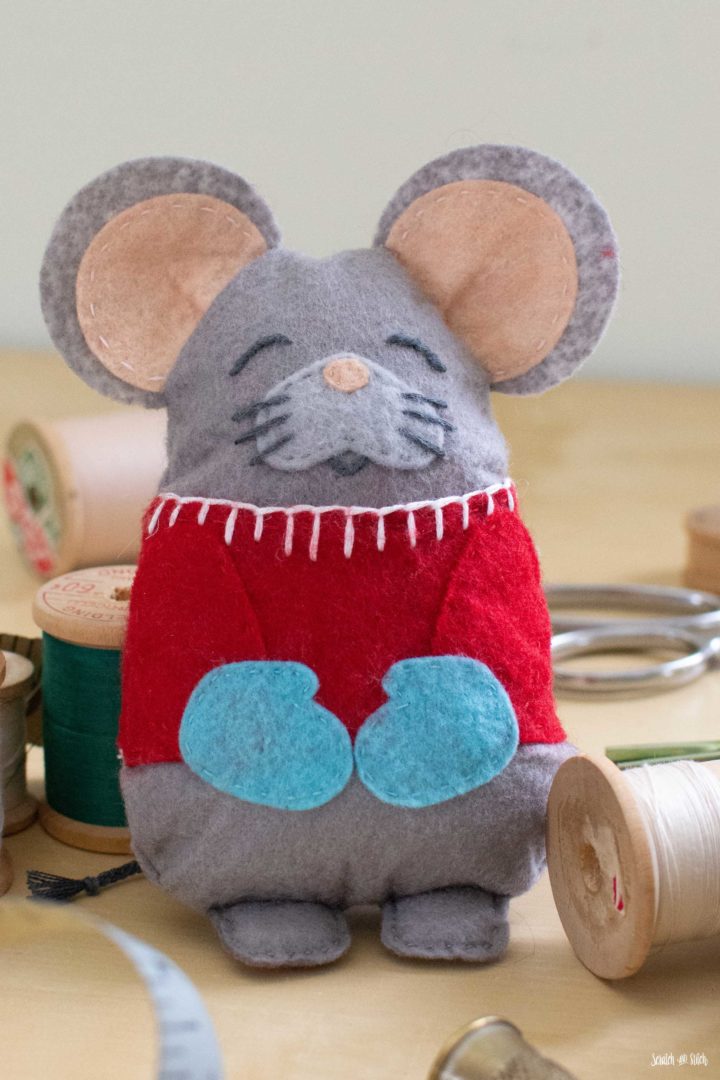
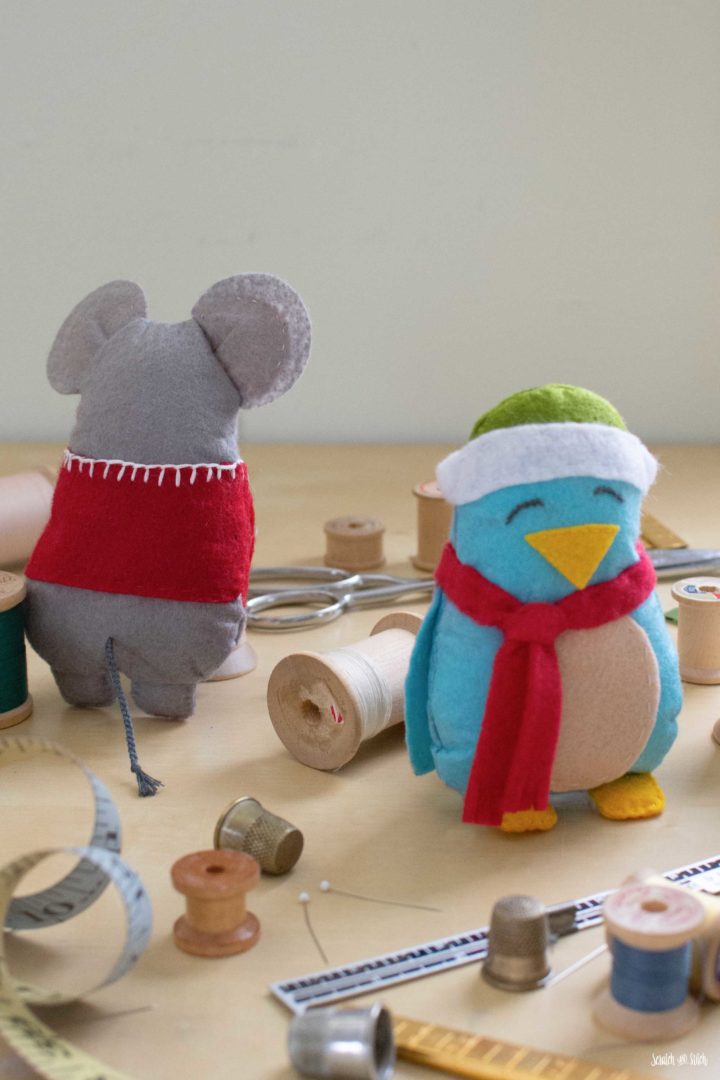
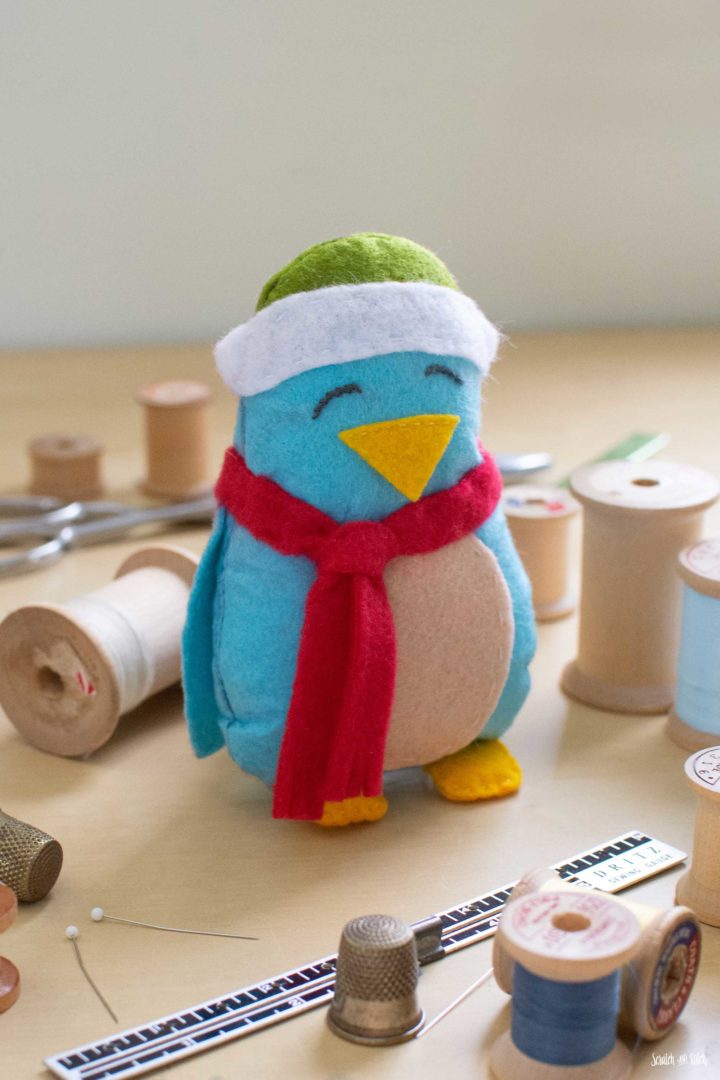
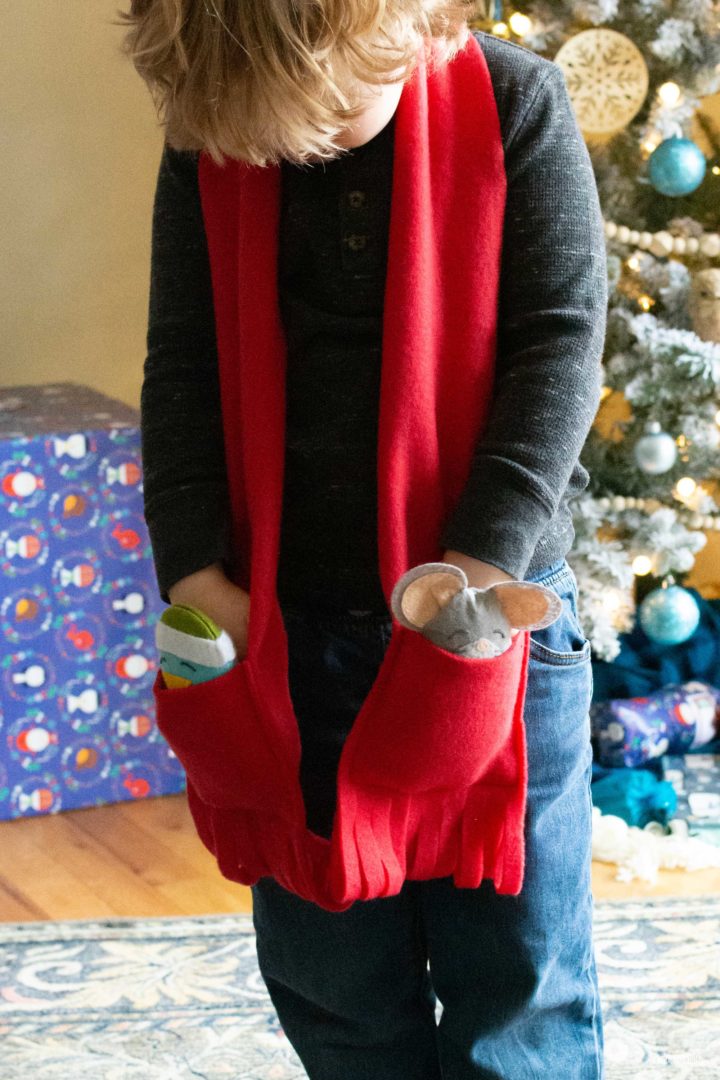
Say hello to the Pocket Mouse and Pocket Bird, the newest members of my stuffed animal sewing patterns. The unlikely pair are the best of friends but be careful, they’re known to be found scurrying around in the most curious of places. They’re a great size for little hands! You can make your own (or help someone new to sewing) with my free sewing patterns and detailed tutorial.
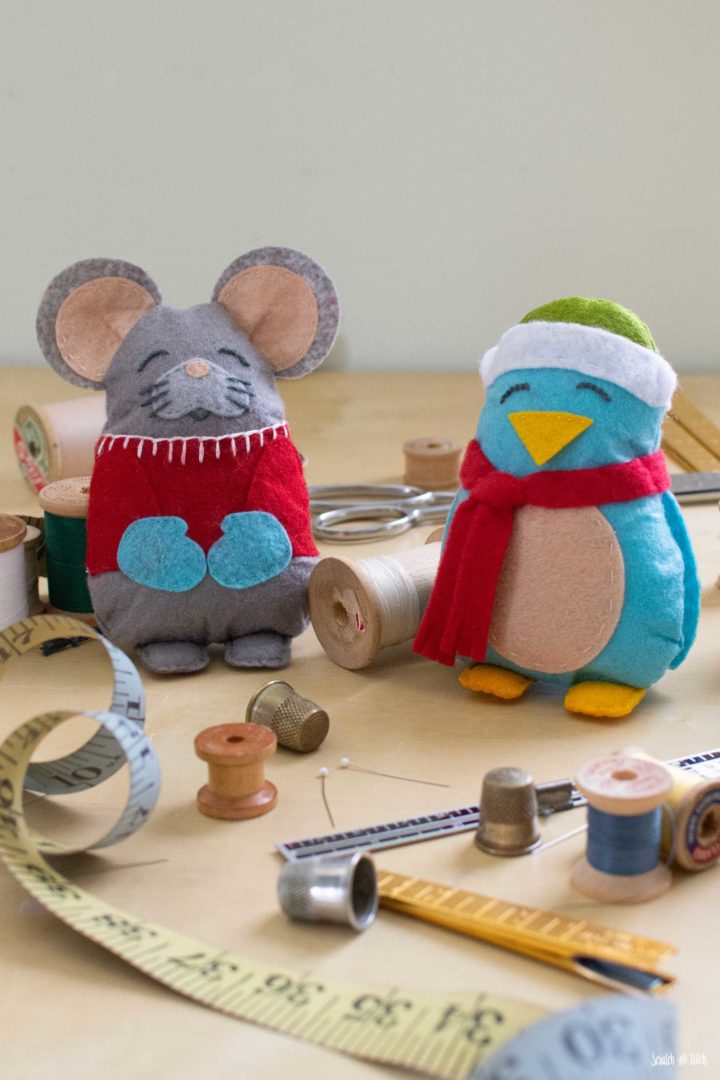
The pocket bird and mouse are great stuffed animal patterns for beginner sewists and children to get started sewing plush toys. These plush creatures can be sewn completely by hand. Make it your own design by adding extra details with embroidery or other details.
How to Use the Mouse and Bird Stuffed Animal Sewing Patterns
The stuffed animal patterns can be hand-cut by tracing the patterns piece onto fabric or use a Cricut machine (or equivalent) to cut the fabric pieces. However you cut your fabric, the assembly steps are the same.
Small Bird and Mouse Stuffed Animal Patterns
Download includes printable .PDF pattern and .SVG template files.
Enter your email to get the free pattern in your inbox.
By submitting your email address you will be added to the Scratch and Stitch email newsletter. You can opt-out at any time :)
Materials
Both the bird and mouse stuffed animal patterns require mostly the same materials.
- felt or fleece fabric (I used Cricut Felt Summer Sky Sampler, plus other scraps)
- embroidery thread (faces and extra details)
- cord, yarn, or heavyweight thread (for mouse tail)
- disappearing fabric pen
- poly-fil (or other stuffing material)
- coordinating thread
- basic sewing tools and supplies
Cutting the Stuffed Animal Patterns by Hand
Print the .PDF paper pattern at 100%. Cut out all paper pattern pieces. You can trace the pattern pieces onto the fabric and cut them out, or you can pin the paper pattern pieces to the fabric and cut around. Either method works well for these stuffed animal patterns. Follow the cut list included in the printable pattern or below for each animal.
Cutting the Stuffed Animal Patterns on a Cricut
Import the .SVG file into Cricut Design Space. All pattern pieces are sorted by the colors shown in the pictures here.
Send the file to your Cricut Maker and prep your mats. For felt or fleece fabrics, use your FabricGrip Mat and fine point blade. Choose the correct materials that correspond to your fabrics and send it to your Maker.
Making the Pocket Mouse Stuffed Animal
Cut the fleece or felt fabric with your chosen method. Check the cut list below and ensure you have all the pieces you need.
Mouse Cut List
- 2 body
- 2 shirt
- 2 outer ears
- 2 inner ears
- 1 nose
- 1 snout
- 2 mittens
- 2 arms
- 4 feet
- 6″ cord, yarn, or heavyweight thread for tail
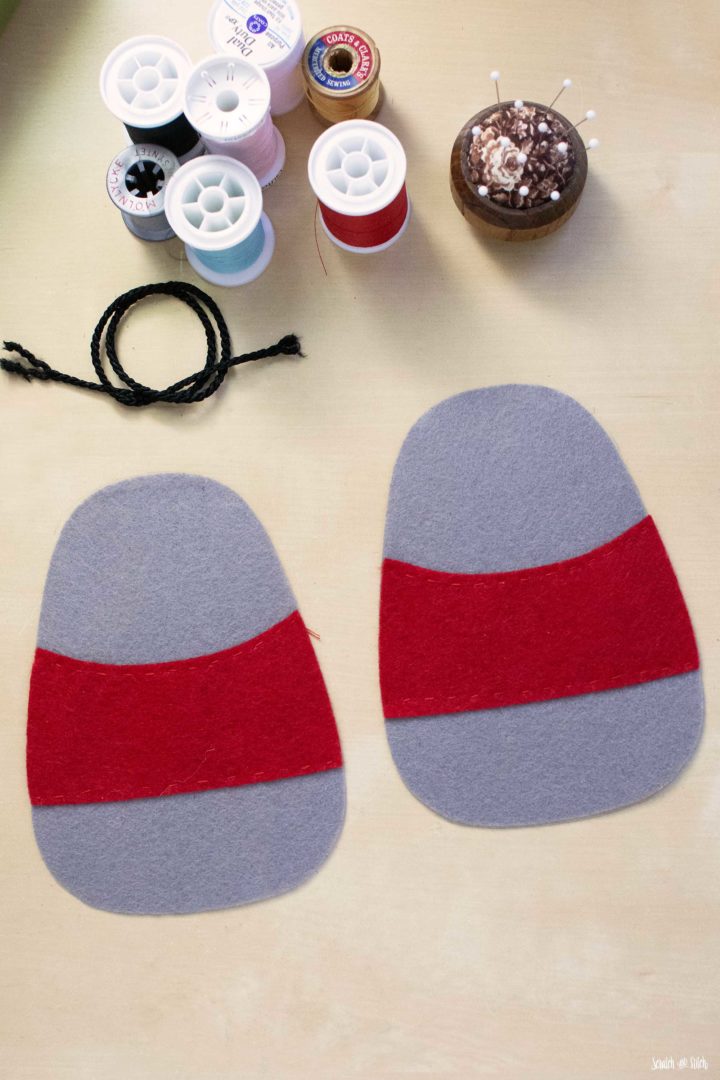
Using a running stitch, sew the shirt front and back to the front and back mouse body pieces. Ensure they are in the exact same place on each body piece so they will align when the body pieces are put together later.
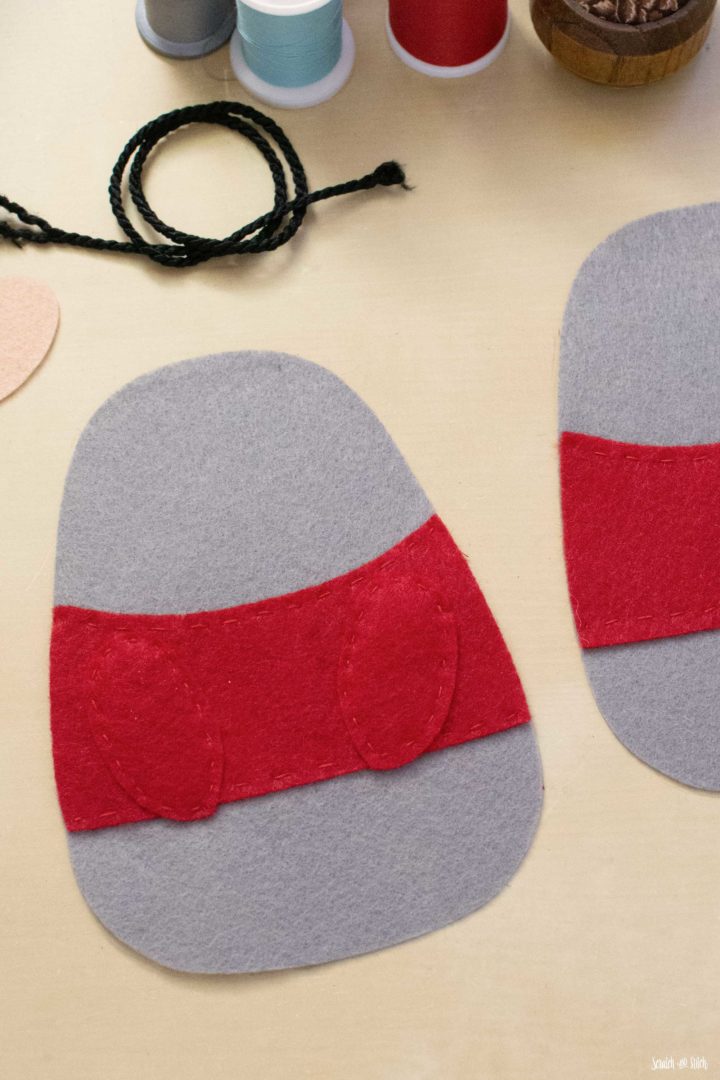
Test the placement of the arms and mittens. Sew both arms pieces to the front body piece.
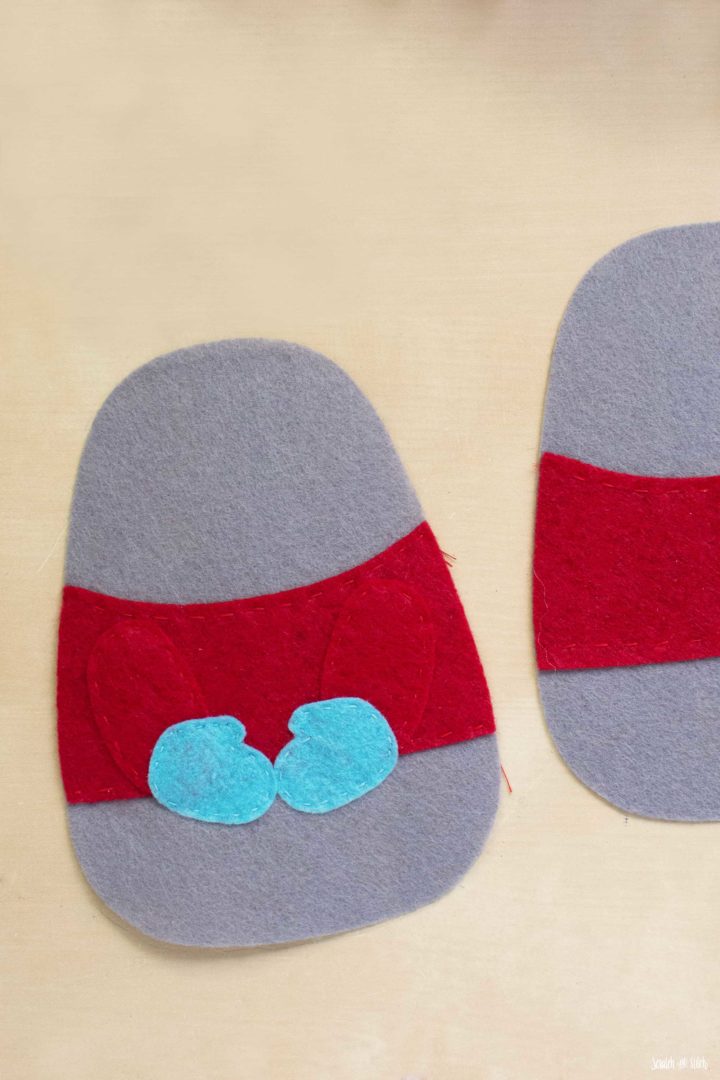
Sew the mittens on to the arms.
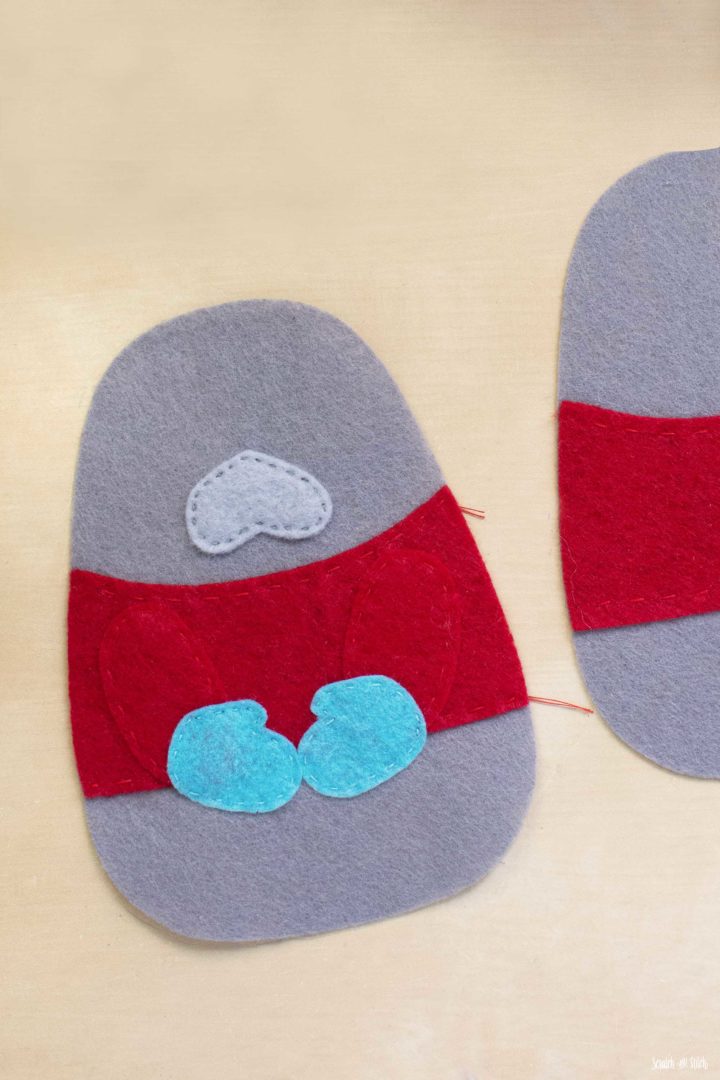
Add the snout piece to the face, followed by the nose.
Use a disappearing fabric pen to draw in the eyes and mouth. Using embroidery thread and a stem stitch, add the eyes and mouth. For the whiskers, one single long stitch will do.
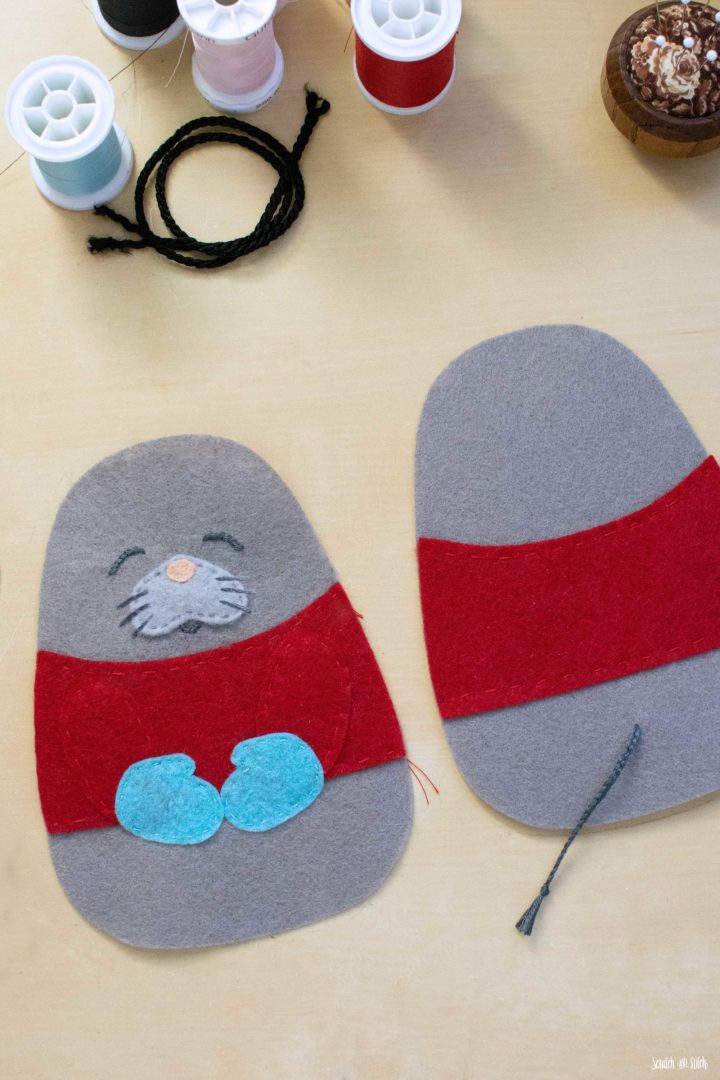
Add the tail to the back body piece. I braided some embroidery thread to match the face and tied a knot at the end. Thread your tail onto a needle and poke through the back. Tie a large knot on the wrong side of the back body piece to ensure it cannot pull out.
For the ears, place one inner ear on top of one outer ear so the sides of the circle touch. Sew together starting and stopping where the circle edges meet. Repeat with the other ear.
Sew one foot piece to another foot piece leaving one short edge open for stuffing. Repeat with the second foot. Place a small amount of poly-fil into each foot piece to give them some dimension.
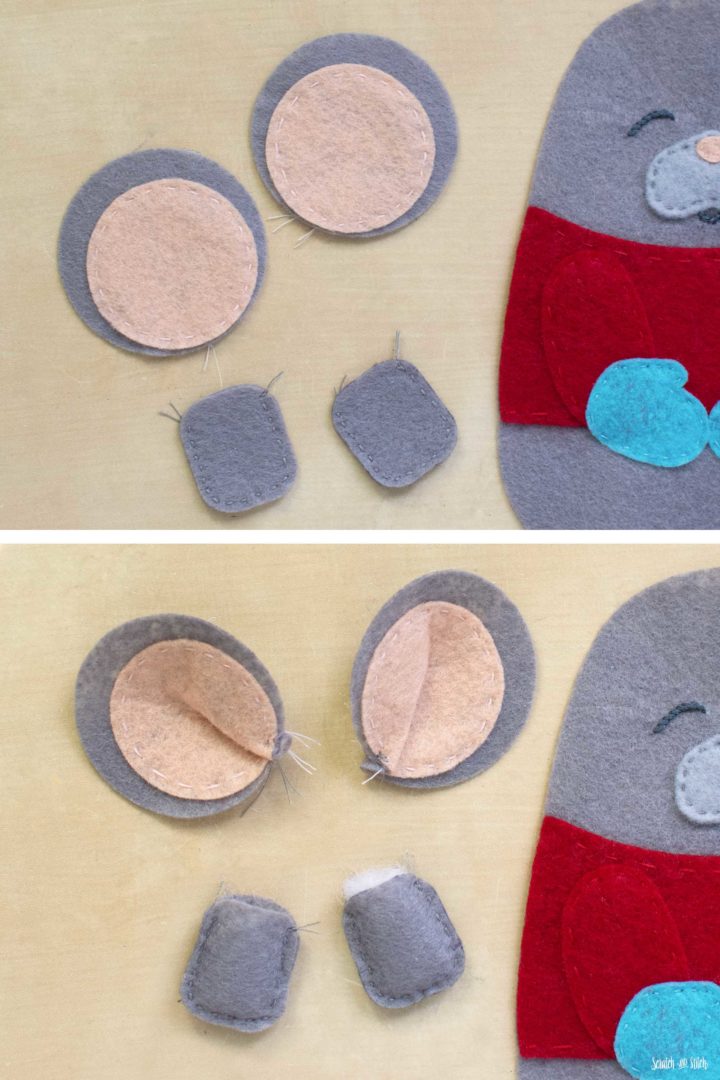
Make a small fold in the ears so they slightly curve like a bowl (see picture). The ears should crease opposite of one another. Add a stitch at the edge to hold the fold. Set aside.
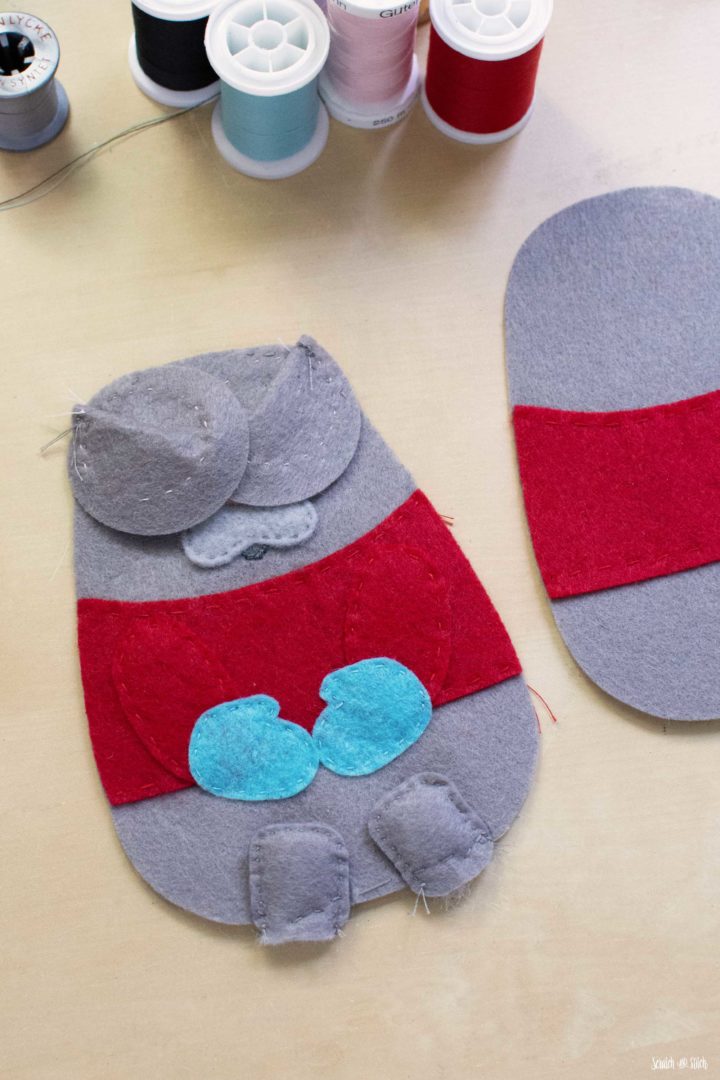
Place the feet and ears right sides down on top of the front body piece. Pin and add a few stitches at the edge to hold in place.
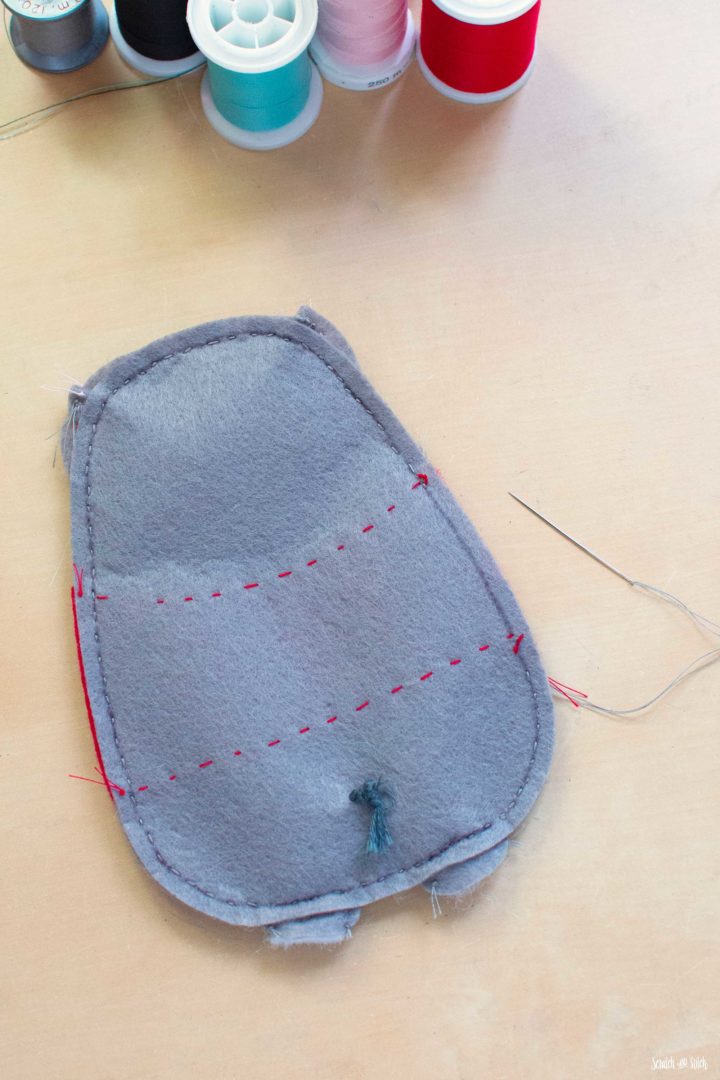
Place the front body piece right sides facing to the back body piece. Check that the shirt aligns on the front and back. Make sure the tail ins pulled up out of the seams. Clip or pin around the edges. Sew around around the edges with a 1/4″ seam allowance, leaving an opening on one side of the body for turning and stuffing. Make sure to secure your threads at the beginning and end of stitching, so it does not come undone when turning right side out.
Clip the seam allowance at the curves. This will help the curves lay flat.
Carefully turn the mouse right side out. It helps to start by pushing the ears out of the hole first, followed by the rest of the body and feet.
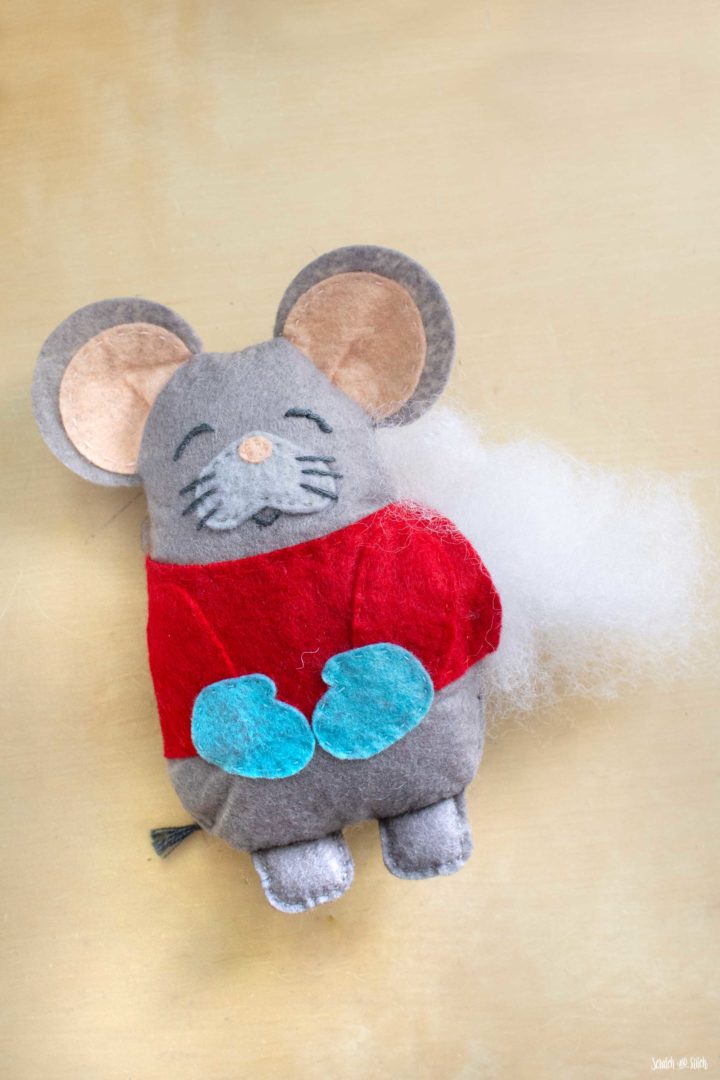
Fill the mouse with Poly-fil. Don’t overstuff, a nice plump but flat mouse body will do.
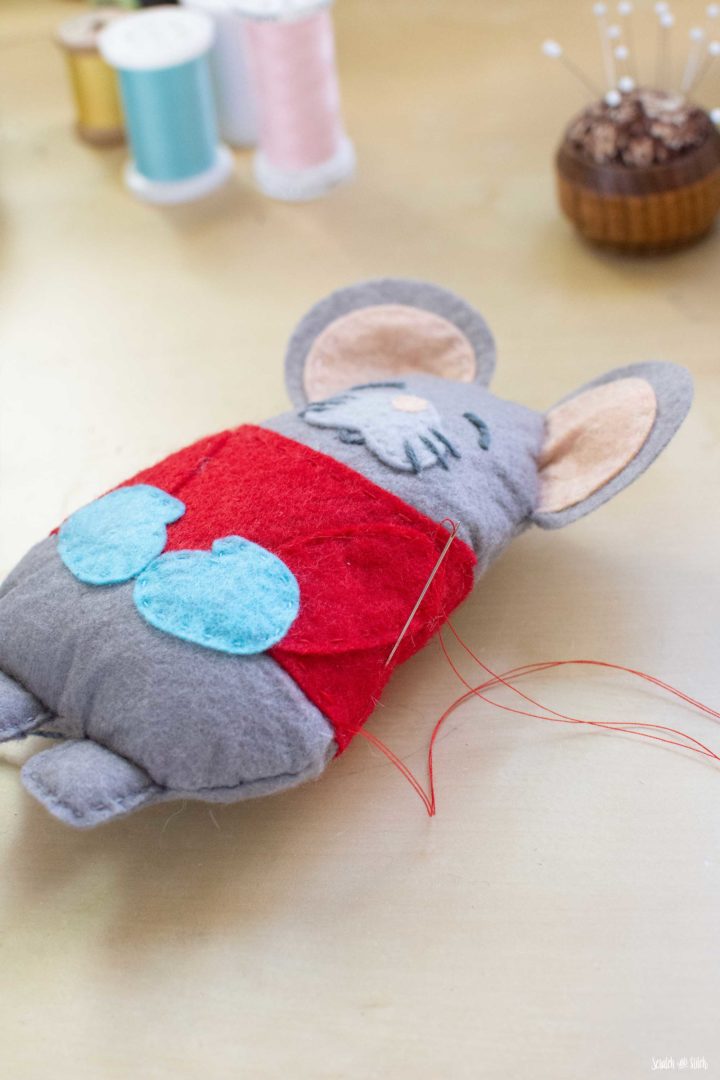
At the opening, fold the seam allowance inside 1/4″ and pin to hold. Close the hole with an invisible stitch/ladder stitch. See: How to Sew an Invisible Stitch or Ladder Stitch.
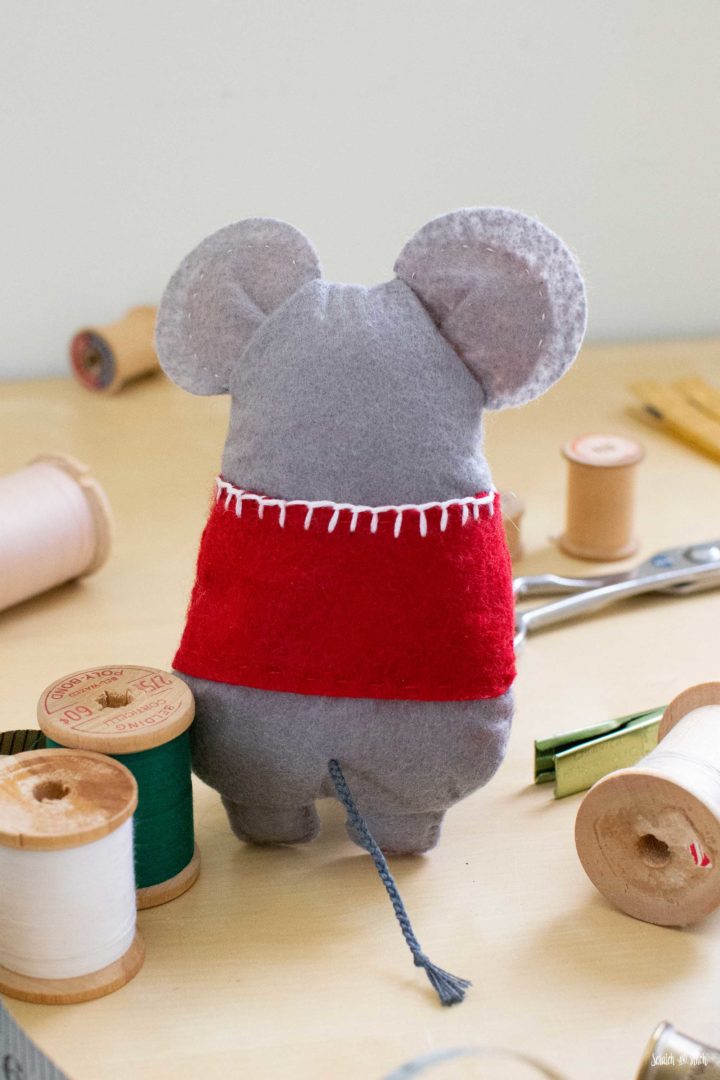
Squeek squeek! This little guy was just one of the culprits found playing with the vintage wooden spools in my sewing studio.
Keep reading to learn how to make the Pocket Bird.
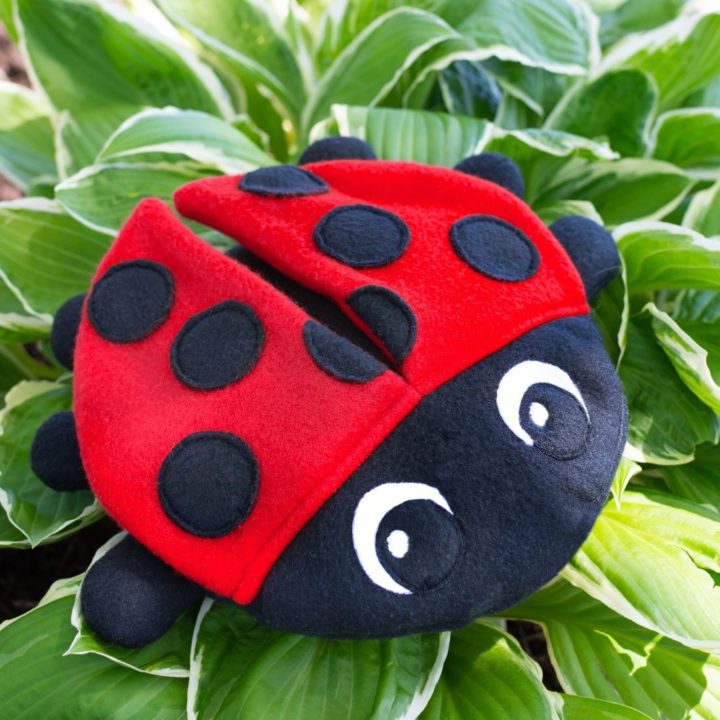
Ladybug Plush Sewing Pattern
This garden favorite beetle is an easy stuffed animal sewing pattern that any level of sewist can make.
Making the Pocket Bird Stuffed Animal
Cut the fleece or felt fabric with your chosen method. Check the cut list below and ensure you have all the pieces you need.
Bird Cut List
- 2 body
- 1 belly
- 1 hat front
- 1 hat back
- 2 hat brim
- 1 beak
- 4 wings
- 4 feet
- 15″ X 1/2″ fleece (for scarf)
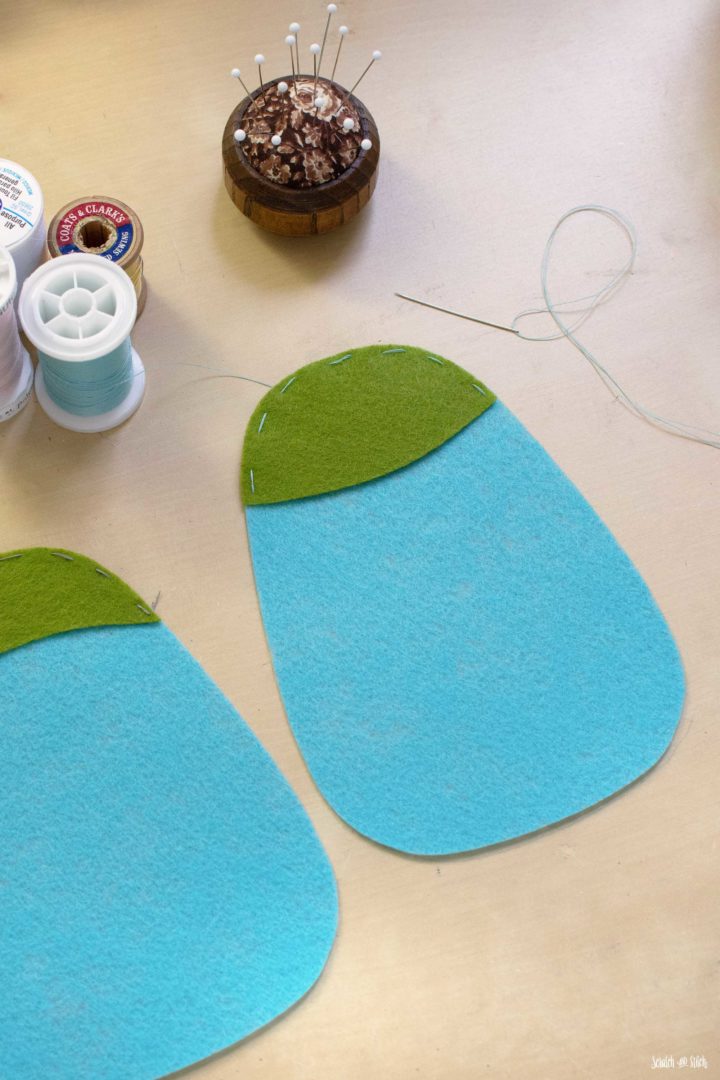
Place the hat front piece onto the top of one body piece and sew along the top edge with a running stitch at 1/8″ seam allowance. Place the hat back on top of the other body piece and sew along the top edge with a 1/8″ seam allowance. The bottom edges of the hat pieces do not need to be sewn as they will be covered with the hat brim later, however it is okay to sew them if you’d like.
Test the beak, hat brim, and belly placement. Sew the belly in place.
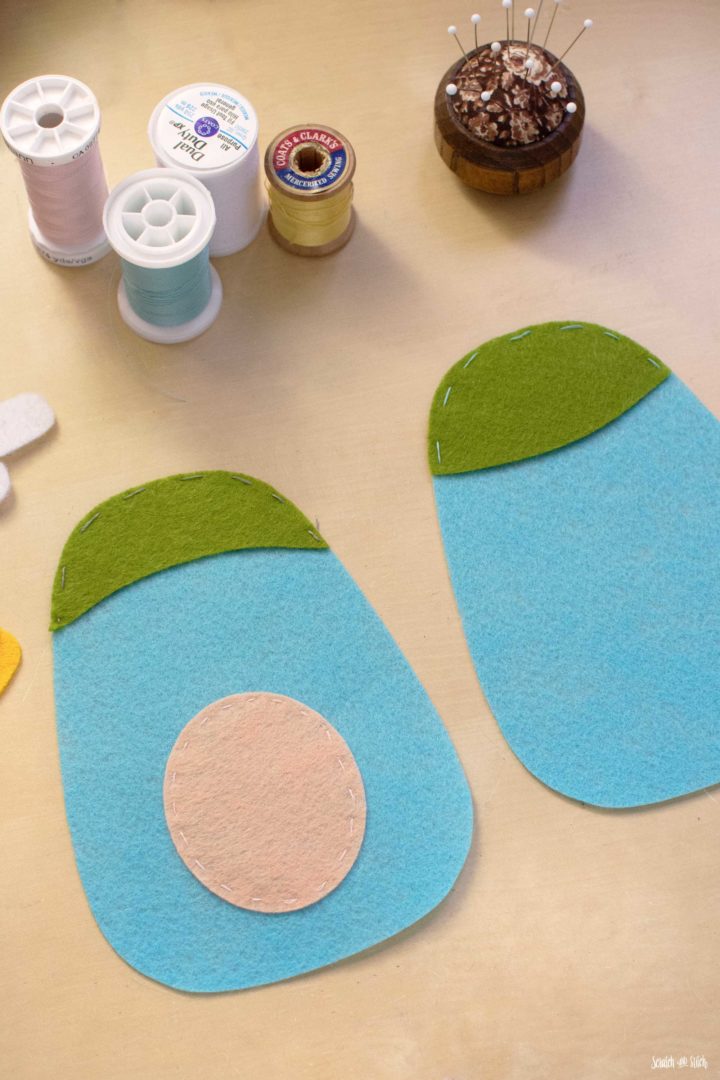
Place the beak and sew only along the top edge.
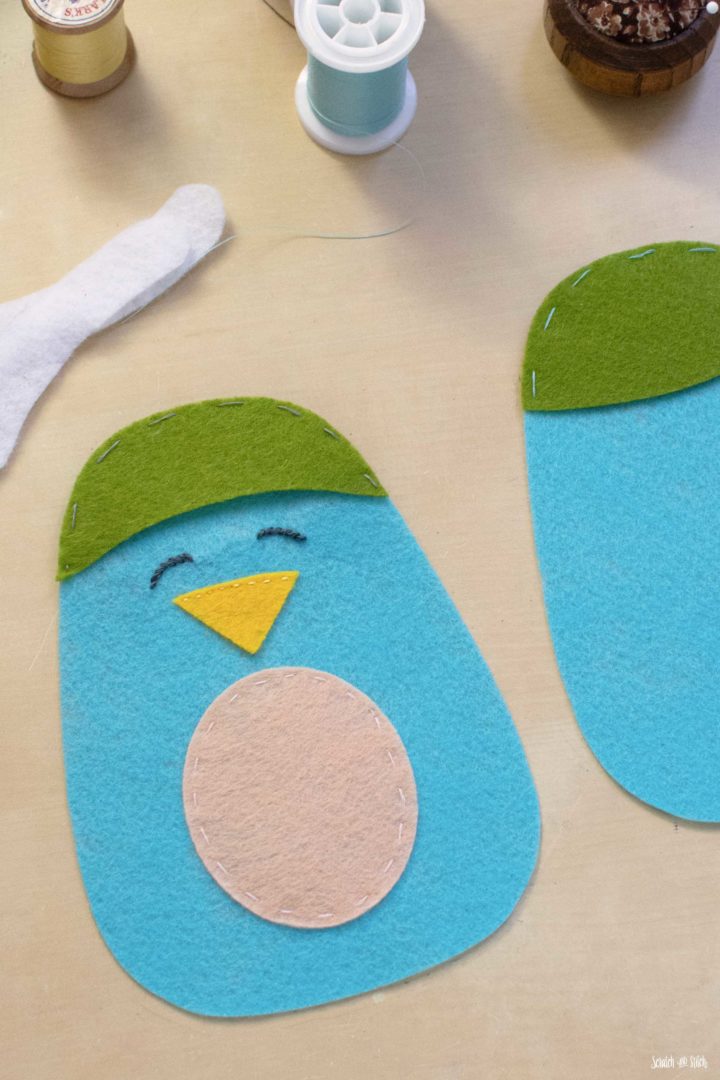
Draw the eyes in with a dissappearing fabric pen. Using embroidery thread, stitch the eyes with a stem stitch. See: How to Stem Stitch.
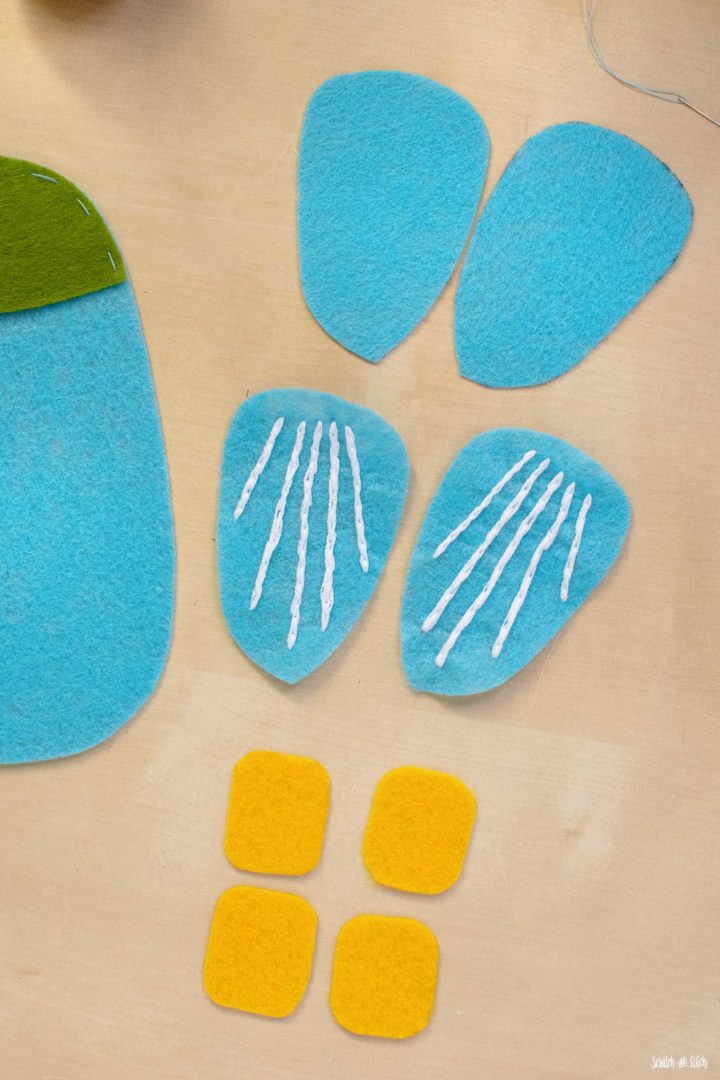
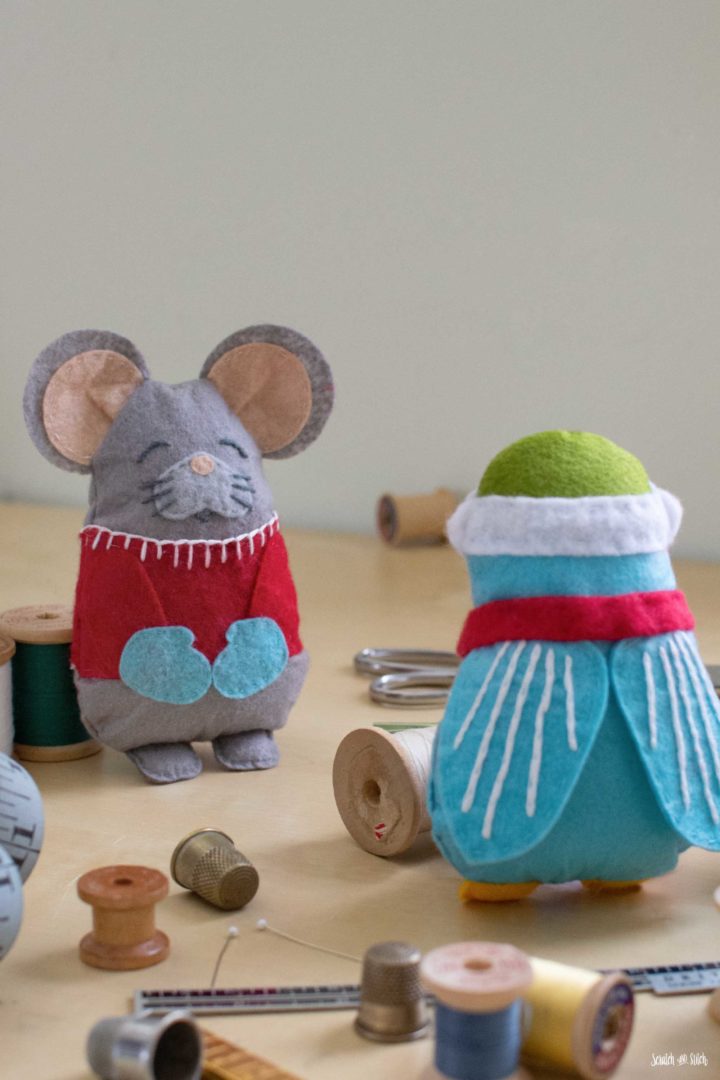
Adding embroidery details onto the wings is optional. I do recommend making the wings double layered.
On the two wing pieces, draw your wing designs. I chose five straight lines stitched with a chain stitch. Get creative with your wing designs.
After your designs are complete, place the other wing pieces onto the backs and sew around the edges.
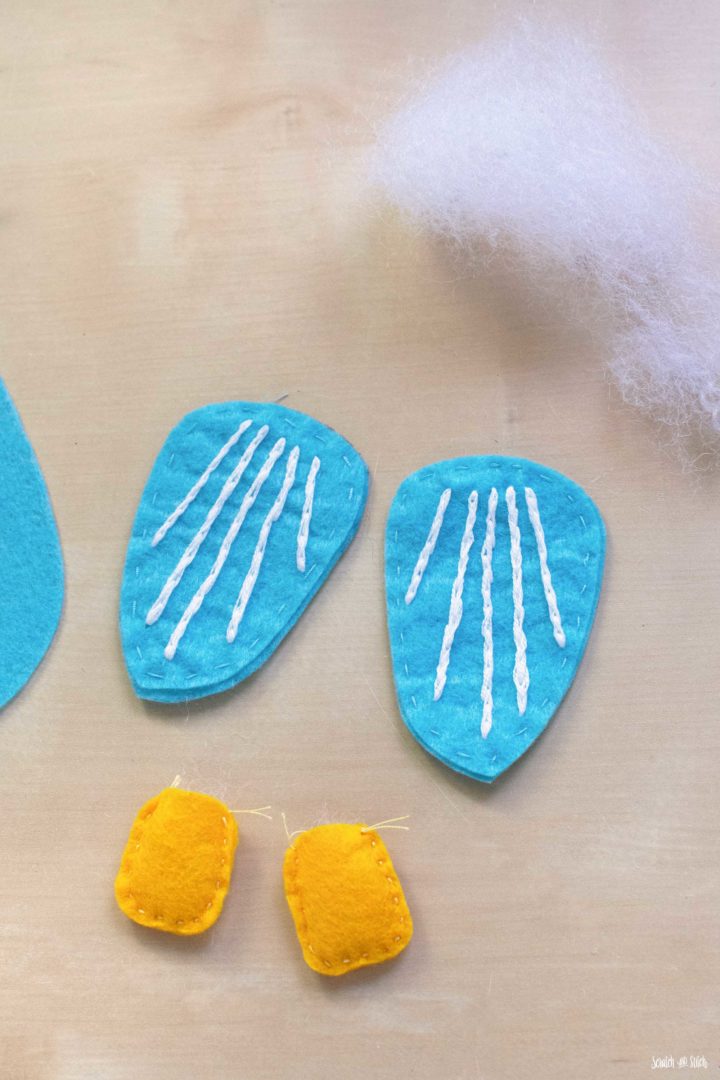
Place one foot piece on top of another foot piece and sew around the edge leaving one short side open for stuffing. Add a small amount of Poly-fil into the feet.
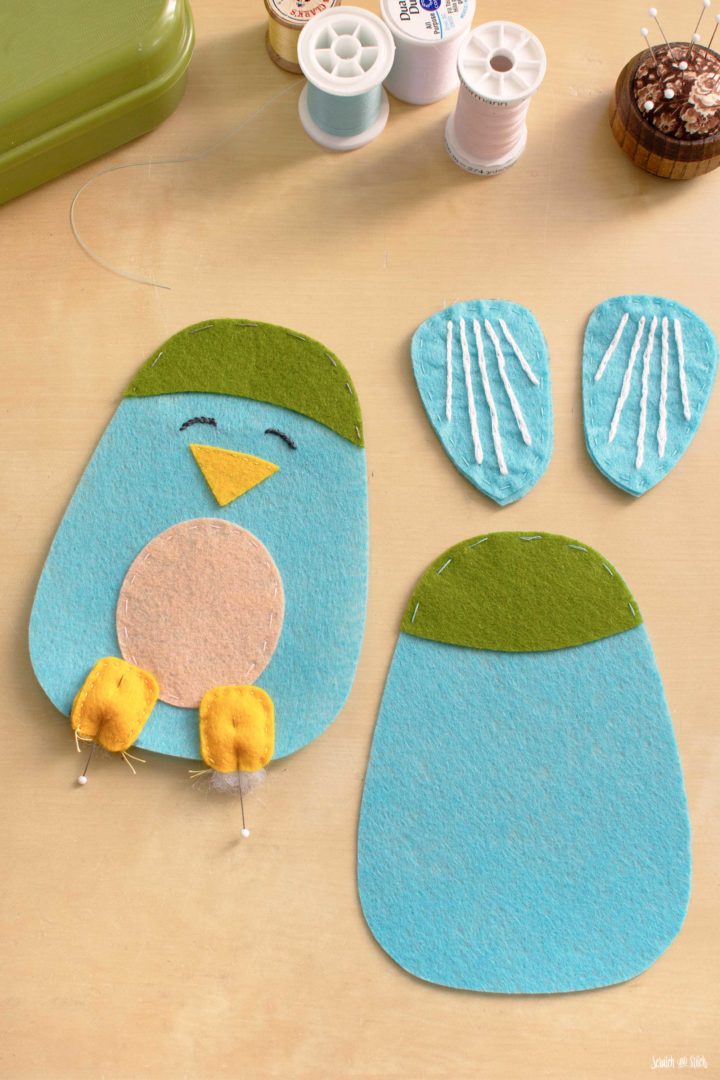
Place the feet onto the front body piece with right sides facing and the feet are pointing towards the belly. Pin and sew in place to hold.
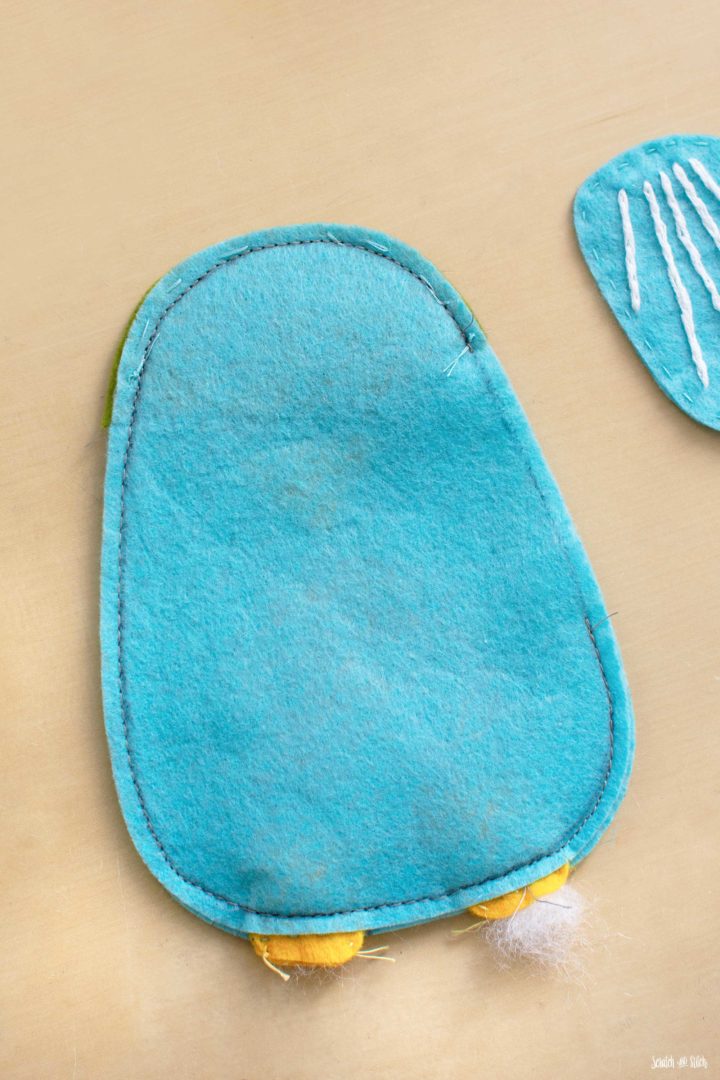
Place the front body piece on top of the back body piece with right sides facing. Pin or clip to hold. Sew around the perimeter with a 1/4″ seam allowance, leaving an opening at the side, and making sure to secure your stitches at the beginning and end of the opening. This will ensure it does not come undone when turning right sides out.
Clip the seam allowance at the curves around the head and bottom corners.
Flip the bird right sides out and stuff with Poly-fil. Do not over stuff. She should be plump but not stiff.
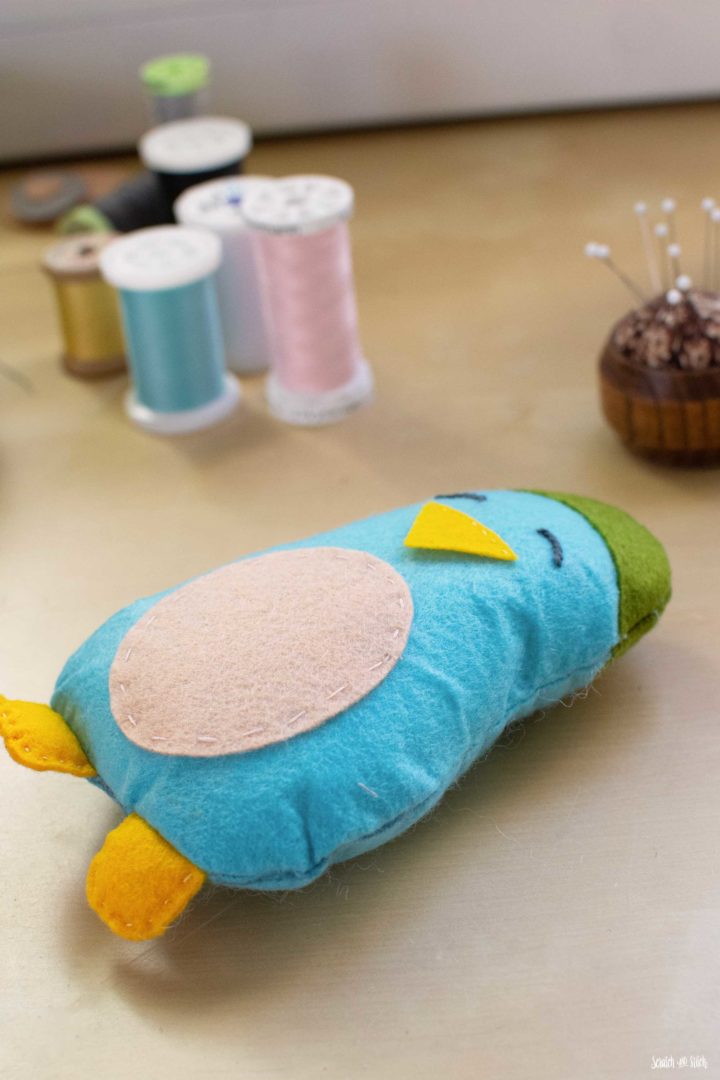
At the opening, turn the seam allowance inwards, pin, and sew closed with a ladder stitch.
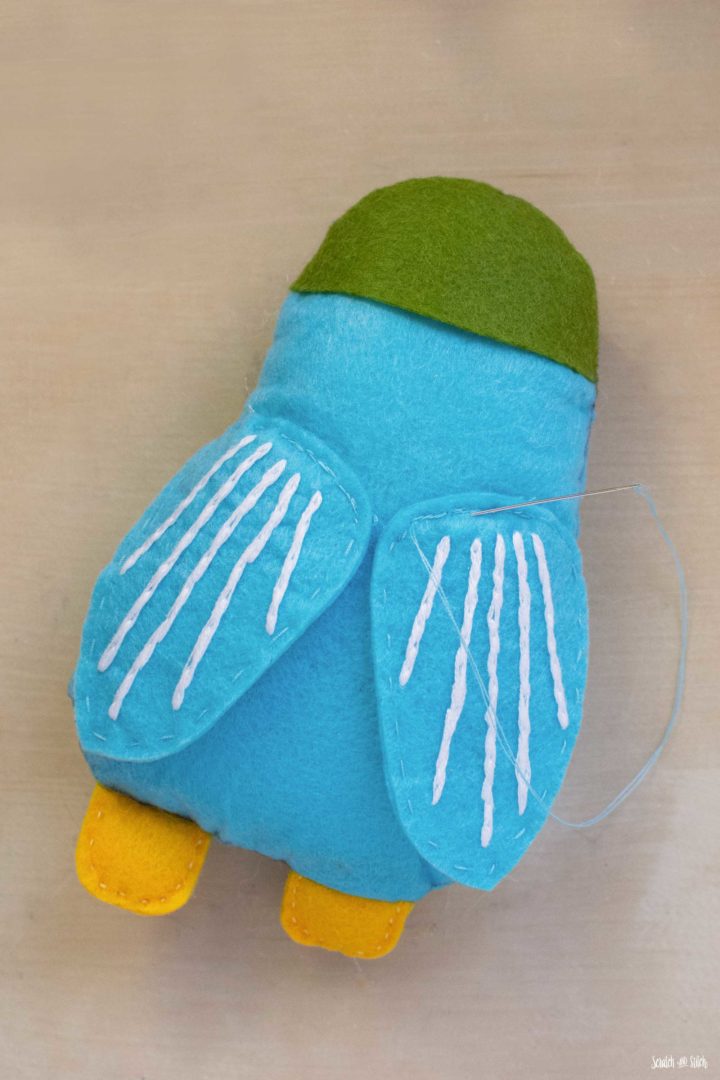
Place the wings onto the back of the bird and pin in place. Sew along the top edge of the wings. I recommend sewing a running stitch twice to make sure the wings are extra secure.
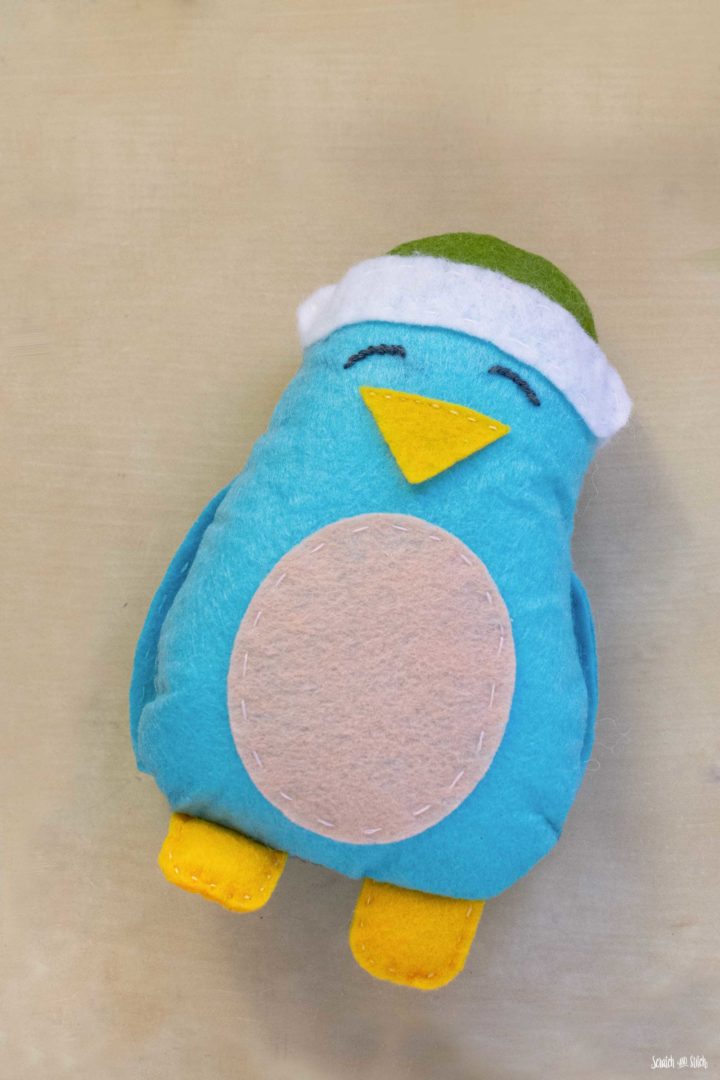
Place the hat brim onto the front and back and pin in place. Sew the hat brim to the front and back sides allowing the sides of the brim to hang over the sides.
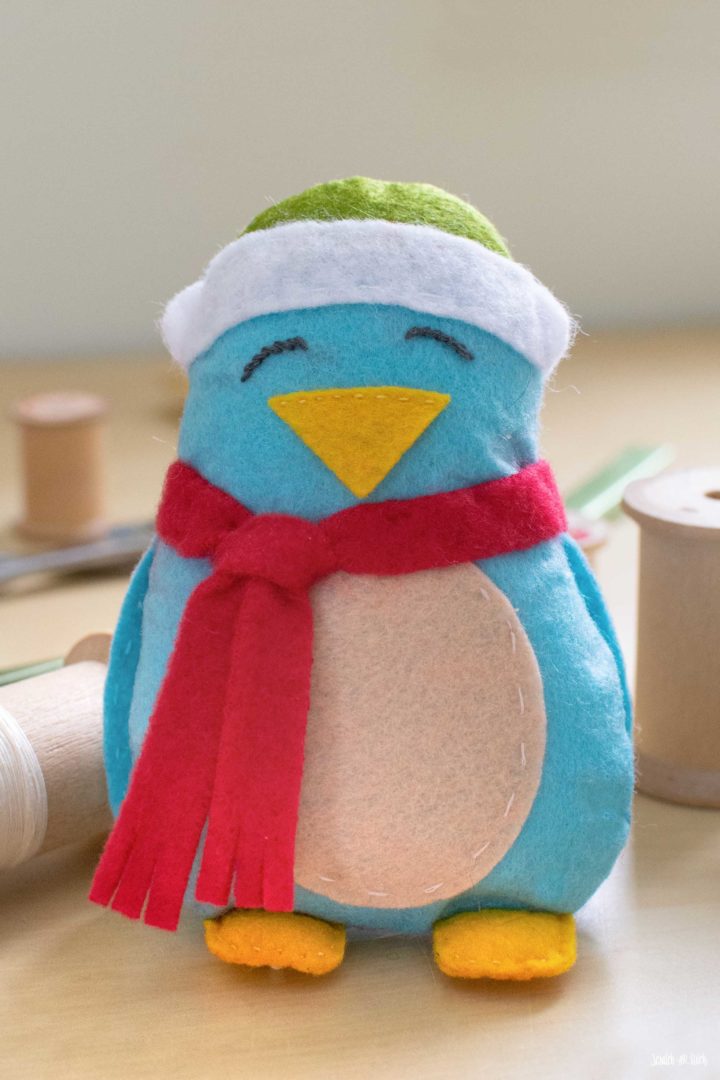
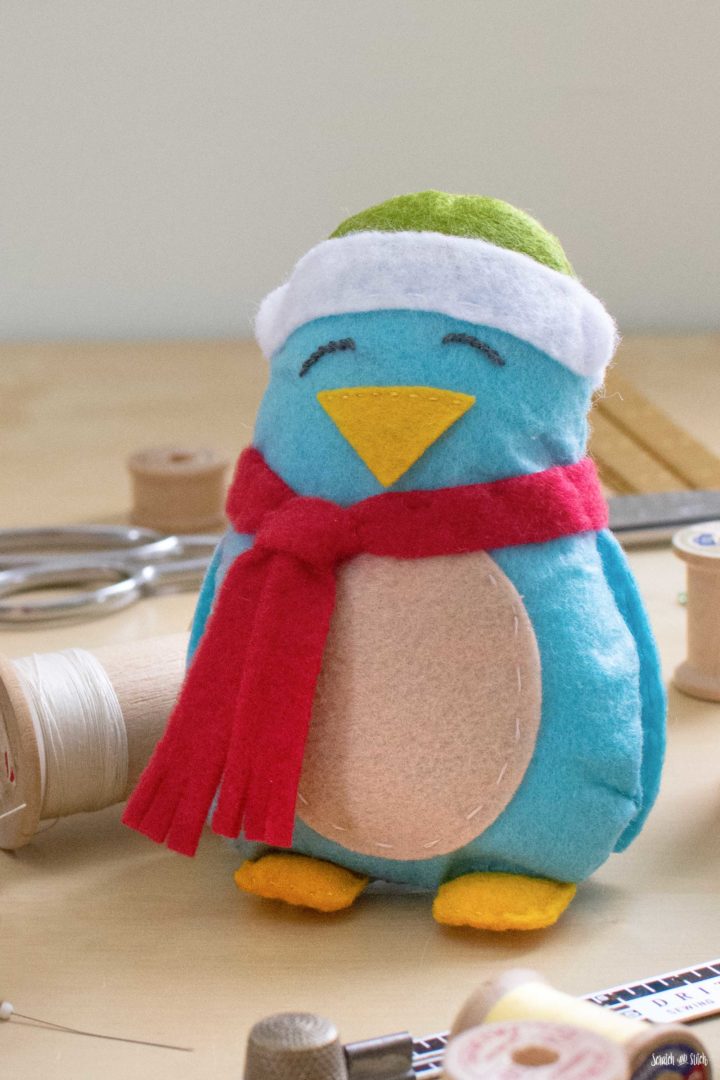
Wrap the fleece scarf around the bird and tie. I knotted this scarf like how to tie a tie. Stitch around the scarf to keep it from coming off of the bird. Add a few extra stitches at the scarf knot to secure.
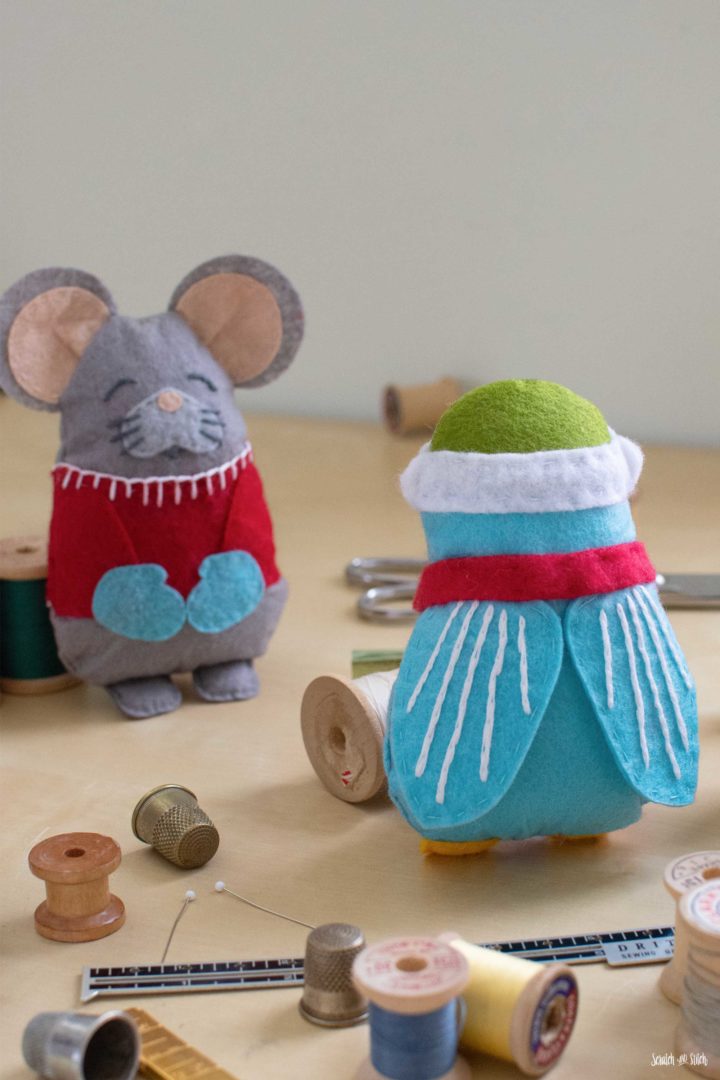
This little bird is friends with the mouse I found in the studio.
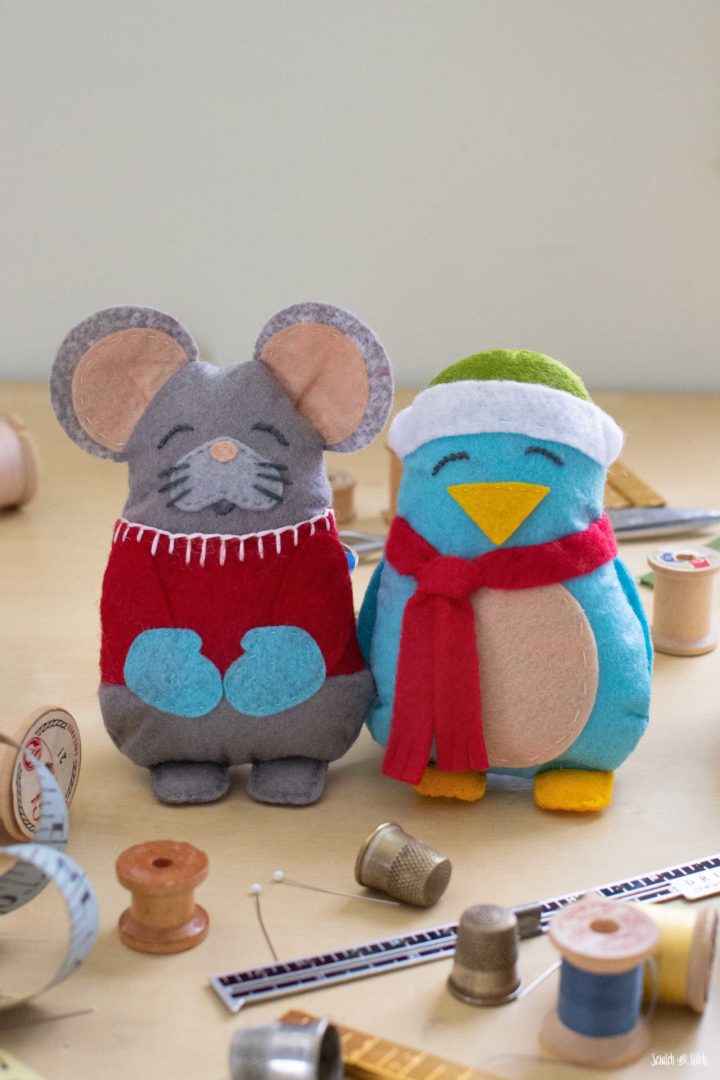
Whether you use a Cricut Maker to cut these stuffed animal patterns or cut by hand, there is surely someone that will enjoy these new friends.
These two stuffed animal sewing patterns were made for the Sew-A-Softie Festive Season. Sew-A-Softie is an amazing initiative created by Trixi to inspire those young and old to learn to sew plush toys and more. Make sure to check out all the other creatively imaginative free plush sewing patterns and tutorials included in this series.
Did you make the Pocket Mouse and Bird? I would love to see them! Be sure to tag @scratchandstitch on IG and FB with your creations. You can also send me pics of your plush toys.
I would love to make them but cannot find the pattern download to cut them out
Hi Lynn! I see you signed up to get the patterns. I just sent them out to you again. Let me know if you did not receive them. :)