This post may contain affiliate links.
Learn how to make a leather coffee cup holder that’s reusable, strong, and long-lasting. This custom DIY coffee cup sleeve is not only fun to make but would make a great gift for the hot beverage lover in your life. Maybe that’s you!
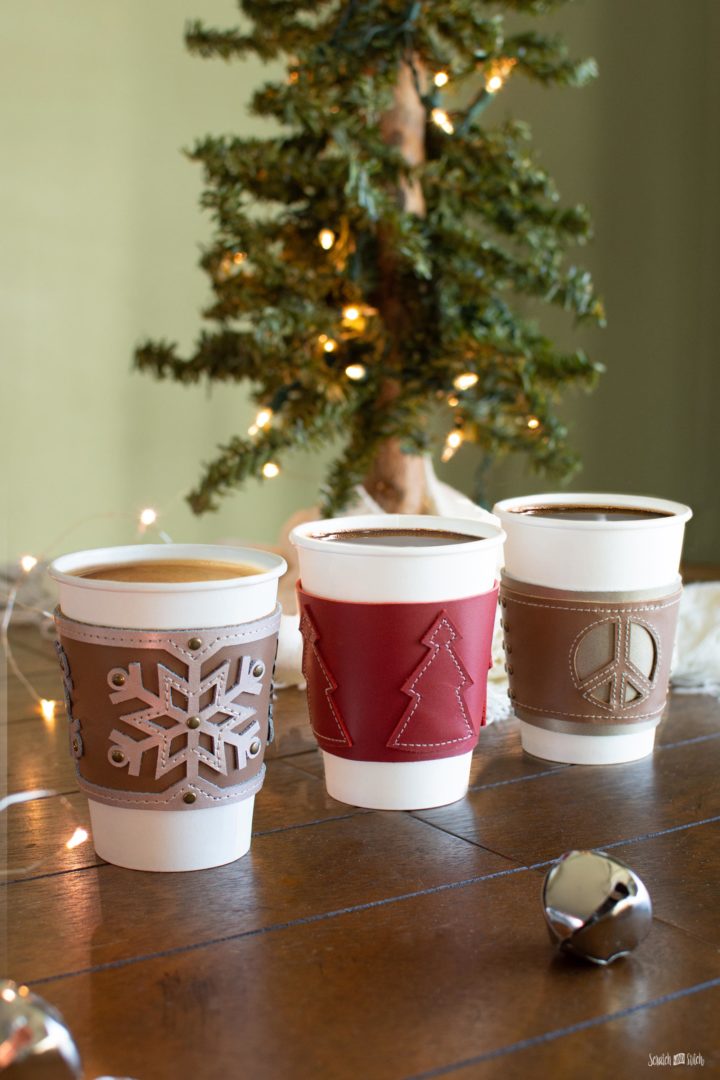
Are you or someone you know a coffee, tea, or hot cocoa drinker? These DIY coffee koozies make great DIY gifts for coffee lovers.
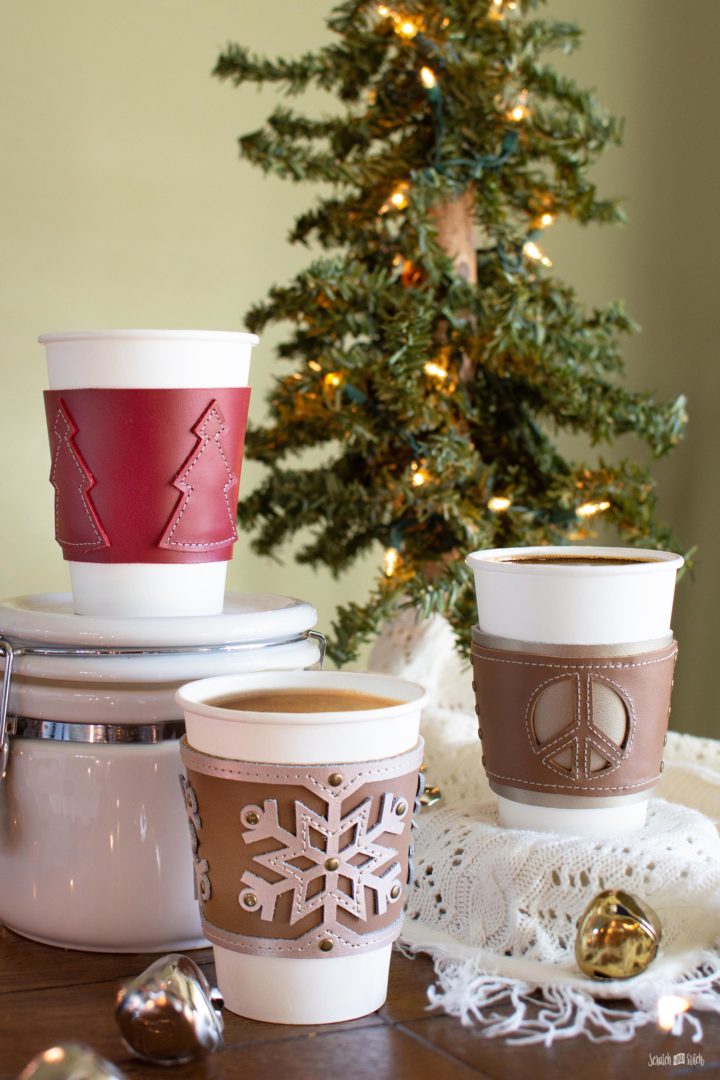
How to Make a Leather Coffee Cup Holder
This custom DIY coffee sleeve can be cut by hand or on a Cricut Maker machine. The leather paired with some stitching and metal rivets makes these coffee cup holders very durable and beautiful. I have created both a printable template and an .SVG file to upload into Cricut Design Space. Whicever method you choose to cut your leather, download the free templates and follow the tutorial below.
Materials & Tools
- leather coffee sleeve template (download below)
- leather (Cricut leather or other 2oz – 4oz leather works best)
- leather glue
- paintbrush (for applying glue)
- heavyweight thread
- sewing machine and basic sewing supplies (can also be sewn by hand and may require additional hand sewing tools and supplies)
- sewing clips
- leather pen
- metal double-capped rivets (I used 4.7mm)
- hole punch (I use this one)
- rivet setter (rivet press or hand rivet setter)
- scissors, Exacto knife, rotary cutter (very sharp blades will give you the best results when cutting leather)
- Cricut Maker
- Cricut StrongGrip Mat
- Cricut Knife Blade
- painters tape
Leather Coffee Cup Holder Templates
Download includes .PDF and .SVG files.
Enter your email to get the free pattern in your inbox.
By submitting your email address you will be added to the Scratch and Stitch email newsletter. You can opt-out at any time :)
Cutting the Leather Coffee Cup Holder by Hand (all styles)
Print the .PDF coffee cup holder template at 100%. Cut out the template inside the outline. Trace the template onto the backside of your leather and carefully cut inside the line.
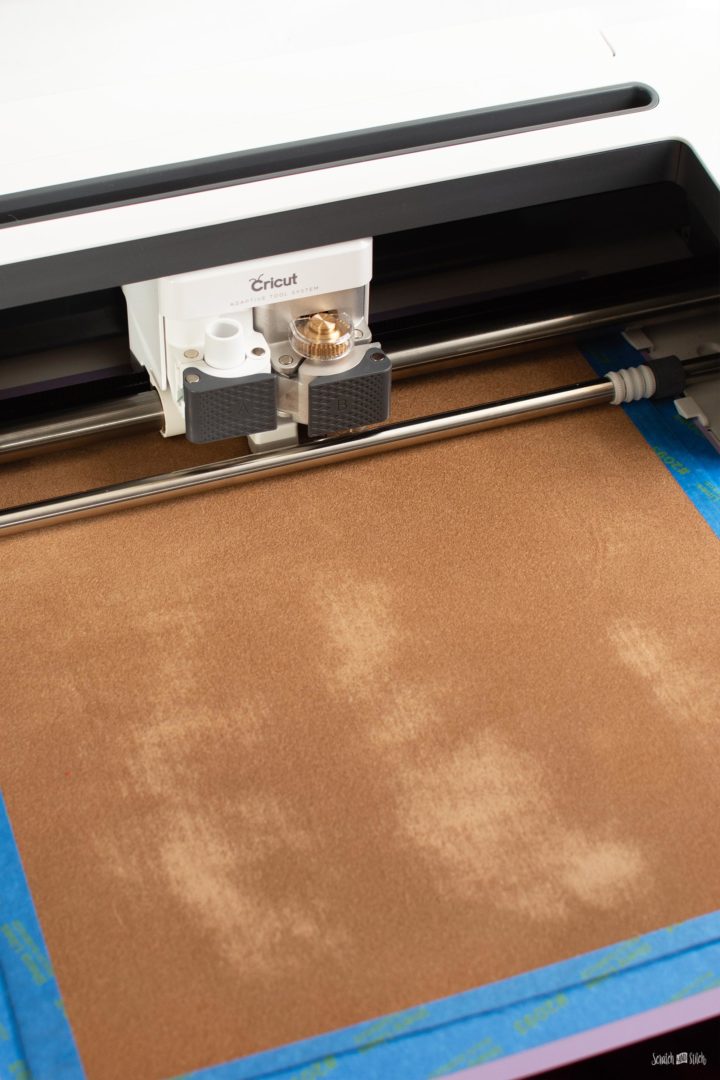
Cutting the Leather Coffee Cup Holder using Cricut (all styles)
In Cricut Design Space, create a new canvas and upload the .SVG file. Insert the template into your canvas. Choose which coffee sleeve version you would like to cut by turning off the other layers.
Prepare your Cricut StrongGrip mat by placing the leather smooth side down. Tape the leather on all sides using painter’s tape. Be sure that the placement of the template in the file matches the placement of the leather on the mat.
Click the “Make It” button to send to the Cricut Maker.
Select your materials. If using Cricut leather, use the Cricut leather material or choose the garment leather that matches the thickness/weight of your leather.
Insert your Cricut Knife Blade into clamp B on the Cricut Maker.
Once your mat and blade is ready, send your mat into the machine and start cutting.
After cutting is complete, remove the cut leather from the mat.
Print the .PDF template at 100% to use as a guide for placement on the tree sleeve style.
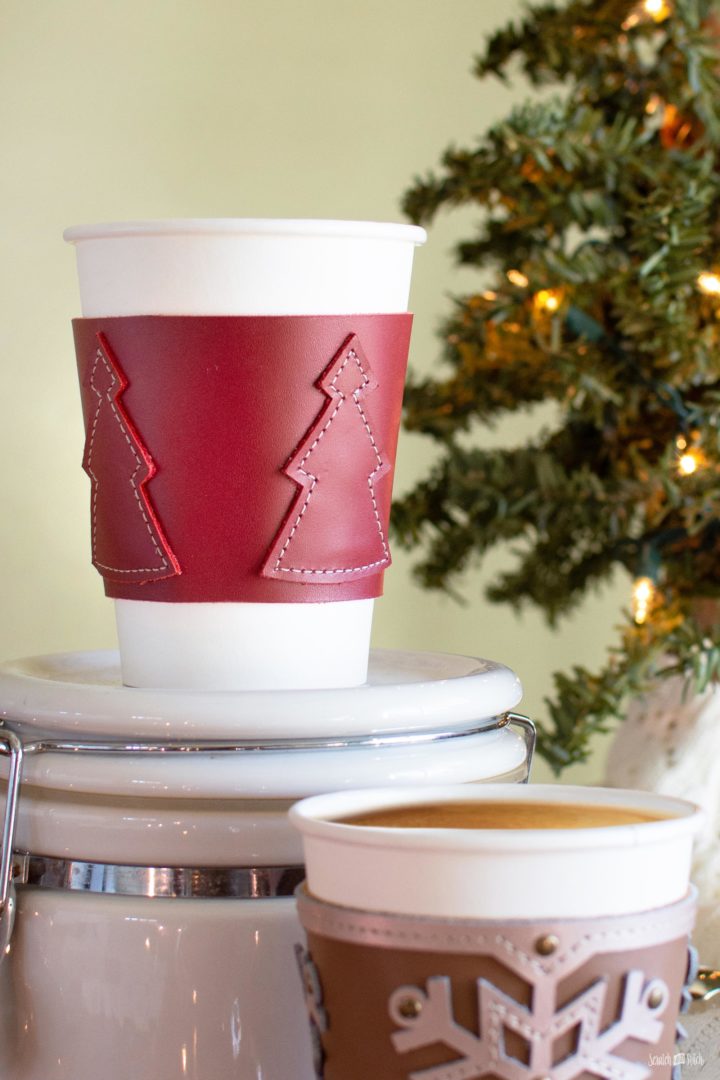
Leather Coffee Cup Sleeve with Trees
After the leather sleeve and trees are cut, they’re ready to apply to the coffee cup holder.
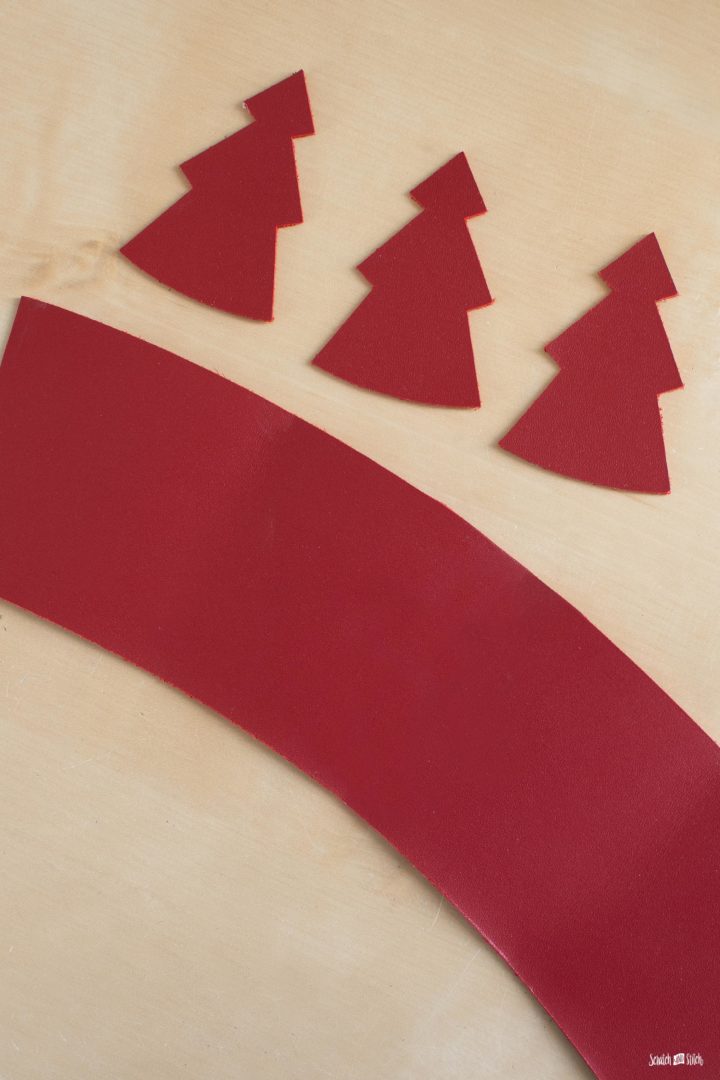
Using the paper template as a guide, transfer the three placement marks onto the sleeve with a leather pen.
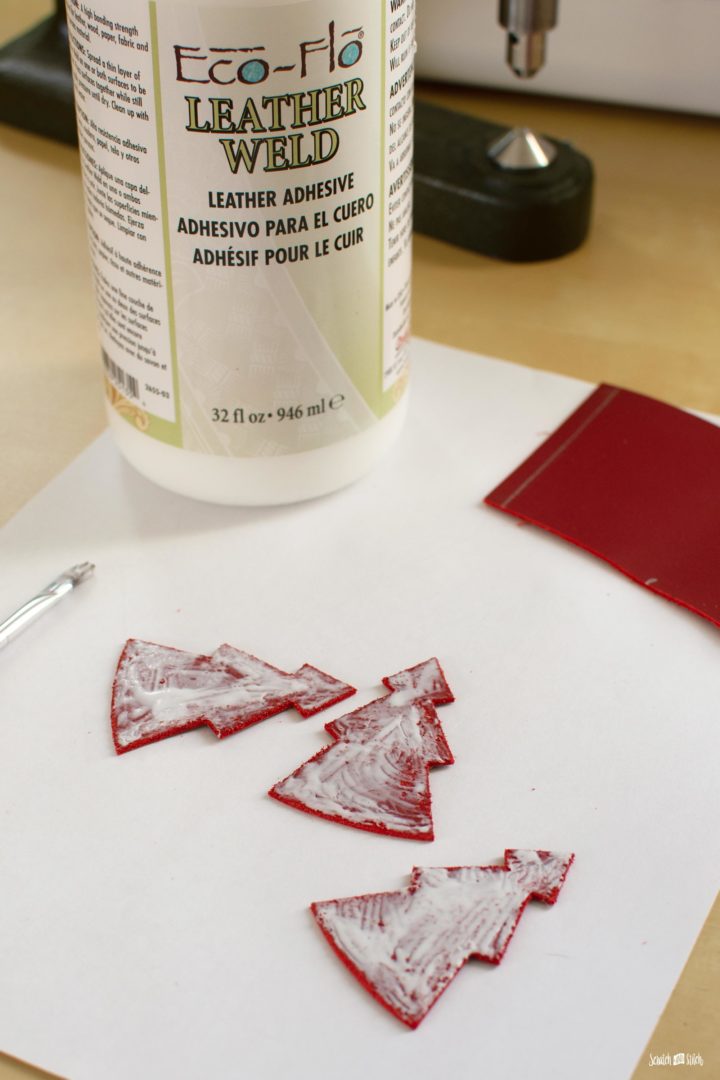
Cover the back of the leather trees with leather glue and place them onto the coffee sleeve using the placement marks as a guide. Pro tip: Allow the glue to dry for a few minutes until it becomes tacky. This will help keep it in place.
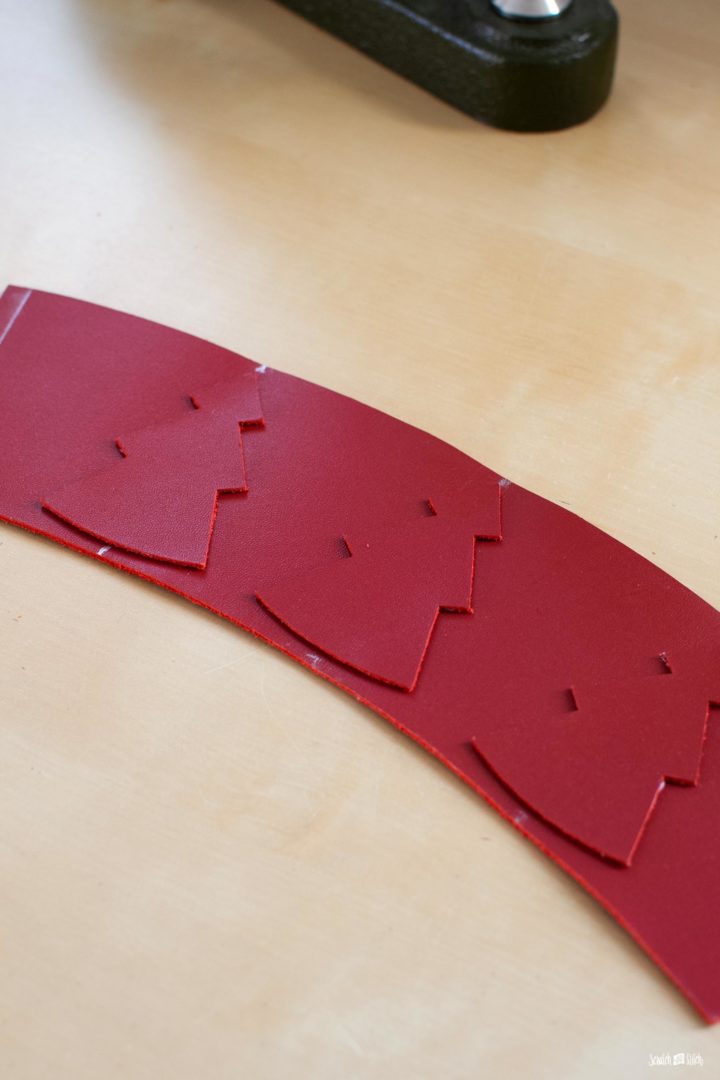
Place a book or similar on top of the sleeve and allow the glue to dry.
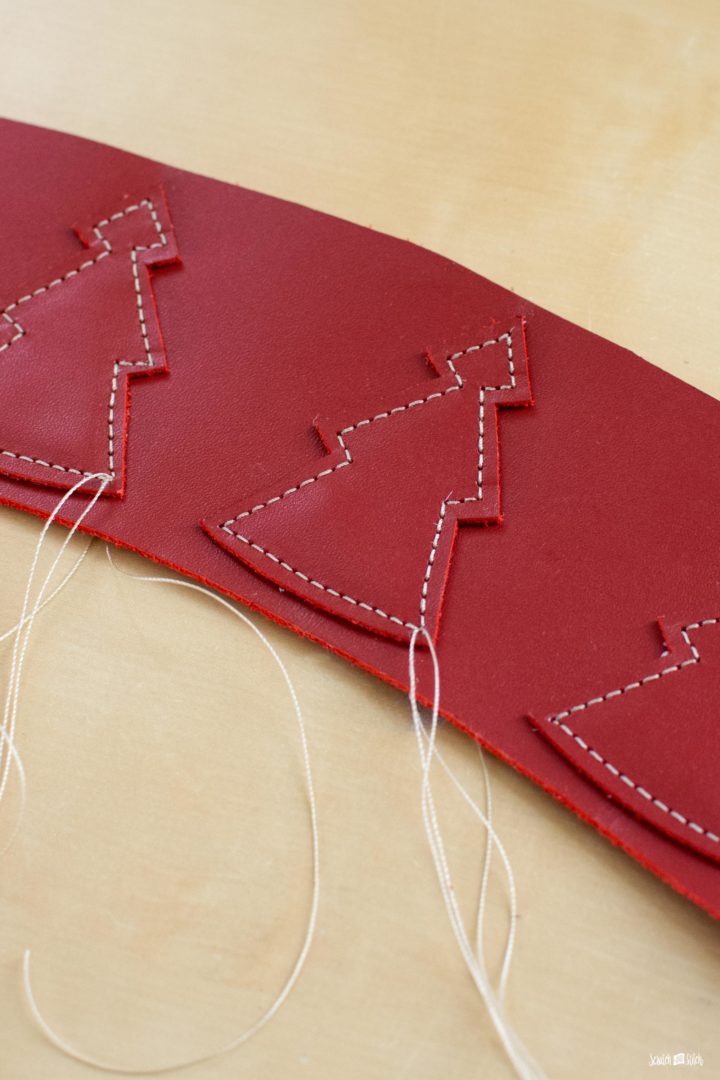
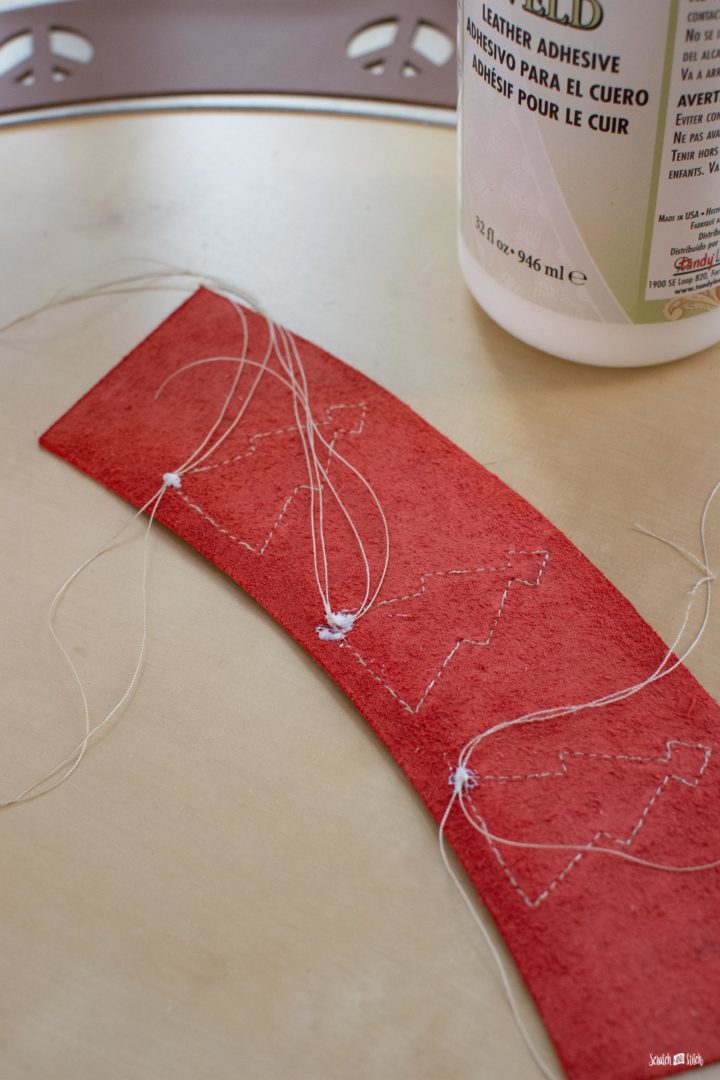
Once the glue has dried, starting at the bottom right corner of one tree, stitch around the perimeter with a 1/8″ seam allowance. End in the same hole you started and leave extra long thread tails. Pull the top thread to the back by gently tugging on the bottom thread to create a loop, and pull the top thread to the back. Knot the threads and place a dab of glue on the knot to hold them in place. Trim the threads. Repeat with the other trees.
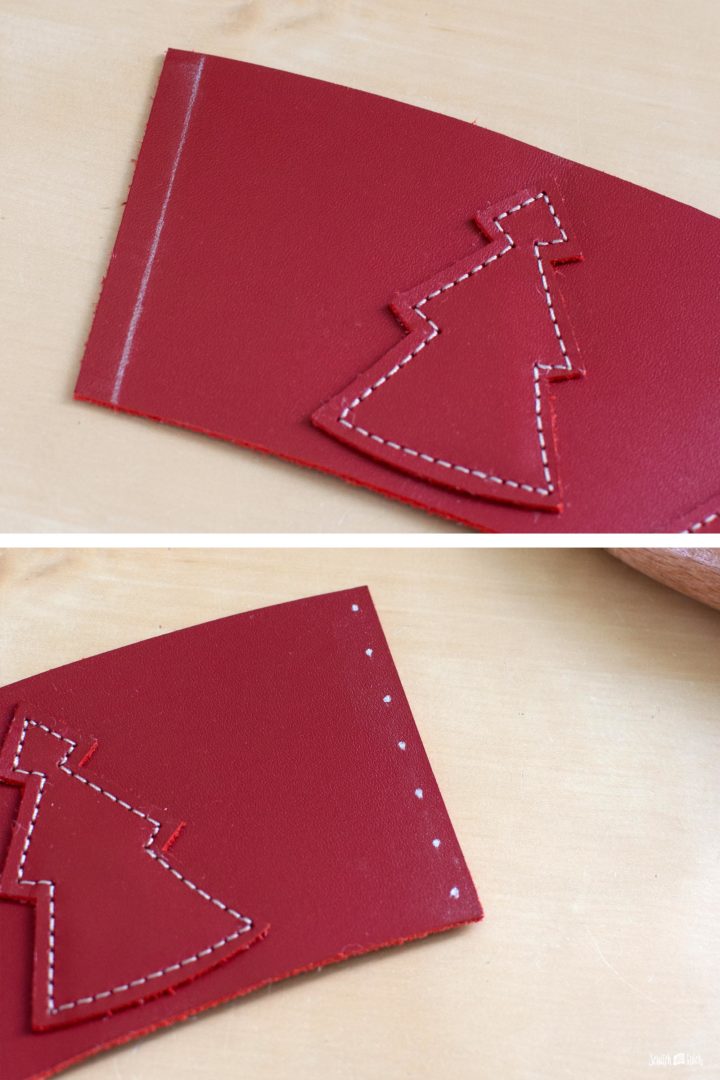
On one straight edge of the sleeve, mark a line 1/4″ from the edge. On the other flat edge of the sleeve, measure, and mark where the rivets will be placed. I used seven 4.7mm rivets for this coffee sleeve.
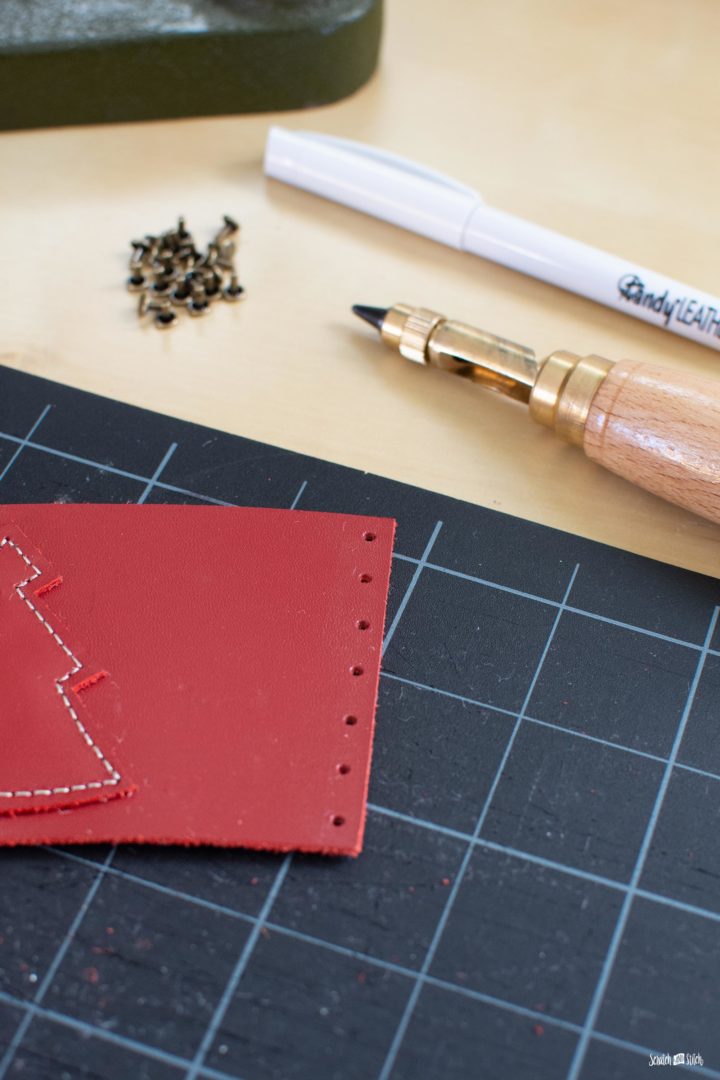
Use your rivet hole punch to make the holes. Bring one side of the sleeve over to the other side and clip to hold. Transfer the hole marks onto the other side using the already punched holes as a guide. This will ensure they line up correctly. Punch out the other holes.
Add some leather glue to the backside of one side of the sleeve and bring the ends together to adhere the ends. Clip to hold in place. Wipe away any excess glue if needed.
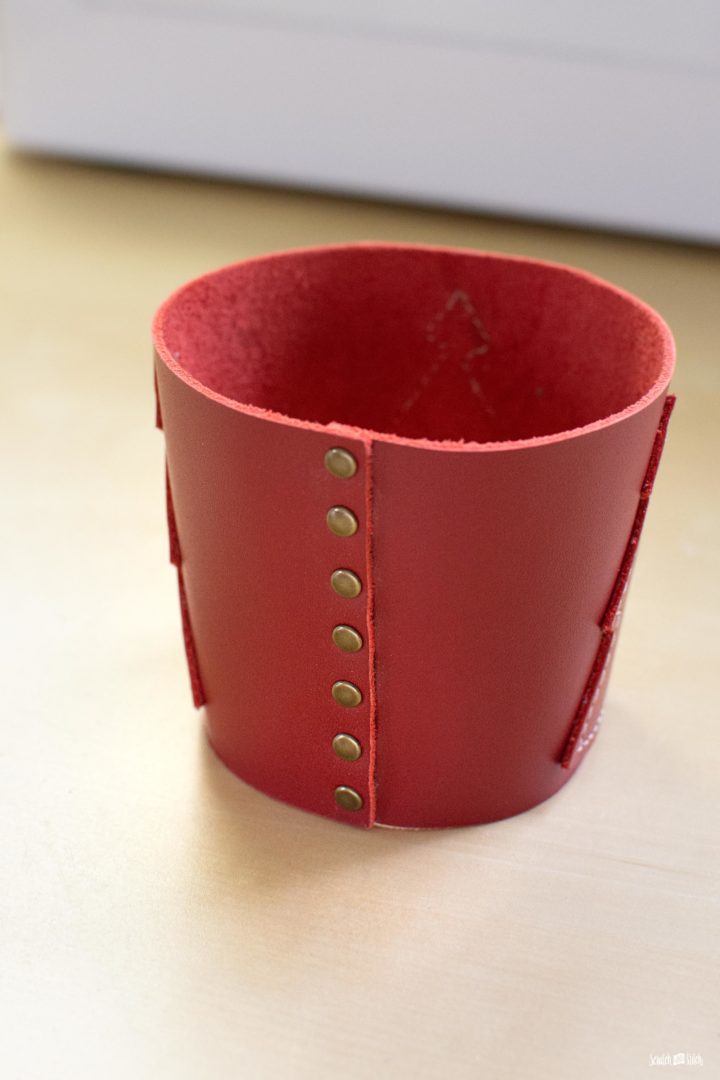
Insert the rivets into the holes and press them together. That’s it.

You now know how to make a simple DIY leather coffee cup holder.
Keep reading to learn how to make the other two custom coffee sleeves.
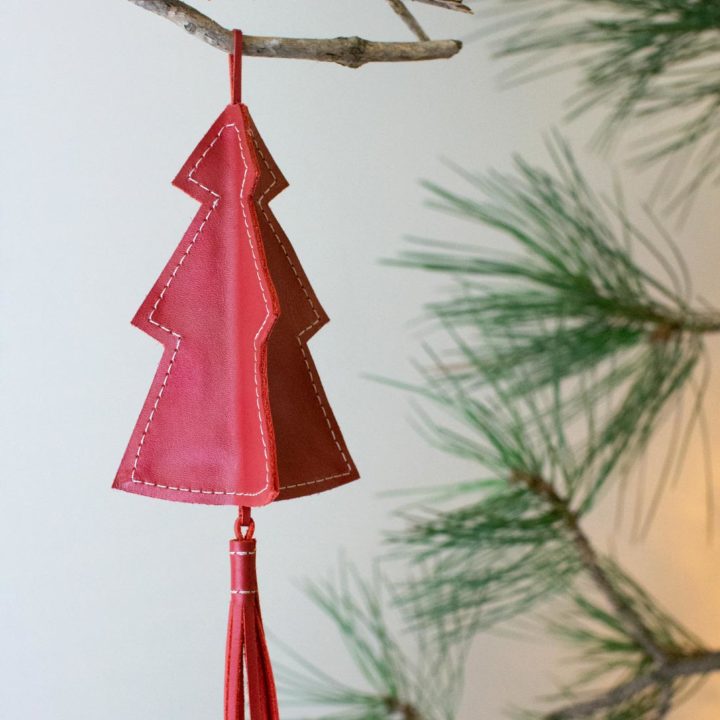
Leather Christmas Tree Ornaments
Make a set of leather ornaments to go with your leather coffee sleeves. Get the free template and tutorial.
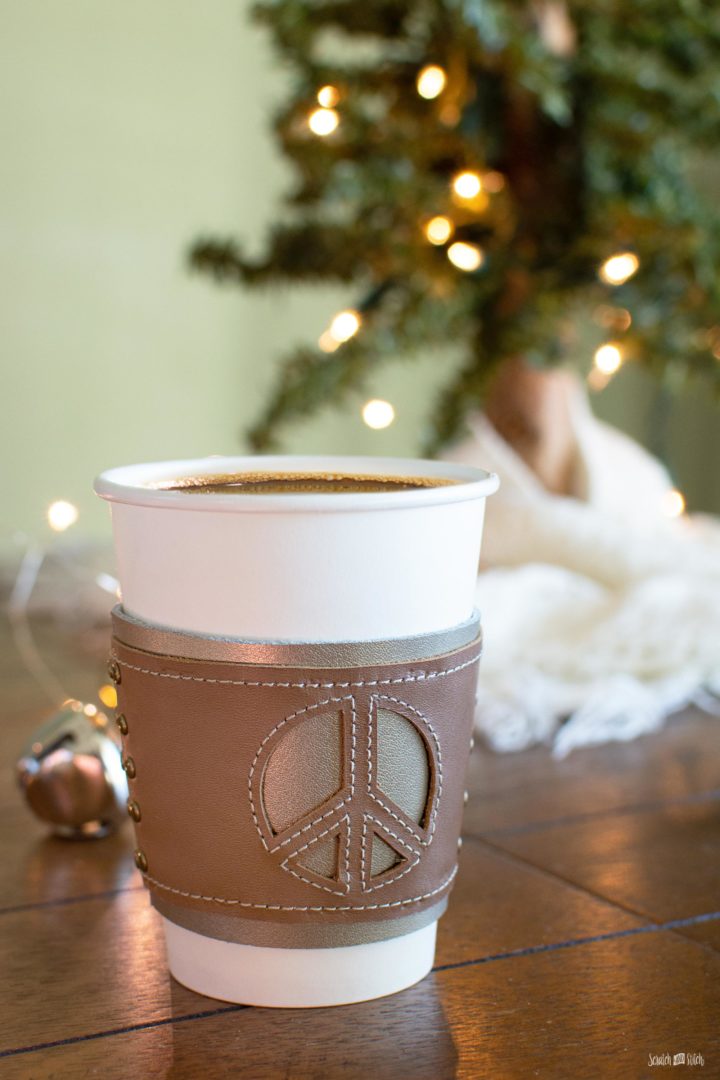
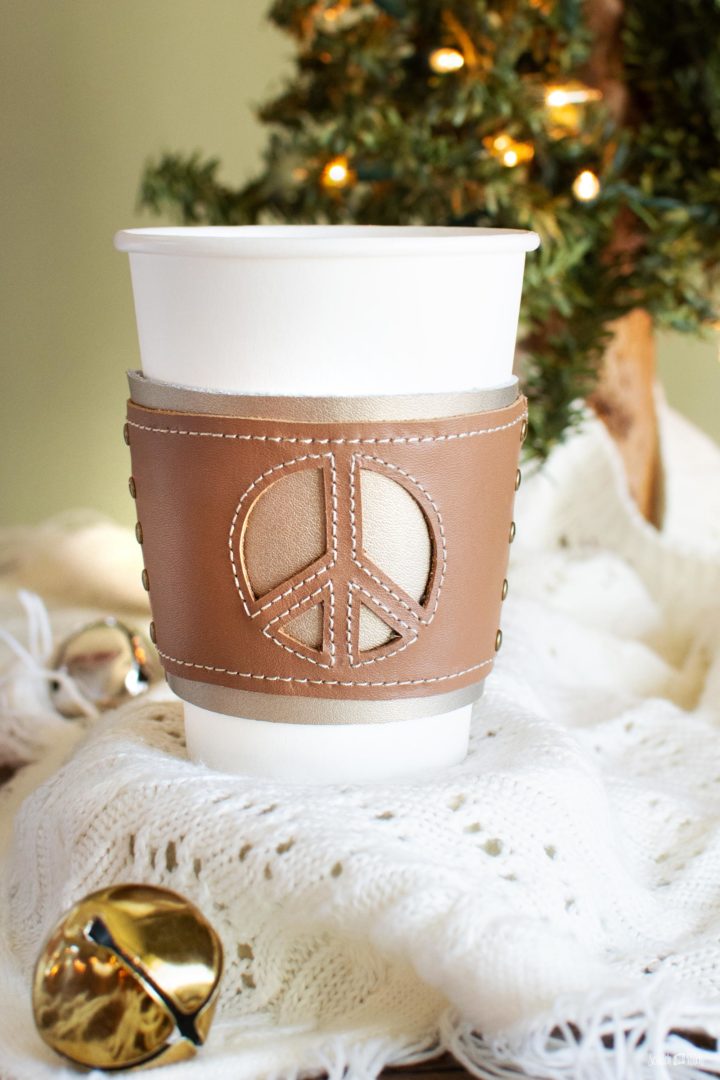
Peace Leather Coffee Cup Sleeve
Cut your leather either by hand or with your Cricut Maker using the steps above. You should have one base layer and one top layer. The base layer is intentionally longer than the top layer, so you can customize the fit that works with the leather you choose.
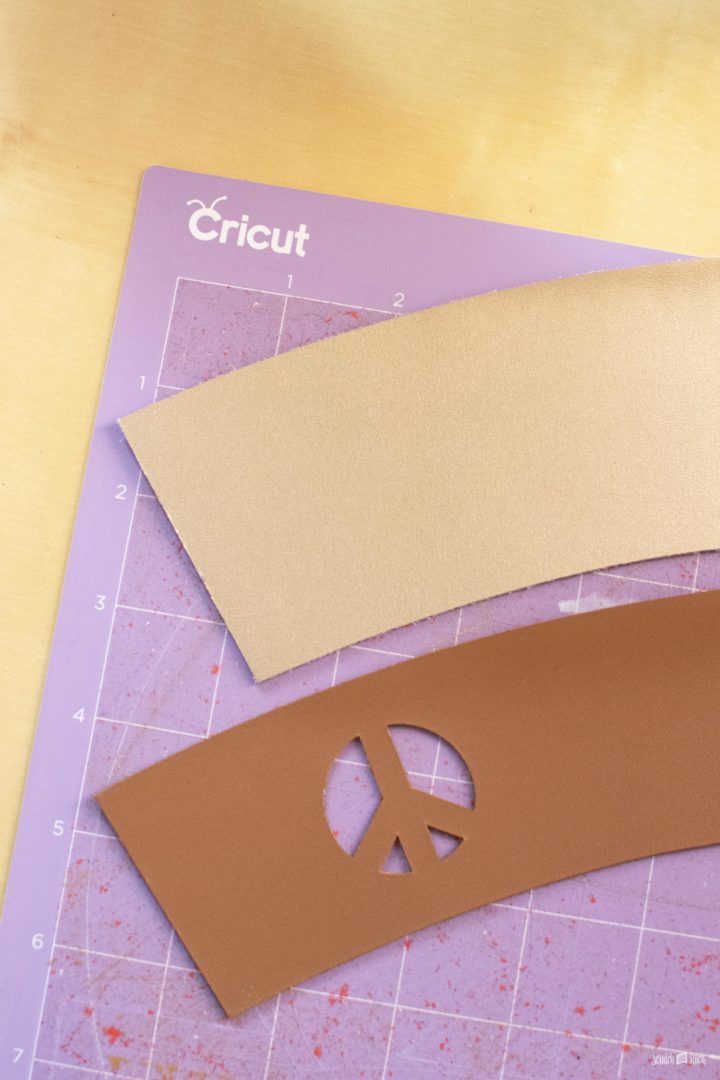
Draw a line around the peace sign with a leather pen to use as a guide for sewing.
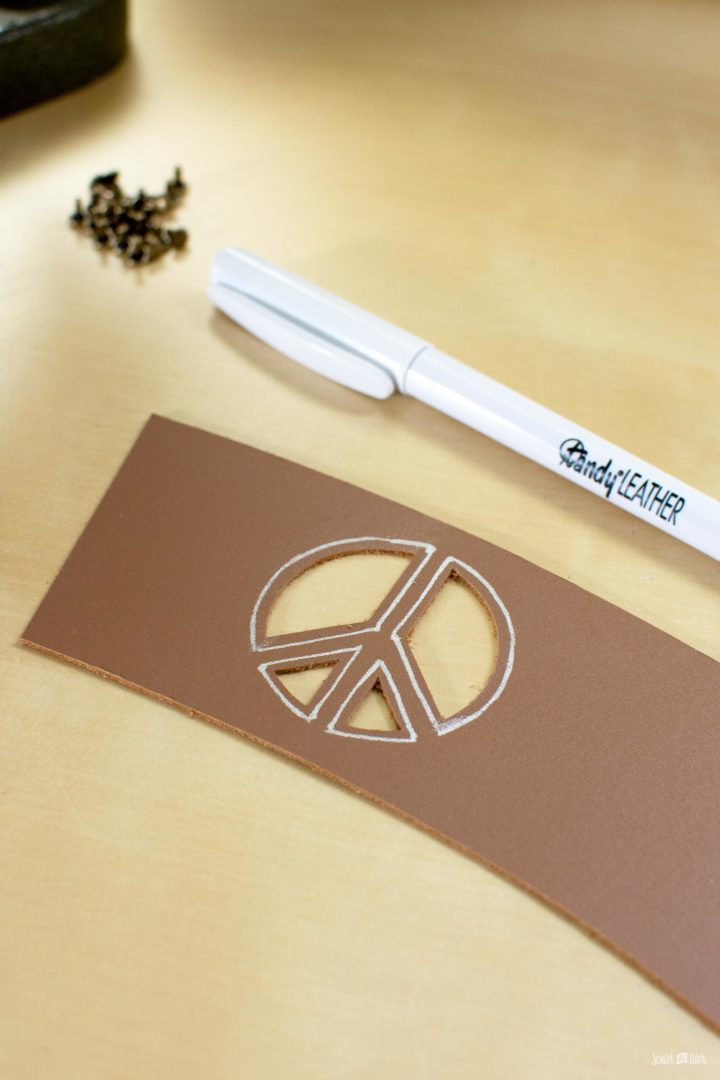
Sew around the peace sign shapes, starting and stopping in the same hole. Leave long thread tails.
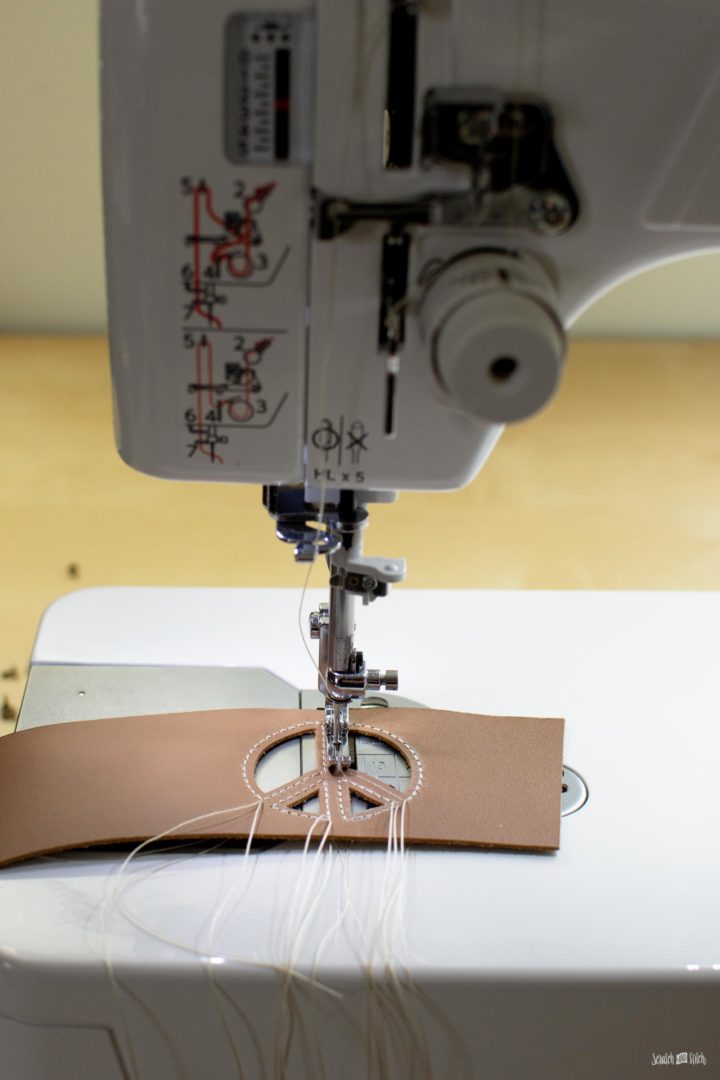
Pull the top threads to the back and tie in knots and place a dab of glue on the knot to keep them in place. Trim the excess thread.
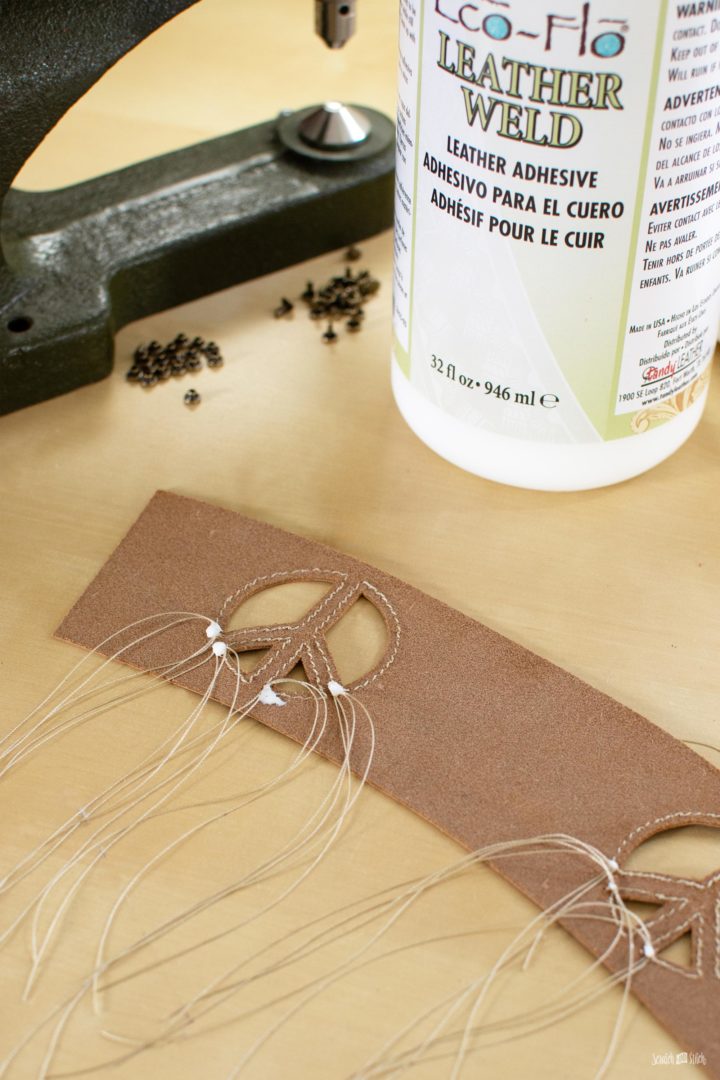
Sew along the top and bottom edges with a 1/8″ seam allowance. Knot the thread on the backside and dab with glue to hold.
On to the top layer, mark where the rivets will be on each end. Punch out the holes.
The next step is to ensure the two layers fit together perfectly. To make these fit together correctly, curve the outer layer round, so the edges touch each other. Clip to hold.
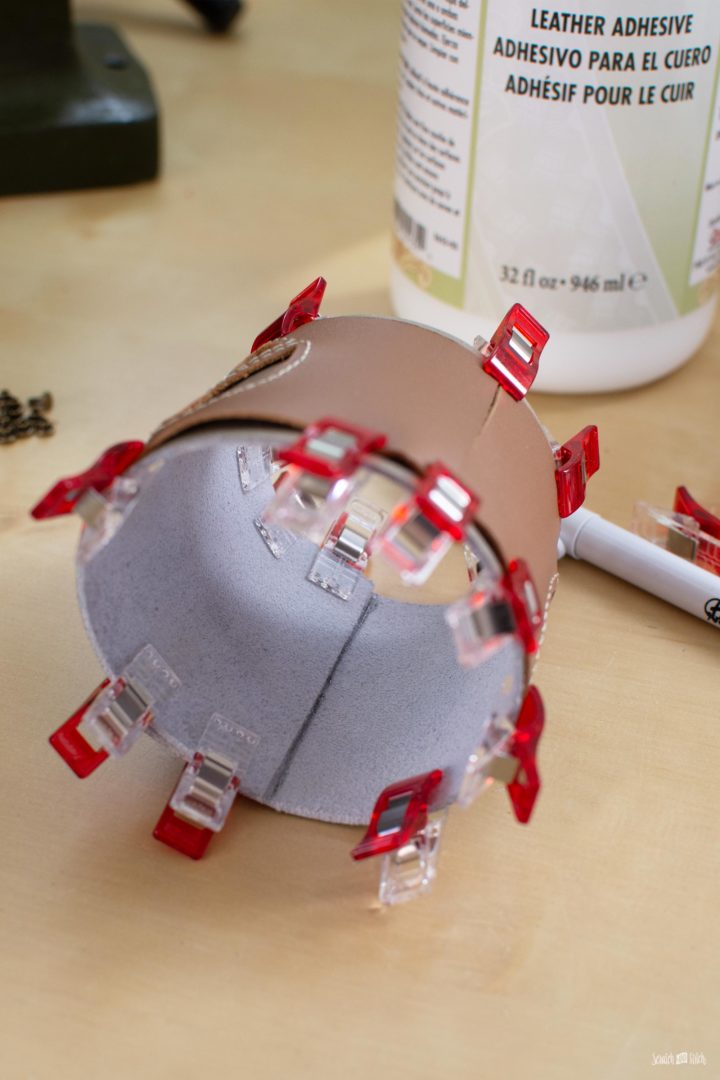
Curve the inner layer round and place inside the outer layer. Place the top and base layer seams, so they are on opposite sides of the final sleeve. Clip the layers together with a tight fit. The end of the inner layer will overlap. Draw a line along that overlapping edge.
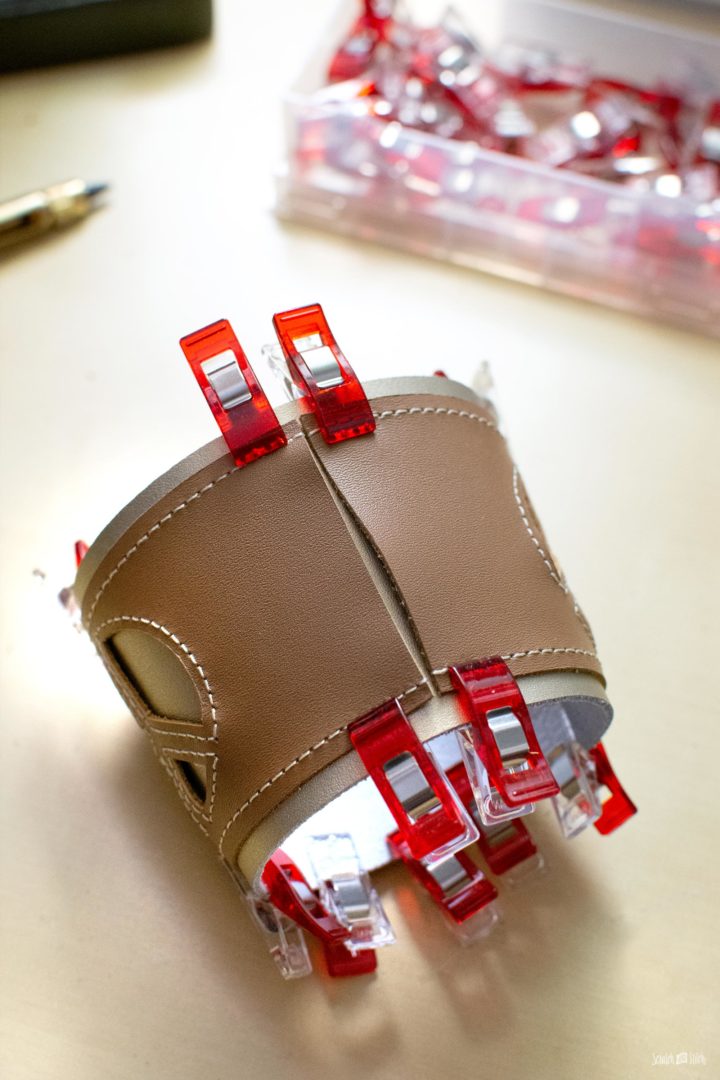
Take the layers apart and cut the inner layer slightly larger than the line you drew (this will allow you to cut more if needed). Clip the layers together again to check the fit. Make any adjustments as needed until the layers fit snug together.
Once you have gotten the best fit of the two layers, mark the rivet holes in the inner layer using the previously punched holes in the outer layer. (rivet holes are not pictured)
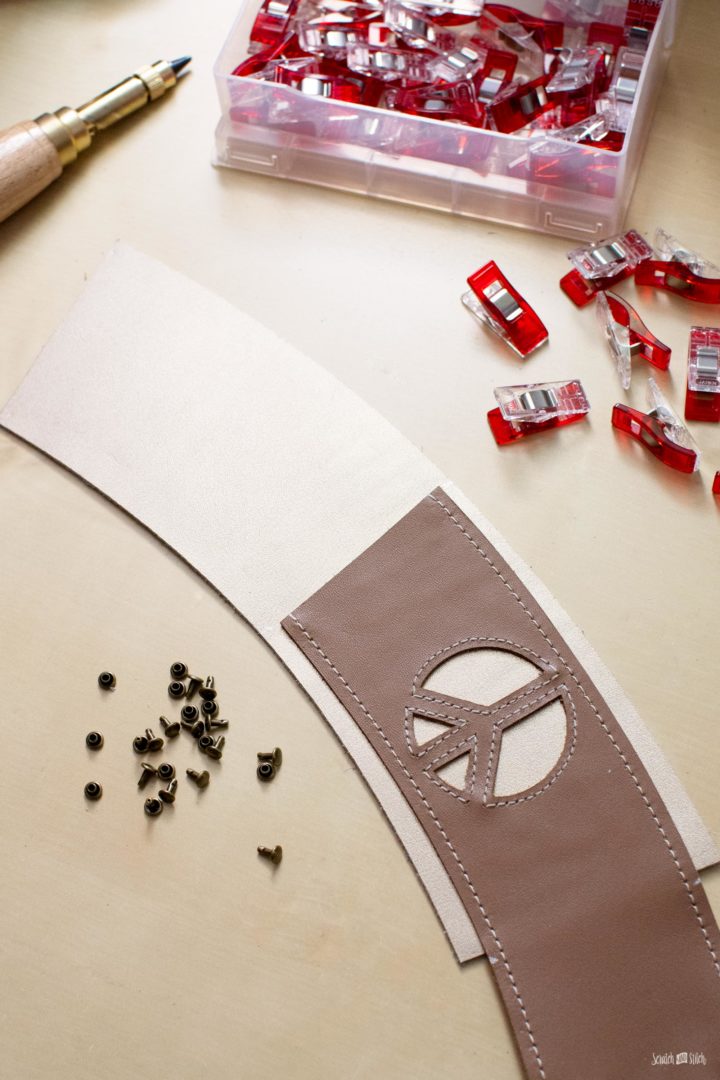
Remove the clips and take the layers apart. Find the center of the outer sleeve by folding it in half and marking at the gold crease. Make a mark on the top and bottom. This is where the edge of the base layer will align.
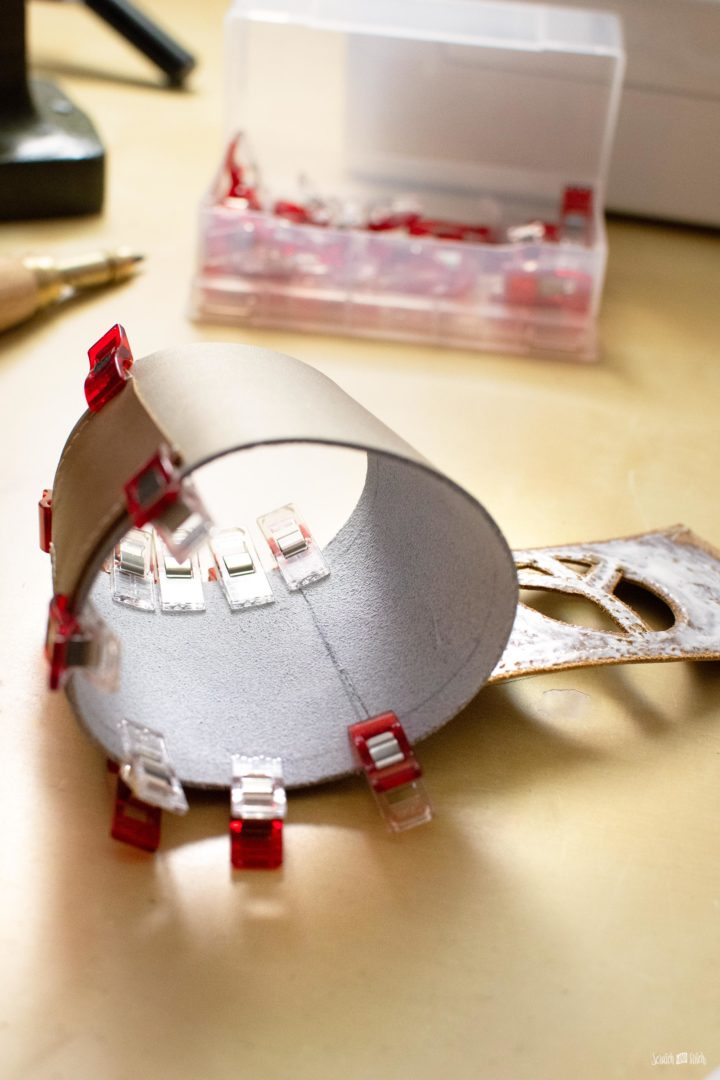
Cover half of the top layer with leather glue and place it onto half of the base layer. Clip in place and allow to dry for a bit to hold. Once those layers are at least somewhat secure in place, put glue on the remaining half of the outer layer and curve the layers around to create the sleeve (use a coffee cup if it helps). Push the edges tightly together, so the seam is barely visible.
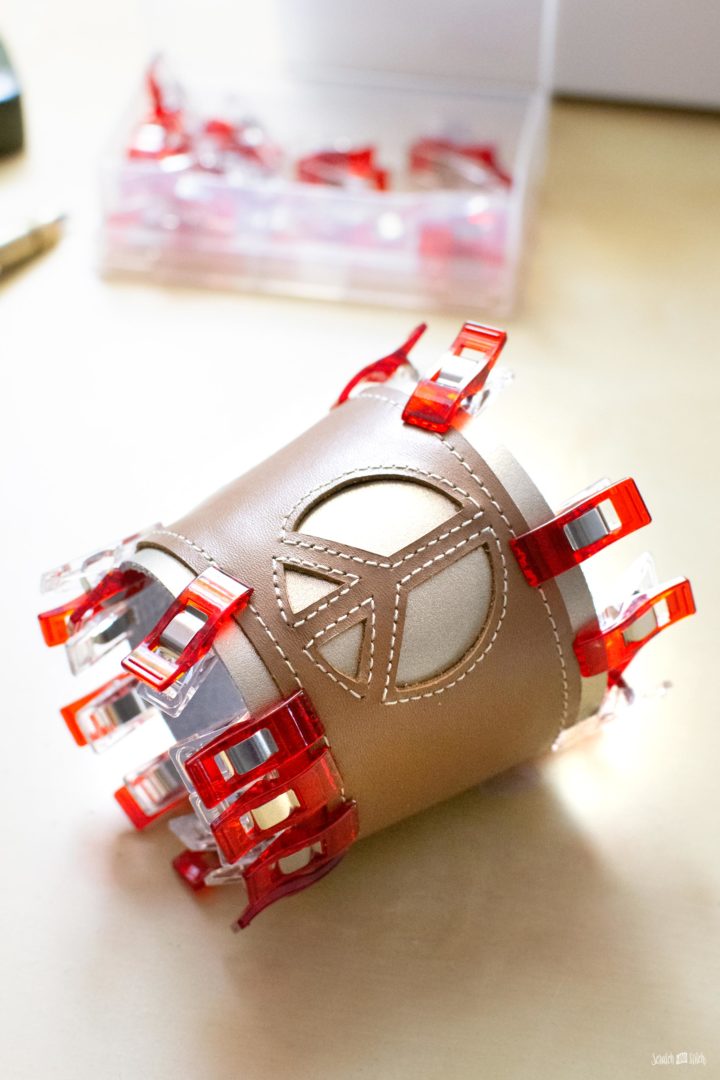
Clip the layers together to hold and allow the glue to dry. Wipe away any excess glue if it has seeped out of the edges.
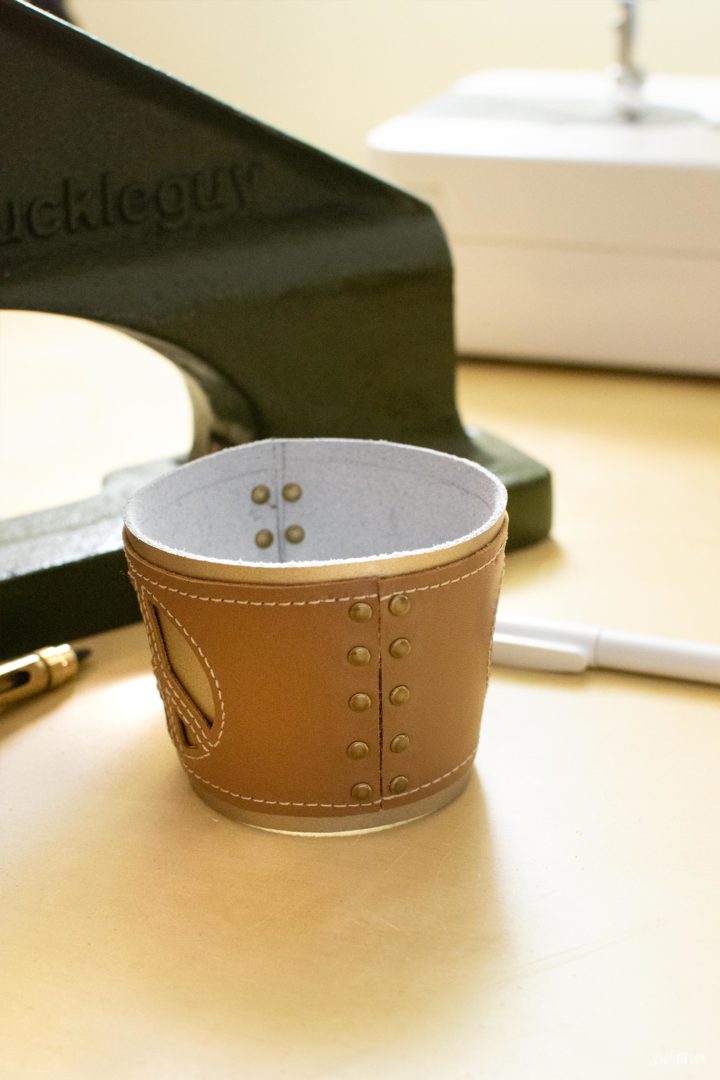
Press the rivets into the holes, and you’re done. Just add a cup of hot coffee.
Upcycled Denim Drink Coasters
Turn the back pockets from denim jeans into stylish drink coasters that are durable and washable.
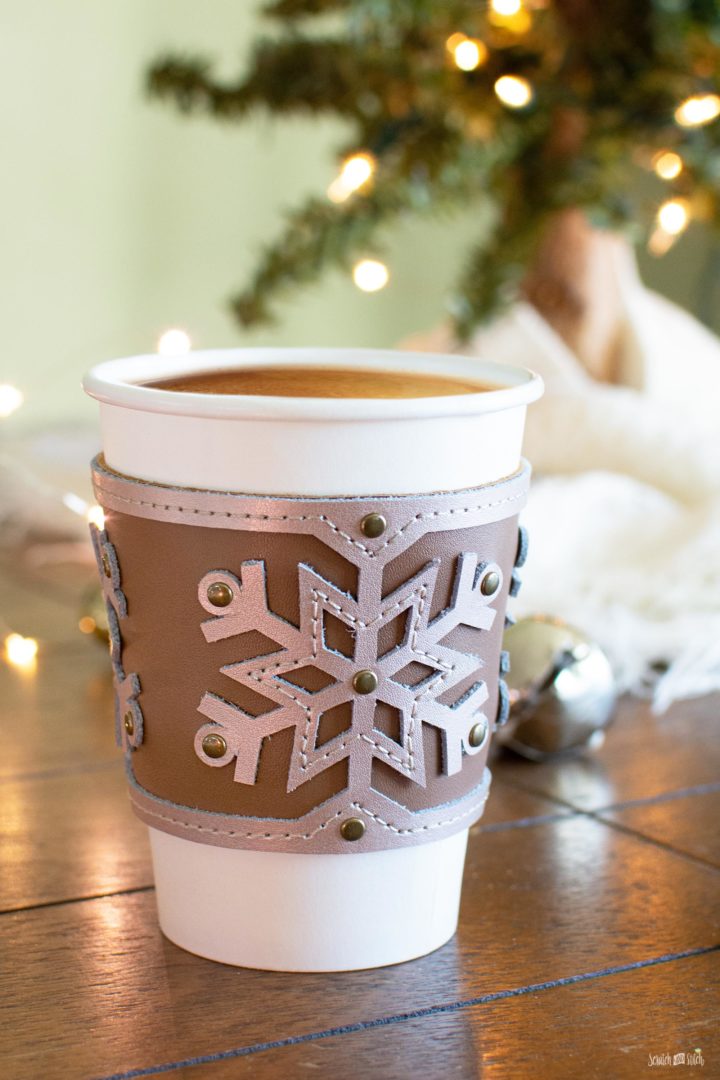
Snowflake Leather Coffee Cup Sleeve
This DIY coffee cup holder may look like the most difficult due to its intricate snowflake design, but with a Cricut Maker, your cuts will be precise and clean.
Cut the two leather layers with the same steps as above.
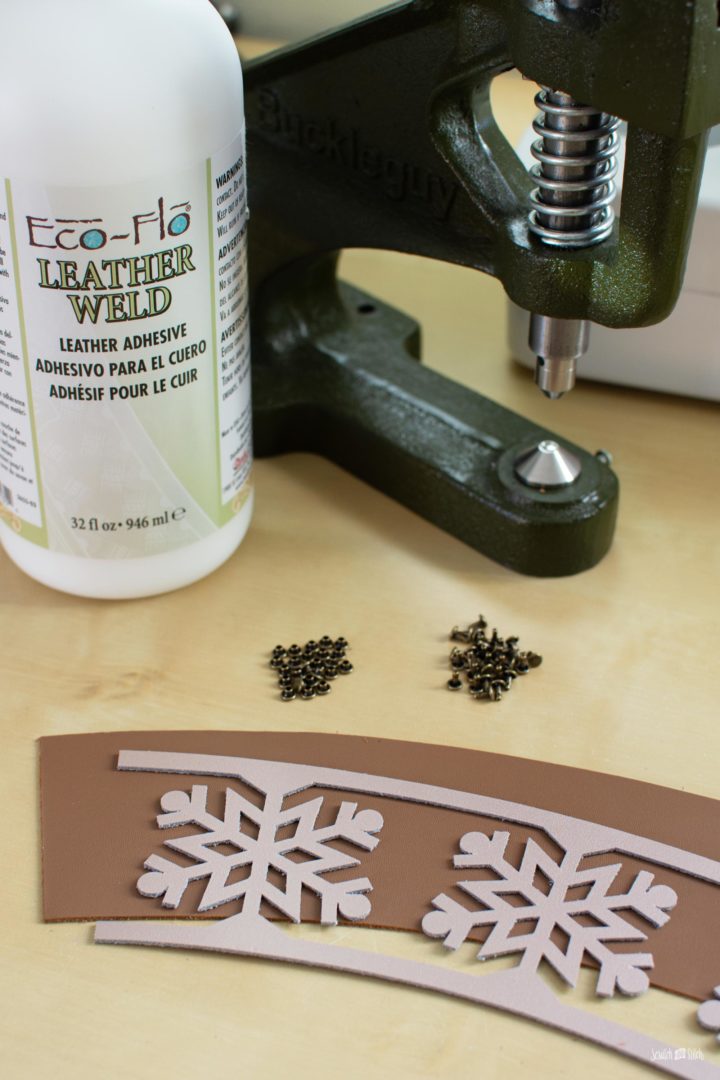
Sew the snowflake “star” with a 1/8″ seam allowance, starting and stopping in the same hole. Pull the threads to the back, tie knots, and add a dab of glue to hold.
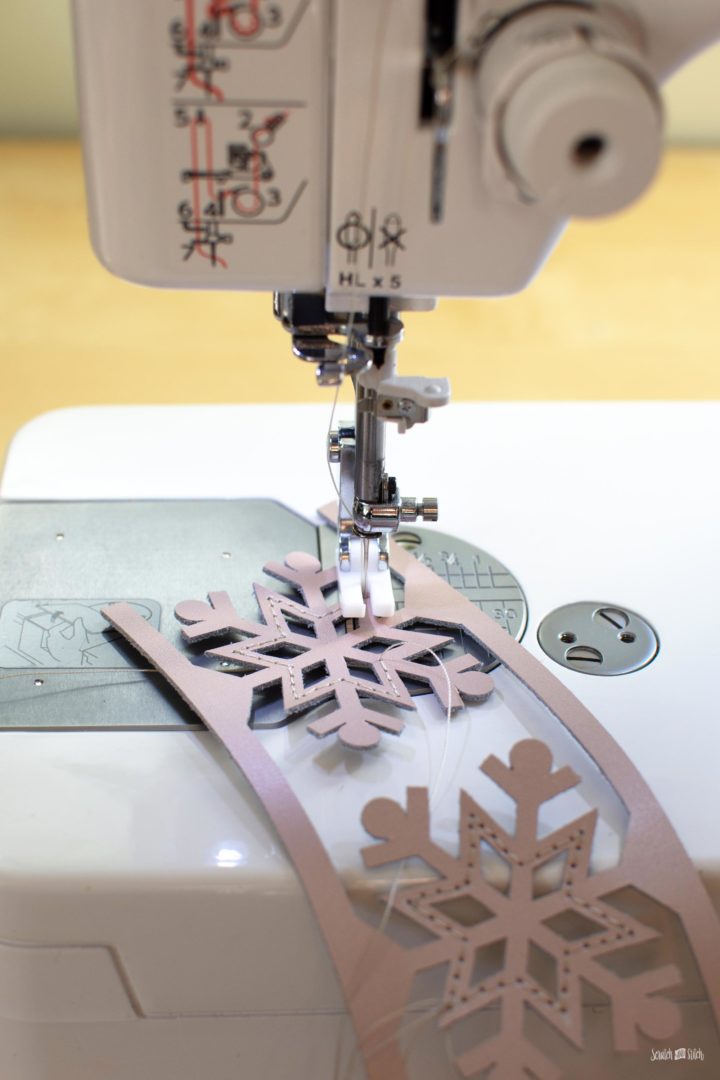
Onto the base layer, mark a line 1/4″ from the edge on the left side.
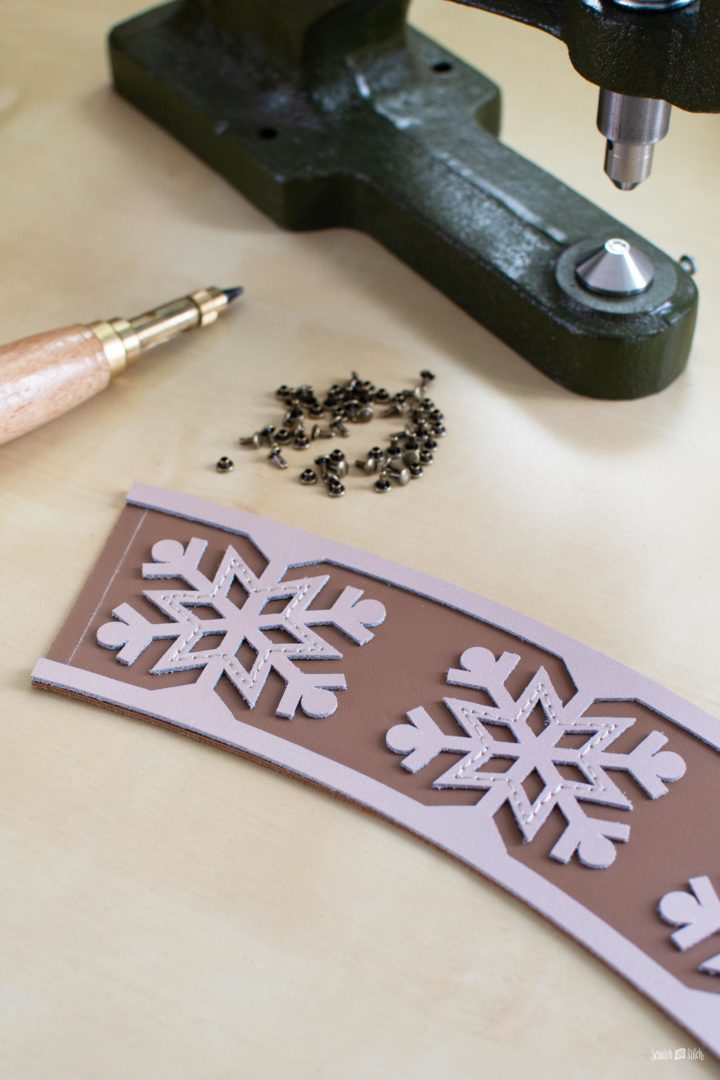
Cover the back of the snowflake with leather glue, leaving an open space on the top and bottom borders on the right side (the side that will be the left side when facing up). Place the snowflake layer down onto the bottom layer aligning the glue-covered end to the end of the bottom layer. Ensure that the top and bottom layers align with the bottom layer. Clip in place to hold and allow the glue to dry.
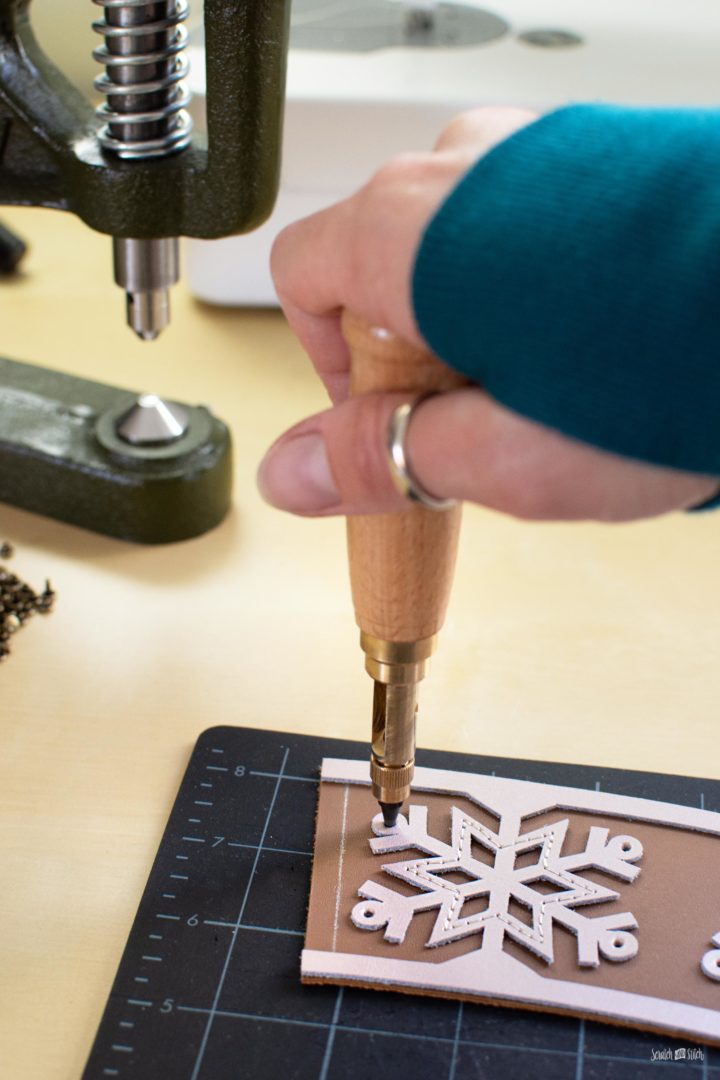
Once the glue is dry, punch holes into the snowflake circles and center. Press the rivets into place.
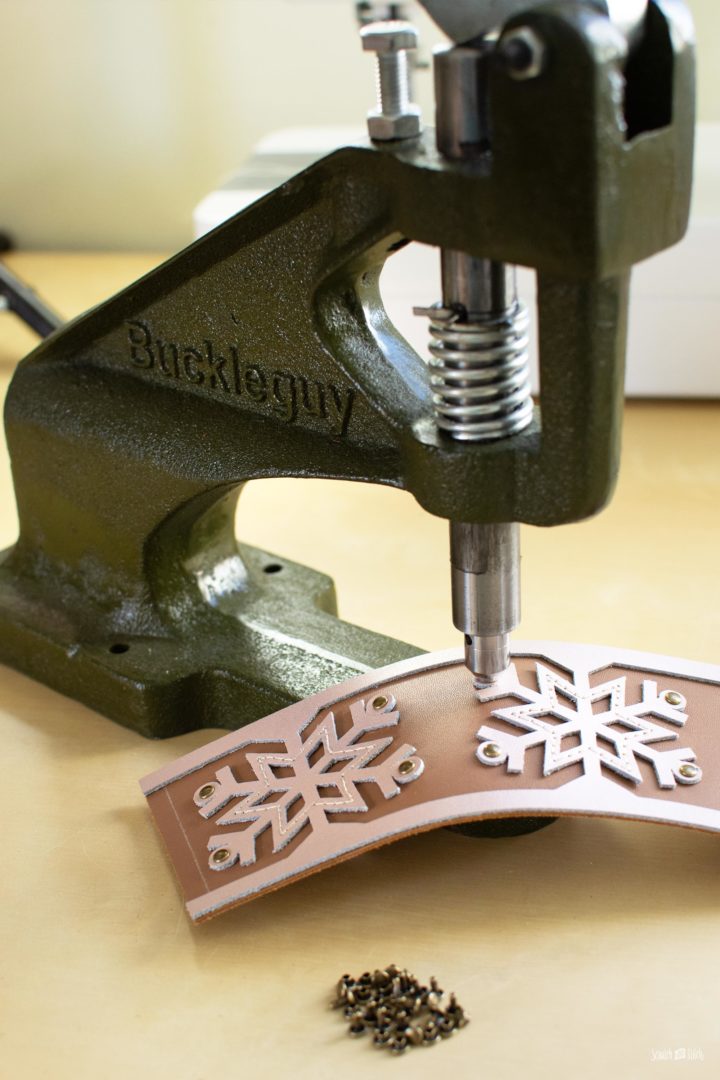
Curve the layers to create the cup holder shape. The top layer borders will hang over the other side. Trim those borders, so they butt up to the other side.
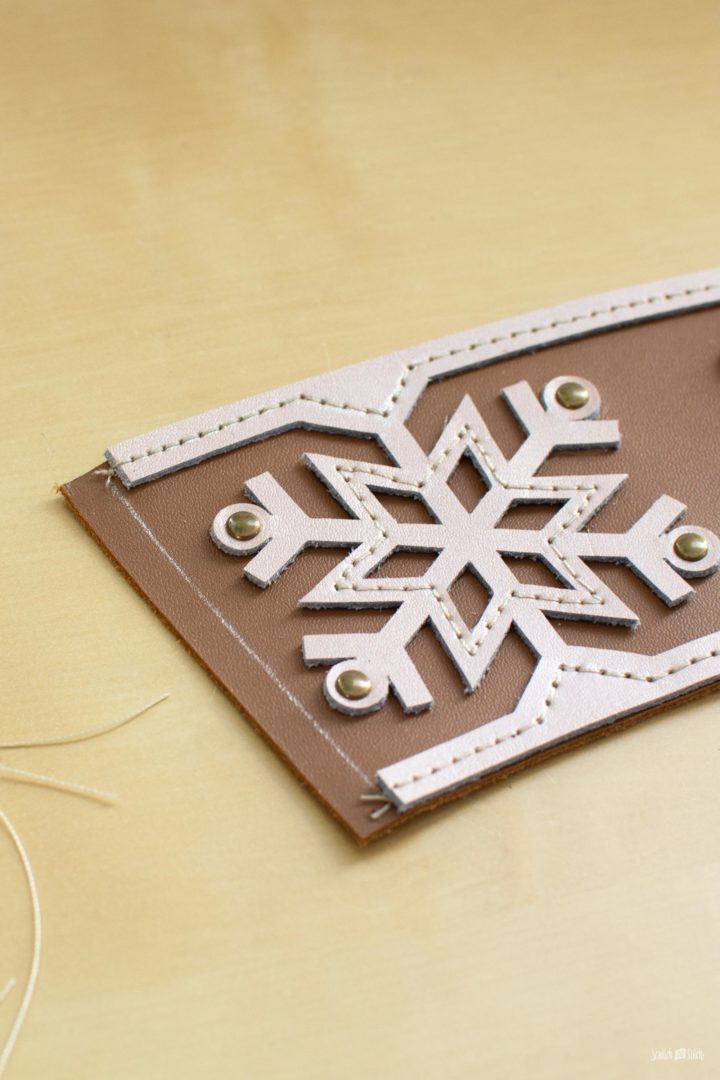
Sew along the top and bottom borders with a 1/8″ seam allowance and following the corners that point to the snowflakes. Knot the threads and tuck the knots under the top layer and add a dab of glue to hold.
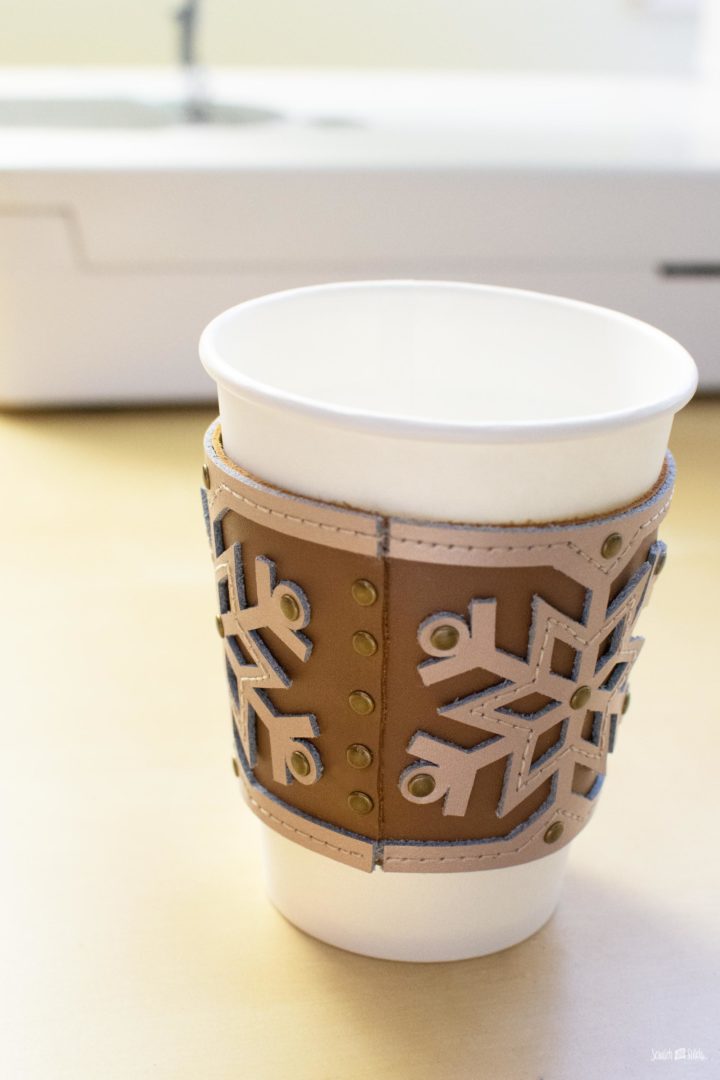
Add the rivets to the top and bottom borders.
Mark rivet placement where the layers overlap and punch the holes to hold the sleeve together. Add some glue to the backside that overlaps and clip the ends together. Place your rivets in the holes and press. Allow the glue to dry overnight fully.
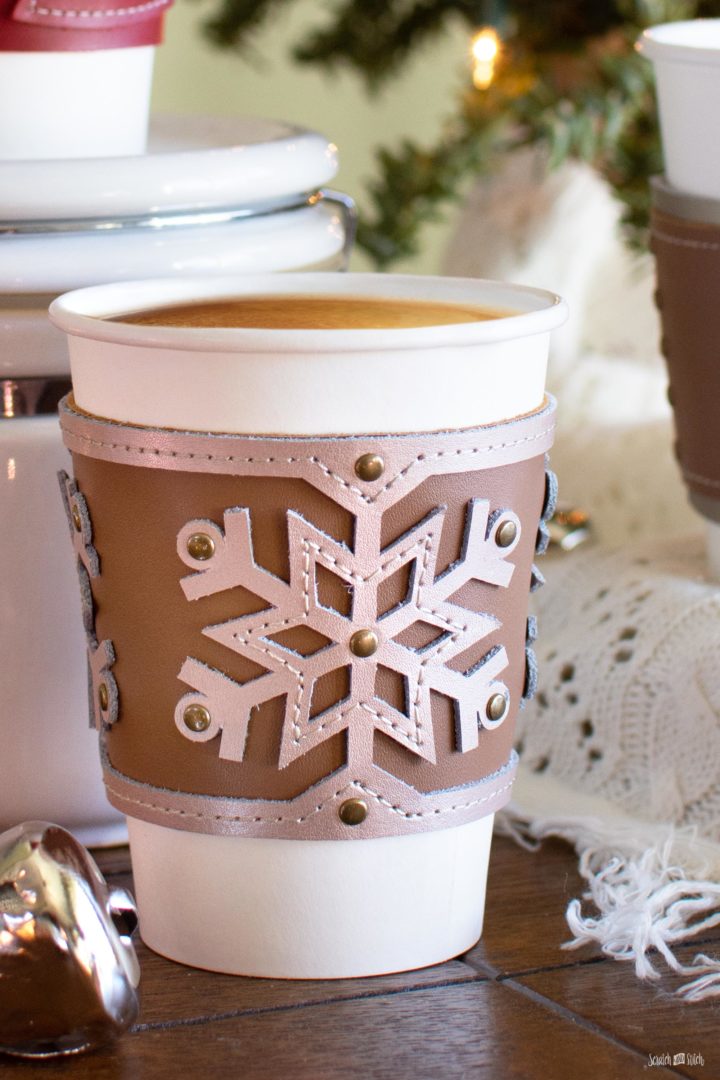
This snowflake DIY coffee sleeve looks perfect for a hot cup of cocoa.
How to Make a T-Shirt Rug
Design and make a t-shirt rug that fits your home style.
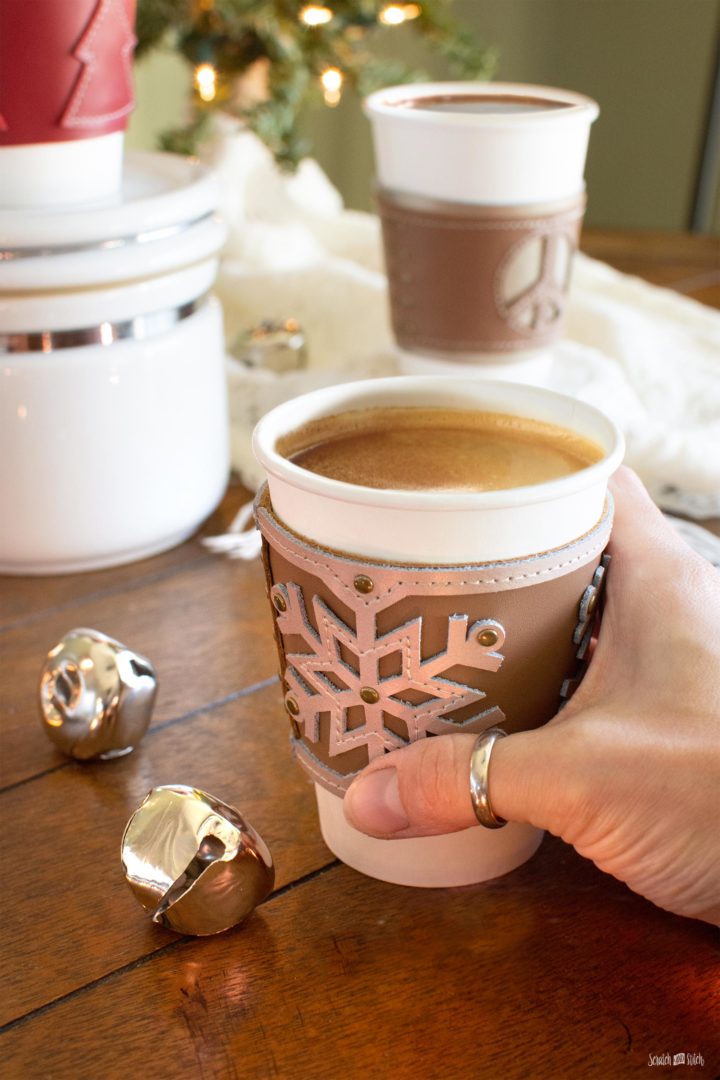
I can’t decide which one I like the best! They each have their own characteristics that make them unique. Which is your favorite?
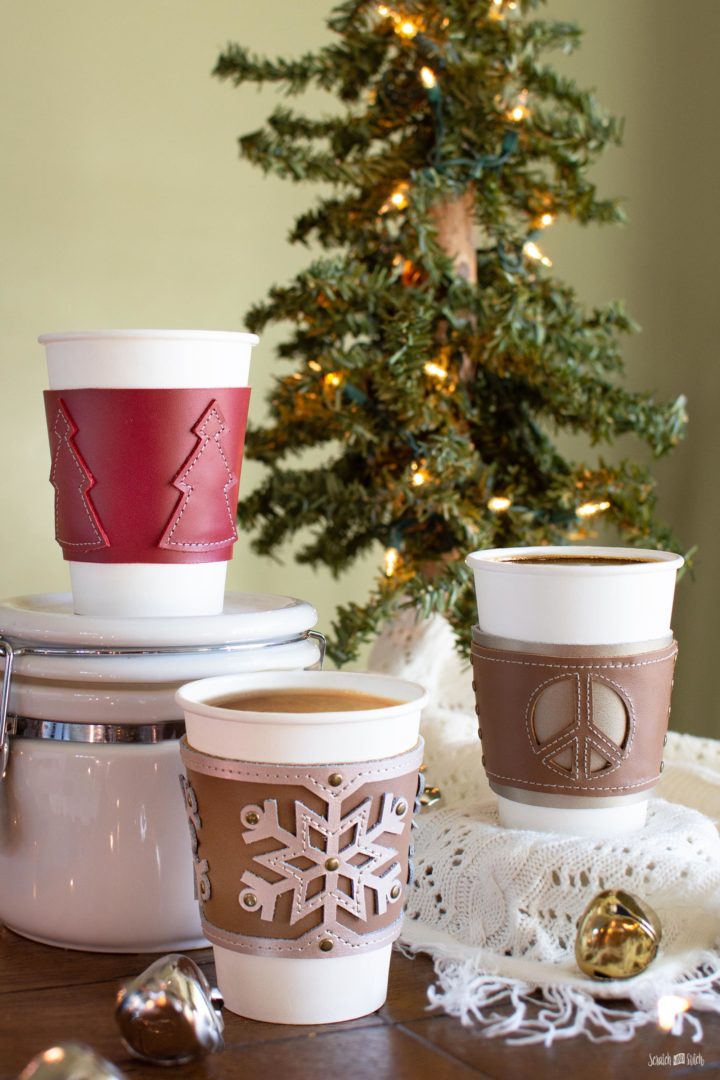
Did you make one or all three of these leather coffee cup holders? I’d love to see how yours turned out! Leave a comment below, and don’t forget to tag @scratchandstitch on Instagram and Facebook.

Leave a Reply