This post may contain affiliate links.
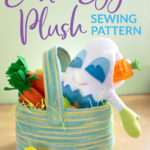
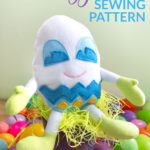
There’s a special joy that is shown on a kid’s face when they see colorful Easter eggs scattered about, ready to be gathered into their Easter basket. Add another surprise to their Easter goodies with an Easter Egg Plush toy that has a pocket to fill.
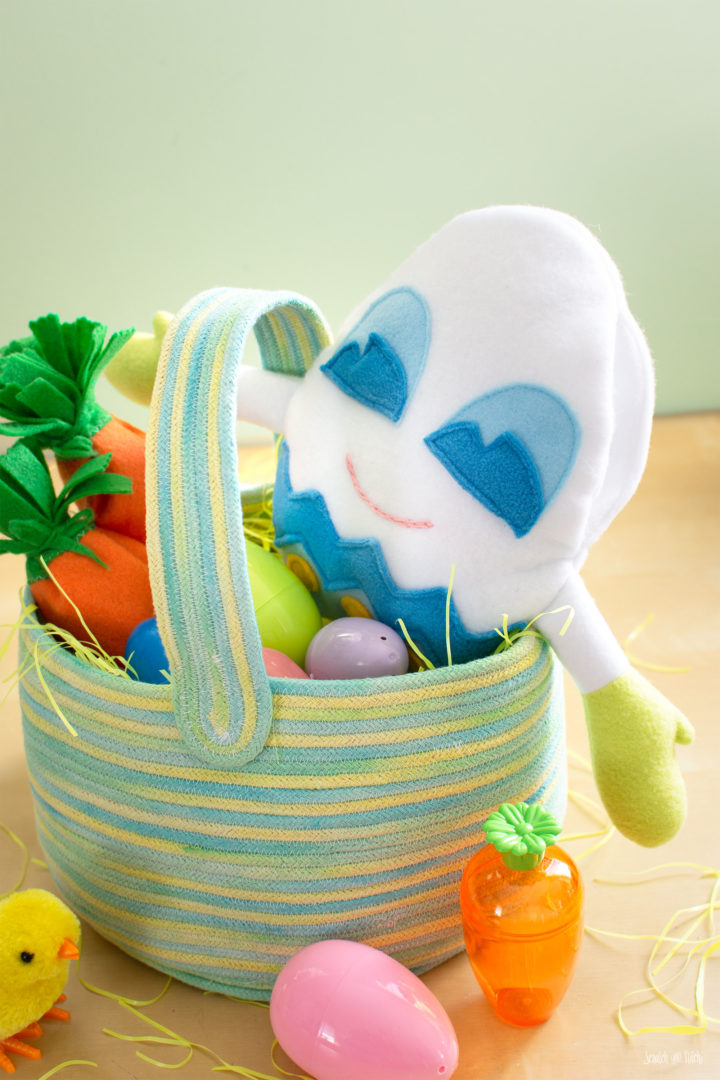
The pocket is the perfect place to stash more Easter treats and trinkets. Kids will love stuffing other random things in there later too.
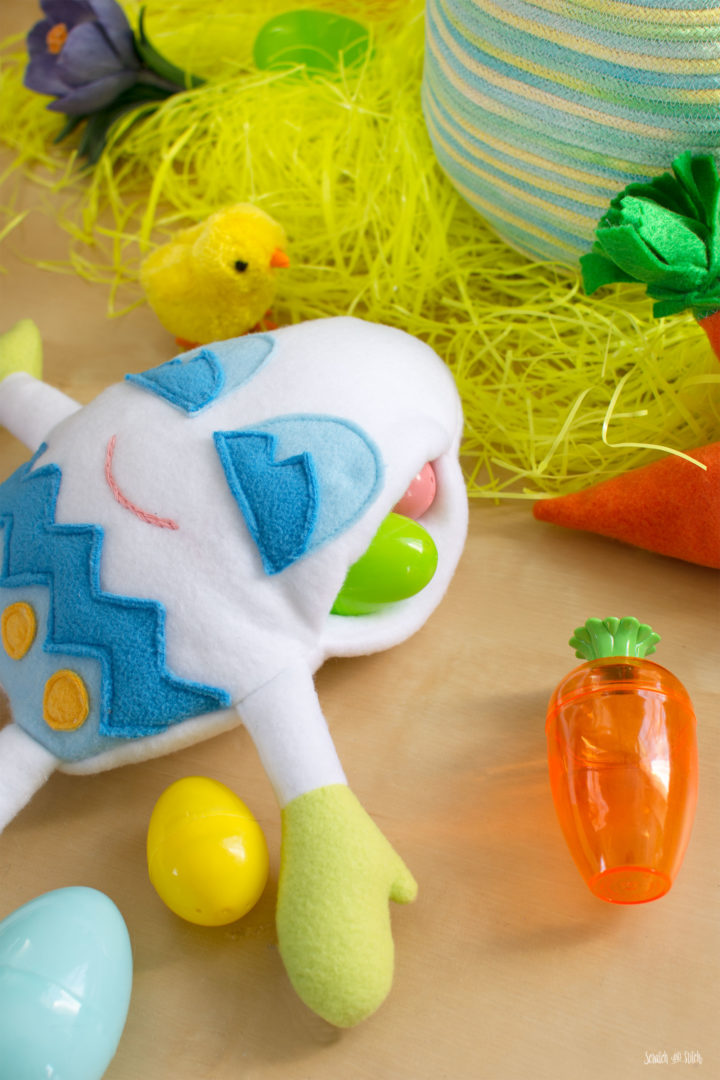
The Easter Egg Plush sewing pattern is an easy-to-make spring project for any level of sewist. It can be sewn by hand or by both hand and machine. The plush Easter Egg can be made with or without the pocket.
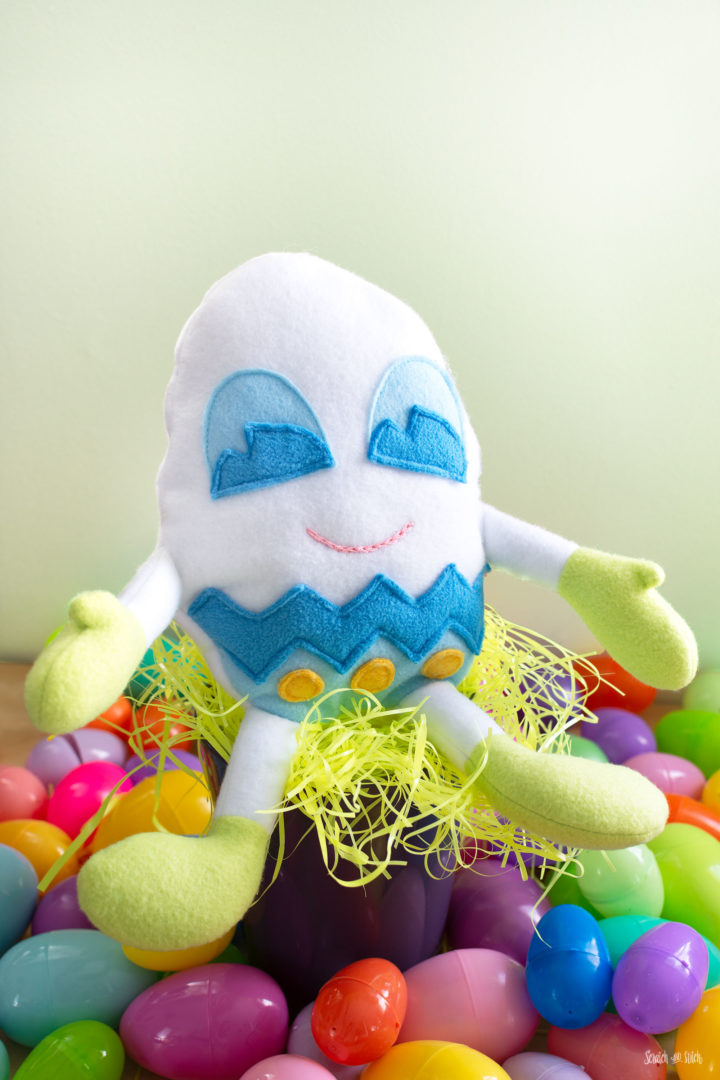
This sewing pattern is intended to be made with fleece and felt fabrics, making it a great project for an aspiring sewist. I’ve included pattern pieces for the zig-zag and polka dots seen in the photos, but feel free to be as creative as you’d like with your egg.
Materials
- Easter Egg Plush Sewing Pattern (download below)
- fleece fabric
- felt fabric
- Poly-fil
- coordinating thread
- basic sewing supplies
Easter Egg Plush Pattern
Download the pattern and print at 100%.
Enter your email to get the free pattern in your inbox.
By submitting your email address you will be added to the Scratch and Stitch email newsletter. You can opt-out at any time :)
How to Make the Easter Egg Plush
Print the Easter egg plush paper pattern. Cut out the paper pattern pieces.
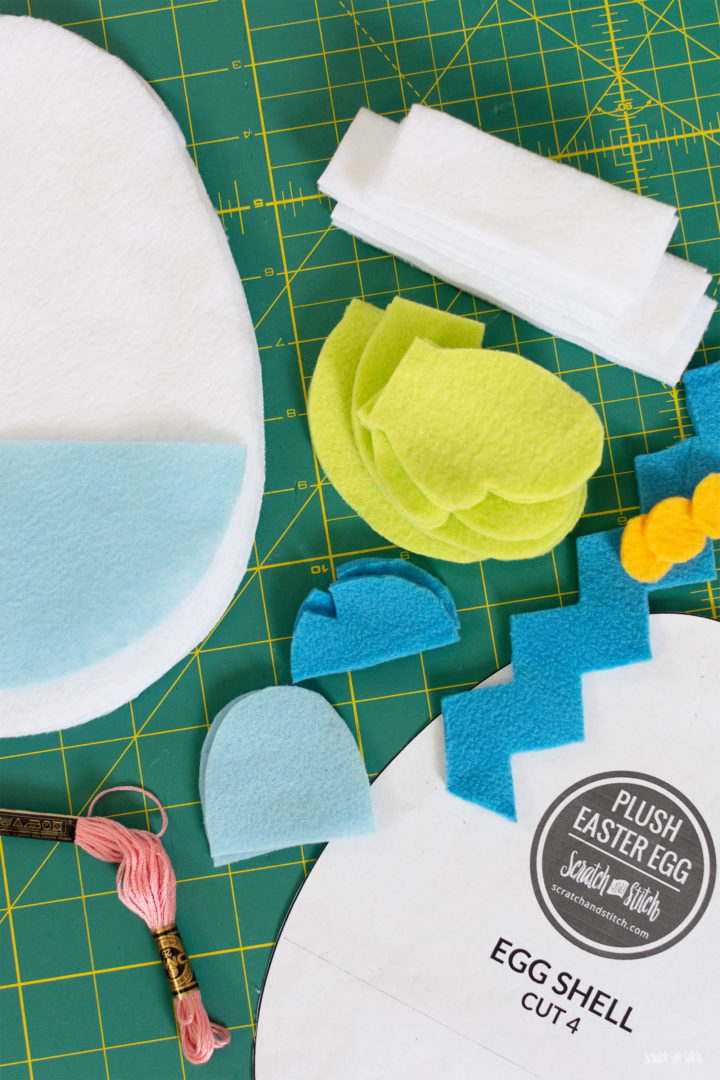
From the fleece and felt fabrics, cut all pattern pieces. You’ll have:
- 4 egg shells
- 2 outer eyes
- 2 inner eyes
- 4 arms
- 4 legs
- 4 hands
- 4 feet
- 1 bottom shell
- 1 zig zag
- 3 circles
Make the Easter Egg Front
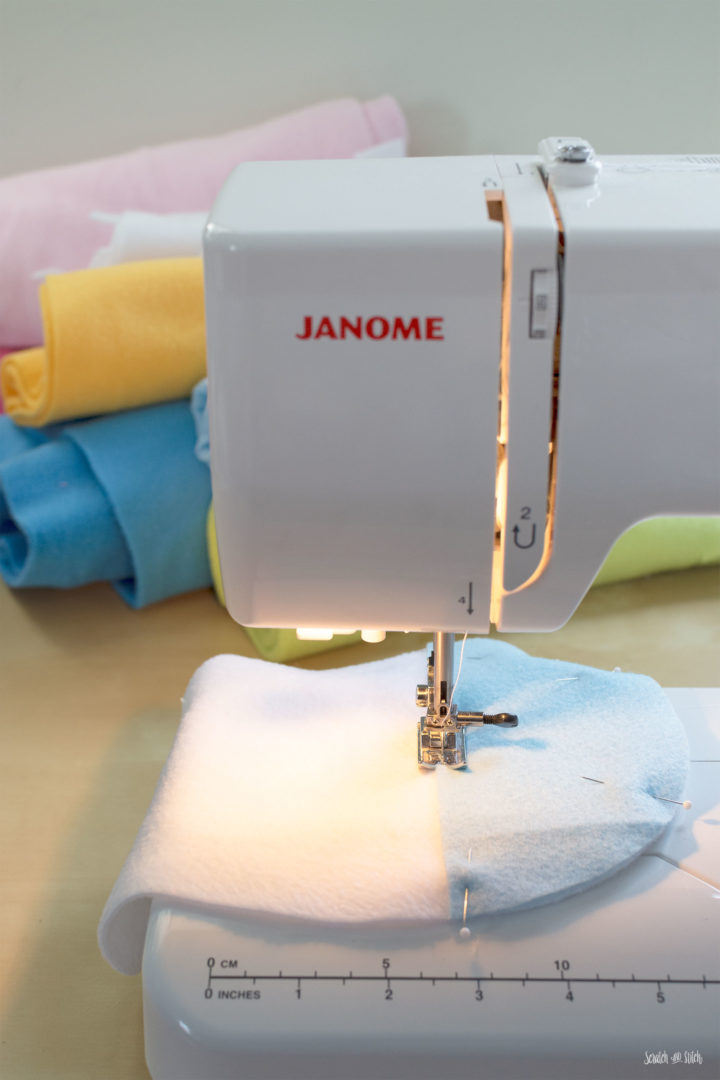
Pin and sew the bottom shell into place onto one egg shell with 1/8″ seam allowance along the top and around the curved bottom. The top is intended to have the raw edge exposed and will be covered up in the next step.
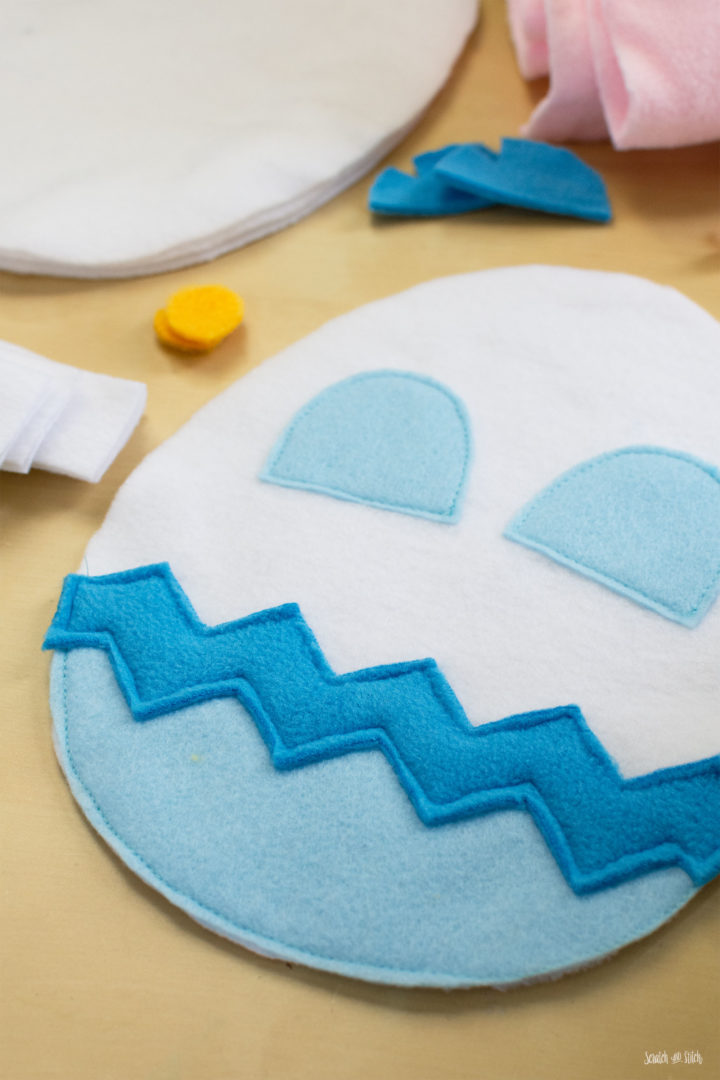
Pin the zig-zag in place to cover the top edge of the bottom egg shell. Sew in place with 1/8″ seam allowance. The zig-zag is intentionally longer than the width of the egg, trim the excess off after sewing.
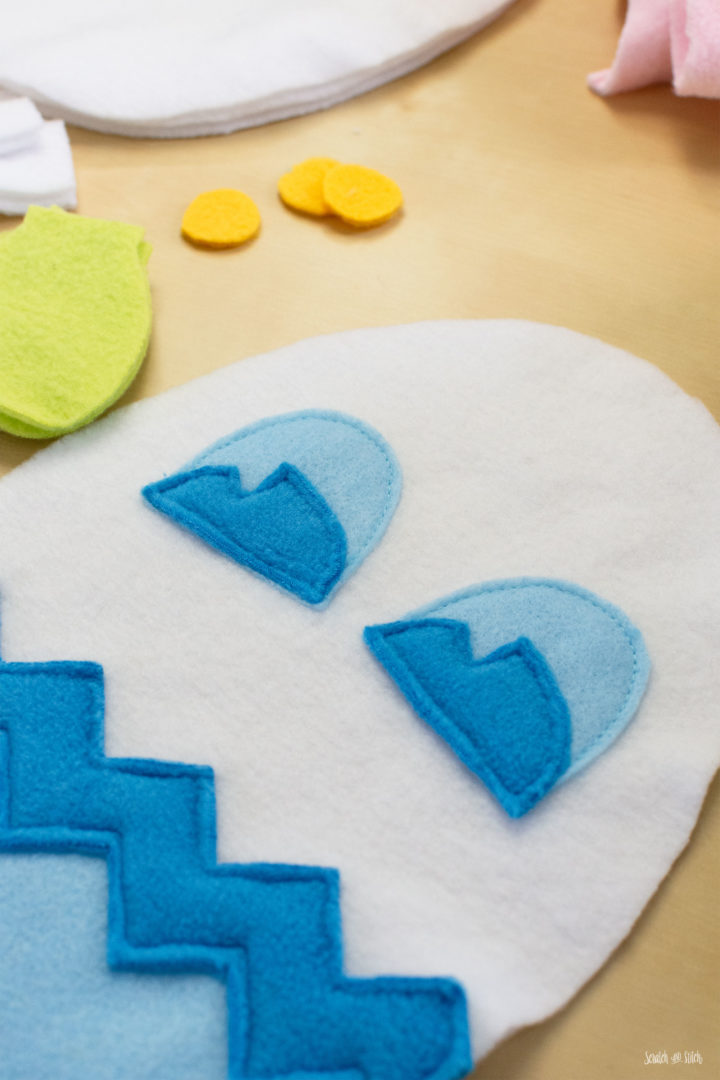
Pin the outer eyes in place. Make sure to leave extra space on the outer edges of the shell for the seam allowance. Sew in place with a 1/8″ seam allowance.
Pin and sew the polka dots.
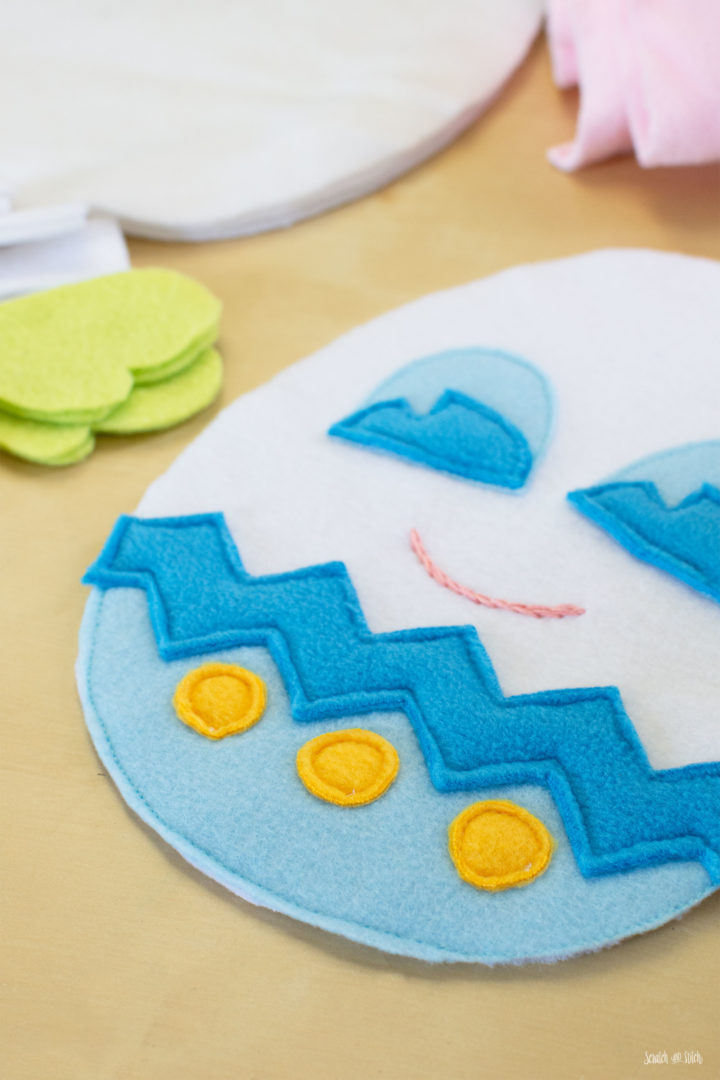
Pin the inner eyes on top of the outer eyes and sew in place with a 1/8″ seam allowance.
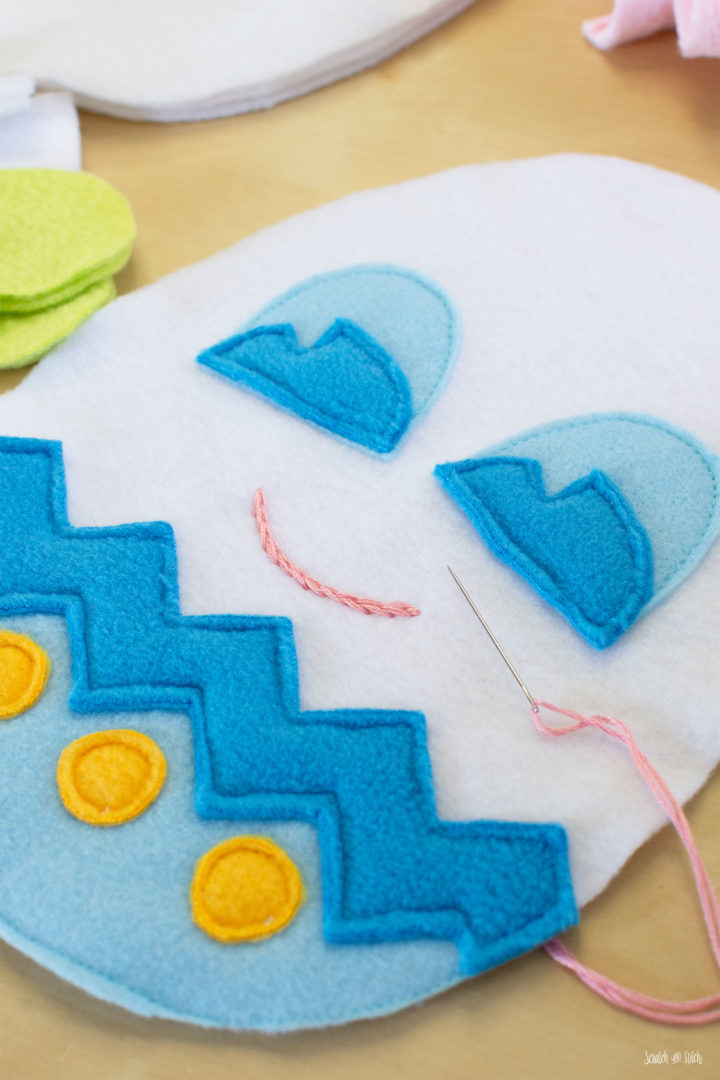
Mark the location of the smile with a fabric pen or pins. Hand-stitch the smile in place with embroidery thread using a split-stitch. Set aside.
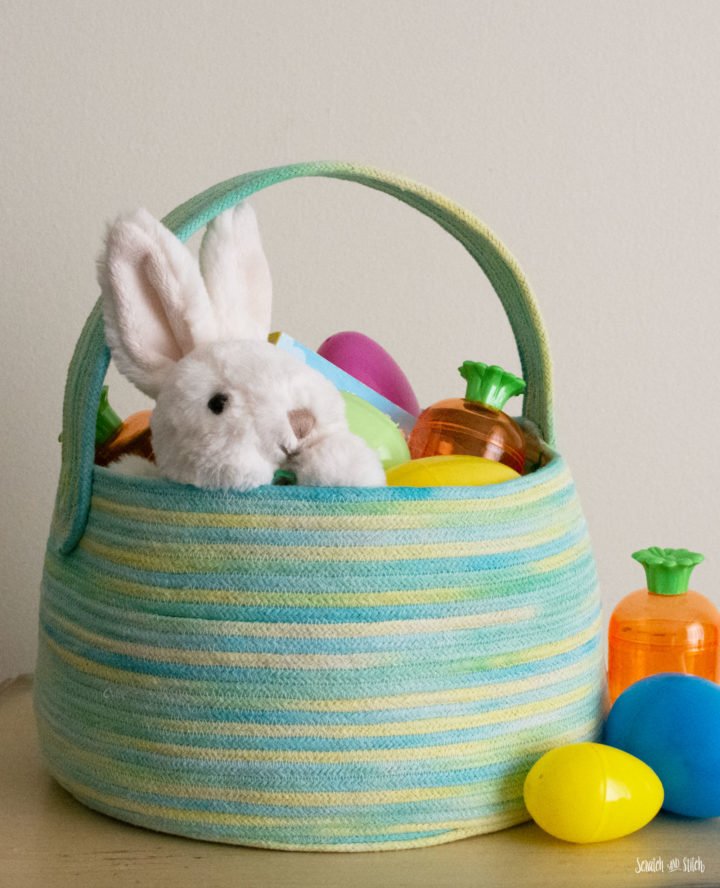
DIY ROPE EASTER BASKET
Learn how to make a rope Easter basket to fill with eggs. This basket is so sturdy and will last for years to come.
Make the Arms and Legs
With right sides facing, align the top of one foot piece to the short side of one leg piece. Sew across the top with a 1/4″ seam allowance. Repeat with all other leg and foot pieces.
Flip open the foot and leg piece. Place another leg and foot piece on top with right sides facing and sew around the perimeter. Clip the inner curve and turn right sides out. Lightly stuff with poly-fil stopping about 2″ from the open end.
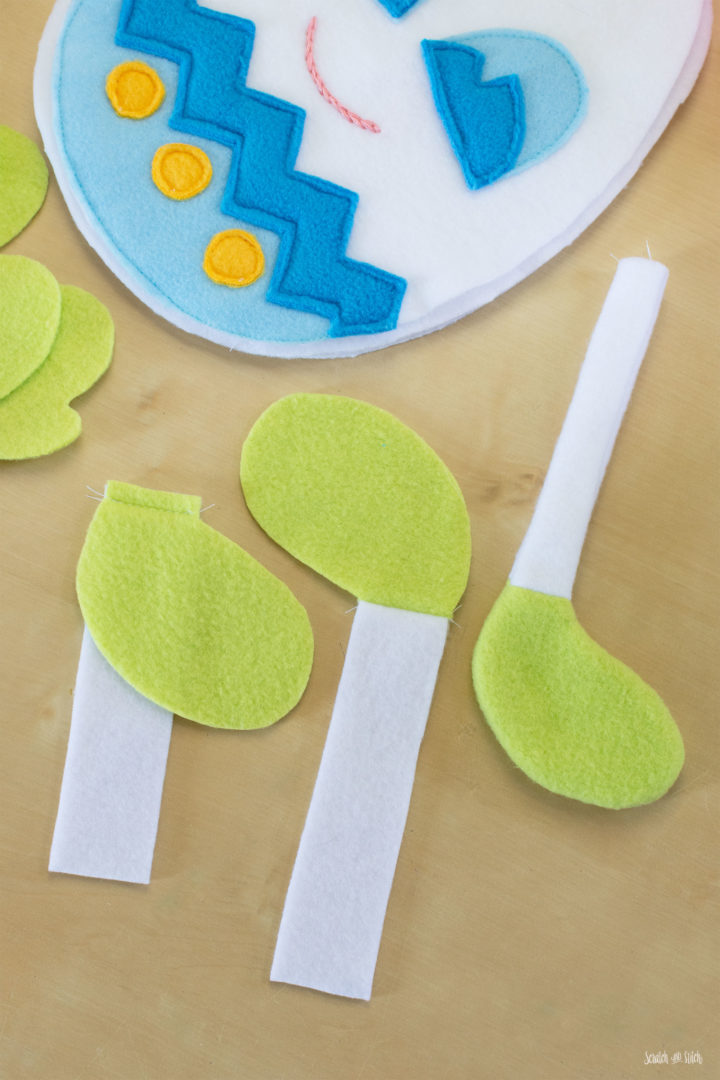
Repeat the same steps with the hand and arm pieces. Set aside.
Make the Back Shell
Pin two plain shell pieces together with right sides facing. Sew around the perimeter, leaving an opening for turning and stuffing. Make sure to backstitch at the opening. Lightly stuff the shell. Do not close the hole yet. Set aside.
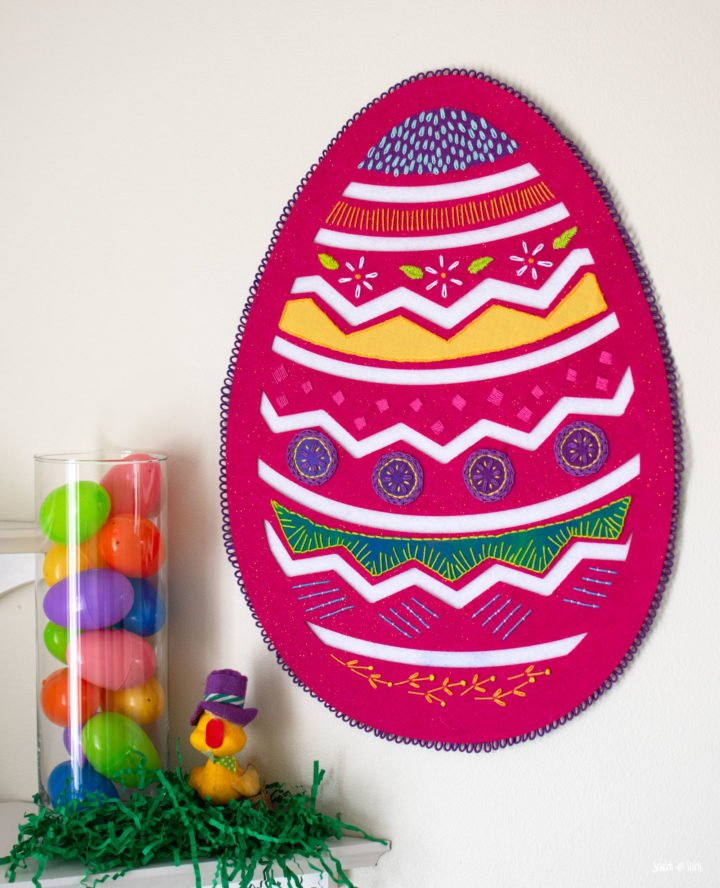
DIY Easter Decorations
Make a beautiful Easter wall hanging starting with a Dollar Tree placemat.
Assemble the Limbs to the Front Shell
Pin the arms and legs facing inward to the finished front shell. Leave some extra leg/arm hanging off the edge. The bottom of the arms should land about 1/4″ above the zig-zag decoration. Use the markings for the bottom opening as a guide on how far apart the legs should be. Sew the legs and arms in place 1/8″ from the edge of the shell. Do not cut off the excess legs and arms yet.
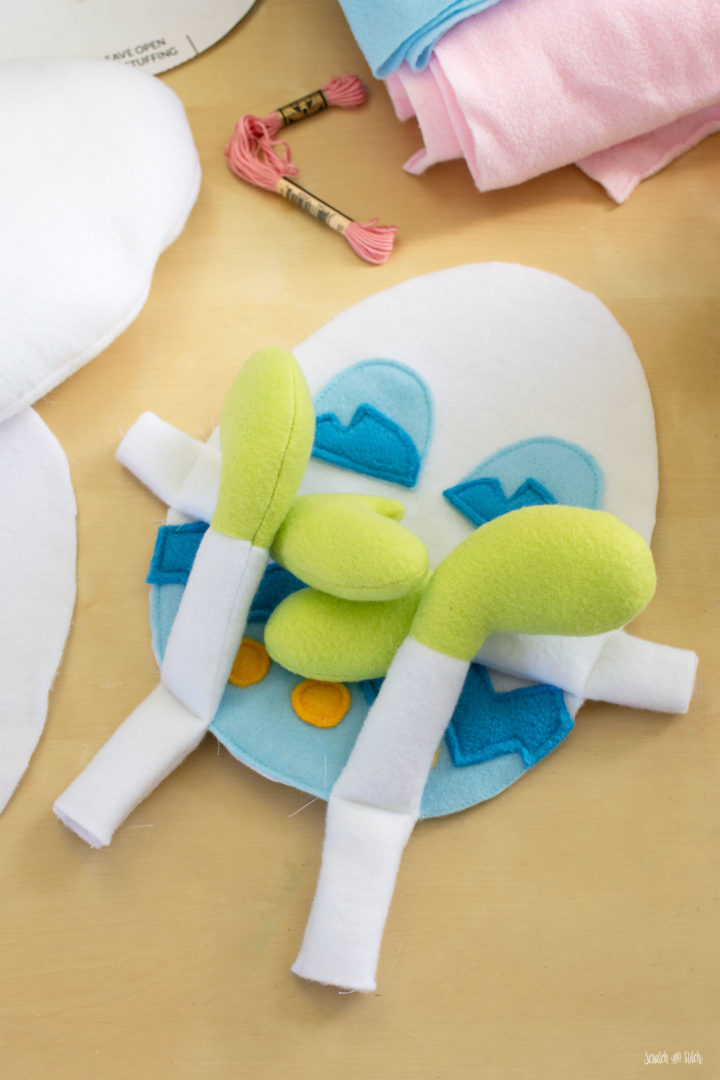
Pin the remaining plain shell piece on top of the face and limbs with the right sides facing. Sew around the perimeter, starting at the inside of one leg and ending at the inside of the other leg. Make sure to backstitch at the opening.
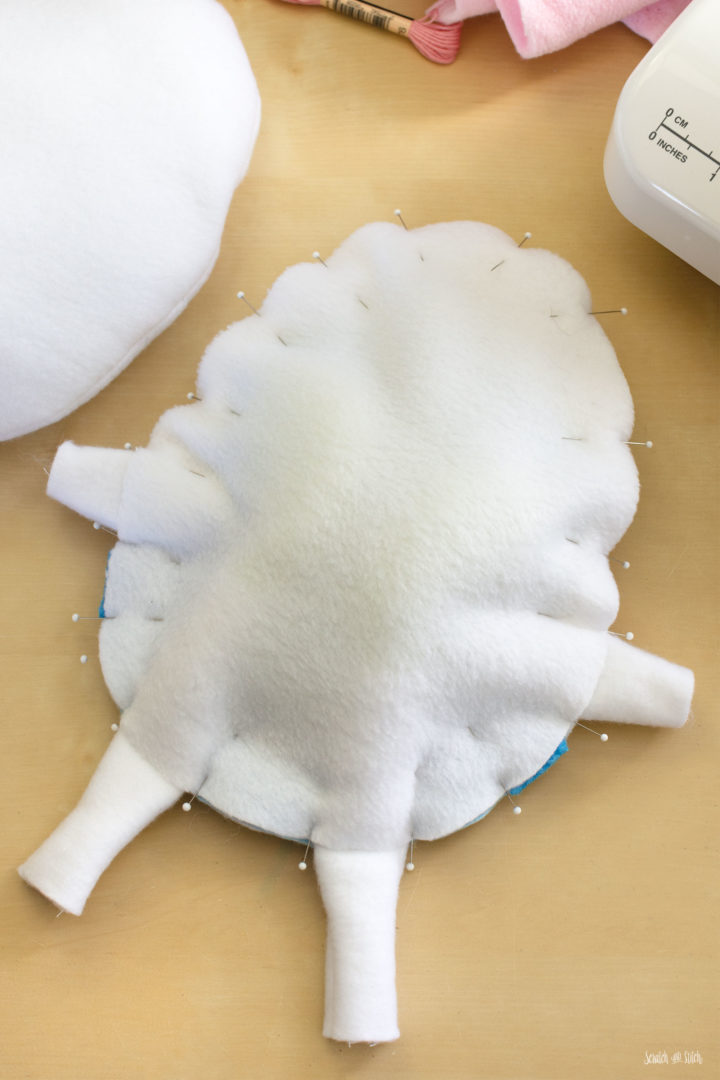
Trim off the excess from the arms and legs.
Gently pull the legs and arms through the hole and push out the shell seams. Lightly stuff the shell.
Before closing up the shell holes, make sure the two shells fit well together. If there is too much stuffing, remove some and check again.
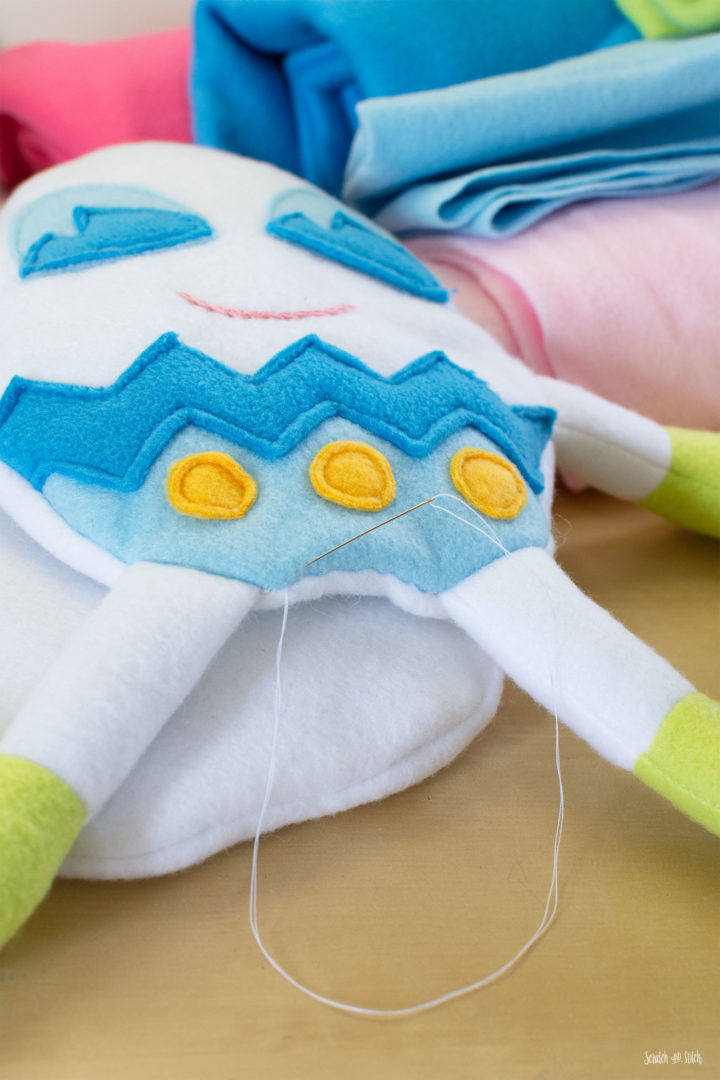
Once you’re satisfied with the amount of stuffing in both shells, close up each of the shell holes by hand stitching a ladder stitch.
Making the Easter Egg Surprise Pocket
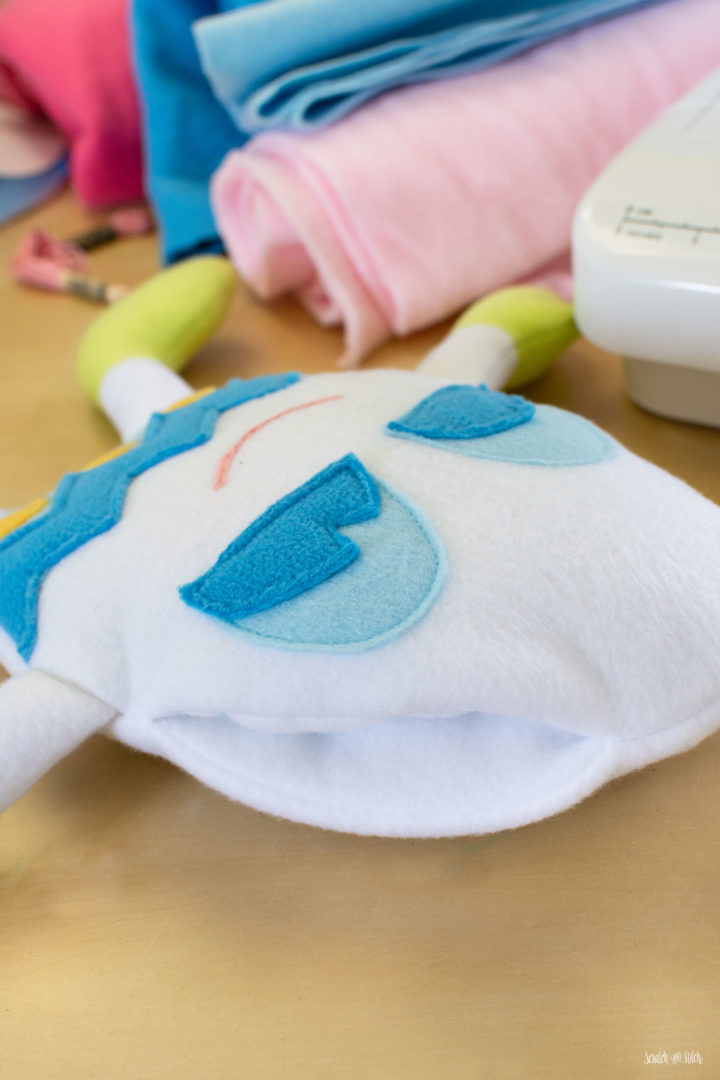
Pin or clip the two assembled shell pieces together with the face up. Mark where the pocket opening will be. Using a ladder stitch, hand stitch around the perimeter of the shells, leaving the pocket open.
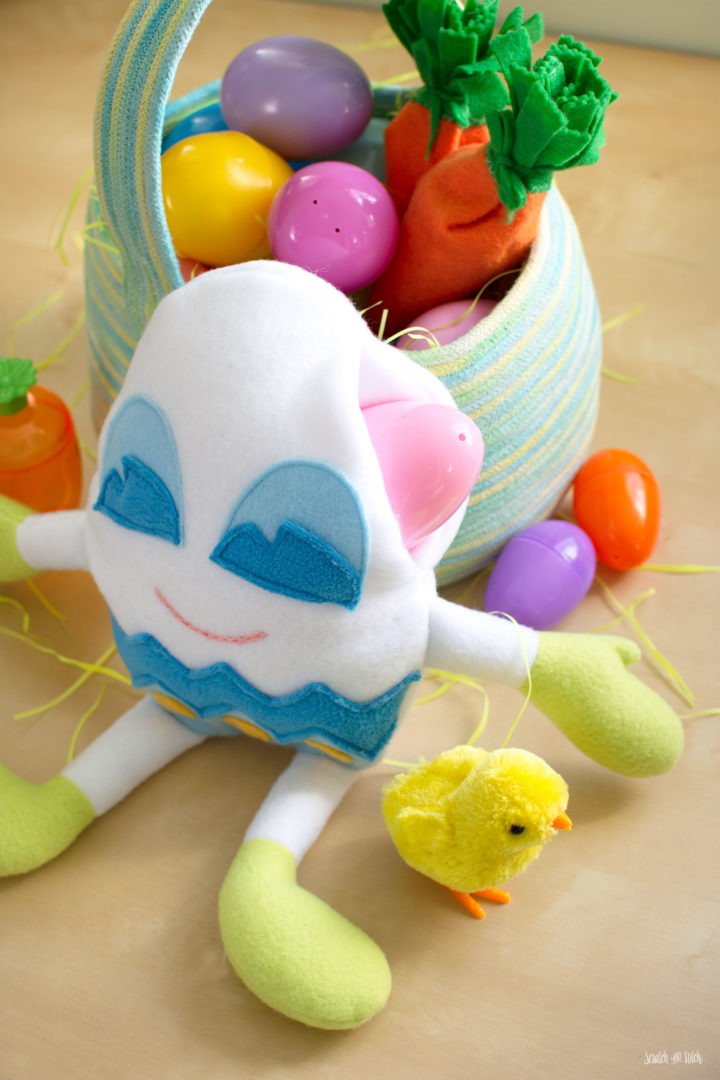
I can’t wait to see the look on my son’s face when he sees this Easter egg plush stuffed in his Easter basket. It will be filled with some treat-filled eggs and a few other Easter goodies.
This plush Easter egg sewing pattern pairs well with my other free stuffed animal patterns.
HEART SQUEEZE SEWING PATTERN
This sweet stuffed heart plush is a great free sewing pattern for the aspiring sewist, or to make for a little that you love. It makes a great Valentine!

LUCKY SHAMROCK SEWING PATTERN
The smiling shamrock is a free sewing pattern download that will make anyone feel lucky.
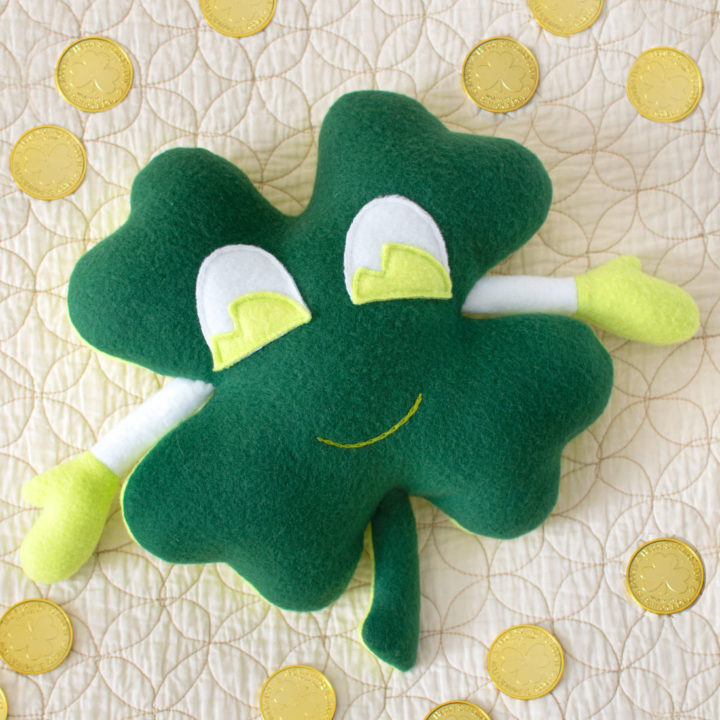
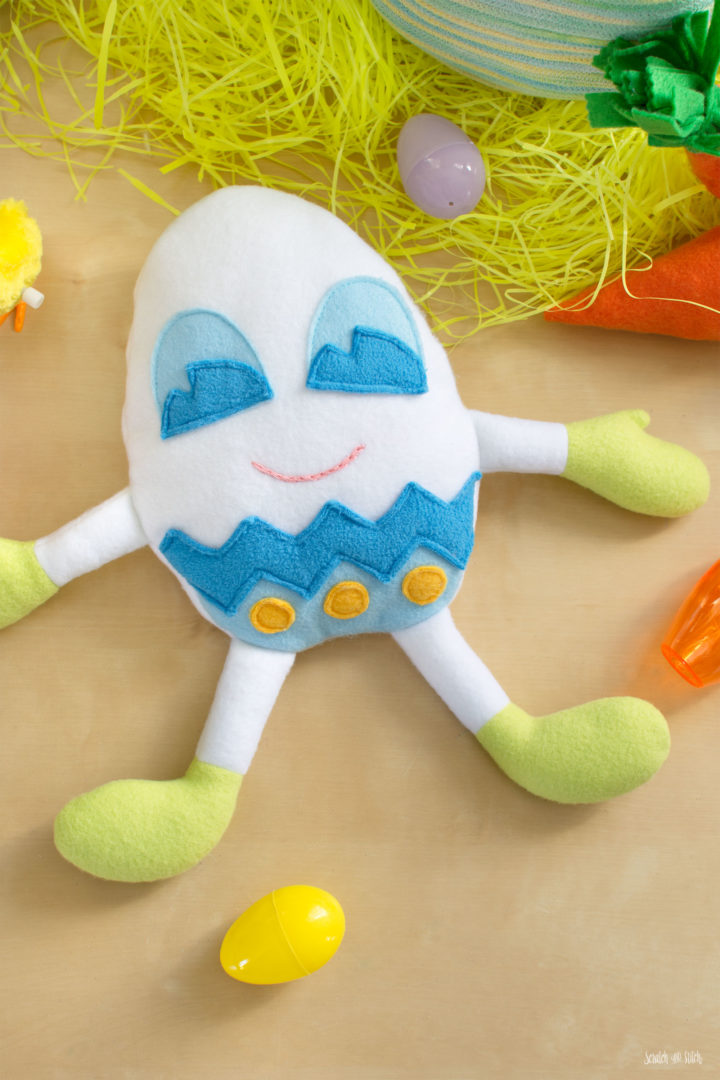
I’ve given you a place to start to make this free stuffed animal pattern. Get creative with your Easter egg plush decorations and colors.
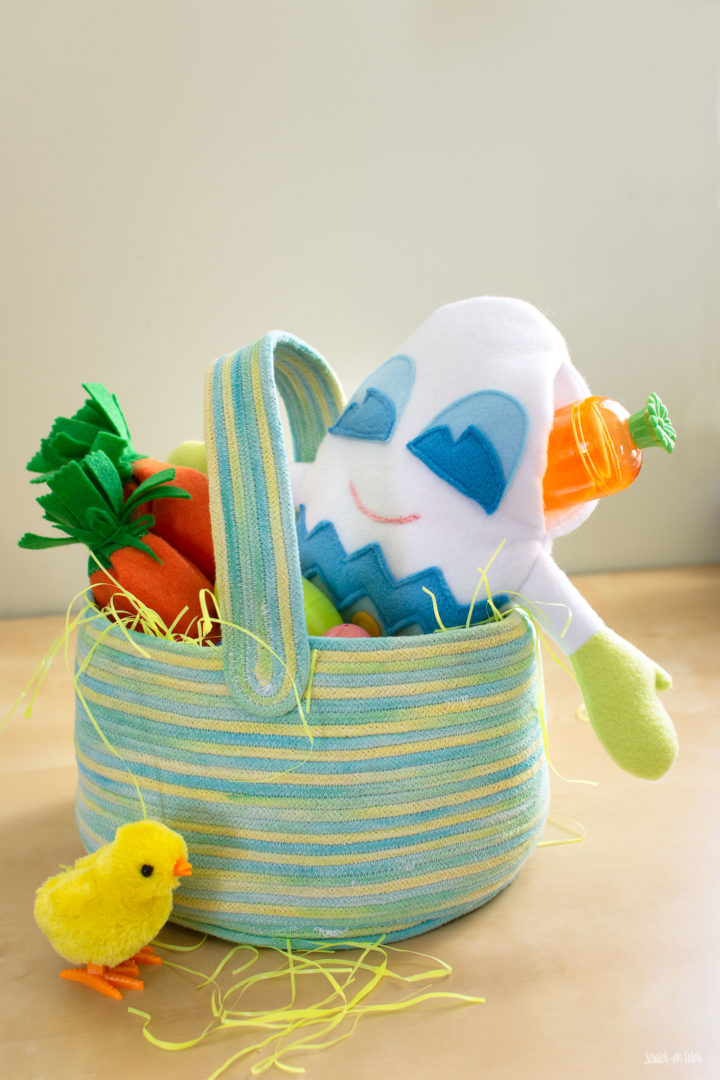
Did you make this Easter egg plush? I love seeing your creations. Send me a picture or tag @scratchandstitch on Instagram or Facebook.
This pattern is so cute! It was very easy, so I made one for my granddaughter and filled it with Easter goodies….Thank you so very much!
That’s wonderful to hear! :) I would love to see pics.
Terrific