This post may contain affiliate links.
Every Halloween season I make at least one new Halloween decoration to add to my stash. This year I created these DIY Halloween decorations for outdoor display using materials and tools found at Dollar Tree and in my garage. The tipsy pumpkin bucket totem idea was inspired by my popular Glowing Plastic Pumpkin Totem.
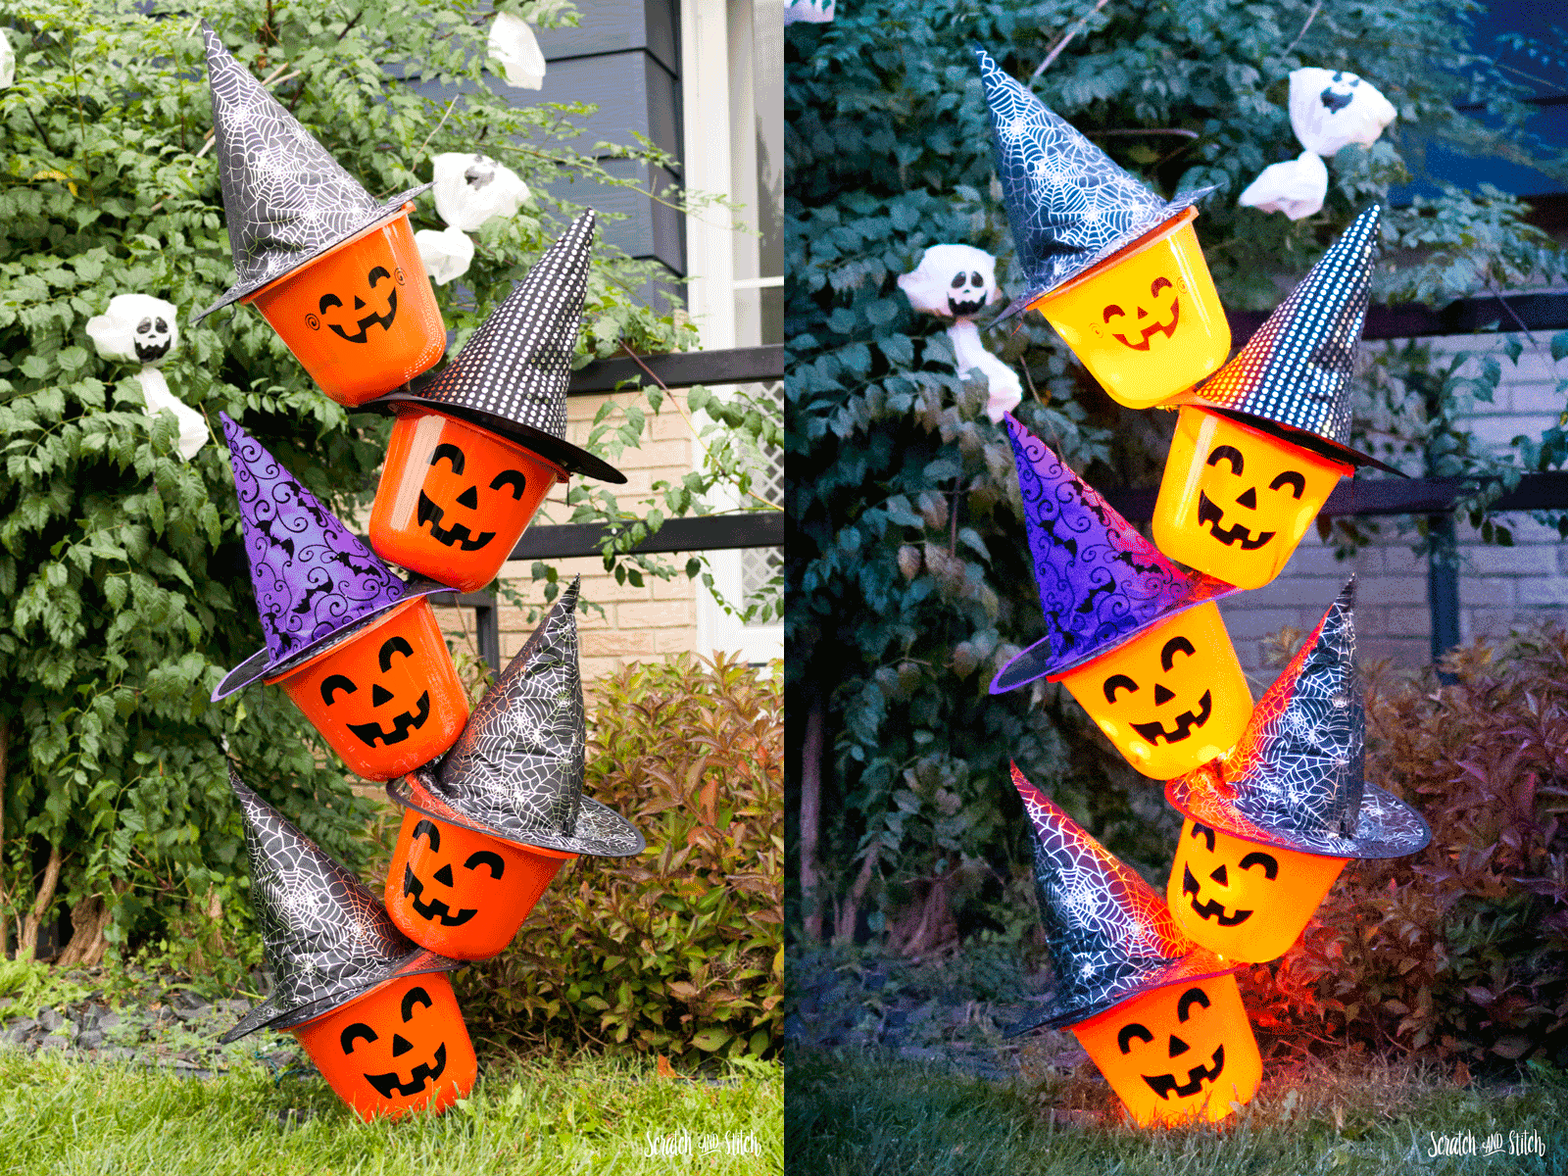
I’ve received several comments that people are not able to find the classic pumpkin-shaped jack ‘o lantern buckets and can only find standard buckets. So I decided to create a 2.0 version using the pumpkin buckets that are available at many stores during the Halloween season. These pumpkin treat buckets can be found at Dollar Tree and at Target for $1 each in September and October.
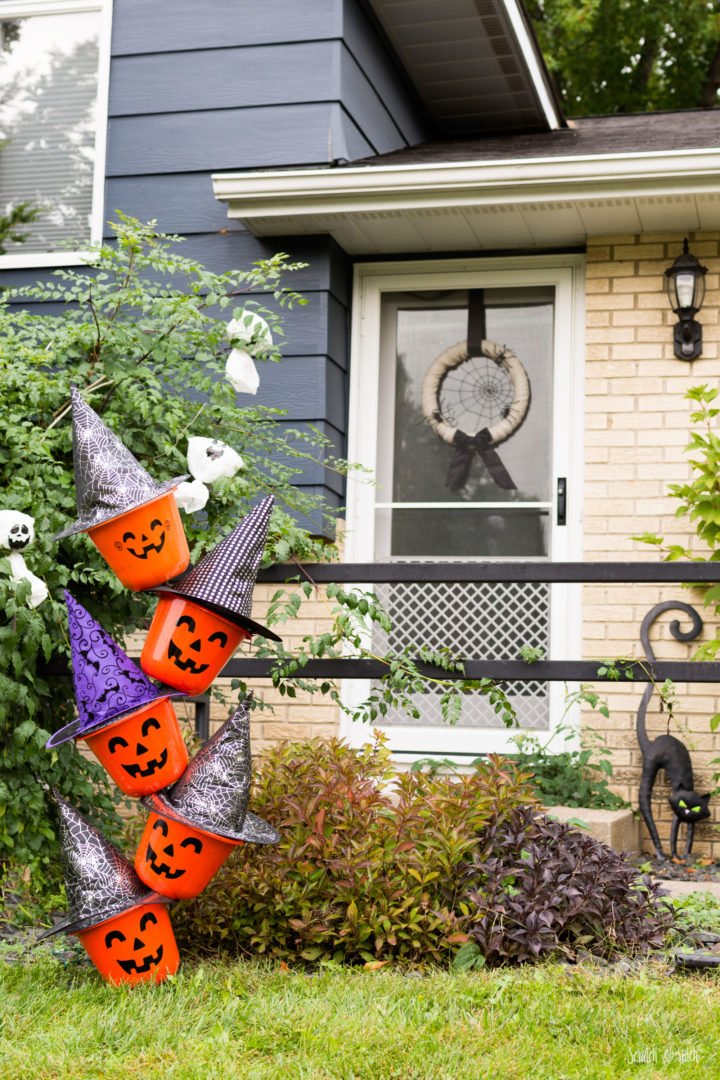
The Dollar Tree Halloween selection is a great place to get materials for DIY Halloween Decorations like cheesecloth and floral wire for a Spiderweb Wreath or black socks for DIY Sock Spiders. You can also find many supplies for making DIY Halloween Costumes. The plastic treat pails, kid-sized witch hats, black plastic plates, and black floral wire used in this project are all from Dollar Tree.
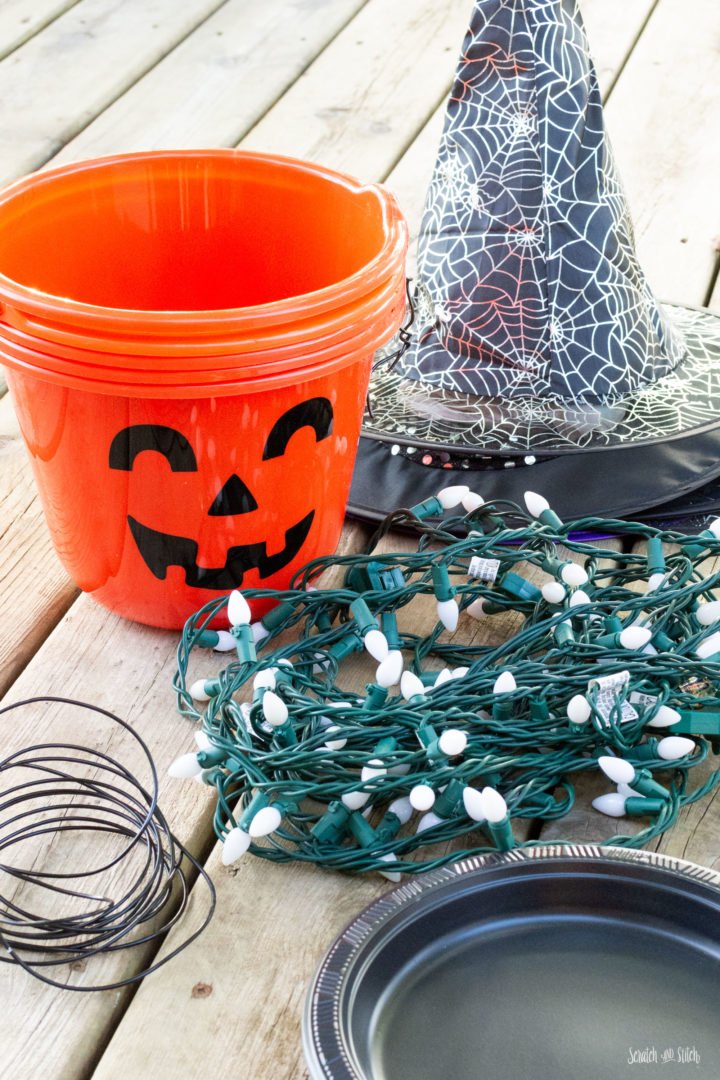
Materials & Tools
- 5 plastic treat pails
- 5 kid-size witch hats
- 5 plastic shopping bags
- 5 black plastic plates
- newspapers, magazines, paper, bubble wrap, or similar for stuffing hats
- floral wire (floral wire is very pliable and easy to work with but any wire or twist ties will work)
- garden stake
- hot glue gun + glue sticks
- 1 strand of white lights
- drill + drill bits
How to Make DIY Halloween Decorations for Outdoors with Plastic Treat Buckets
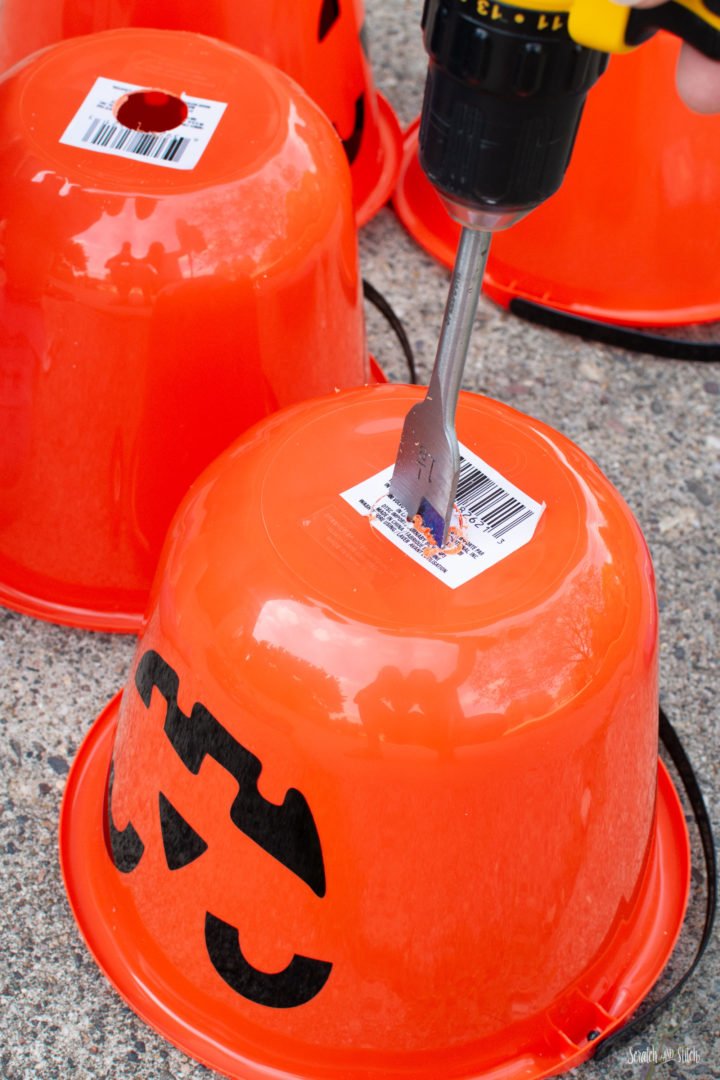
Begin by drilling a large hole into the bottom of each bucket. A 1 1/8″ auger drill bit works well to allow enough room for the garden stake and the strand of lights to slide through.
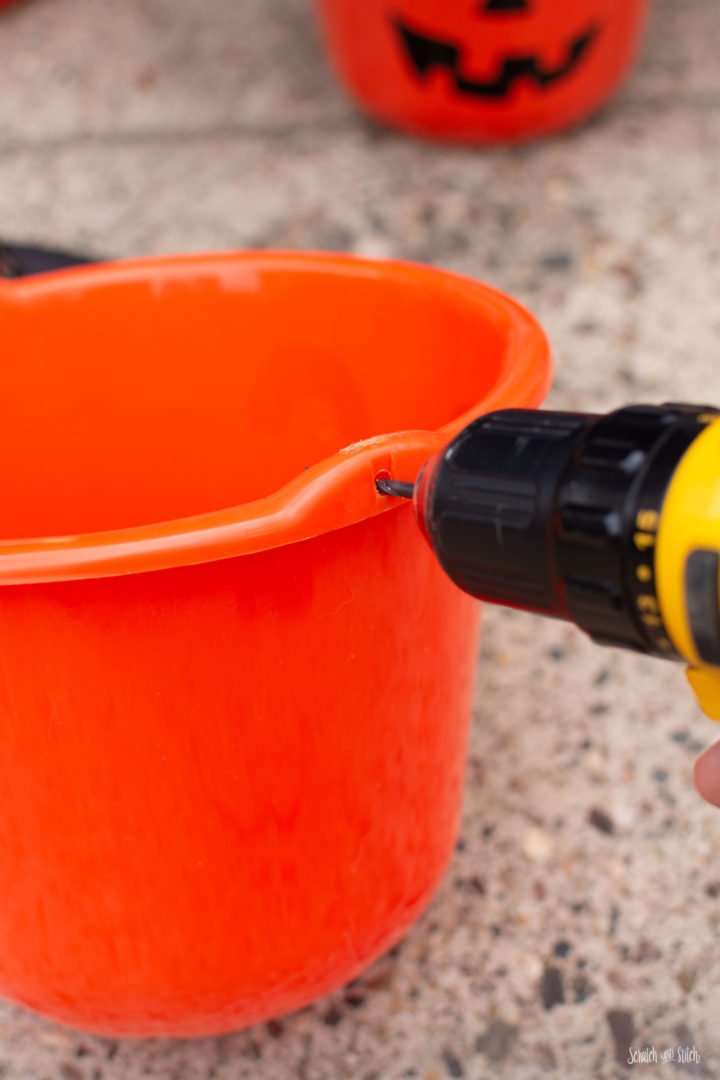
Remove the bucket handles and drill a small hole straight through the existing handle hole to the inside of the pail on both sides. This is for putting the wire through to hold the hat in place.
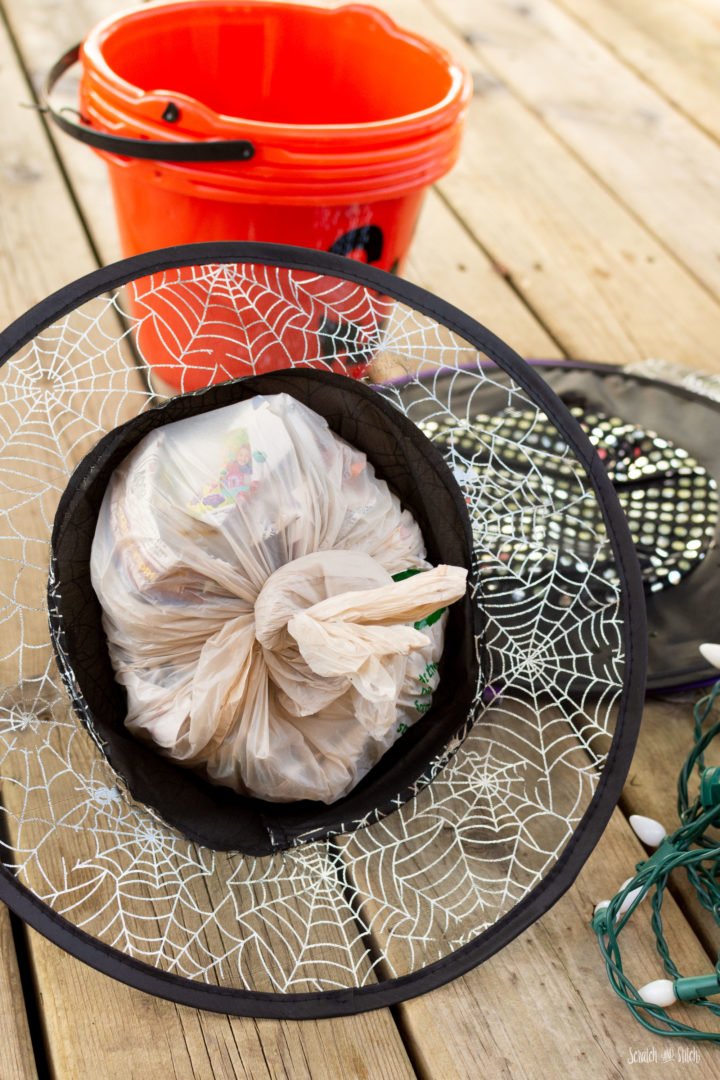
Stuff paper into the plastic shopping bags to create a cone shape that will keep the witch hats standing up. Tie the handles of the bag at the base of the hat.
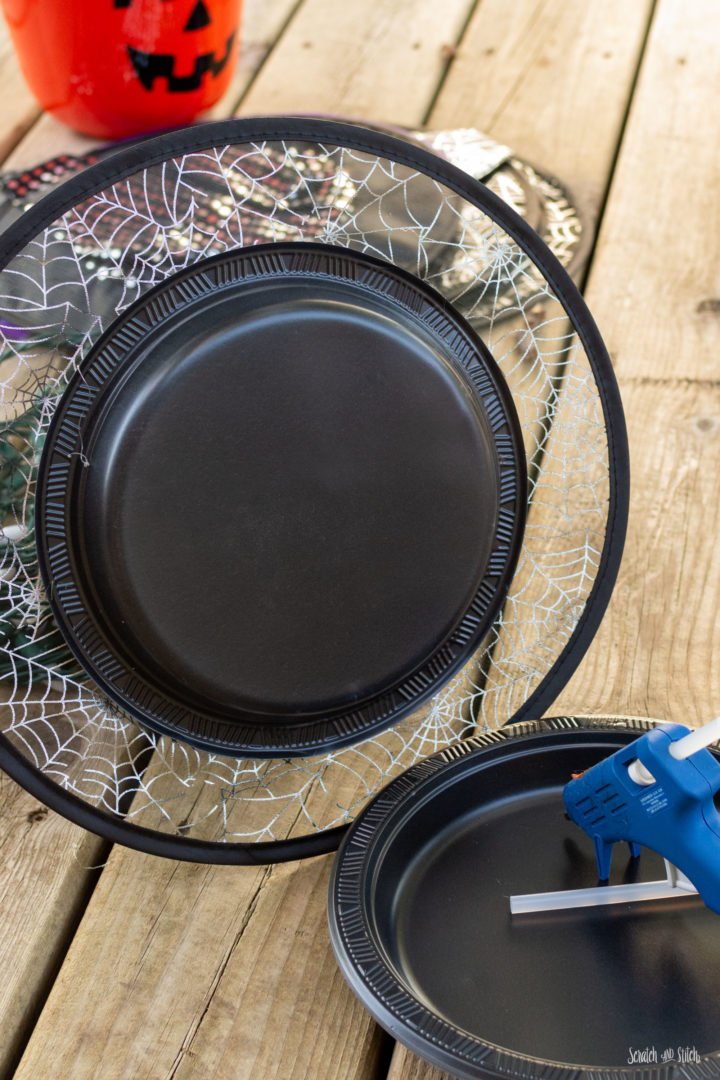
Hot glue a plastic plate to the bottom of the hat. The plastic bag is intended to keep the paper dry in rain or snow and the plate will keep the stuffed bag from falling out of the hat and into the pail.
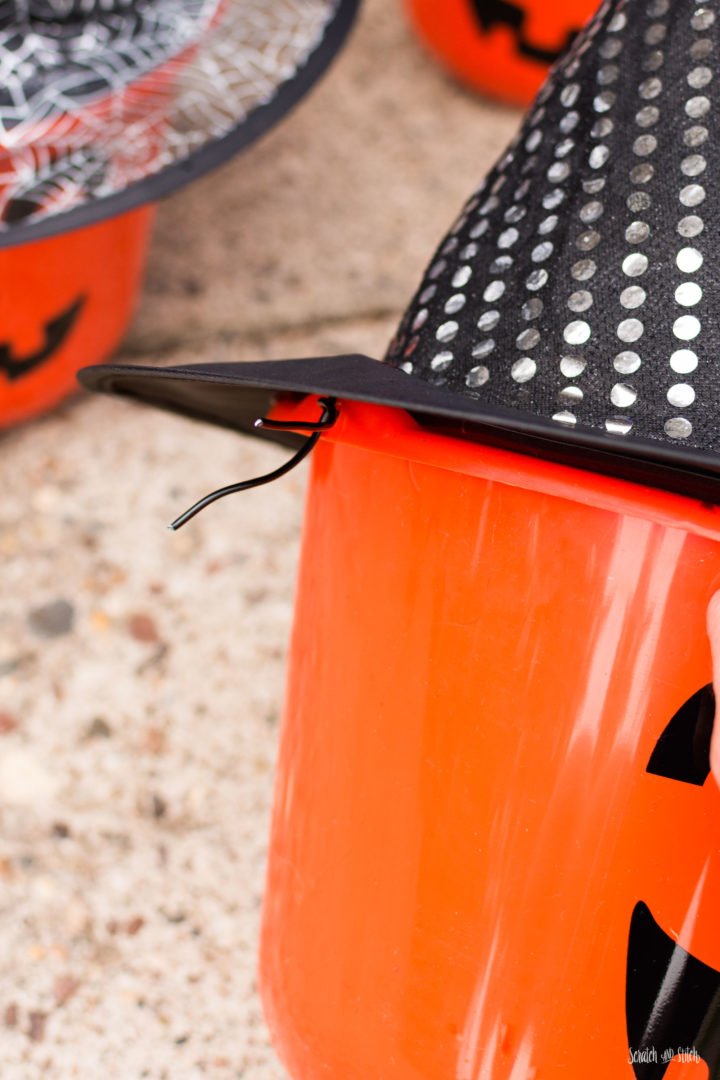
Attach the hat to the top to the pail by pushing a piece of wire through the small holes on the side of the pail and up through the hat. You may need to cut a tiny hole to push the wire through the plastic plate and brim of the witch hat. Twist the wire a couple of times to hold in place.
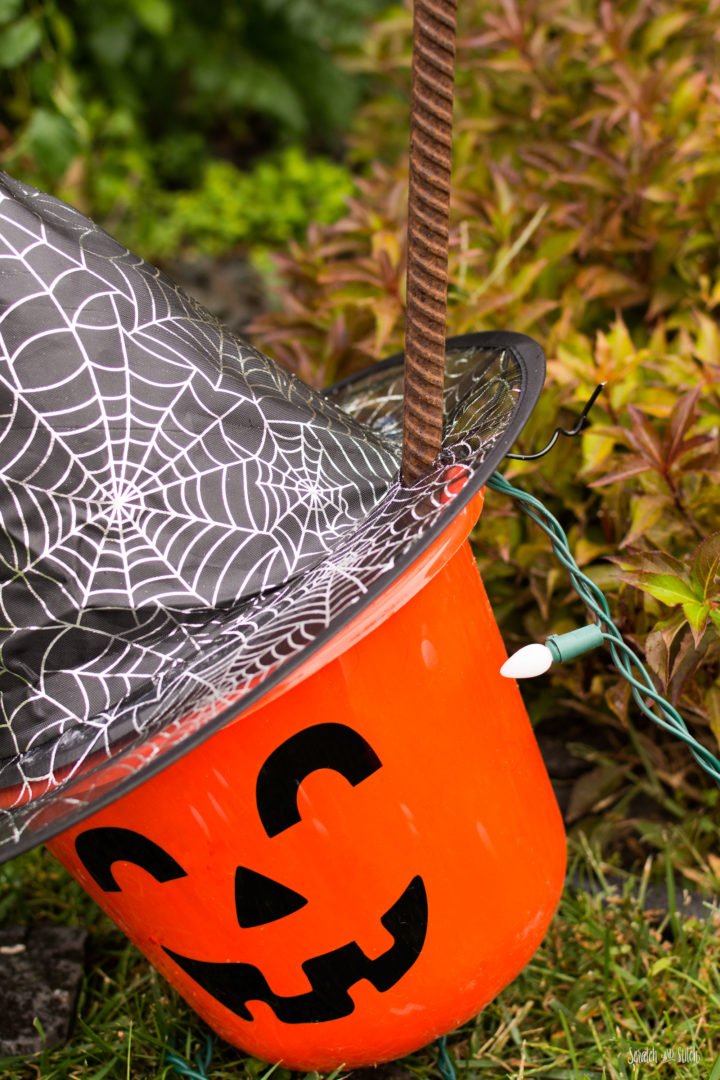
Pound your garden stake into the ground where you want the outdoor Halloween decoration to stand. Pull the strand of lights through the bottom hole so enough hangs out for plugging in. Place the first pail onto the garden stake and push the stake through the brim of the witch hat. You may need to cut a small hole to get it started, I found that the witch hats from the Dollar Tree were easily pushed through.
Leave some lights in the bottom bucket and pull the strand of lights through the next bucket and place onto the garden stake. Continue to stack the pails onto the stake with lights in them and tip them to opposite sides.
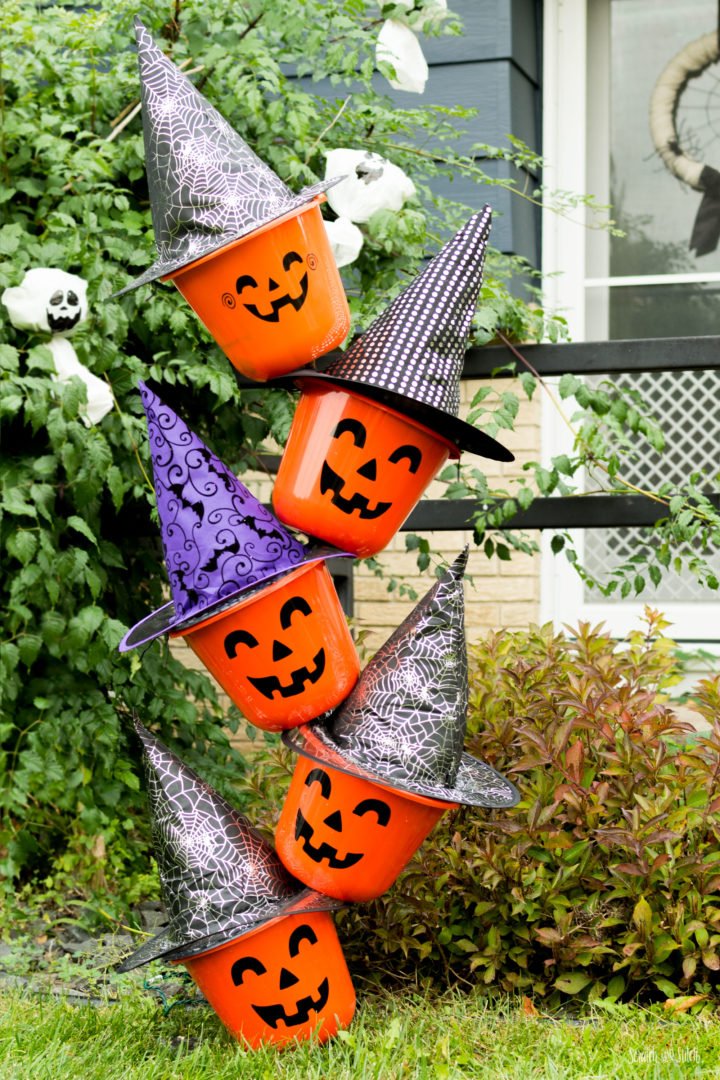
This tipsy stack of pumpkin pails with witch hats looks great during the day and has a nice orange glow at night. I set a timer so the lights turn on at dusk and off a few hours later.
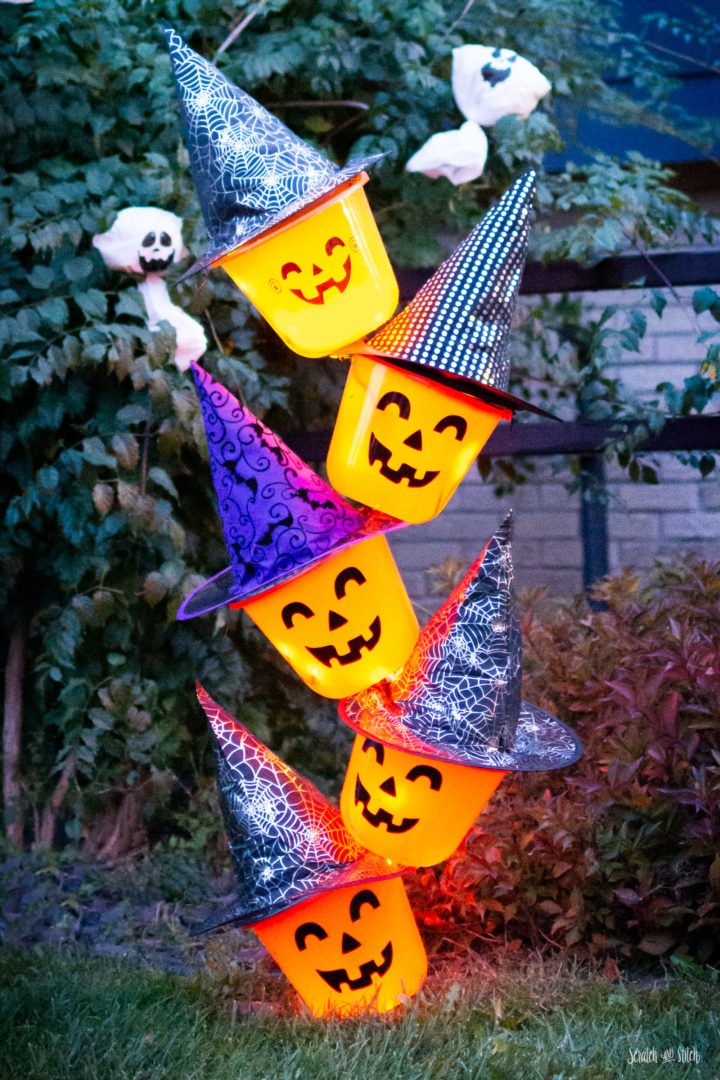
Our outdoor Halloween decorations are beginning to fill out our front yard, ready to greet trick-or-treaters.
And a personal shout-out is deserved to my mom. She’s the true rockstar, the queen of Halloween, one of my biggest fans, and came up with this DIY project idea.
Is your yard filled with DIY Halloween decorations outdoors?

Love this and trying to make it. I just can’t fit the lights. I only had a 1/2 drill bit.
Can you try to make the holes bigger using that 1/2″ drill bit? Like make 3 holes then cut it out in between? Send pics! :)
I will try that. Thanks. How do I send a pic?
Please share how it works out in case others don’t have the 1″ bit. You can send pics to cathi@scratchandstith.com or tag @scratchandstitch on Instagram. Can’t wait to see how it turns out :)
Can solar lights be used instead of the string lights
Yes! I think that would work great! Just make sure that the solar panel is exposed to the sun and that should do the trick. :)
Would like to put on my poarch instead of putting in the ground what kind of base could you us?
Great question! My first thought is to use the base for a patio umbrella. Another idea would be to use a pot with dirt or rocks and a stake in it. The base will need a bit of weight to keep it stable. Let us know what you come up with! :)