This post may contain affiliate links.
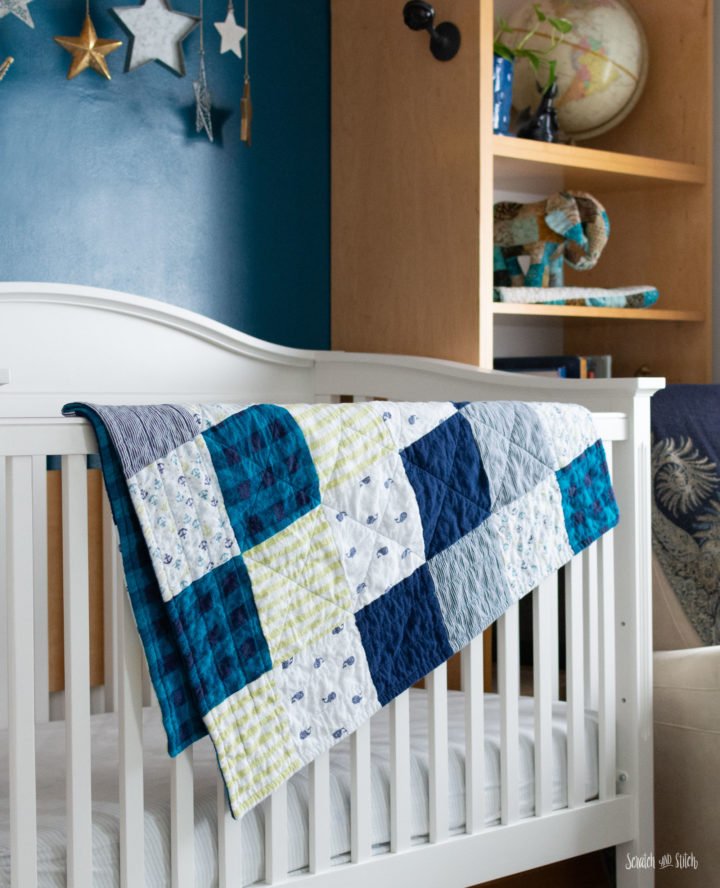
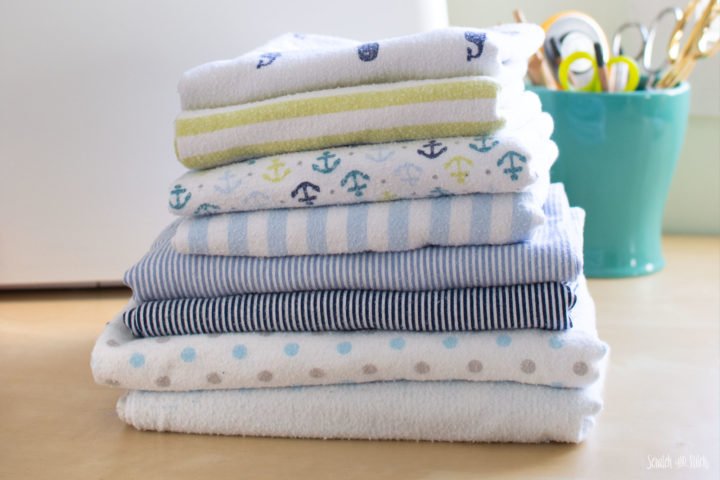
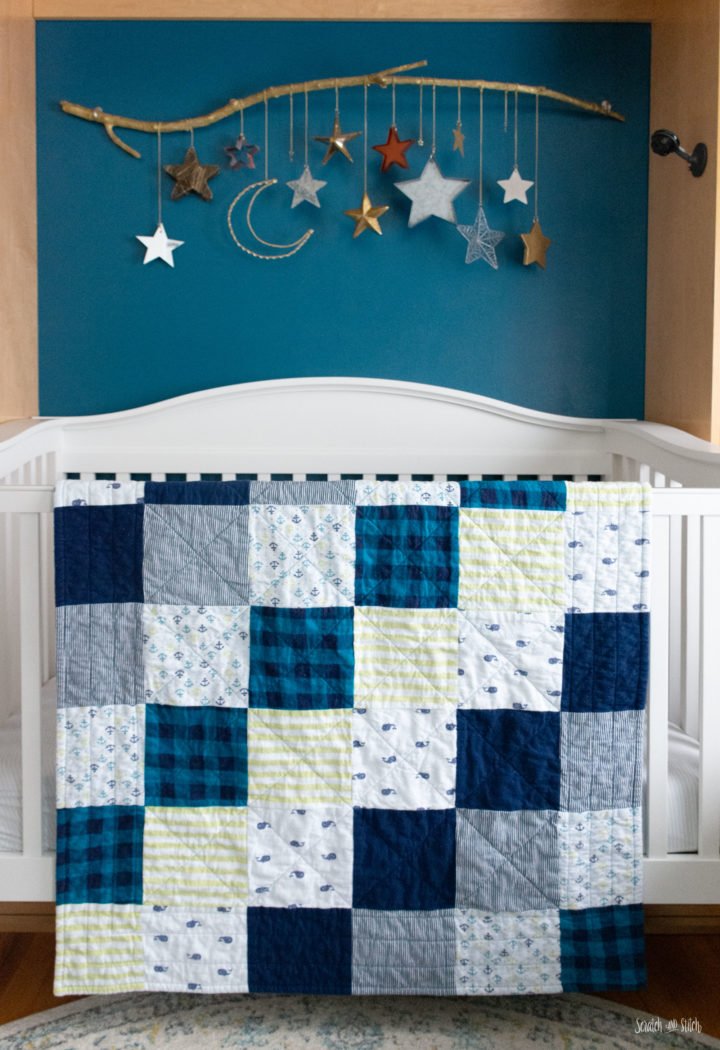
As my son grows like a weed, so does the pile of unused baby clothing and accessories. During a recent purge session I started stacking up receiving blankets that are no longer used. As a sewist I immediately knew I needed to turn all those great flannel prints into something new and this simple receiving blanket quilt was created.
How to make a Simple Receiving Blanket Quilt
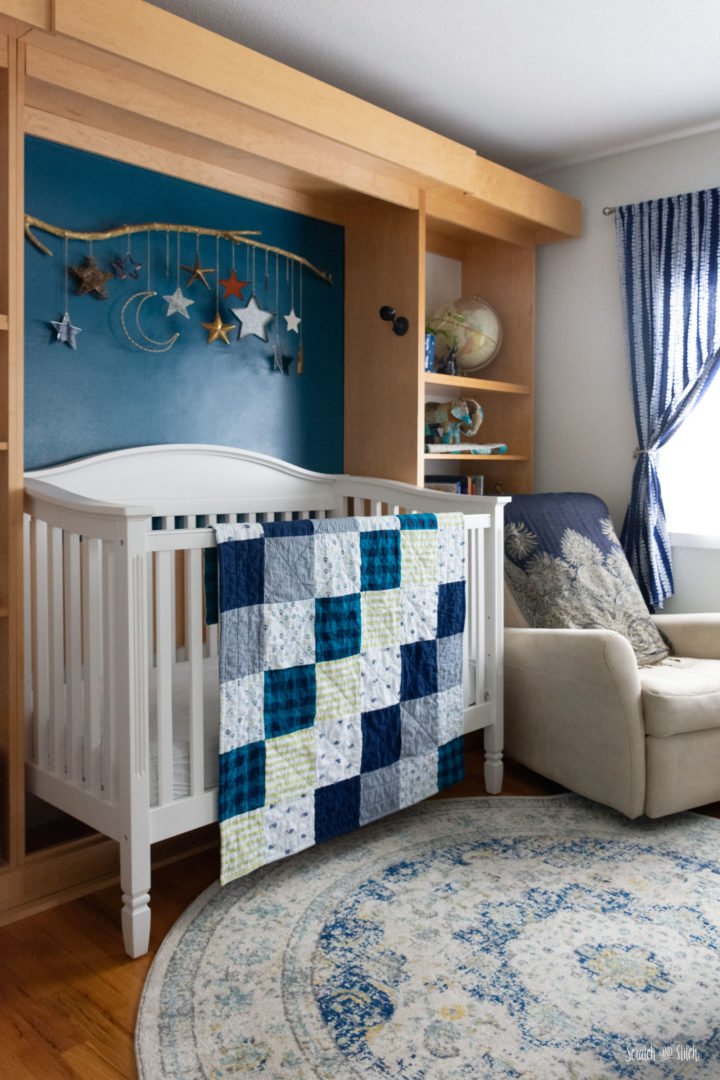
This toddler sized quilt is made with receiving blankets, some flannel fabric from my stash, and some additional flannel fabric I found on sale at JoAnn. The final size is approximately 46″x56″, is sandwiched with a layer of quilt batting, has no binding on the edges, and uses simple straight line quilting.
Materials
- flannel receiving blankets (I used 4 receiving blankets in standard sizes)
- additional flannel fabric (if needed for front and backing)
- quilt batting
- cotton thread
Tools
These are the tools I recommend and used to create the simple receiving blanket quilt.
- quilting ruler
- rotary cutter
- painter’s tape
- sewing machine with walking foot
- basting pins
- wonder clips
The first step to upcycling receiving blankets into a quilt is planning the size and layout. Before beginning any of my diy projects I make a sketch of the idea and take any notes that will help along the way.
Start by measuring your receiving blankets and calculate how many squares you can cut out of each.
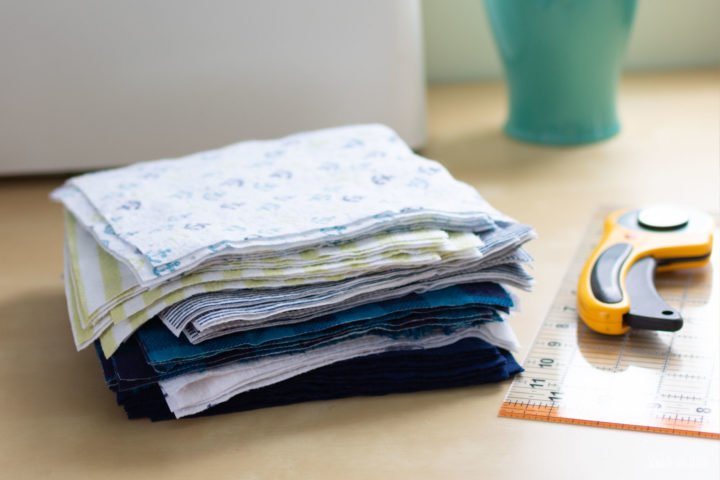
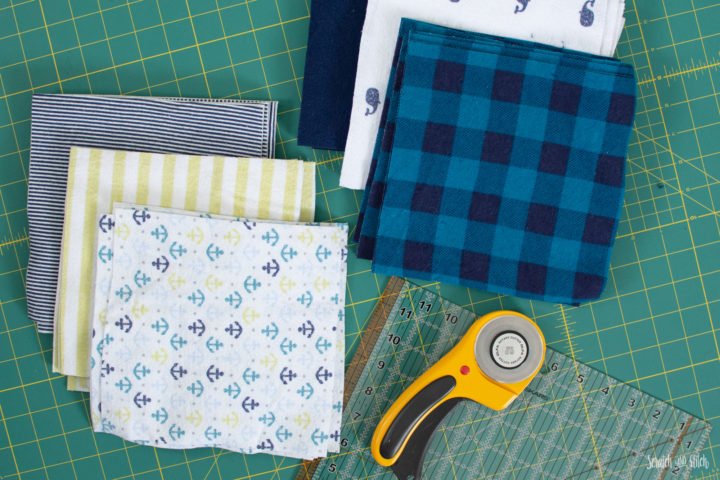
Once your plan is in place, begin cutting squares from the flannel receiving blankets and extra fabric if needed.
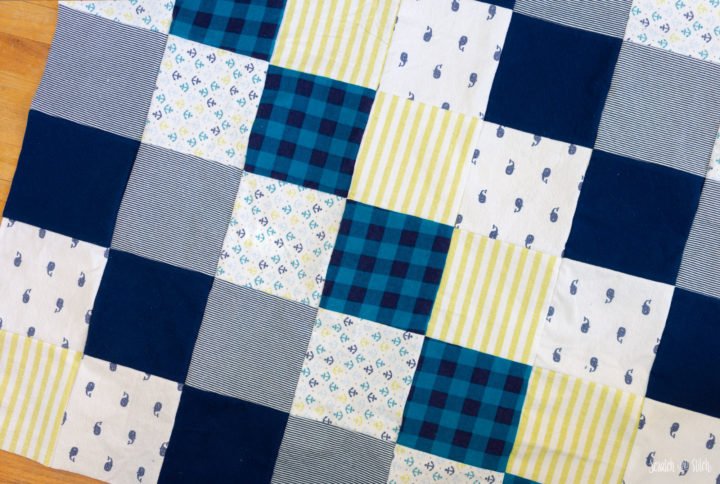
I was able to get at least eight 8″x8″ squares from each receiving blanket. Using a 1/2″ seam allowance on all sides resulted in 7″ squares in the final quilt. I cut additional squares from the other flannel fabrics I had to reach the desired final size.
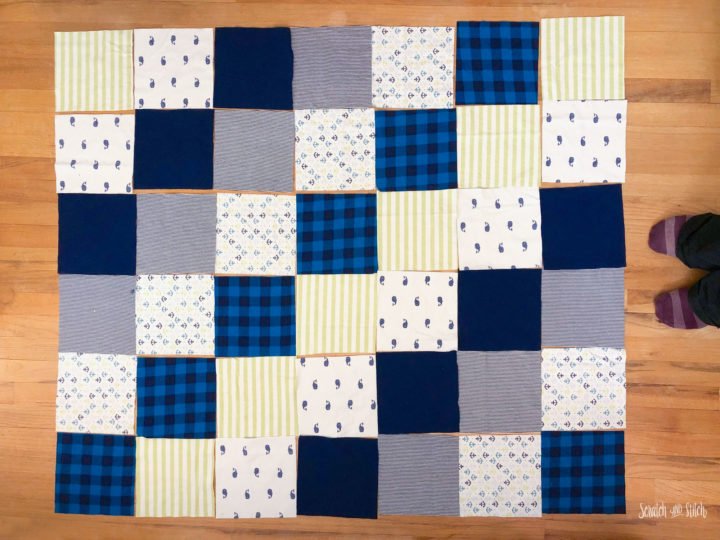
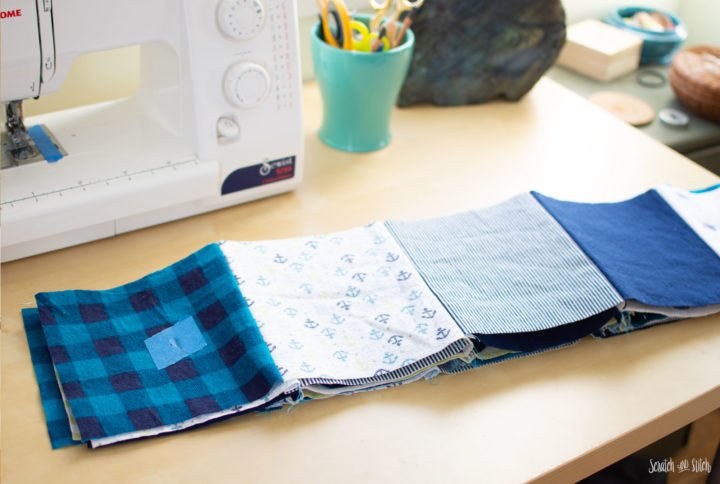
Next, decided on a layout of the squares. You could go totally random or uniform like I did. Lay out all of your squares like you want the final quilt to be. Pick up each row in order and pile together. I use painter’s tape to mark each pile with a number to indicate the order the rows will need to be in.
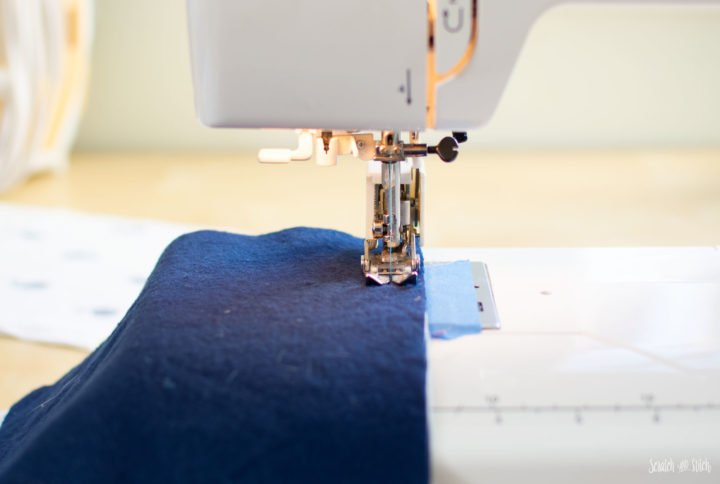
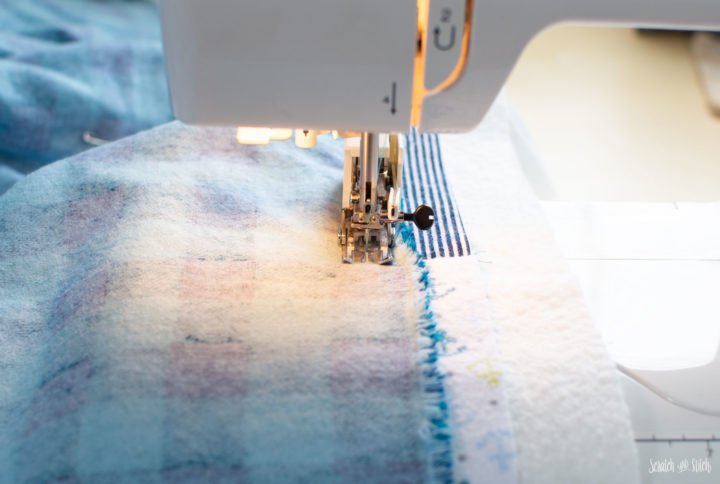
Using a walking foot on your sewing machine, sew each square right rides together with a 1/2″ seam allowance.
Normally with quilting cotton fabrics you would press the seams to the side at this step. Flannel fabric acts different than quilting cotton and pressing can cause too much stretching and warping so I skipped any pressing in this project. You can press your seams at this step if that is your preference.
Once the rows are complete, sew the rows together with a 1/2″seam allowance. If you did not press the seams make sure that the seam allowance all fold the same direction as you sew the rows together.
You should now have a complete quilt top.
Create a Quilt Sandwich
Since this receiving blanket quilt does not have binding on the edge, I am using a self-binding method for the next steps.
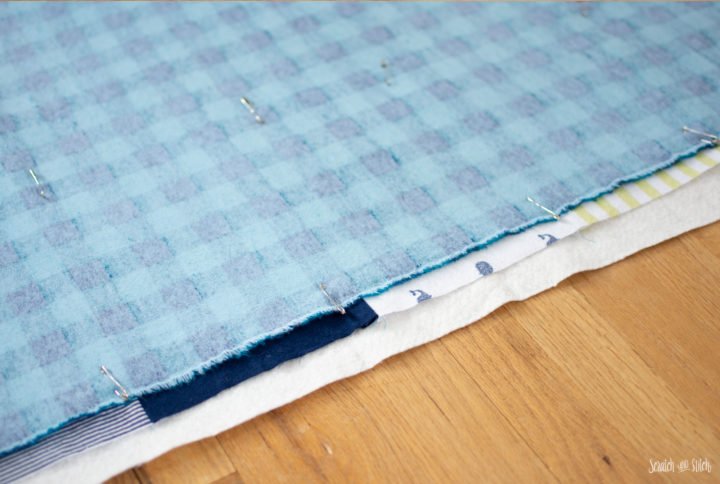
Layer the batting then quilt top then backing fabric smoothing each layer as you go. The quilt top and backing should be right sides facing. Use painter’s tape to hold the layers down to your table or floor.
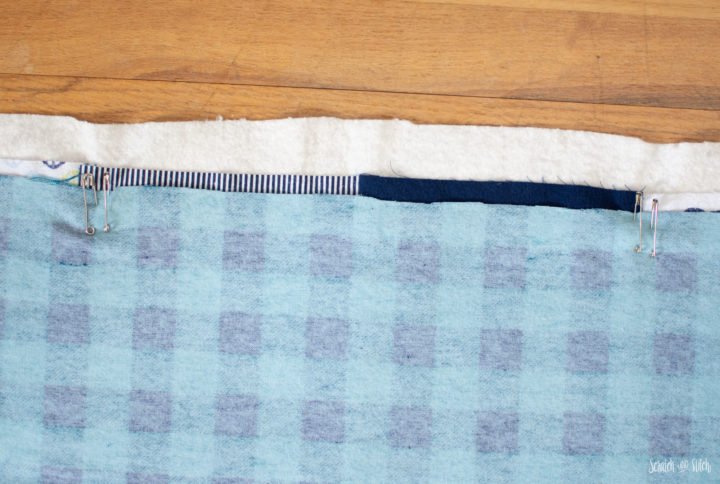
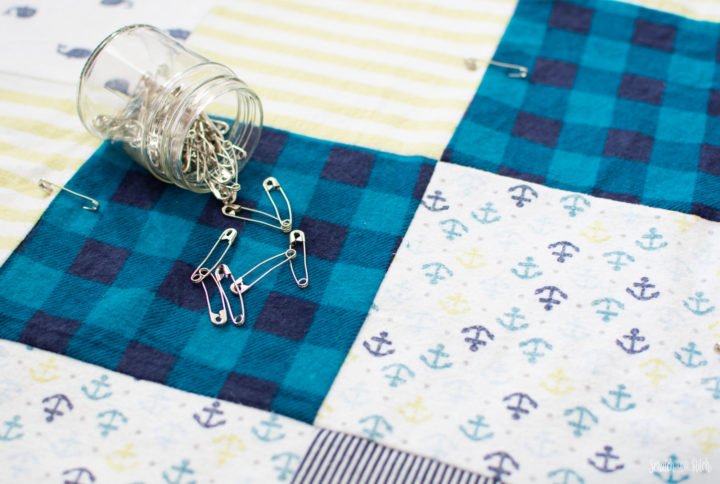
Pin baste the layers together. Add a few pins to the center of the quilt layers to avoid shifting and add more pins around the perimeter.
Make sure to leave an open space for turning the layers. As a reminder, I add double pins to indicate where my opening will be.
Sew around the perimeter with a 1/2″ seam allowance.
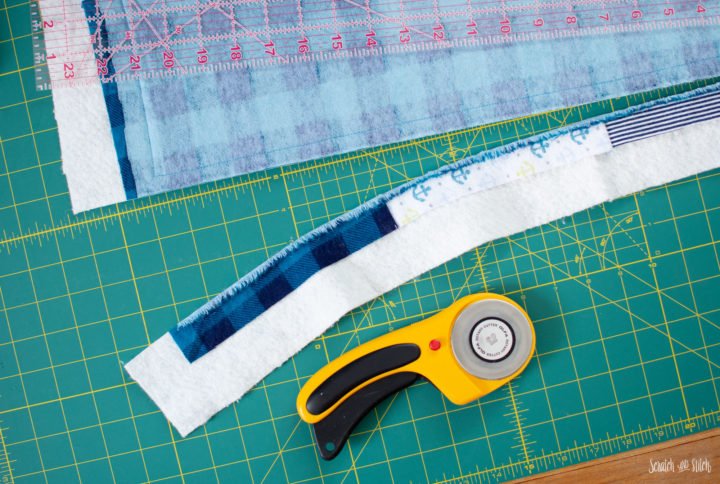
Trim off any excess fabric around the edge. With flannel fabric you will want to leave at least a 1/2″ all around.
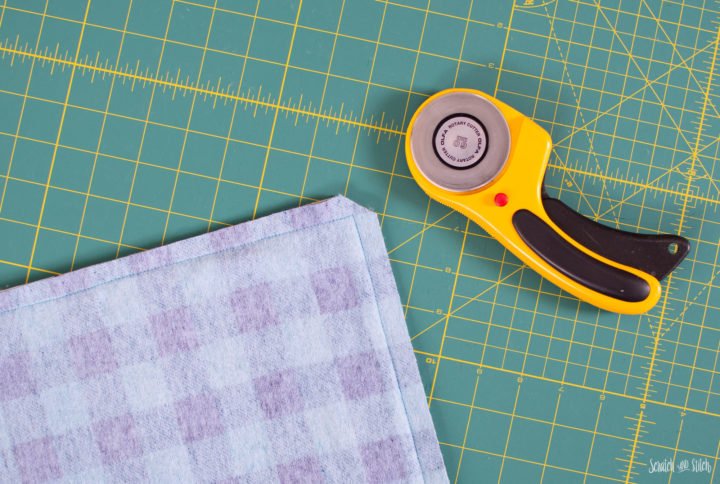
Trim off the corners to reduce bulk.
Carefully pull the layers through the opening. Push out the corners with a chopstick or similar tool.
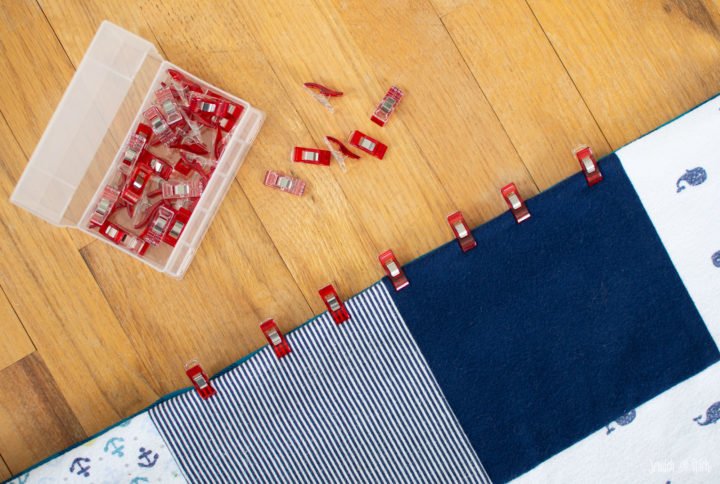
Fold in the seam allowance at the opening and use wonder clips to hold. Hand sew the opening closed with a slip stitch.
Quilting the Receiving Blanket Quilt
Finishing the receiving blanket quilt is optional but will hold the layers together and give a nice finished look. Plus I love the look of the stitching on this flannel fabric.
Before quilting, pin baste the layers every 6-8″ to make sure no shifting occurs.
I tested stitch lengths on some scrap pieces before getting started. I landed on a stitch length of 3.
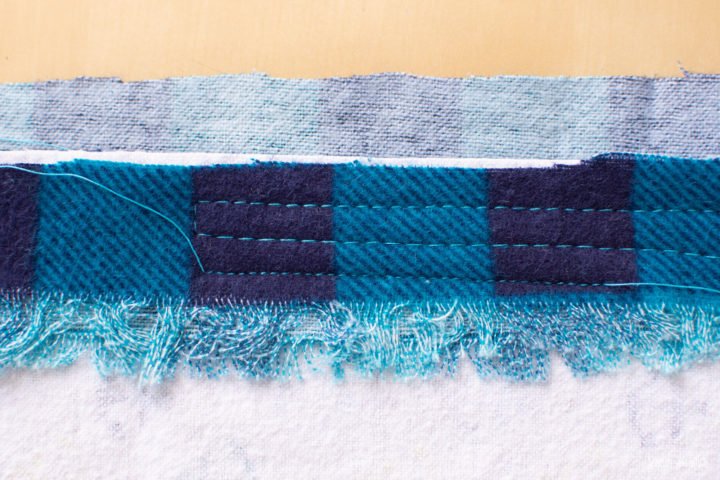
Decide on a quilting pattern. I went simple with a 1/2″ edge stitch around the perimeter followed by three straight lines evenly spaced around the outside rows. I then diagonally stitched the inner squares.
There is more than one reason why I love the way this receiving blanket quilt. It serves as a “memory quilt” because it uses the fabrics that my son used as a baby and it was a simple upcycle project with beautiful results.
Have you tried upcycling your baby receiving blankets into something new? Show me in the comments below, I would love hear about and see your projects!
I am new to quilt making and everything I’ve seen says the quilting always has to be done before the binding. It seems to be a way to prevent bunching. Yours turned out so great. Can you explain why this method can work as well compared to the traditional way of basting, quilting, and binding?
Hi Sandy – Great question! I’ve made quilts both with and without binding. Both methods are great for quilt making and neither is better than the other. Even though this quilt is made without binding, it still has a crisp finished edge without the border. It’s just a visual preference. Hope that helps :)
Thank you for your response! I really appreciate it. I’ve been racking my brain trying to figure out why in quilting people keep saying it has to be quilted first and then put on binding when I’ve made plenty of blankets the way you described except they were not patchwork quilts. They are just your normal two different fabrics with a batting in the middle. I also don’t know why people think the batting in the middle has to be quilted as in my experience it seems as long as the layers are all stitched together it holds up fine. I kept thinking there most me something I don’t know, but either way it holds up to washings just fine right?
Yep, it’s just a different style of quilt/blanket making. And yes, either method will hold up to washing. :)
Btw- I think your finished quilt looks great! :)
Thank you!! :)
Hi! I’m at the point where I am to put all three pieces together. I am confused as to why the edges don’t match up in your picture. Is there a reason for this?
Hi Linda – Great question! This was simply because the three layers were slightly different sizes. The excess gets cut off in the next step, after sewing the layers together. Does that make sense? If not, I’m happy to help more. Are you working on a quilt?
First, your quilt looks beautiful.
Second, what is the reason of 1/2″ seam allowance instead of a 1/4″ ?
Any particular reason for that…
Thanks
Hi! Thank you for your kind words, and great question! The 1/2″ seam allowance is both a personal preference and I find it is easier to learn with a larger seam allowance. So as a tutorial for those that may be new to sewing or quilting, I recommend the 1/2″ seam allowance.
Good question, as a 1/4″ seam allowance is standard for quilting. :)
Very good point.
Probably it is a good idea for the type of fabric.
Thanks