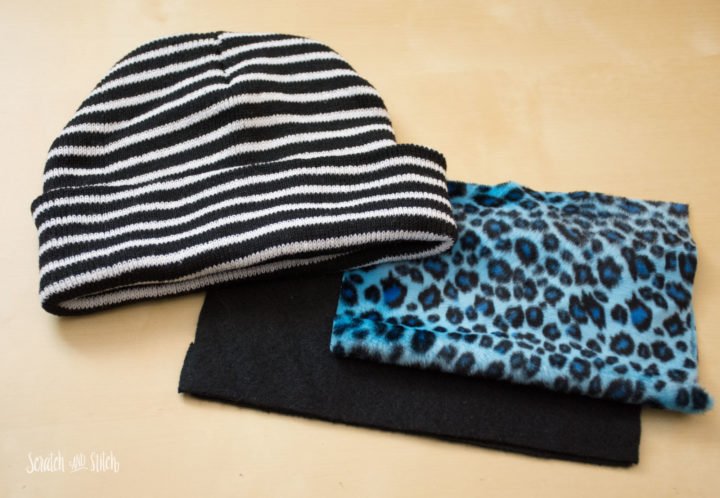
It all started with a trip to the dollar store when I came across a cute black and white striped stocking cap for a dollar. My first and only idea was to refashion this hat by adding some cat ears using scrap fabric.
How to Refashion a Hat and Add Cat Ears
This Kid’s Kitty Cat Hat refashion can be made with or without a sewing machine.
Materials
- stocking hat (select a hat that is stitched on the top two corners)
- fabric scraps
- matching thread
Directions
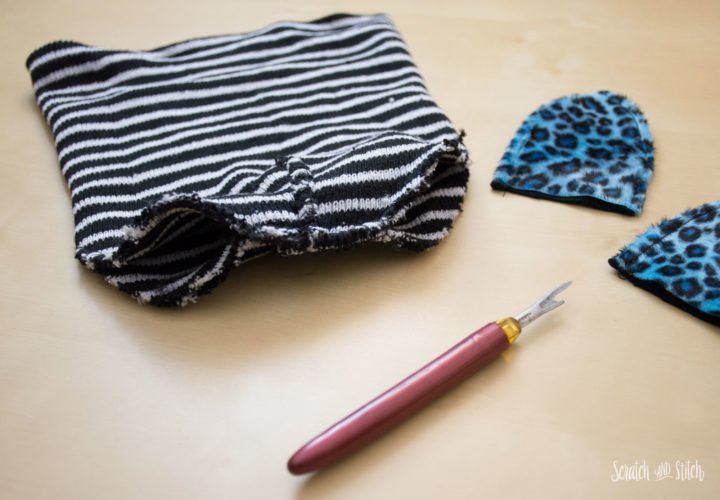
Turn the hat inside-out and remove the stitches from the top of the hat where the ears will be placed.
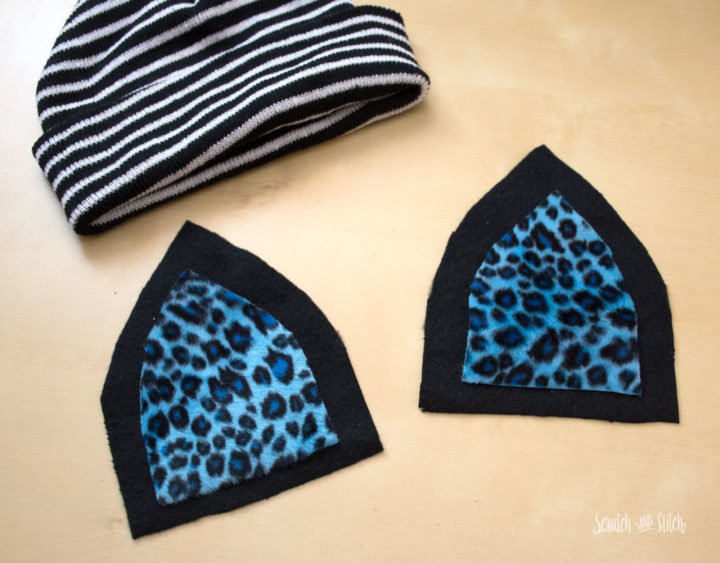
Cut cat ear shaped pieces from scrap fabric. You’ll need 4 pieces total. I used furry blue leopard print for the fronts and black fleece for the back. I cut these extra long to have plenty to work with.
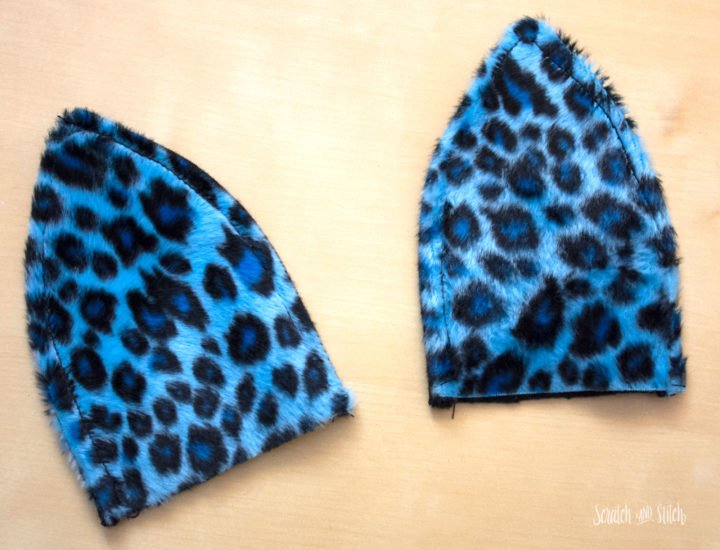
With right sides together, stitch the two sides leaving the bottom edge open.
Trim the pointed corner seam allowances to remove the bulk fabric. Turn the ears right-side out and use a chopstick or similar to get the ear nice and pointy.
Optionally stitch the two sides to create a nice border around the ears.
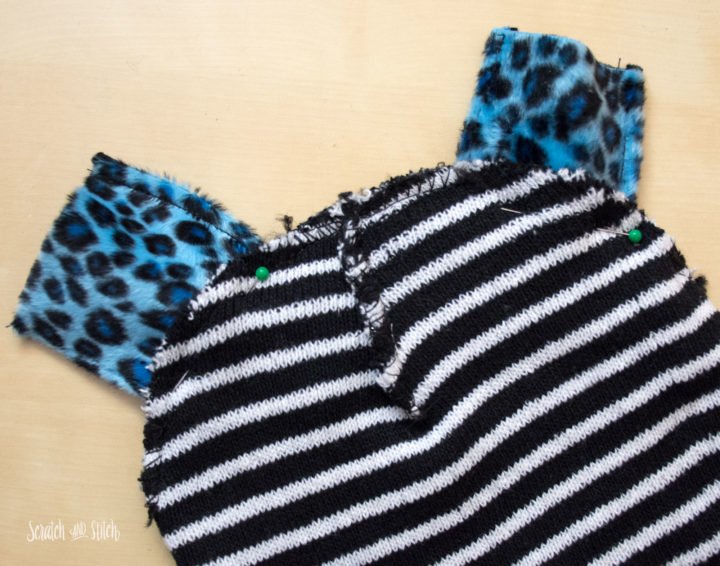
With the hat still inside out, place the ears into the hat and pin in place. Flip the hat right-side out and check the placement of the ears. Adjust as needed.
On your sewing machine (or by hand) sew the ears to the hat with the hat still inside-out. Trim off the excess fabric.
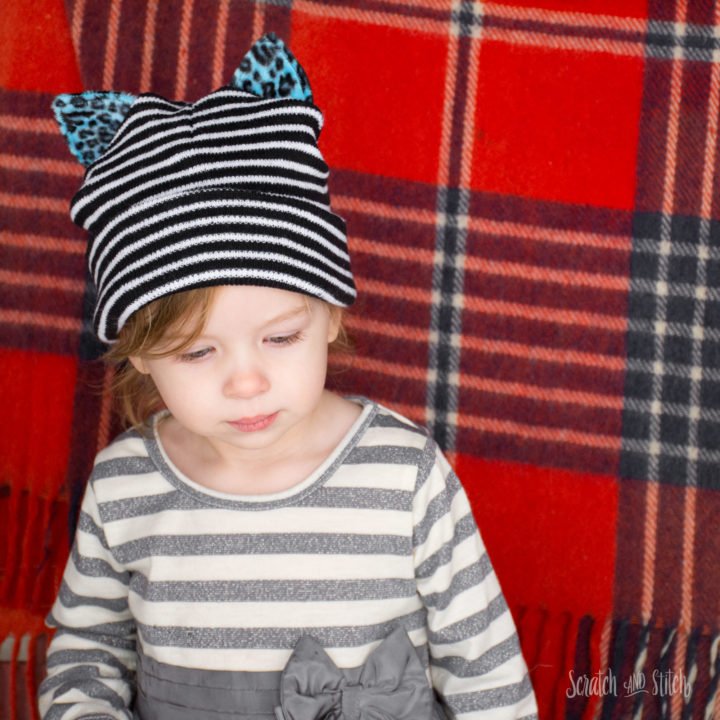
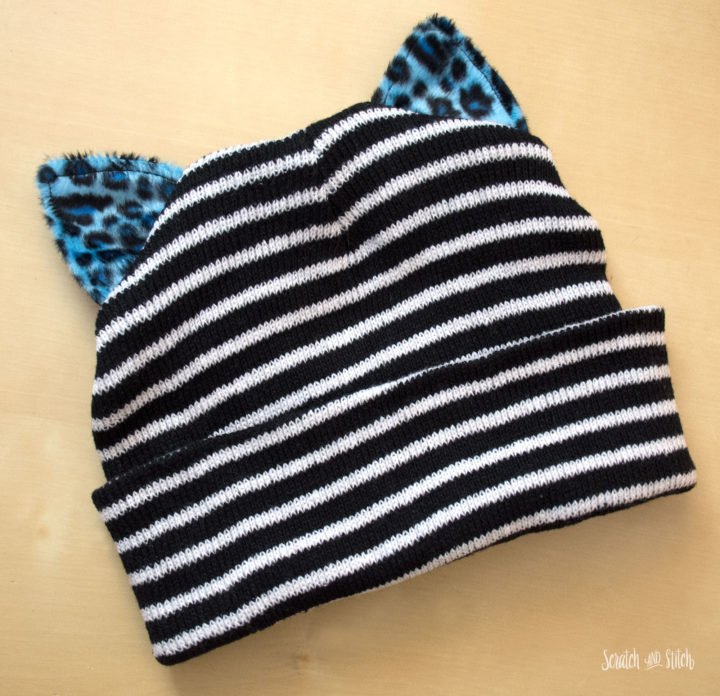
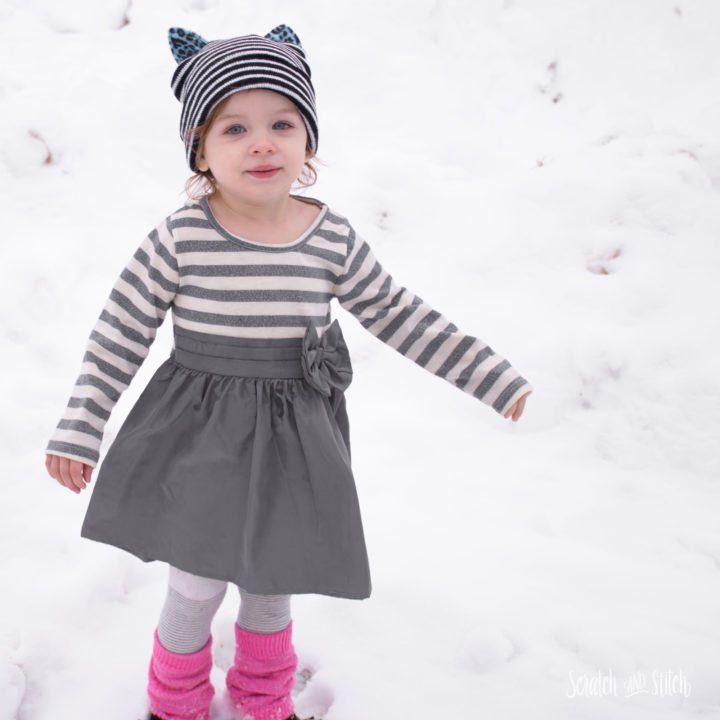
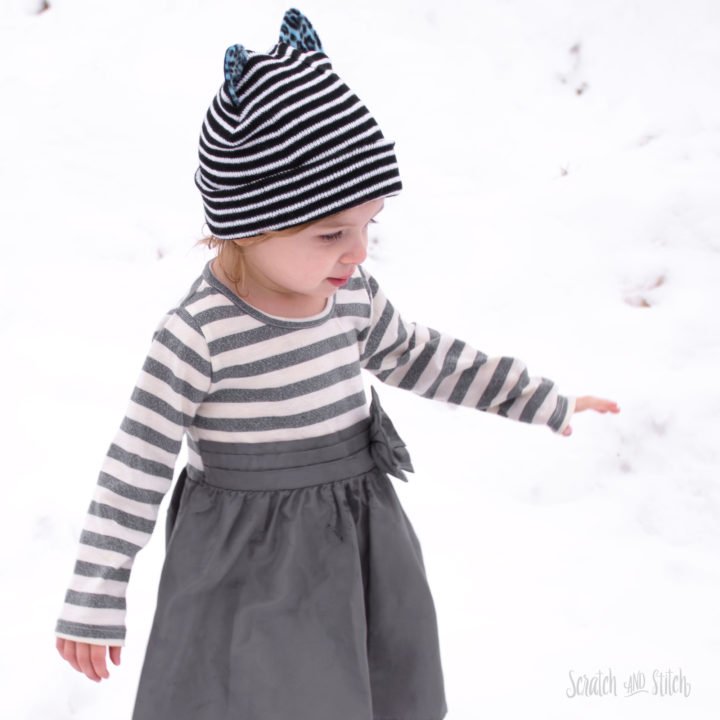
Flip the hat right-side out and place on a kids head like this little cutie.
Ears on hats are the best no matter what age you are, don’t you think?
You can be my model any time!

Leave a Reply