This post may contain affiliate links.
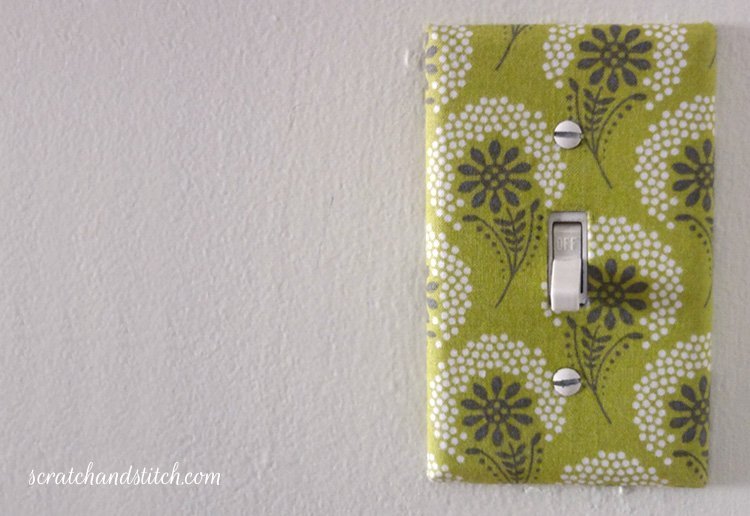
When I’m feeling creative and am in the mood for a quick crafty project I often take a few items that I have and put them together to make something new. This fabric covered light switch plate project took about 10 minutes from set-up to clean-up and here’s how I did it.
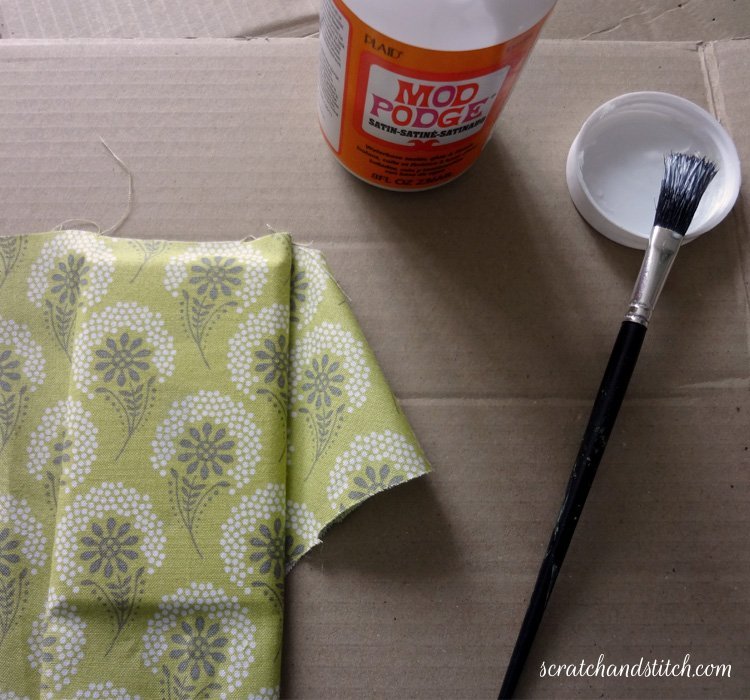
Tools & Materials
- switch plate
- fabric scrap
- scissors
- stiff bristled paint brush
- Mod Podge
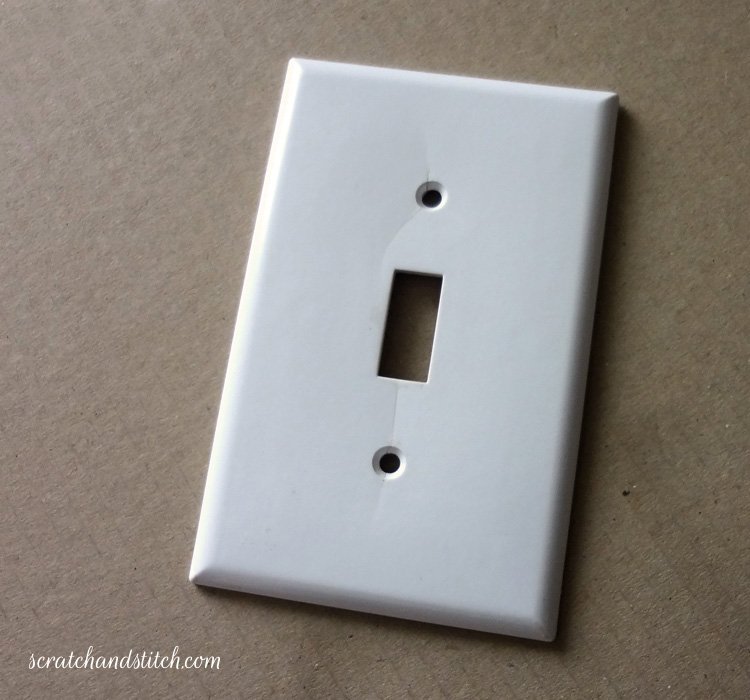
Every time I flipped on the light in my office I noticed the cracks in the boring, plain, white switch plate. I was feeling the need to refresh it and had some leftover fabric from another office project that would be perfect.
Using a stiff bristled brush I brushed Mod Podge onto the switch plate. By holding the fabric just above the switch plate I decided the perfect placement to work with the space and fabric design then placed it onto the switch plate.
With my hands I smoothed out the fabric to lay nice and flat against the surface.
With a scissors I poked through the switch hole. I then cut the fabric at an angle towards all four corners of the rectangle. Adding a little more Mod Podge from the underside around the rectangle allowed the fabric to be folded under and stick in place. I then used the original screws to poke holes for the screws. A small screwdriver, pencil, or piece of wire would work well for this.
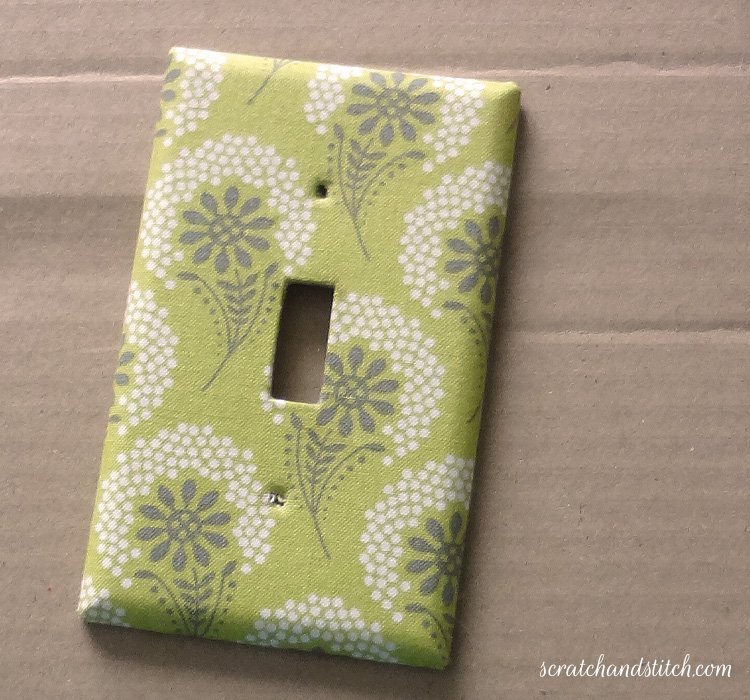
I cut off the excess fabric from the sides, added a little mod Mod Podge around the edges and folded in the fabric making sure the corners were nice and square.
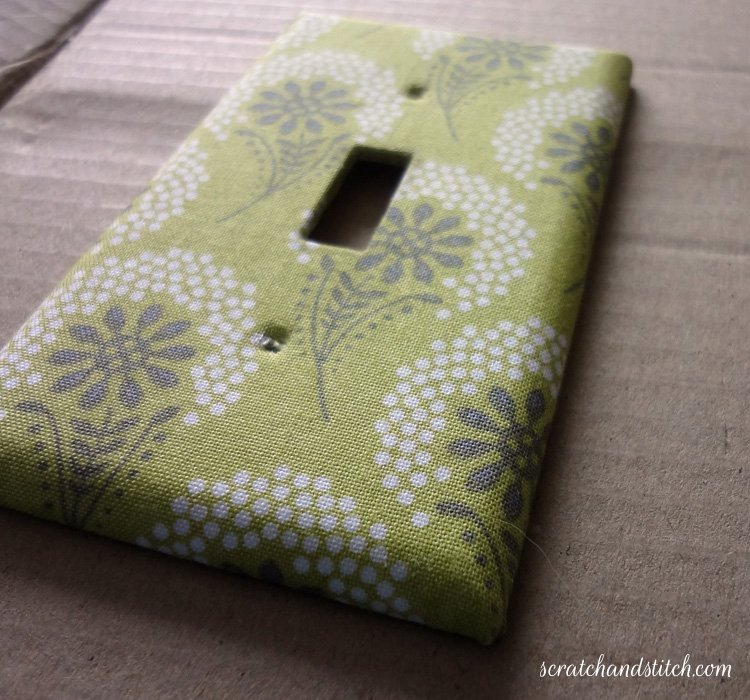
And voila! A new looking fabric covered light switch plate that fits perfect in my office and makes me feel good every time I turn on the light.
What do you make in 10 minutes or less with scraps of fabric?
Leave a Reply