This post may contain affiliate links.
I got real lucky when it came to handmade gifts this holiday season for two reasons: 1) my three closest girlfriends all have little girls around one year old 2) I recently inherited a bag of my grandma’s fabric scraps. Boom! Time for some handmade stuffed animals with free stuffed animal patterns.
3 Free Stuffed Animal Patterns
After a little Pinterest surfing (like an entire Sunday afternoon) I narrowed down to 3 free stuffed animal patterns that I could make in an afternoon. I pre-washed and ironed my fabrics, prepped my patterns and was off. Here are the patterns used, customizations made, and how they turned out.
#1 Owl Stuffed Animal Pattern
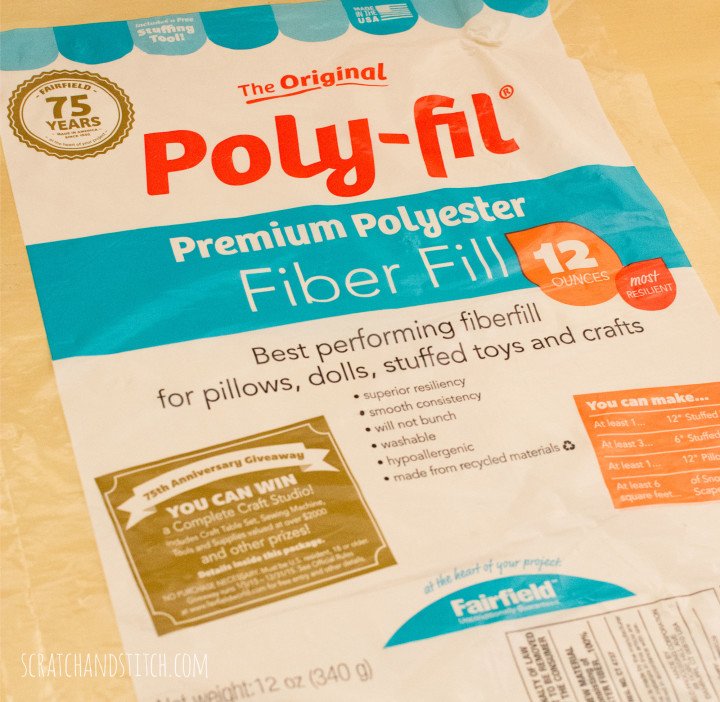
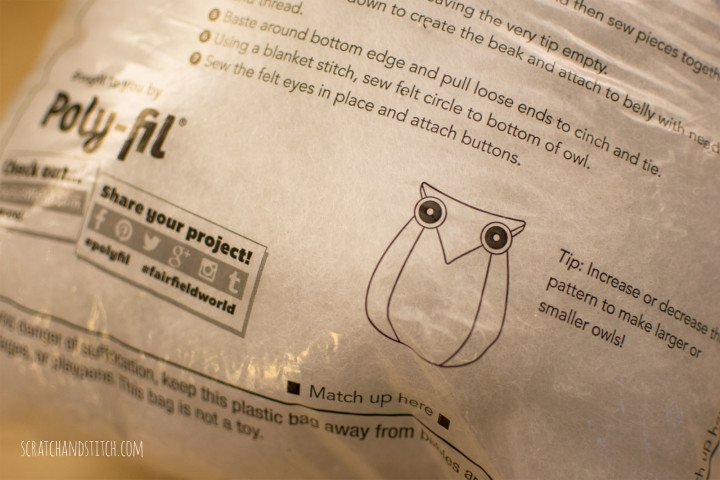
Buying a bag of Poly-fil from JoAnn fabrics is really what started this whole stuffed animal tangent. I needed some stuffing for another project and while choosing which to purchase I saw an Owl Plushie pattern and directions on the back of the bag.
The pattern was created by Vanessa over at Tried & True for Fairfield World. I couldn’t resist.
Materials
- Owl Plushie pattern (get the pattern here)
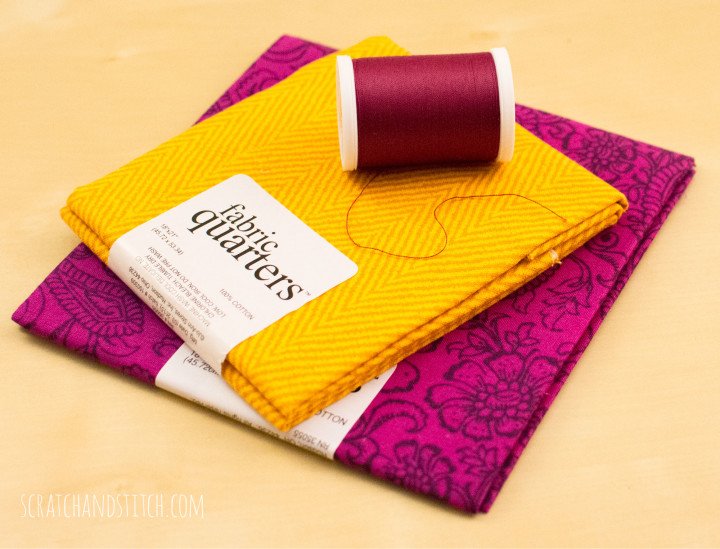
- fabric scraps
- felt scraps
- thread
- polyester fill
- 2 buttons
Directions
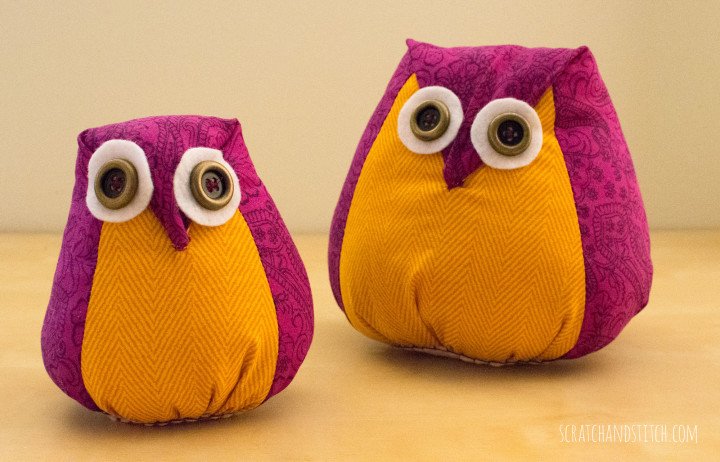
I tried this pattern twice making a second larger stuffed owl. I modified the order of instructions and have noted those changes below.
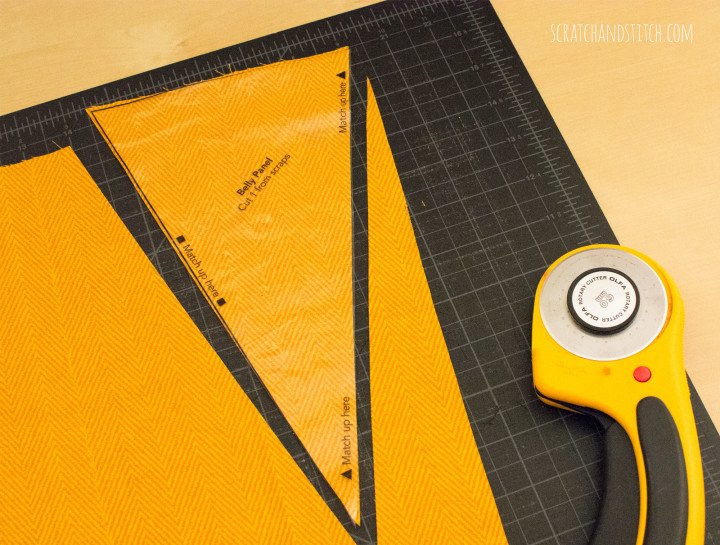
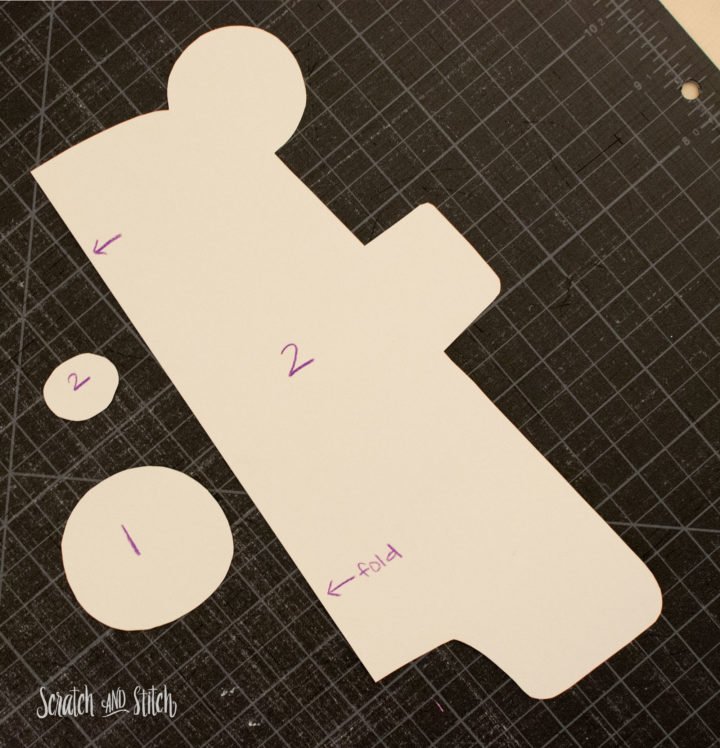
Cut the pattern pieces from the back of the Poly-fil bag. Follow the supplied instructions for cutting the fabric.
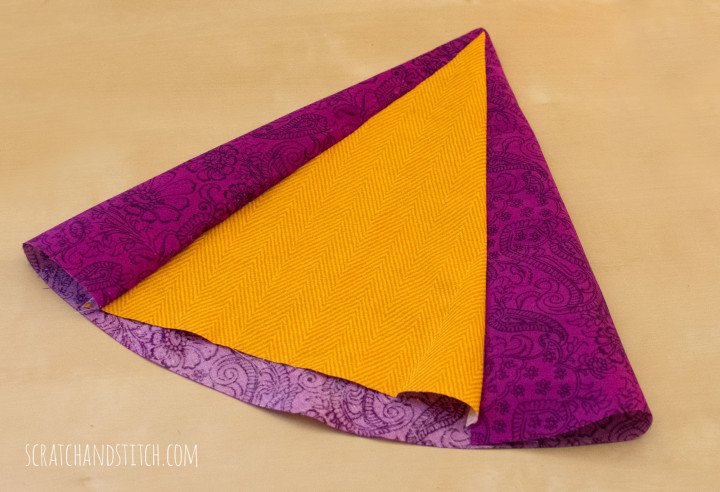
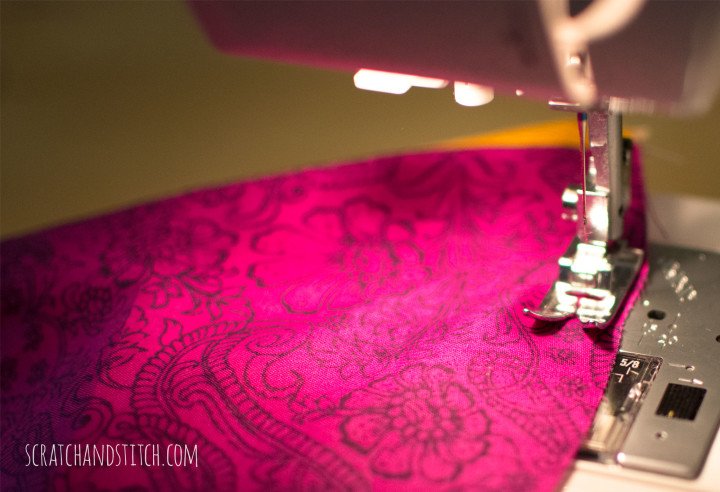
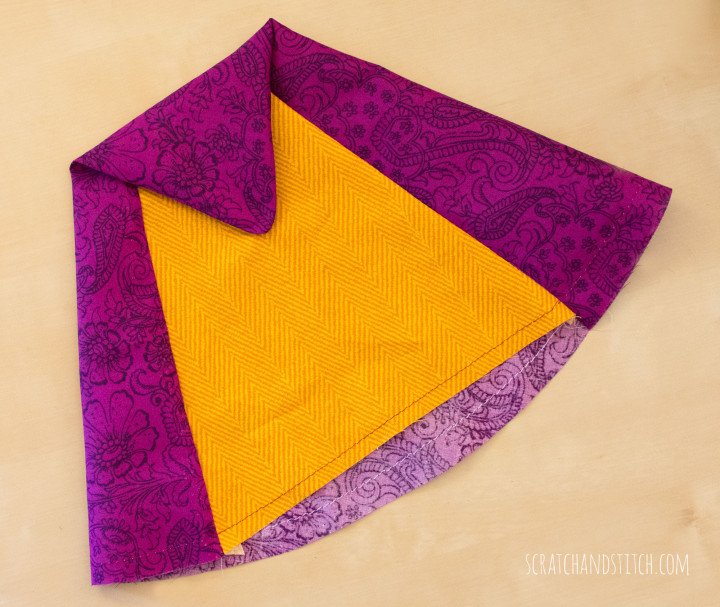
Sew the body panel and the other panel together matching marks creating a cone.
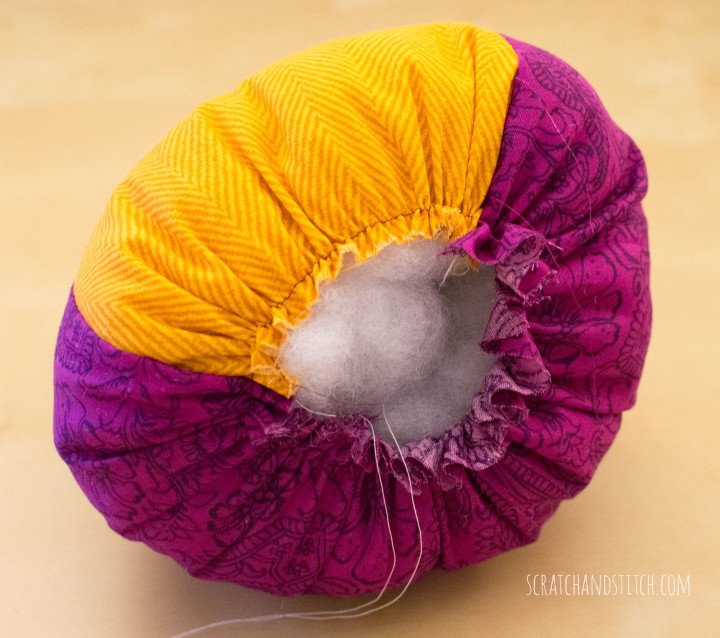
Baste around the edge of the opening.
Stuff the cone with polyester filling. Pull the opening tight and tie off the basting stitch to hold in place. Add more filling if needed.
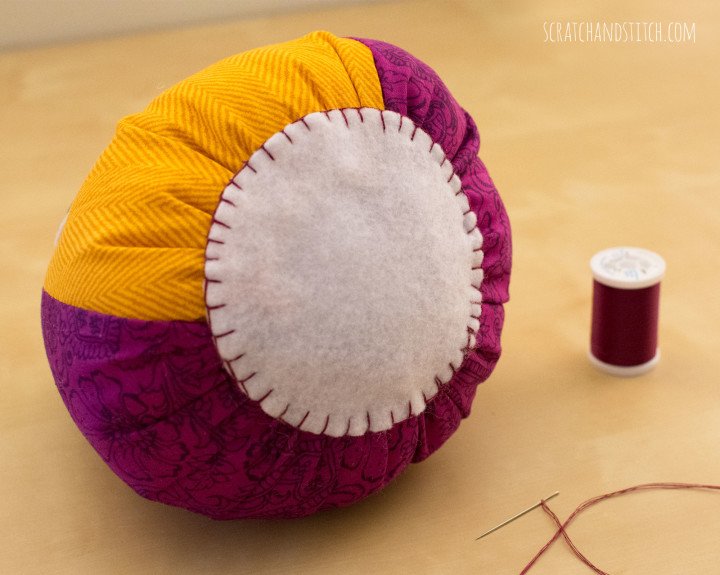
Using a blanket stitch, hand-sew on the large felt circle to the base of the cone. Click here for an awesome tutorial to learn how to blanket stitch.
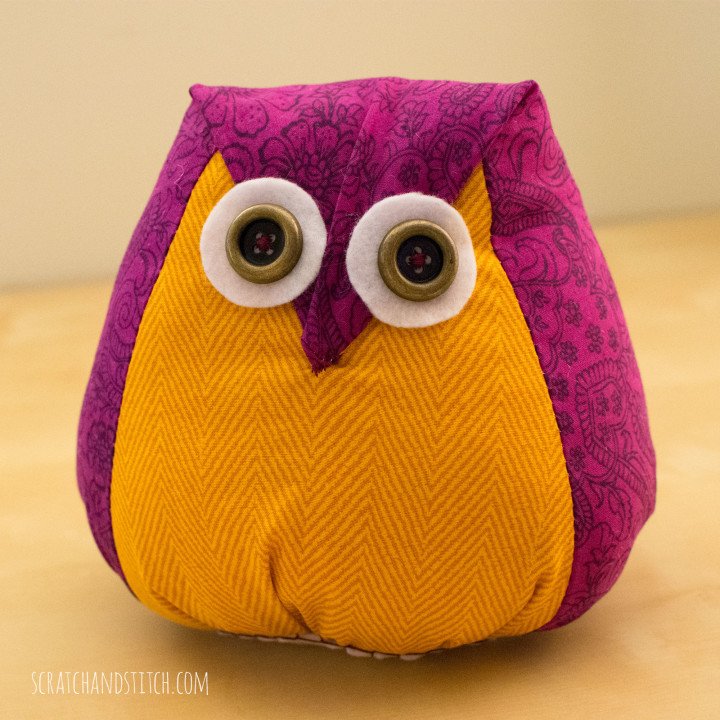
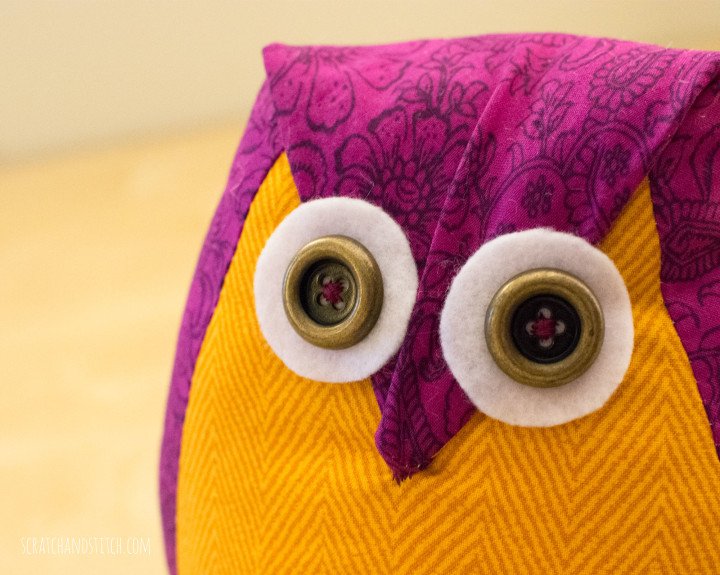
Pull down the tip of the cone and sew onto the front of the body panel to create the beak. Sew on the small felt circles and buttons for eyes.
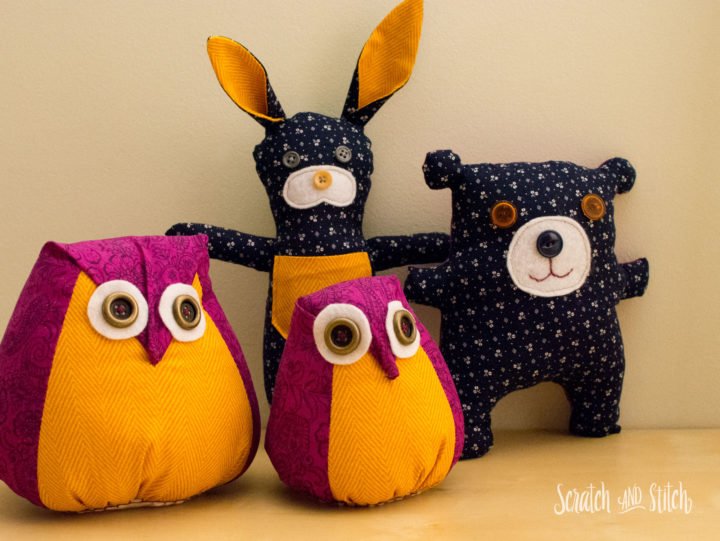
Both of these stuffed owls turned out perfect! The smaller owl’s beak was stuffed and the larger owl’s beak was not. They have slightly different looks and still look and feel great.
#2 Bear Stuffed Animal
The second free stuffed animal pattern is Mr. Ted from Clair of Craft Schmaft. This pattern is so easy because it’s made from only two pieces of fabric. I customized my version of Mr. Ted by using a different fabrics for the front and back as well as buttons for eyes and the nose.
Materials
- Mr. Ted Pattern
- fabric scraps
- felt scraps
- 3 buttons
- polyester fill
- thread
Directions
Print and cut out the Mr. Ted pattern. Trace pattern onto the wrong side of the fabric scraps and cut out.
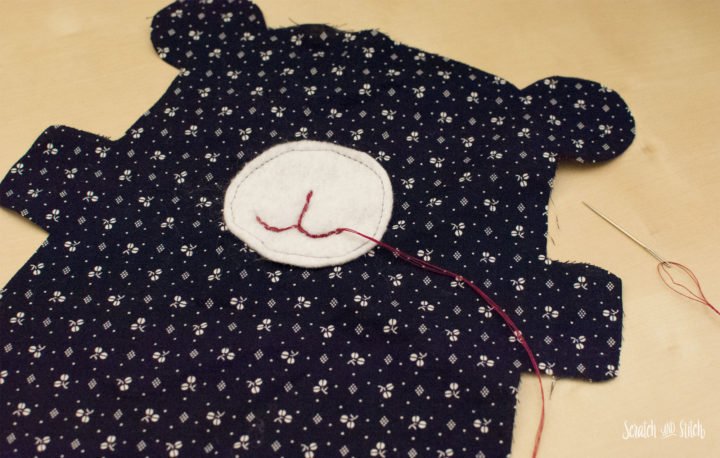
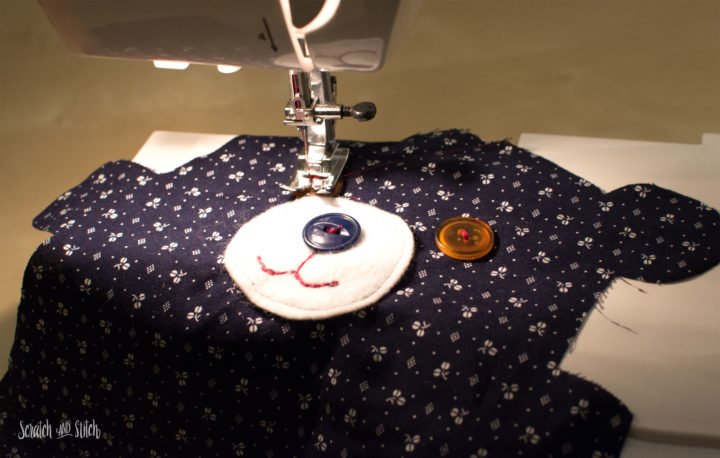
Onto the front side fabric, sew on the felt snout piece, mouth shape, nose button, and eye buttons.
Please note that buttons on stuffed toys for babies and toddlers isn’t a great idea. I learned this very quickly.
Sew the two sides of the bear together leaving the bottom open.
In Claire’s tutorial, she points out the need for notching the ears. I also notched other sharp corners.
Turn the bear right side out and fill with stuffing.
Hand sew the opening using a slip stitch.
I just love this little bear stuffed animal. He’s squeezable and loveable!
#3 Rabbit Stuffed Animal
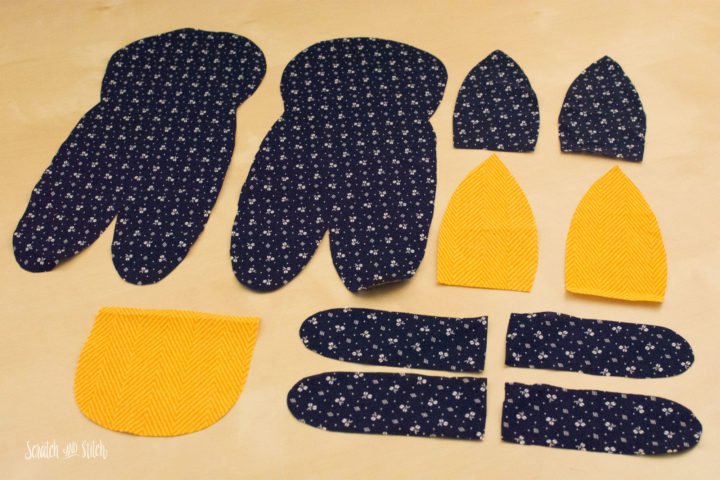
This rabbit stuffed animal pattern comes from Martha Stewart. This stuffed animal was the hardest to make of the three and took the longest. There are ten pieces of fabric to cut and some hand sewing to be done. Martha recommends making this rabbit from menswear which is such a cute idea to use Daddy’s old clothing to make a new stuffed animal for child. Awww…
Materials
- rabbit stuffed animal pattern
- fabric scraps
- felt scraps
- 3 buttons
- polyester filling
- thread
Directions
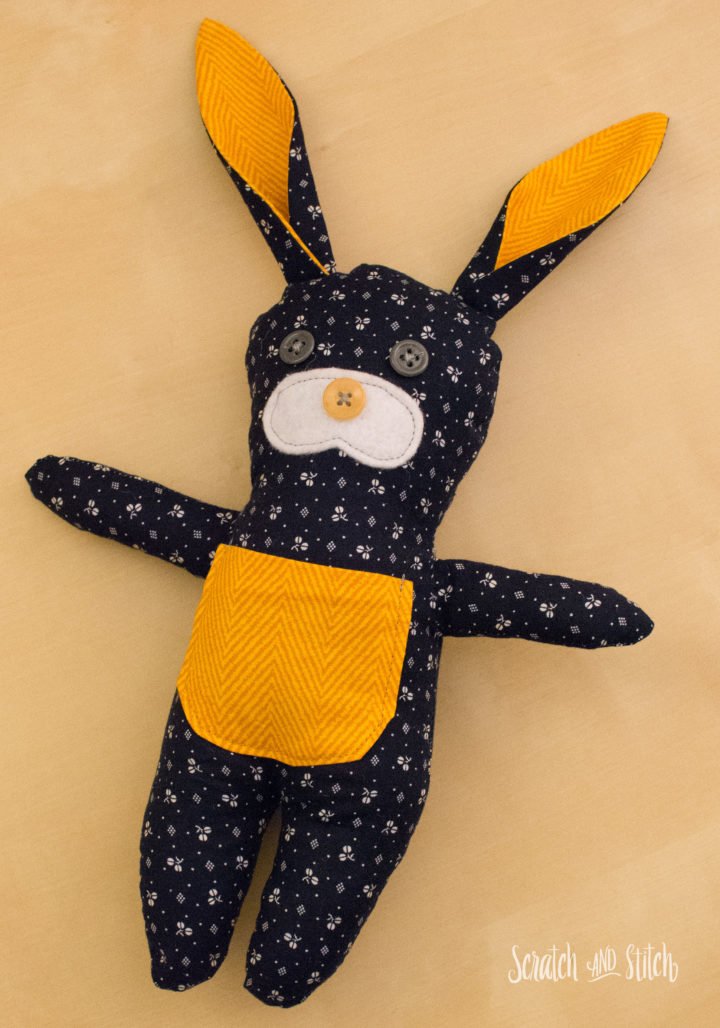
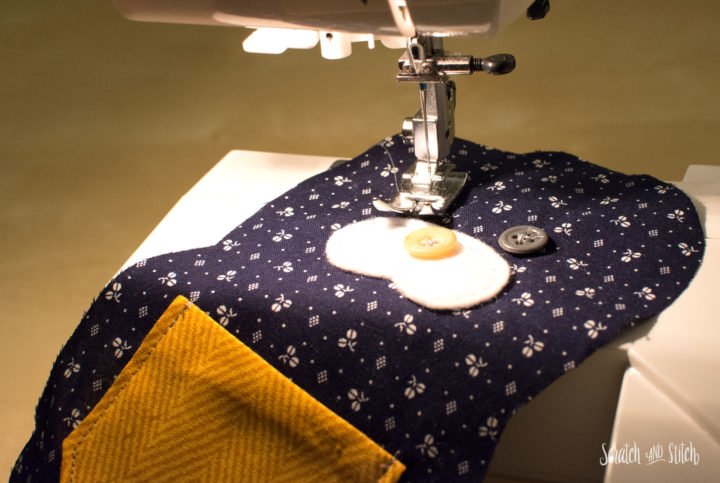
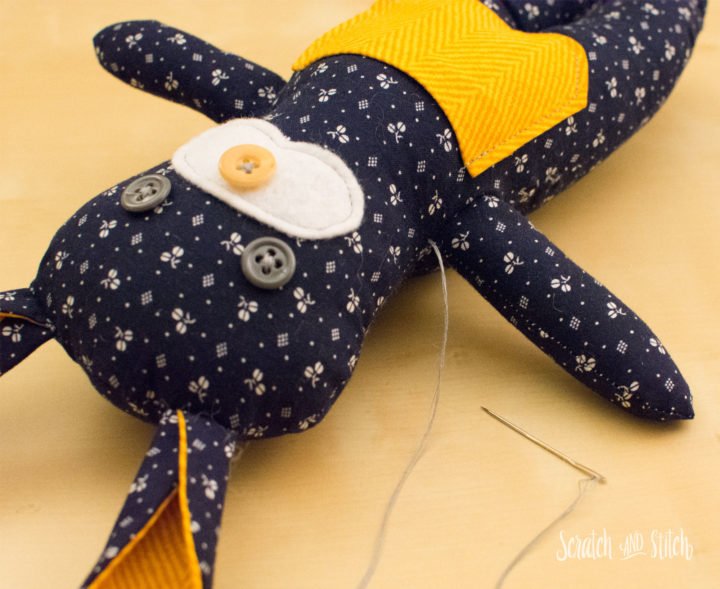
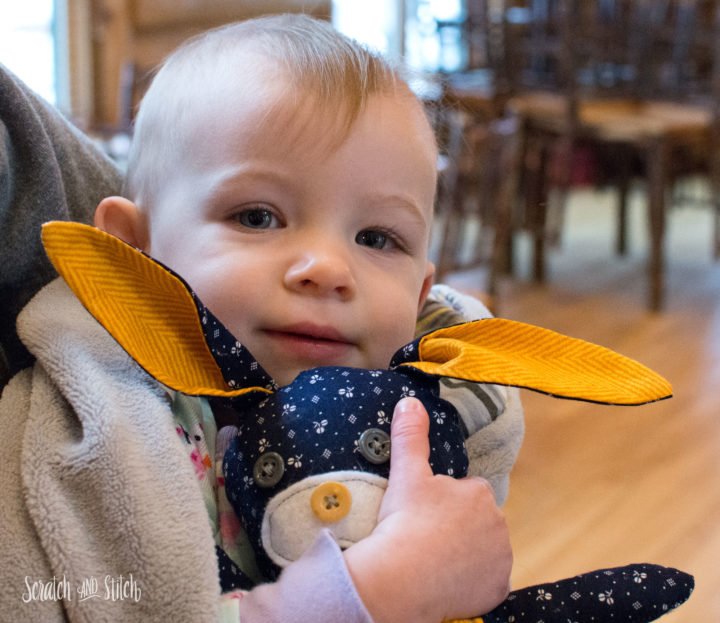
I followed Martha’s instructions to make this rabbit stuffed animal as well as customized him customized with a pocket on the front, felt snout, button nose, button eyes, and a felt tail.
Print, cut, and assemble pattern pieces.
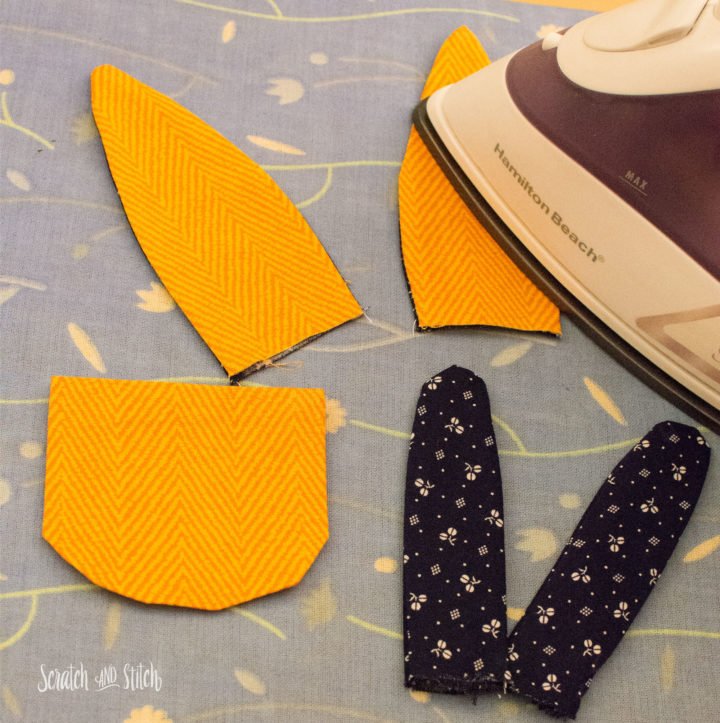
Sew ear pieces and arm pieces right sides together then flip right side out. Iron the ears to sit flat.
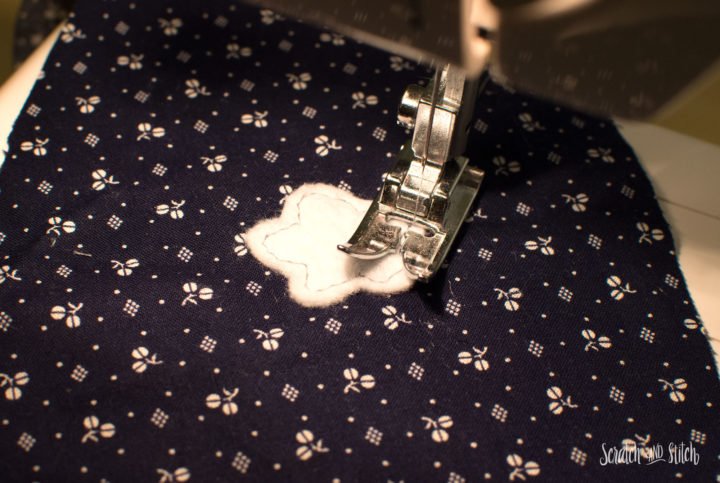
On the front side of the rabbit stuffed animal body, sew on the pocket, felt snout, button nose, and button eyes.
On the backside sew on the felt tail.
Fold the ear pieces and pin down to the front side of the body pieces.
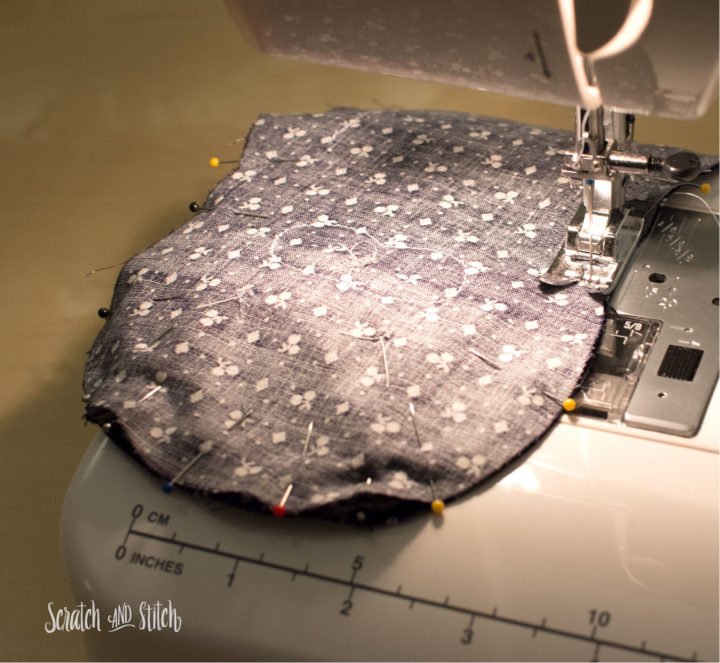
Sew the body pieces right sides together leaving a 1″ opening on one side for an arm and a 2″ opening on the other side for the other arm and room to add stuffing.
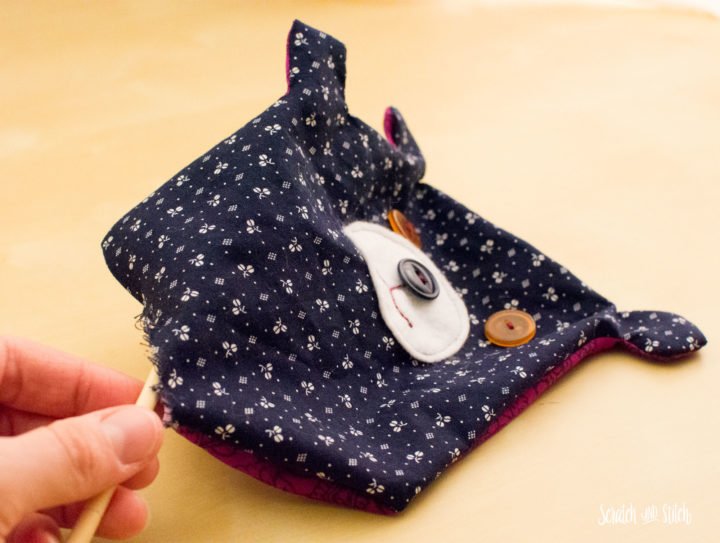
Turn the body pieces right sides out. Use a chop stick to fully unfold corners.
Stuff the rabbit body and arms.
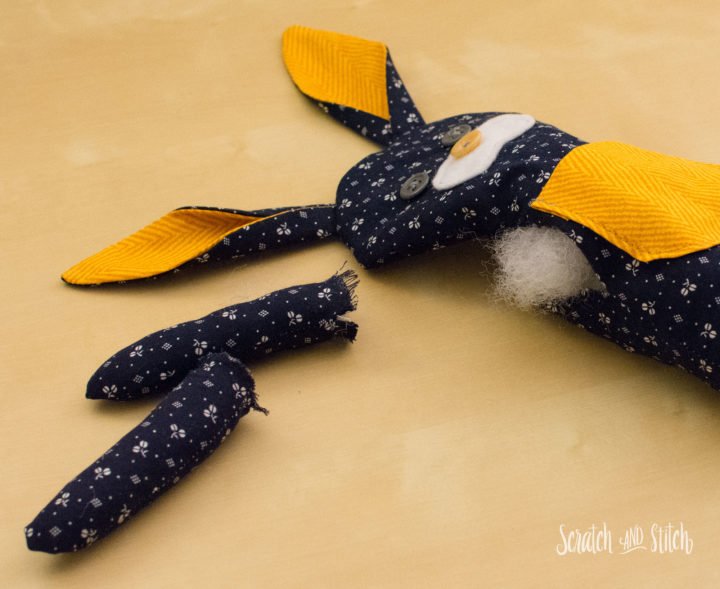
Hand sew on the arms onto the body using a slip stitch. Add more filling if needed. Slip stitch the opening closed.
This little rabbit stuffed animal turned out great. My husband’s favorite of the bunch.
This group of free stuffed animal patterns were so easy to make and used up some fabric scraps. Thanks to Vanessa, Claire, and Martha for their creative inspiration, the little girls love them. :)
I went to the fabric store today and none of the poly-fil bags have the owl pattern on them. I was wondering if you could email me the pattern or I can pay for it as well. Thanks! (:
Hi Tobi – I don’t have the pattern I used but I found a free pattern that’s the exact same thing: https://www.craftsy.com/sewing/patterns/adorable-owls-free-sewing-pattern/461948
Send me a picture of your project. Happy sewing! :)